A “Little Bit Extra” Pin Cushion Sewing Pattern
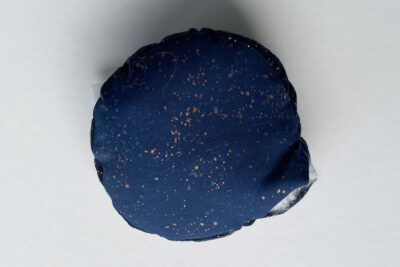
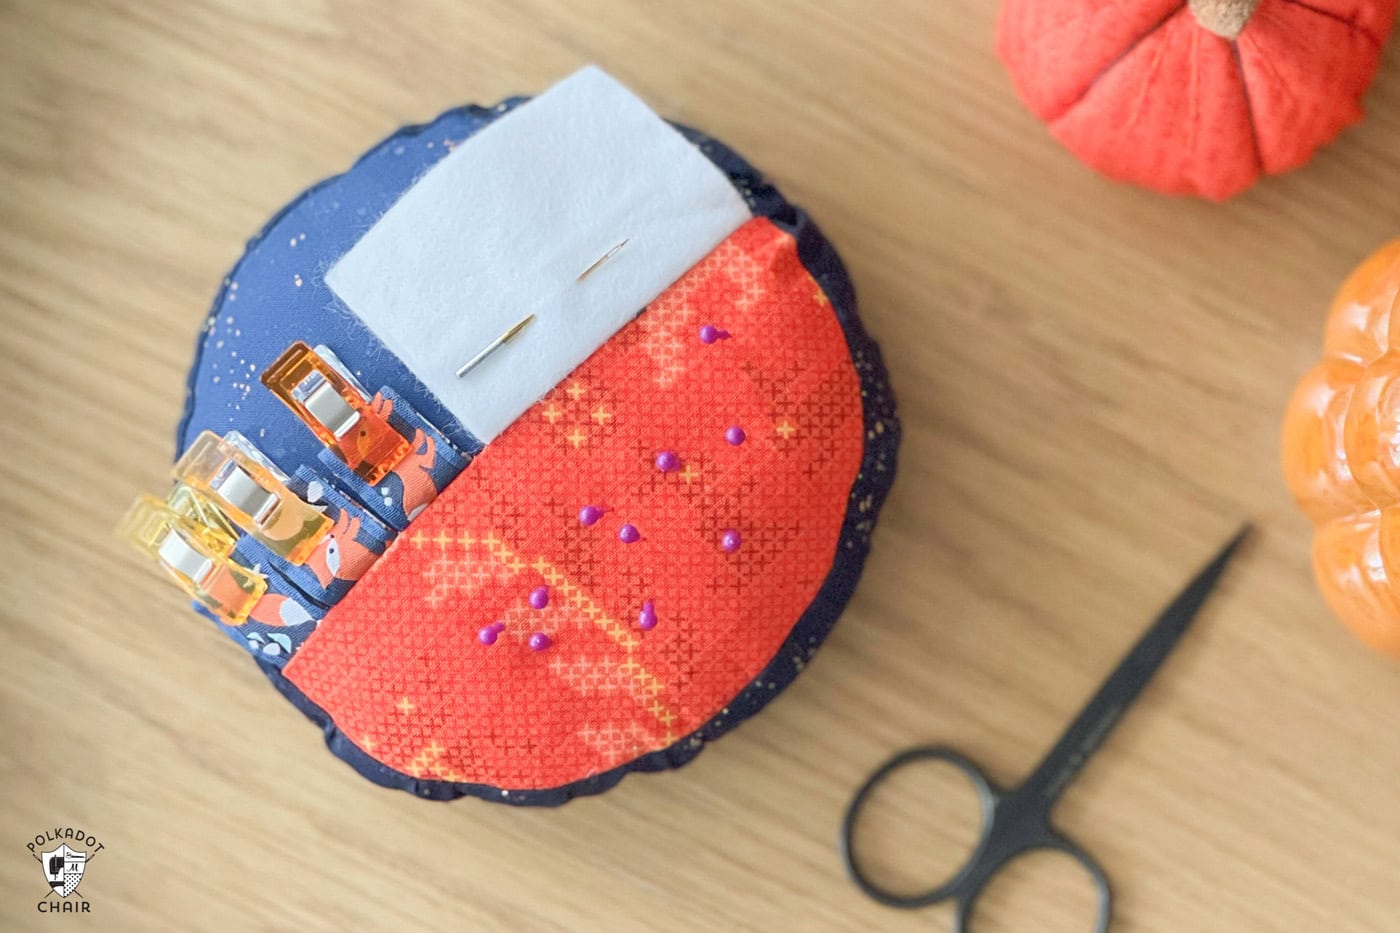
With our free “A Little Bit Extra” Pincushion Sewing Pattern, designed by Amy Ball, you can create a unique pincushion with a spot to store your binding clips.
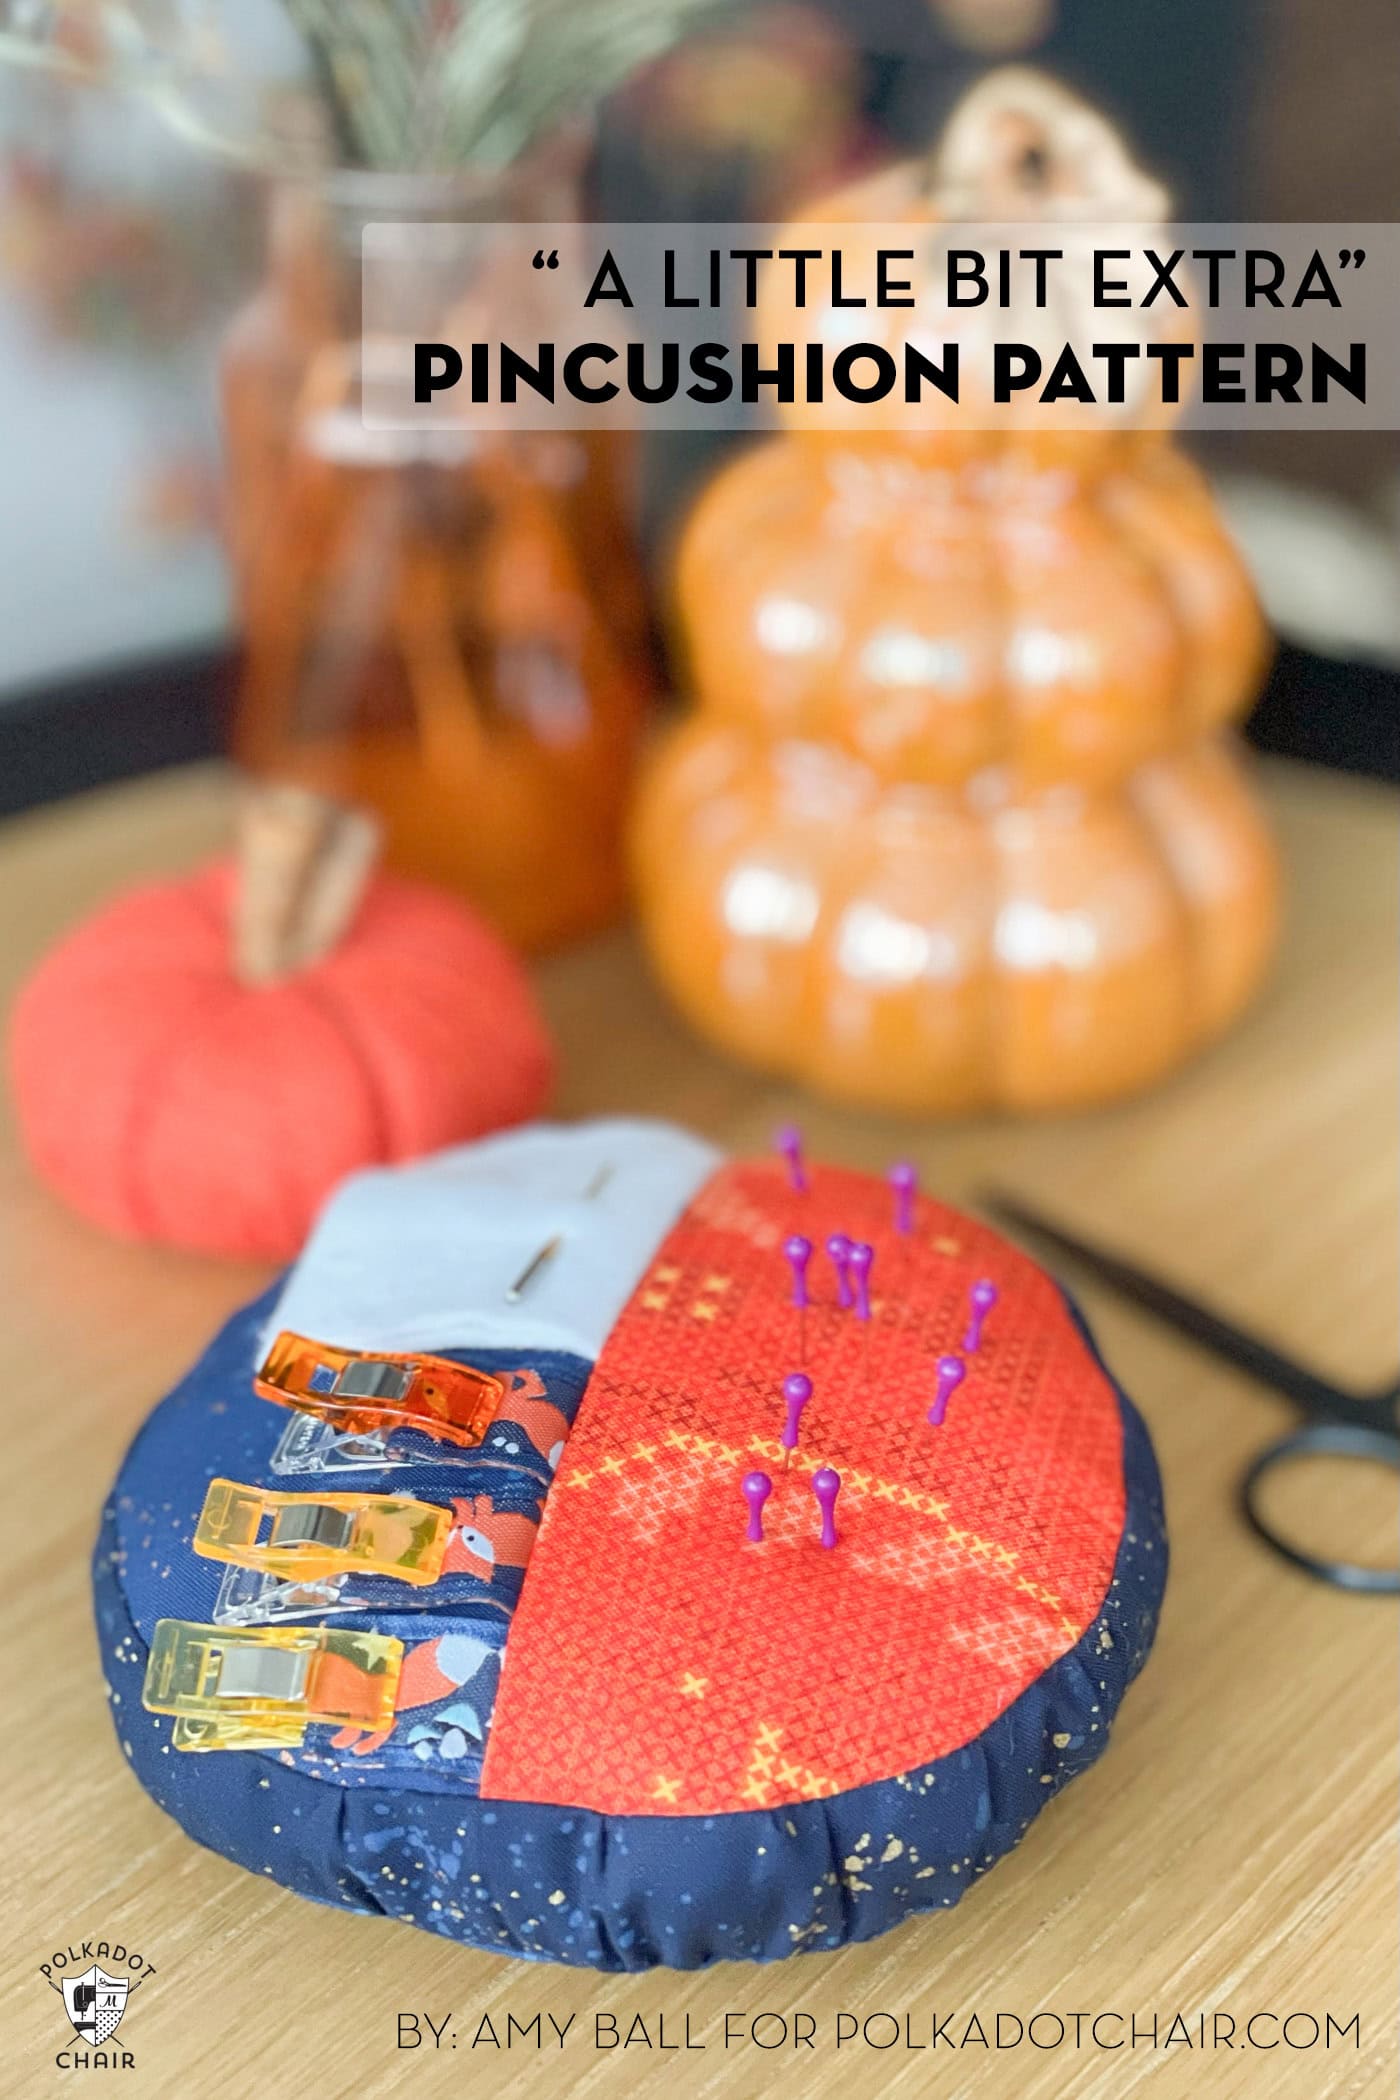
With the “Little Bit Extra” pin cushion, you have a few extra things at your fingertips.
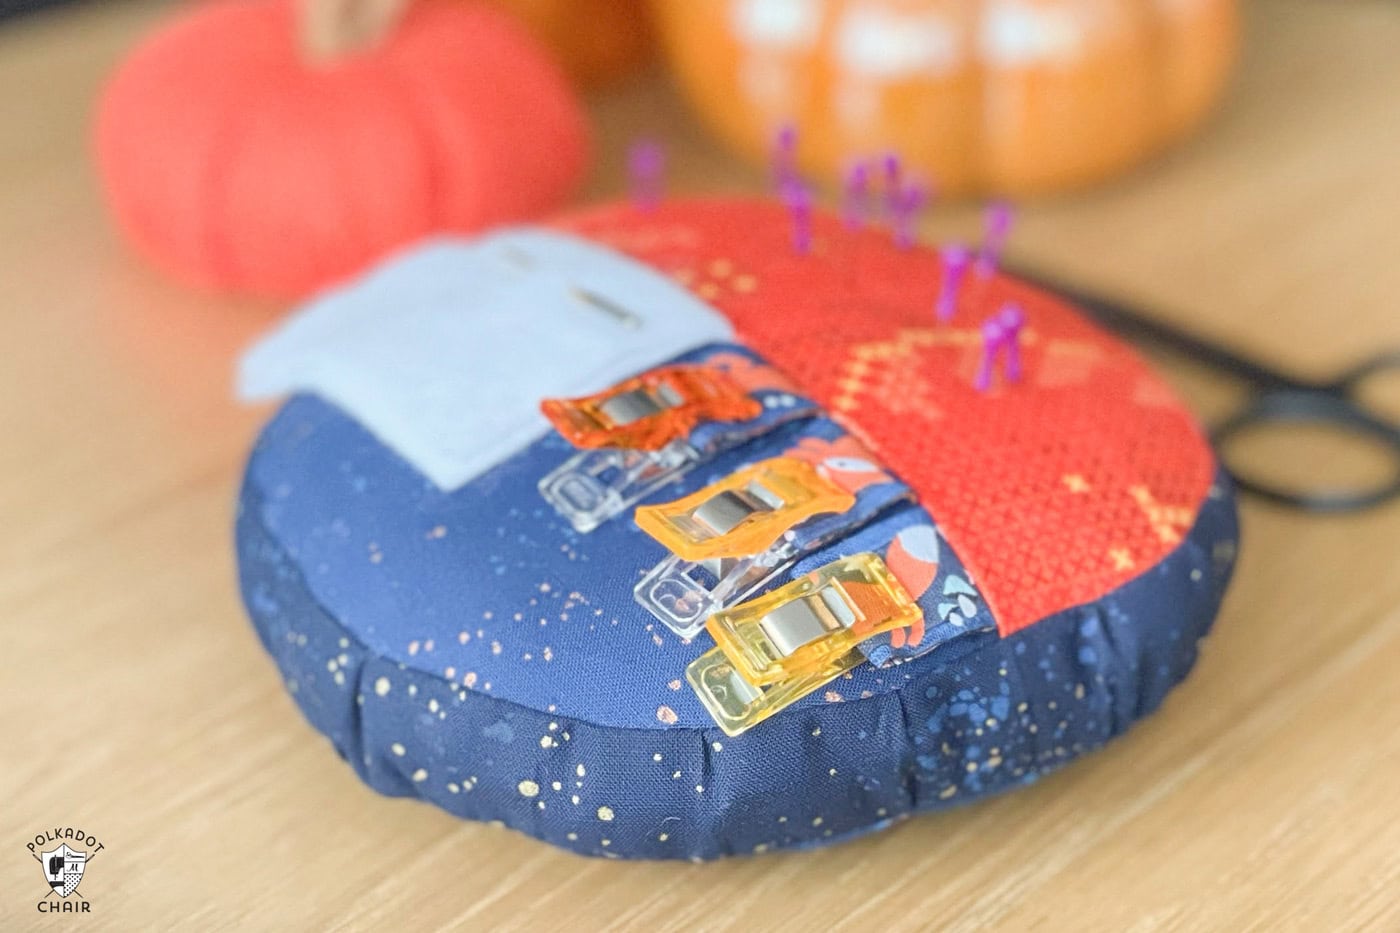
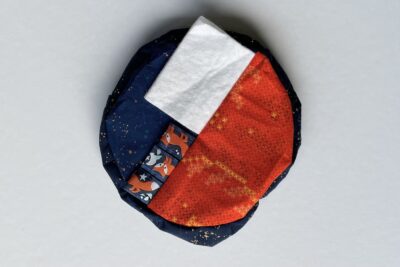
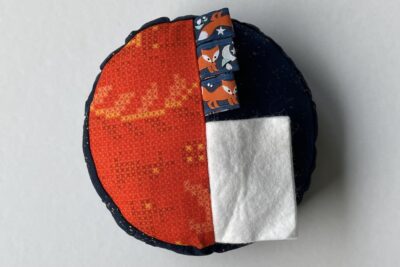
In addition to plenty of space for your pins, there are also felt flaps for sewing machine and hand sewing needles and ribbon loops for binding clips.
A Little Bit Extra Pincushion Sewing Pattern
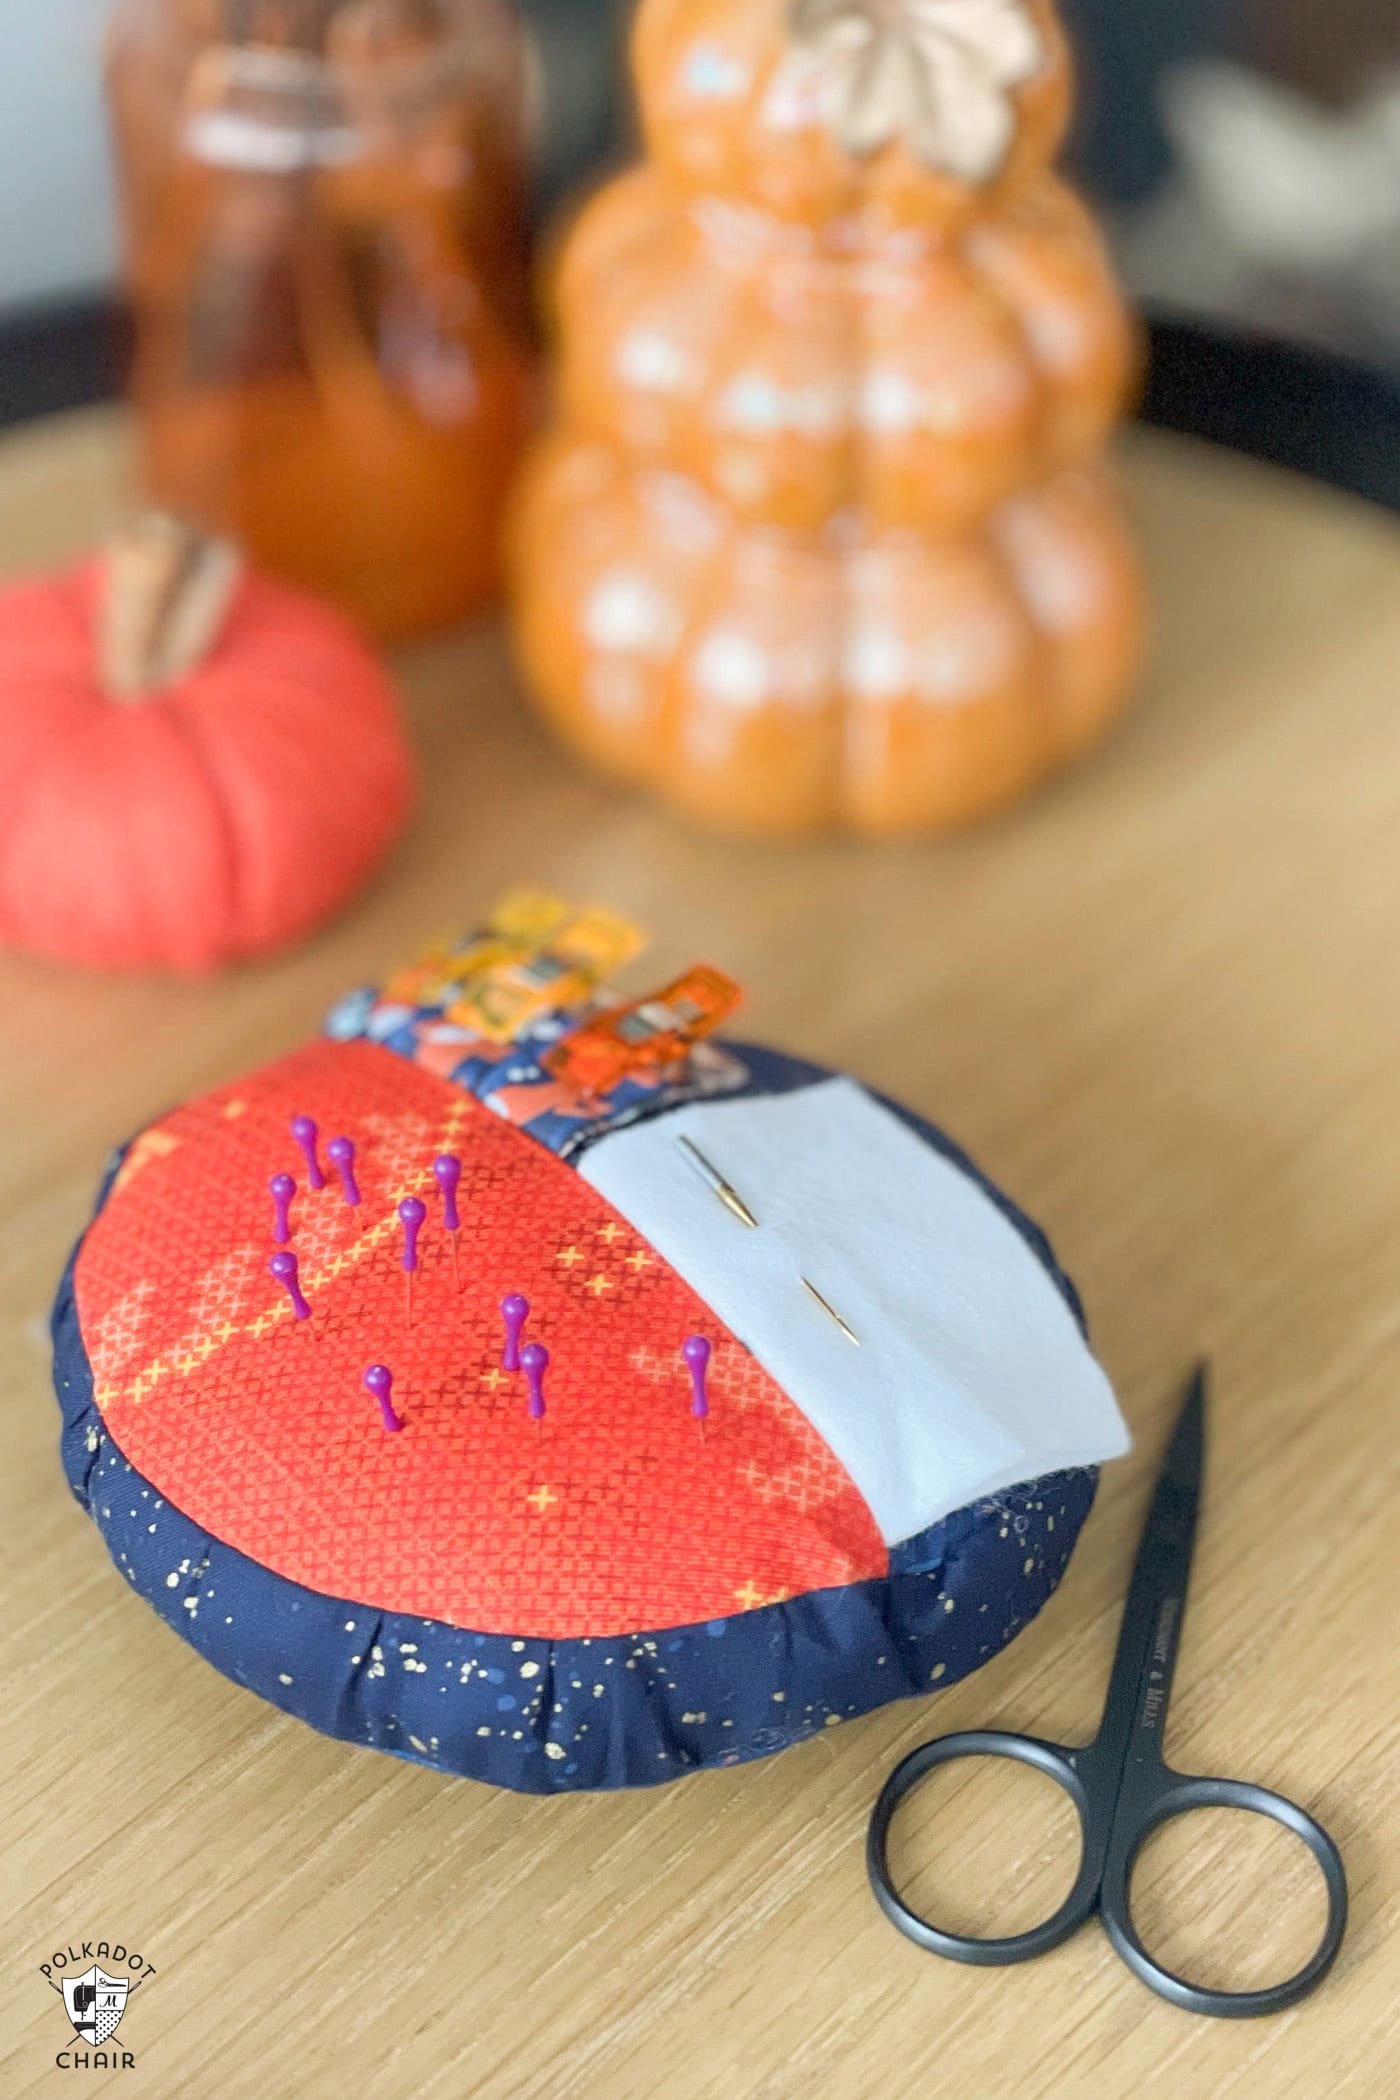
With our free "A Little Bit Extra" Pincushion Sewing Pattern, designed by Amy Ball, you can create a unique pincushion with a spot to store your binding clips.
Equipment
supplies
- 1 Fat Eighth Main Fabric
- 1 Large Scrap Highlight Fabric
- 1 Scrap Felt
- 1 piece Ribbon about ¾” wide 6”
- 1 package Stuffing
Instructions
Cutting:
- [* Extra information about cutting the semi-circles is in the construction steps; please read before cutting]
- From Main Fabric cut 5½” diameter circle (1), 5½” x 3” semi circle* (1), and 17¾” x 1½” (1).
- From Highlight Fabric cut 5½” x 3” semi circle* (1).
- From Felt cut 2½” x 2” (2).
- From Ribbon cut 2” pieces (3).
Construction:
- Use a ¼” seam allowance unless otherwise stated.
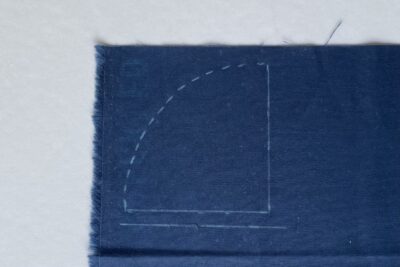
- When cutting out the two semi circle pieces, its really important that you add the ¼” seam allowance to the straight edge of the semi circle otherwise when you join the two semi circles together, they will create a circle that is smaller than the Main Fabric circle that you will use for the pin cushion base. Take the Main Fabric and, on the wrong side of the fabric, draw two lines at right angles to each other, both 2¾” in length. Now draw a smooth curve to join the far ends of these lines (I like to use a ruler to measure and mark 2¾” from the corner multiple times and then join the dots with a curve). Now add a second straight line ¼” below one of the original straight lines for the seam allowance. Fold the fabric in half using the straight line that doesn’t have the seam allowance added and cut out the semi circle including the extra ¼”. Repeat to cut a semi circle with added seam allowance from the Highlight Fabric.
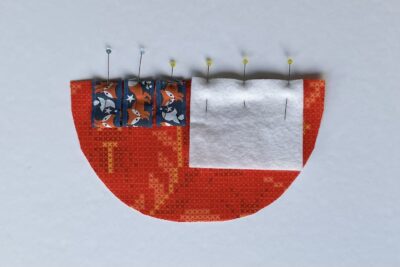
- Take the three pieces of ribbon, fold them in half so the raw edges meet. Pin these in a row to the straight edge of the Highlight Fabric semi circle, leaving a ½” gap from the left before the first piece of ribbon, and matching the ribbon raw edge to the fabric raw edge. Then pin the two fabric rectangles on top of each other and to the straight edge of the semi circle, leaving a ½” gap from the right.
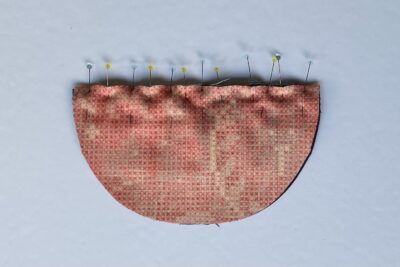
- Pin the unit from step 2 onto the Main Fabric semi circle, with the right sides together. Sew along the straight edge.
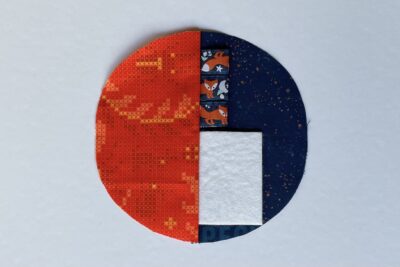
- Open up the circle and press the seam to one side. This is the top of your pin cushion.
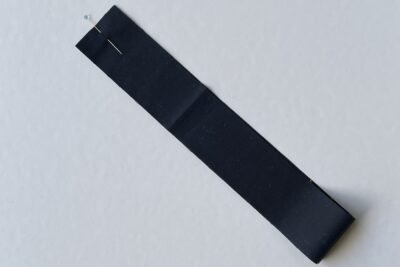
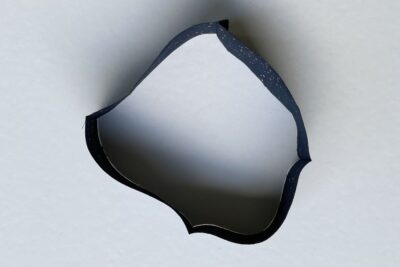
- Take the Main Fabric long rectangle and join along the short edges, right sides together.
- Press the loop of fabric to create a crease opposite the seam. Then open up the loop and match the seam and this crease in the centre and press to create two more creases. You should now have four evenly spaced guides that split the loop into four sections. This is the side of your pin cushion.
- Take the pin cushion top and fold it in half so the seam is in the centre and create a little crease at both edges of this semi circle to mark the centre of these two curved edges.
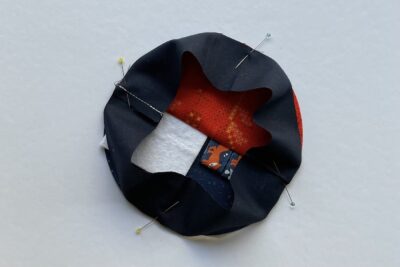
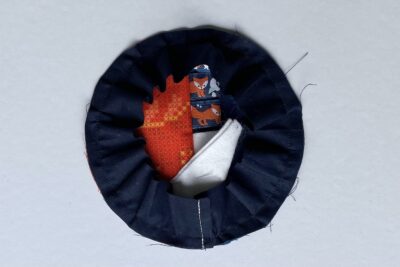
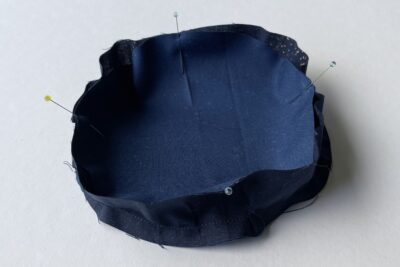
- Place the pin cushion top with the right side facing towards you and pin the loop you created in step 6, with the right sides together. Match the seam of the loop to the seam of the pin cushion top (nest these seams to avoid bulk), and match the opposite crease on the loop to the seam at the other side of the pin cushion top. Then match the other two creases on the loop to the creases on the two pin cushion top semi circles.
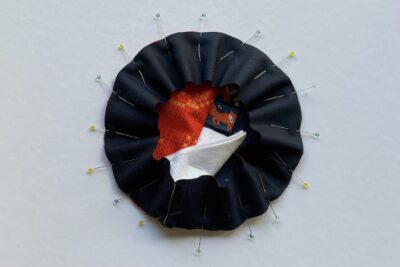
- Now add more pins, making sure the fabric is gently eased around the curve of the pin cushion top and its even. Make sure the felt flaps won’t get caught in the seam; you can pin the felt out of the way.
- Sew around the edge, taking your time to create a smooth curve all the way around. Back stitch as the start and end.
- Repeat step 7 with the Main Fabric 5½” circle.
- Repeat step 8-9 to attached the Main Fabric circle to the remaining raw edge of the loop.
- Sew around the edge but this time leave about a 3” gap.
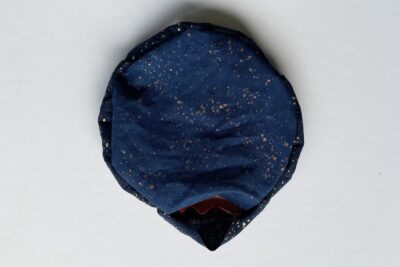
- Turn the pin cushion right side out through the gap.
- Fill the pin cushion with stuff. Make sure to push it all the way to the edges and evenly distribute the stuff so you don’t end up with a lumpy pin cushion!
- Hand sew the turn gap closed using a whip stitch.
Love this tutorial? Get the behind the scenes on Instagram
About the Designer

Amy lives in the north of England with her husband and son. When she’s not sewing and quilting, Amy can usually be found baking or reading. You can find her on Instagram @amyatthegate

