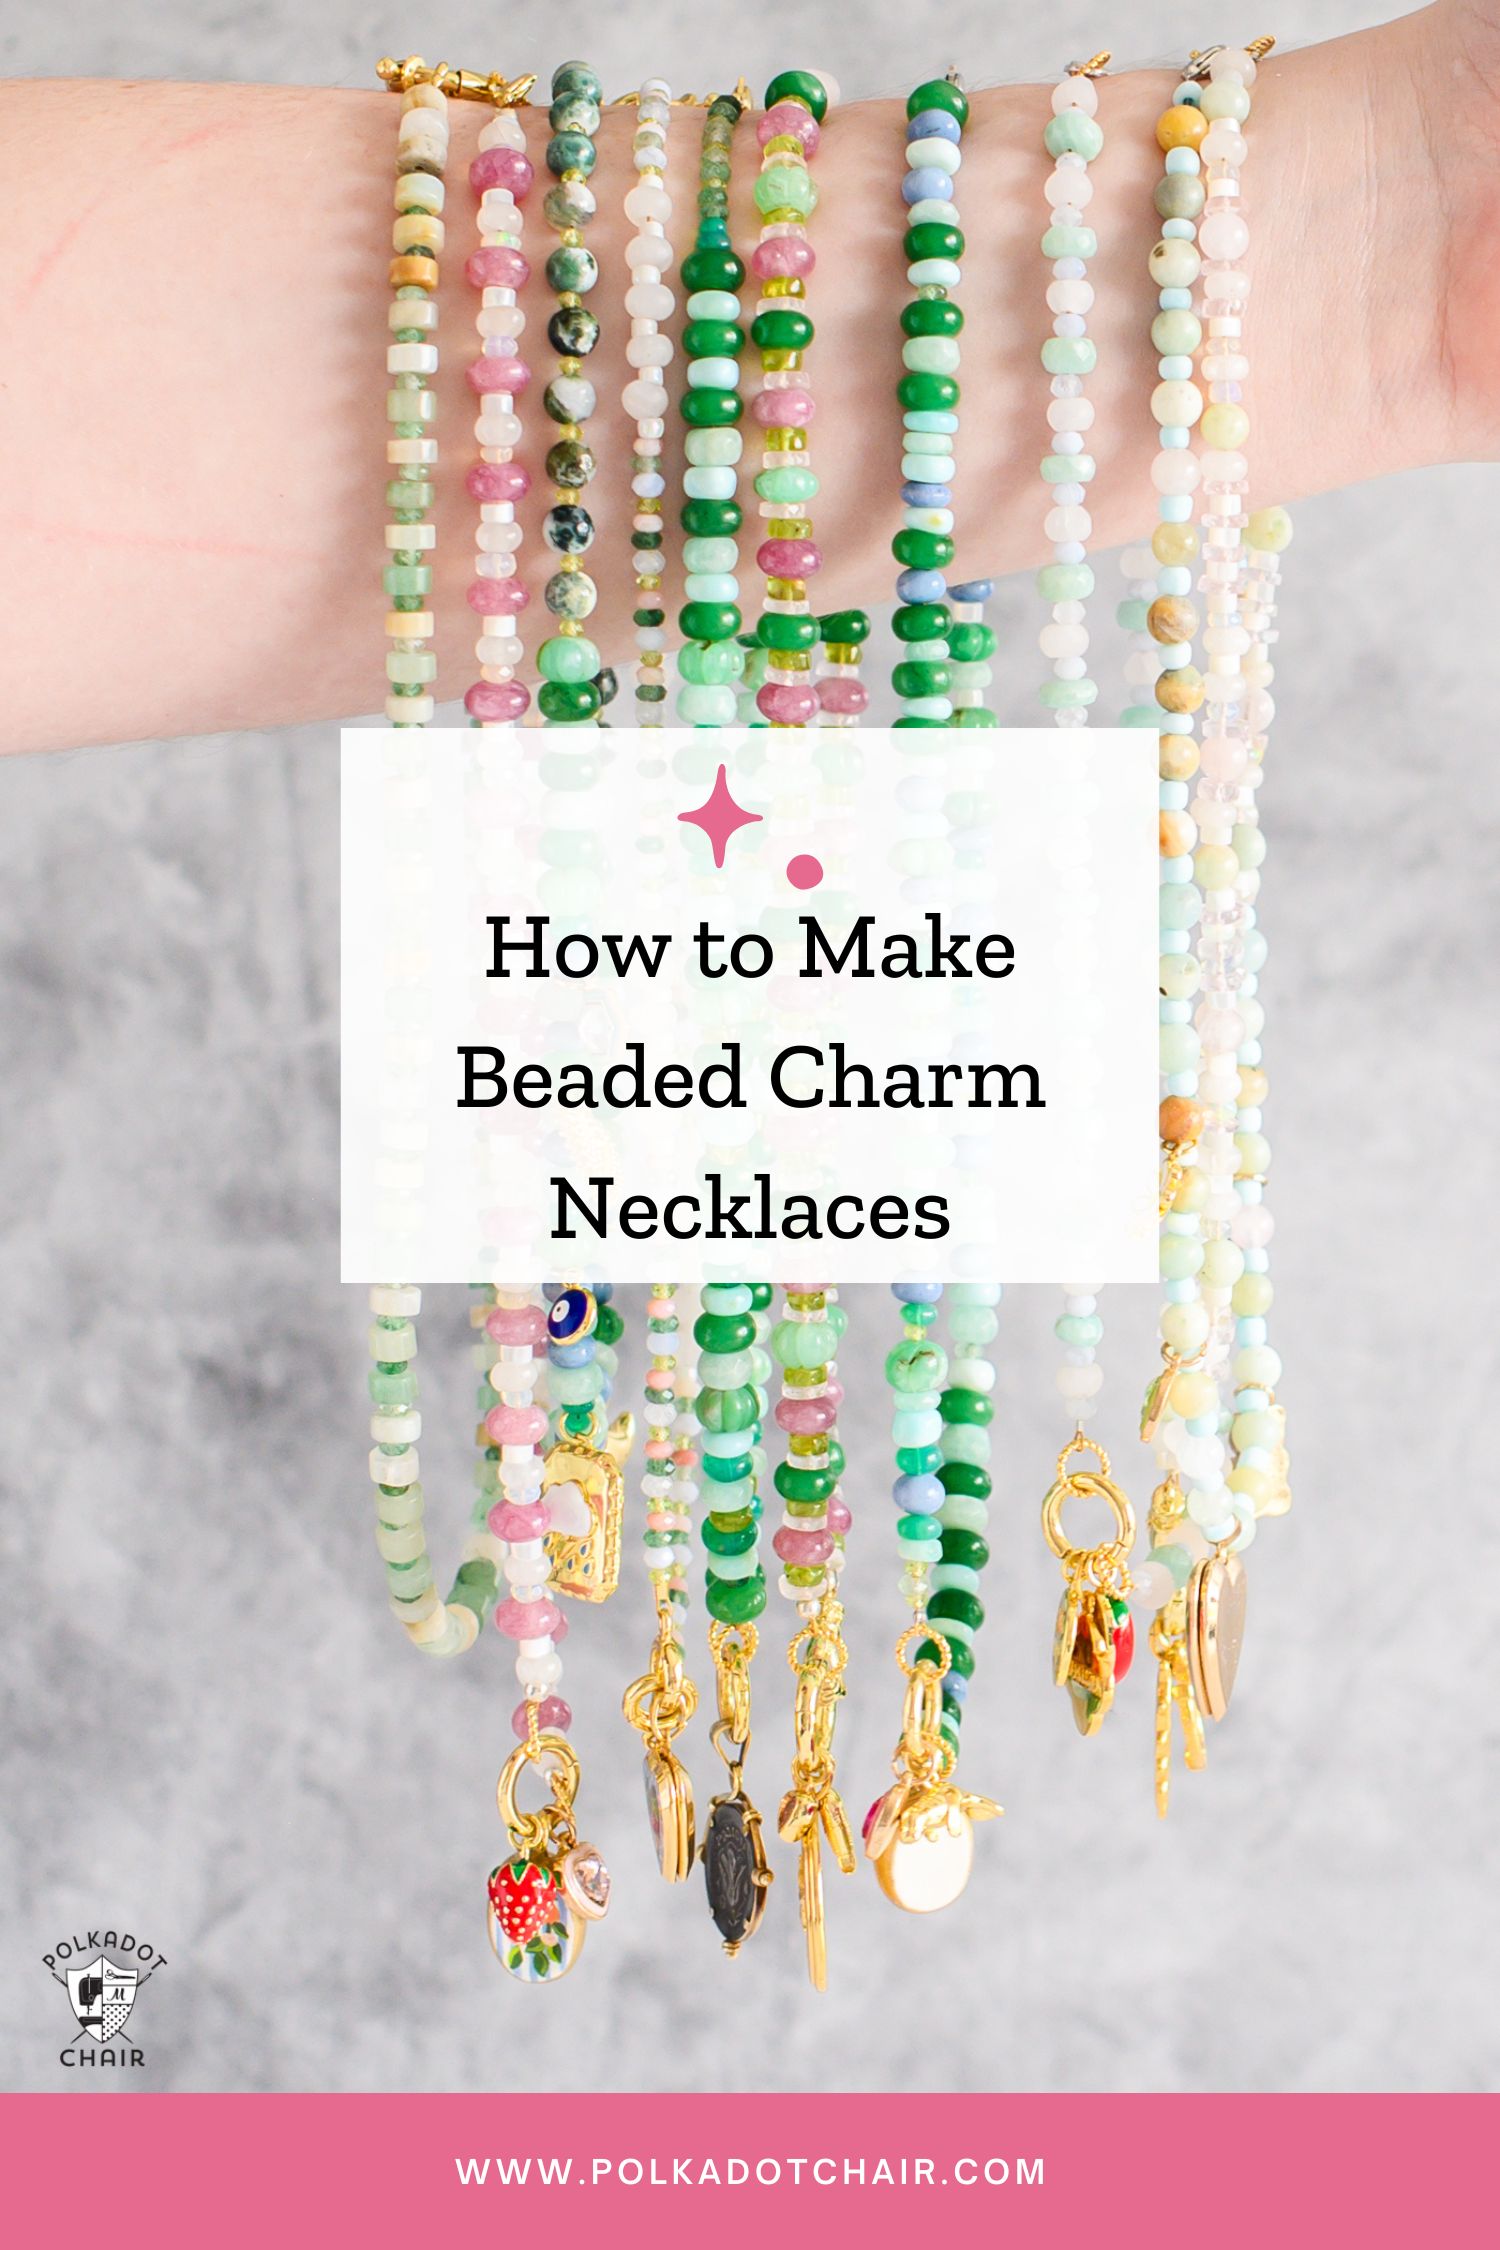
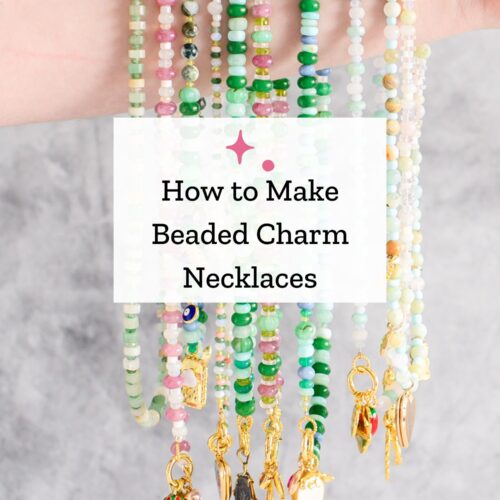
Add a Little Charm! Easy Beaded Necklace Tutorial with Step-by-Step Photos
If you’re like me, you have probably noticed cute beaded charm necklaces popping up everywhere. While I debated ordering a few, I decided to make it myself and make it exactly how I want it. This DIY beaded charm necklace tutorial will show you how to make a charm necklace with a carabiner in the middle, allowing you to switch out your desired charms!
I’ve been on quite a quilting kick this summer, but decided I needed a bit of a creative “reset” and have been working to add some additional craft tutorials to our site! (don’t worry, we are still going to be very quilting-focused here)
We have a lot of fun things planned for the Fall and Winter, and I’m excited to ‘kick off” this new batch of content with a fun beaded charm necklace tutorial!
If you’re looking for a fun craft to do with your kids, grandkids, or friends, this project might be just what you need! These necklaces also make great gifts!
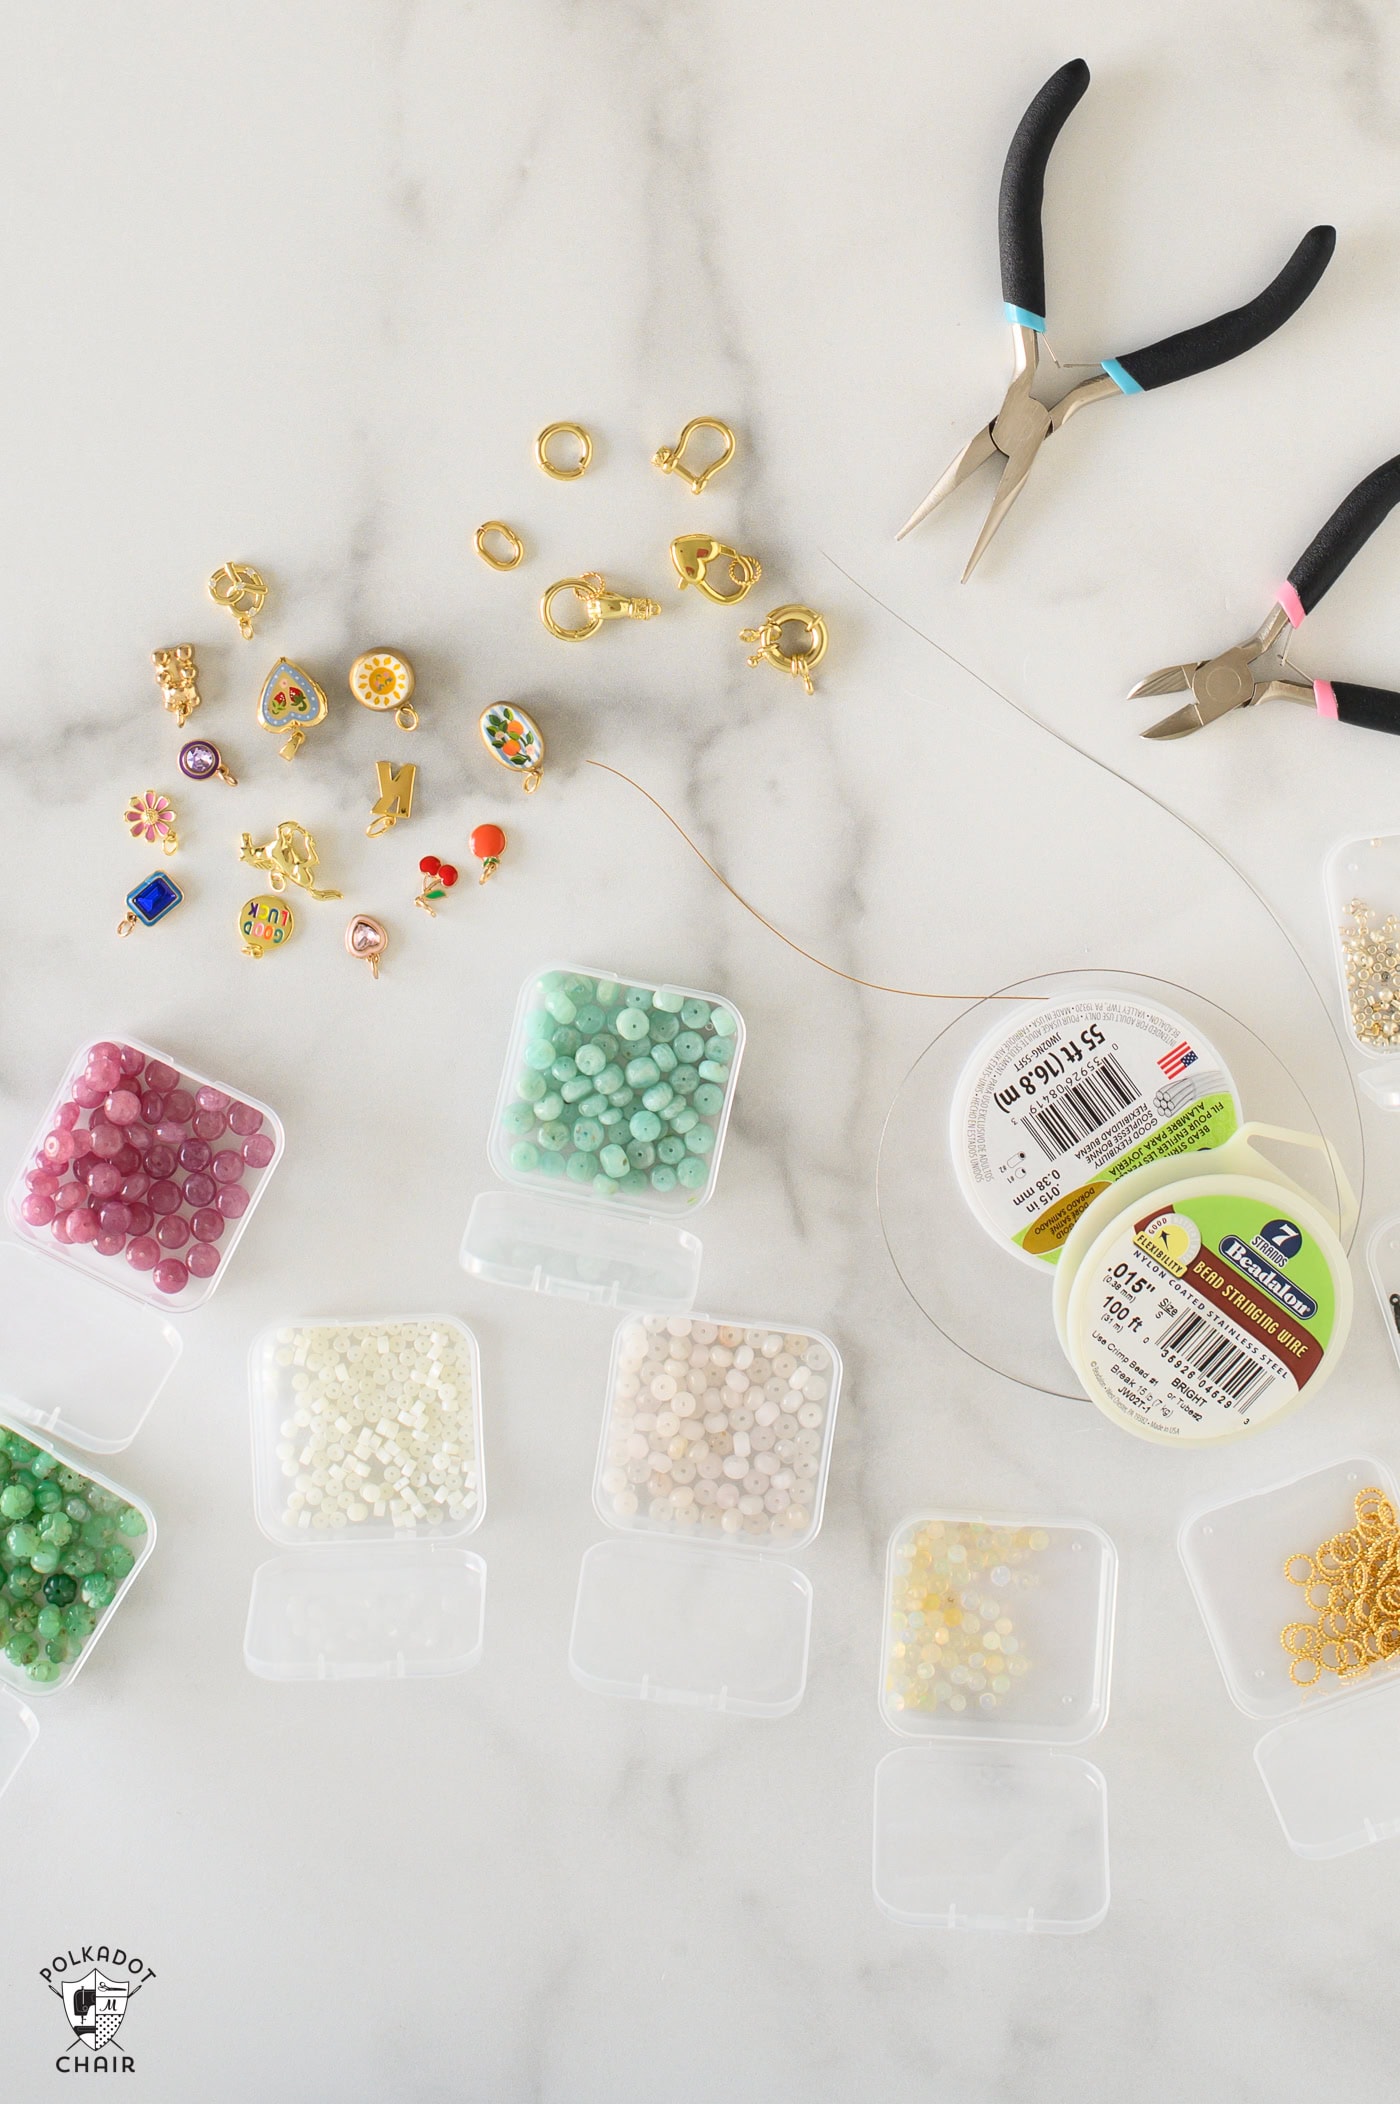
Supplies Needed
- Beads
- Jewelry Wire
- Crimp beads
- Closure (ex, Lobster Clasp)(can also double as carabiner)
- Closed jump ring (recommend 8mm, but 10 mm can be used to make a Mickey Mouse-like shape with a carabiner)
- Carabiner
- Charms (optional)
- Crimp covers (optional)
Required Tools
- Jewelry pliers
- Wire cutter pliers (recommend a jewelry tool kit like this)
- Bead board
- Bead organizer (optional)
There are two types of necklaces you can make with this tutorial. Both require mostly the same supplies, with the only difference being that one type requires three jump rings and a carabiner for interchangeable charms. If you’d like to make a necklace with either no charms or set charms, you will need only one jump ring and no carabiner.
When it comes to beads, the amount will depend on the size of the beads and the length of the necklace you want to make. I would recommend at least two strands of beads to ensure you don’t run out before you are done.

How To Choose & Buy Beads
Let’s talk beads. I would recommend at least two different beads, but I have used up to five or six different types in one necklace.
When choosing the right beads or quantity for your necklace, there are a few key factors to consider.
- First, do you want a fixed pattern or a random assortment of beads?
- Next, consider what color scheme you want for your necklace. I made some with contrasting colors and others in a more monochromatic color scheme.
- Do you want natural stones or glass beads? If you want natural stones/beads, look for gemstone beads, or if you have a specific stone in mind, you can search by stone, ex, rose quartz beads. When it comes to natural stone beads, there is something in almost every price range, depending on the stone, size, and quality of the bead. Various colors of quartz and dyed jade beads are a great way to get a variety of colors at an affordable price.
- Lastly, consider shape, size, and texture.

Some of my favorite necklaces I’ve made have a nice balance of small and large beads, while necklaces made with the same size of beads look great too. I find the contrast creates a more dynamic design.
This same principle applies to balancing the colors and textures of the beads as well. But the most important thing to consider when designing your necklace is that you like it.
I liked the idea of using genuine natural stones as beads, and found it cheaper to buy genuine beads to make a necklace than to buy a premade necklace using similar or lower quality beads.

Links for Beads We Used
- Opalite
- Pink Dyed Jade
- Strawberry Quartz
- Pearls (round and baroque/shaped)
- Aquamarine
- Tourmaline
- Emerald
- Rose Quartz
- Peridot
- Opal
- Chrysoprase
- Amazonite (shapes too)
- Shaped Moonstone
This is just a small list of the many beads I have bought and used, but the above list has several of my favorites. If you’re looking to keep costs low, however, you can find glass or dyed jade beads for an affordable price.
You can find a decent selection of beads at your local Michaels or Hobby Lobby. I mainly bought mine on Etsy, as many shops offer a great choice of beads and aren’t too expensive.

Where to Buy Charms
- Hart Jewelry – a great place to buy high-quality charms. The price point is a bit higher, but it’s a small business, and the charms are unique and great quality.
- Etsy- This shop has a large variety of affordable charms. This shop features unique replica Roman coin charms. This shop has the cutest hand-painted clay and locket charms. And this shop has lots of good vintage charms.
- Mejuri– My girls and I are big fans of Mejuri, for high-quality charms made from precious materials like sterling silver, gold vermeil, or solid 14k gold.
- Pandora– Known for their popular charm bracelets, their dangling charms are perfect for a carabiner charm necklace.
Disney-Inspired Charm Necklace Details

Want to add a little Disney twist to your necklace? By adjusting the proportions of the jump rings and carabiner, you can create a subtle hidden Mickey in your necklace. The non-Disney necklaces I made use 8mm-sized jump rings. By simply bumping those up to a 10mm jump ring with the same 10mm carabiner, you get a hidden Mickey.

If you want to lean further into the Disney vibe, use Disney-inspired colored bead combinations and find Disney-themed charms to complete the look.
Beaded Charm Necklace Tutorial
Equipment
- Jewelry Pliers
- Wire Cutter Pliers (recommend a jewelry tool kit like this)
- Bead Board
- Bead Organizer (optional)
supplies
- Beads
- Jewelry Wire
- Crimp beads
- 1 Closure ex, Lobster Clasp
- 2 Closed jump ring recommend 8mm, but 10 mm can be used to make a Mickey Mouse-like shape with a carabiner
- 1 Carabiner
- 2-3 Charms optional
- Crimp covers optional
Instructions
- The steps for making a carabiner necklace and a regular necklace are the same. The main difference is that you will make two smaller necklaces from the Carabiner necklace. One half will have two jump rings, and the other half will have a lobster clasp and a jump ring.
Step 1:
- First, you need to figure out the length of your necklace. Most necklaces you buy at the store are 16-18 inches long. You can also use a necklace you own and like the length of for reference. If you are making a carabiner-style necklace, divide the length in half to create two smaller necklaces. Keep in mind that the carabiner will add about an inch of length. Once you know the length of the necklace, cut the jewelry wire to the appropriate length. I recommend adding an extra inch and a half of wire to ensure the length is right after adding the jump rings and lobster clasp.

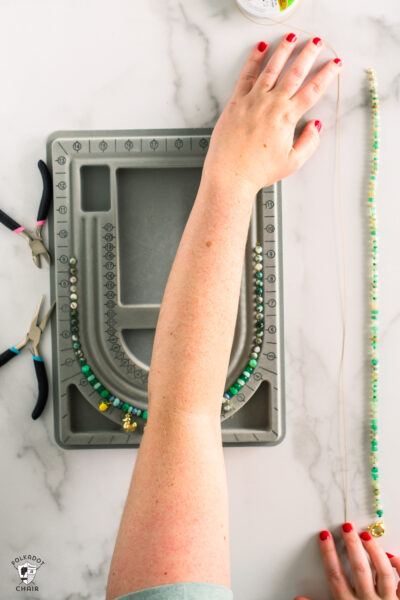
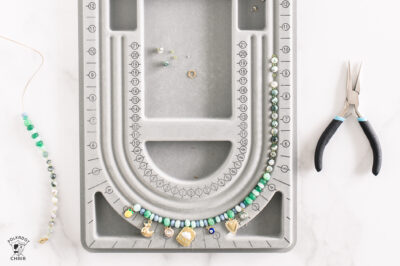
- Optional step: While determining the necklace length, if you want to lay out your beads/pattern on a bead board, now would be the time to make sure the length matches. If your beads are not a uniform size, like a cube or sphere, they might not lie correctly on the board, which can throw off the length. I recommend this step if you are not creating a set pattern for a non-caribener style necklace, especially if you plan to add charms to a specific spot to ensure they're lined up correctly.
Step 2:
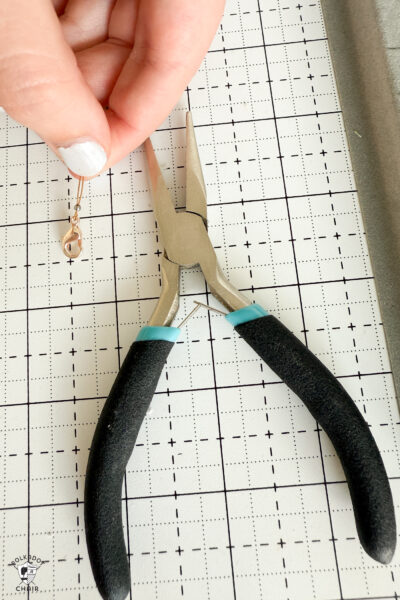
- Take your wire, crimp bead, and either the lobster clasp or jump ring. You take the end of the wire and place it through the crimp bead, followed by the clasp of the jump ring. I recommend starting with the clasp. Then you will fold over the wire and feed it through the crimp bead again, so it is looped around the claps or ring, leave a slight excess through the crimp bead like a little tail (you don’t need it to be long) and then use the pliers to put pressure on the crimp bead and flatten it out, to secure the clasp or jump ring.
Step 3:
- Now the fun part, string your beads. I would recommend taking that excess wire tail and feeding it into the beads you string until it's covered, so it can’t stick out and poke you. Now, string the beads in the pattern you've laid out, or in any order or combination you prefer, until you reach the appropriate length. If you are making a necklace with charms set in a specific place, treat them like beads and string them in the proper spot with your other beads. I would ensure you have about an inch of excess wire at the end for the next step.

Step 4:
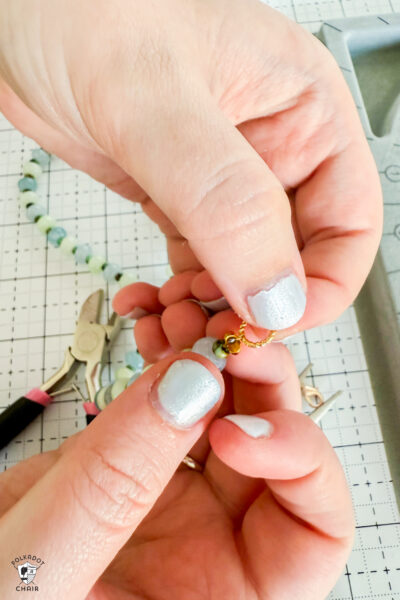
- This step is similar to step 2. You will feed the excess wire through the crimp bead and either a clasp or jump ring, depending on the type of necklace you are making and the one you used last time. This time feed the excess wire back through the beads on the necklace. Now this part is a bit tricky, which is why I recommended starting with the lobster claps in step 2. To ensure there isn’t a massive gap in your necklace, I recommend holding the jump ring in one hand and then using the pliers in the other hand to pull the excess wire as tight as you comfortably can. Then use the pliers to put pressure on the crimp bead and secure the necklace closed. Then, use the wire cutters to trim the excess as close to the bead next to it.
- If you aren’t making a carabiner-style necklace, you are done. If you are making a carabiner-style necklace, though, you will need to repeat steps 2-4 and connect the sides with a carabiner and slide your charms onto the carabiner.

Optional Step 5:
- If you want a more refined loop or have a slight gap in your necklace from closing it off, you can use a crimp cover on the end to help fill the gap, and also cover your crimp bead. If you have a gap at the end, consider using a gap filler between the crimp bead and the regular bead to fill the space. Otherwise, you can use the covers over the crimp bead, just below the clasp or jump ring.
- To attach the crimp cover, you take the bead (which will be split open on one side) and place it around the spot on the necklace you want to cover. Then, use the pliers to gently close each side of the crimp cover, trying to keep the sides as even as possible for a uniform look. Also, note that going slowly is crucial; if you mess it up, they are challenging to remove once secured.
Now you have your new necklace or necklaces. Time to start collecting fun charms to complement the latest addition to your wardrobe, and they make great gifts too!


Really cute ideas. Don’t know if you have explored beads sires, but I’ve done a lot of beading and found FireMountain beads to be an excellent source of beads, charms and supplies. You also get a discount for quantity purchases.
Thanks for the tip I’ll check them out for sure!