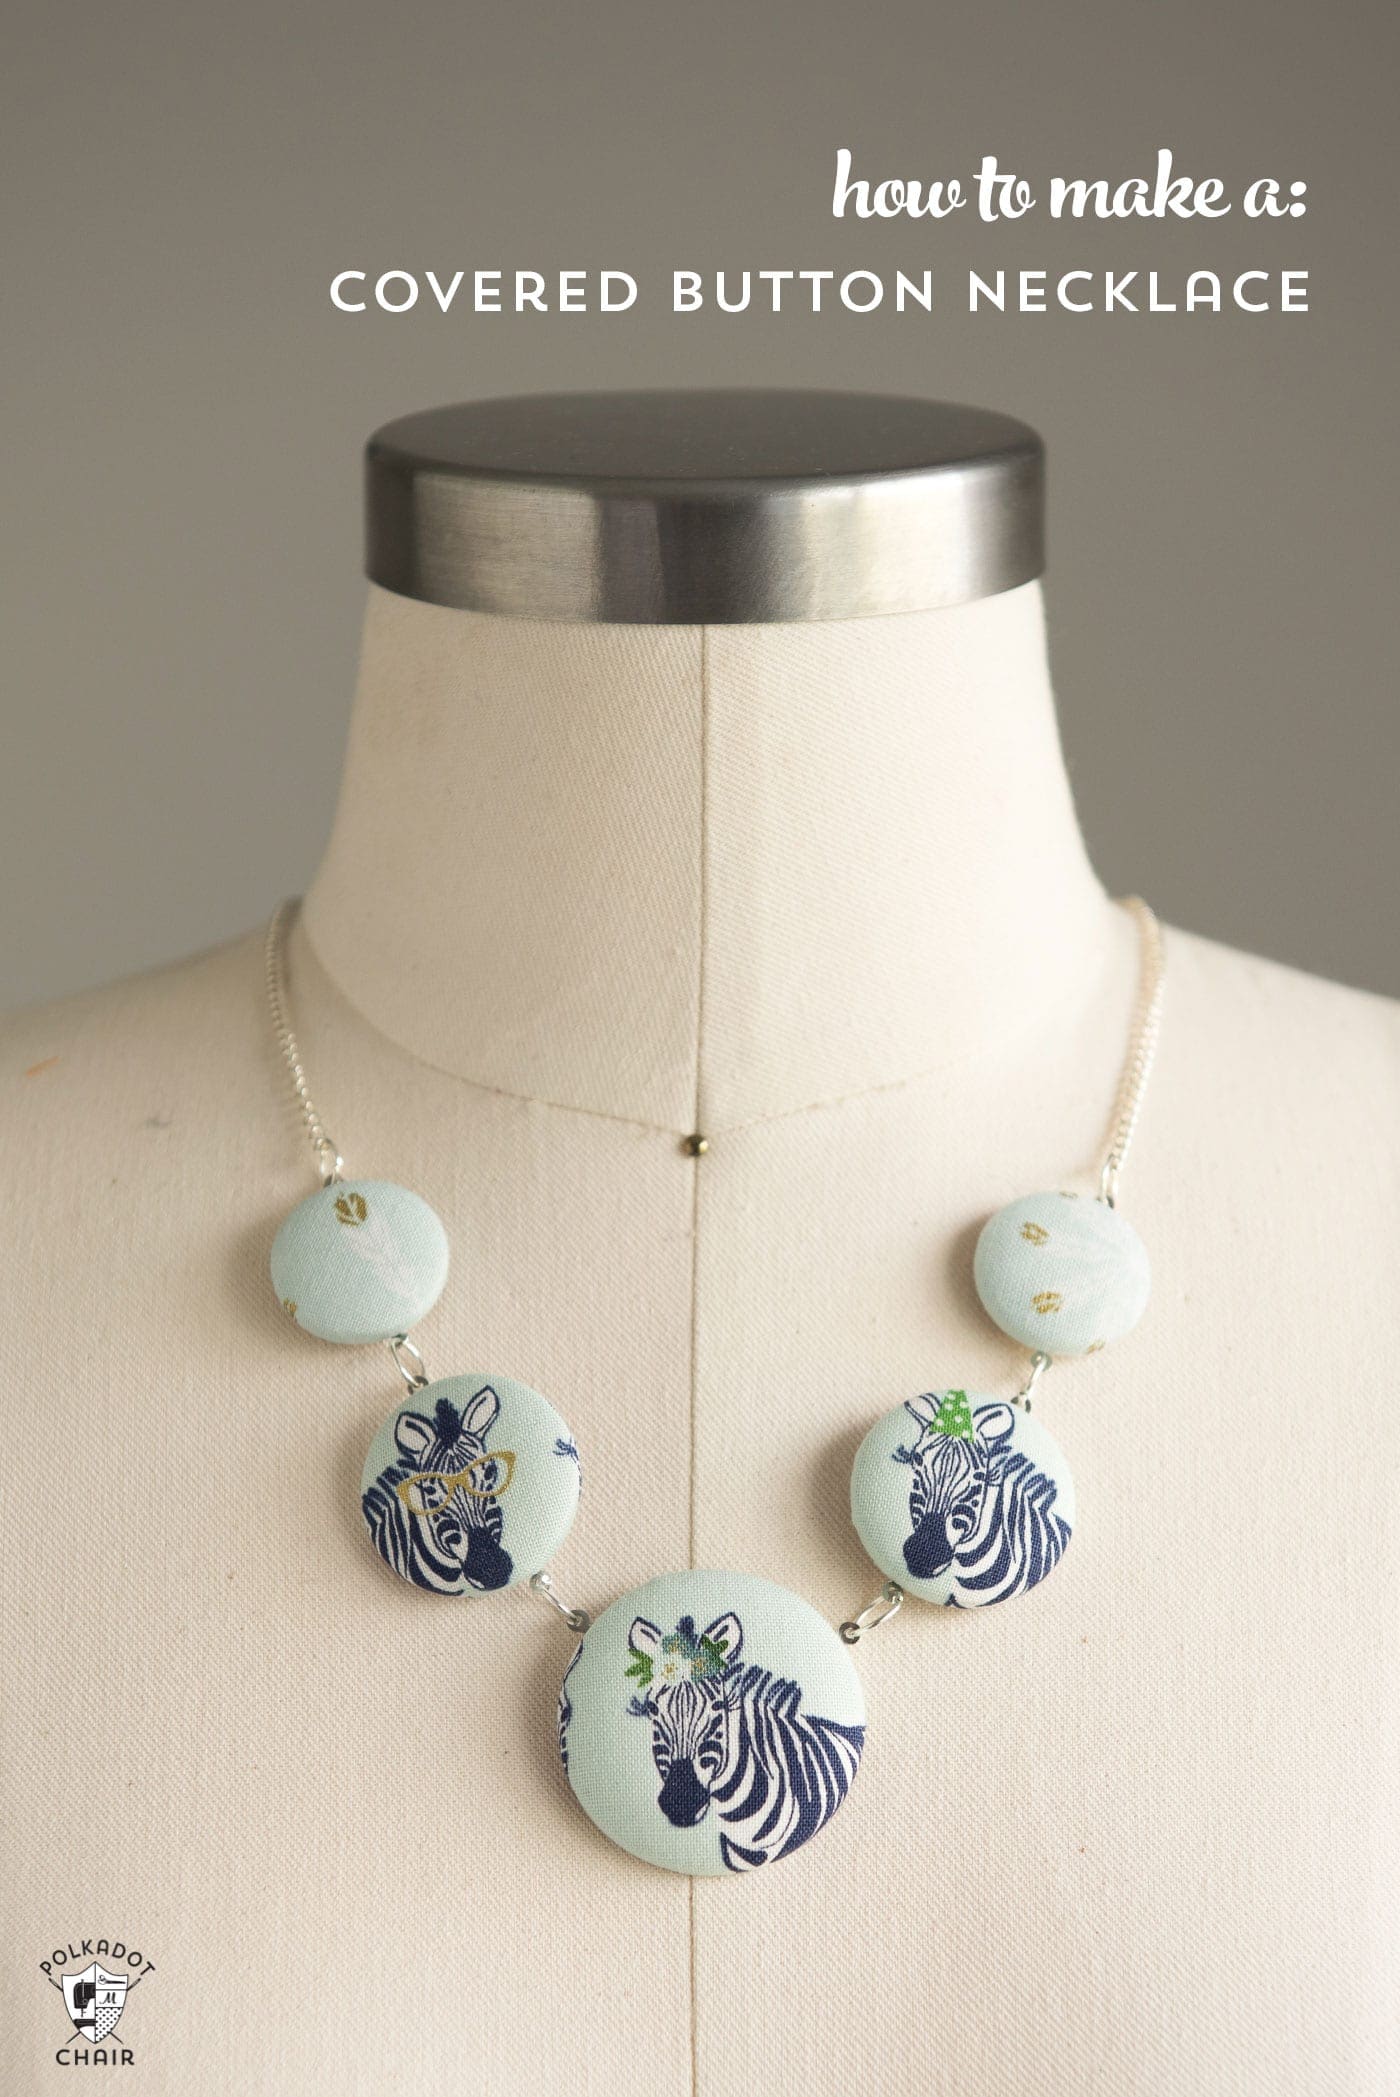
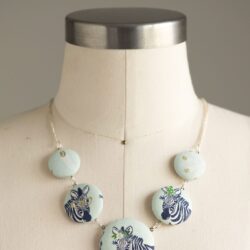
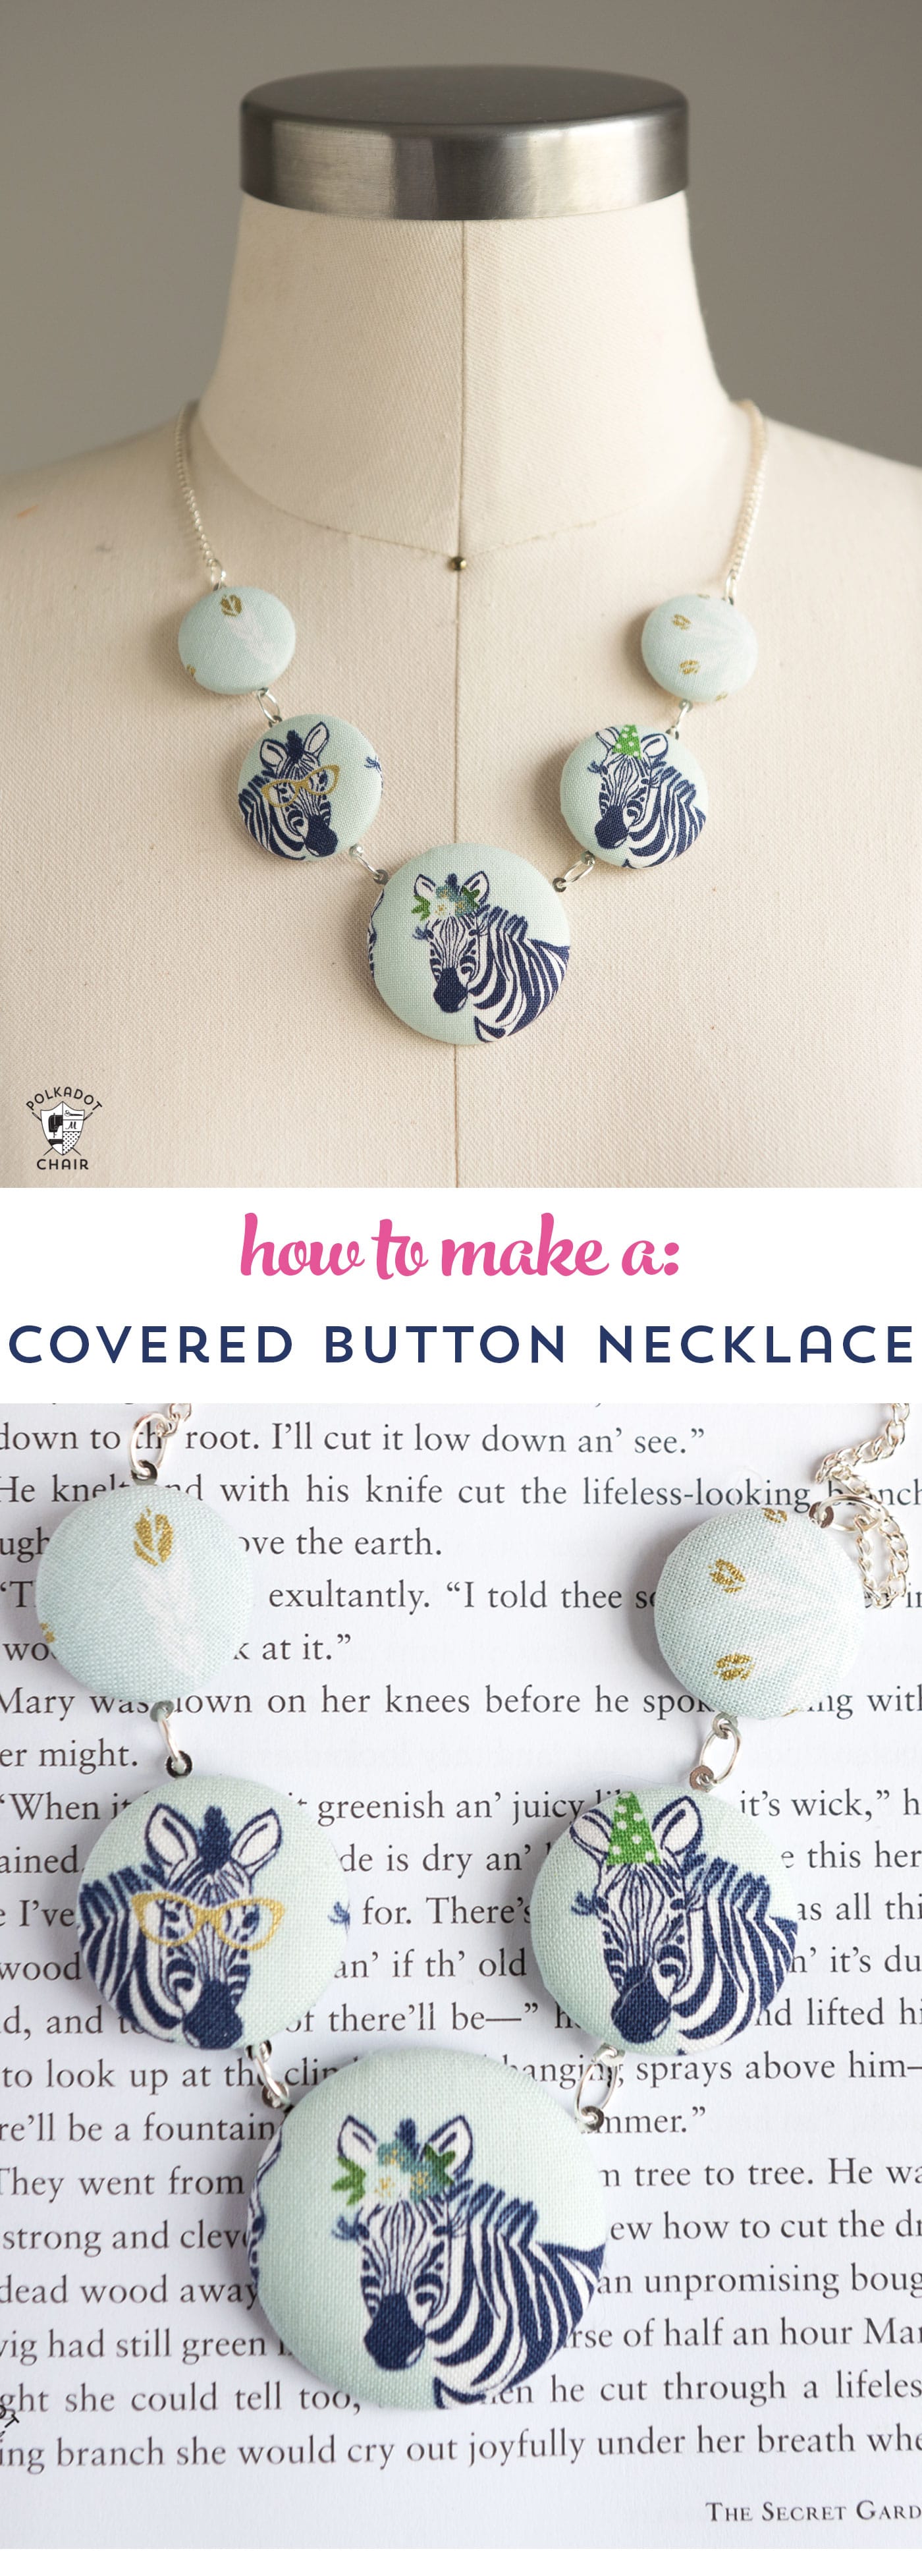
How to Make A Covered Button Necklace
If you’re looking for a fun and customizable accessory, a covered button necklace is a perfect project. It’s a great way to showcase your favorite fabrics and create a unique piece of jewelry that’s all your own. In this tutorial, I’ll show you how to make one step by step; no special jewelry skills required!
Summer vacation is more than halfway over. Are your kids driving you crazy yet? I’m happy to report that I’ve only heard “I’m bored” 10 times this week (*wink*).
If you’re looking for a fun summer boredom buster for your kids (or yourself) then you may like todays project, this Covered Button Necklace Tutorial. It’s also a great way to use up a bunch of fabric scraps!
These little necklaces are a lot of fun to make! You can customize them with a wide range of colors and fabrics. They are also a great summer craft project for kids and teens. I think they would be a lot of fun to make at a party. You could just set out your fabric scrap box and let them go to town!
If you have your kids help you with this project, please note that it involves the use of a hot glue gun. Be sure to supervise smaller children closely while they are working on their crafts.
Are you ready to make a covered button necklace?
Fabric Covered Button Necklace Tutorial
Equipment
- Jewlery Pliers
- Button Kit
supplies
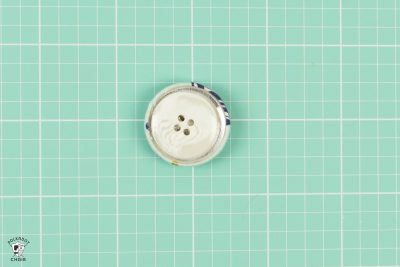
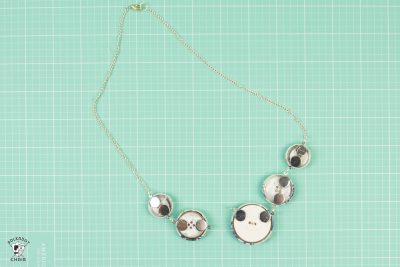
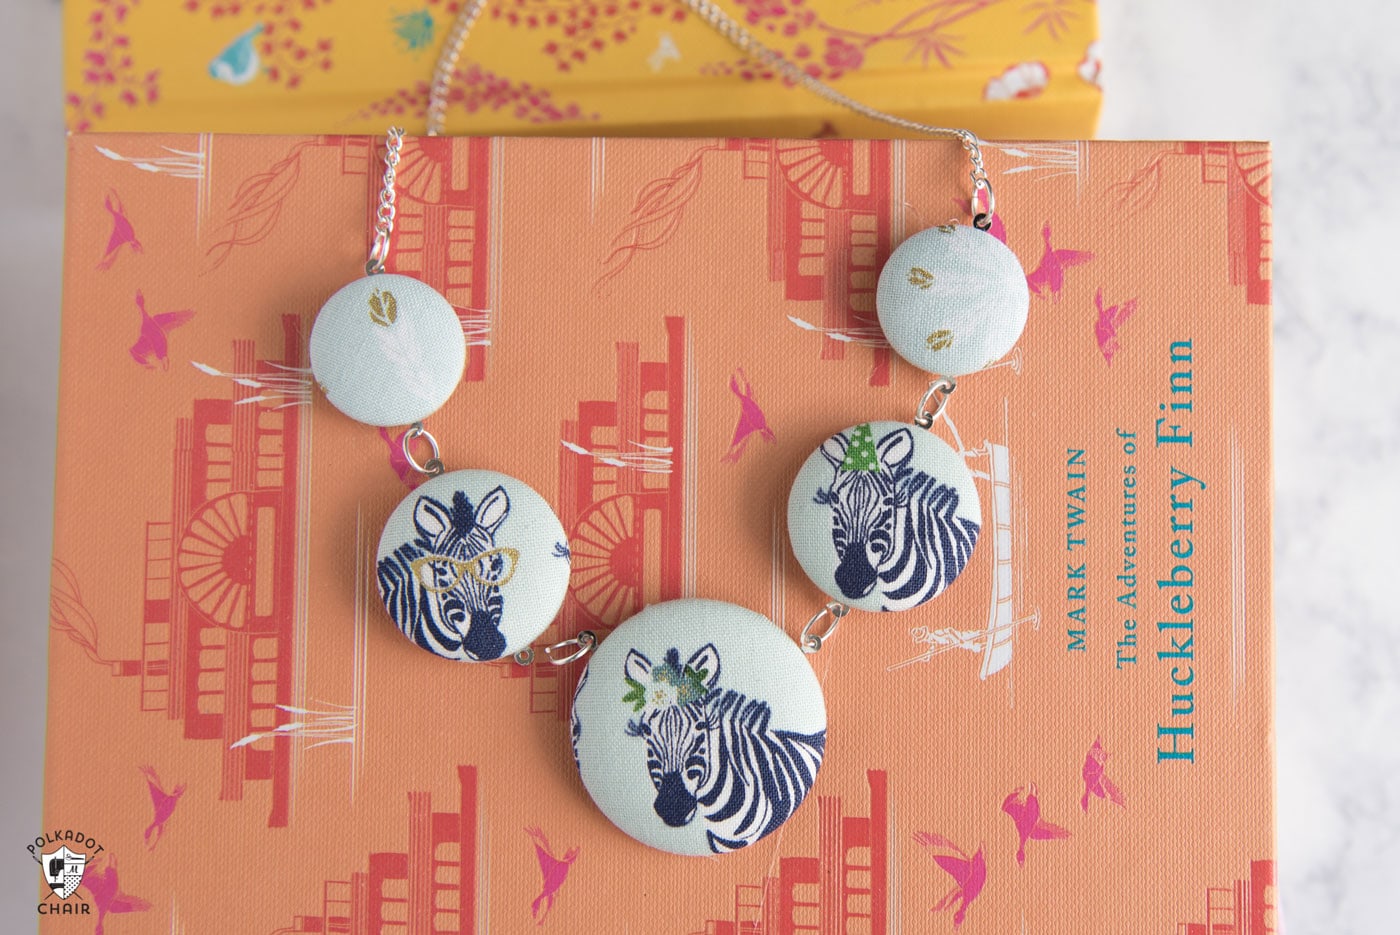
- 4-5 Covered Buttons in 3 sizes. Mine are 1 1/2″, 1″, and 3/4″ in diameter – buy the buttons that come in a kit with the clear guide.
- 1 package Jewelry Bails
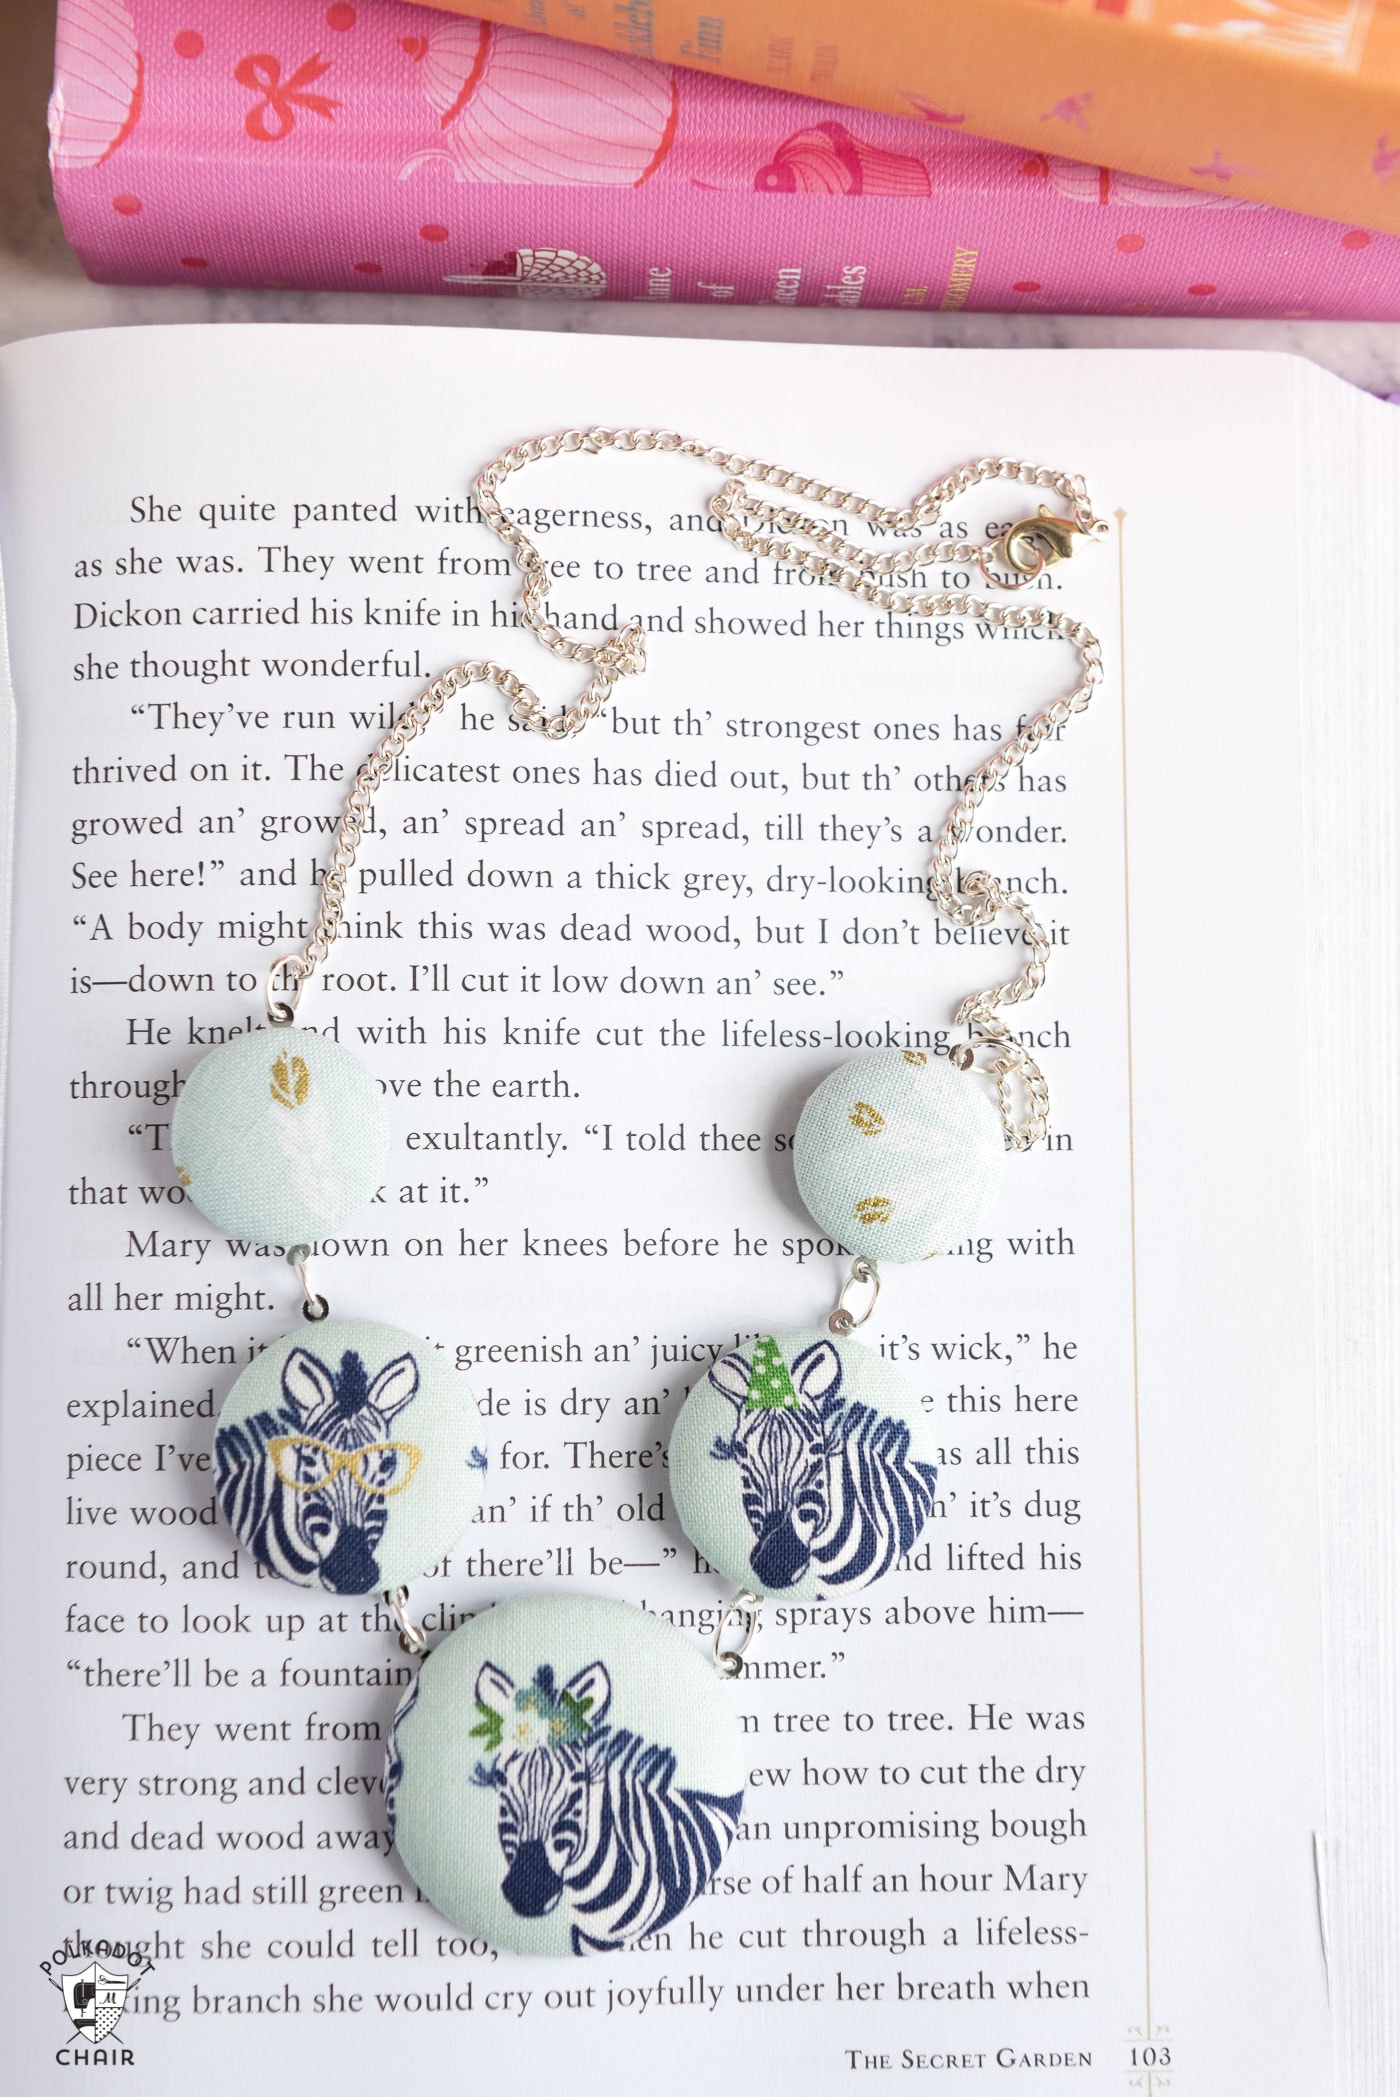
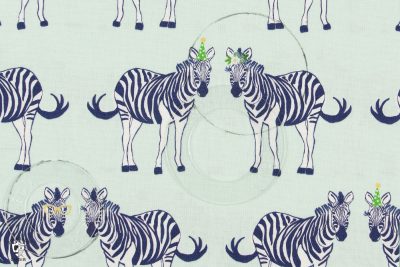
- 5-6 Scraps of Fabric the fabric in this necklace is from the Safari Party line by Riley Blake Designs.
- 1 package Jewelry Chain
- 1 package Plastic buttons that fit inside the covered buttons
- 1 package Lobster Clasp
- 1 package Jump Rings
Instructions
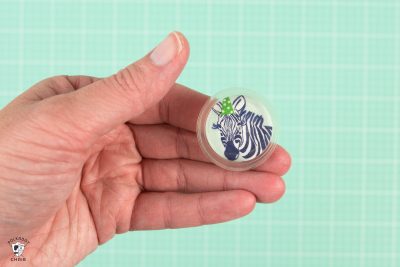
- Begin by covering your buttons. Most covered button kits come with a plastic guide to help you when you are cutting out your fabric. Choose the part of the fabric that you’d like to highlight, then trace the outside of the plastic guide. The inner circle is what will be visible when your button is complete.

- Cut out the circles of fabric. Wrap the fabric around the covered button outside and press it into the plastic guide that came with the button kit.
- Ensure that your image is positioned where you want it.
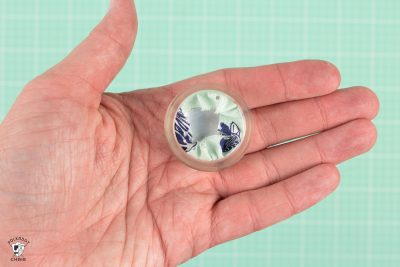
- Gather the fabric on the back of the button so that it lies flat against the button.
- Press the back of the button on top of the gathered fabric and push down until the back clicks into place.
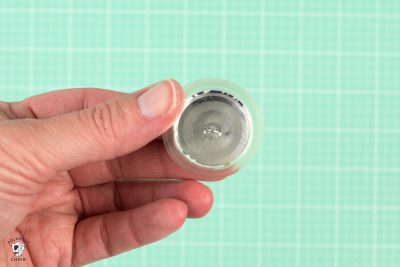
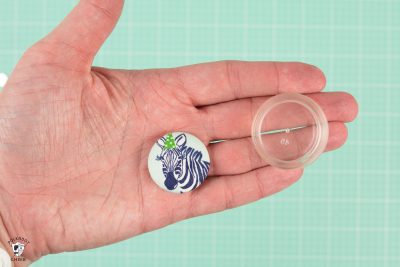
- Remove it from the plastic guide. Then, using jewelry pliers, pull the button shank off the back of the button.
- Hot glue a plastic button into the space on the back of the covered button. This will help give your necklace some weight and provide a surface for attaching the jewelry bails.
- Attach the jewelry bails to the back of the buttons using hot glue. Make sure you lay out your necklace first so you know where to attach the bails. You don’t want an upside-down zebra!
- After attaching the bails to the back of all the buttons, use jump rings to link the buttons together.
- Next, attach two pieces of chain to the necklace—one at each end. You will also use jump rings to do this. Lastly, attach a jump ring to one end of the necklace chain and a lobster clasp to the other end.
- That’s it! You’re done!


Enjoy making your necklaces. If you do make one, be sure to tag me on social media. I’d love to see your creations!! (I’m @polkadotchair or #polkadotchairprojects on Instagram)
What an adorable necklace! The fabric you chose is also super cool. I’m definitely going to make one for myself!!
That is so cute. Love the zebras.
Hello Melissa! I just love all your creative projects. Can you advise me where I can get your fabrics?
I absolutely love this idea!! Thank you!