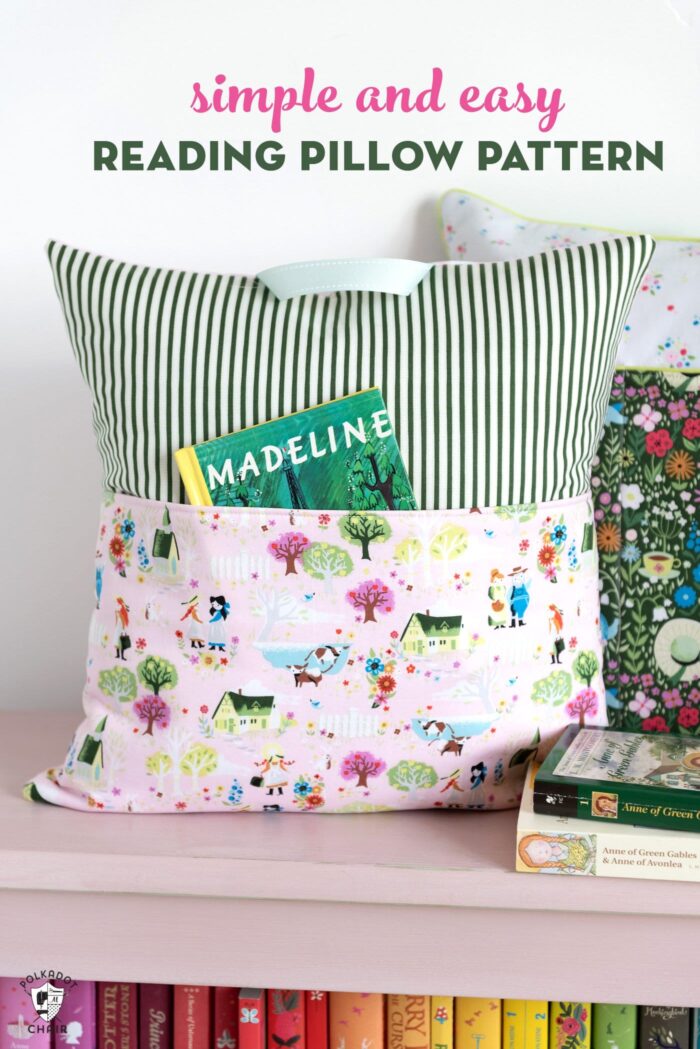
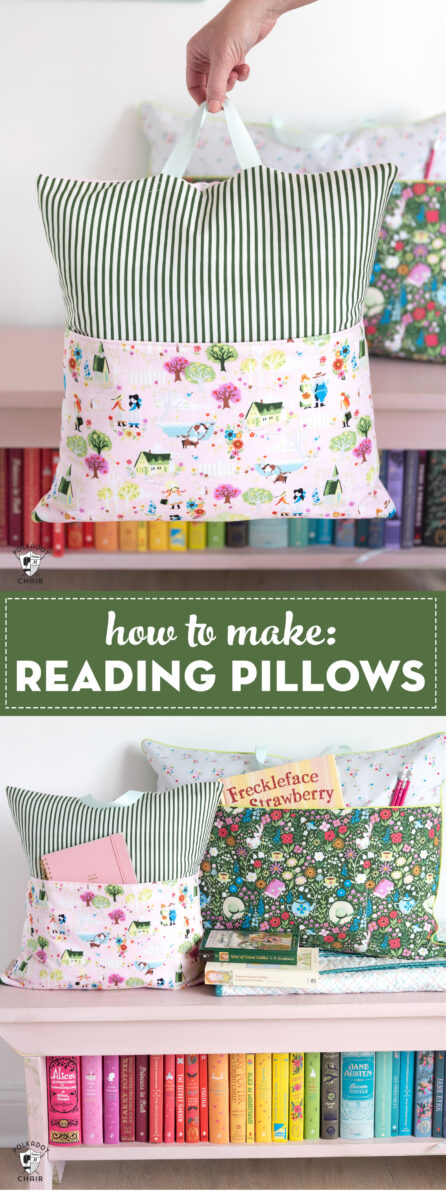
EASY Reading Pillow Pattern
Today I’m going to be sharing with you an easy version of my reading pillow pattern. It’s one of my favorite tutorials on this site, and I’ve been asked many times to create a simplified version of the pillow. This tutorial is beginner-friendly and is also great for kids who are learning how to sew.
Waaaay back “in the day,” I thought 15 years ago, I created a reading pillow for my nephews for Christmas gifts. Since then, I’ve shared many tutorials for reading pillows over the years. They are one of my “go-to” gifts for kids, and I’ve had so much fun over the years making the pillows.
There have been many knockoff patterns over the years, but this one is THE original reading pillow pattern!
My original reading pillow pattern included piping and the option of a zippered back. I’ve been asked several times to create a version without the piping and zipper.
The easy reading pillow pattern I’m sharing with you today is very simple. No zippers, piping, or special techniques are required. It’s literally just a bunch of straight lines. SO EASY!
What Fabric Should I Use to Make a Reading Pillow?
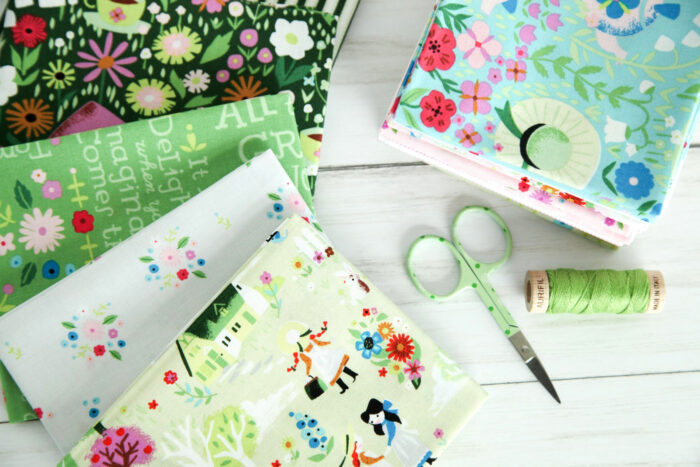
I recommend quilting weight cotton for reading pillows. One of the great things is that many fabric manufacturers have fabric collections based on children’s books and novels!
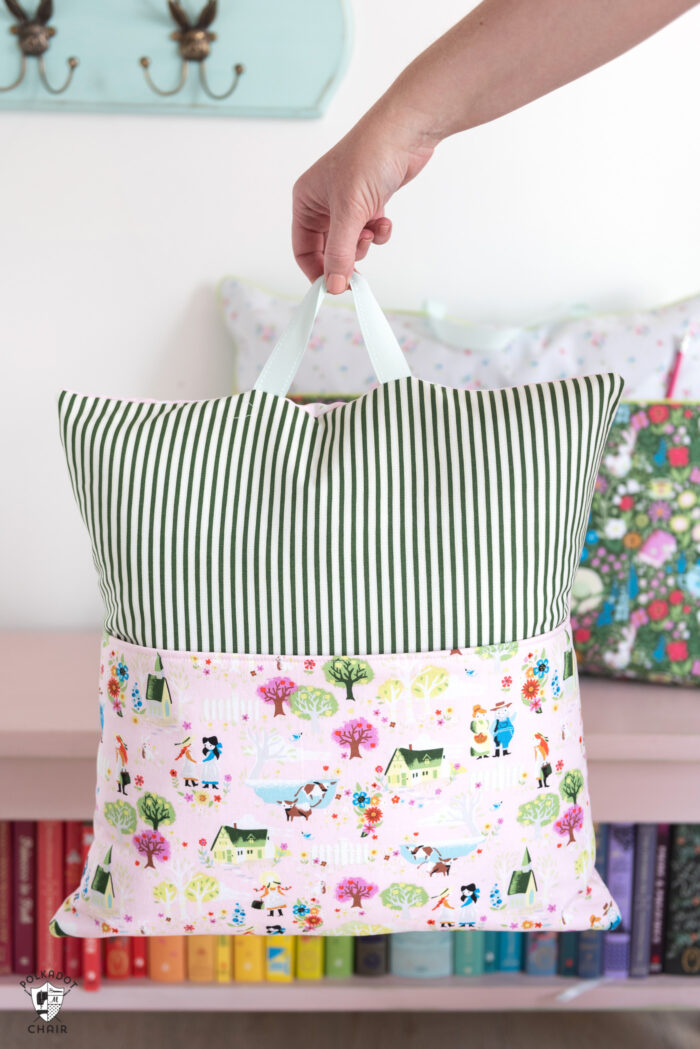
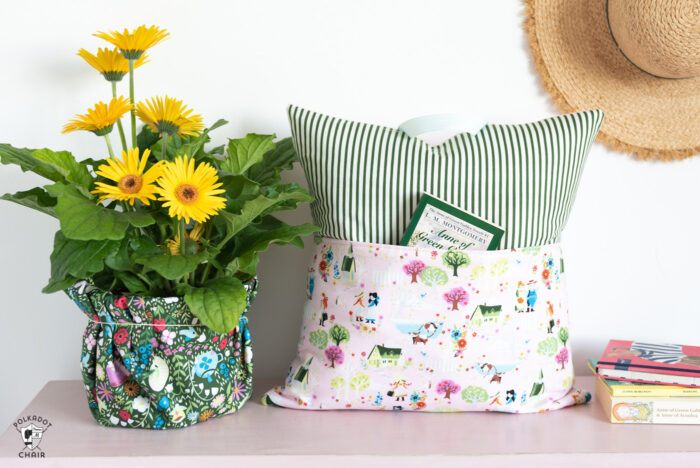
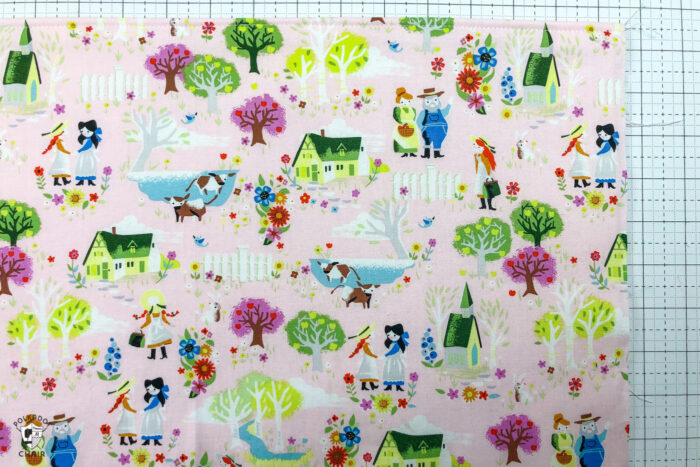
The reading pillow I’ve made today uses Anne of Green Gables themed fabric.
Have you noticed the illustrations on the fabrics on the pillow? Recognize any of the stories? I’m a child of the ’80s; like many children of the ’80s, I grew up on Anne of Green Gables.
My sister and I used to fight over those books growing up. (Almost as much as we fought over the Baby-Sitters Club Books). I adored the books and the TV series. At one point, I was convinced I would grow up and marry Gilbert Blythe.
I related so much with Anne (and not just because my middle name is Anne with an E). She was always speaking up and sometimes got in trouble. She had plans and ambitions but was still kind. I saw a lot of myself in her.

Reading Pillow Sizes
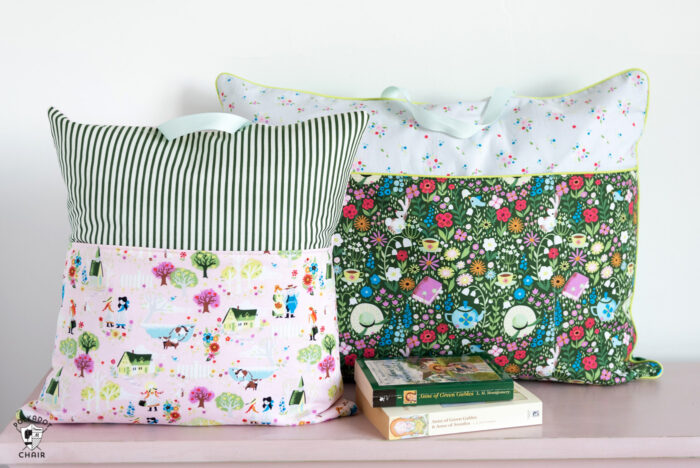
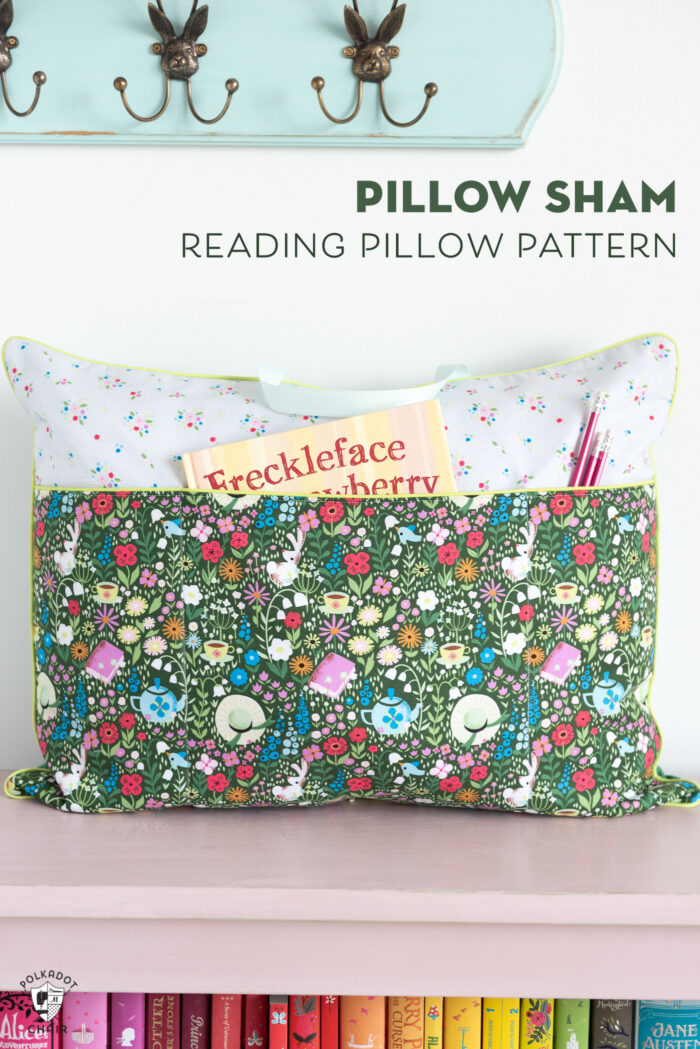
The book pillow in this free tutorial is designed to fit an 18″ x 18″ pillow form, which is a pretty standard size throw pillow.
If you would like to make a larger pillow (a pillow sham pocket pillow), you can find instructions for the larger pillow (and larger pocket) in the printed version of my Reading Pillow Pattern.
The pillow cover in the photo fits a standard twin pillow, which is the larger size reading pillow. Like the smaller size pillow, this one also includes a handle to make it easy to carry the book pillow around.
How do You Put Names on the Reading Pillow?
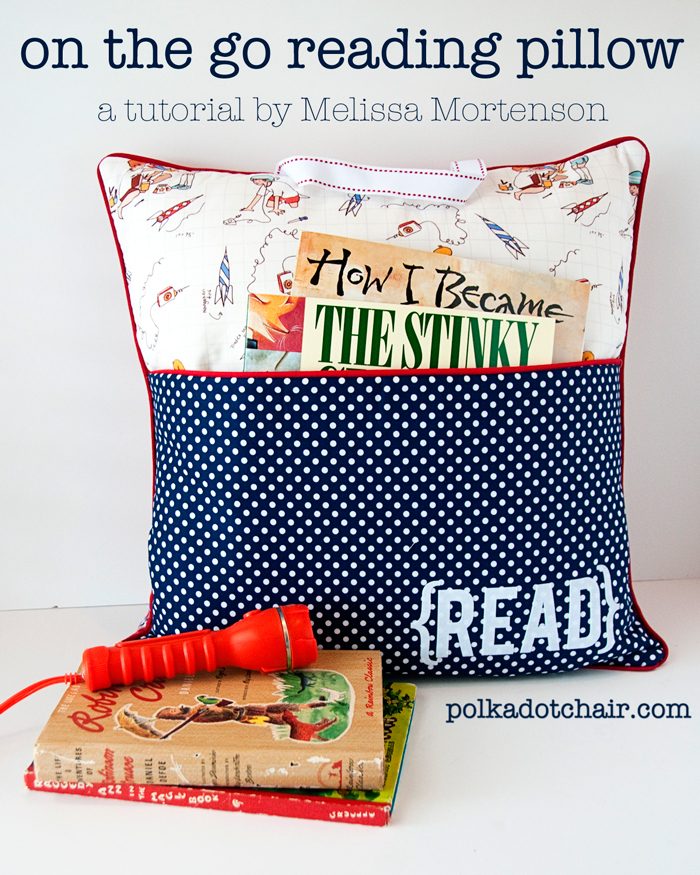
The pillow in this tutorial does not include a name. However, most of the reading pillows I create feature custom lettering (usually a name) on the bottom right corner of the pillow.
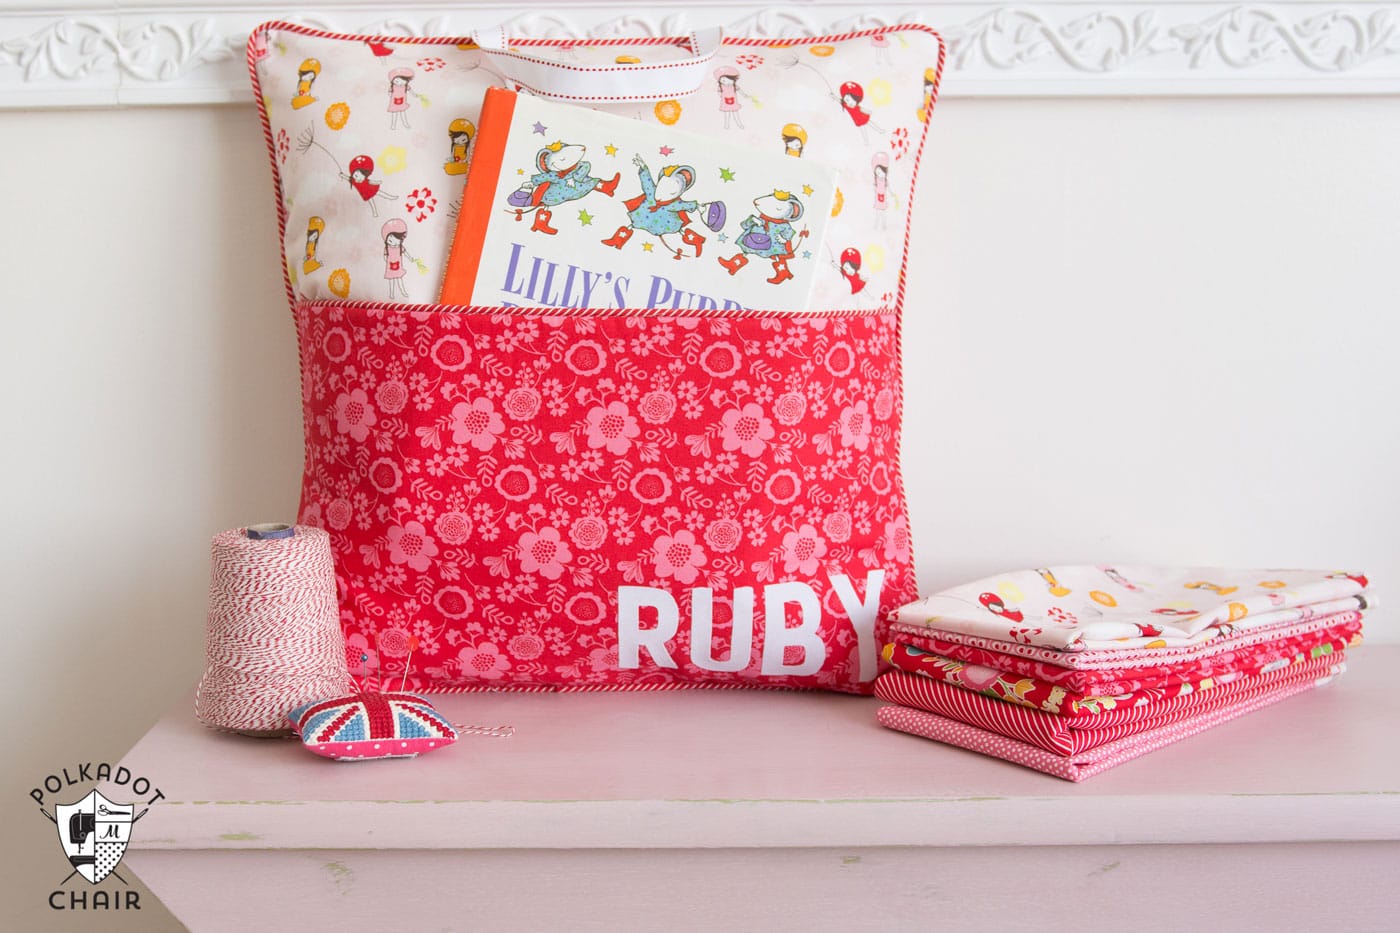
There are three ways to add a name to your reading pillow.
- You can raw edge applique the letters onto the pillow. Our site has a full raw edge applique tutorial if you’ve not done it before (there’s even a YouTube video) The purchased pillow pattern includes applique patterns for the entire alphabet, so you can make it say anything you’d like.
- The second option is to cut out letters with a Cricut machine. I love to use flocked vinyl for this step since it looks like felt! You can also use standard iron on vinyl. If you’ve not worked with iron-on before, be sure to check out our article on working with heat transfer vinyl with a Cricut machine.
- If you have an embroidery sewing machine, you can embroider the name on the pillow pocket after it is cut out before it is sewn. Many people have added excerpts or quotes from books and poems to the pockets of their pillows, and you can find a lot of embroidery designs for sale that feature these items.
Is the Pillow or Pocket Quilted?
For this tutorial, no. This is a quick book pillow pattern, so we are removing any extra steps.
Printable Reading Pillow Pattern
I offer the reading pillow as a PDF pattern in my shop since many of you prefer an easy-to-print PDF version to reading the directions online. Reading Pillow Pattern Bundle in the shop.
Purchase a print ready version of this Tutorial WITH instructions for both sizes of pillows and more pillow options.
If you’d like to buy the pattern you can hop on over to my shop and find it there.
What Should I Put in my Reading Pillow Pocket?
When I made my original reading pillow, I gifted it with a small flashlight and 2 of my favorite children’s books. A few other ideas include:
- Coloring Books
- Crayons
- Childrens Books
- Short Chapter Books
- Sketchbook
- Colored Pencils
(as always, check that the items you gift in your pocket pillow are age appropriate)
Reading Pillow Tutorial
How is the Back of the Pillow Finished?
The pocket pillow in this tutorial is finished with an envelope back for the closure, which is a pillow back made from two pieces of fabric that overlap in the back.
You can also add a zipper to the back of the pillow, which is my favorite way to finish the pillows since the reading pillow cover is easy to remove from the pillow form and wash.
We walk you through the steps to add a zipper to the back of a pillow in this tutorial.
Free Easy Reading Pillow Pattern Instructions
fits an 18″ x 18″ pillow.
Supplies:
Fabric is Kindred Spirits by Riley Blake Designs.
Fabric for Pillow Front:
1/2 Yard or 1 Fat Quarter of Fabric
For Pillow Pocket:
1/2 Yard or 1 Fat Quarter of Fabric
Pillow Pocket Lining:
1/2 Yard of 1 Fat Quarter of Fabric
For Pillow Back:
1/2 Yard Fabric
Notions & Interfacing:
1 Yard of 40″ wide Fusible Fleece
1/2 Yard 1″ wide ribbon
18″ Pillow Form
Basic Sewing Supplies
Rotary Cutter
Thread
Sharp Scissors
Quilt Ruler
Fray Check
Cutting Directions:
From Pillow Front Fabric Cut:
1 Piece 18″ x 18″
From Pillow Pocket Fabric Cut:
1 piece 11″ x 18″
From Pillow Lining Fabric Cut:
1 piece 11″ x 18″
From Pillow Back Fabric Cut:
2 pieces 12″ x 18″
From Fusible Fleece Cut:
1 Piece 18″ x 18″
1 piece 11″ x 18″
All seam allowances are 1/2″ unless otherwise noted. Leave the ribbon off this project if making this pillow for children under 3, as the ribbon can pose a choking hazard.
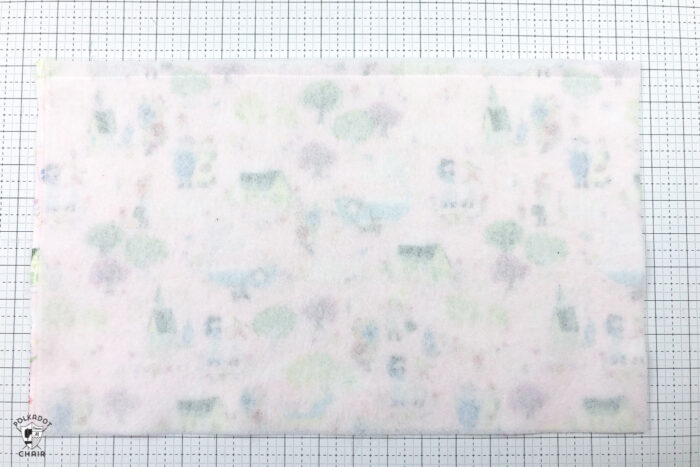
Apply the Interfacing:
Following the directions on the package of fusible fleece, apply it to the wrong side of the Pillow Front Piece and Pocket piece.
Construct the Pocket:
Note: if you wish to add applique to your pillow pocket, do it before constructing the pocket.
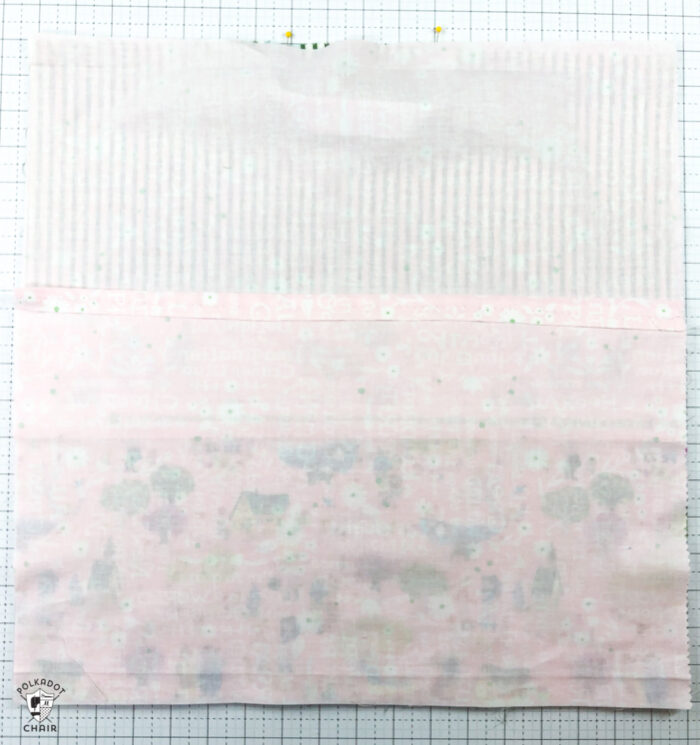
Pin the interfaced pocket piece with the pocket lining piece, right sides facing. Stitch along the top edge of the pocket using a 1/2″ seam allowance.
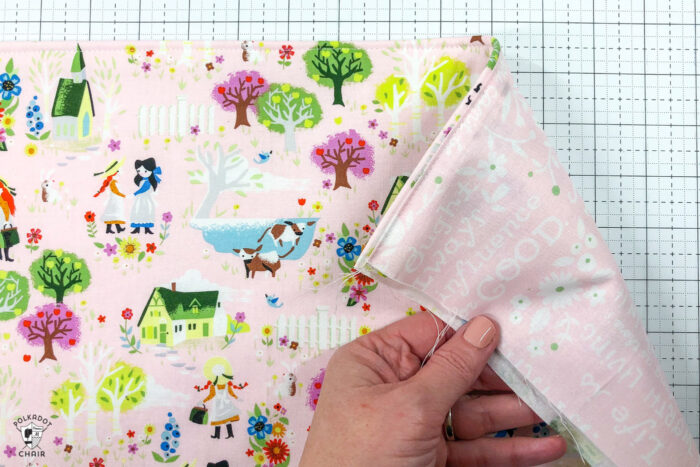
Press the seam open and turn the pocket right side out. Press the top seam of the pocket so that it lays flat and topstitch along the edge of the pocket.
Add the Ribbon Handle:

Cut a piece of ribbon to 8″ long. Finish off the ends with a bit of fray check (don’t skip this step; if you do, the ribbon will pull out of the seam). Pin the ribbon to the top of the pillow piece so that it’s facing down and centered on the pillow. Stitch it in place close to the edge of the pillow top.
Baste the Pocket:
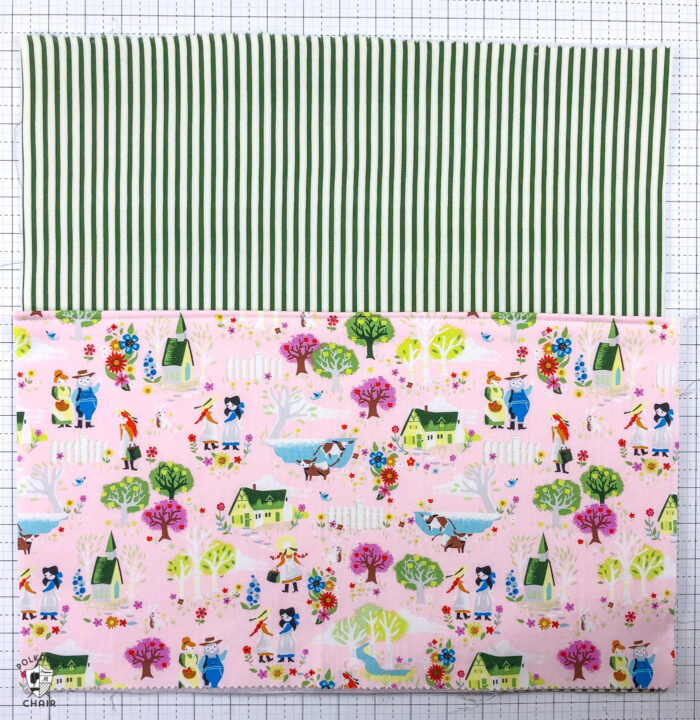
Pin the pillow pocket to the pillow piece so that the bottom of the pillow and the pocket are lined up. Baste the pocket in place along the two side seams.
Create the Envelope Back:
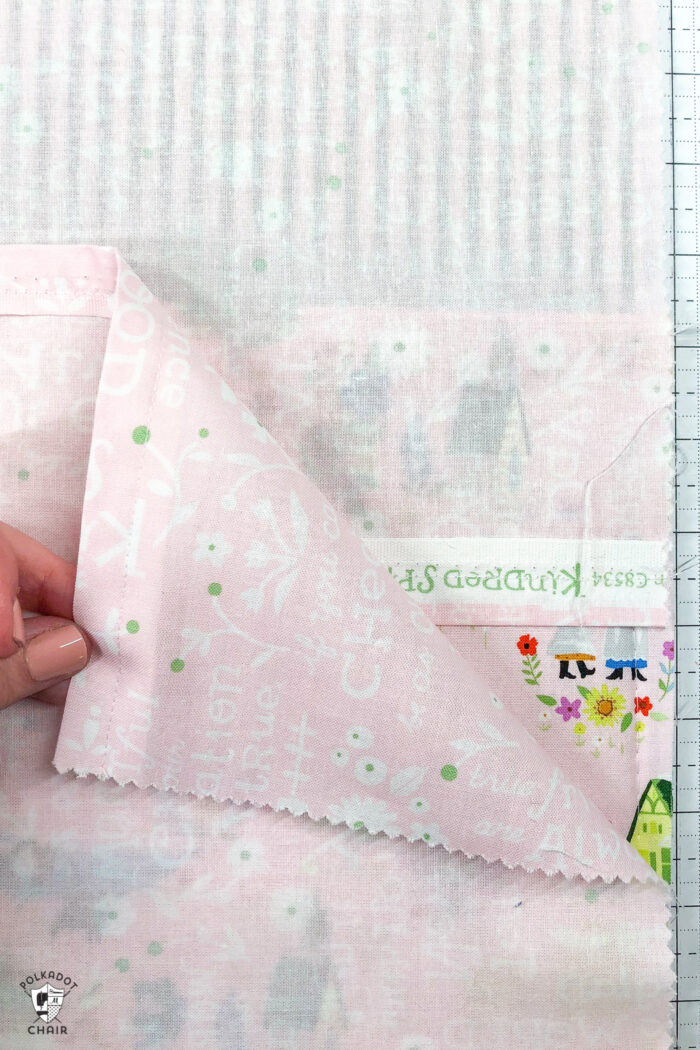
Fold under the fabric 1/2″ on the two 12″ x 18″ fabric pieces along one of the 18″ sides. Press, then stitch in place.
Finishing:
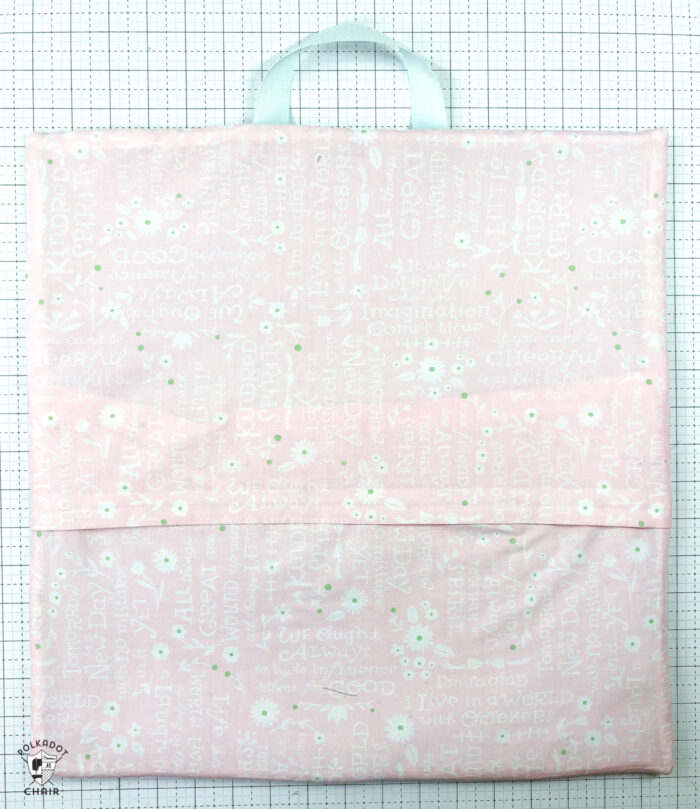
Pin one of the 12″ x 18″ pillow back pieces to the pillow front; the folded edge of the 12″ x 18″ piece will be facing down, and the raw edge of the 12″ x 18″ pillow piece will be flush with the top edge of the pillow. The right sides of the fabric will be facing.
Pin the 2nd 12″ x 18″ pillow back piece on top of this piece, but this time, line up the raw edge of the 12″ x 18″ back piece with the bottom of the pillow.
Stitch around the entire pillow perimeter. Backstitch where the folded edges of the pillow back pieces meet the pillow front. This gives the pillow cover a bit more stability, and you’re less likely to pop a seam as you insert a pillow form into the pillow cover.
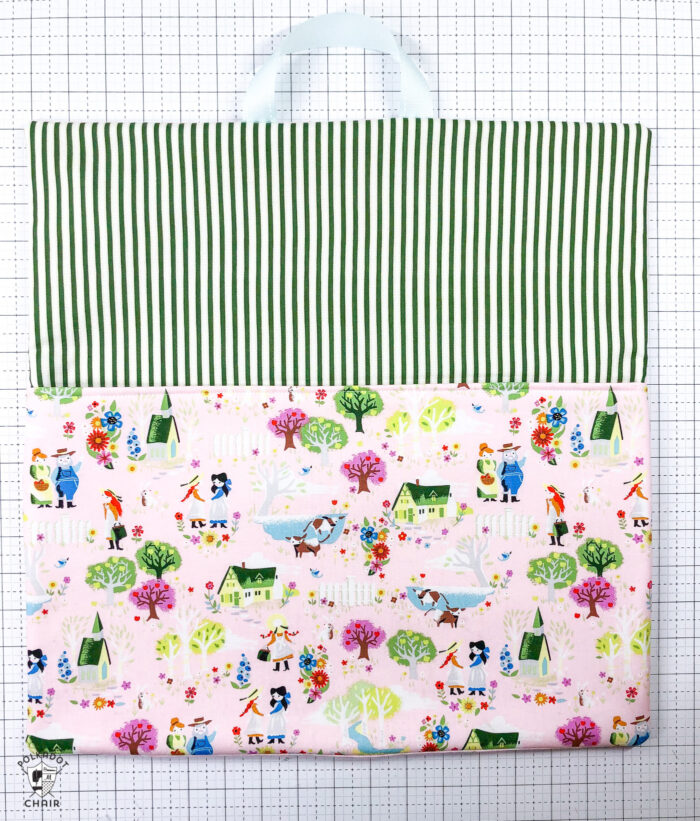
Clip the corners and turn the pillow cover right side out. Insert a pillow form, add a book, and you’re done! Enjoy your finished project!

More Easy Sewing Projects:
Simple Kids Library Bag Sewing Pattern
Giving your reading pillow as a gift? Grab a gift tag printable created JUST for the reading pillow here>
10 Simple Pillow Patterns on the Polka Dot Chair:
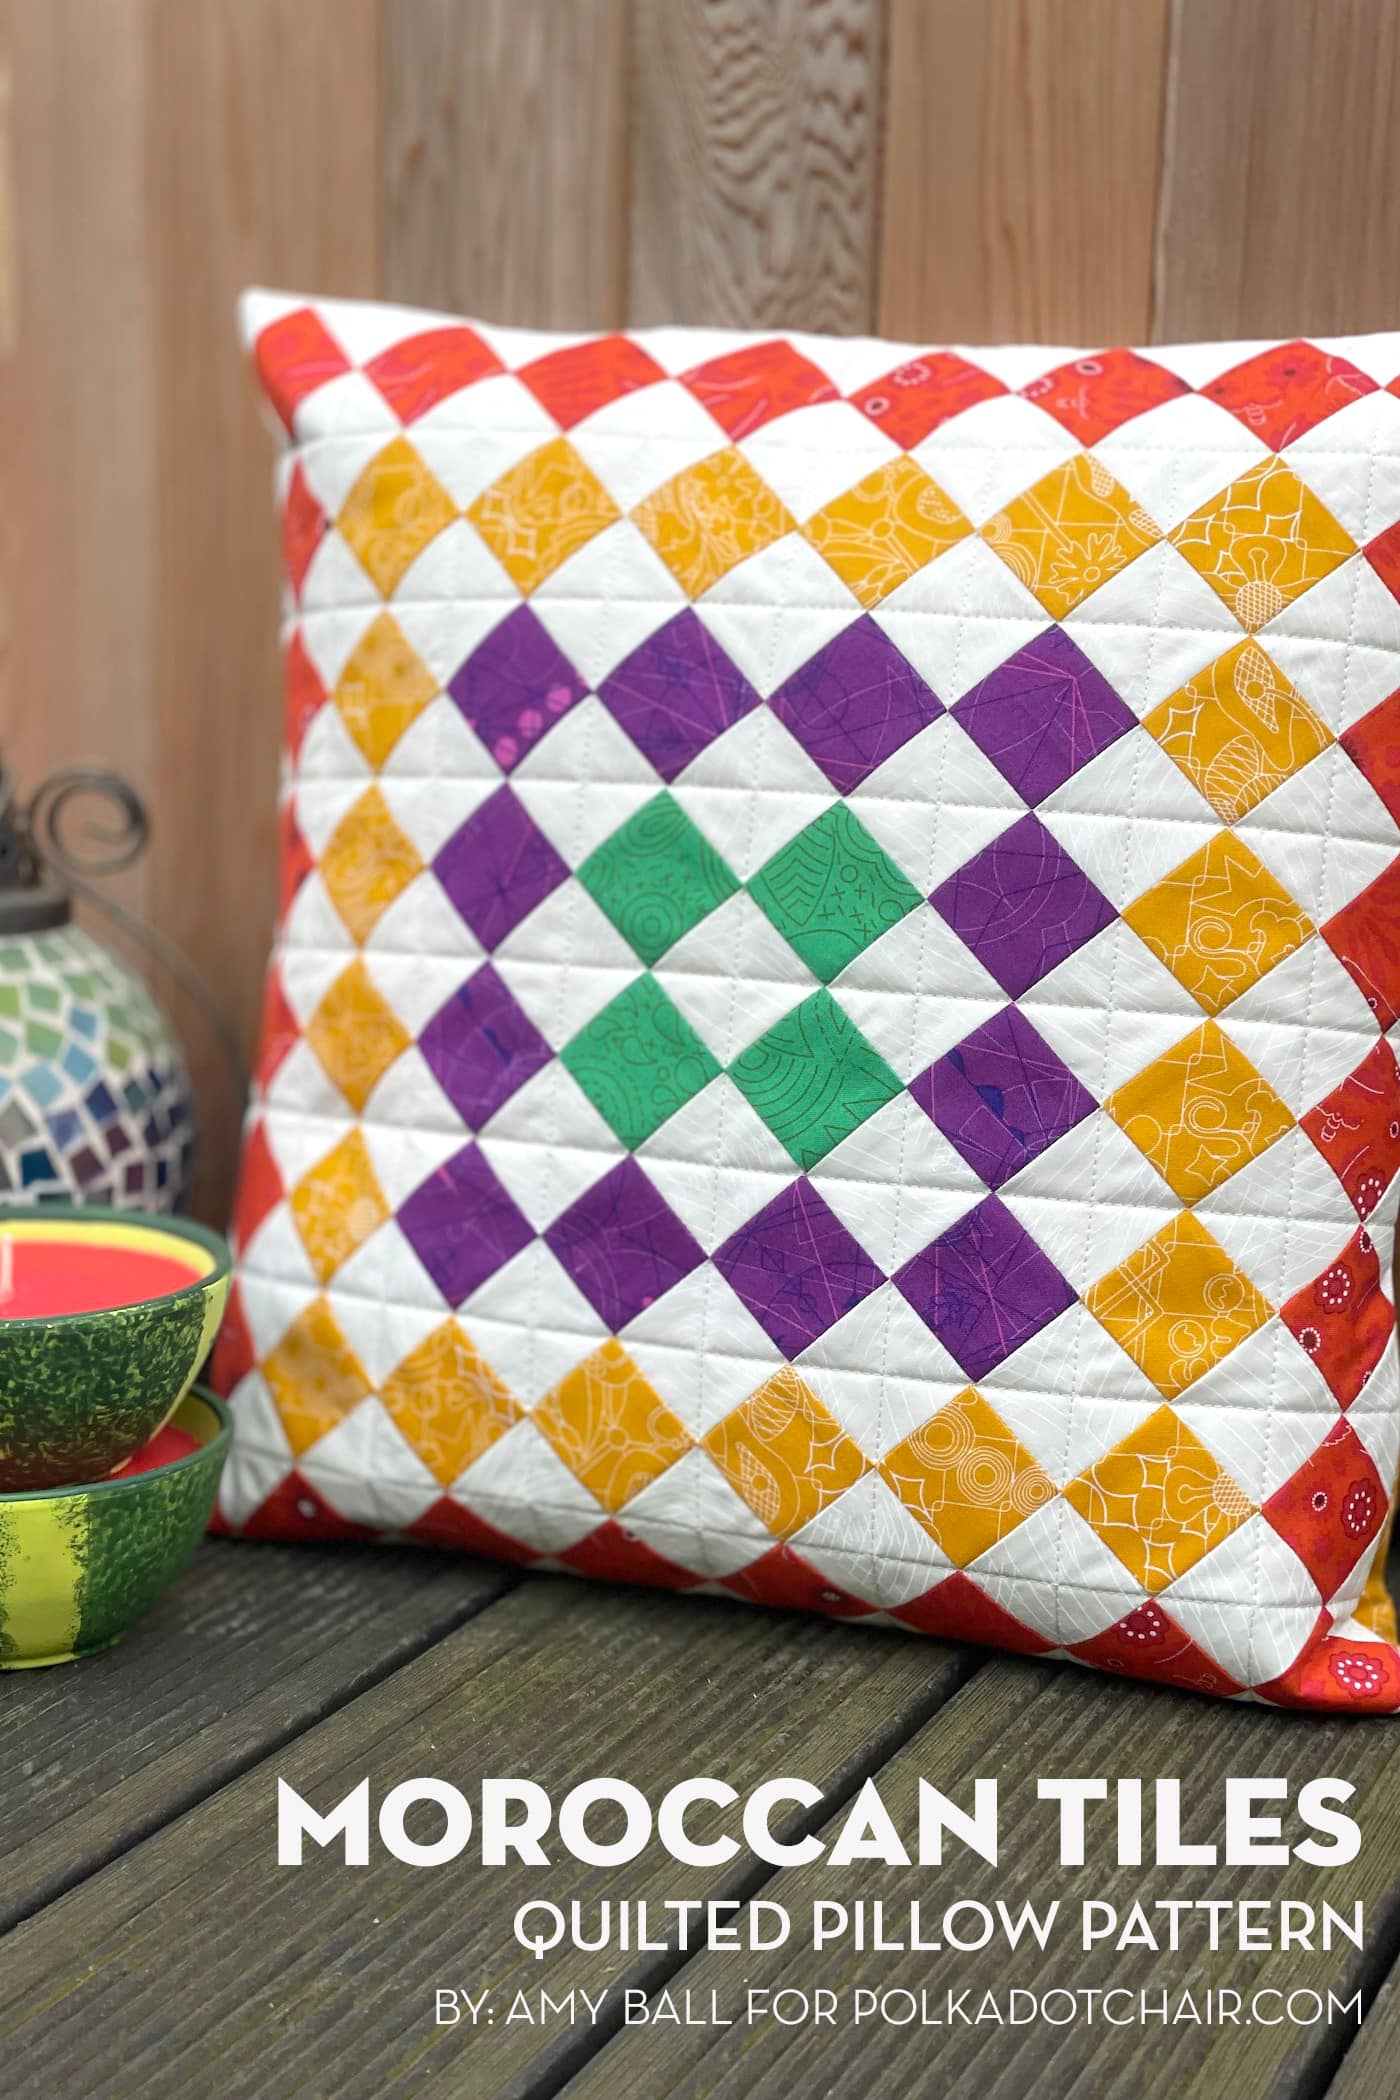
1. Quilt Block Reading Pillow Pattern
2. An Easy Way to Make a Pillowcase
3. Road Trip Pillow Case Pattern
4. The Original Reading Pillow Pattern
5. How to Personalize a Plain Pillowcase
6. How to add a Zippered Back to ANY pillow cover
7. Bow Tie Pillow Sewing Pattern
8. How to Recover Outdoor Pillows
9. Kids Pillowcase Sewing Project
10. GIANT Pocket Pillow Sewing Tutorial
Thank you so much for this awesome tutorial! I appreciate the time it takes to create these projects and to post it for free is awesome.
Your site was linked on Memories in Thread a long time ago & I’m so glad. The instructions are very clear & I just finished a pillow for my 5 yr old grandson. He’s going to love this!
Loved this, great instructions! Would recommend folding the back edges over twice before hemming them to avoid having a raw edge (I don’t have an overlocker). Will be making more!
Hi, Any chance this pattern can be in printed form, so sewists don’t have to keep checking a computer screen? Just need a list of fabric sizes and instructions, like a recipe. Thanks
Hi, You can get a printable copy here: https://shop.polkadotchair.com/products/pillow-pdf-tutorial-bundle-including-reading-pocket-pillow-pattern
Thank you for the Easy Reading Pillow pattern. It is a great idea with good instructions. I was wondering about adding some “give” to the pocket piece for thicker chapter books. For example, make the top of the pocket piece 19″ across, while keeping the bottom at 18″. Do you have any thoughts on that?
Hi! I love this!
When I cut the pieces to I need to add a 1/2 “ to all the sides?
So instead of 18”x18” would I cut 18 1/2”x 18 1/2”? Thank you!
No, You don’t need to add seam allowance it’s already included in the directions.
Question on the dream allowance -> if the pillow form is 18×18 shouldn’t the fabric pieces be cut 18 1/2 x 18 1/2? It seems like 18×18 fabric pieces would be too small for fitting over an 18×18 pillow form. Thanks for your help.
No, the seam allowance makes the pillow fabric slightly smaller than the pillow, which is what gives the pillow a nice shape with the form is inserted. If it was larger, the pillow wouldn’t “poof” as much.
Thanks for the free pattern. I just finished my first one and will be making them for all 4 of my grandchildren.
I am making these for my nieces and nephews. Where is the best place to purchase the pillow forms?
I usually get mine on Amazon.
I have a quick question: in the instructions, it says to attach fusible fleece to the pillow front as well as the front pocket. If it was added, wouldn’t you need a second front piece to sandwich it in? In your pictures it doesn’t look like any fleece was added to the front. I’m very new to sewing and just want to make sure I understand correctly.
There is not a lining on the front piece. The fleece is on the inside and I’ve never had a problem with it next to the pillow form.
I guess you could stick interfacing to the fusible fleece if you don’t like the finish? I’m thinking of trying it because my machine gets stuck on fusible fleece unless it’s in a fabric sandwich!
If you do, let me know how it goes!
An easy way to finish the ends of polyester ribbon is to melt the ends with a match or over a candle. No need for Fray Check. Also, you can use regular batting. Baste it to the wrong side of the pillow pocket front, and quilt it AFTER you have sewn on the lining and turned the whole pocket to right side out. BTW, nice tutorial.
Hi,
Thank you so much for your tutorial! I’ve had a little free time and my 5 year old daughter is with her grandmother for the weekend. So I wanted to make her something special for when she comes home! Coincidentally; I’ve just finished the Netflix series “Anne with an E” and had no idea until reading this description that it was a book or anything further! I’m so excited about it! Lol
Thank you again!
This is a great idea. I always sit in my recliner and read. With a pillow on my lap of course. This allows me to prop up the pillow and stand it up too.
I just had to thank you for providing this tutorial for free! I am a new sewist and trying to challenge myself to make things that are fun and functional. I also have a little dyslexia and following directions is very frustrating sometimes. Your directions were SO easy for me to process that I not only made one pillow this morning, I made two! My grandchildren are leaving for a 14 hour drive to the beach for vacation this week. I share my love for reading with them no this is going to be a big hit with them both! Thanks again!
I also make a lot of reading pillows. I have found it easier to insert the pillow form if you only turn the bottom part of the pillow right side out first (poke corners out), insert your pillow form into the bottom half of the pillow and then turn the top part right side out. Poke your top corners and adjust the pillow to fit nicely! These make a fantastic gift!
That is such a great tip! Thanks I have been making pillows for years and never thought to do that.
Is there a YouTube video for this pattern. Thanks