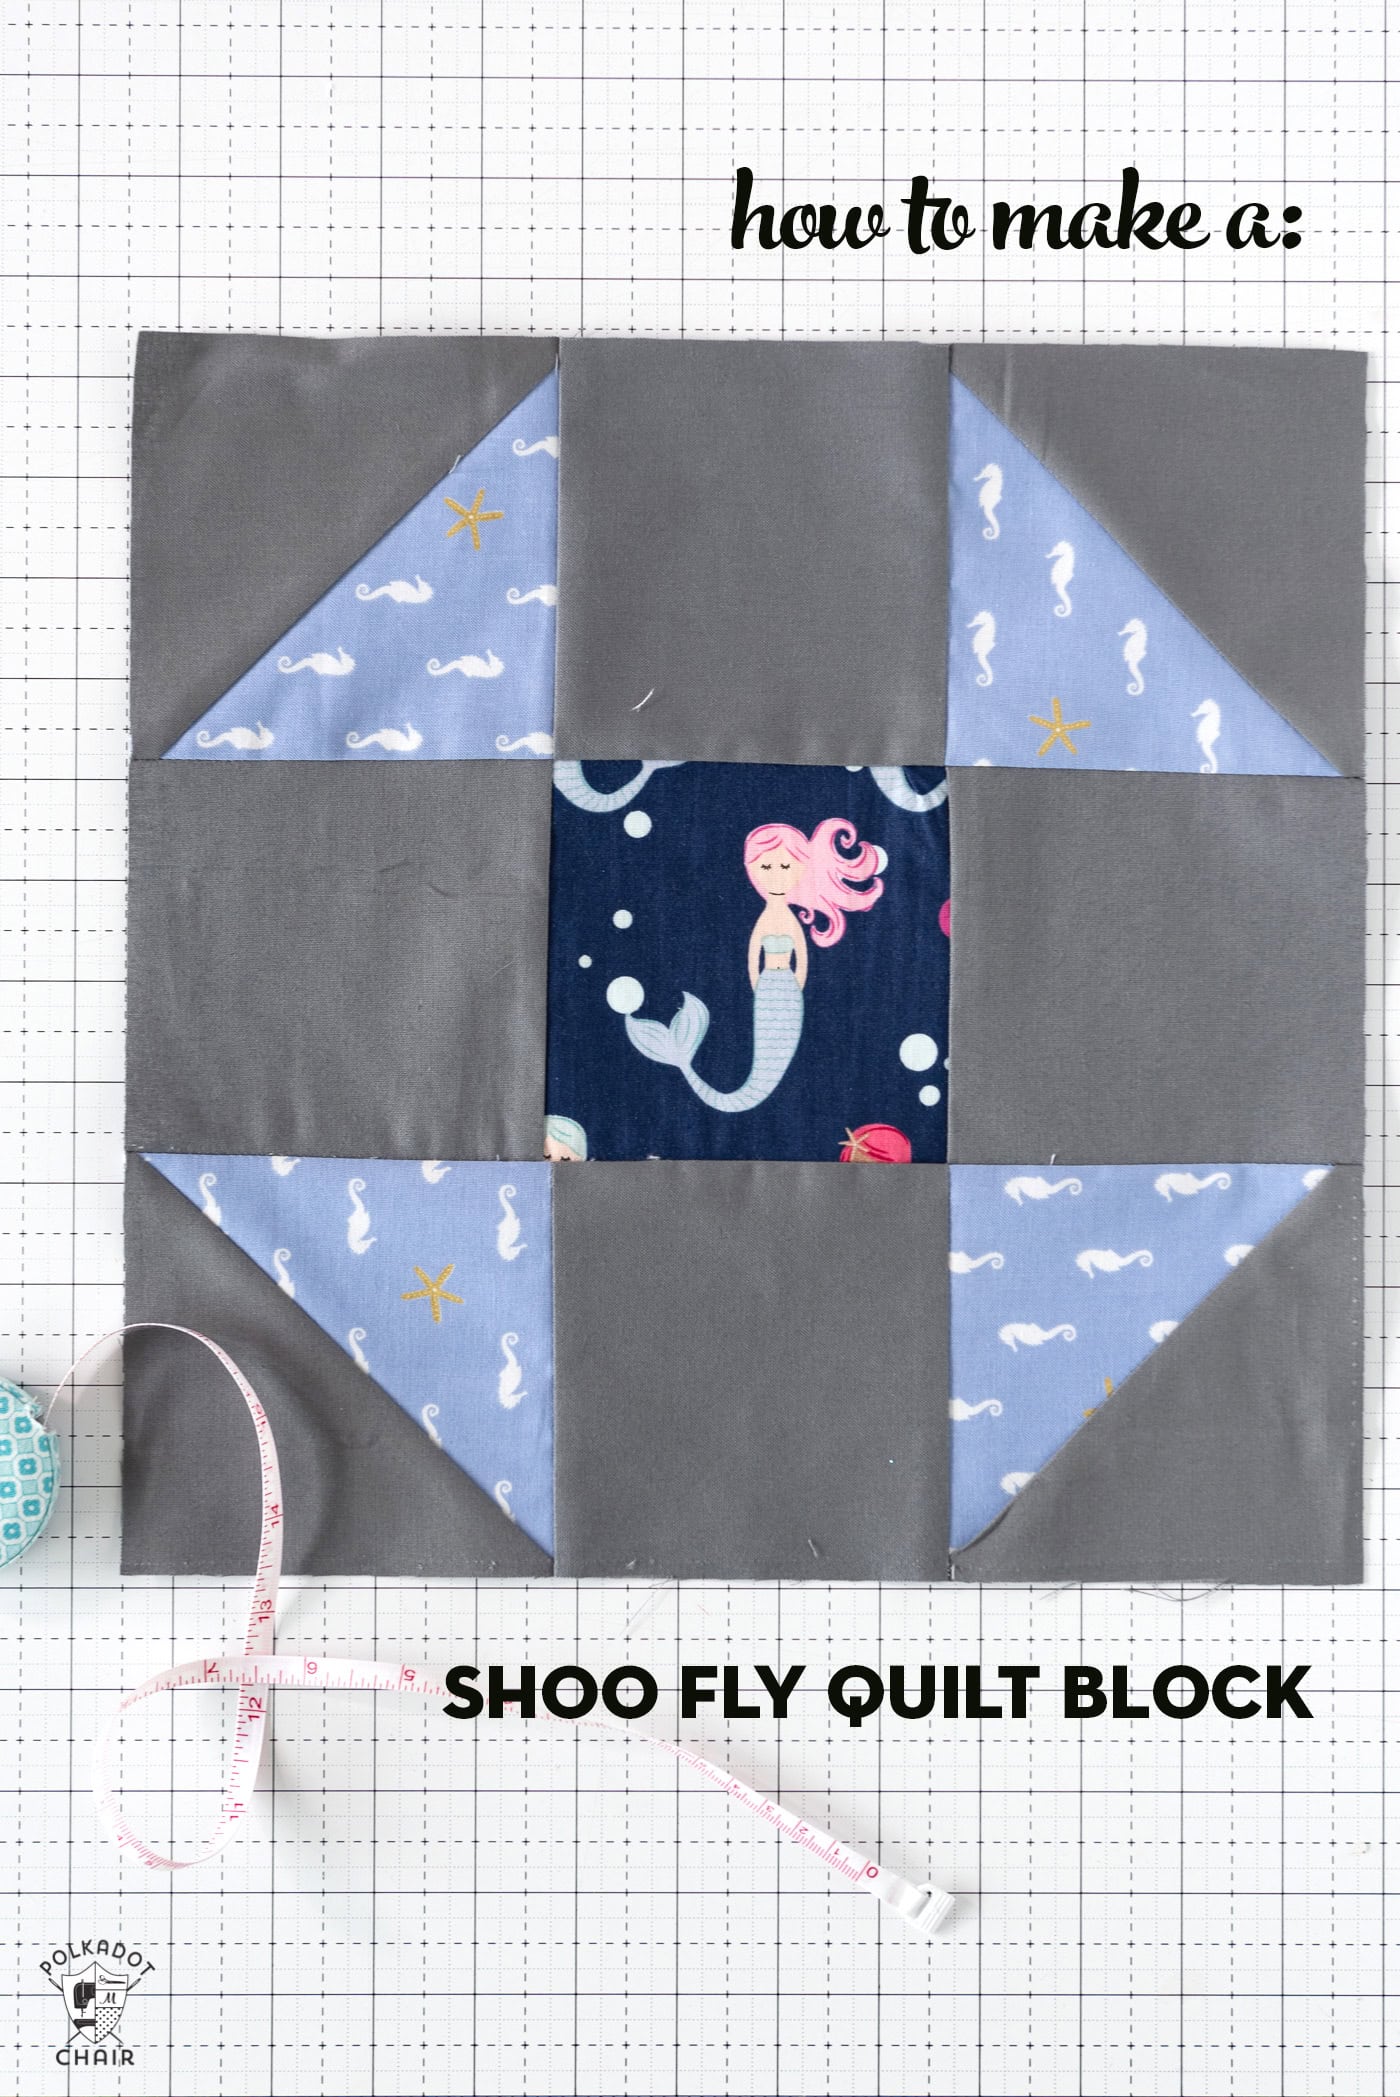
Free Pattern for a 6 inch and 12 inch Shoo Fly Quilt Block
Learn how to make a quilt block in two different sizes with this free tutorial for a 6″ and 12″ finished size Shoo Fly Quilt Block for you.

What is a Shoo Fly Quilt Block?
It’s a nine-patch block, meaning it’s composed of three rows by three columns, making a square layout easy to construct and versatile in design.
A Shoo Fly block typically contains:
- 4 corner squares (usually all the same fabric)
- 4 half-square triangles (forming the X shape in the block)
- 1 central square (often in a contrasting fabric)
The arrangement creates a pattern that draws the eye inward, making the center square stand out. It gives the impression of a tilted, pinwheel-like structure.
The name “Shoo Fly” is thought to refer to an old type of molasses cake or even early attempts to ward off insects on farms—though the precise origin is debated. It’s a traditional block pattern that dates back to the early 19th century, making it a favorite in historical quilting circles.
If you’re new here, welcome! Right now I’m working on a scrappy quilt which consists of 12″ quilt monochromatic quilt blocks.
My quilts are going to be scrappy as I’m taking a “use what you have” approach to most things right now.

Since this block was so easy to translate into 6″ quilt block as well, I’m sharing the directions and measurements for a 6″ finished Shoo Fly Quilt block in the printable directions below as well.
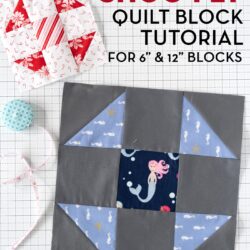
Shoo Fly Quilt Block Tutorial
Equipment
- ruler
supplies
12" Finsihed Quilt Block
- 2 pieces Fabric 5" x 5" for Half Square Triangle
- 2 pieces Background Fabric 5" x 5" for Half Square Triangle
- 4 pieces Background Fabric 4 1/2" x 4 1/2"
- 1 piece Fabric 4 1/2" x 4 1/2" For Center of Block
6" Finished Quilt Block
- 2 pieces Fabric 3" x 3" for Half Square Triangle
- 2 pieces Background Fabric 3" x 3" for Half Square Triangle
- 4 pieces Background Fabric 2 1/2" x 2 1/2"
- 1 piece Fabric 2 1/2" x 2 1/2" for Center of Block
Instructions
Create the 12" Finished Block
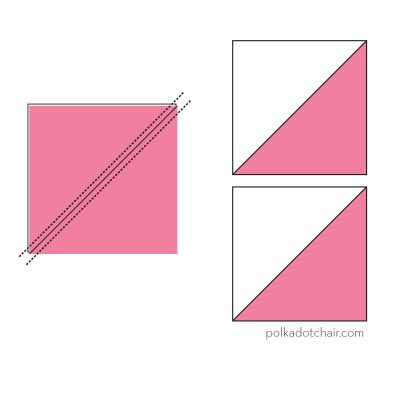
- Create 4 Half Square Triangles from your 5" fabric pieces.
- To create the Half Square Triangles, layer one 5" fabric piece with one 5" background fabric piece, right sides facing.
- Draw a diagonal line down the center of the block on the wrong side of the fabric
- On your sewing machine, sew 1/4" on the outside of the line you just drew on both sides of the line.

- Cut the piece apart along the line you drew.
- Press the seams towards the darker fabric.
- Trim and square up the block to 4 1/2" x 4 1/2"Repeat with the other two 5" fabric squares. You should now have 4 sewn Half Square Triangles
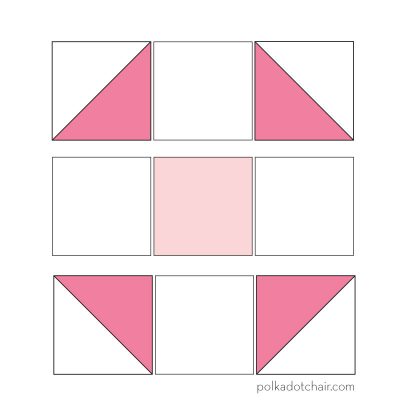
- Arrange your sewn half square triangles and squares of fabric as shown in the diagram. You will have 3 rows with 3 blocks in each row.
- Sew the blocks of row 1 together, press the seams toward the center of the block.
- Sew the blocks of row 2 together, press the seams towards the outside of the block.
- Sew the blocks of row 3 together, press the seams towards the center of the block.
- Sew the rows togther.
To Create a 6" Finished Block
- Repeat the steps above. You will use the 3" pieces to create your half square triangles. After they are sewn, square them up to 2 1/2" x 2 1/2".
- Complete the rest of the block using the cut 2 1/2" square pieces of fabric.
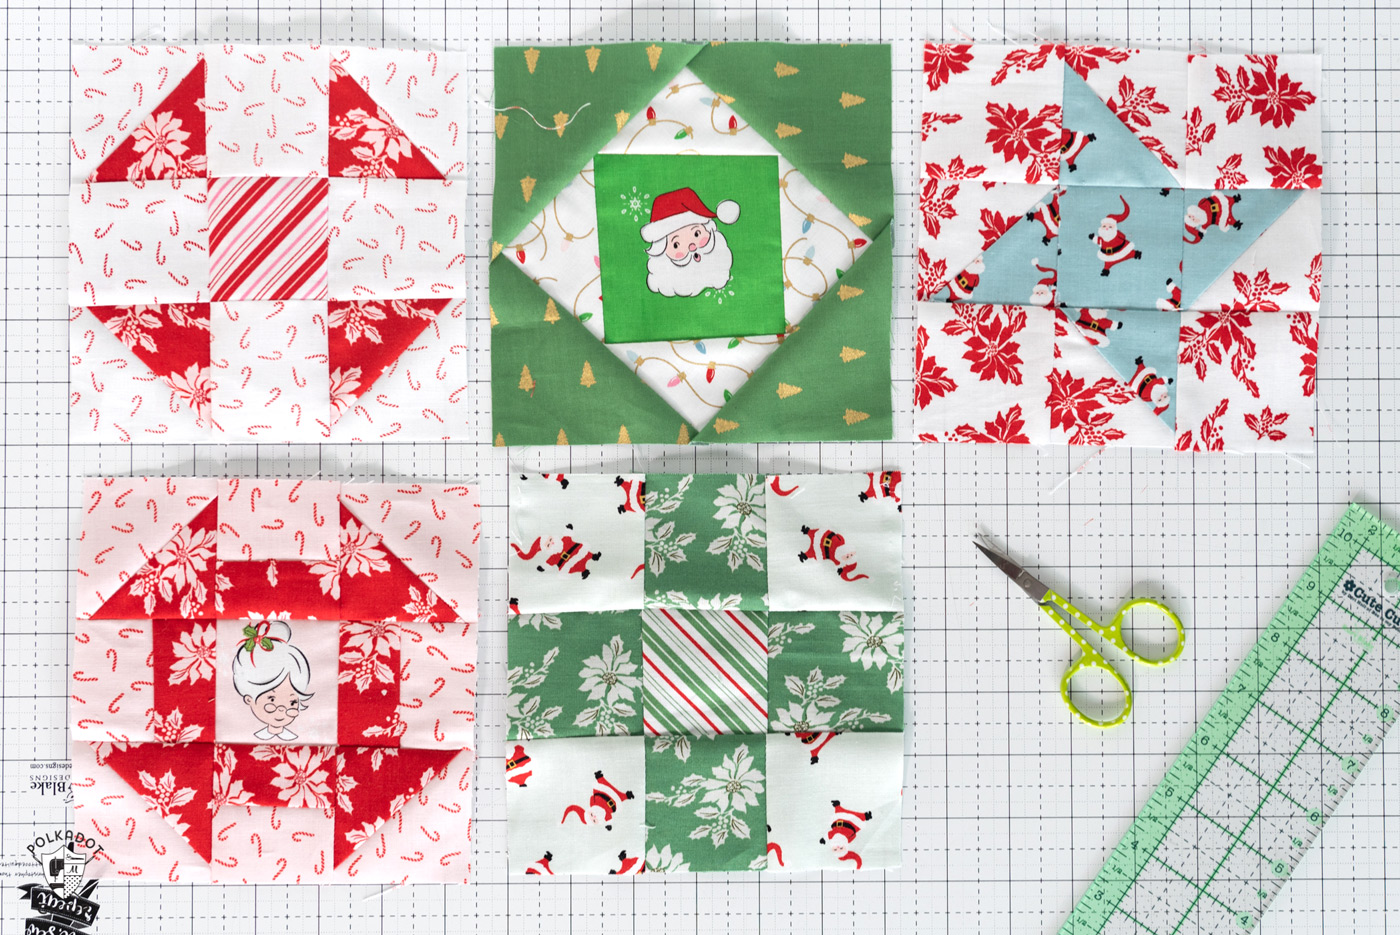
About the Six Inch Quilt Blocks

I created a fun Christmas pillow with all of these small blocks. In the coming days, I’ll share the tutorials for other 6″ blocks.
Remember to subscribe to our weekly newsletter so you don’t miss any posts!
More Free, Traditional Quilt Block Patterns
(Previous block tutorials are linked)
- Churn Dash Quilt Block
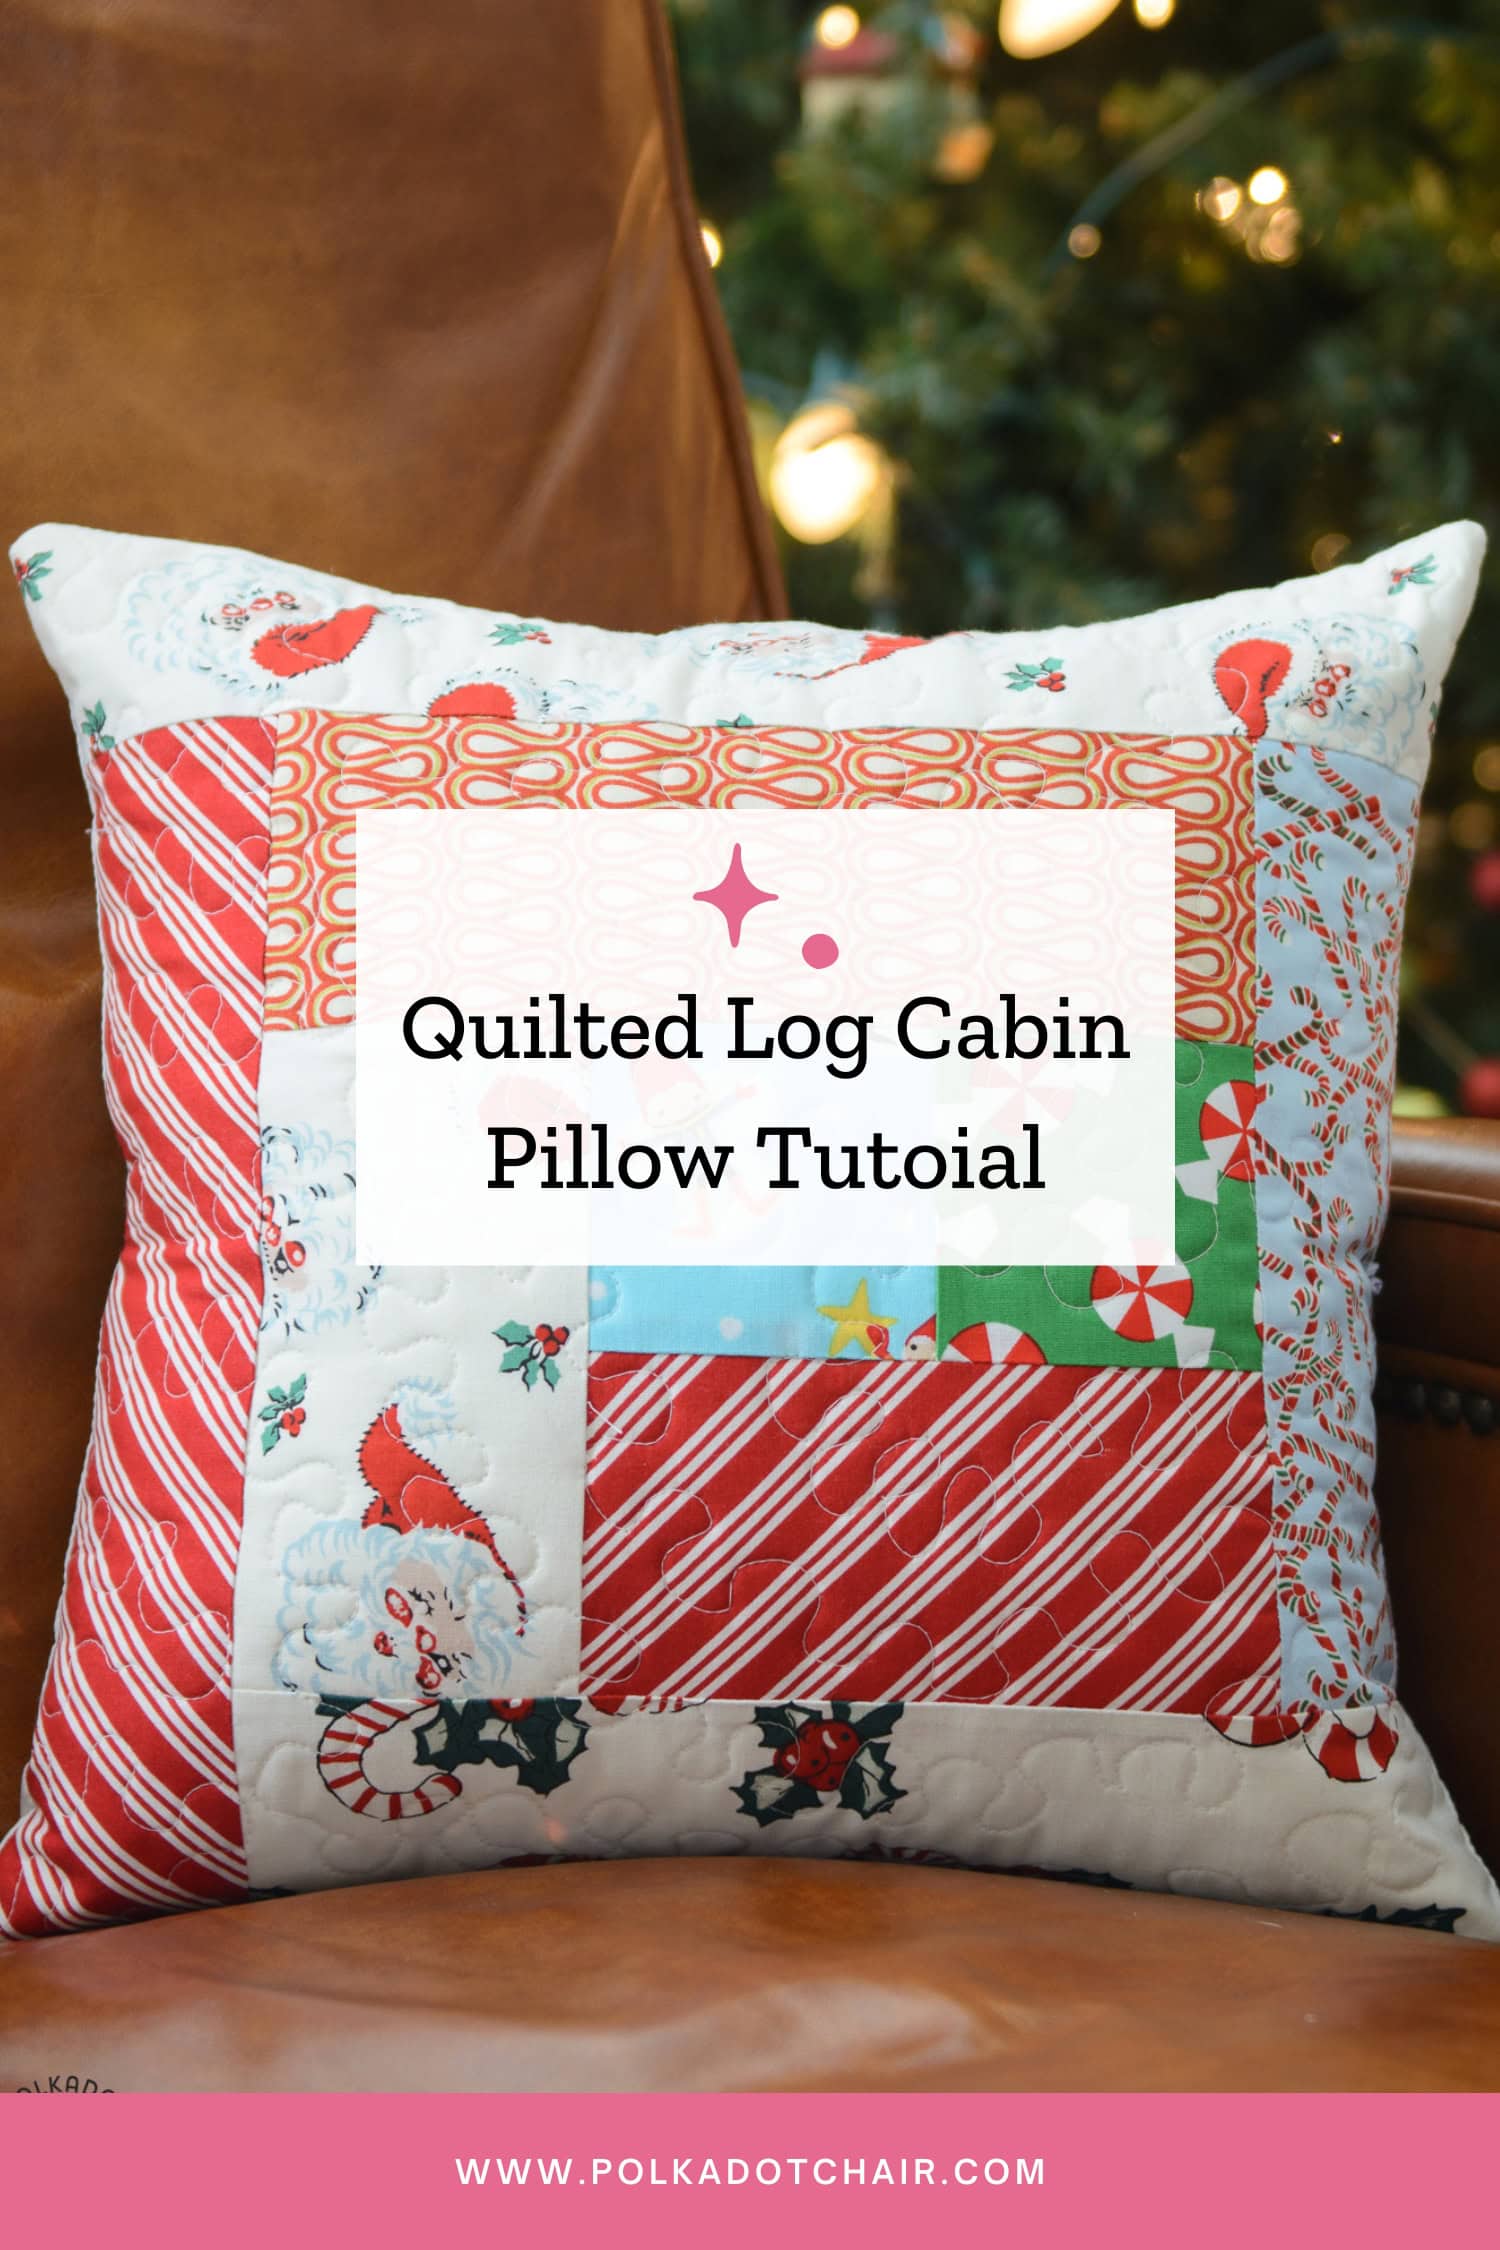
- Log Cabin Quilt Block
- Friendship Star Quilt Block
- Economy Block
- Shoo-Fly Quilt Block
- Bear Paw Quilt Block
- Maple Leaf Quilt Block
- Maple Star Quilt Block
- Nine Patch Quilt Block
- Turnstile Quilt Block
- Sawtooth Star Quilt Block
- Bow Tie Quilt Block
- Ohio Star Quilt Block
- Pinwheel Star Quilt Block
- Basket Quilt Block
- Heart Quilt Block
- Rail Fence Quilt Block
- Annie’s Choice Quilt Block
- Butterfly Cross Quilt Block
If you love to quilt, then you might also like:
How to Make a Quilted Pillow from Half Square Triangles


I love this site! I was reading a book and it talked about a shoo fly quilt block, so while looking to see what this block looks like, I found your site. I am a beginner quilter, so I think this will be an easy one to try. Your instructions are clear and easy to follow. Thank you for sharing it on your site. I see several more I would like to try.
Thank for the Shoo – Fly block pattern it was very easy! I appreciate it
Thank you for the Shoo Fly block pattern and having a convenient format to print and save! I appreciate that so much.