Sew a Quilted Spring Floral Zip Pouch; A Step-by-Step Guide
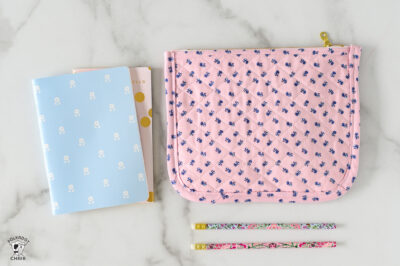
In this free sewing pattern, I will walk you through the steps to create a quilted zip pouch with rounded corners.
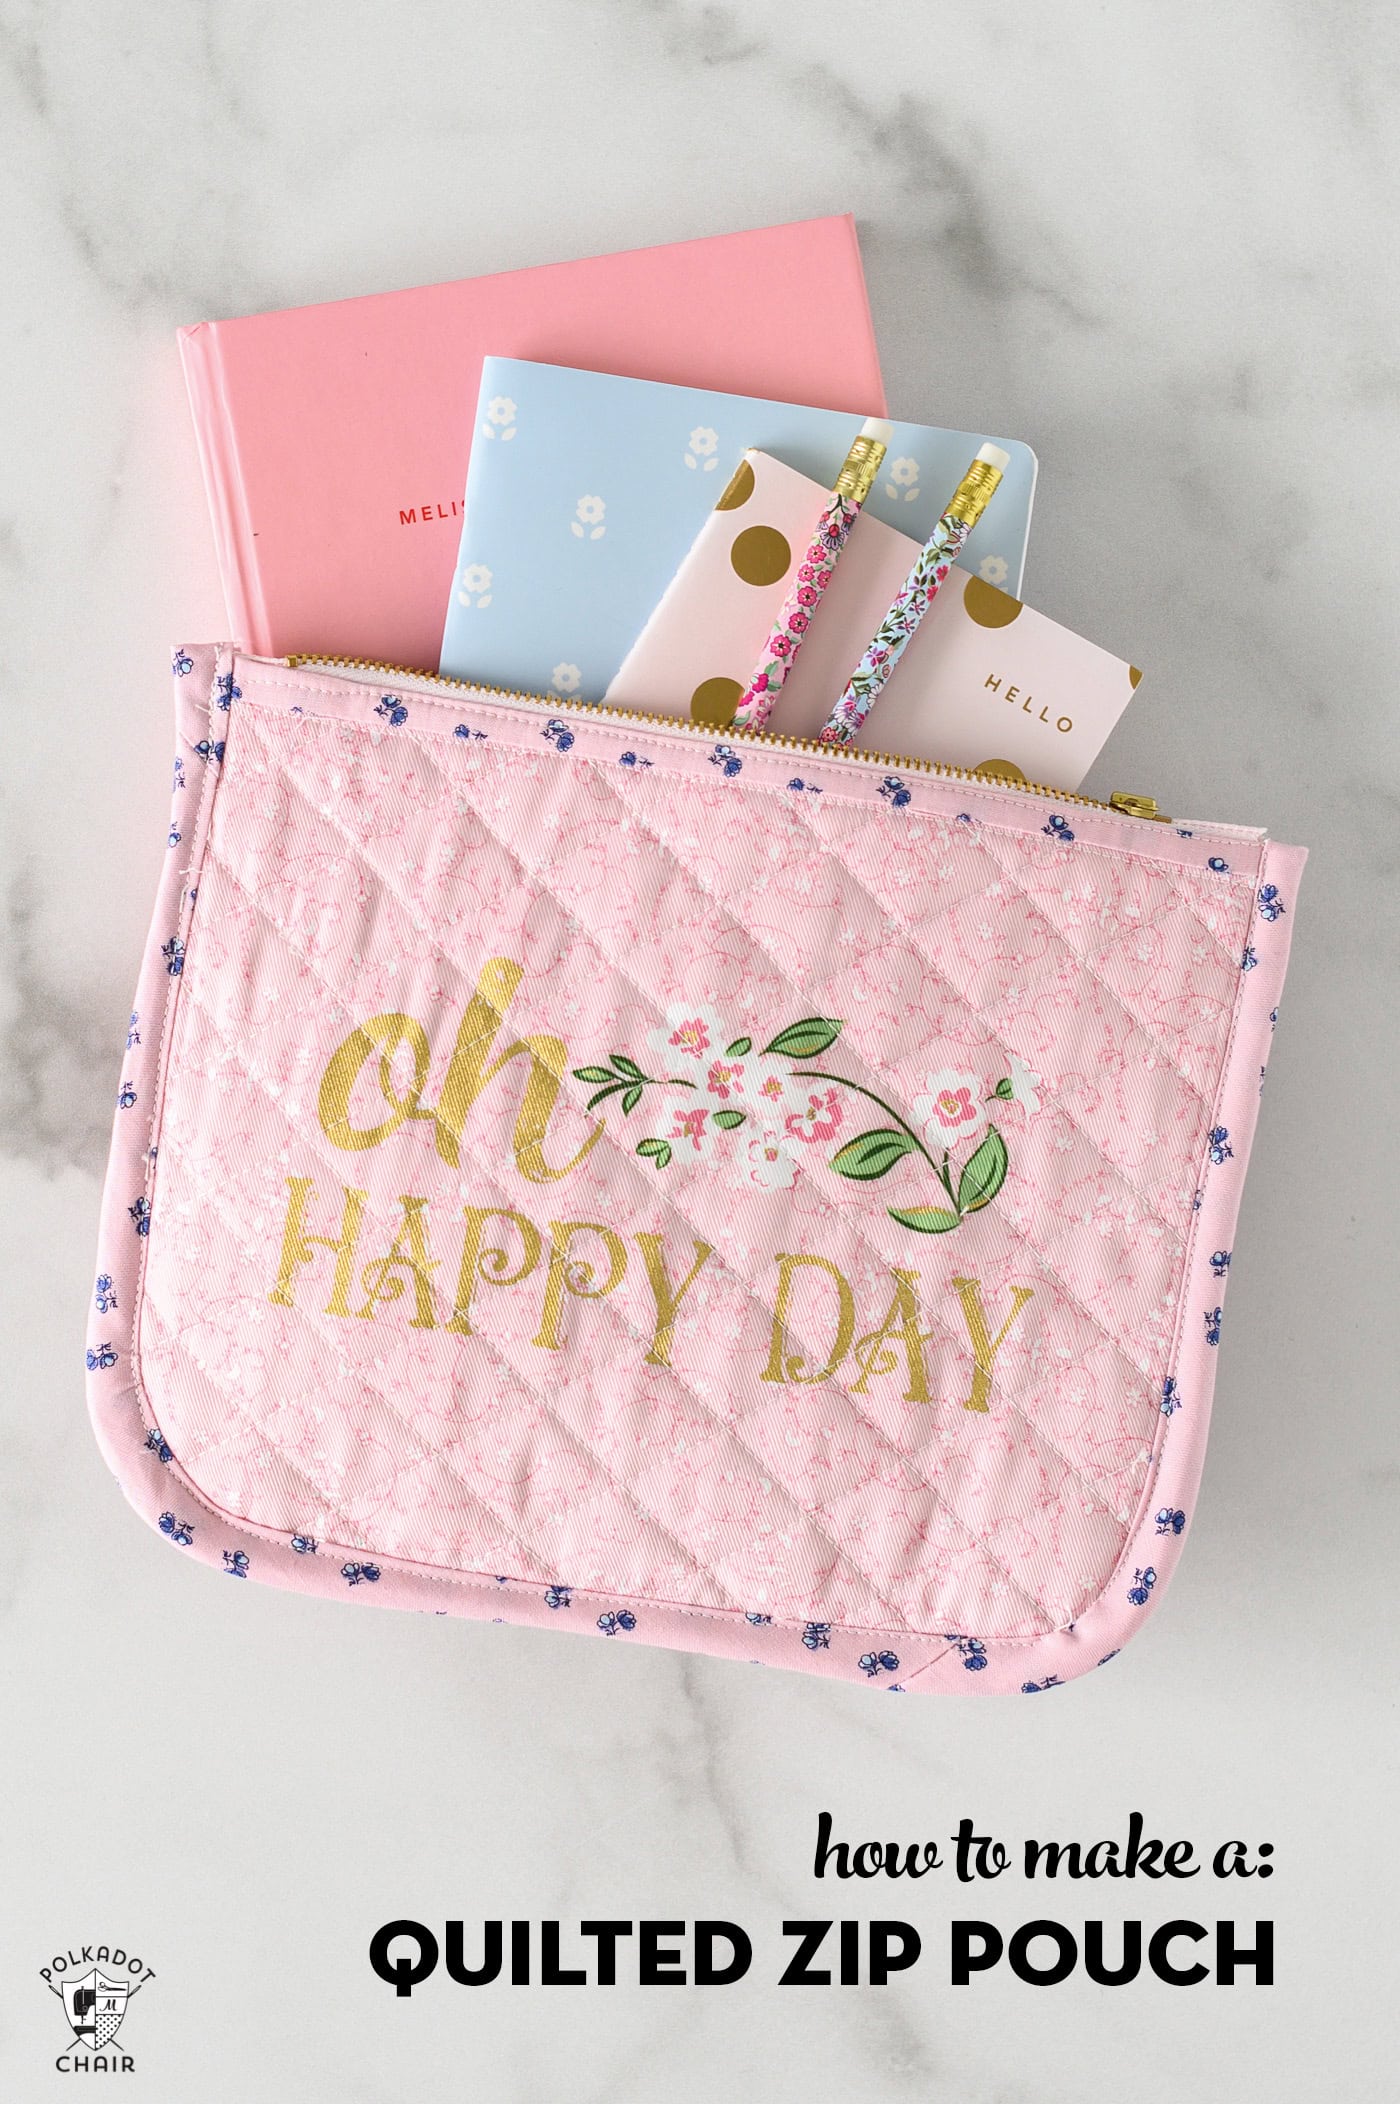
Over the years, I’ve shared quite a few zip pouch tutorials, each slightly different. I adore sewing zippered bags; they are fast to create and make great gifts! I’ve never counted, but I’m sure we have more than 30 zip pouch sewing patterns on our site!
Why This Pattern is Unique
This zip pouch differs from a few of the other zip pouch tutorials that I’ve shared in the past in terms of a few key features.
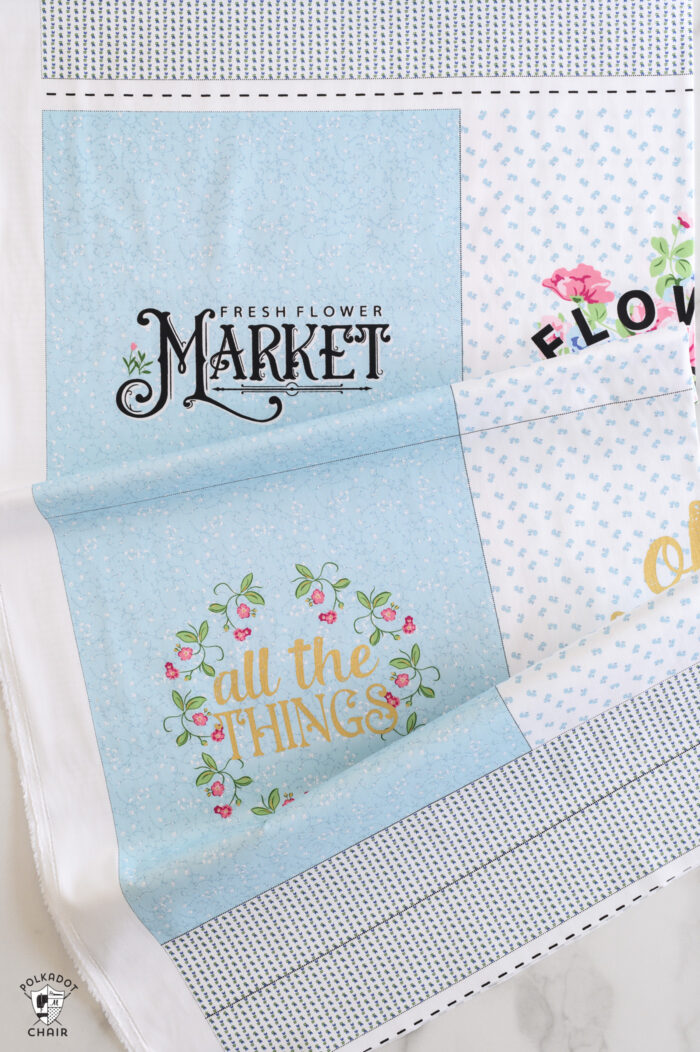
One:
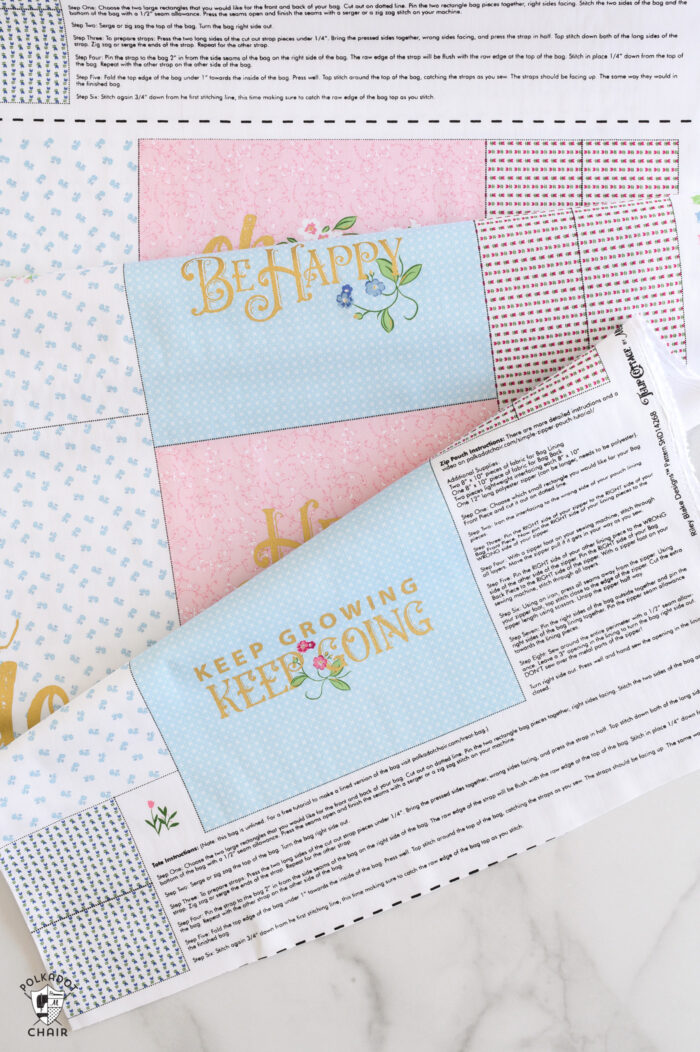
It is created using a panel from my Tulip Cottage fabric collection. The panel is printed on lightweight canvas fabric, making it perfect for bags. You don’t need to use this panel; if you want another look, I’ll give you the measurements to create this pouch using other fabrics. It’s another fun way to use some of the pieces from that panel.
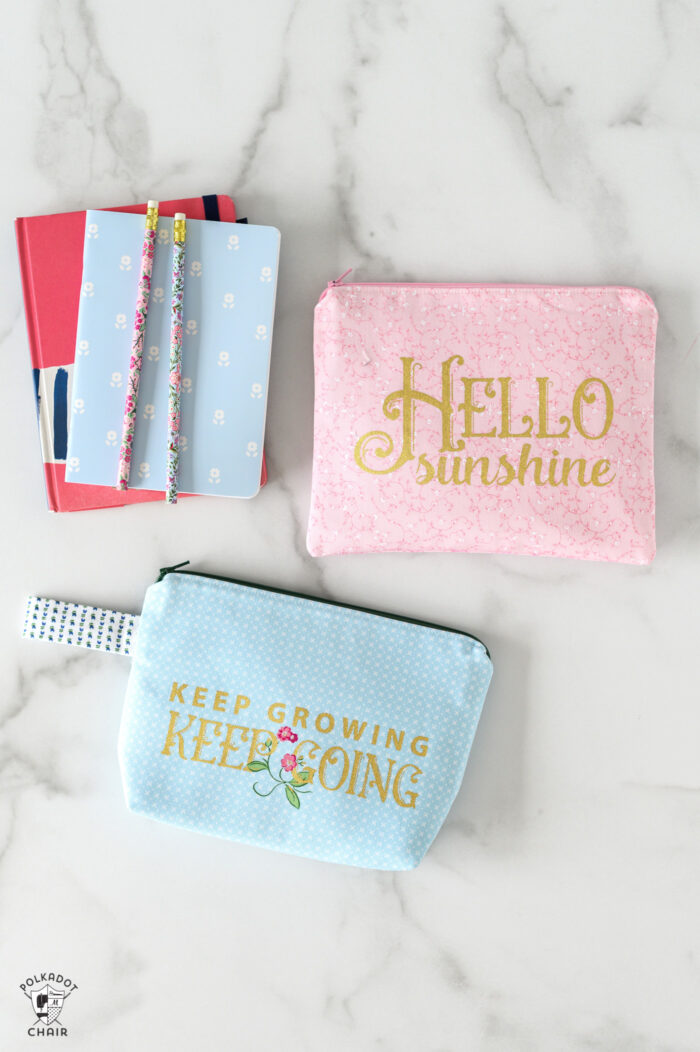
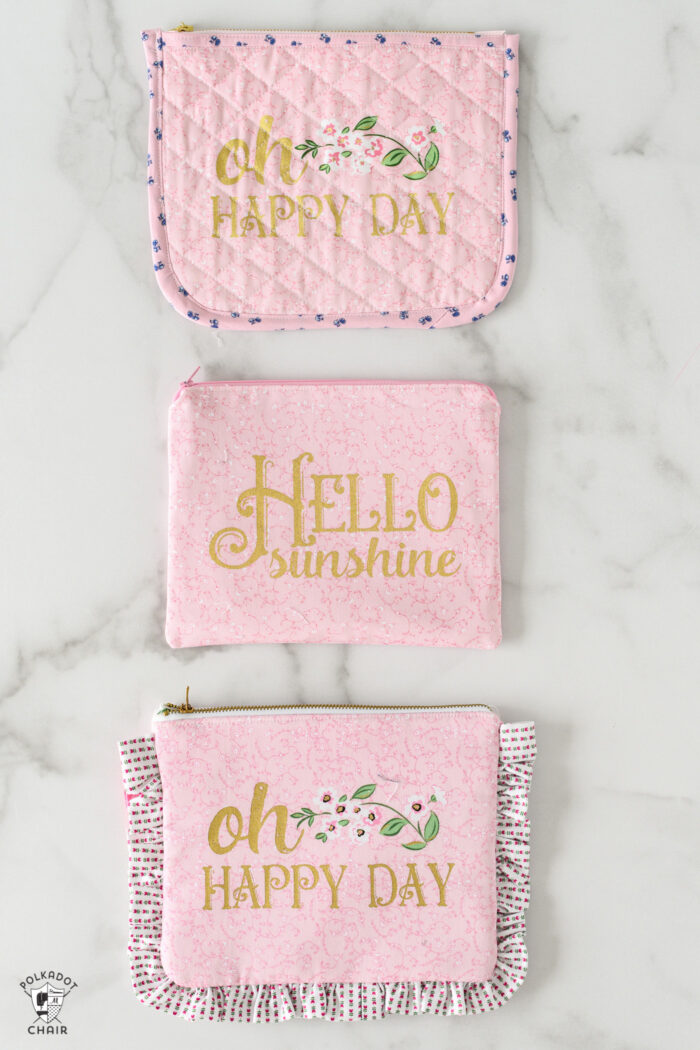
Two:
My simple zip pouch pattern is not quilted. It’s lined with fusible fleece, and the fabric is not quilted. This zip bag is quilted by machine and is lined with 100% quilt batting.
Three:
My other zip pouch tutorials conceal the raw edges using the stitch-and-flip method. The binding on this pouch is visible. This technique may seem more familiar for quilters, as it is similar to binding a quilt.
If you’ve not tried this method before, I encourage you to do so. I think you will like it. The tutorial shares a few tips for getting the binding to look great on both sides of your zip pouch.
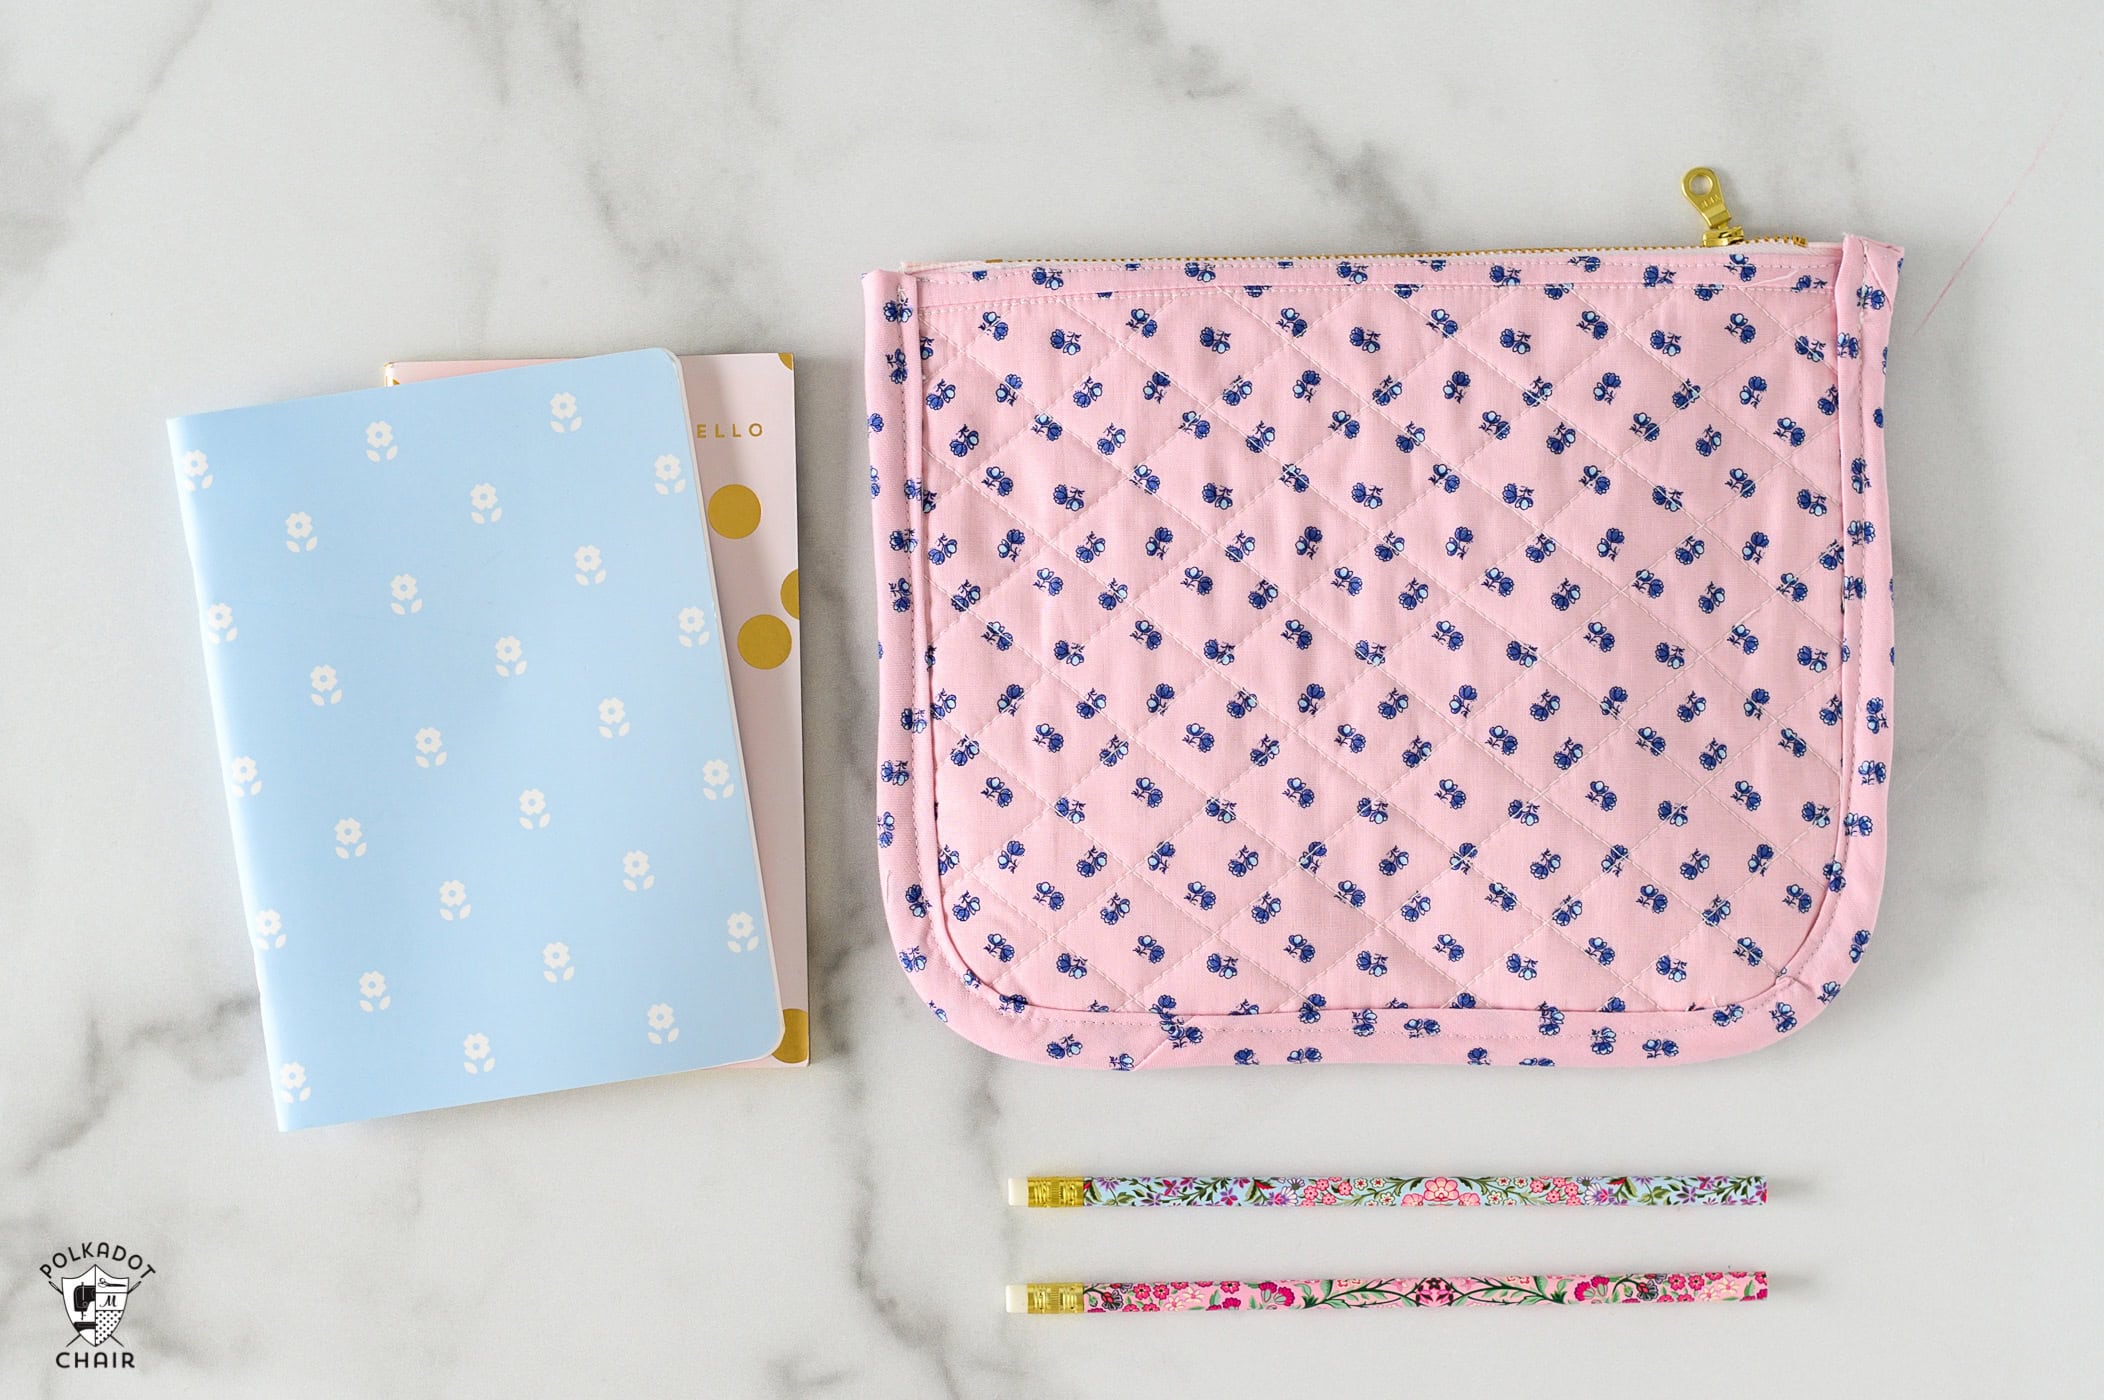
Four:
Another way this tutorial differs from other tutorials on our site is that the corners are rounded. This is not necessary, but it is just another fun way to add a little bit of extra detail to the zip pouch.
Zip Bag Size
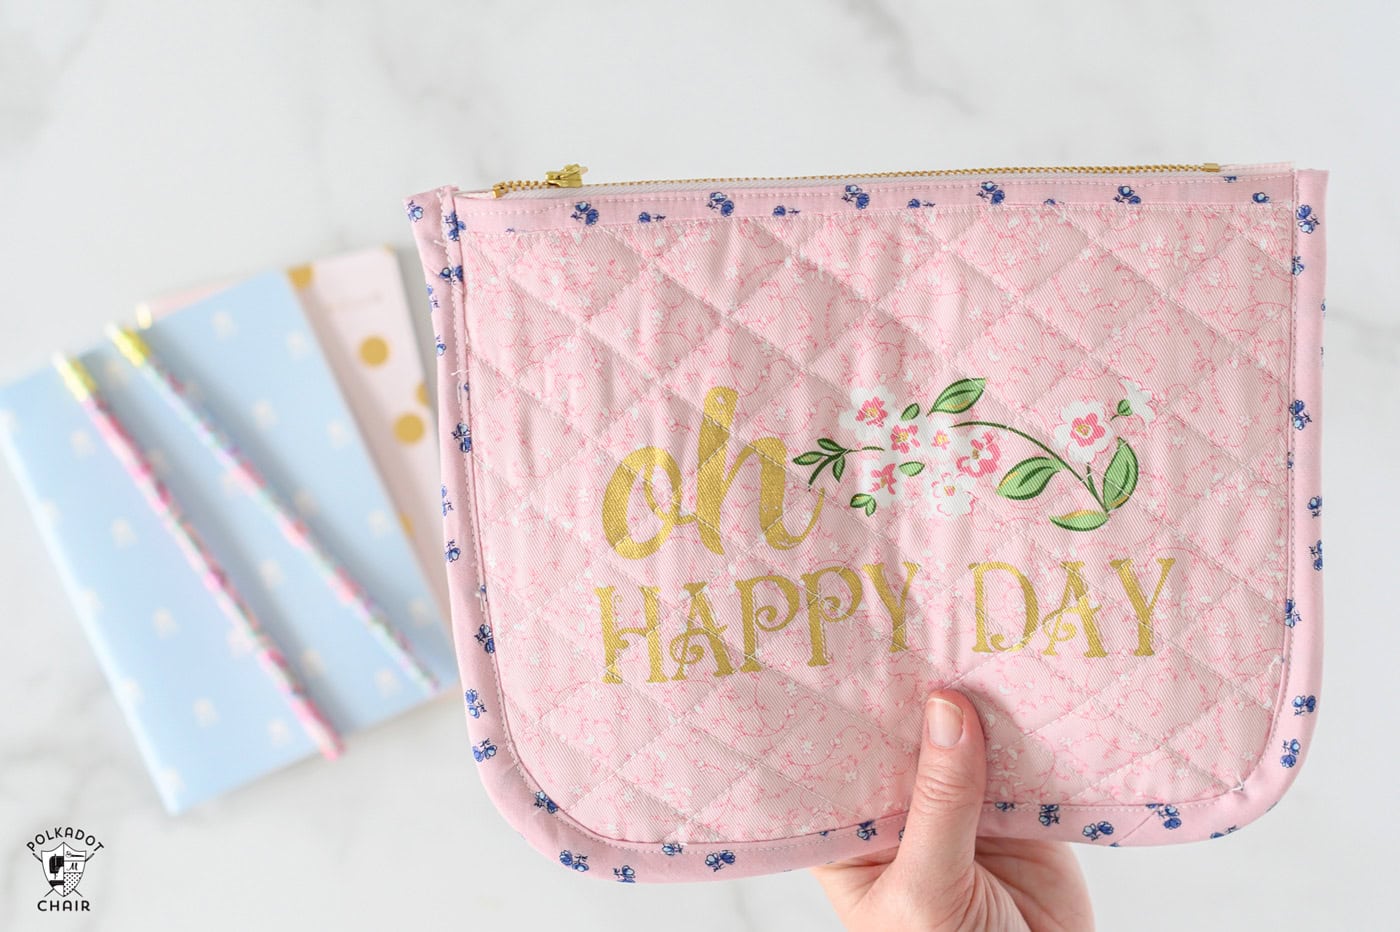
This pouch is about 8″ x 10″. However, if you’re not sewing with the Tulip Cottage panel, you can make it any size you’d like. You could even use the same technique to make a larger zip pouch from one of the larger pieces of the Tulip Cottage panel.
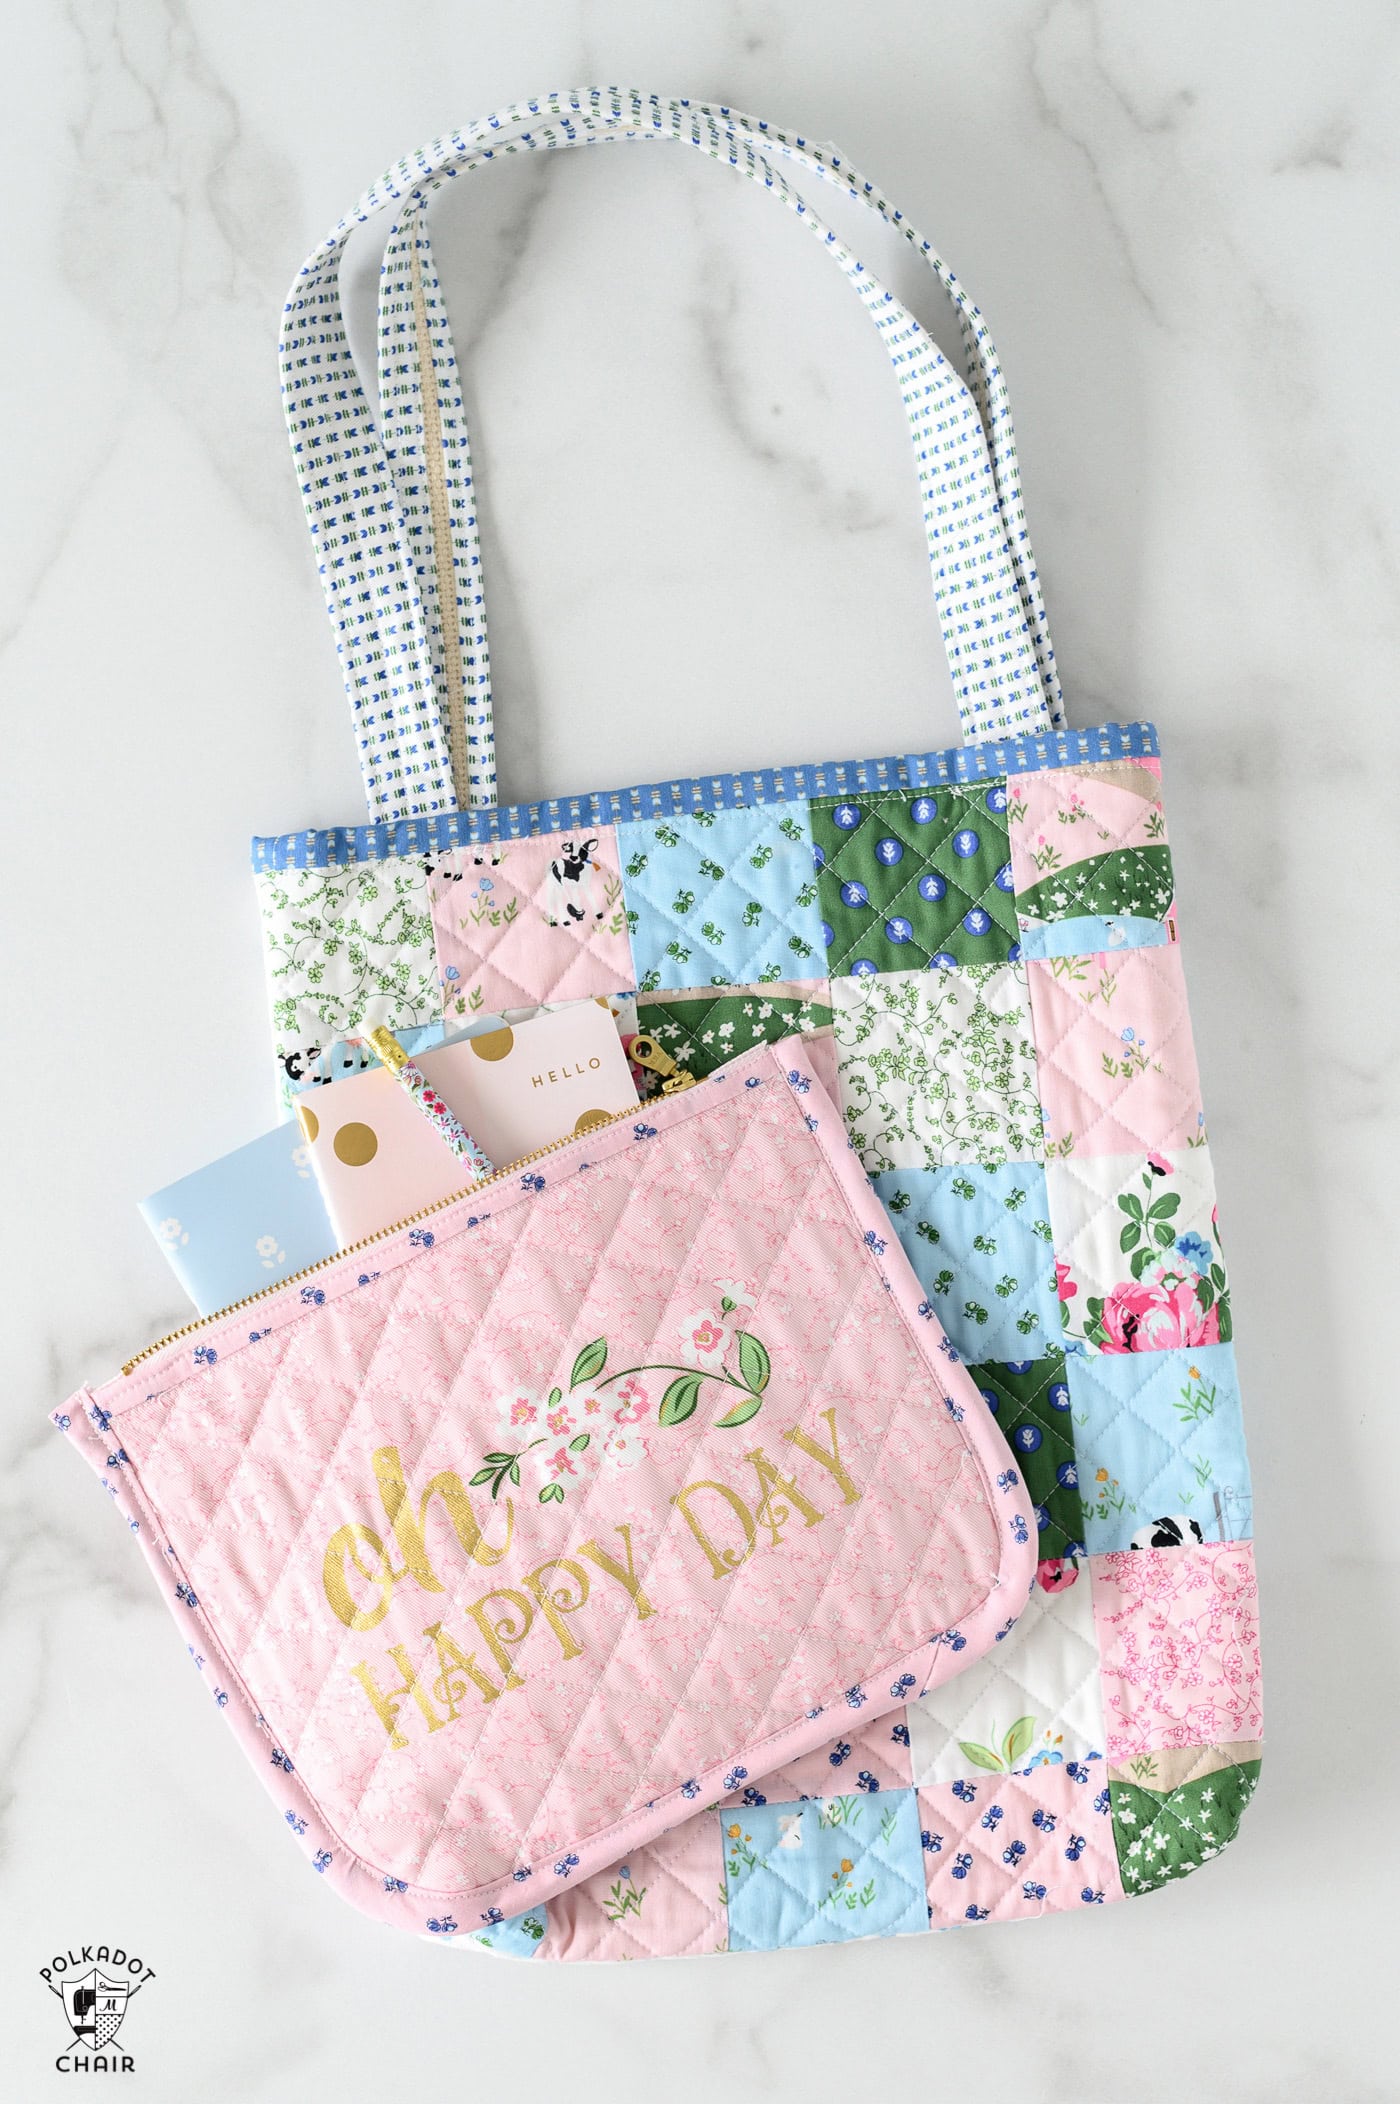
Here, you can see how cute it looks with the quilted tote, the patchwork quilted tutorial I shared a couple of weeks ago. You could make such a fun travel set that would make a great gift.
If you have never quilted before, be sure to check out our machine quilting guide for beginners.
Supplies
You will need a walking foot for your sewing machine. I use a walking foot for quilt projects and sew bulky items, such as bags or home decor items. So, if you invest in a walking foot, I feel you will get your money’s worth.
Required Supplies
Instructions
Follow the instructions below to create your zippered pouch.
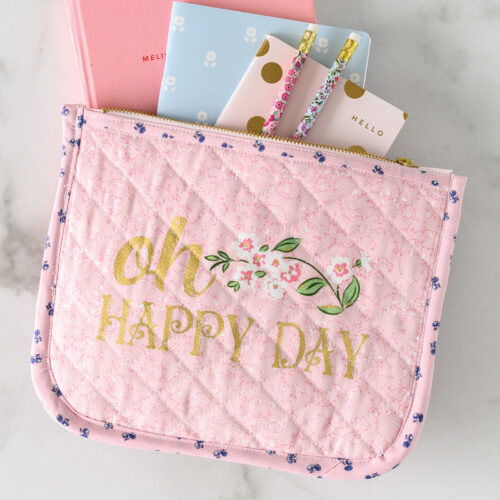
Quilted Zip Pouch Sewing Pattern
Equipment
- Walking foot for Sewing Machine
- Zipper foot for Sewing Machine
supplies
- 1 Panel Tulip Cottage Fabric or one fat quarter
- 1 Fat Quarter Fabric for bag back
- 1 Fat Quater Fabric for bag lining
- 1 Fat Quarter Fabric for bag binding
- 2 pieces Quilt Batting at least 9" x 11"
- 1 Zipper 10" long metal
Instructions
Cutting
- Choose the section of the Tulip Cottage fabric panel you’d like to use for your bag. Cut it out.
- From Bag Back Fabric Cut: One piece 8” x 10” for bag back
- From Bag Lining Fabric Cut: Two pieces 9” x 11” (or larger) for bag lining – this cut does not need to be precise, the lining just needs to be larger than the batting.
- From Bag Binding Fabric Cut: 2 pieces 1 1/2” x 11” for bag top binding
- 2” wide fabric CUT ON THE BIAS—you will need at least 30”. You may need to cut two pieces and sew them together to get a piece this long. If you don’t know what it means to cut fabric on the bias, check out our DIY bias tape guide in our Quilted Christmas stocking tutorial.
- From Quilt Batting Cut: 2 pieces slightly larger than 8” x 10”
Step One: Quilting
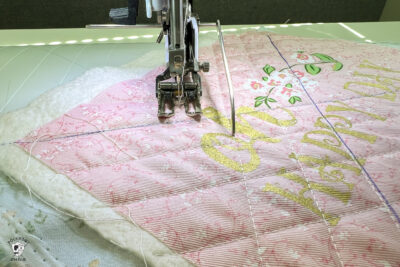
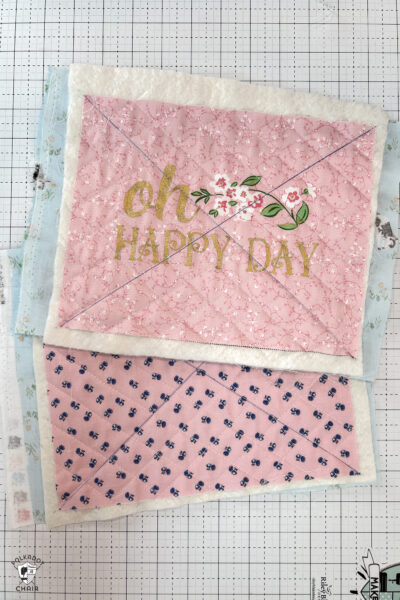
- Make a quilt sandwich with the bag lining fabric on the bottom, the batting on top, and the bag front piece on top. The right sides of the fabric should be facing out.
- Decide how you want to quilt your bag. I chose straight lines 1” apart on the diagonal. For a few suggestions, check out our Machine Quilting guide.
- Repeat this process with the bag back piece.
- After you are done quilting, trim all of the layers even. The pieces should be 8” x 10” (or slightly smaller due to the bunching that occurs when machine quilting.
Step Two: Binding & Zipper
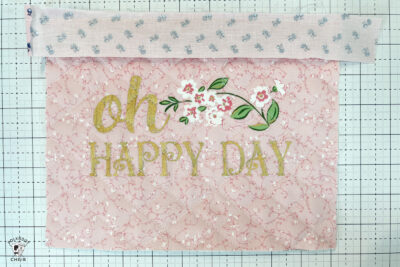
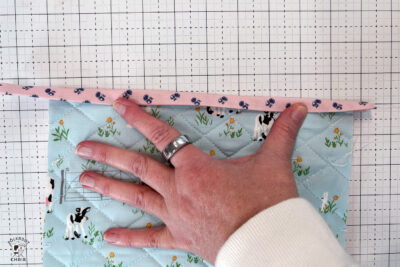
- Place one of your 1 1/2” x 11” pieces of cut binding on top of the bag front piece, right sides facing.
- Sew in place with a 1/4” seam allowance.
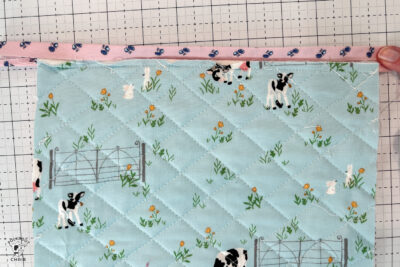
- Flip the binding up and bring it around to the other side.
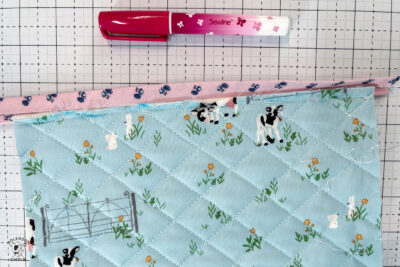
- Turn the binding under so that the raw edge meets the edge of the bag.
- Fold the binding over again; the folded edge of the binding should cover the existing stitching line.
- Use a glue pen to secure the binding exactly where you want it.
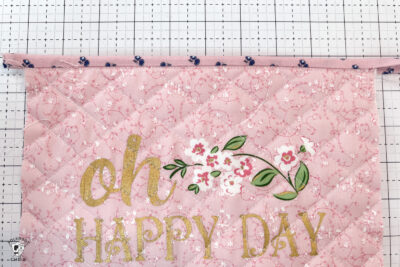
- Top stitch on the FRONT of the bag, either on top of or just below the binding line (personal preference).
- Repeat all steps with the bag back piece.
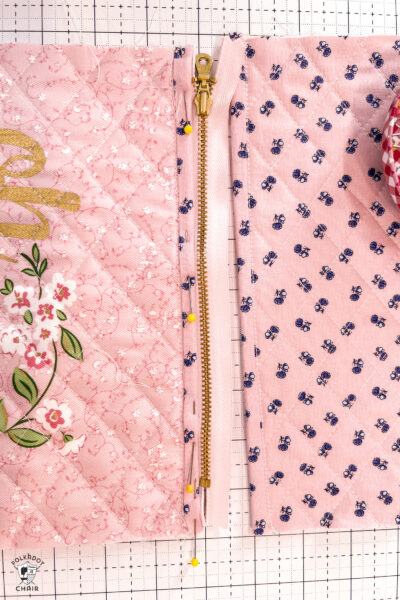
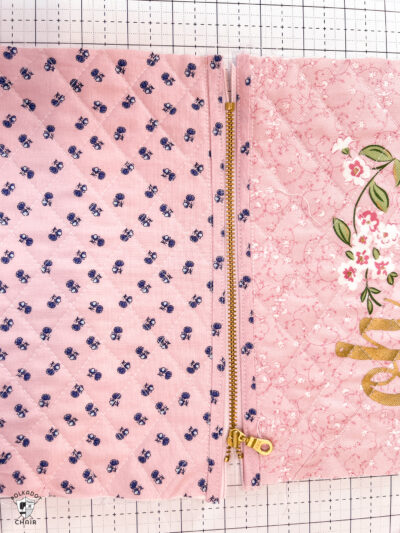
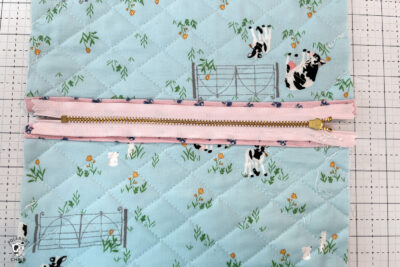
- Lay the zipper down on your work surface, right side up.
- Place the bag front piece on top of the zipper, right side up, so that the edge of the binding is just outside the zipper teeth.
- Secure it in place with several pins.
- Using the zipper foot on your machine, stitch the zipper in place close to the edge of the top of the bag.
- Repeat steps with bag back piece on the other side of the zipper.
- The lining side of the bag will look like this.
Step Three: Round Corners
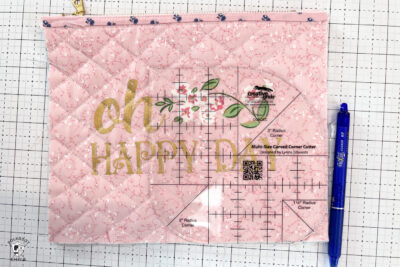
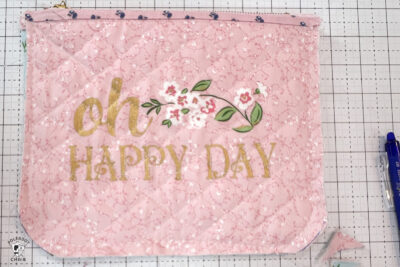
- Using a plate or a rounding ruler, round the two bottom edges of the bag.
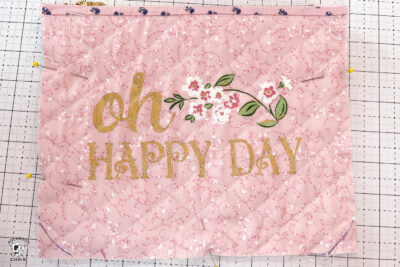
- Mark the lines with your fabric-safe pin, then cut both layers of the bag at the same time.
- TIP: you may want to put a few pins in the center of the bag at this point to keep the pieces from shifting as you mark and cut your fabric.
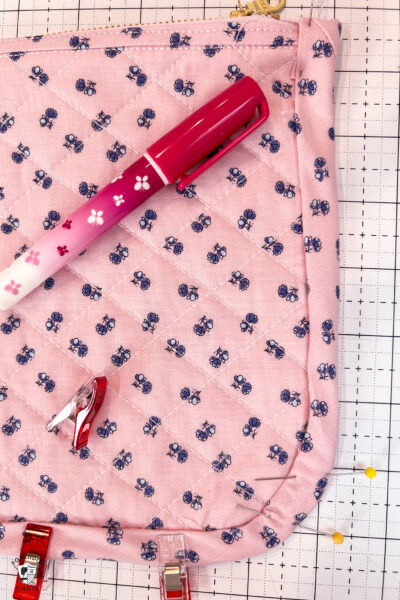
- Using a basting stitch on your sewing machine, stitch around the edges of the zip pouch close to the raw edge.
Finishing
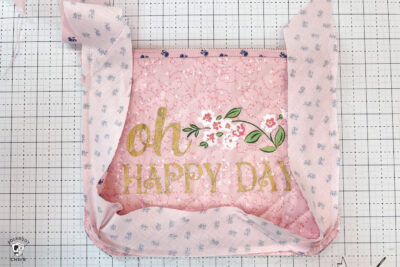
- Pin the 2” wide bias to the front of the bag, leaving a few inches hanging off the top.
- Keep pinning all the way around the perimeter of the bag. Do not cut the excess off.
- Stitch around the perimeter of the bag using a 1/4” seam allowance.
- Bring the bias around to the back of the bag. Turn it under about 1/4” and press.
- Fold it over again to cover the edge of the bag and the existing stitching line.
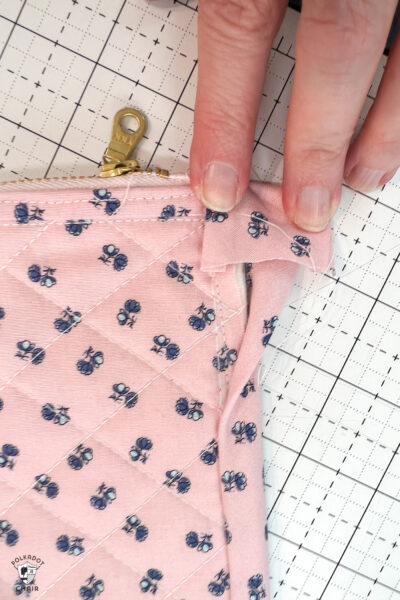
- Trim the bias at the top two corners of the bag so that about 1” hangs off the top and fold the raw edges under and into themselves to conceal the edges.
- Secure the bias in place with a fabric glue pen.
- When you’re sure you have your bias where you want it, flip the bag back over and top stitch the edge of the bias close to the seam.
- After you’re done, use your iron and some steam to work out any wrinkles or bubbles in your bias binding. As you press take care, as metal zippers get very hot when ironed.
You May Also Like:
The All Ears Curved Zip Pouch Pattern

