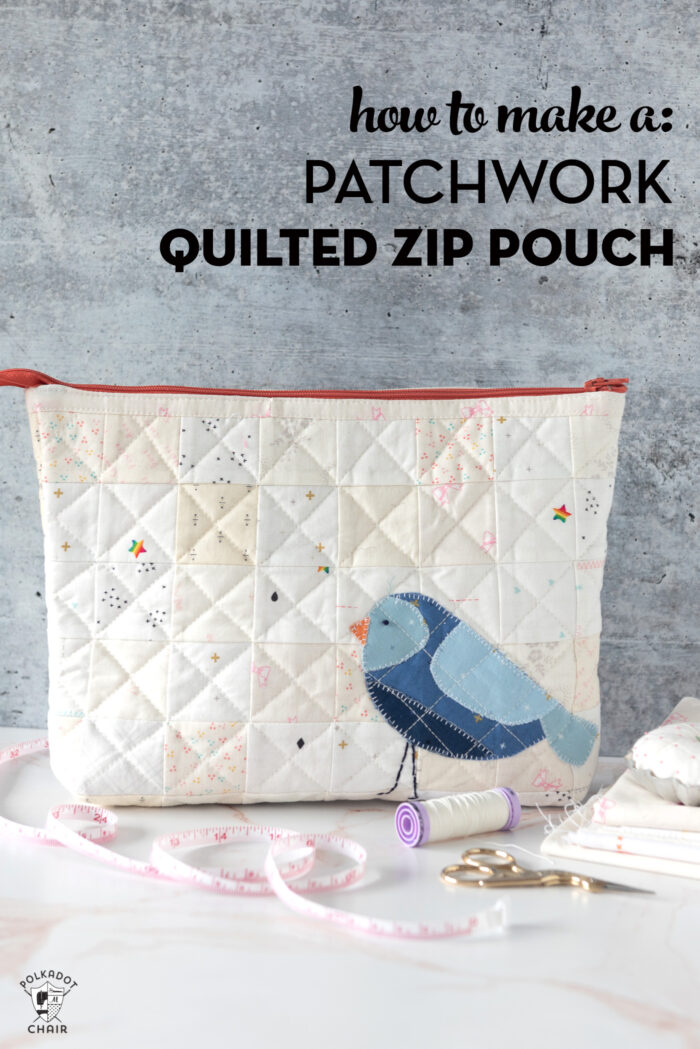
Quilted Patchwork Zip Bag Sewing Pattern
Gather your fabric scraps to create a cute and oh so helpful patchwork zipper bag! There’s a unique trick that I use to make constructing this patchwork bag a breeze! Gridded interfacing! If you’ve never used it before, you’re going to want to give it a try after you read today’s tutorial.
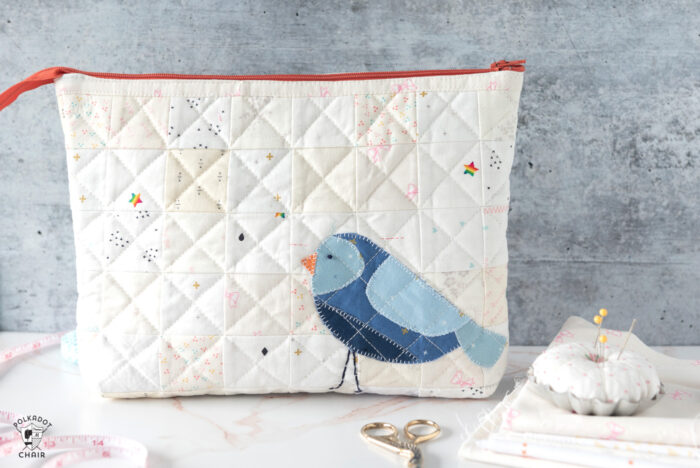
Would you believe that I’ve been carrying around my hand sewing tools and notions in a zip lock bag? You’d think I could do better than a zip lock bag full of binding clips and thread spools! After a recent road trip, I realized it was time to create a simple zip bag to store my hand sewing supplies. One that would be not too big to fit in my bag on a road trip but large enough to hold enough binding clips to bind a quilt.
Recently Riley Blake Designs released a new curated fabric collection featuring all low-volume fabrics. The collection is a collaboration between myself and several other Riley Blake fabric designers and is called Hush Hush.
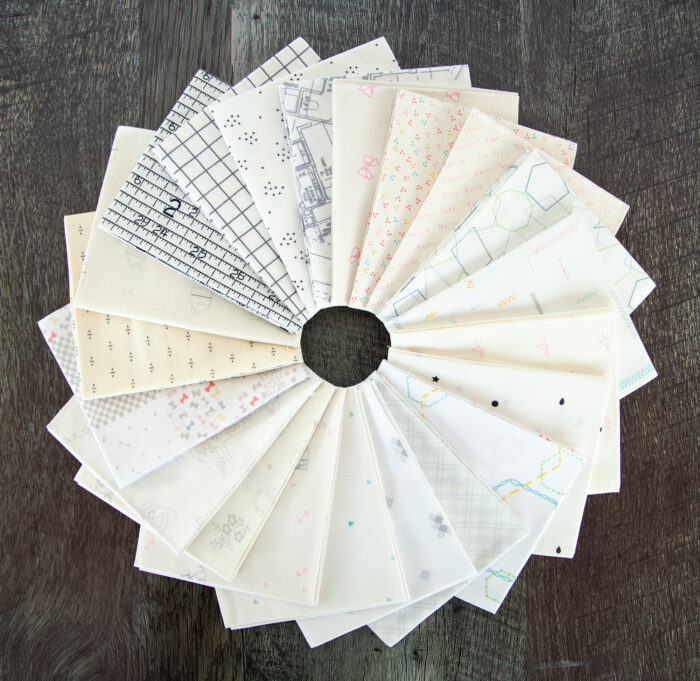
I designed the small bow print in the line. You can find Hush Hush in stores now.
What are Low Volume Fabrics?
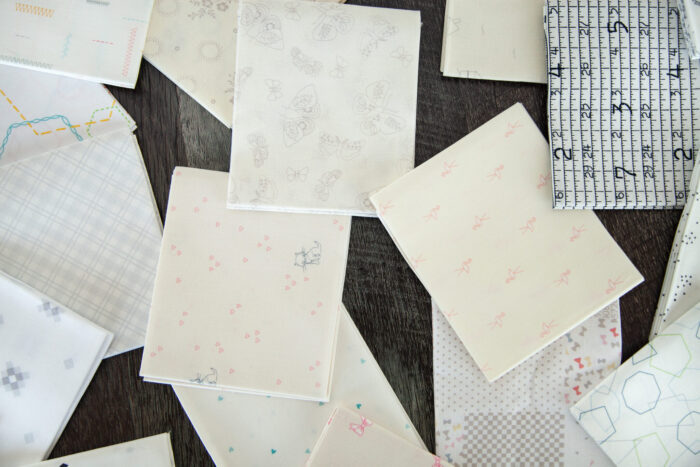
When you hear the term Low volume fabrics, people are usually referring to a fabric design that is white or close to white which features an overall design. The design features light colors or colors very low in contrast and is meant to blend into the background of a project. Using low-volume fabrics gives your project a bit of extra texture without competing with the main design of your project.
Since low-volume fabrics lend them so well to patchwork projects, I thought it would be fun to create a project that featured several prints in the line.
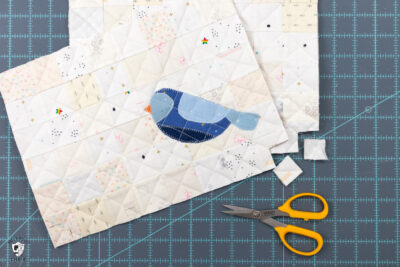
Riley Blake is hosting a blog tour now called “Follow the Blue Bird.” Each participant on tour is creating a project using a pattern for the Riley Blake Bird. There are three different quilted bird patterns available (all are free on the Riley Blake website).
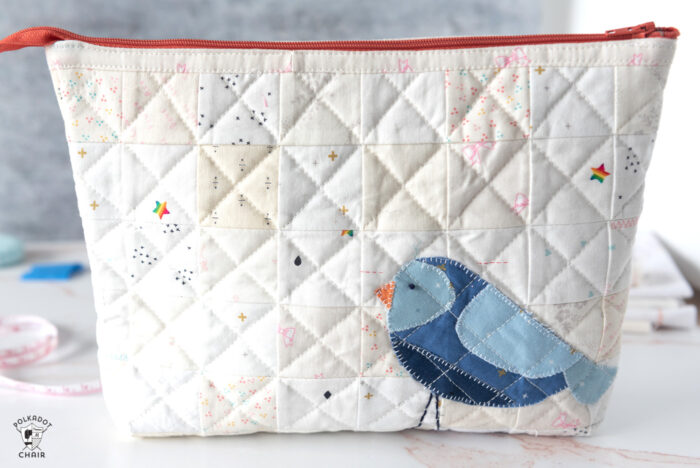
For my project, I’m using the Appliqued Bird Block pattern.
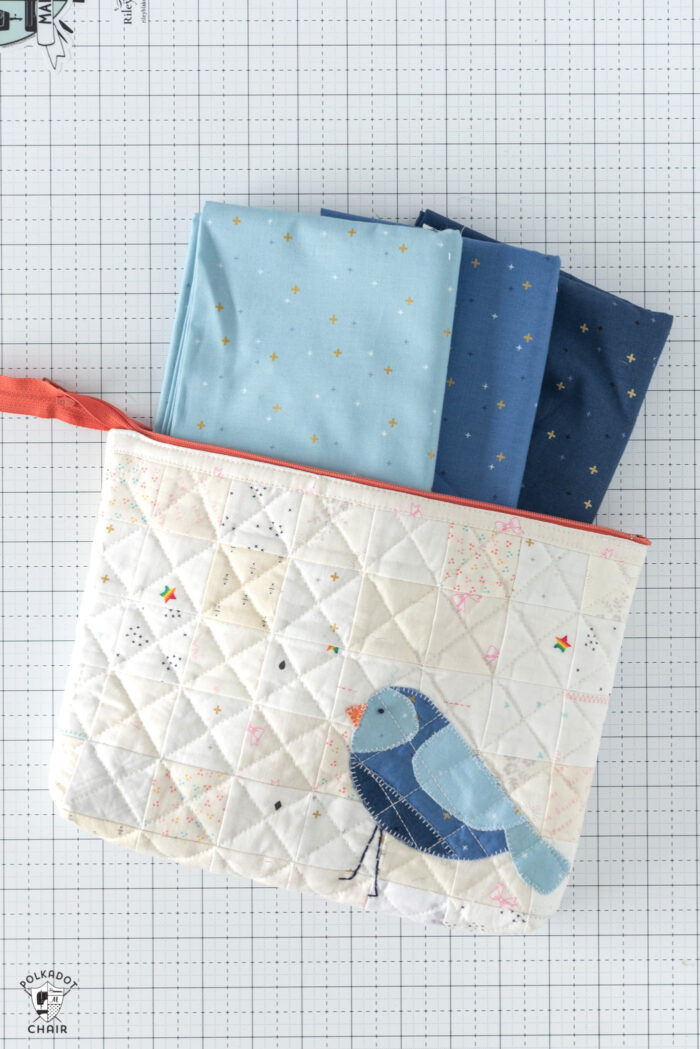
The blue fabrics on the bird and the binding are from my new fabric collection Sparker.
Using Quilters Grid Interfacing
Did you know there was such a thing as gridded interfacing? I didn’t until I stumbled on it a few years ago. I’ve used it a few times over the years; one of my favorite projects I’ve made with grid interfacing is this Patchwork Norweigan Snowflake Pillow.
Quilters Grid Interfacing is lightweight interfacing that is fusible on one side. It has a 1″ grid printed on it, making it great to use for patchwork projects.
You could, in theory, create an entire quilt using this method, but I don’t particularly like how the interfacing feels in a quilt. I do, however, love the extra body it gives to a bag project.
A few things to note when working with gridded interfacing
- It is fusbile on one side. It is VERY sticky. For this reason I rcommend using it with a Teflon pressing sheet. If there’s even an 1/8″ between your fabric squares and you iron on top of it, the fusible glue will stick to your iron and make a mess.
- I have a portable ironing pad/cutting mat that I like to use with grid interfacing. That way I can cut out my fabric on my cutting table, then layout the project on the portable ironing pad, and move it ot my ironing board without my fabric piecesin moving around too much in the proccess.
- You can buy grid interacing by the yard. You’ll need 1/2 yard for this project.
- The interfacing features a 1″ grid. I recommend creating projects with pieces in whole numbers due to this. It would be hard to line up an 1 1/2″ square on the grid for example.
- Remember to account for a 1/4″ seam allowance when you’re figiguing out the size of your finsihed project. Five 2″ squares when sewn togther equal 8″ not 10″.
About the Zipper Bag

This zip pouch is created by quilting the fabric (the same way you would make a quilt) and using binding to cover the raw edges of the seams. The zipper is left exposed on the inside of the bag. It’s just sewn in place and not bound. I realize that some of you might not prefer this construction technique as the edge of the zipper is left raw. However, I do not find it a problem as zippers don’t need finishing.
Also, I’ve been blogging and writing sewing patterns for over 12 years, I wanted to try a new technique. If you want to make the bag in a more traditional way you can follow the steps on my canvas zipper bag tutorial.
Applique Instructions
The bird on the outside of the zip bag is created using raw edge applique. If you’ve never created an applique pattern, don’t worry is crazy easy. I’ve outlined the steps to do it in this blog post. There is also a short video to help you out.
In the video, I use a bat shape to create the applique shape. You can, however, do this with ANY shape or pattern.
Quilting Instructions
The zip pouch is machine quilted on my home sewing machine. If you’d like to learn more about machine quilting, be sure to check out our Machine Quilting basics article.

Patchwork Quilted Zip Bag
Equipment
supplies
- 1/2 yard Quilters Grid Interfacing
- 8 Fat Quarters Hush Hush Low Volume Fabrics You can use more or less prints if you'd like, 8 seemed to work well for this project. You only need to cut 12 two inch squares from each fat quarter.
- 4 pieces Blue Fabrics for Bird I used Sparkler Fabrics for my bird in Dark Denim, Bleached Denim, Lake Blue & Navy
- 1 Polyester Zipper 14" long or longer
- 2 pieces Cotton Batting At least 10 x 16
- 1 Fat Quarter Fabric For Lining
- 1 Fat Quarter Fabric For binding the interior seams. You may have enough fabric left over from the bird and patchwork and not need another fat quarter for the lining.
- 1 Pattern For Bird Applique printed at 75% scale
Instructions
Cutting
- From each of your eight fat quarters cut twelve 2" x 2" squares.
- Cut for binding three 1 1/2" x 22" strips of fabric.
- Cut two pieces of grid interfacing 18 squares wide by 14 squares tall.
- Lining fabric will be cut at a later point.
Create the Patchwork using the Interfacing
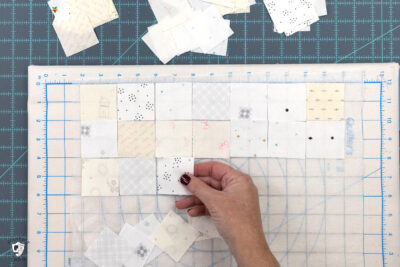
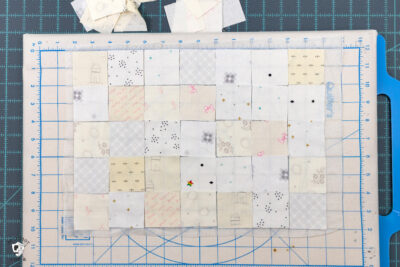
- Lay your 2" x 2" squares of fabric on top of your piece of grid interfacing. The wrong side of the fabric squares will be facing the "sticky" side of the interfacing. Leave one "grid" piece at the top and the bottom as a border. Lay 8 squares across by 6 squares down.

- Try to vary the distribution of the fabric prints on the grid. (Note; grid is 8 across by 6 down, this photo does not show the final layout).
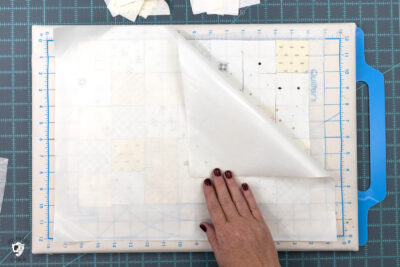
- When you have an arrangement that you like, place a Teflon pressing sheet on top of the grid and adhere the pieces to the interfacing with an iron.
- Repeat with the remainder of your two-inch squares. You will have two pieces of interfacing with fabric attached (one is the pouch front and one is the pouch back).
- Using a rotary cutter and a ruler, trim your interfacing flush with your fabric squares. (I did not do this, so it does not show in my photos; however, it is easier to trim at this point than later).
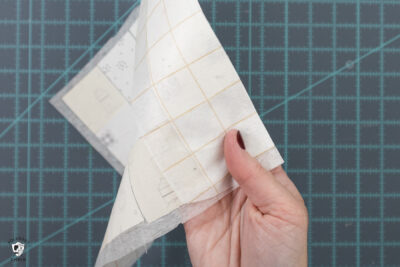
- Fold the interfacing along one of the lines in the grid. You will be folding and stitching every 2 inches on the grid. Do not stitch every grid line. You are folding the interfacing/fabric with the right sides of the fabric facing. Stitch down this line with a 1/4" seam allowance on your sewing machine.
- Unfold and repeat at the next grid mark where the fabric piece meets the grid (or 2" from your previous line).
- Keep stitching until you've sewn all of the lines.
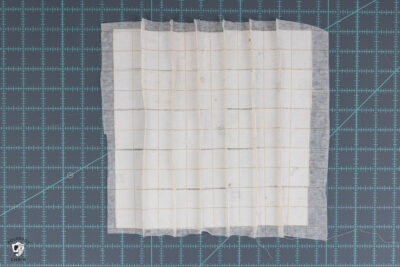
- Make a note of where the horizontal and vertical stitching lines will intersect. On the stitching lines that you just created, clip the seam allowace.
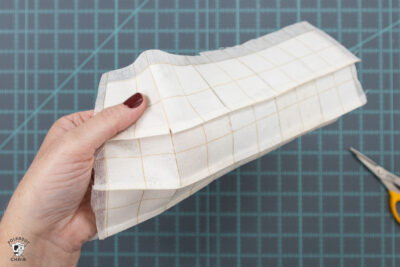
- Fold the interfacing/fabric again, this time in the opposite direction.
- Keep stitching with 1/4" seam allowances until you've sewn the entire grid.
- Repeat with the other grid/fabric piece.

Add the Bird Applique
- Using the Riley Blake bird applique pattern, create a bird applique.
- If you need help creating the applique, visit this article for full instructions. https://www.polkadotchair.com/how-to-create-applique-shapes-raw-edge-applique-tutorial/
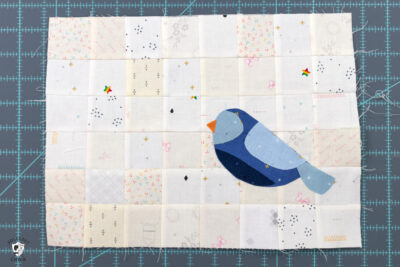
- Attach the applique to one of your grid pieces (the one you want to use for the pouch front). Stitch around the raw edges of the applique with a blanket stitch.
Quilt
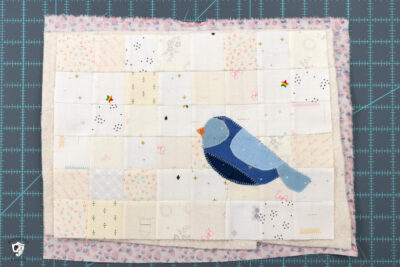
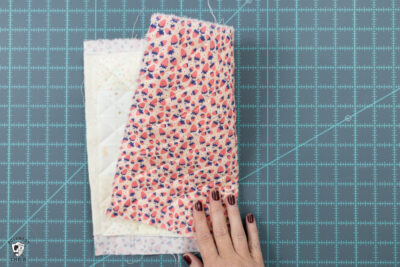
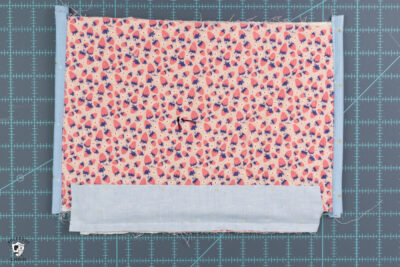
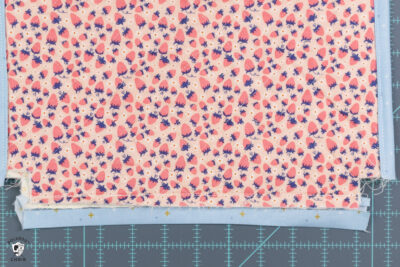
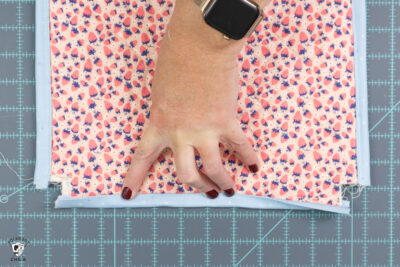
- Create a quilt sandwich with one of your patchwork pieces, a piece of cotton batting, and a piece of lining fabric.
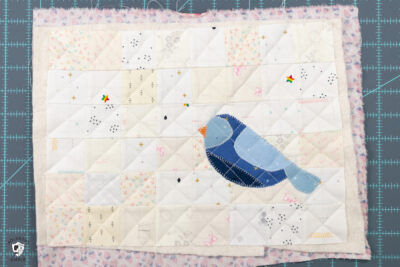
- Using a walking foot on your sewing machine, quilt diagonal lines in the piece, using the patchwork as a grid.
- You will just quilt right over the top of the applique piece. Trim the layers even.
Create the Zip Pouch
- On the bottom two corners of both the pouch front and pouch back pieces cut a 1" x 1" square from the fabric.
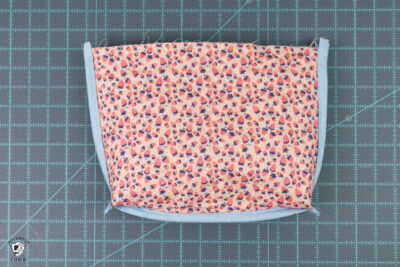
- Sew the pouch front and back pieces together along the side seams and bottom seam with a 3/8" seam allowance. Stitch the pieces together right sides facing.
- Using one of your binding pieces, bind the side seams and bottom seams. To do this place your 1 1/2" fabric strip onto the edge of the bag seam, right sides facing. Stitch in place with a 1/4" seam allowance.
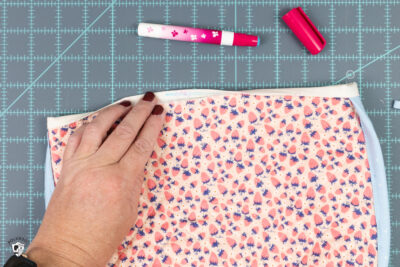
- Flip the binding strip up and press in place, and bring it around to the other side of the seam.
- Press the raw edge of the binding strip under, and fold it over the raw edge of the bag. Secure in place with pins or binding clips and stitch along the folded edge of the binding.
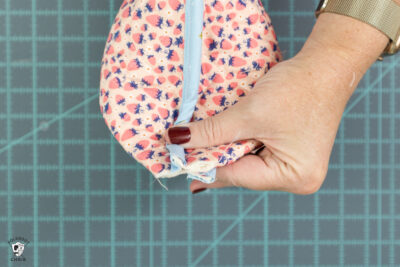
- Pinch the bottom corners of the pouch so that the side seams are on top of each other. Sew with a 1/4" seam allowance.
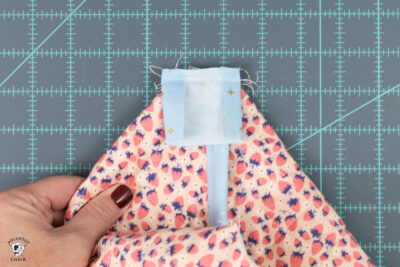
- Bind as you did for the side and bottom seams, however this time, fold the raw edge of the binding in before you stitch it down to create a clean edge.
- It should look like this when you're done.
Add the Zipper
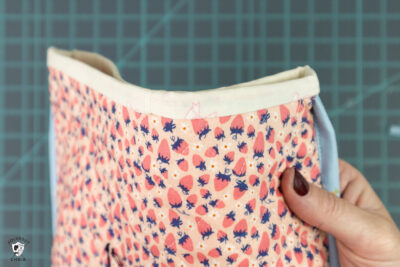
- Bind the top of the zip pouch the same way you bound the side seams. Note: I used a different fabric to bind the top of my zip bag, since I did not want as much contrast on the outside of the bag. When you get back to where you started when sewing the binding to the pouch you will need to join the binding ends. You will sew the binding to the right side of the pouch and fold it and bring it to the inside of the pouch.
- Fold under the raw edge of the binding and bring it to the inside of the pouch.
- Use a bit of glue to get it to stay in place and topstitch on the outside of the pouch along where the binding meets the pouch.
- Unzip the zipper.
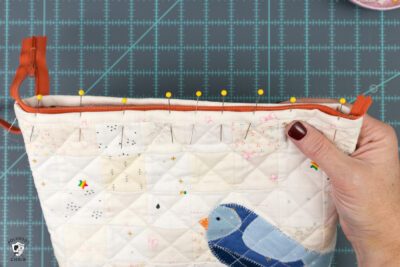
- Pin one side of the zipper to the pouch so that the right side of the zipper is facing the inside of the binding. (You will sew it to the pouch the same way that it will look when it's done if that helps you to visualize where to pin the zipper).
- Make sure you leave about 1/8" between the edge of the binding and the zipper teeth. If it's too close you won't be able to zip/unzip the pouch.
- Using a zipper foot, stitch the zipper to the top edge of the bag. Make sure you backstitch at the start and finish. The "extra" end of the zipper will just float above the binding.
- Repeat this time with the other side of the zipper on the other side of the pouch. TIP: If you have a hard time getting the zipper to stay in place, use a bit of glue to secure it as you pin it in place.
- To finish your project, simply press and clip your strings.

Step 9 of create the patchwork – do you clip the seams at the intersections or between the intersecting grid lines?
Very cute bag – thanks for the instructions!