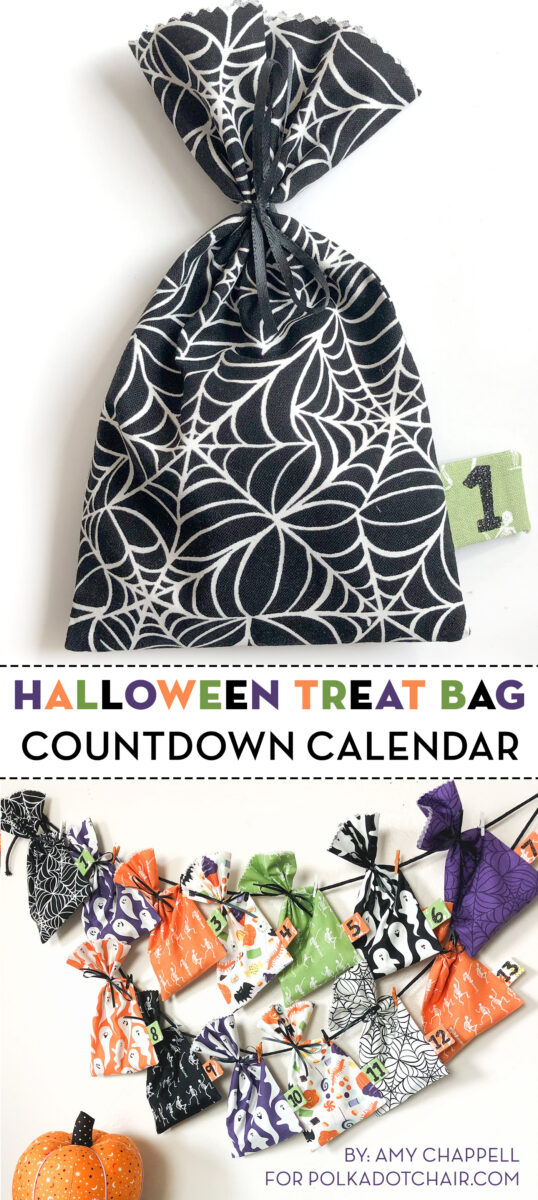
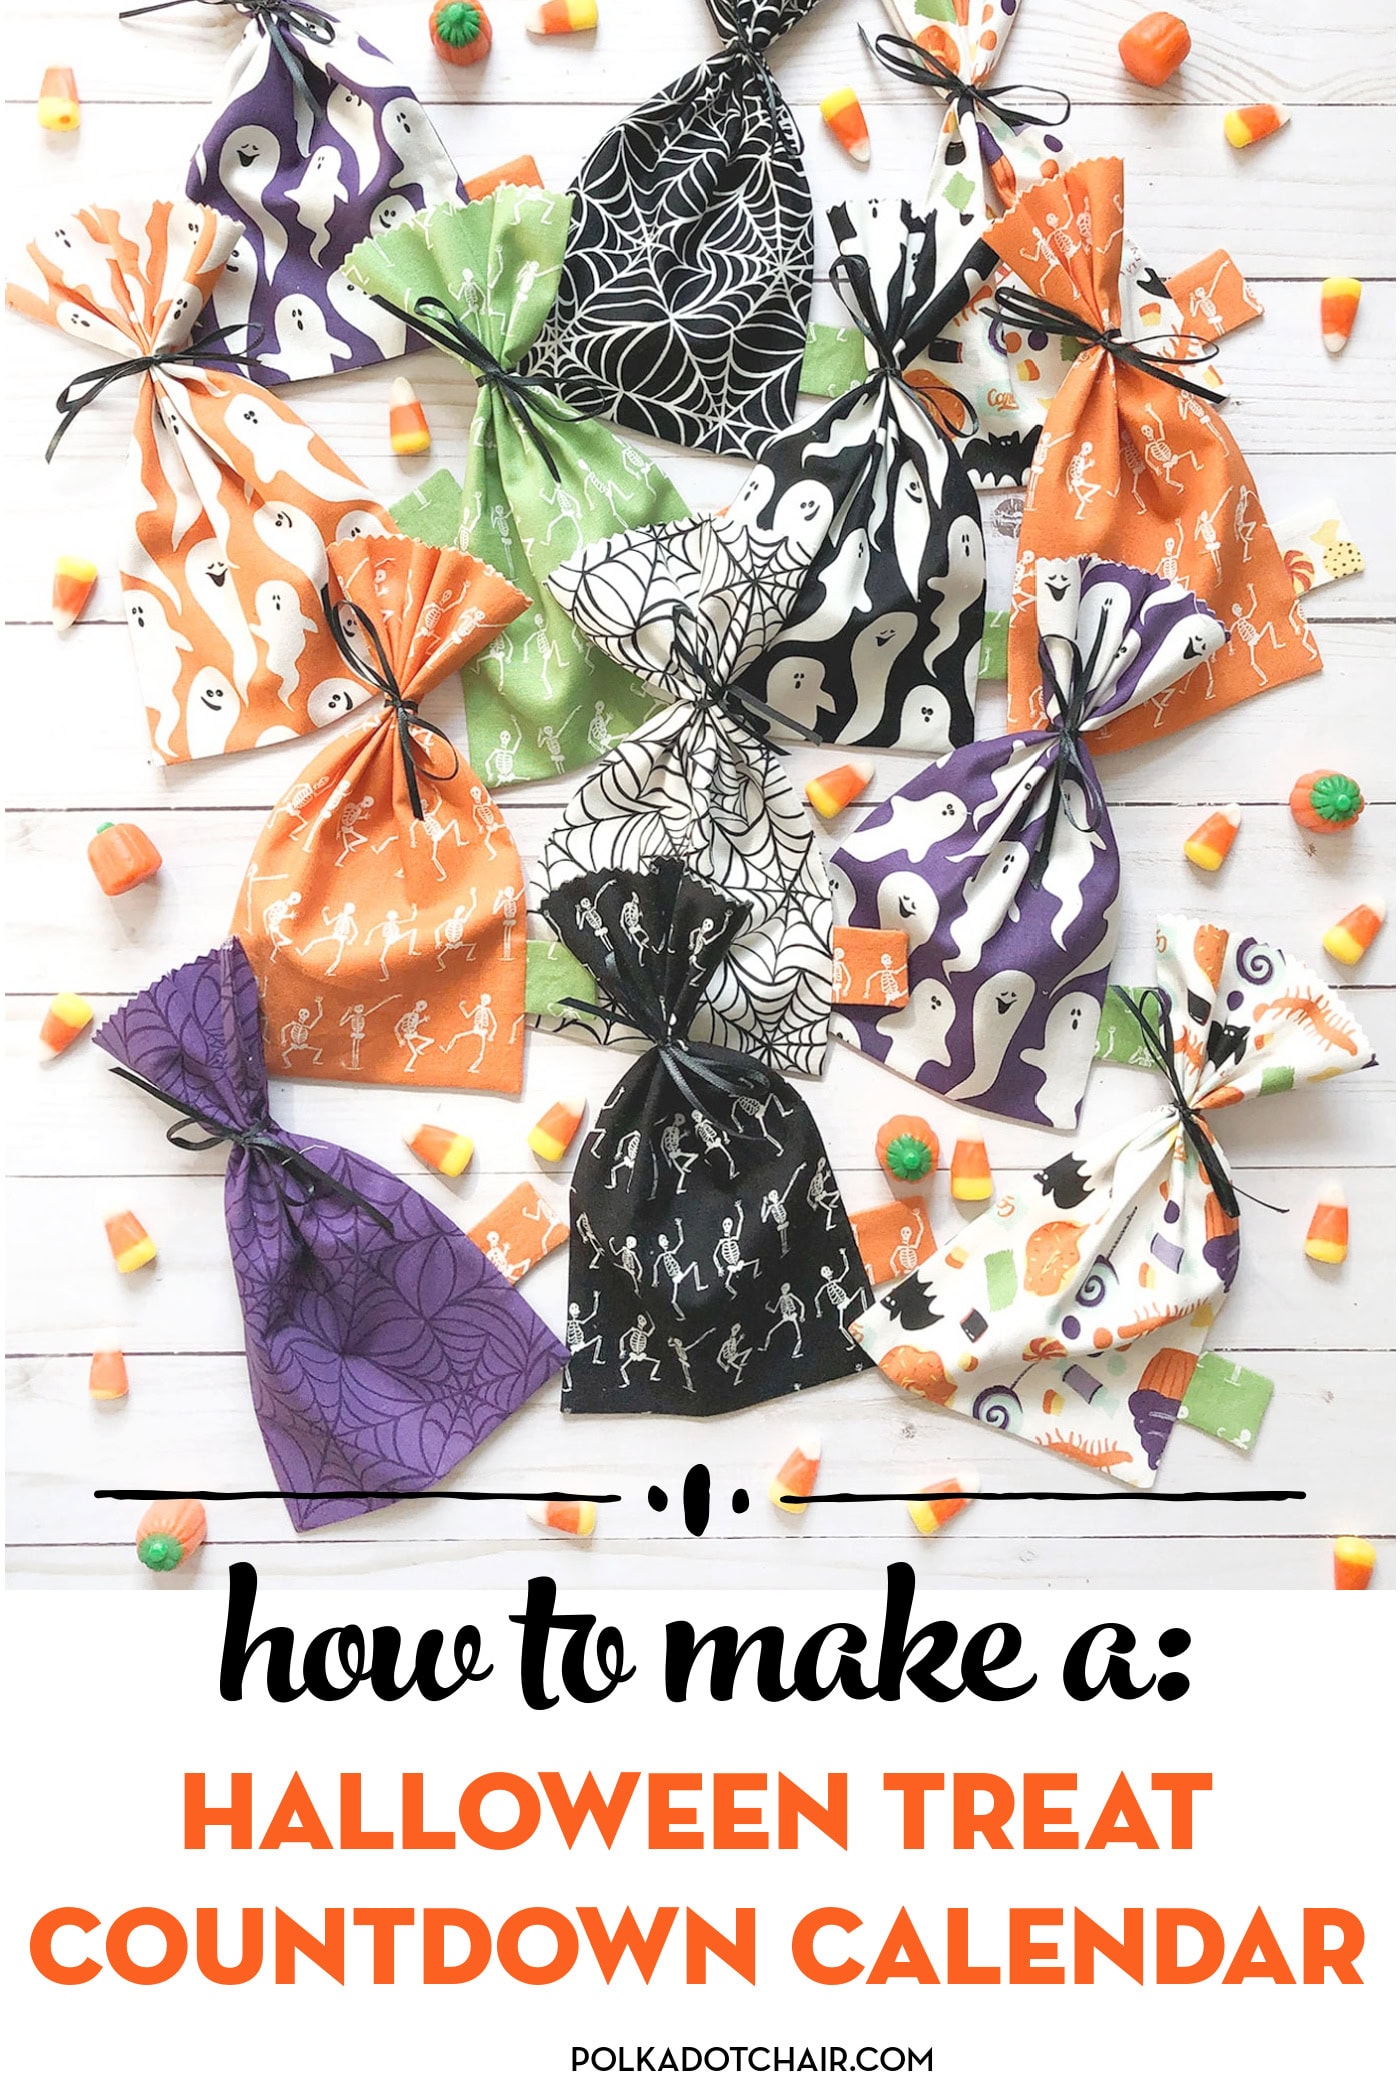
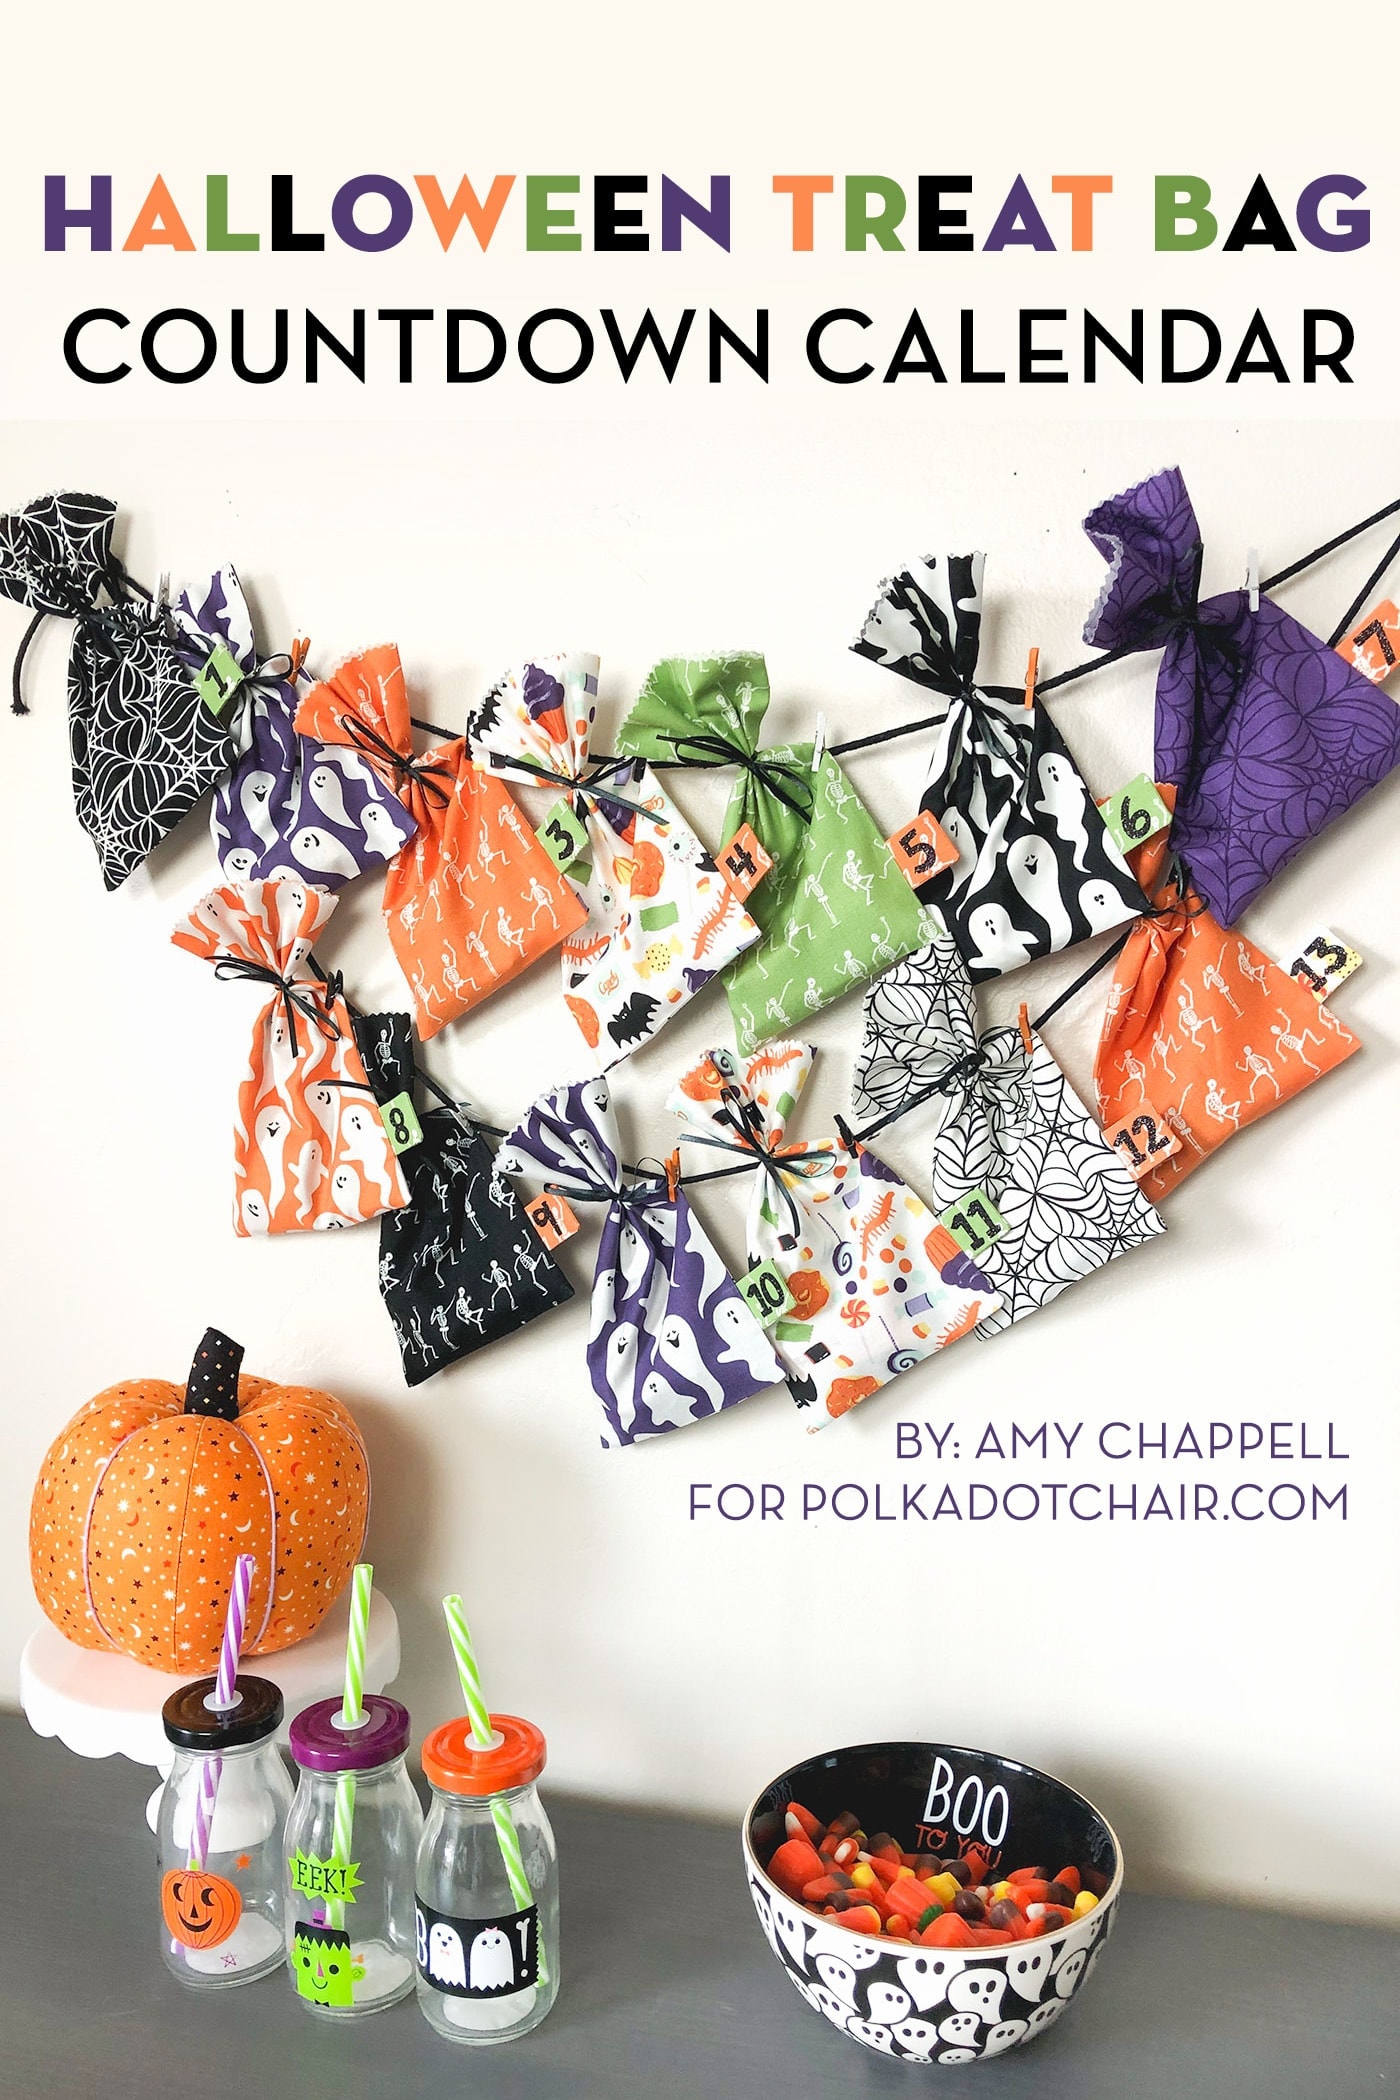
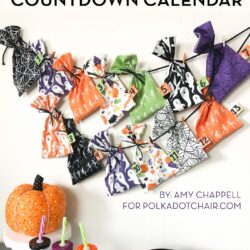
DIY Treat Bag Halloween Countdown Calendar
With our free sewing tutorial, you can learn how to make simple DIY Halloween Treat bags from fabric. Then, use the bags to create a clever Halloween Countdown Calendar!
DIY Halloween Treat Bag Countdown Calendar Tutorial
Do your kids look forward to Halloween as much as mine do? I usually don’t make a big deal of counting down the days to Halloween, but with everything being so different this year, I thought it would be fun to take advantage of the anticipation to make it as fun as possible.

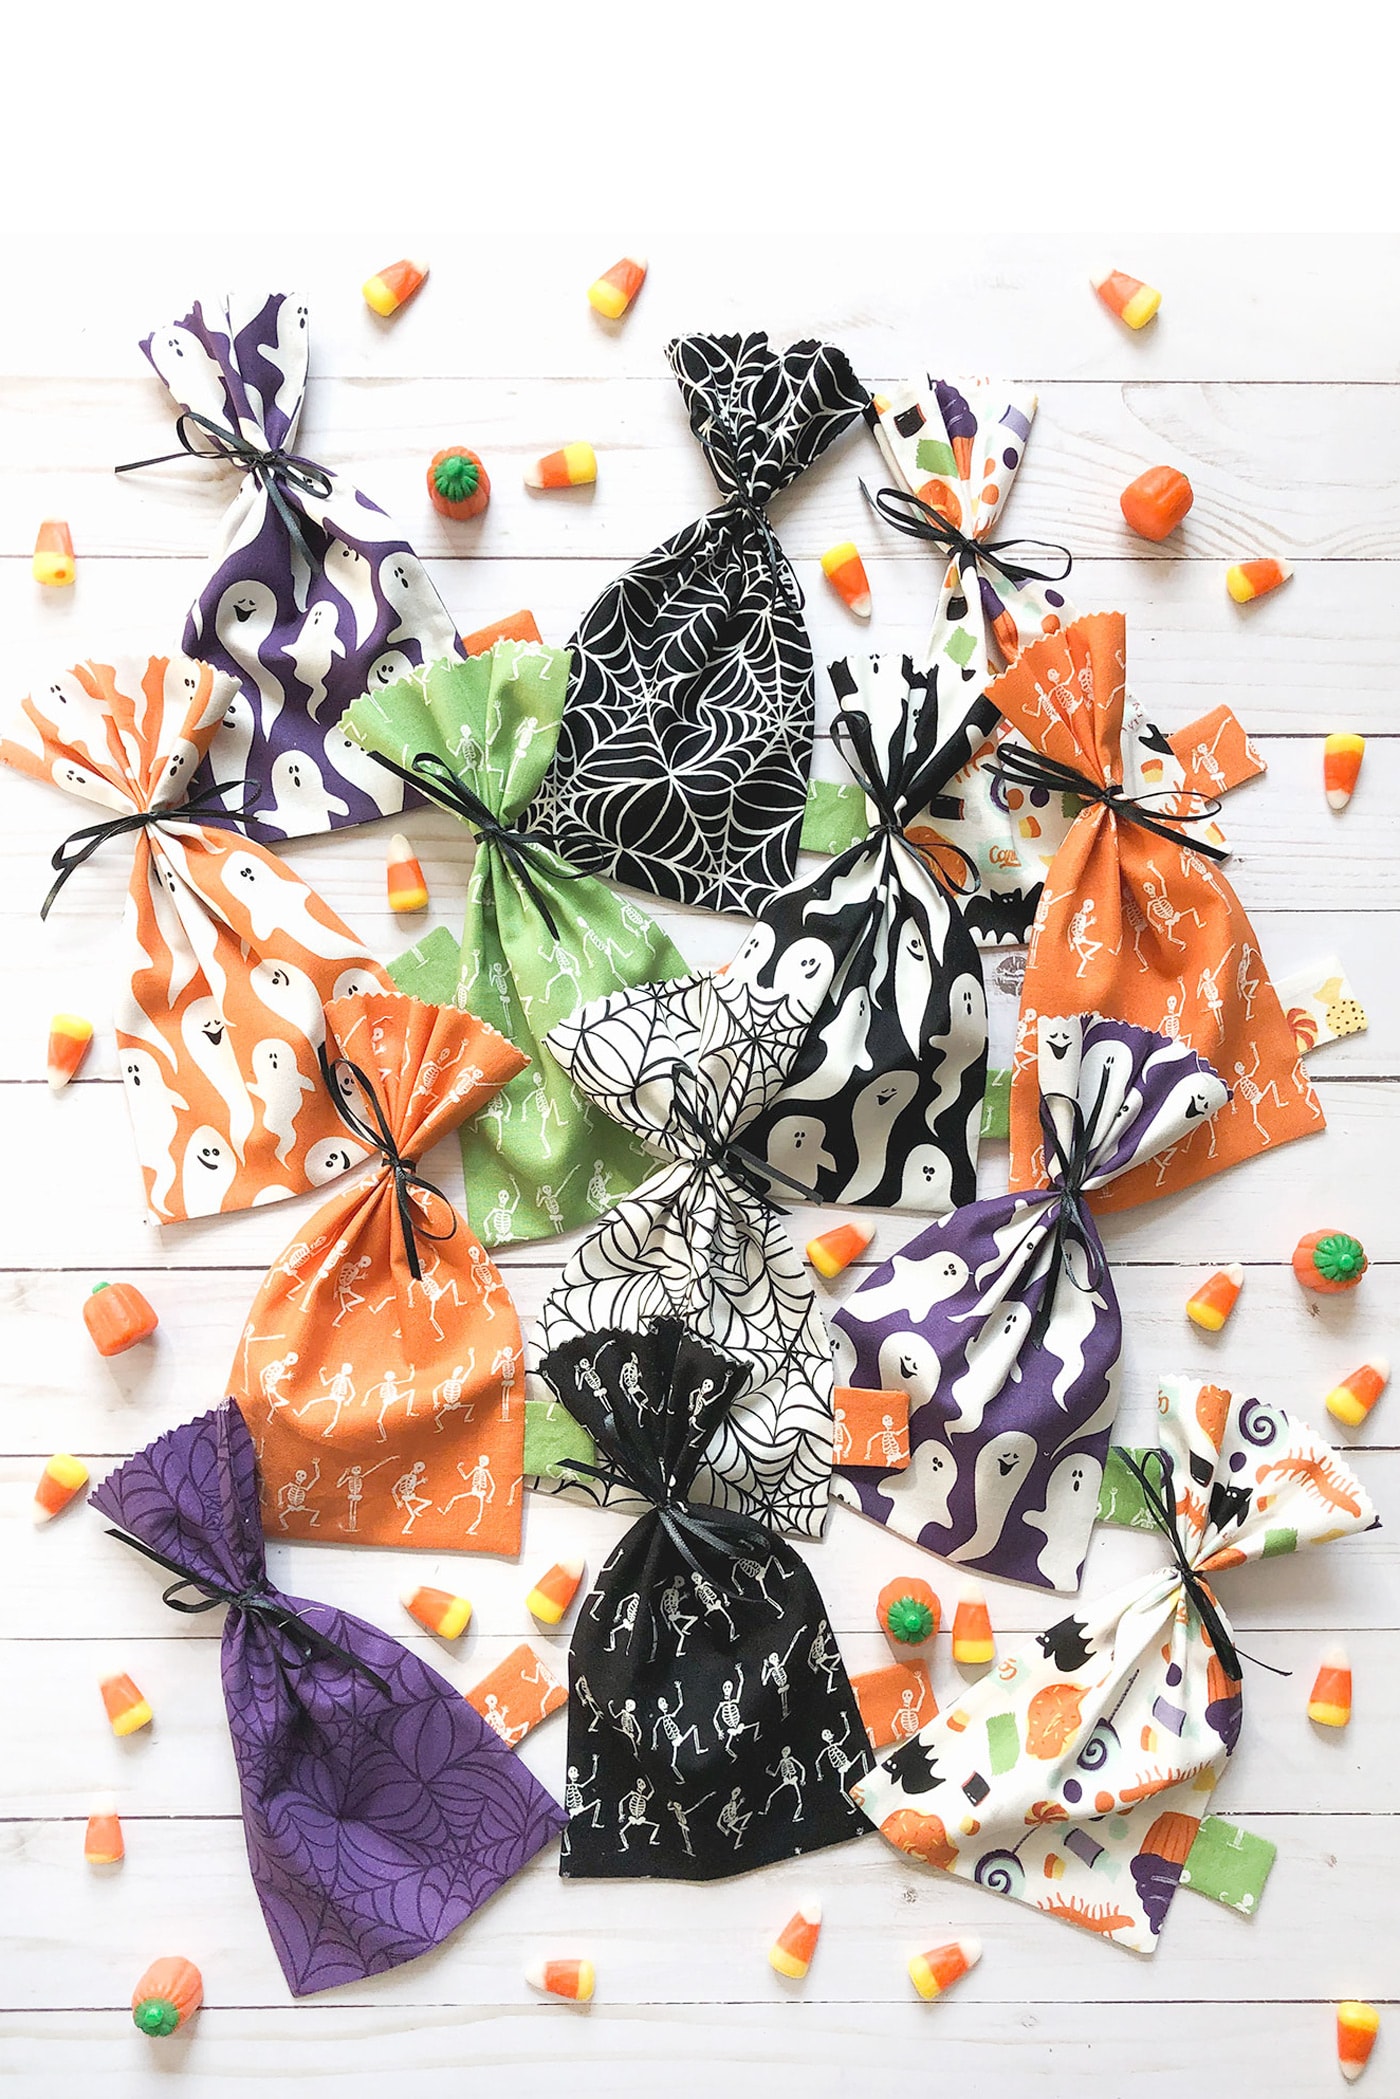
This treat bag Halloween Countdown is simple and quick to make but packs a delightful punch of fun! Use the treat bags as a countdown, or give them to friends and neighbors. I will send a set to my daughter at college for her to enjoy!
And if you want to make some stuffed pumpkins to go with your darling countdown, you can find the pattern for my Fabric Pumpkin Patch here.
Easy Halloween Treat Bag Tutorial & Countdown Calendar Ideas
Equipment
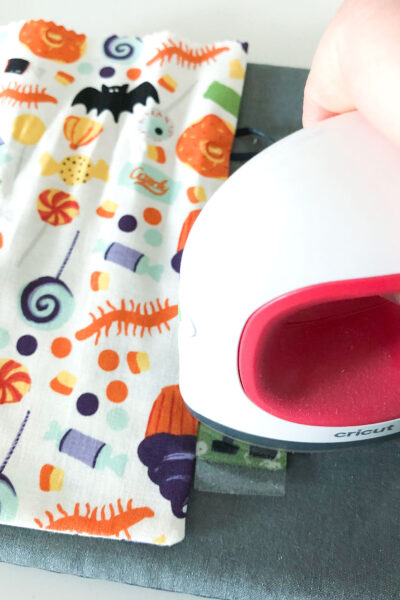
- Cricut EasyPress Mini
supplies
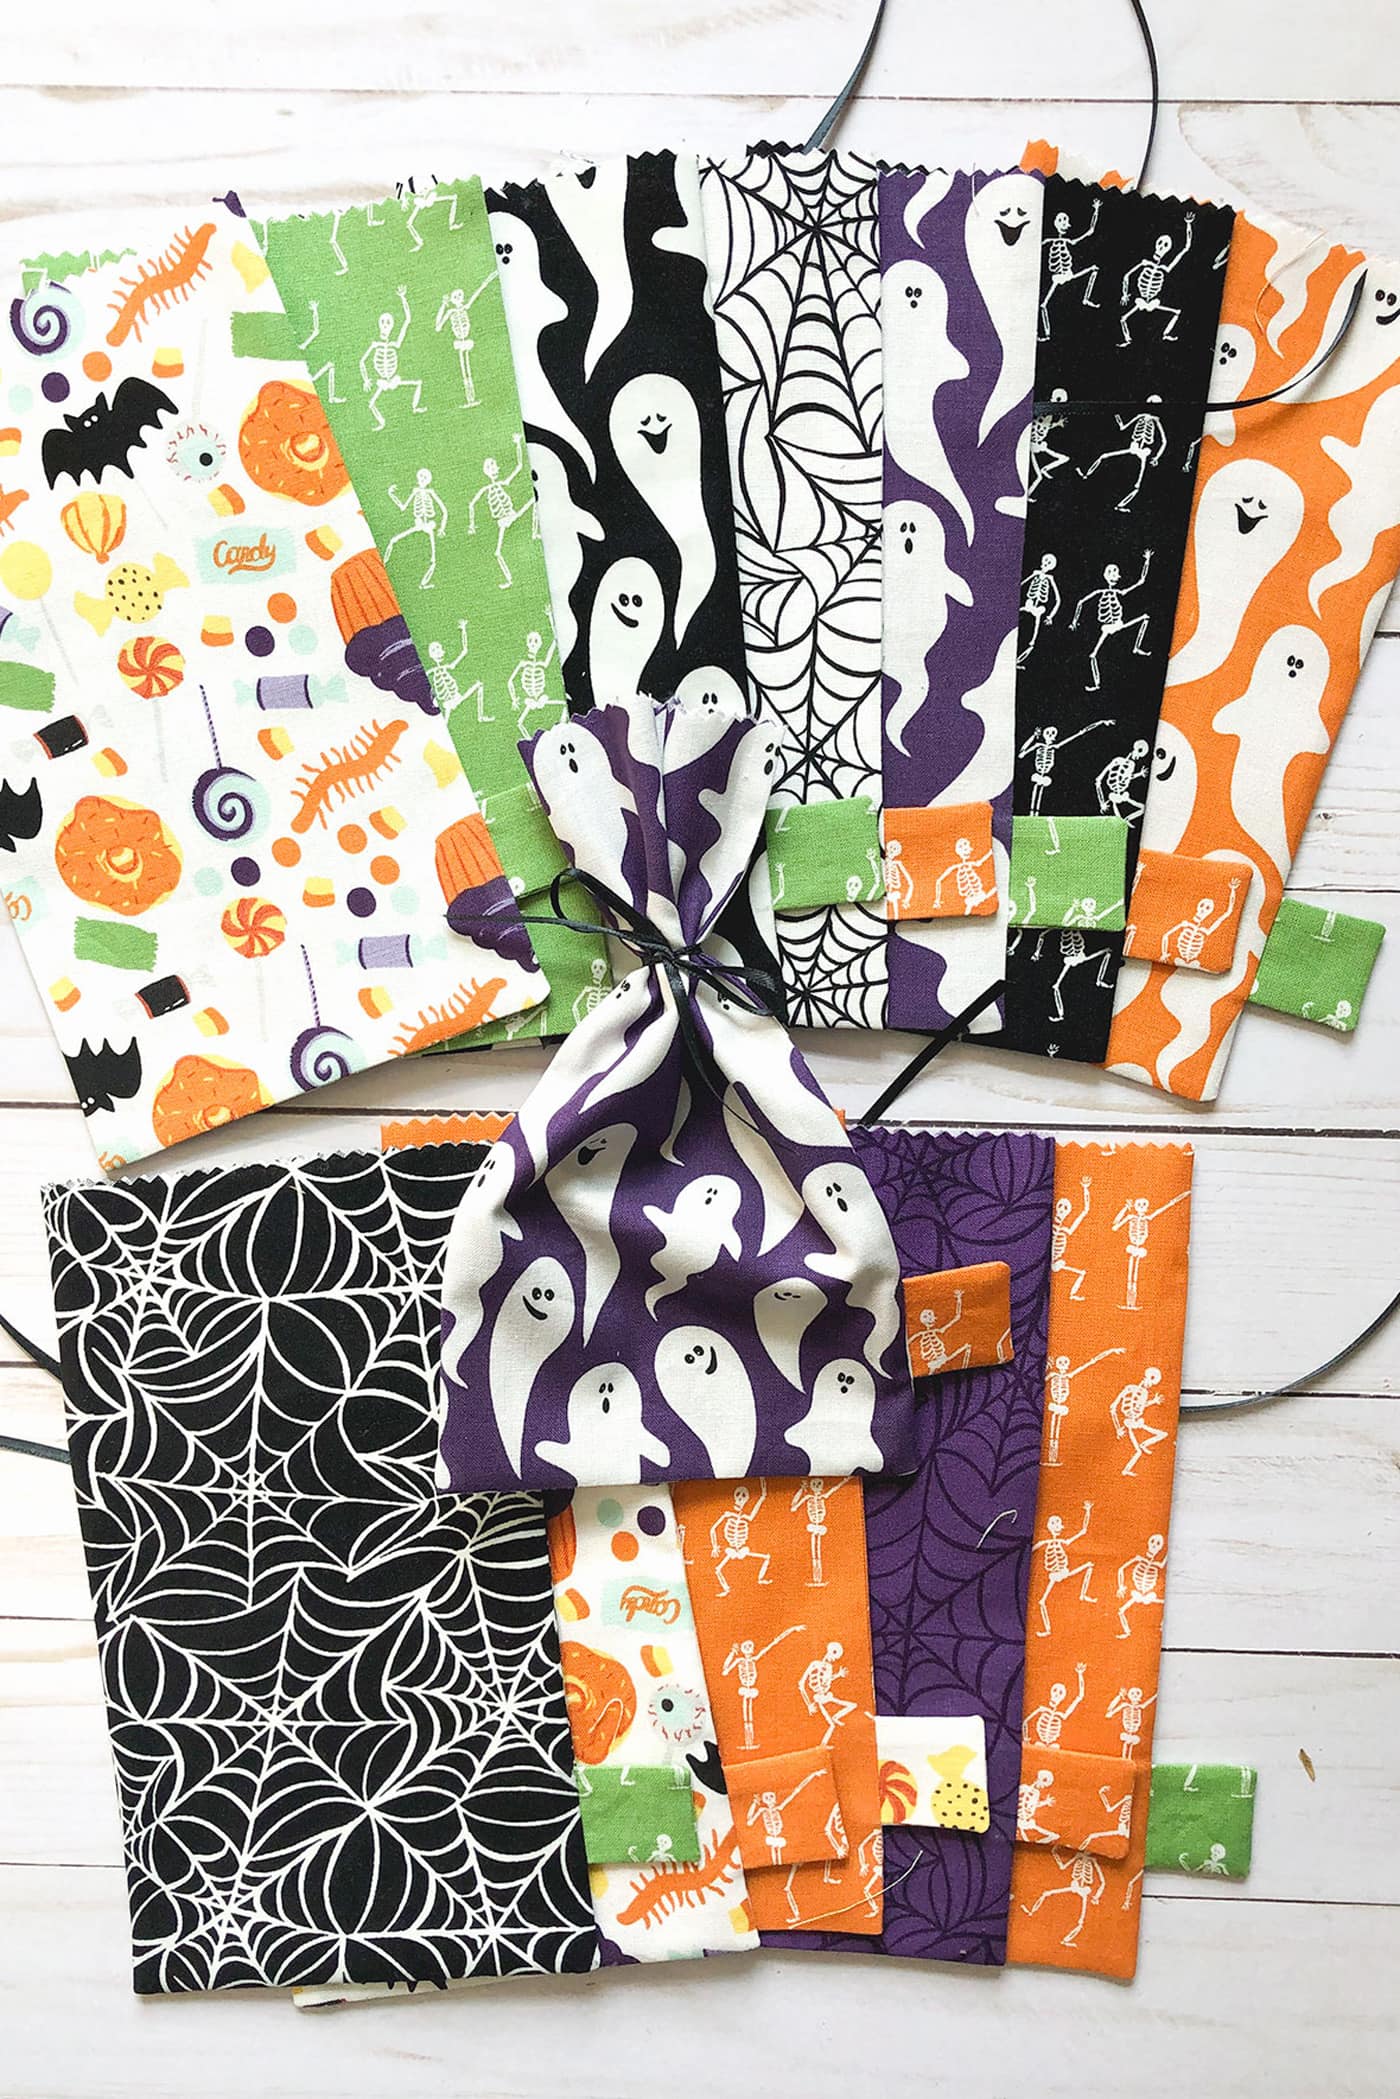
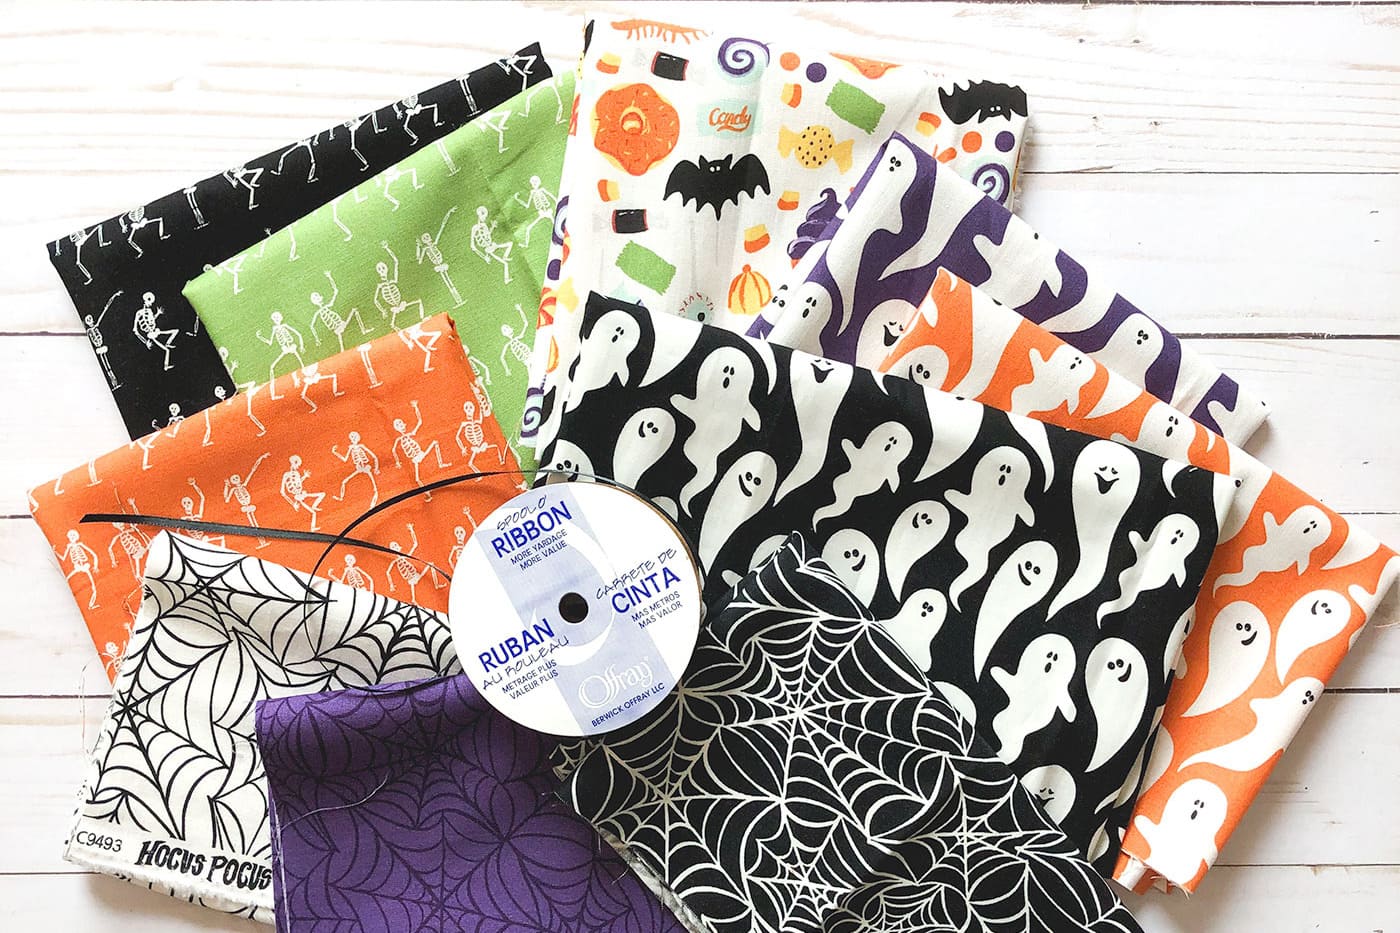
- 1 Fat Quarter Fabric for every 4 bags. I wanted a bit more variety. I am using 10 prints from the line Hocus Pocus by Echo Park for Riley Blake Designs
- 1/8" wide Ribbon for bag ties
- Ribbon I recommend 1” wide or fabric scraps for tags
- 1 roll Iron-on or glitter iron-on for numbers on tags this step is optional
Instructions
Cutting FOR ONE BAG:
- If fabric is not directional, cut a strip 5” X 16”
- For directional fabric- cut 2 pieces 5” (W) X 8 ¼” (H)
- *I am doing a 13 day countdown, but you can do any number you like.
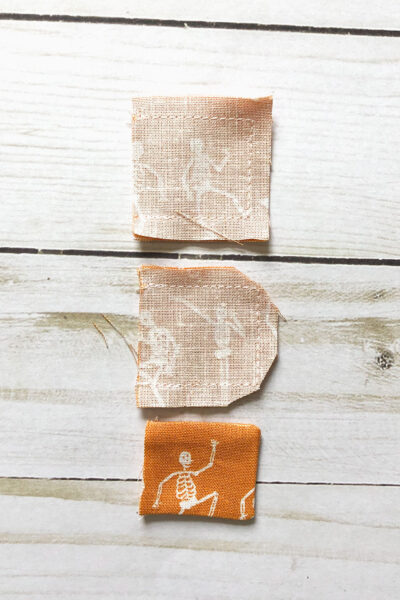
- Cut 2- 1 ½” X 1 ½” squares for each bag you are making to create fabric tags. This would be a great place to fussy cut fabric, especially if you aren’t going to put numbers on the tags. If using ribbon, cut into 2 ½” strips.
- Cut ribbon for ties into 12” lengths. It would be a good idea to seal the edges of your ribbon with fray-check or by melting them (if using polyester ribbon)
Sew tags for bags:
- Take your set of 2- 1 ½” squares of fabric and place them right sides together.

- Sew around 3 sides of the squares, back stitching at the beginning and ending of your stitching.
- Clip the corners of the fabric square.
- Turn the tag right side out. Use a blunt tool to push out the corners.
- Press the tag well.
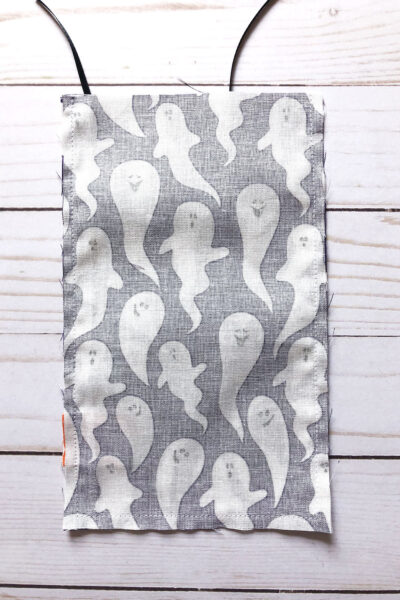
Assemble bags:
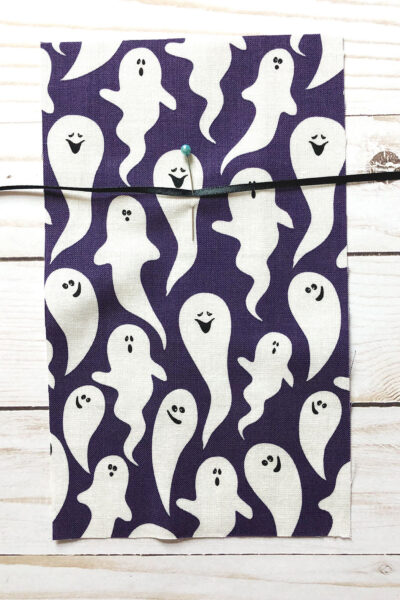
- Measure 2 ½” down from the top of the back side of the bag. Mark the center.
- Line up the center of your tie ribbon with the marked spot on the back of the bag.
- Sew the ribbon in place at the center mark.
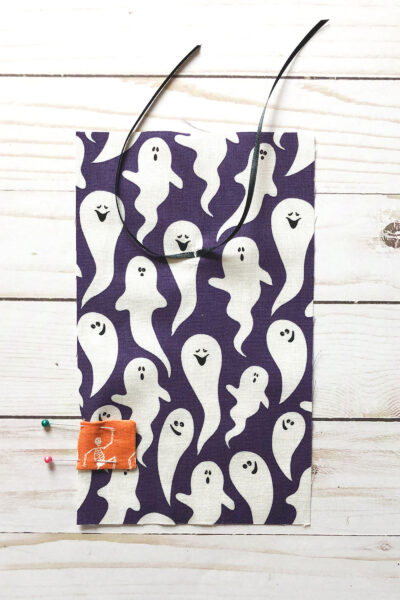
- Place the back fabric for the treat bag right side up. Measure 7” down from the top of the fabric and line up the raw edge of the fabric tag on the left side of the bag at this position. Pin in place.
- Place the front fabric for the treat bag right side down on top of the back fabric. (if using the 16” strip, simply fold up the fabric, right sides together.) Pin in place.
- Sew down the two long sides and across the bottom using a ¼” seam allowance. (just the two long sides if using a folded strip) *BE sure to keep the ribbon ties out of the seam allowance.
- Clip or fold corners and turn the treat bag right side out.
- Press the seams well.
- Use pinking shears to trim the very top edge of the treat bag to reduce fraying.
- Repeat for all your treat bags.
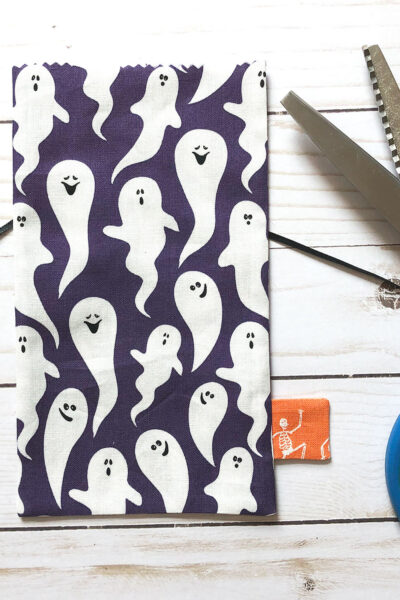
Add Numbers to the Bags:
- If desired, cut out numbers from iron on vinyl and fuse onto the tag. You could also stamp numbers here if you like.
- All that is left is to fill your bags and enjoy!
Notes
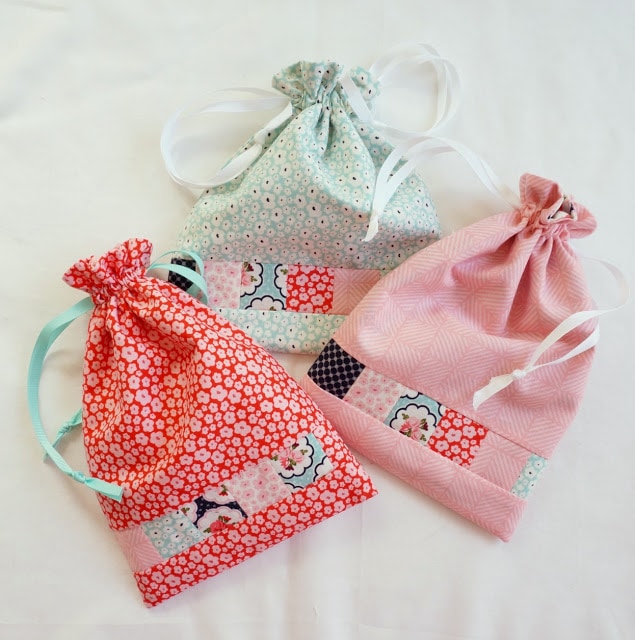
If you want a larger treat bag, especially for gifting, this patchwork drawstring bag would be absolutely darling in Halloween fabrics!
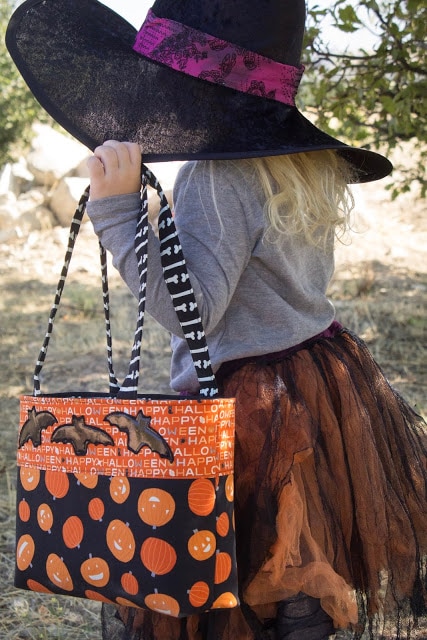
Or, if you ARE trick or treating this year, or just want to make a special bag for giving a larger “sorry we don’t get to trick or treat” gift, these Trick or Treat totes are my very favorite size!
Happy Sewing Friends! Amy
About the Designer

Hello! I’m Amy Chappell, the person behind Ameroonie Designs. I’m a sewing and quilt pattern designer, and I’m proud to say that my work has been featured in several print publications and popular DIY websites.
I am the mom of six kids- which is a big reason I create and sew. I find that I am happiest when I am making things, and taking time to be happy makes me a better mom.
Join me in my exclusive Let’s Sew Friends membership, where you’ll find small, manageable monthly sewing patterns, live classes, and lots of video tutorials!
More Fun DIY Countdown Calendars
Thanksgiving Countdown Calendar Activity Ideas for Families
Thanksgiving Countdown Calendar Pattern
Christmas Stocking DIY Advent Calendar