• Skip to primary navigation
  • Skip to content
  • Skip to primary sidebar
  • Skip to footer

The Polka Dot Chair

A Modern DIY & Sewing Blog. Free tutorials for sewists and makers everywhere!

  • SHOP
  • SEW
  • CRAFT
  • QUILT
  • EXPLORE
  • INDEX
  • CONTACT
  • ABOUT
    • ABOUT MELISSA
    • BOOK
    • FABRIC LINES
    • PRESS
You are here: Home / Sewing / Learn to Sew Series: Stitch an Adorable Zippered Pouch

Learn to Sew Series: Stitch an Adorable Zippered Pouch

225 · Jun 8, 2018 · 4 Comments

Pin
Share
Tweet
Email
19K Shares

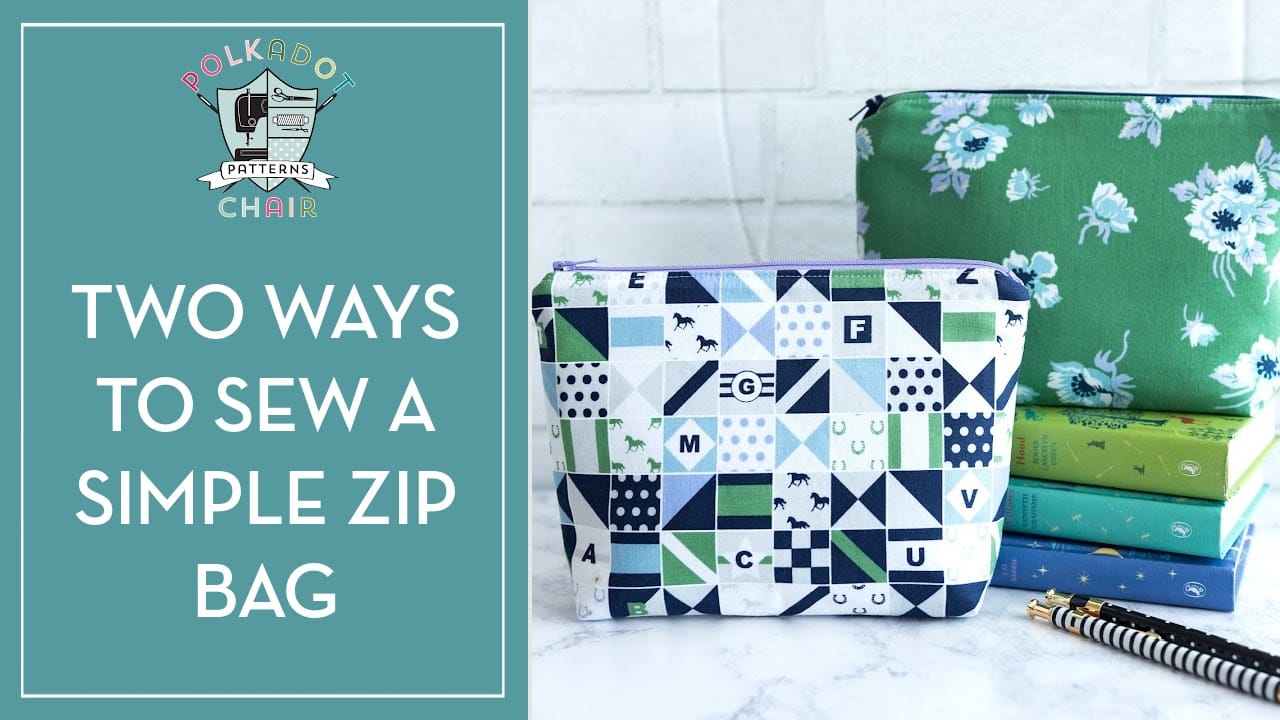
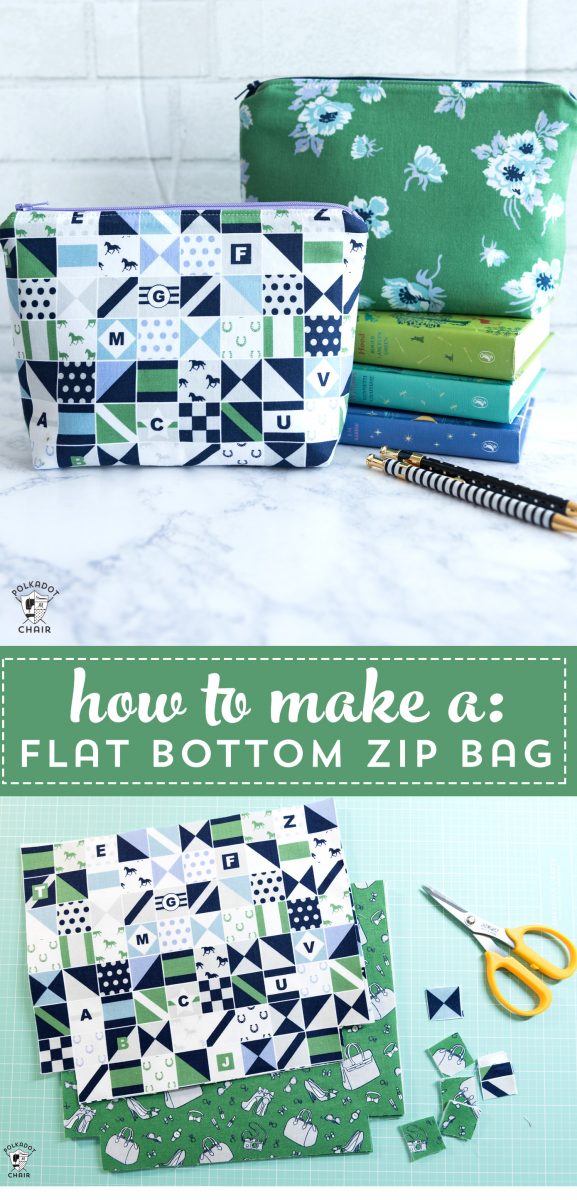
This tutorial for a zip pouch with a flat bottom is a part of my “learn to sew series”. A series of simple sewing projects aimed at helping you learn how to sew or improve your sewing skills!  These zippered pouches are my “go to” handmade gift, and were one of the very first bags I learned how to sew. They stitch up quickly and are a great way to use up fabric scraps!
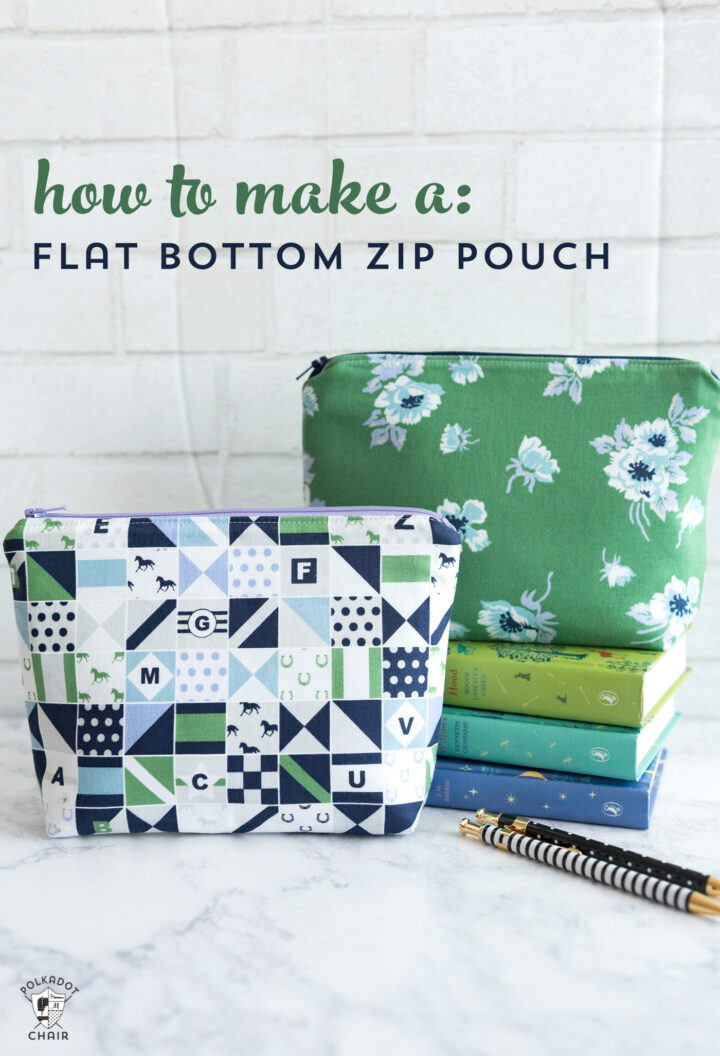
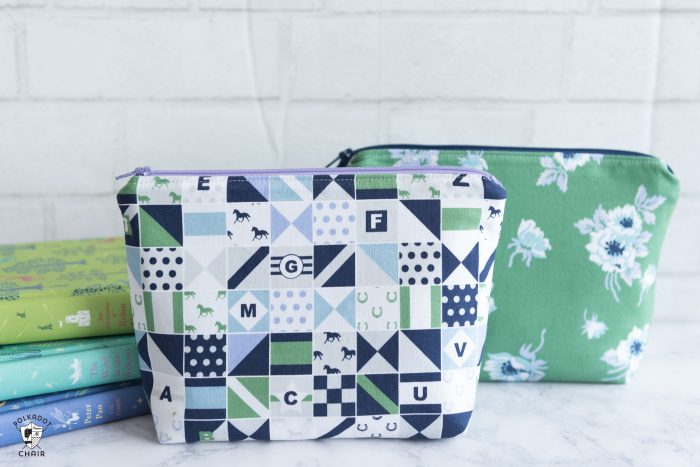
I’ve made A LOT of zippered bags over the years. I love that the pattern is pretty simple and can easily be modified or customized depending on what you want to use the bag for! You can stitch it out of laminate fabrics to make a cosmetic bag, make it small enough to hold chapstick, or large enough to hold a hairbrush! It’s up to you.
A few Sewing Tips Before you Begin:

-You can make this bag ANY size that you want. Just make sure that your zipper is longer than the width of your fabric. Customize and resize away! This bag is about 9″ x 1 1/2″ x 6 1/2″

-You need to use a polyester zipper for this technique.  Do not use a metal zipper (that’s another tutorial)

-You can use a zipper that is longer than what you need, you will just cut it to size during the construction process.

-Take the time to make sure your interfacing is the same size as your fabric pieces, extra bits of interfacing hanging over the edge of the fabric may throw you off as you’re sewing.

-All seam allowances are 1/2″, except the zipper seam allowance, it’s 1/4″

Zip Pouch with Flat Bottom Sewing Tutorial:

Supplies Required:

Fabric shown is from the Derby Day Line by Riley Blake Designs

1 Fat Quarter of Fabric for Bag Outside

1 Fat Quarter of Fabric for Bag Lining

1/2 yard Pellon Shape Flex Interfacing

1/2 yard Pellon Fusible Fleece Interfacing

10″ or longer polyester zipper

Basic Sewing Supplies

Zippered Pouch Cutting Directions:

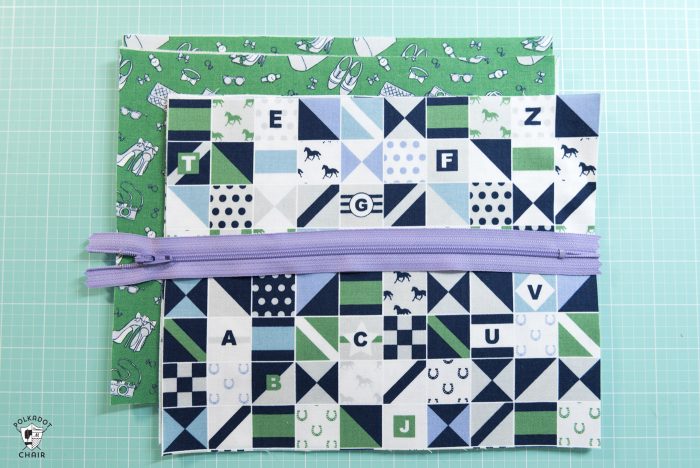
fabric and zippers on cutting mat

From Pouch Outside Fabric Cut:

2 pieces each 8″ x 10″

From Pouch Lining Fabric Cut:

2 pieces each 8″ x 10″

From Shape Flex Cut:

2 pieces each 8″ x 10″

From Fusible Fleece Cut:

2 pieces each 8″ x 10″

Construction Steps:

Iron the Shape Flex interfacing on to the wrong side of the pouch outside pieces.

Iron the Fusible Fleece interfacing to the wrong side of the pouch lining pieces.

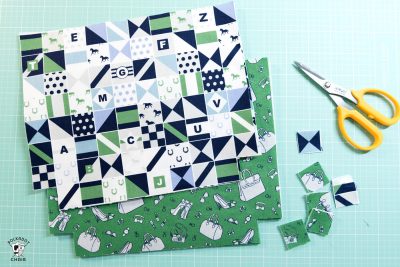
cut fabric on cutting mat

Cut a 1″ x 1″ square out of the bottom corners of all fabric pieces.

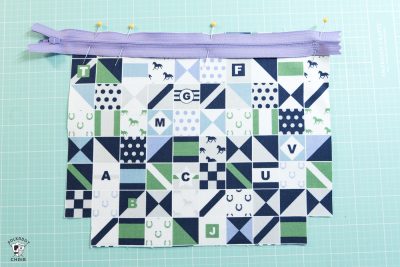
zippered pouch tutorial in progress on cutting mat

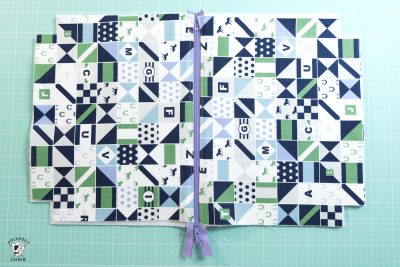
Pin the right side of the pouch outside front piece to the right side of the zipper, the right side of the zipper will be facing the right side of the zipper. Pin the right side of one of the lining pieces to the wrong side of the zipper. Using a zipper foot, stitch.

zipper pinned to fabric piece

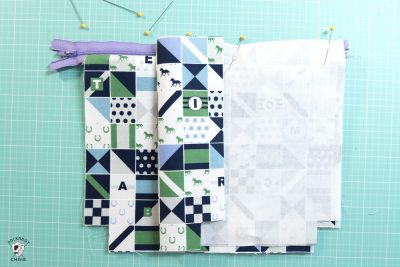
zippered pouch tutorial in progress on cutting mat

Repeat for the other side of the zipper.

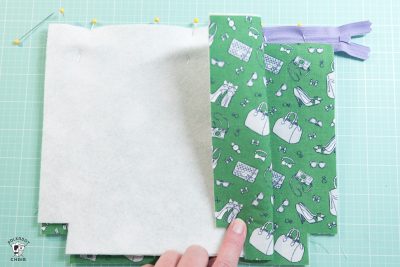
zipper pinned to fabric piece

Press the fabric away from the zipper and top stitch along both sides of the zipper. I like to use a longer stitch length (like 3.5 when I’m topstitching).

Next, unzip the zipper 3/4 of the way.

zip bag during construction on cuttin gmat

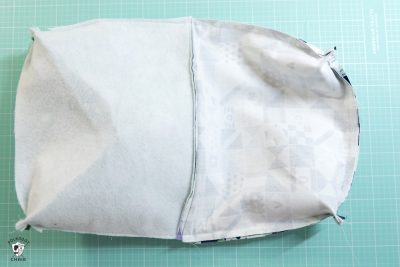
Pin the two zip pouch outside pieces right sides together and the two lining pieces right sides together. Fold the seam allowance of the zipper towards the lining pieces.

Stitch with 1/2″ seam allowance, skipping the corners. Leave a 2″ opening in the center of the lining pieces so that you can turn the pouch right side out.

hand holding corner of zip bag

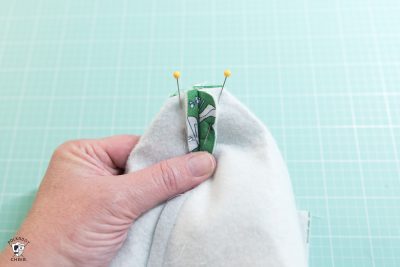
Next, pinch the corners (where the squares are cut out) so that the raw edges are even and the seams are lined up on top of each other. Stitch in place with 1/2″ seam allowance. Repeat for all 4 corners.

Cut off the extra zipper (do this ONLY if you bought a polyester zipper, don’t do this for a metal zipper).

Turn zip pouch right side out.

Finishing:

Using a hera tool or other “pointy object” (not your scissors, they may poke thru the fabric), push the corners of the bags out until they are crisp.

Using your iron and lots of steam, press the zip pouch well, don’t skip this step, it will be one of the things that give you a nice smooth finish on your bag.

Stitch (by hand or machine it’s up to you) the opening in the lining closed.

If you’d like more ideas for Zip Pouches to Sew, then check out some of these other tutorials!

Seersucker and Leather Zippered Clutch

Embellished Zip Pouch Tutorial

40+ FREE Zip Pouch Sewing Tutorials
 

title image for zipper pouch tutorial


Print Friendly, PDF & EmailPrint Friendly
225
Learn how to sew a simple zippered pouch with the free tutorial. #simplesewingprojects #sewingtutorials #sewing #zippouchtutorial #smallsewingprojects #giftstosew
Pin
Share
Tweet
Email
19K Shares

Related

Bag Patterns, Beginner Friendly, How to Sew, Sewing, Sewing Tutorials accessories, beginning sewist, derby day fabric, derby day fabrics, DIY, easy gift ideas, handmade gift ideas, riley blake, sew, sewing blogs, sewing pattern, sewing patterns, tutorial, zip pouch, zippered pouch, zippers

Can’t find what you were looking for? Try a Search!

Reader Interactions

Melissa Mortenson

Melissa Mortenson is the author of the Polka Dot Chair blog which has been sharing fresh and creative ideas with readers since 2008. She is the author of “Project Teen, Handmade Gifts your Teen will Actually Love”. Her first fabric line “Derby Style” debuted in January 2015 through Riley Blake Designs. It was followed by 5 other fabric lines in subsequent years. A mom of 3, she considers herself lucky to be living in Kentucky.

Comments

  1. Sheila Perl says

    June 8, 2018 at 3:33 PM

    Great tutorial, Melissa!! I don’t usually use interfacing on my pouches, I’ll have to give it a try!

    Reply
  2. Mary says

    December 16, 2018 at 11:05 PM

    Hi Melissa! Thank you for this tutorial. Question, The first time you talk about pining fabric to the zipper you say, “the right side of the zipper will be facing the right side of the zipper.” I’m new to this sewing thing so could you explain what you mean? Thank you so much!

    Reply
    • Melissa Mortenson says

      December 21, 2018 at 11:39 AM

      It should say right side of the zipper should be facing the right side of the fabric. sorry

      Reply
  3. Judy says

    February 13, 2019 at 9:34 PM

    Hi Melissa, love your zipper pouch tutorial. I’m wondering if you could advise the best way to press a pouch with a base on completion as I always find it difficult to avoid press ‘ lines’ forming in the base area ( if that makes sense!) thankyou, Judy

    Reply

Leave a Reply Cancel reply

Your email address will not be published. Required fields are marked *

This site uses Akismet to reduce spam. Learn how your comment data is processed.

Primary Sidebar

Hello! It’s nice to meet you.

I’m Melissa. Mom of 3. Maker. Fabric Designer. Adventurer. Thanks for spending part of your day with me.

 Find out more about me here.

Fresh Ideas delivered right to your inbox!

Start your free subscription today and you'll also get access to all of our subscriber exclusive free printables & patterns!

Privacy Policy

COPYRIGHT POLICY

All my images are copyrighted. If you would like to feature my work, you may use ONE (1) NON-COLLAGED image and must link back to my original blog post. You may NOT edit, crop, or change my images in any way without written permission. You MAY NOT print out or copy and distribute any text, images or patterns from this site. All patterns, content, instructions and templates are for personal use ONLY! Thank you!

Footer

Connect with me on Instagram

  • Monday mood —- the kids are back in school, hubby’s at work and I’m excited to tackle a new work week. Anyone else? Pattern linked. .
.
.
.
#quiltersofinstagram #quilts #quilting #rileyblakedesigns
  • Join me this year for the “Just for Fun” Quilt Along! Make a quilt block a month all year then at the end you’ll have a completed quilt top! Beginners are welcomed and encouraged to join! More info in the link in my bio. .
.
#rileyblakedesigns #quiltblock #quiltalong #quiltalong2019 #justforfunquilt #polkadotchair #quiltersofinstagram
  • There are a few new SVG files that are perfect for last-minute Valentines projects up on the blog. Link in stories! ❤️❤️❤️ Keeping with the “make my kids do my work” mantra this week,  my daughter hand lettered these for you! (Also KIDDING about the making kids do my work - but only a little 😉) .
.
#valentinesdaycrafts #cricutmade #svgfiles #craftersofinstagram
  • Happy Valentine’s Day week! I guess it’s time for me to bust out all of my pink and red clothes to wear. Good thing they “sparked joy” last month 😂. There’s a tutorial for some simple conversation heart leather keychains on the blog right now. And we’ve got more fun stuff planned this week! Just click the link in my bio for more info. .
.
.
#valentinesdaycrafts #cricutmade #diyvalentines
  • Hi guys! I’m in Texas (and it’s 75 degrees 🙌🏻). Today I’m going to be doing a livestream with Kim from @fatquartershop at 1 pm Central! I’m excited and kinda nervous. 🤪. Tune in and ask me all your questions about fabric design, blogging, quilting or whatever! More info on @fatquartershop profile. .
.
.
.
#rileyblakedesigns #letsbemermaidsfabric  #quiltsofinstagram #fabriclove #sewistsofinstagram #polkadotchair
  • Bloglovin
  • Facebook
  • Instagram
  • Pinterest
  • Twitter

SEARCH

Archives

Categories

Popular Posts

  • More than 50 Fun Beginner Sewing Projects (947)
  • Pillowcase Dress Tutorial (796)
  • Tips for Painting Kitchen Cabinets (701)
  • Large Hexagon Quilt Tutorial (590)
  • More than 25 Cute Things to Sew for Christmas (568)

PRIVACY POLICY

Privacy Policy for polkadotchair.com

The privacy of visitors to polkadotchair.com is important to us.

At polkadotchair.com, we recognize that privacy of your personal information is important. To read our full Privacy Policy, please CLICK HERE.


MY FABRIC LINES

Disclaimer:

While every effort has been made to ensure the accuracy of the content on this website, the information is made available without warranty of any kind. The Polka Dot Chair accepts no responsibility or liability, whether direct or indirect, as to the currency or accuracy of the information, nor any consequence of its uses. This website is not intended to substitute the advice of a professional. This website frequently uses affiliate links.

Melissa Mortenson is a “creative mama”, published Author, Licensed Fabric Designer and the founder of the Polka Dot Chair blog. The Polka Dot Chair is a place for Creative Moms and Families to come to find simple and inspiring DIY projects for their home, sewing projects, Holiday crafts, and family recipes. Its mission is to make its readers WANT to create.

The Polka Dot Chair is a participant in the Amazon Services LLC Associates Program, an affiliate advertising program designed to provide a means for sites to earn advertising fees by advertising and linking to amazon.com. For full disclosures please see the About page.

Creative Commons License

Creative Commons License
This work is licensed under a Creative Commons Attribution-Noncommercial-No Derivative Works 3.0 United States License.

Copyright © 2019 · Cravings Pro