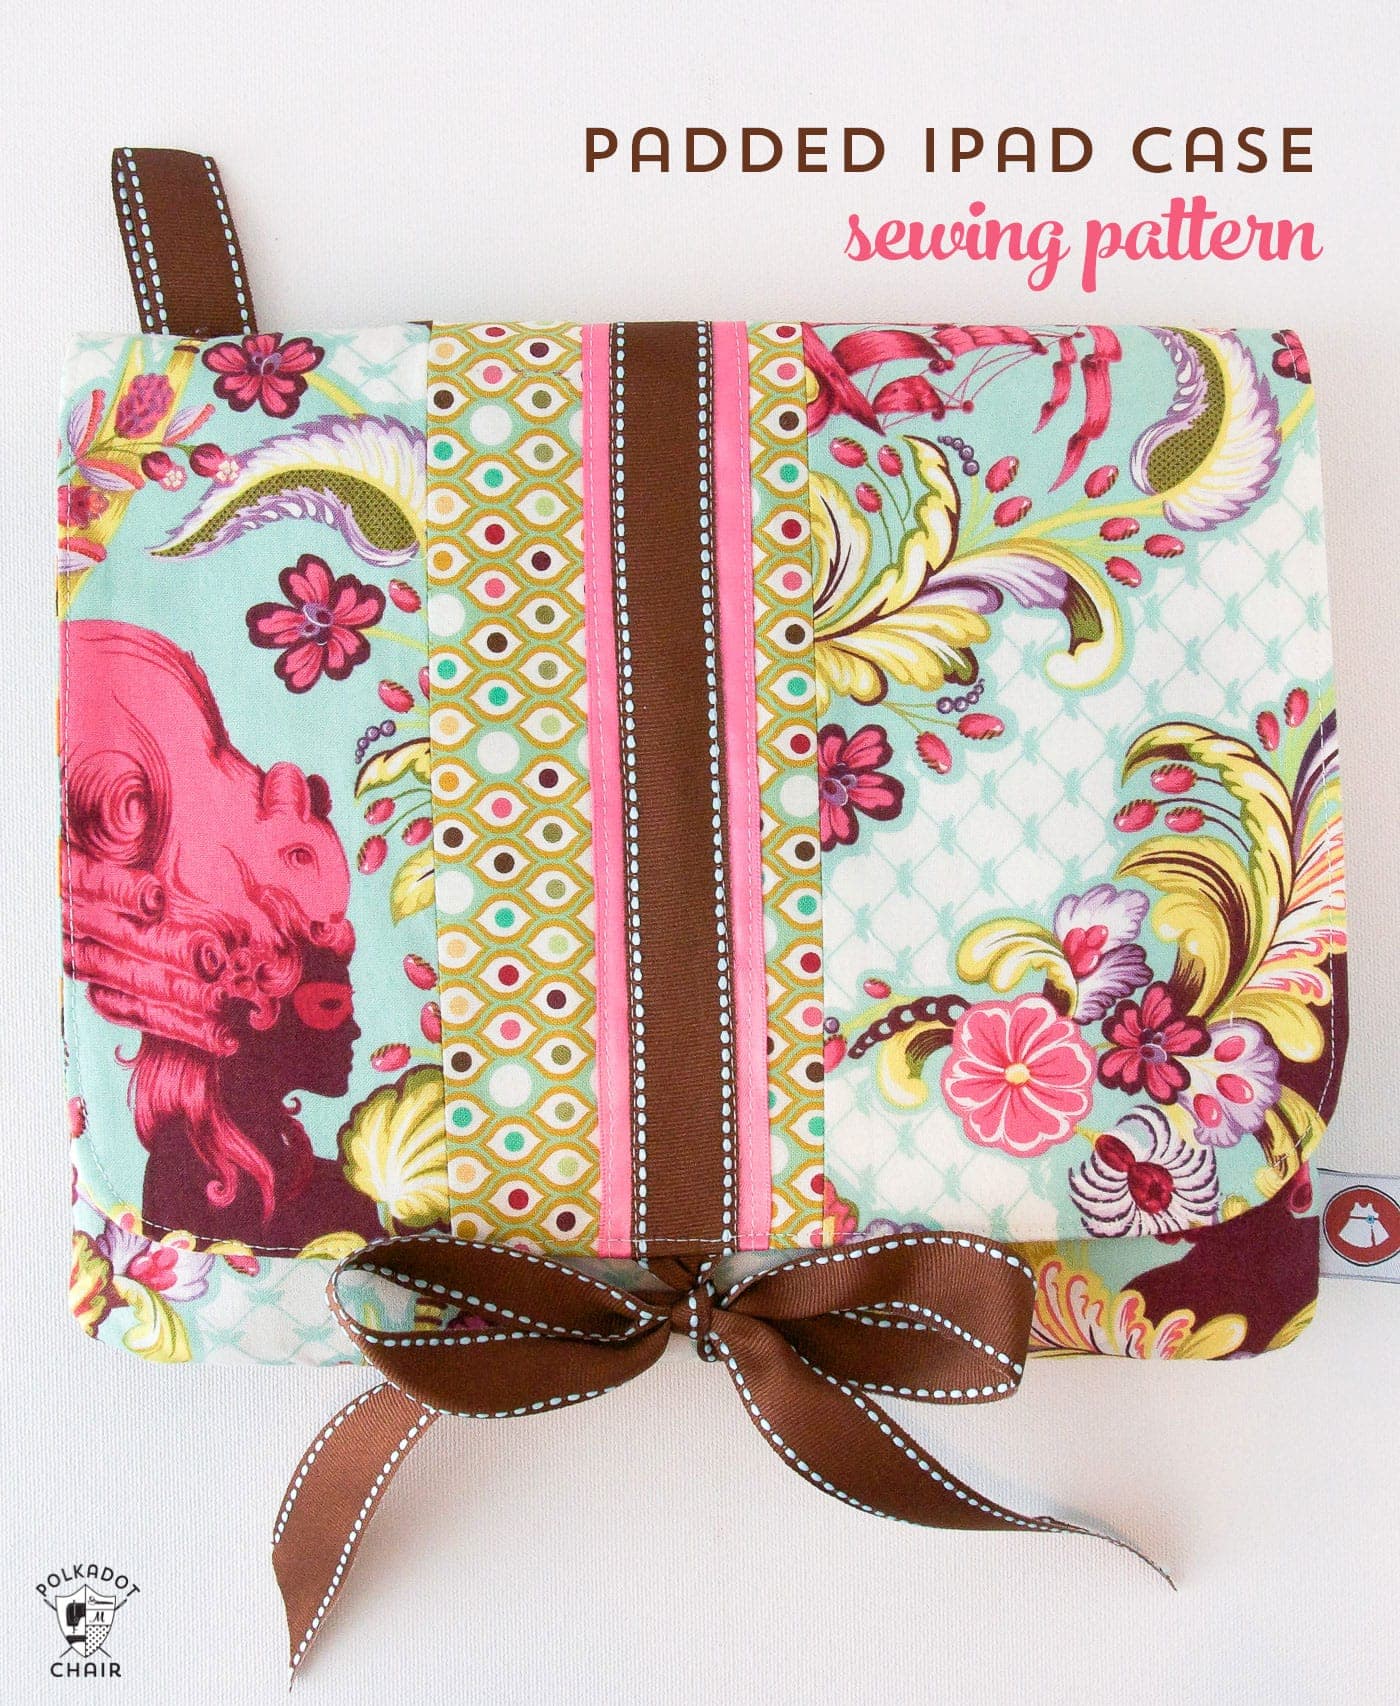
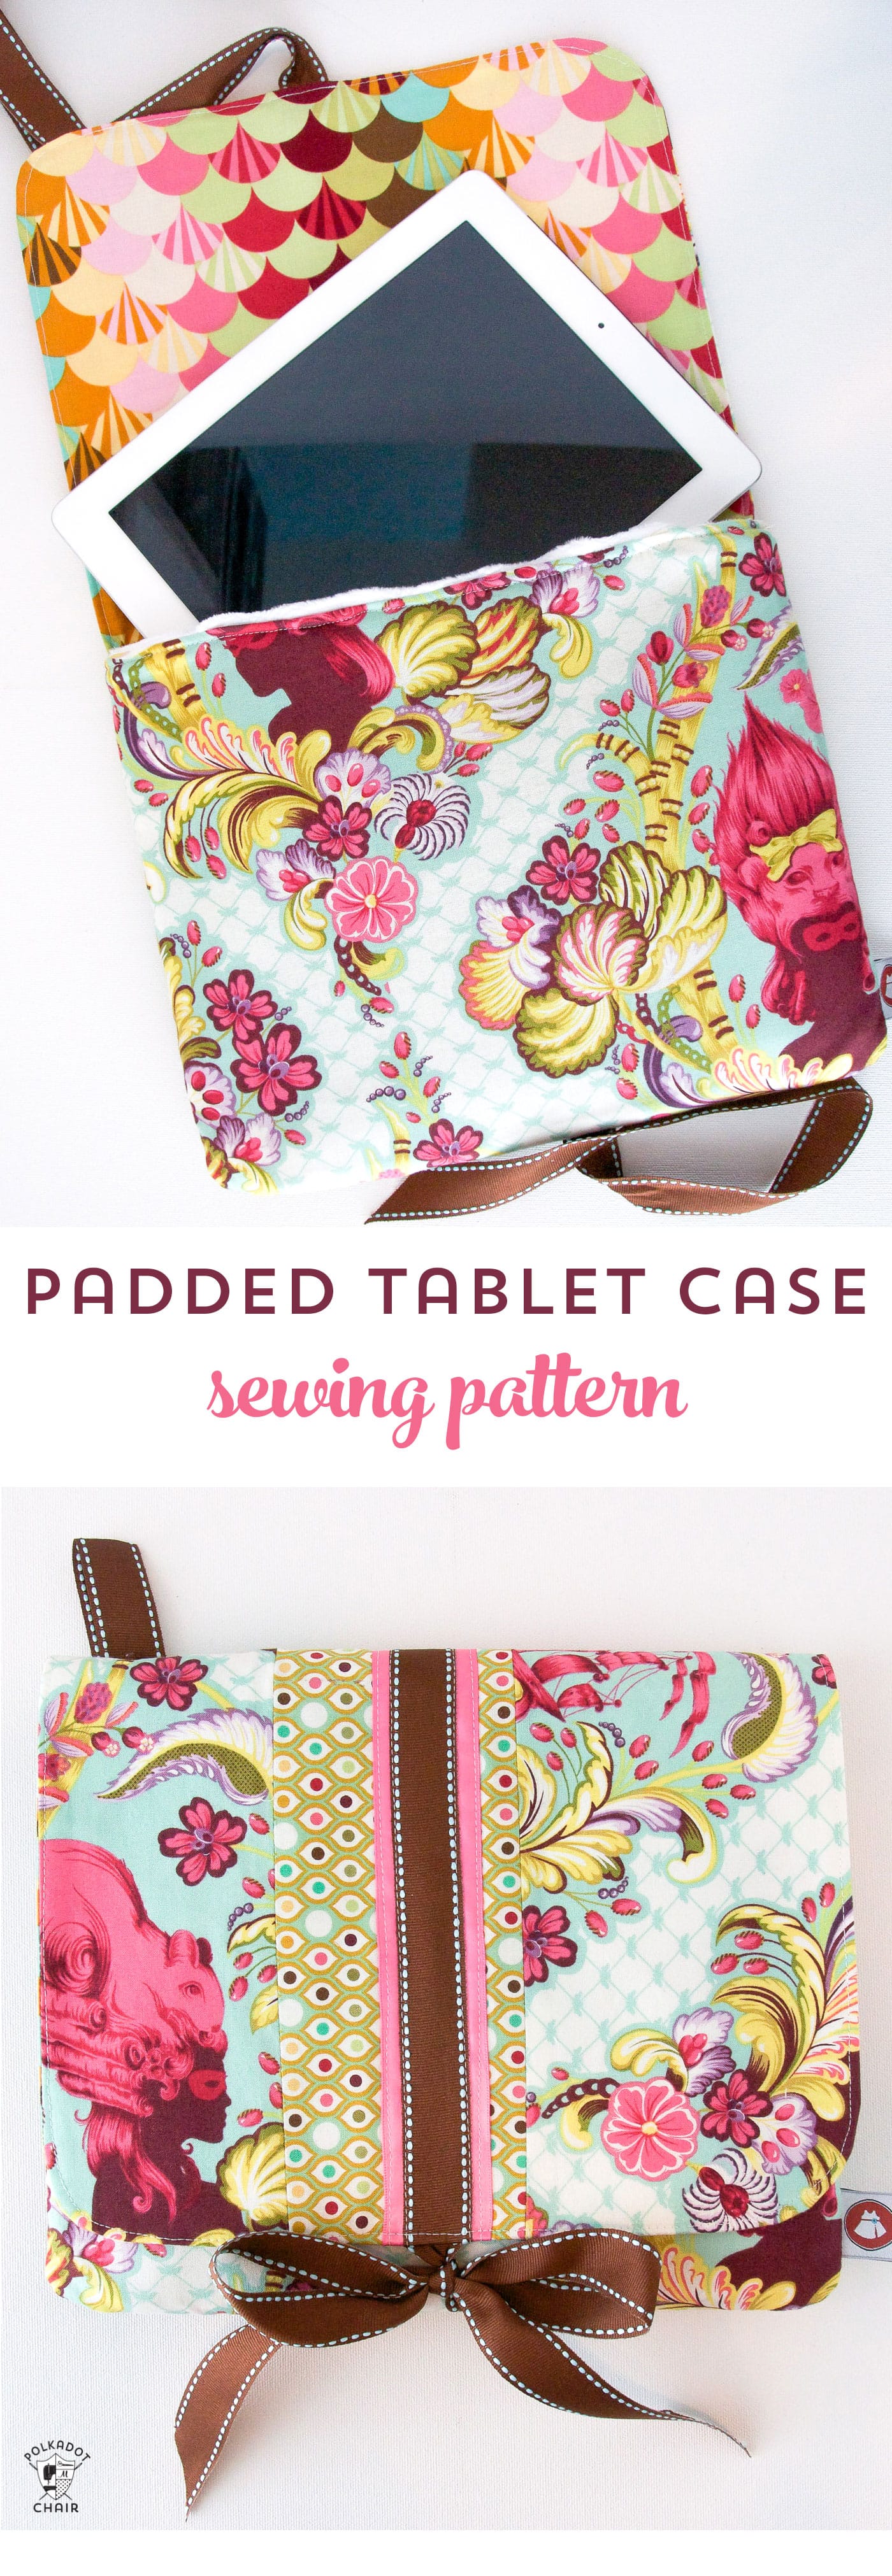
Free Padded iPad Case Sewing Pattern
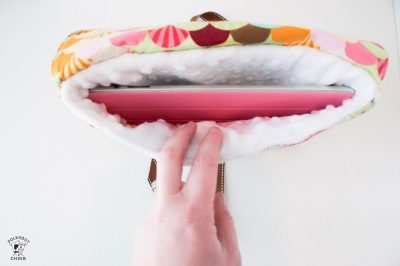
Today I have a fun and useful sewing tutorial for you. This Padded iPad Case Sewing pattern is simple to sew and features a back zippered pocket. Best of all, it’s padded! Adding a thin layer of padding helps give your iPad or Tablet just a little extra protection.
The other night I was cleaning off my nightstand. I don’t know if you’re like me, but my nightstand collects EVERYTHING; I swear I counted half a dozen black hair elastics on mine the other night. It’s no wonder that I can never find one when I need it!
About the Pattern
One thing on my nightstand was this iPad case. When I picked it up, I thought to myself, “Man, I’ve had this a LONG time.” Just for fun, I check on my site to see when I made it. It was 2011, which was almost 6 years ago! It’s crazy; there are not many things in my life that stick around for 6 years.
As I read through the original post, I realized that the tutorial could refresh it a bit. Today I’m posting the refreshed sewing tutorial for you.
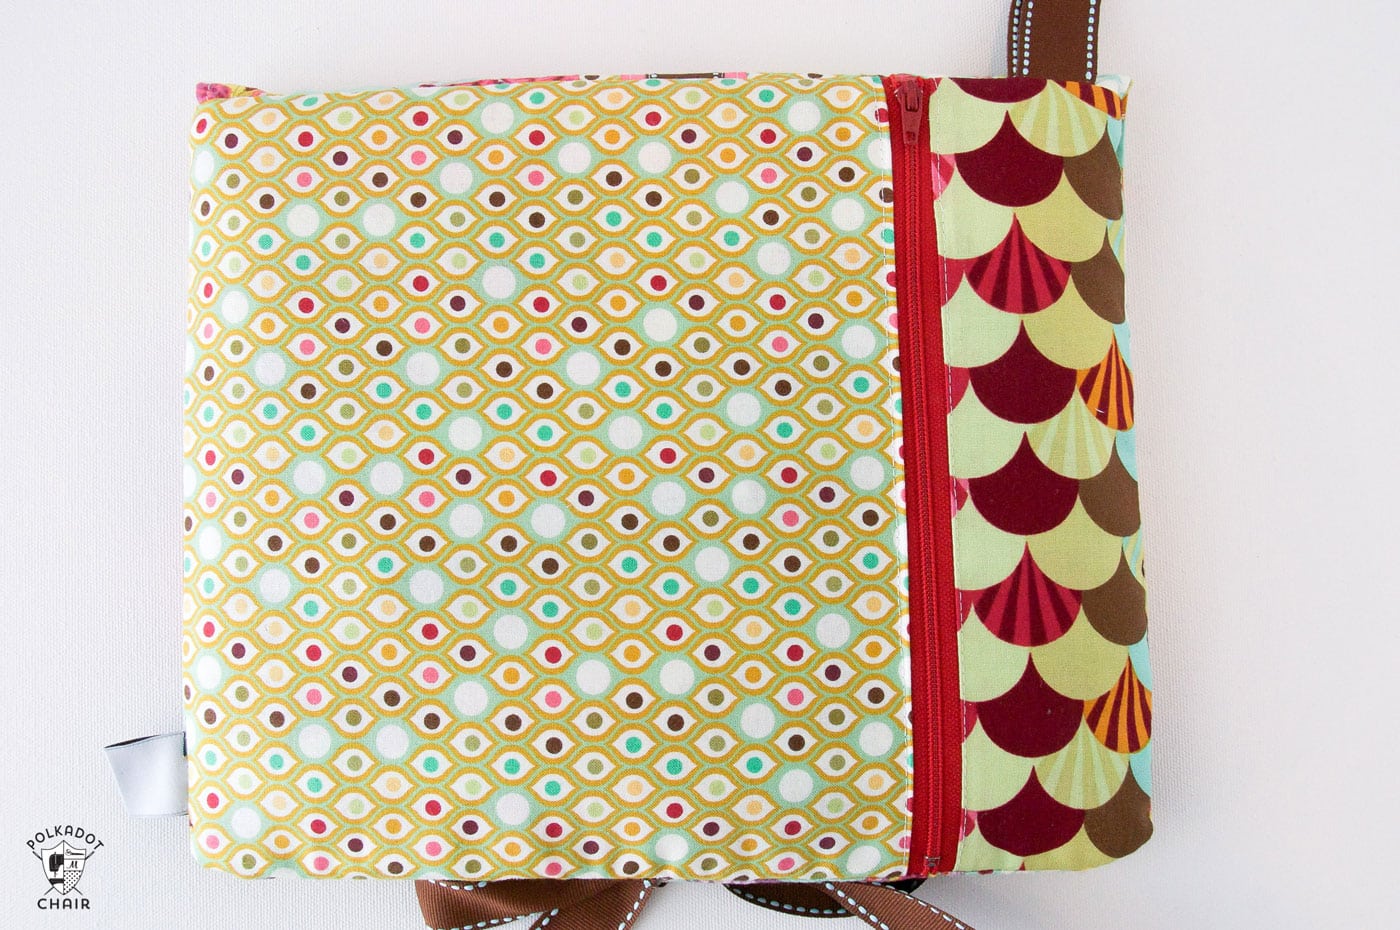
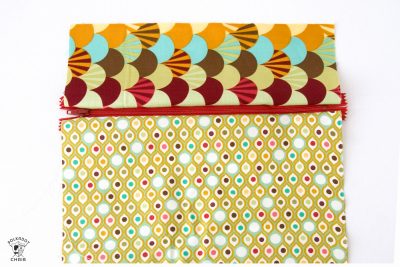
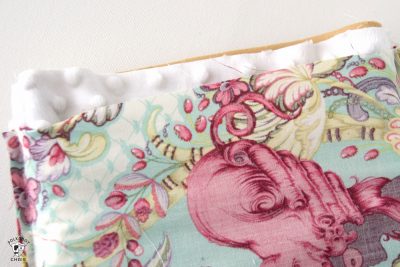
The case measures 9″ x 11″ when finished and has a back pocket with a zipper. Which, now that I have an Apple pencil, comes in very handy. I’ve also kept pens, pencils, notebooks, and earbuds in the zippered pocket.
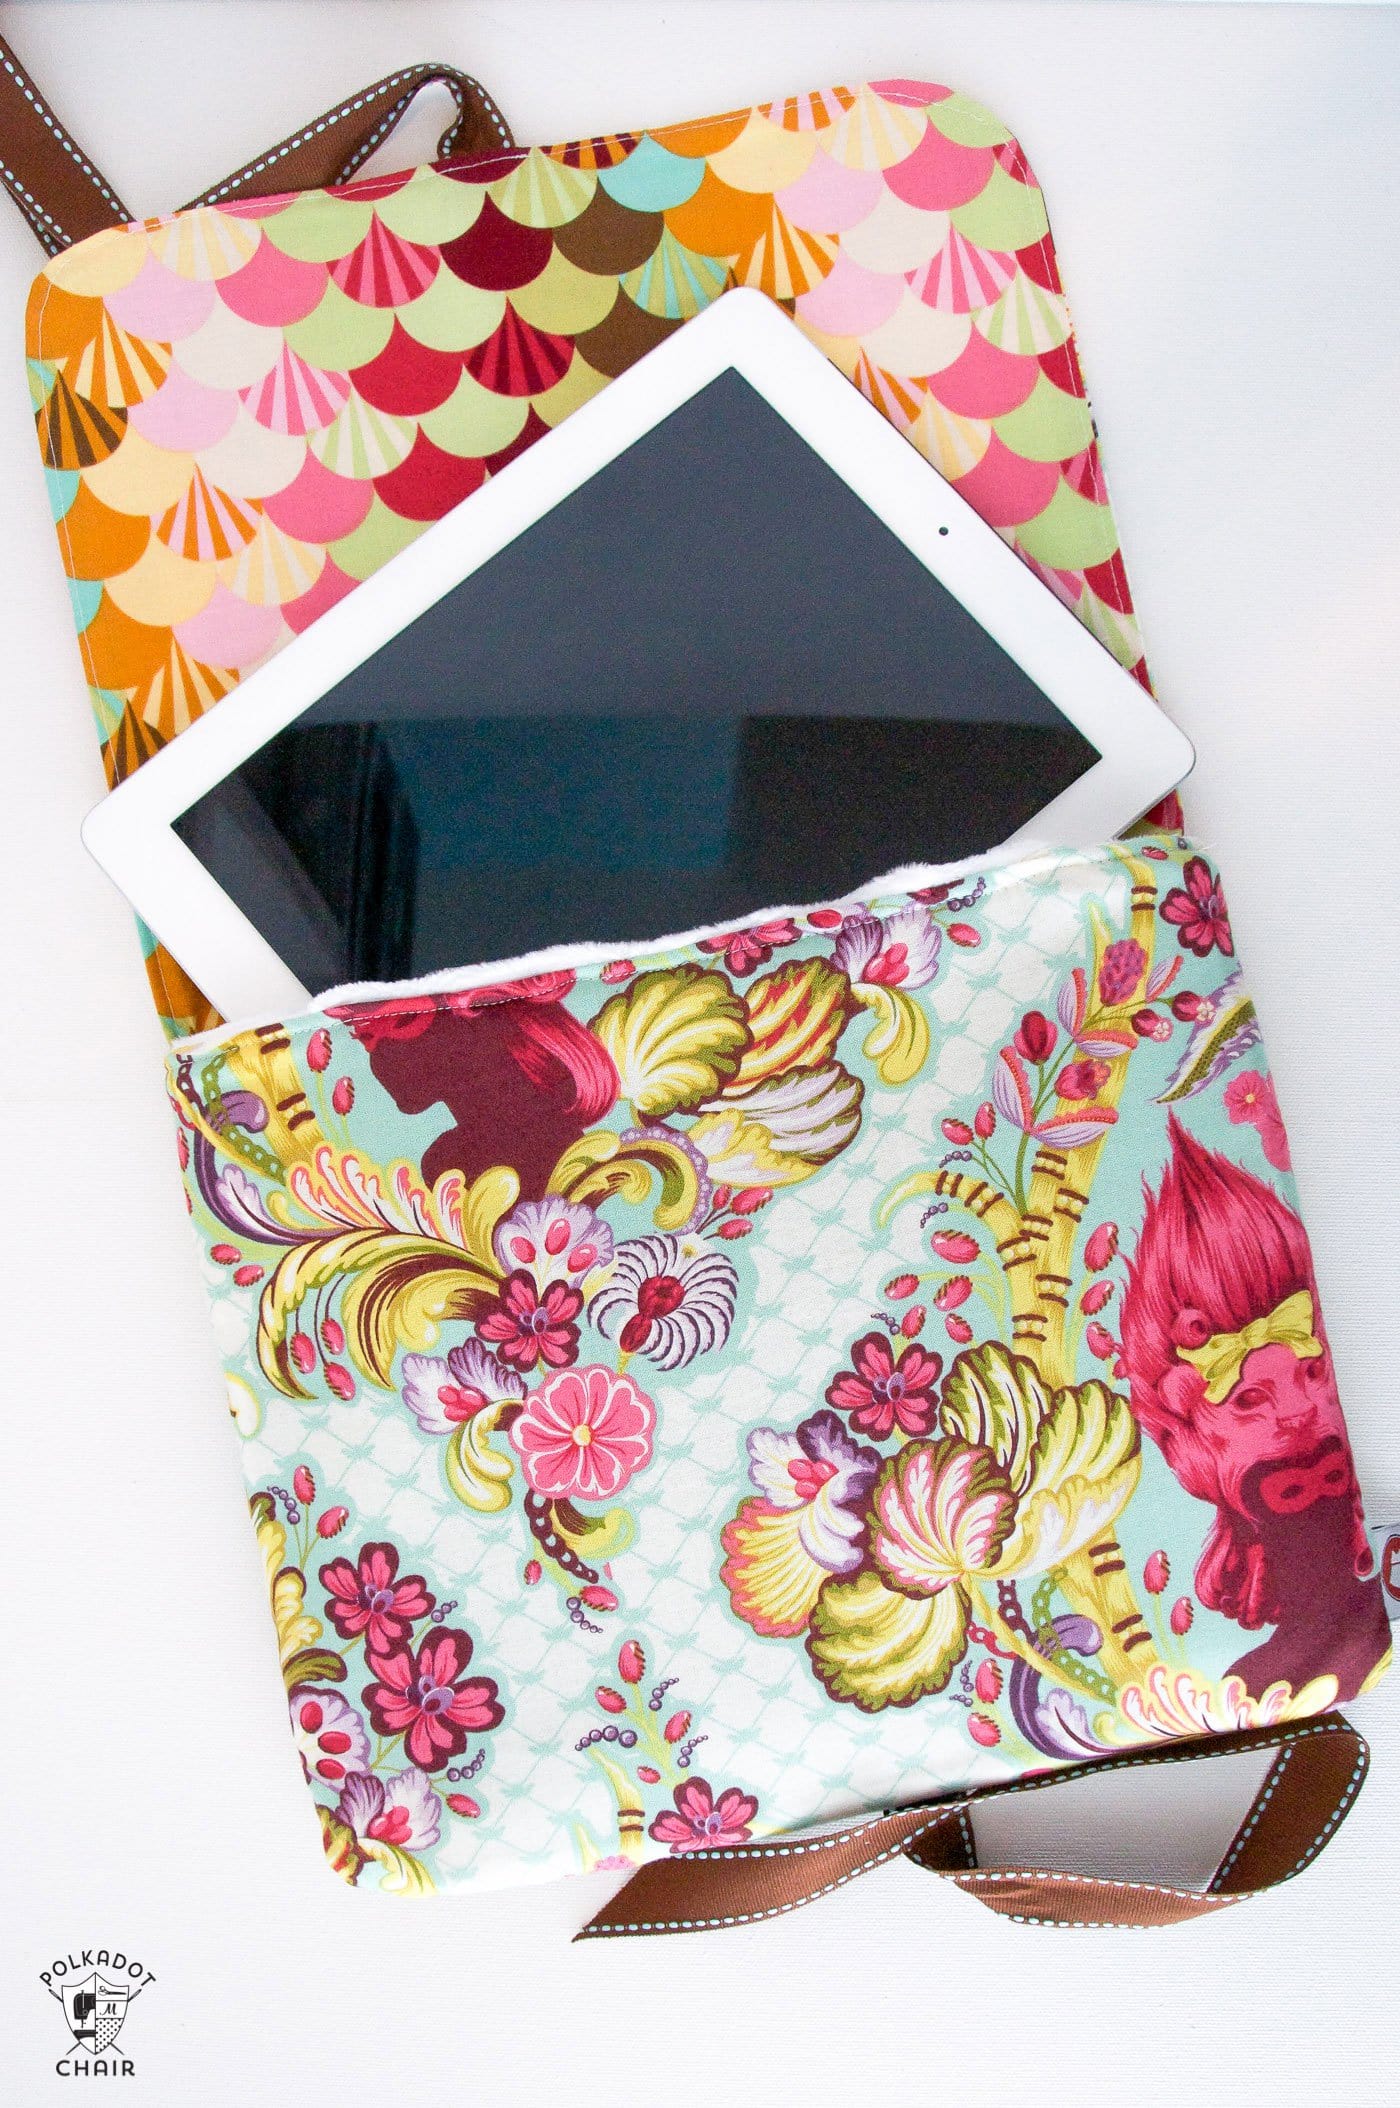
iPad sizes have changed a bit over the years, and it still fits my iPad, but is a bit big now. If you want a tight fit, reduce all measurements by 1 inch. You could also make this for an iPad Pro; you’ll need to measure the dimensions of your larger iPad and adjust your pattern sizes accordingly (you can also use this iPad pattern instead, since it was designed for the larger iPad Pro)
Free Padded iPad Case Sewing Pattern
supplies
- 10″ x 12″ piece of fabric for the front
- 10″ x 12″ piece of fabric for zippered pocket lining
- 10″ x 12″ piece of fabric for flap lining
- 4″ x 10″ piece of fabric for zipper panel
- 10″ x 10″ piece of fabric for zipper panel
- Two 4″ x 10″ pieces for the front flap
- 6″ x 10″ piece of fabric for the front flap you have three pieces total making up the front flap
- 10″ x 12″ piece of Decor Bond Fusible interfacing
- 1 9″ zipper
- 2 pieces of auto liner 1/4″ foam cut to 10″ x 12″ you can buy this at the fabric store, it’s the stuff they line roofs of cars with, you can also use Pellon Flex Foam
- 2 pieces of Minke or Snuggles cut to 10″ x 12″
- Misc. ribbons at least 2 yards
Instructions
Step One: Construct the Back Zipper Panel
- Pin the right side of your zipper to the right side of one of your zipper panel pieces along the 10″ side. The zipper will be a bit longer, that is ok. Stitch in place using a zipper foot.
- Pin the right side of the other side of the zipper to the right side of the other zipper panel piece. Stitch in place.

- It will look like this when you are done.
- Press and topstitch along each seam on the zipper’s side.
- Close the zipper, then trim the piece down to 10″ x 12″.
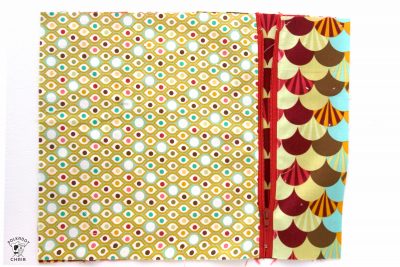
- Place the wrong side of the zippered piece on top of the right side of the pocket lining piece. Baste in place
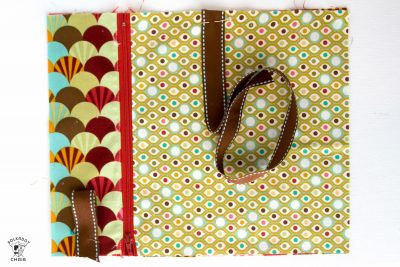
- Cut a piece of ribbon to 5″ long and fold it in half. Finish the ends of the ribbon with fray check. Stitch to the lower left corner. Cut another piece of ribbon about 12″ long and stitch it to the center of the long side (make sure it’s centered).

Step Two: Assemble the Case Outside
- Pin your iPad case front piece to your zippered piece (that you just created) with the right sides together. Stitch around three sides, leaving the side with the ribbon loop open. As you stitch around the corners, sew in a curved line—then clip the corners. Set aside.
Step Three: Construct the lining
- Make a “sandwich” with your auto liner foam and minke. Place your minke pieces right sides together, then place the foam pieces on the outside. You want the “non-fabric” side of your foam to face out, with the wrong side of the minke facing the “fabric” side of the foam. (If your foam doesn’t have fabric on one side, don’t worry.)
- Stitch around three sides as you did for the case outside, also curving at corners. Go slow, and if you have a Teflon foot, it will help you immensely! Trim seam allowances down to 1/4″.
Step Four: Construct Flap
- Stitch your three-flap pieces together along the 10″ sides as desired, then trim to 10″ x 12″. (your pieces are deliberately cut too large so that you can “offset” the center panel if you wish).
- Apply a 10″ x 12″ piece of Decor Bond fusible interfacing to the wrong side.
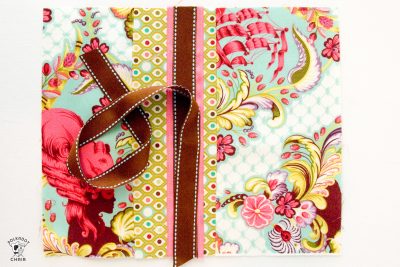
- To add an optional front accent, I sewed two ribbons, one 2″ wide and one 1″ wide, to the center strip of the flap; if you do this, make sure you sew the smaller ribbon in the CENTER of the flap so that it lines up with the other ribbon you placed on the cover.
- Cut a 12″ piece of ribbon and stitch to the center of the flap, on the 12″ side of the flap that you want to be the bottom (this only matters if your fabric is directional).
- Pin the flap outside and the flap lining right sides together; sew around three sides (leave the side without the extra ribbon open). Curve corners as you sew. Turn right side out and PRESS—Topstitch along the outside edge of the flap.
- Slip the flap into the case with the RIGHT side of the front of the flap matching the RIGHT side of the back of the cover, matching raw edges. The raw edge of the case back (the part with the zipper) will be flush with the raw edge of the flap – Baste in place.
- Slip your padded lining piece into your cover, right sides together- your padded piece will be right side out, and your cover will be wrong side out.
- Stitch the raw edge of the case, starting about 2 ” from the center front, around to the back, then back around to the front- leaving a 4″ opening to turn the case right side out.
- Turn the right side out.
- Press well.
- Machine stitch opening closed. (Turn it under and press it down and pin well and topstitch to close the seam.)


Do you have a video of this pattern?
Thank you for this!!!! I went rogue a few weeks ago and attempted to create my own pattern, obviously before I saw your pattern. I am now stuck with mine and am do grateful to have found yours!!! I’m going to open mine back up and follow your instructions! Thank you for saving my attempted project!
I am currently 66 years old and have been sewing since High School. A graduate of Fashion Industries HS (class of ’69… YAY!!!). Unfortunately, I’m sitting here with pieces of fabric, foam and minke all sewn up… but apparently not correctly.
I’m having a VERY hard time following the instructions. I think I’ve got the FLAP confused with the FRONT. Ribbon sewn on ahead of time… YIKES
If you would be good enough to identify the pieces for me, I’d be MOST appreciative. With all of the different patterns, I’m just finding it difficult to sort out. TIA Jackie
I managed to complete the project using a different method. Thanks for sharing.
the flap folds over the front of the case. the front of the case is the front when the flap is up