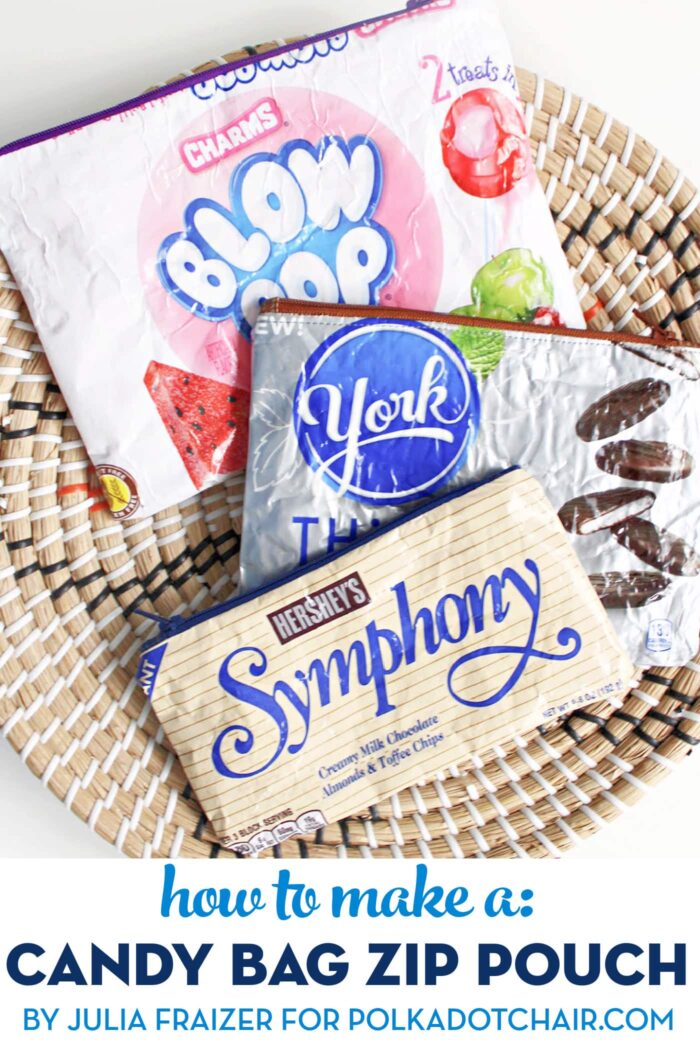
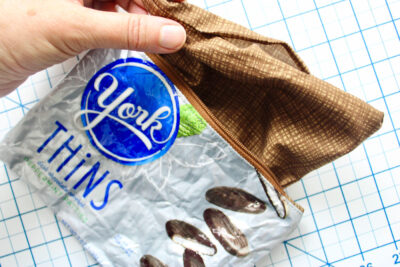
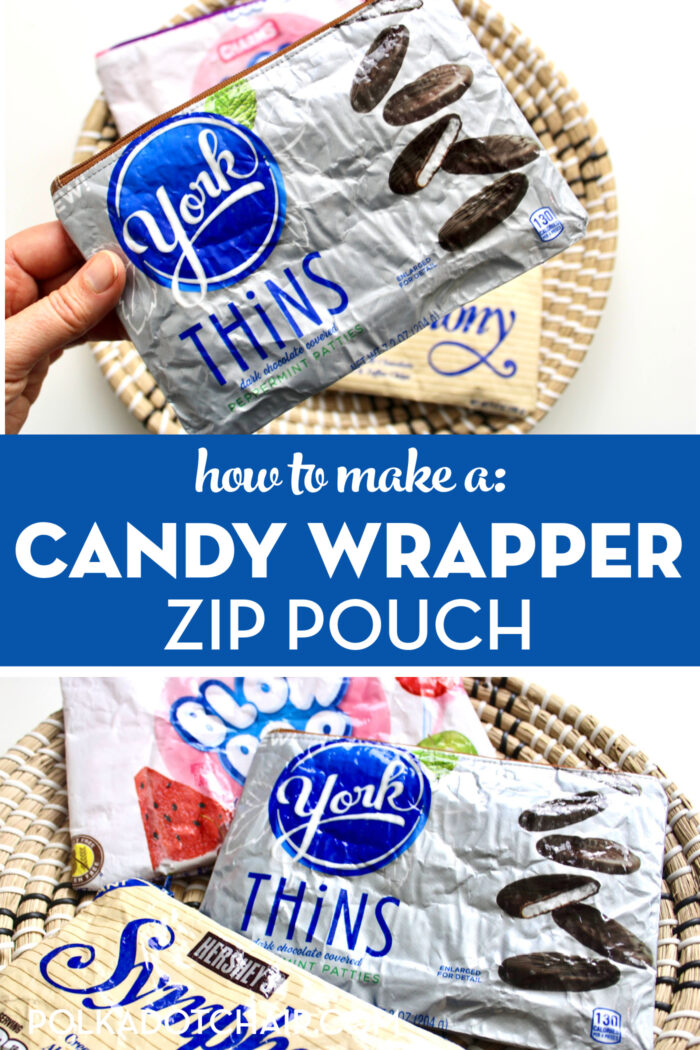
How to Make an Upcycled Candy Bag Zip Pouch
Upcycle the bags and wrappers from your favorite candy into these cute and useful zip bags. Learn how to do it with our free Candy Bag Zip Pouch sewing pattern and video.
Hello friends! It’s Julia from Bayhill Studio. Every Easter and Halloween, we find ourselves with far too much candy, and with that comes candy wrappers and packaging.
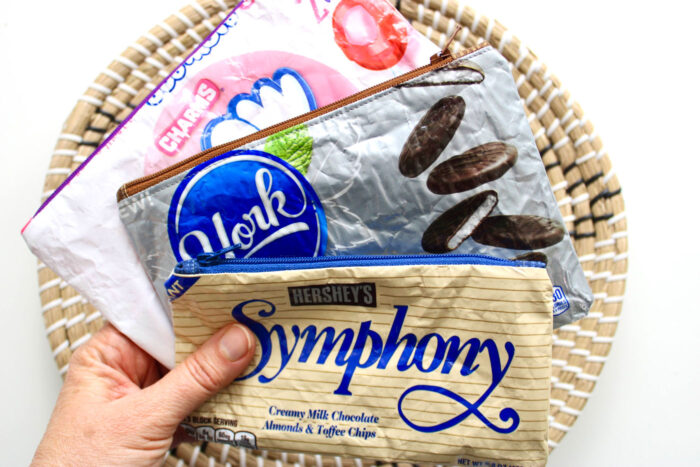
I decided to reuse the packaging to make adorable Candy Wrapper Zipper Pouches this year.
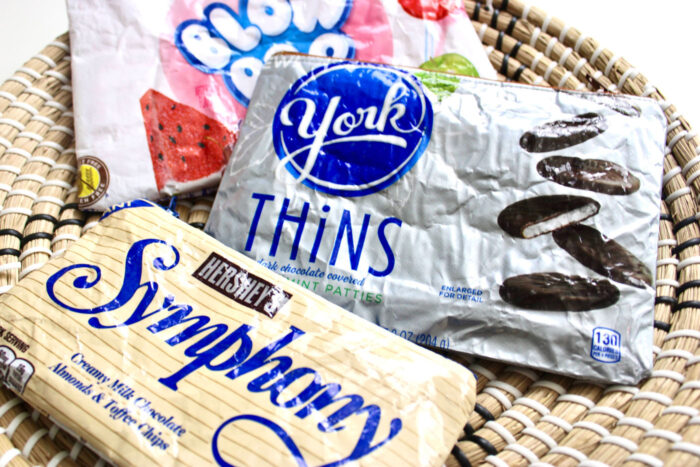
About the Candy Zip Bags
These little pouches are so much fun to make, and you can feel good about upcycling some of the colorful wrappers that would otherwise head to the landfill. So hang onto your empty candy bags and sew along with me!
Supplies for the Bags

- Heat n Bond Clear Iron-on Vinyl
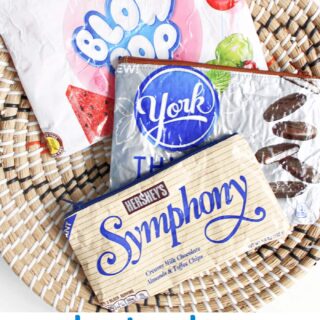
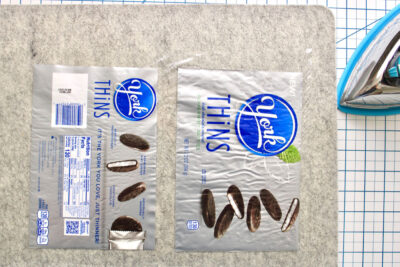
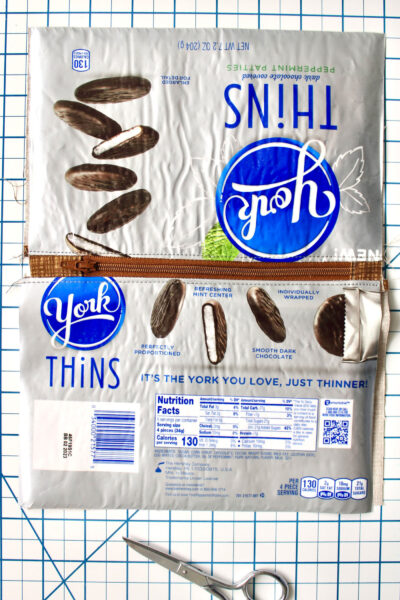
- Packaging from a candy bar or bag of candy – cut into two equal rectangles for the front and back of the zipper pouch.
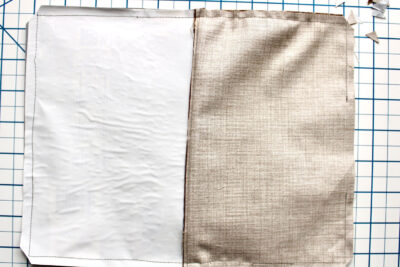
- Two pieces of fabric for zipper pouch lining – cut into the same size as your candy wrappers
- A zipper the same length or longer than your zipper pouch
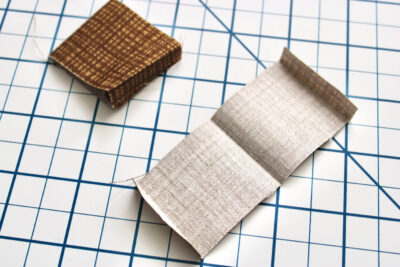
- Two 1 ½” x 4” pieces of fabric for zipper tabs
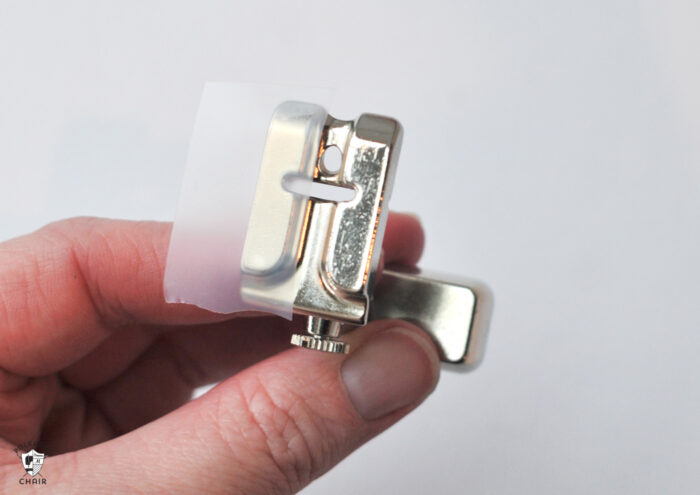
Sewing Tip!
If you’ve never sewn with laminated fabrics before, be sure to check out all of our tips! For example, if your machine struggles sewing over the iron-on vinyl used in this project, try adding a bit of Scotch tape to the bottom of your presser foot. It will help the foot glide right over the vinyl.
Candy Bag Zipper Pouch
supplies
- 1 package Heat n Bond Clear Iron on Vinyl
- 1 bag Packaging from a candy bar or bag of candy cut into two equal rectangles for the front and back of the zipper pouch.
- 2 pieces Fabric for zipper pouch lining cut into same size as your candy wrappers
- 1 Polyester zipper the same length or longer than your zipper pouch
- Two 1 ½” x 4” pieces of fabric for zipper tabs
Instructions
- The first step is to cut a pieces of Iron on Vinyl to fit front and back zipper pouch pieces.

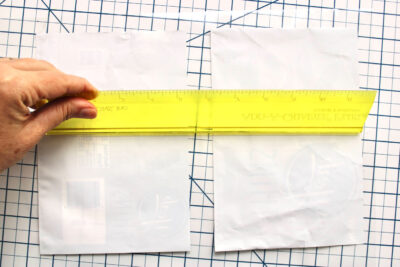
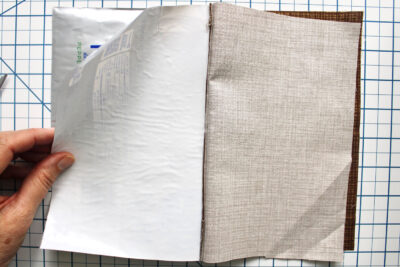
- Peel off the vinyl backing (save for later step) and lay the vinyl, tacky side facing up. Place the front and back pieces on the tacky side of the vinyl, wrong side up. Using a ruler or other straight object, carefully press and scrape out as many air bubbles as you can.
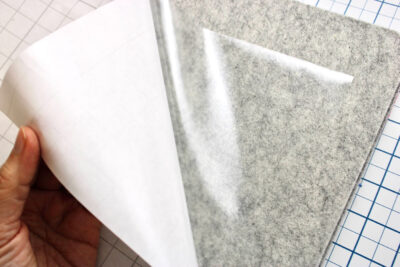
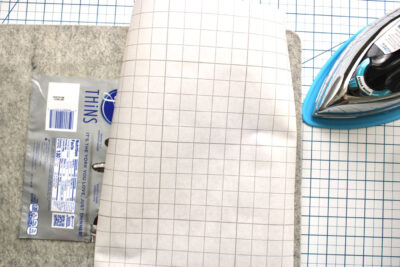
- Use the vinyl backing as a pressing cloth. Place the backing so the grid side is facing up, and cover the vinyl and candy wrappers. Press the surface quickly so you don’t melt the plastic wrappers.
- Cut off the excess vinyl. You now have your two rectangles that will make the front and back of the zipper pouch.
- Set these pieces aside for now as we make our zipper tabs.Fold each of the 1 ½” x 4” pieces in half along the short width and press. Then fold each end in about 1/4” and press.
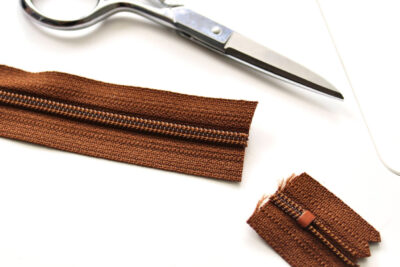
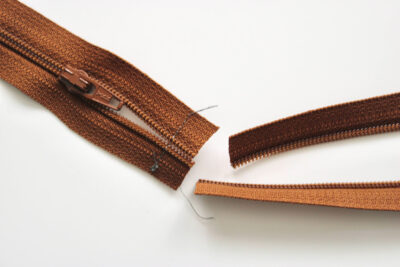
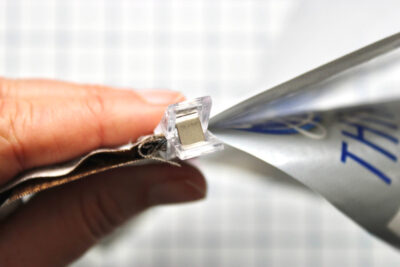
- Cut off the zipper stop.
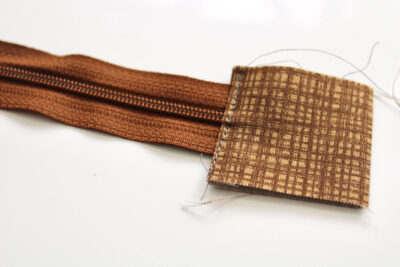
- Encase the cut edge of the zipper in the zipper tab.
- Top stitch close to the edge.
- Trim the sides so they are flush with the zipper tape.
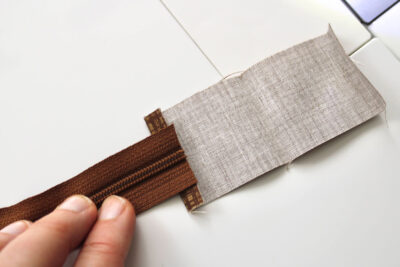
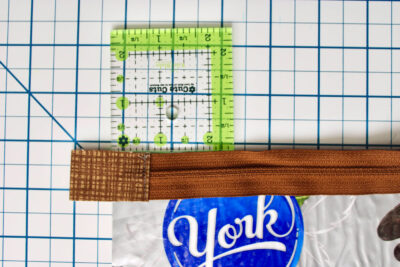
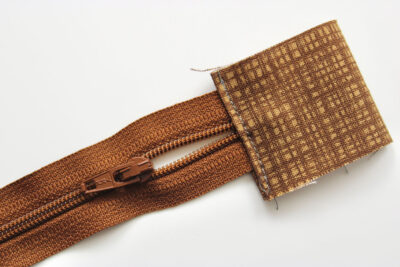
- Now lay the zipper along the top edge of the zipper pouch rectangle and determine how long you want your zipper tab to be. I typically like mine to measure about 1” from the top stitched edge of the zipper tab to the edge of the zipper pouch. Once you have determined where you want to place it, use clips to hold the zipper in place.
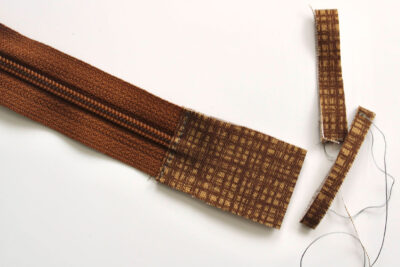
- On the other end of the zipper, measure where you want your zipper tab to be. Again, I typically like 1” but you can choose any length you like. Mark the spot with a marker or chalk.
- Pull the zipper open past the marking. Stitch over the marking. This holds the two pieces of zipper tape in place for the next step.
- Encase the stitching in the second piece of zipper tape and top stitch. Trim the sides the same you you trimmed the first tab.
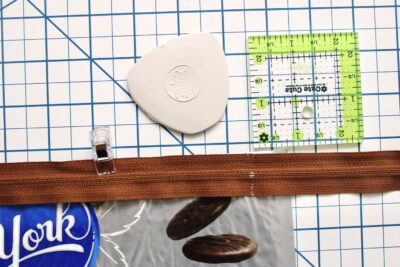
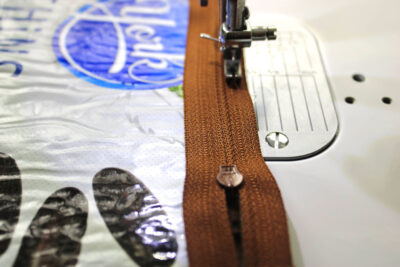
- Place the zipper right side facing the right side of the candy wrapper. Arrange the zipper on the pouch so that the zipper is centered and the tabs are where you want them. Clip in place. Using a zipper foot, stitch along the zipper tape close to the zipper teeth.
- Now make a zipper sandwich by placing the lining so the right side is facing the right side of the outer piece. The zipper is sandwiched between the two pieces. Sew over the same line you stitched in the previous step so that the outer piece.
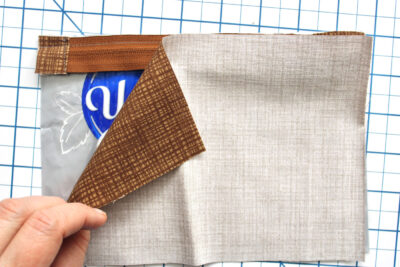
- Open and top stitch through all of the layers. Repeat on the other side.
- Open the bag. You may have some uneven edges like I did here. Just trim them so all of the edges are flush and straight.

- For the following steps, make sure your zipper is open. Now open the pouch so the lining pieces are facing each other and the candy pieces are facing each other. Clip in place.
- Pinch the zipper tab towards the lining. Clip in place.
- Sew around all of the edges using a ¼” seam allowance. Leave a large opening at the bottom of the lining portion. I made my opening larger than I usually would because the vinyl section is a little more difficult to turn than fabric is. Clip the corners close to, but not through, the stitching.
- Turn right side out and hand sew or machine stitch the lining opening closed.
- Do not press your bag – you do not want to melt the plastic packaging. I hope you enjoy this super cute zipper pouch!
- Watch my YouTube video for more detailed tips and instructions.

Video
Be sure to follow me on Instagram @bayhillstudio and on YouTube for more creative content and project ideas!
About the Designer

Julia Frazier is the founder of Bayhill Studio. Julia designs quilts and projects geared toward beginner quilters and crafters. You’ll usually find her at her sewing machine or hiking in the nearby mountains. Follow Julia on Instagram @bayhillstudio, and subscribe to her YouTube channel for new and exciting projects and tutorials. Be sure to check out her Bayhill Studio website for a growing list of tutorials and patterns.
More Projects by Juila

Bucket Hat and Slim Phone Case Tutorial
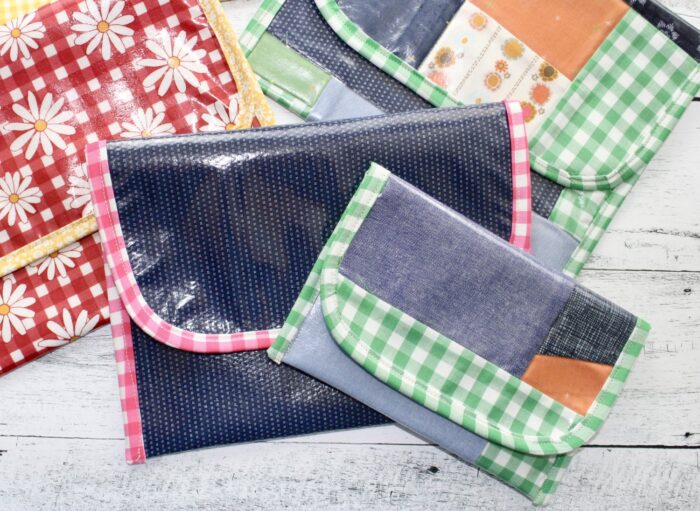
Snappy Laminated Pouch Tutorial
You May Also Like:

Thank you for sharing this pattern for free. Can’t wait to make these for friends and family while also recycling ❤️
I’ve made these and fused the vinyl on the front. Never had a problem.
Thanks for this tutorial! I’m curious why the vinyl is applied to the back of the candy bag and not to the front! I can see where it would strengthen the bag from either side, but it “seems” like having it on the front would make the bag’s printing last forever.
I think it’s just preference. You could try it on a test bag. I wonder if melting is a bigger issue if ironed to the front?