How to Make a Photo Quilt
If you like this tutorial for making a photo quilt, you may also enjoy this free hexagon quilt sewing pattern.
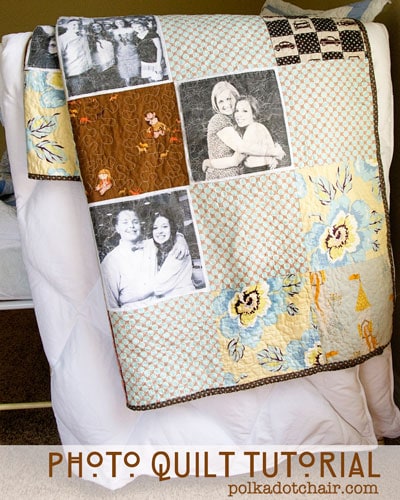
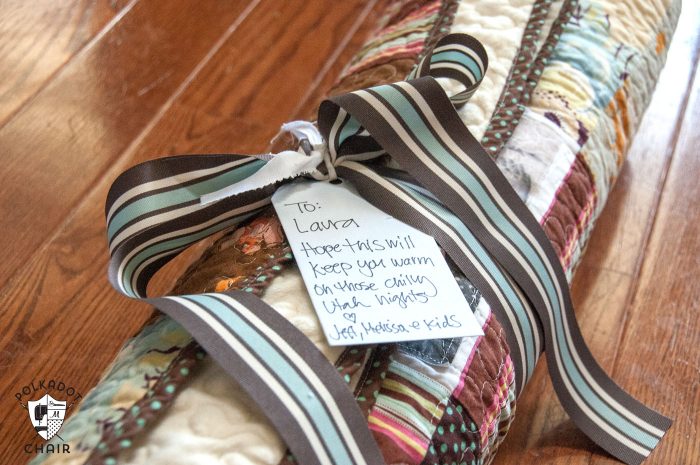
I have been trying to make quilts for my nieces (and nephews when they get old enough) when they graduate from High School and head off to college. I liked the idea of a quilt with photos of their family back home on it, to keep them warm if they get homesick while away.
After making the previous quilt, I decided I should simplify the pattern a bit. This one is very simple, made up of all 9″ squares of fabric.
I picked the fabrics based on the colors of my niece’s dorm room bedding and a few that I thought would be meaningful (like the horses since she is a Kentucky girl).
How to Make a Photo Quilt:
The quilt is simple 8 rows of 6 blocks. I thought I’d share a bit about how I incorporated the photos into the quilt, along with some things that I totally did wrong.
I also don’t have a “great” photo of the whole quilt finished, because as much I was excited for my kids to go back to school as soon as they left I realized I had no one to hold quilts for me while I took a photo! The quilt is a simple patchwork quilt. You can use this technique with any quilt pattern as long as your photo blocks are the correct size.
Here’s what you need to make a photo quilt:
48, 9″ squares of various fabrics – this INCLUDES the photo blocks- subtract the number of photo blocks from the total to figure out how many you need all together.
Printable Fusible Fabric
White Fabric
2 yards 60″ wide fabric for backing (I used a soft fabric (like Snuggles, or Minke)
Binding, batting, thread
To make the photo blocks:
Note: The blocks on this quilt are 9×9 before finishing. Printable fabric does not come 9″ wide so we need to print the photo on the fabric and attach it to another piece of fabric to get it to fit in the quilt.
You can ALSO use 8×8 pieces of fabric instead, then cut the squares of your other fabric to 8×8 instead. If you do this, I recommend that you buy non-fusible printable fabric.
How to Print Photos on Fabric:
Print your photos black and white onto your printable fabric (you can get it at craft stores). You want your photos print size to be 8″x8″, you’ll need a simple photo editing software to do this (like photoshop elements or iPhoto).
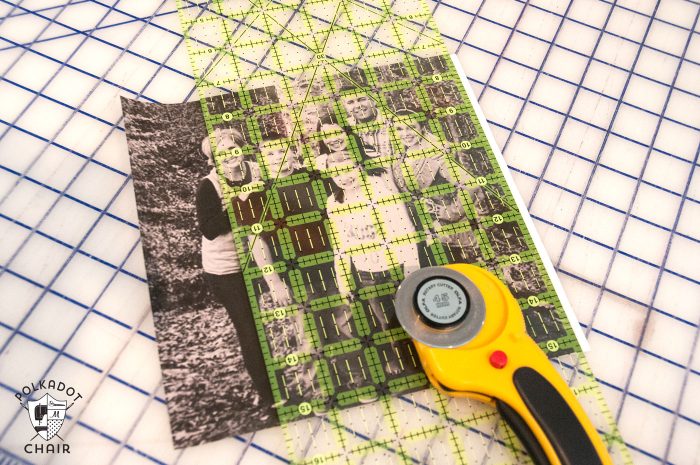
Trim your photo down to 8×8 (it prints on an 8.5″ x 11″ size of fabric).
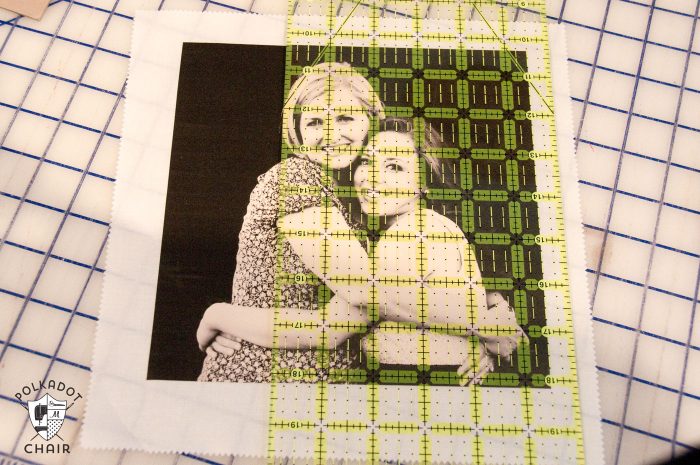
Iron your photo onto your white fabric. Press well to heat set the ink- trim this piece down to 9″x9″.
TIP: Follow the directions on the package of printable fabric for how to set the ink on the fabric. Each manufacturer is different. If you don’t set the ink it may bleed when you wash the quilt.
The ink although set will bleed a bit when you wash it- I found this out too late and thus we have the “vintage” looking photos on my quilt- My 11 yr old daughter said it looked “cool” and there wasn’t much else I could do by that point, so I went with it. The other problem is some of the black ink bled onto the quilt top (augh!!). I wish I had pre-washed the blocks before I stitched them into the quilt.
So, at this point, if I were you… I would throw each of the blocks with the photos sewn onto them, in into the wash. Run them on a gentle cycle. Lay them flat to dry (don’t throw them in the dryer or they will shrink and not fit the quilt).
Finishing the Quilt:
After you’ve completed all of your photo blocks- you simply need to sew your 9″ squares together.
Stitch 6 blocks together for row 1, repeat for rows 2-8. When you’re finished stitch the rows together.
Quilt as desired (if you want more information about making a lap quilt, you can view my previous posts about it here).
When you’re done, you can wash and dry the quilt as you normally would. However, I would recommend a gentle detergent (like Woolite) to help preserve the photos.
If you’ve caught the quilting bug then you may want to check out this post with 45+ Beginner Quilt Patterns & Tutorials
Question how do you put pics on jean material?
Here in Missouri It would be good to have a heavy quilt. It gets cold.
Do you put the “X” through the picture or around it
I would love to make a quilt similar to this for my aunt who is battling lung cancer. What is the best picture process to be able to wash the quilt (almost weekly) with minimal picture fading?
I would like the pattern for this photo quilt, also. I have a grandson that is graduating from High School. Would love to make him one.
Thank You,
Kathy
I would love to know how you done your photos on the fabric I have spent ages on the computer trying to get a tutorial on how to do it I live in Ireland and Quilting suppliers are not available i have to wait weeks for fabric to be shipped thank you and I just love your quilt Thank you
i would like to get your pattered but i have no way of doing it . so i was wondering if maybe u could send it to 1172 CO.RT85 Oswego,ny13126. if u can then i thank u so much. if u cant then i guess ill understand.
Hello,I check your blogs named “Twitter” regularly.Your writing style is witty, keep it up! And you can look our website about proxy list.
You can use freezer paper to for photos. Also use clear Krylon spray to secure photos. Works great.
Hi! I really love your photo lap quilt and was wondering how big the entire quilt was? I would like to make a baby quilt, but not sure if this one will turn out to be too big. Might just go for it anyways. Thanks for the tutorial ?
Zoe
Kinda a newbie but how or what did you use to print the picture on the fabric?
Do you make these to sell?
I made my Mom one with all her great grandkids on it I bought a bottle of photo stuff but can’t remember what it’s called I have some but most of my sewing is been moved to do my room any how you have to use all cotton material and put it in the solution for 5 min let dry then I ironed it on butcher paper and printed my pic from my computer and let them set so ink is good then you rinse it and let them dry then iron them my Mom washed her quilt and it never did fade