
How to Make a Halloween Potions Centerpiece & Free Printable Potions Jar Labels
Create a slightly spooky Halloween centerpiece with many items you have around your house! Learn how to make Halloween potion jars in this easy-to-follow tutorial.
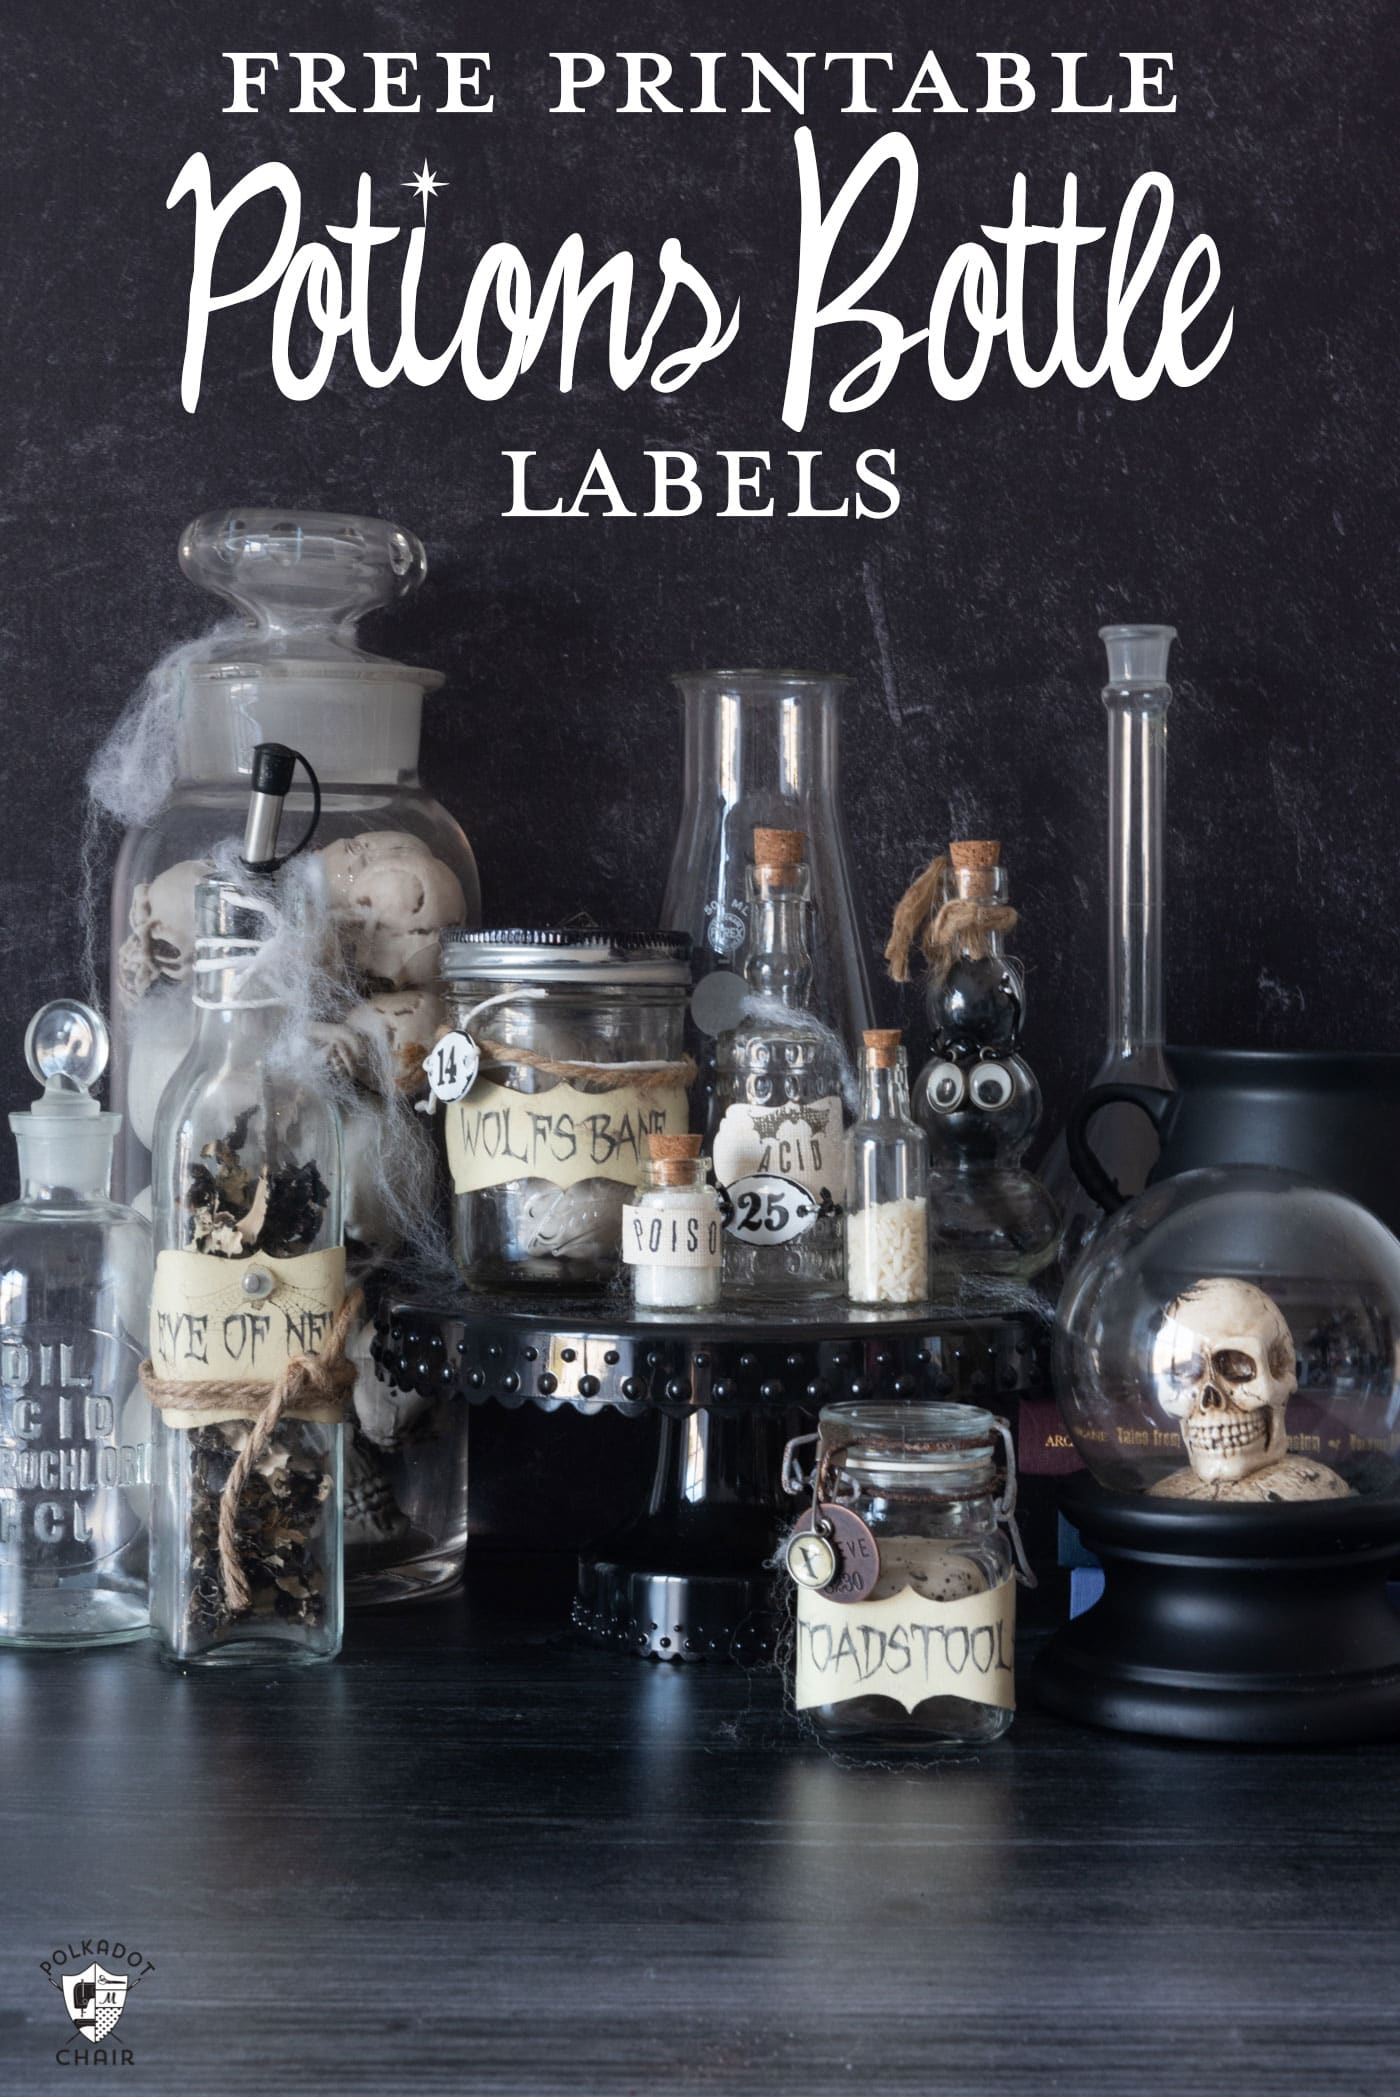
I love to go all out for Halloween. I decorate the front porch, the dining room, and every little nook and cranny around the house that I can find.
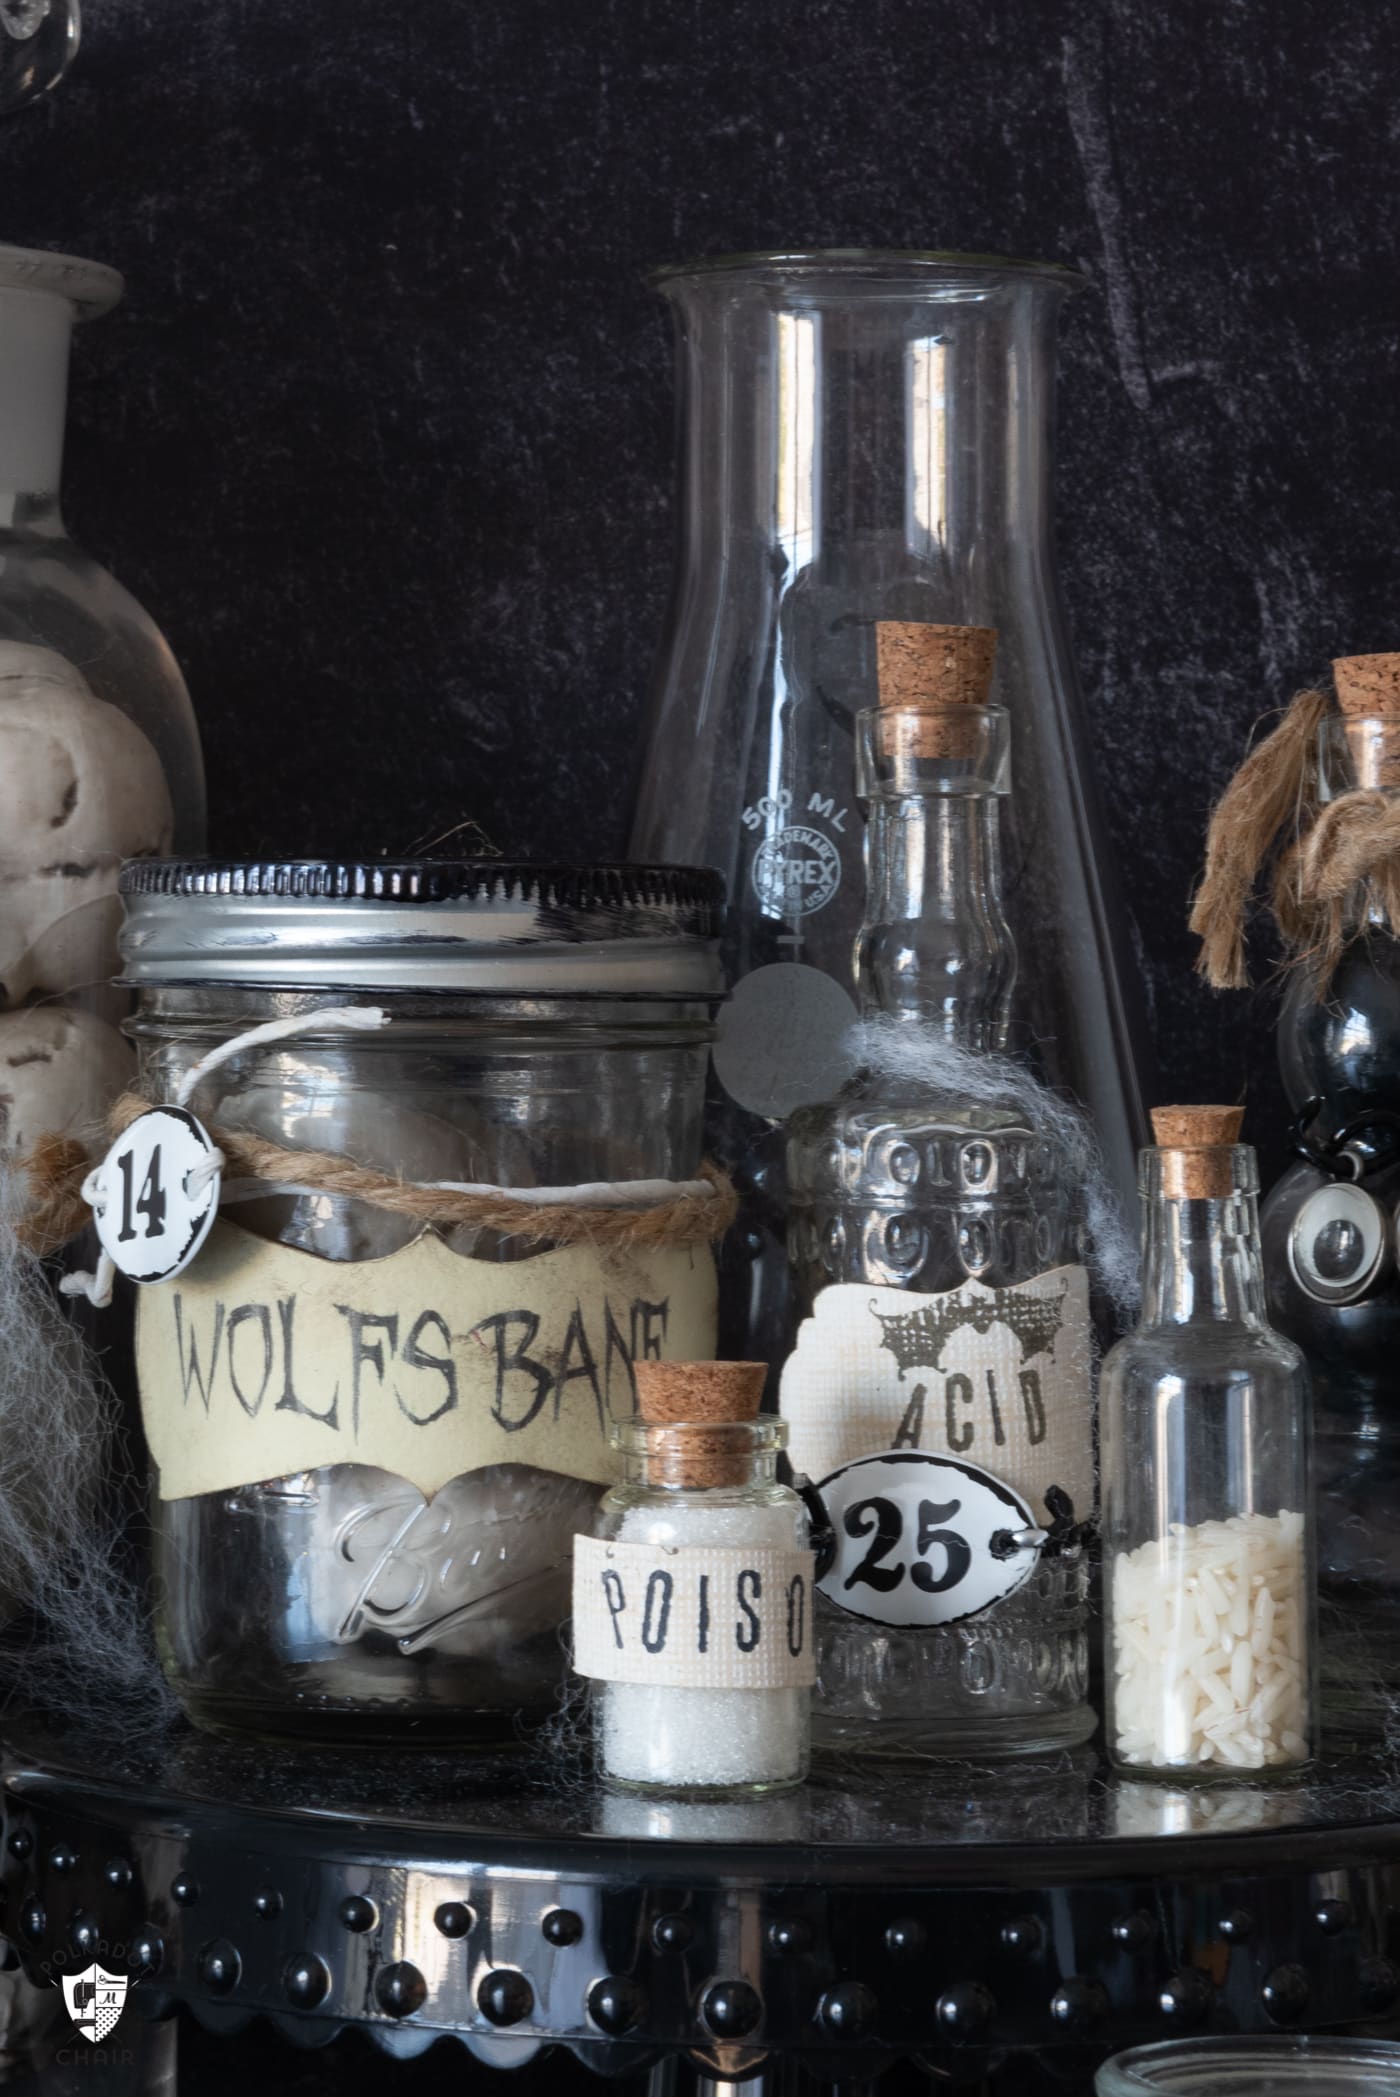
A few years, I purchased a set of vintage beakers and chemistry jars at an antique store. I thought it would be nice to add a set of “potions” to go with the jars.
Today I’m going to show you an effortless way to decorate a set of glass jars to create a potions centerpiece. For a bit of extra fun, if you’re a Harry Potter fan, you can pretend that Professor Snape is yelling at you the whole time you’re concocting your potions!
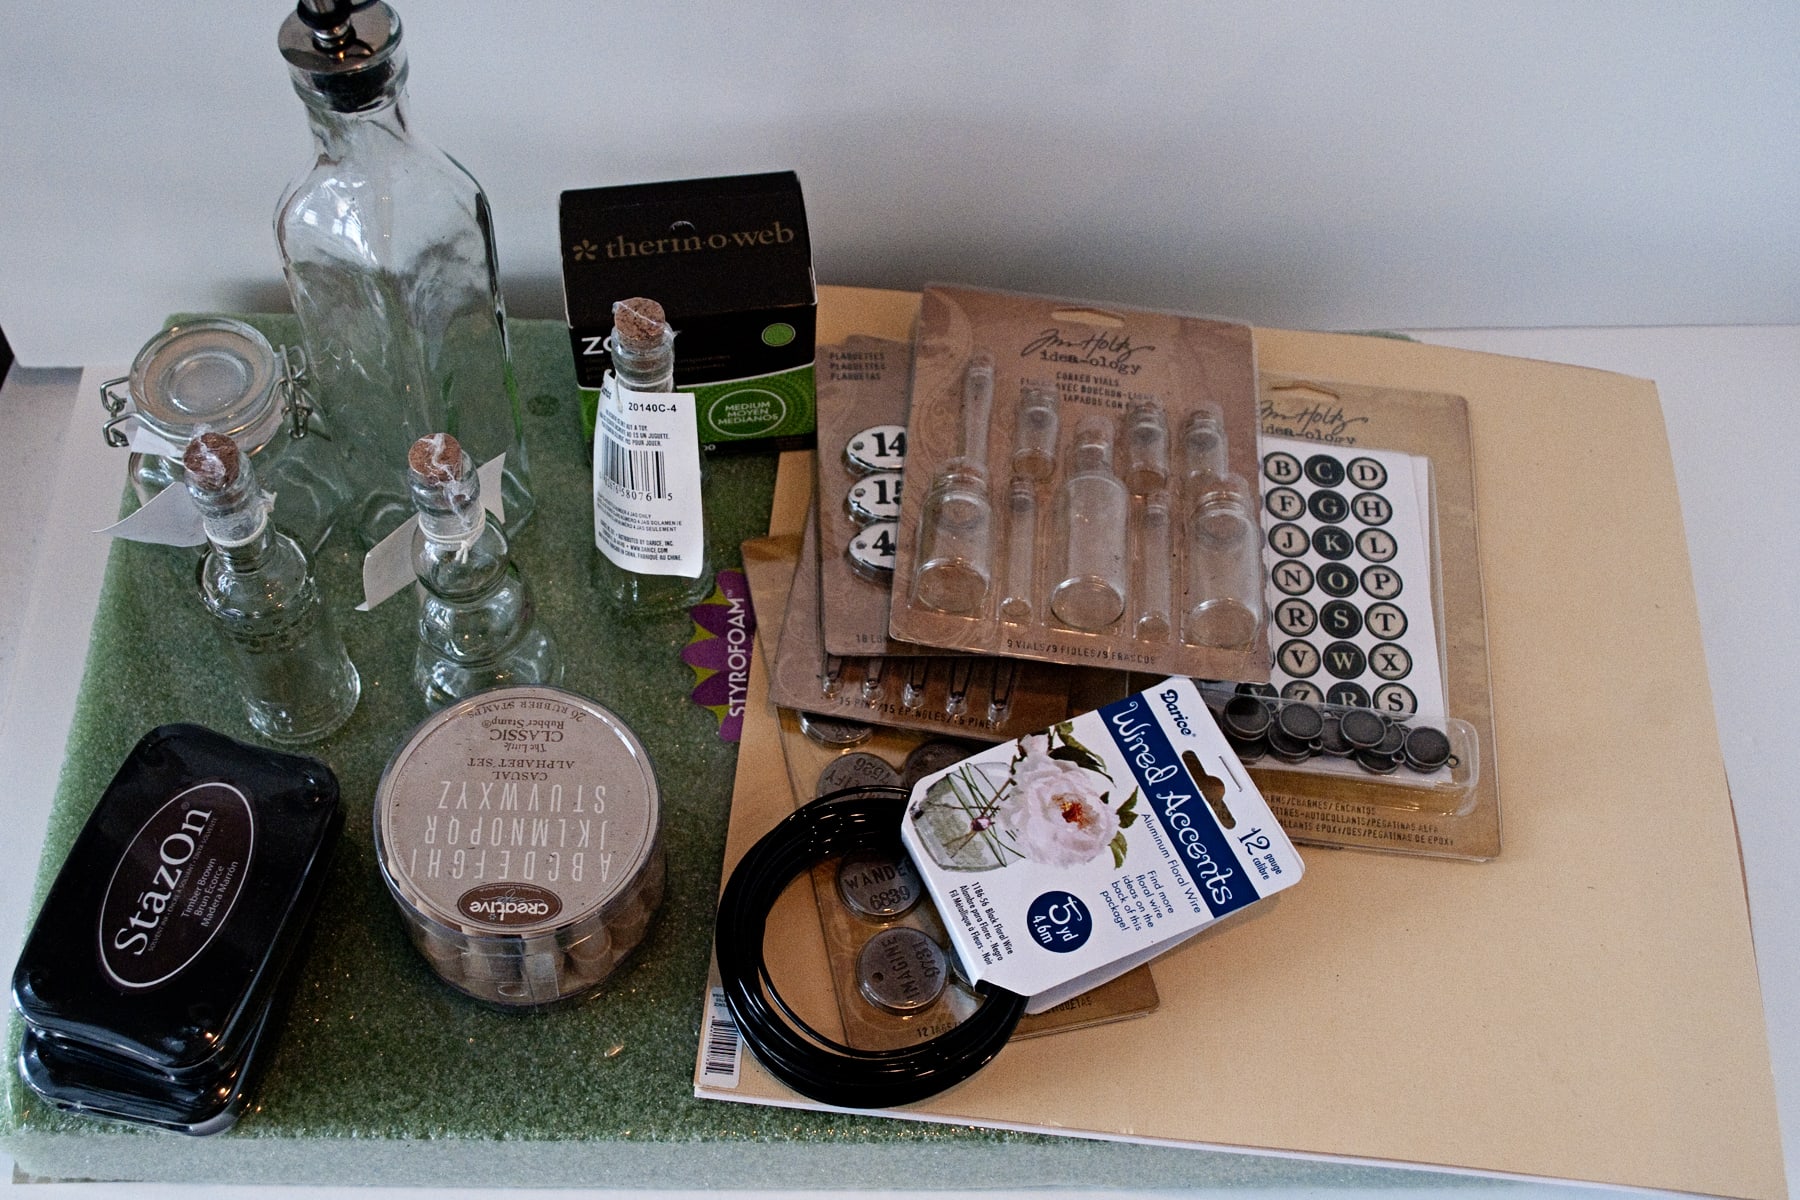
Creating the centerpiece was easy. I simply filled the glass bottles with things I had at home (salt, water with food coloring, feathers, rice & some lichen). Then decorated the outside of the bottles.
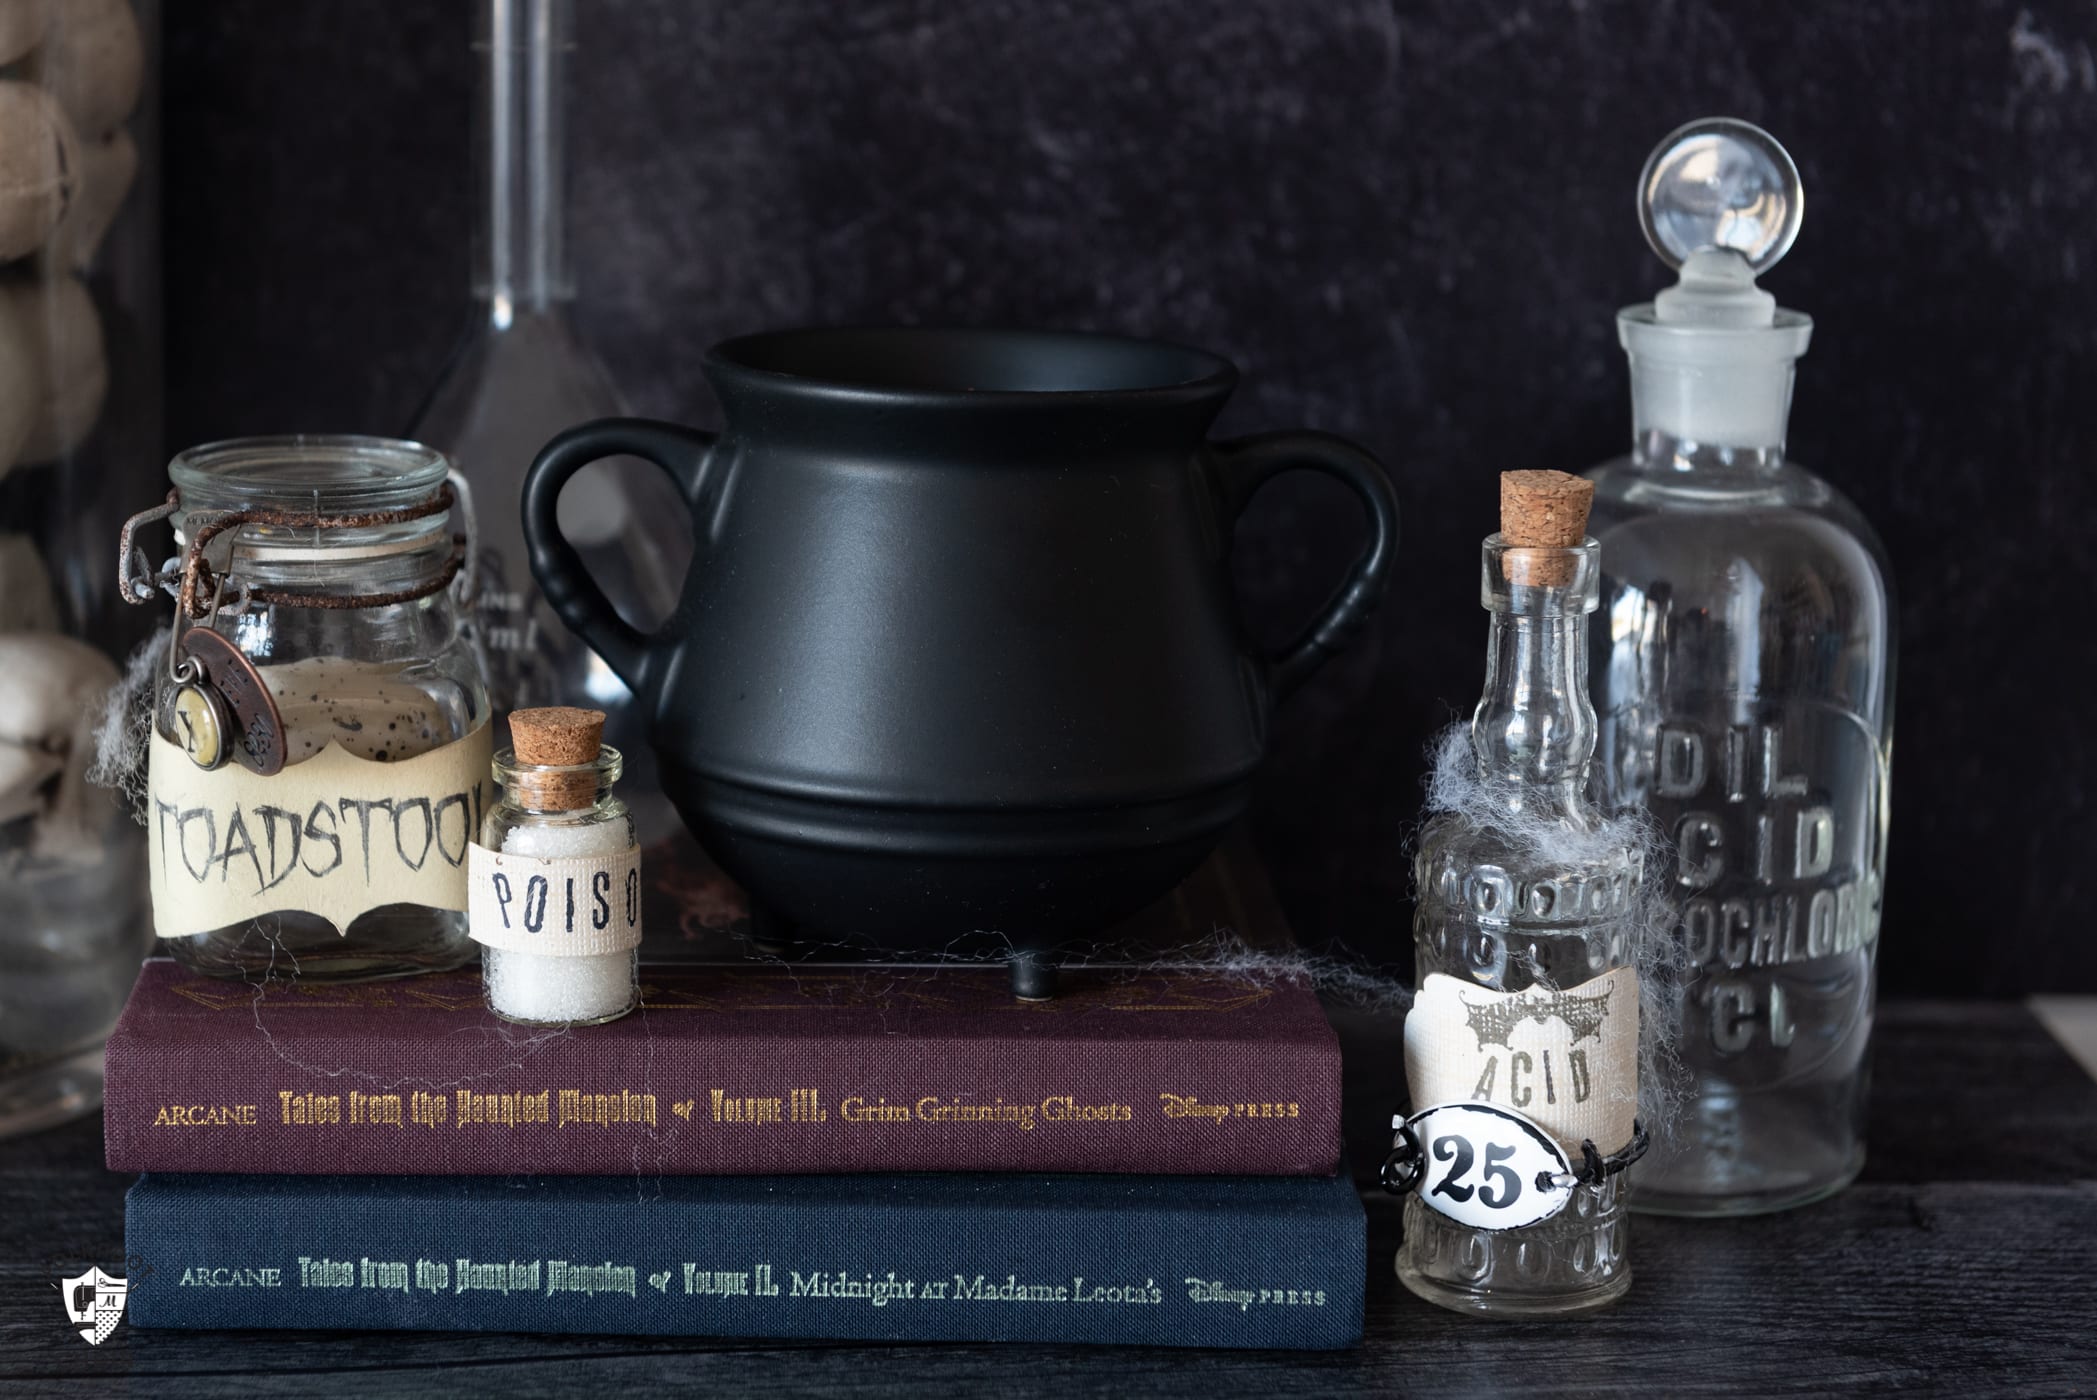
Potions Centerpiece Supplies
- Small Glass Jars in a Variety of Sizes
- Food Coloring (I used red, but purple would also work well)
- Rice, beans, Spanish moss (anything that looks “spooky” to fill the jars)
- A set of alphabet stamps
- Various “findings” I love the Tim Holtz Brand for projects like this
- Distress Ink
- Wire
- Twine
- Free Potions Label Printable (download on our site using the directions below)
How to Make Halloween Potions Jars
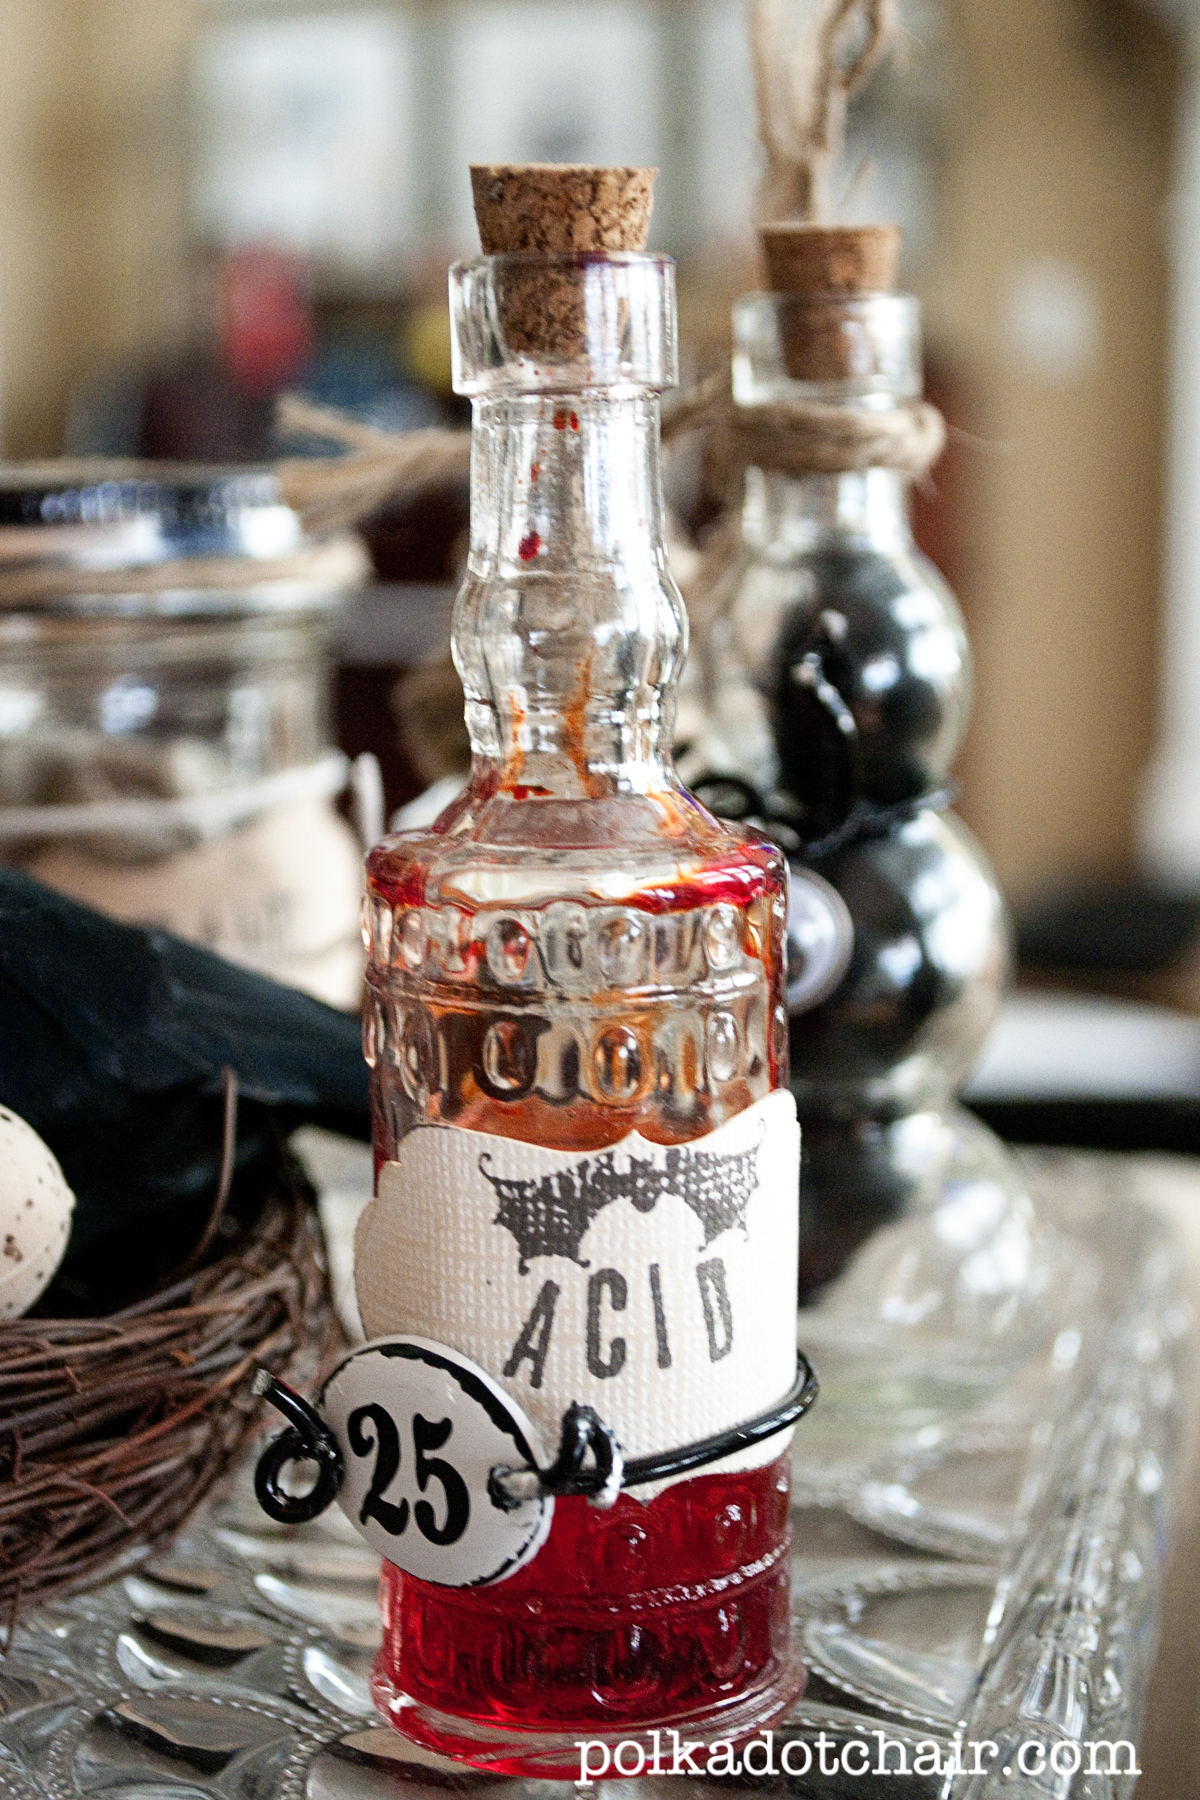
These jars are very simple to make, and a lot of the construction steps are just personal preferences.
Step One: Create the Labels
Print off the label sheet from our blog, OR use a piece of plain cardstock to cut out rectangles that fit your jars.
Tip: Did you know that you can adjust the size of the labels printed in Adobe Acrobat? Simply change the page scaling down until you get labels the size you want.
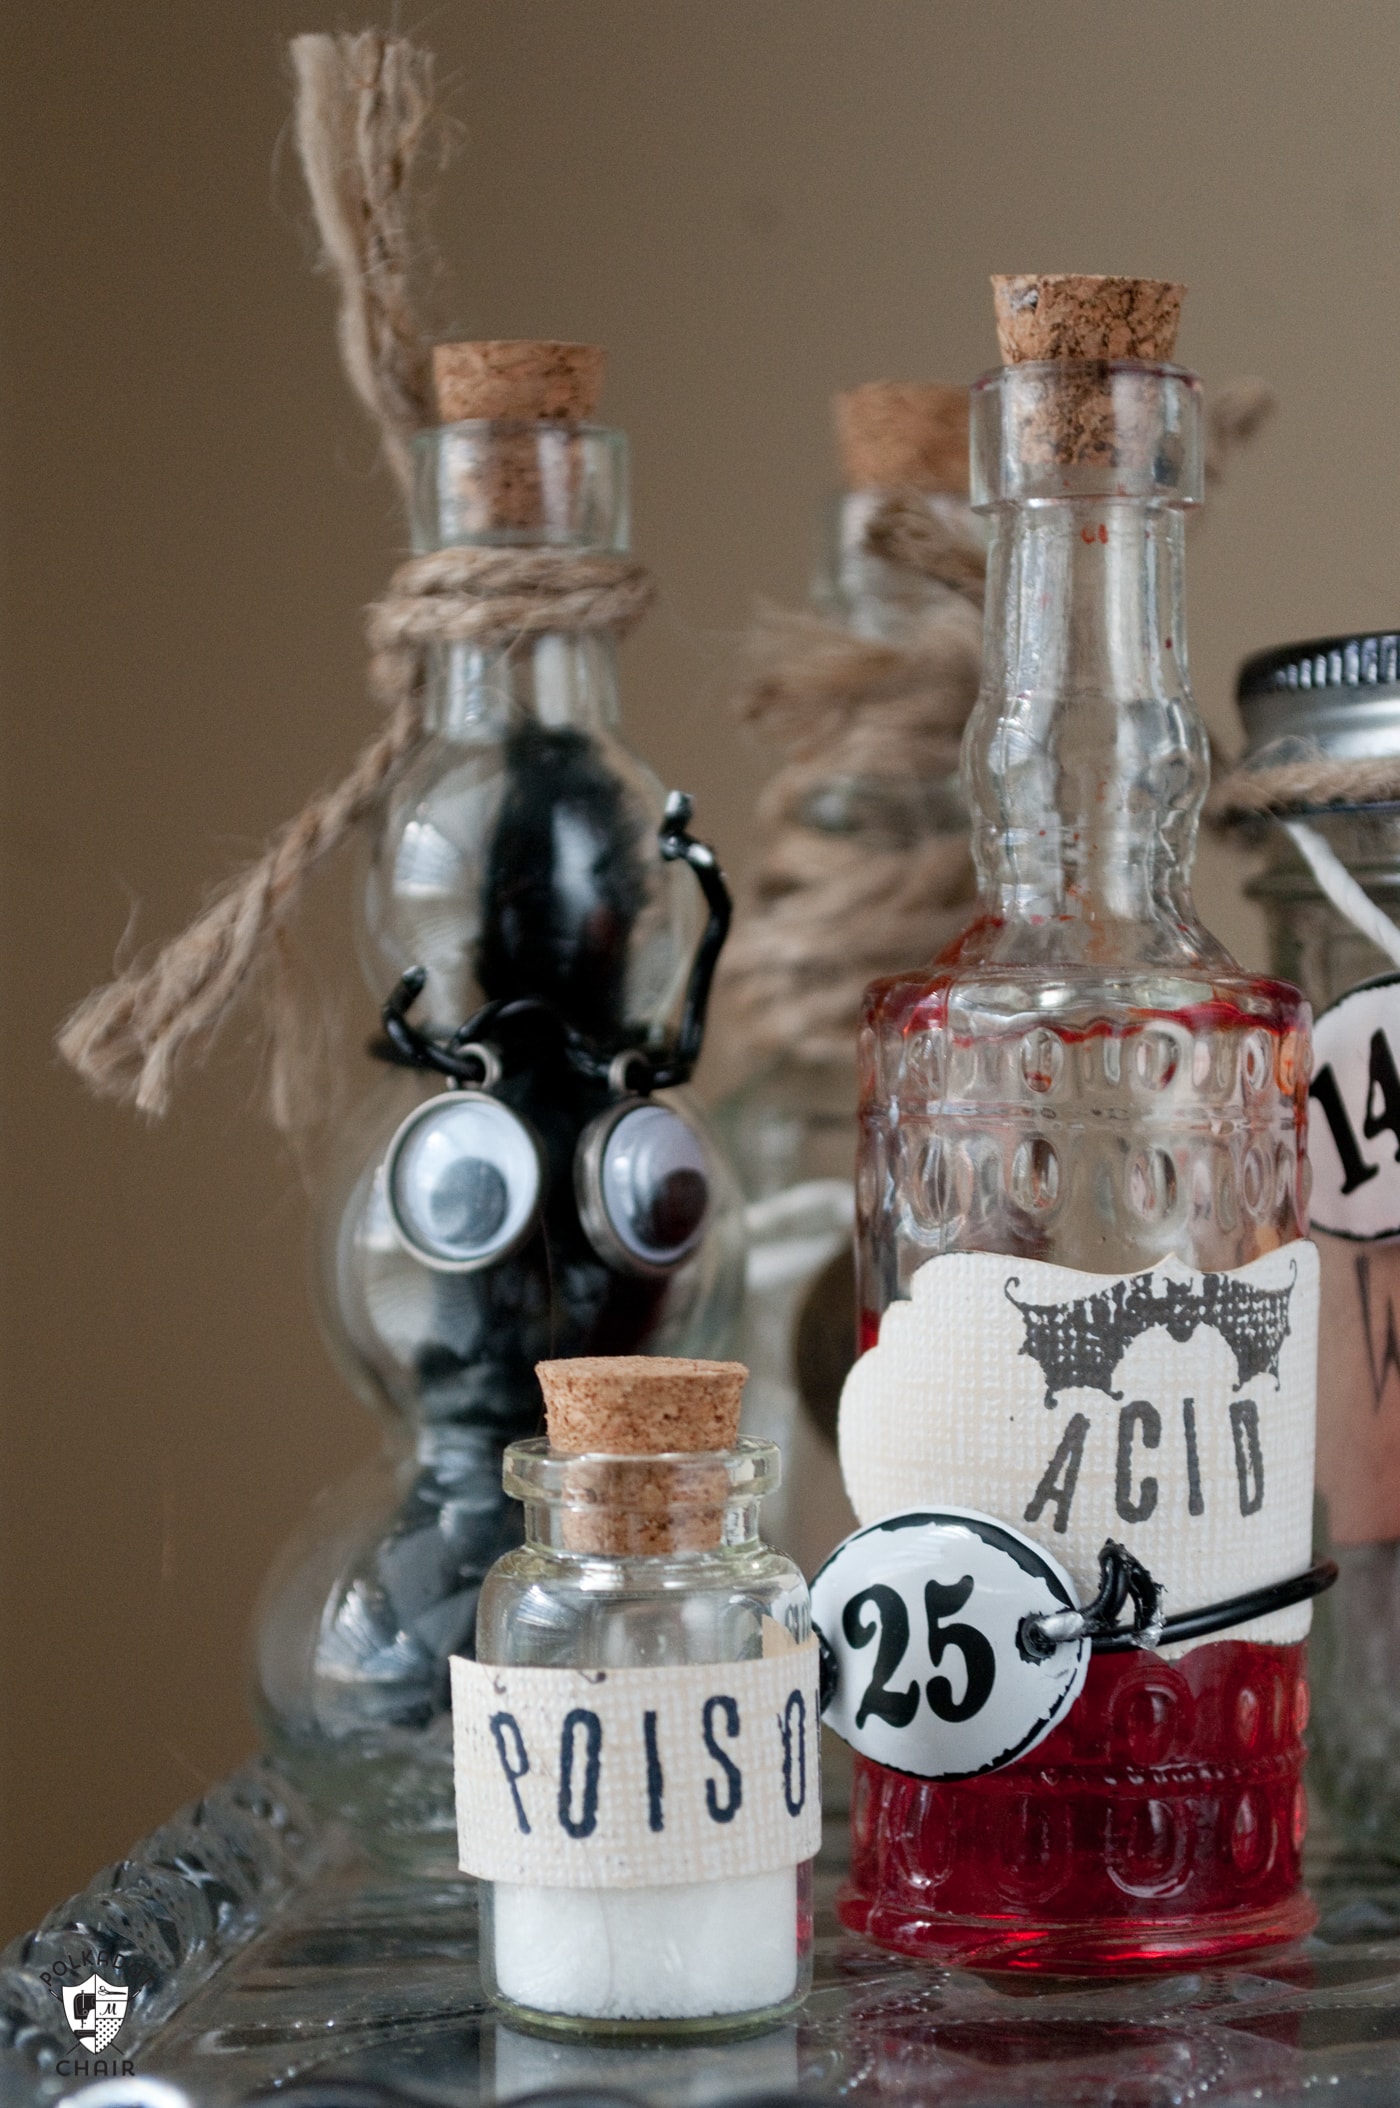
If you are creating the labels using stamps, stamp out the letters on your pieces of cardstock.
Here are a few suggestions for potion jar labels:
- Poison
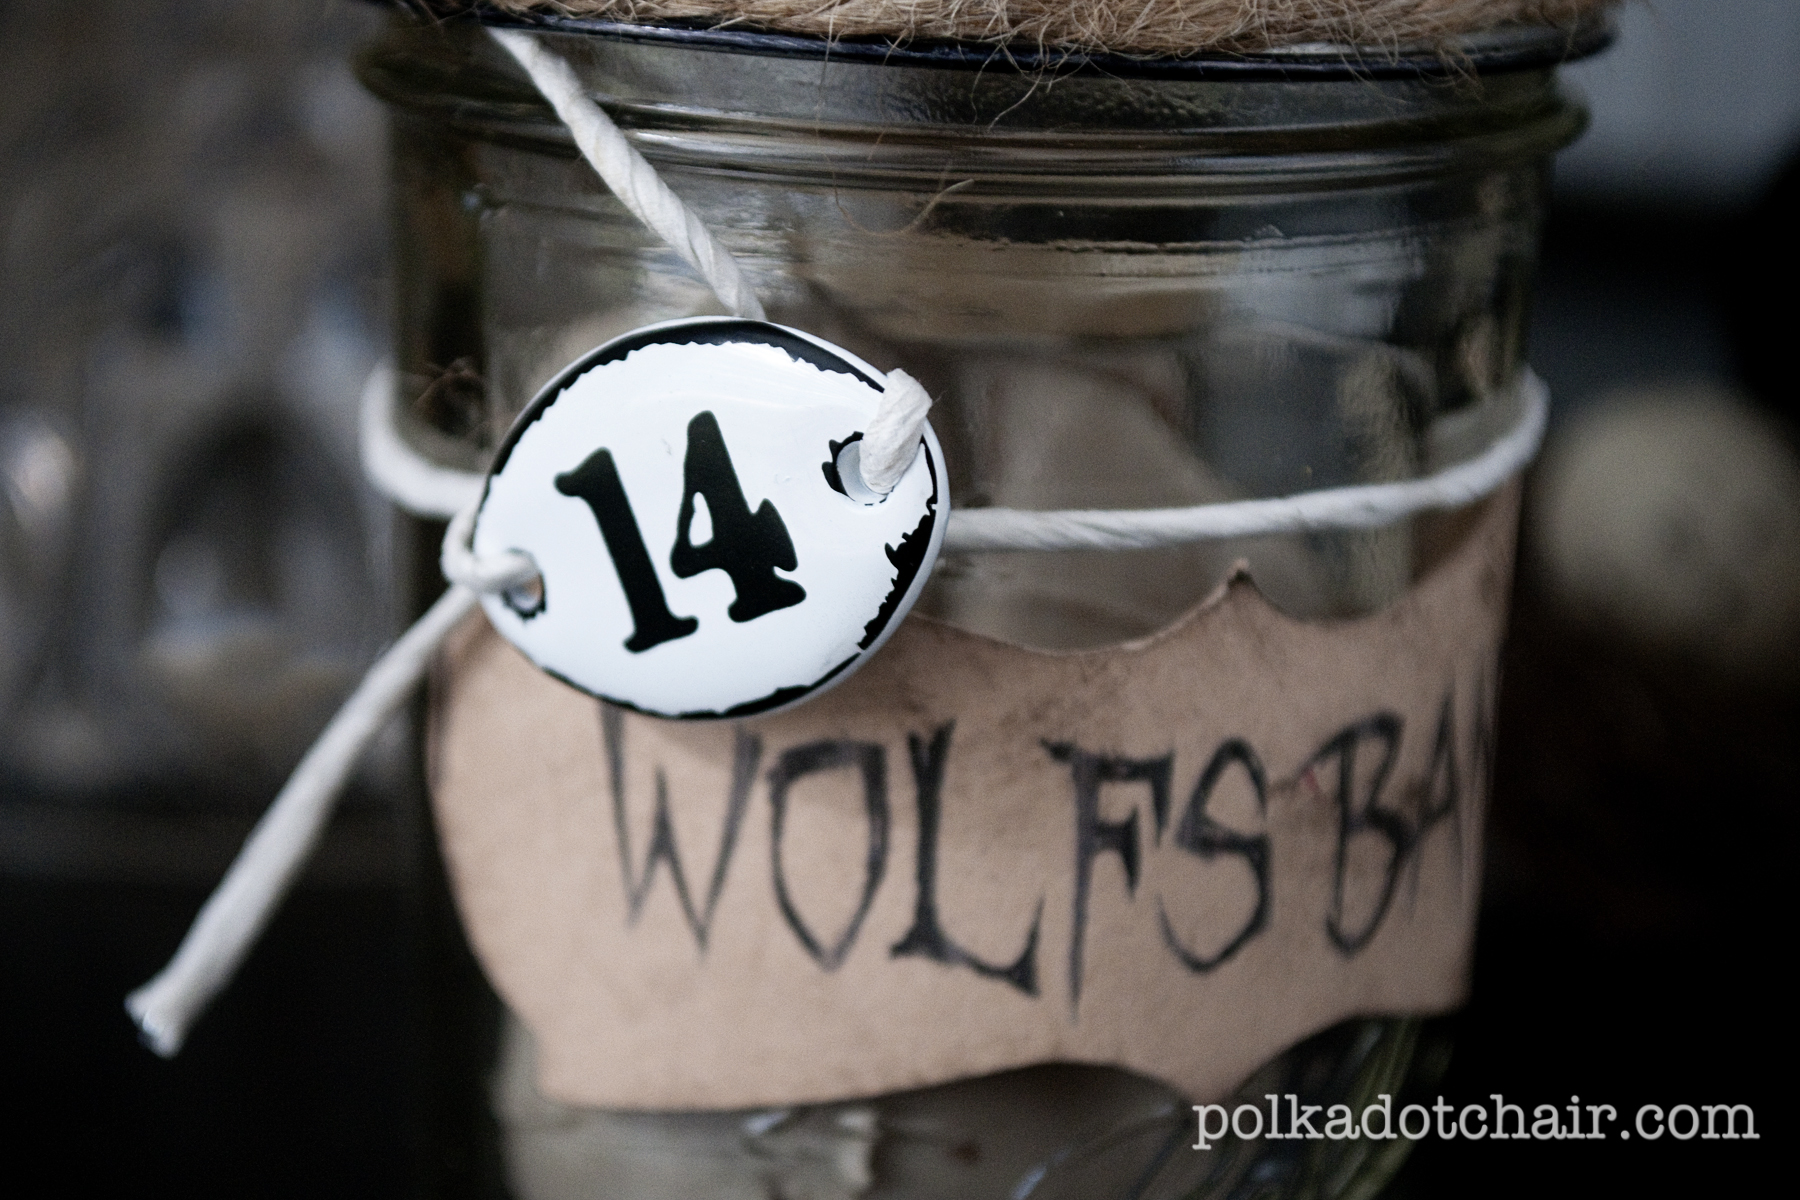
- Wolfsbane
- Bat Wing
- Venom
- Boomslang
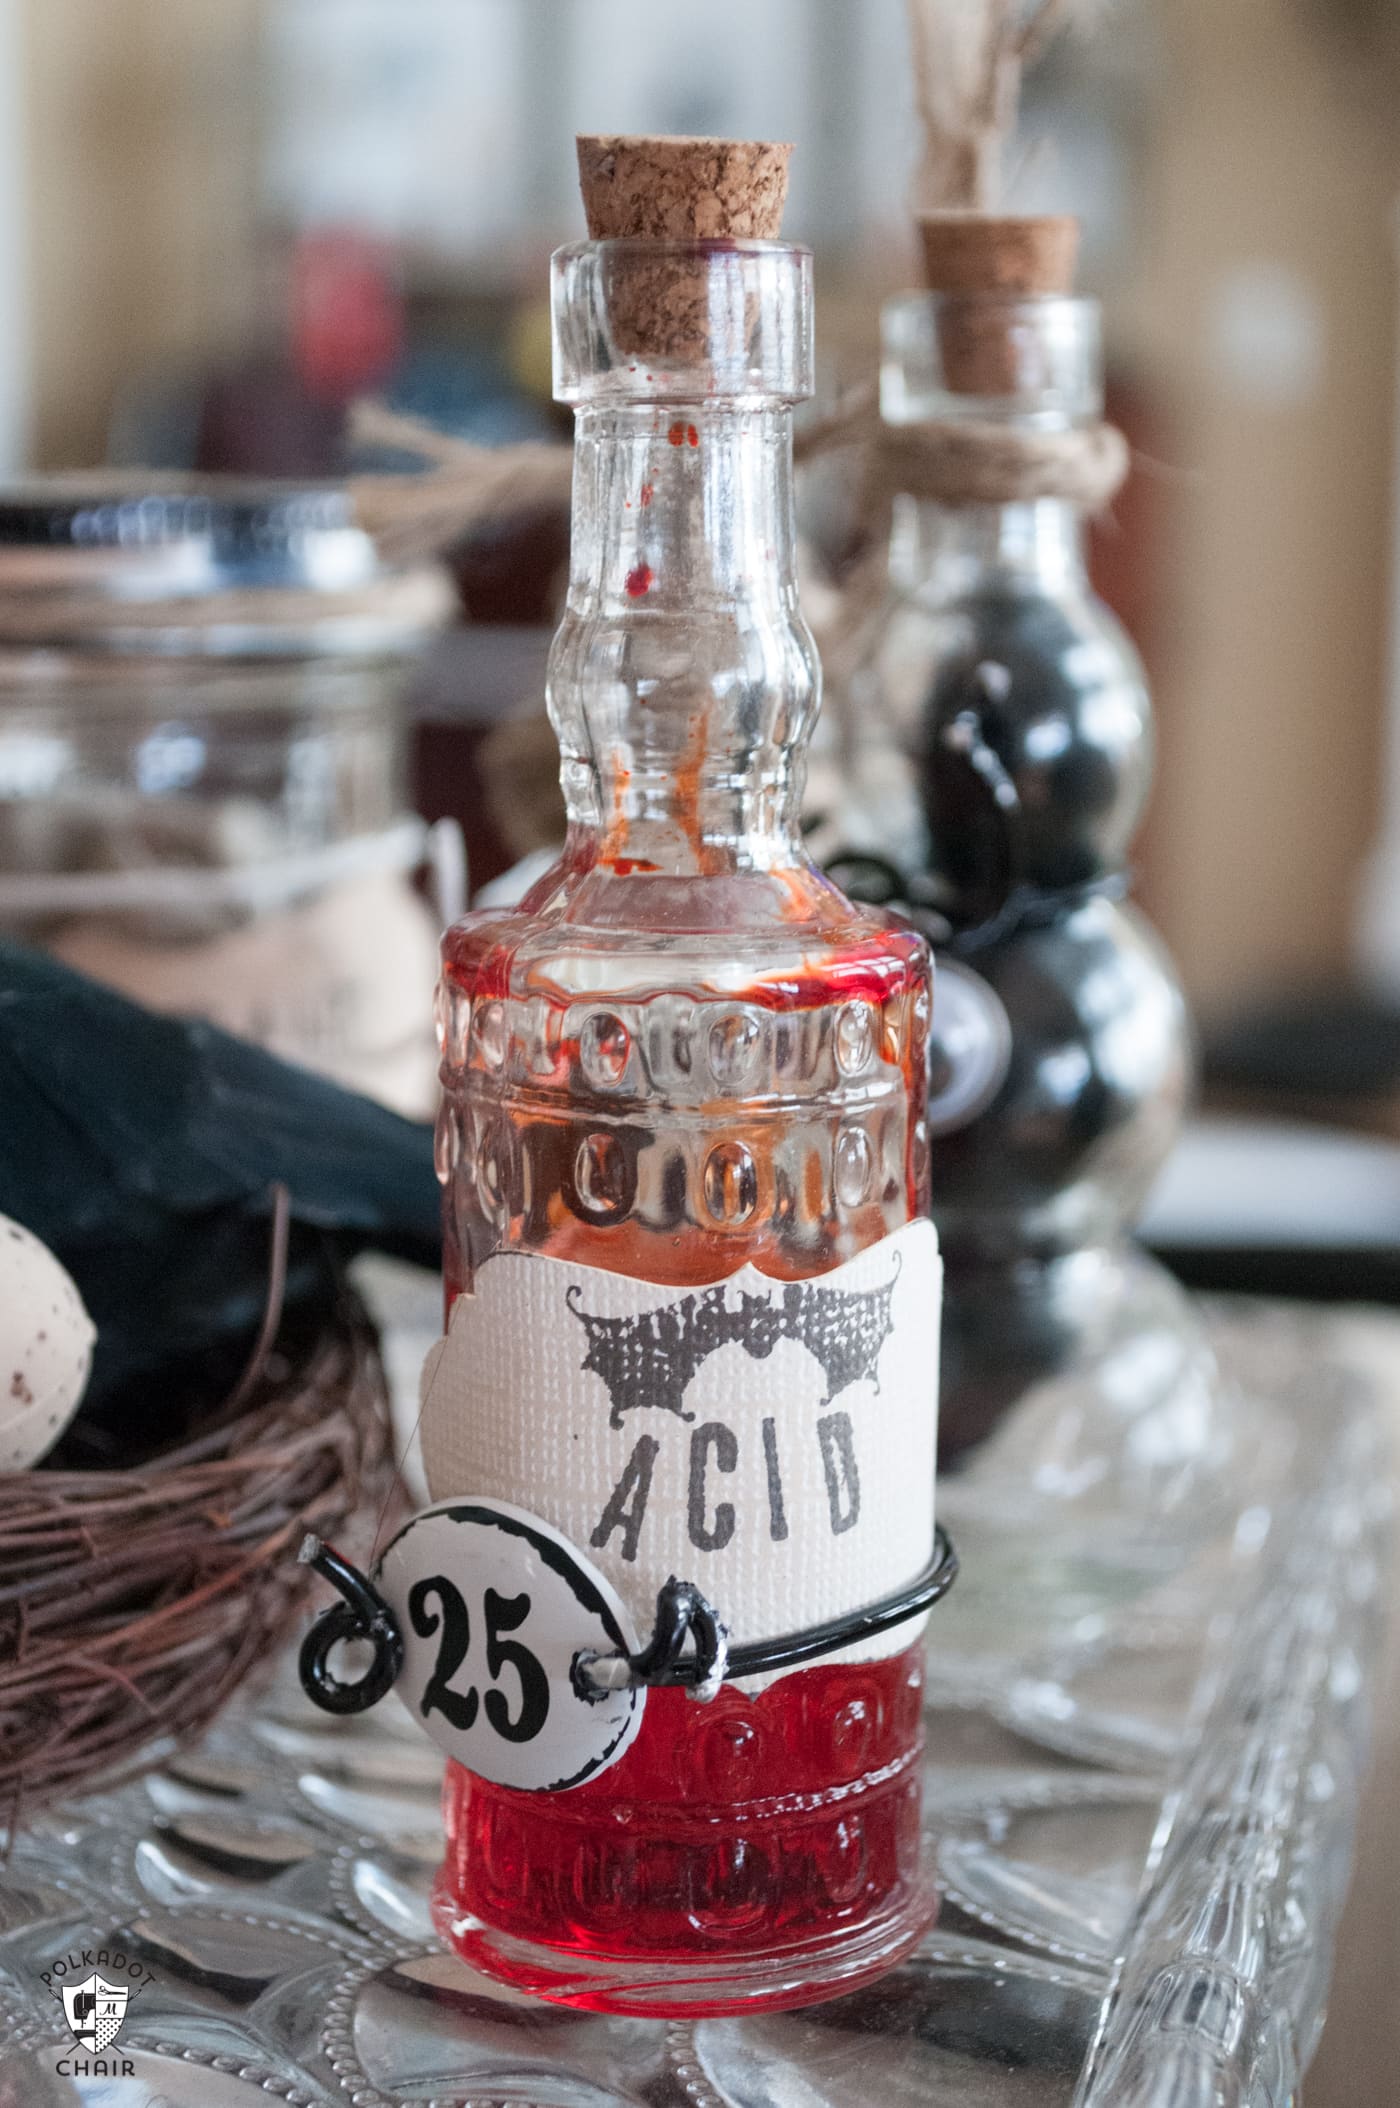
- Acid
- Eye of Newt
- Toadstools
- Dragon Blood
- Ginger
- Sage
Step Two: Attach the Labels to the Jars
After you have printed or created the labels, distress the edges with a bit of distress ink. You can use a makeup sponge or just drag the edge of the label through the ink pad.
Use a bit of double-sided tape to attach the labels to the sides of the jars.
Step Three: Embellish
Using your “findings & ephemera”, twine and wire attach various elements to the jars. I used a lot of googley eyes on my jars.
Just twist the wire around the jars and add other elements as you like.
Step Four: Fill Jars
Fill the jars with items from around your house. You can fill jars with water and tint it with food coloring.
Rice and salt also work well as jar fillers, as do black beans and dried herbs.
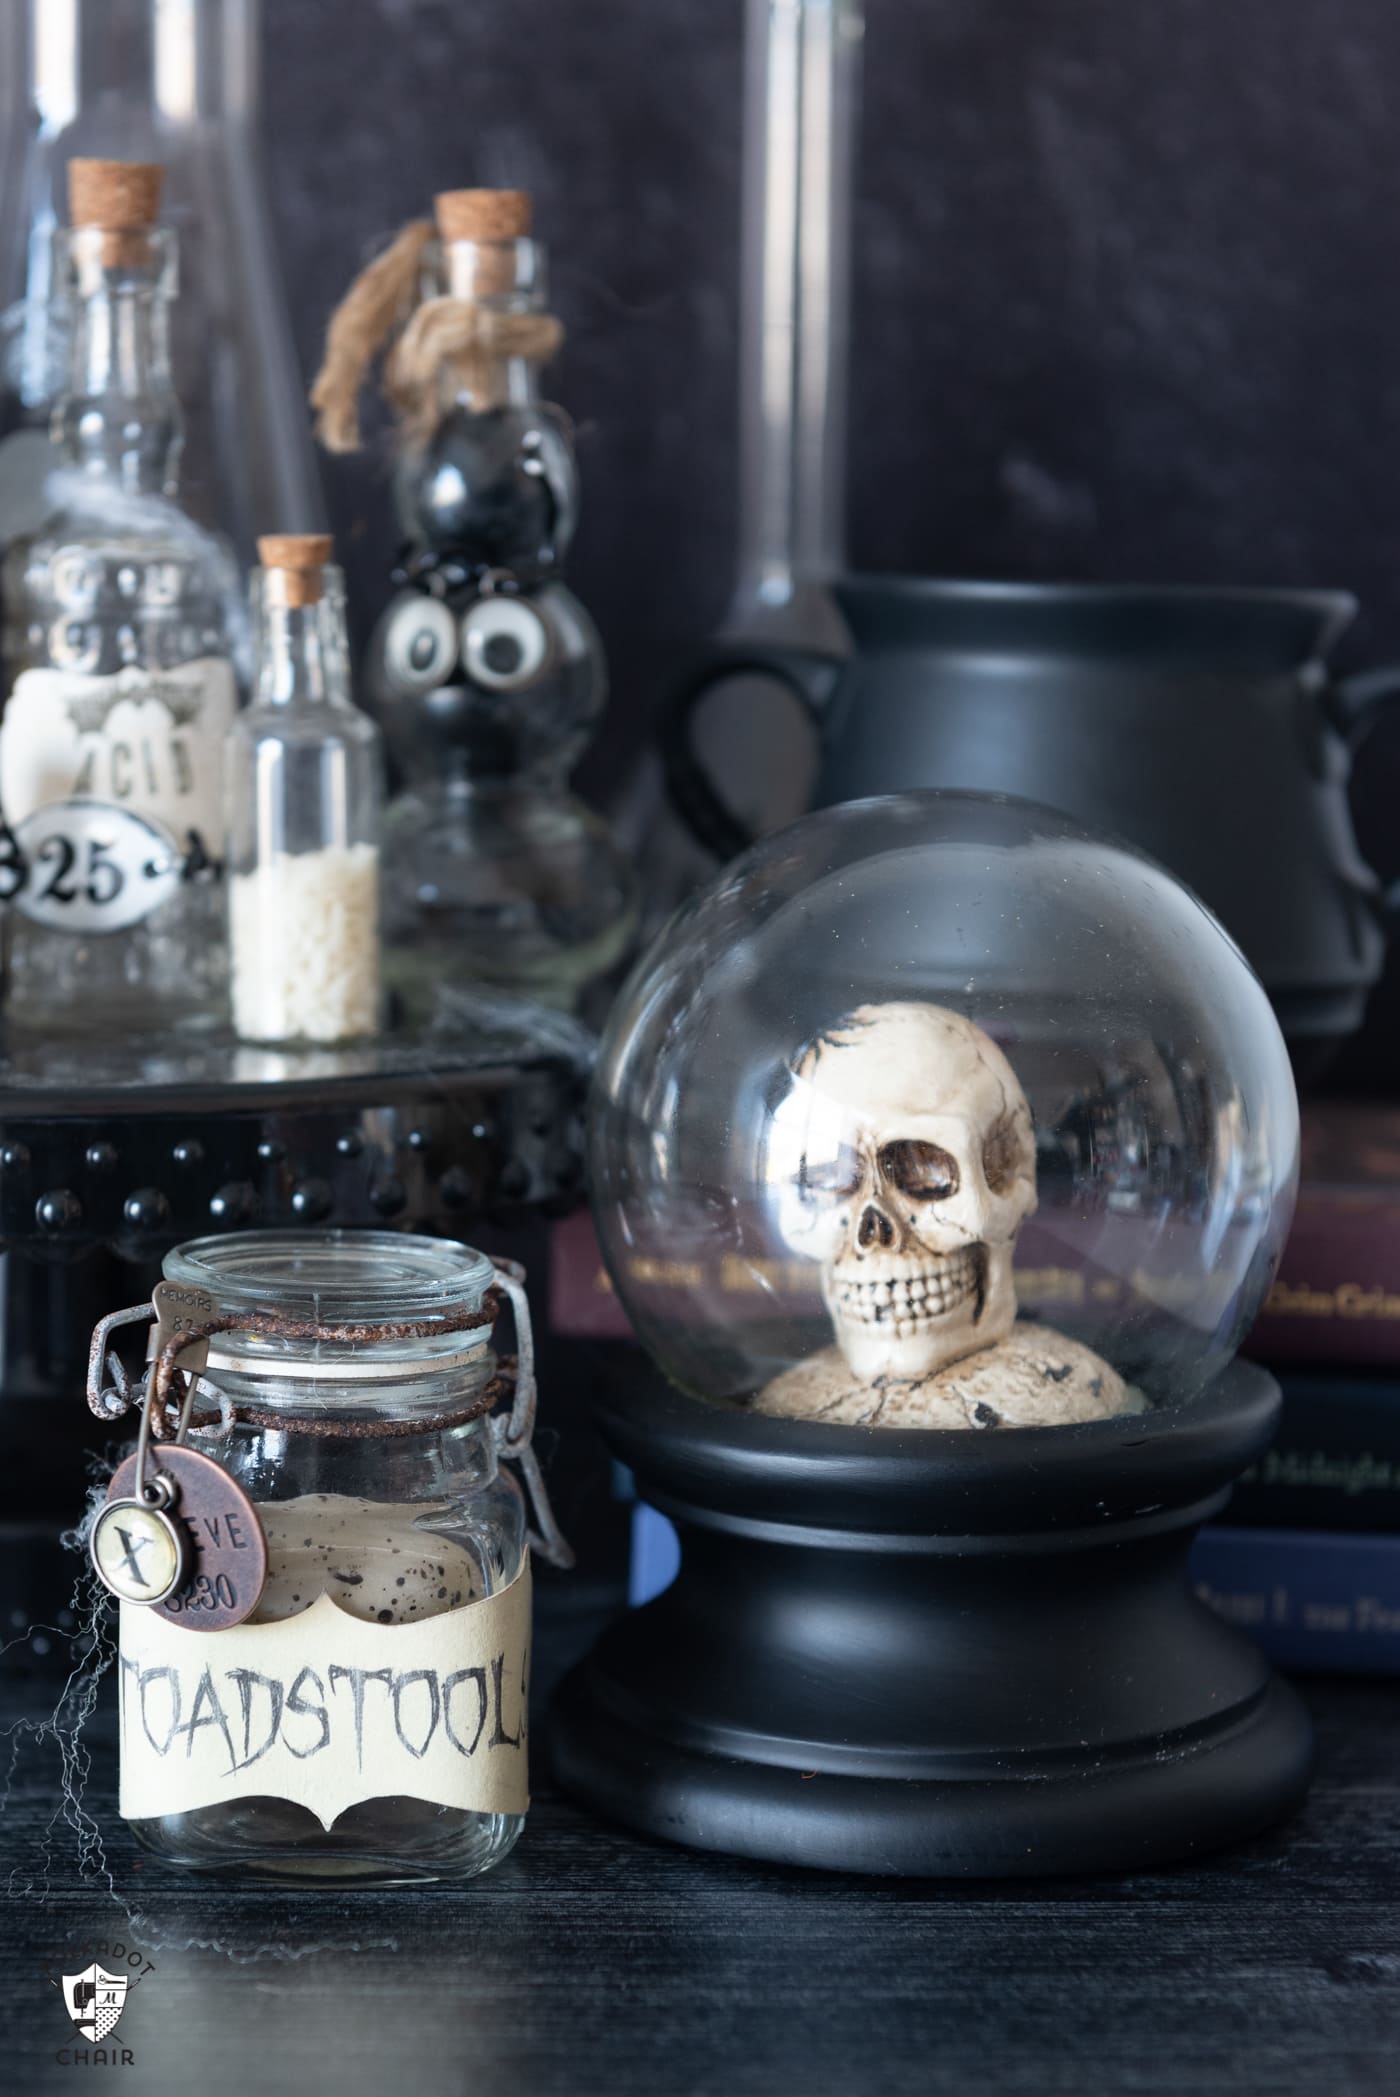
That’s it! Now just arrange it on a cake plate or tray in the center of your table!
I have *most* of the supplies I need for floor cushions for my boys, and a whole-cloth quilt for my youngest… now I just need to find the motivation!
I am a little behind on my holiday decor. I think at this rate I am going to skip right on through to harvest/thanksgiving and work on some fun bunting/garland to string around the house to help get into a more festive mood 🙂
Making Christmas Tree decorations. Nieces and nephews are now adults and need decorations for their trees.
My next project HAS to be a Christmas quilt, no getting distracted…must do the quilt! Thanks for the opportunity and the coupon!
I need to finish off a charity quilt from my quilting bee 🙂
ourbusylittlebunch(at)hotmail(dot)com
Next on my list is to make Christmas gifts. I have been making purses and wallets and crocheting cloths and just doing all sorts of crafty stuff to give as gifts.
My next project is completing a quilt for my in-laws 50th wedding anniversary. Then I’ll be sailing right into Christmas mixed media art pieces.
I am gearing up to finish a Christmas quilt (begun last year). I put it away because I didn’t like the way the machine quilting was looking – I wonder what I’ll think of it when I pull it out now???
My next project will be Christmas charm bracelets!
My next project is my Thanksgiving centerpieces. Thanks so much for the giveaway!
I’m working on a baby quilt for baby #3 for my next door neighbor. Thanks for the opportunity!
I am working on a lap blanket that will be stitched with hearts to give to my daughter for Christmas.
I am working on a “mystery” wall hanging. I’m using Christmas fabrics and it should be done in plenty of time. (At least I hope so!)
My next projects are all wood shapes that need to be decoupaged with paper! I LOVE that you used the cake stand on your Halloween centerpiece, it gives it a wonderful unique look!!
The absolute next project I am working on is a paper bag waist skirt for my daughter.
I am finishing a fall quilt right now and next up is a Christmas table runner !
I’m contemplating some wall hangings using my children’s footprints aass a gift for my mother-in-law. Also, I’m going to crochet mt almost Three year old’s Christmas dress.
My next creative project is a Thanksgiving Day banner and wreath for my mantel since I am hosting Thanksgiving this year! This giveaway would help! thanks for that and the coupon and Halloween ideas.