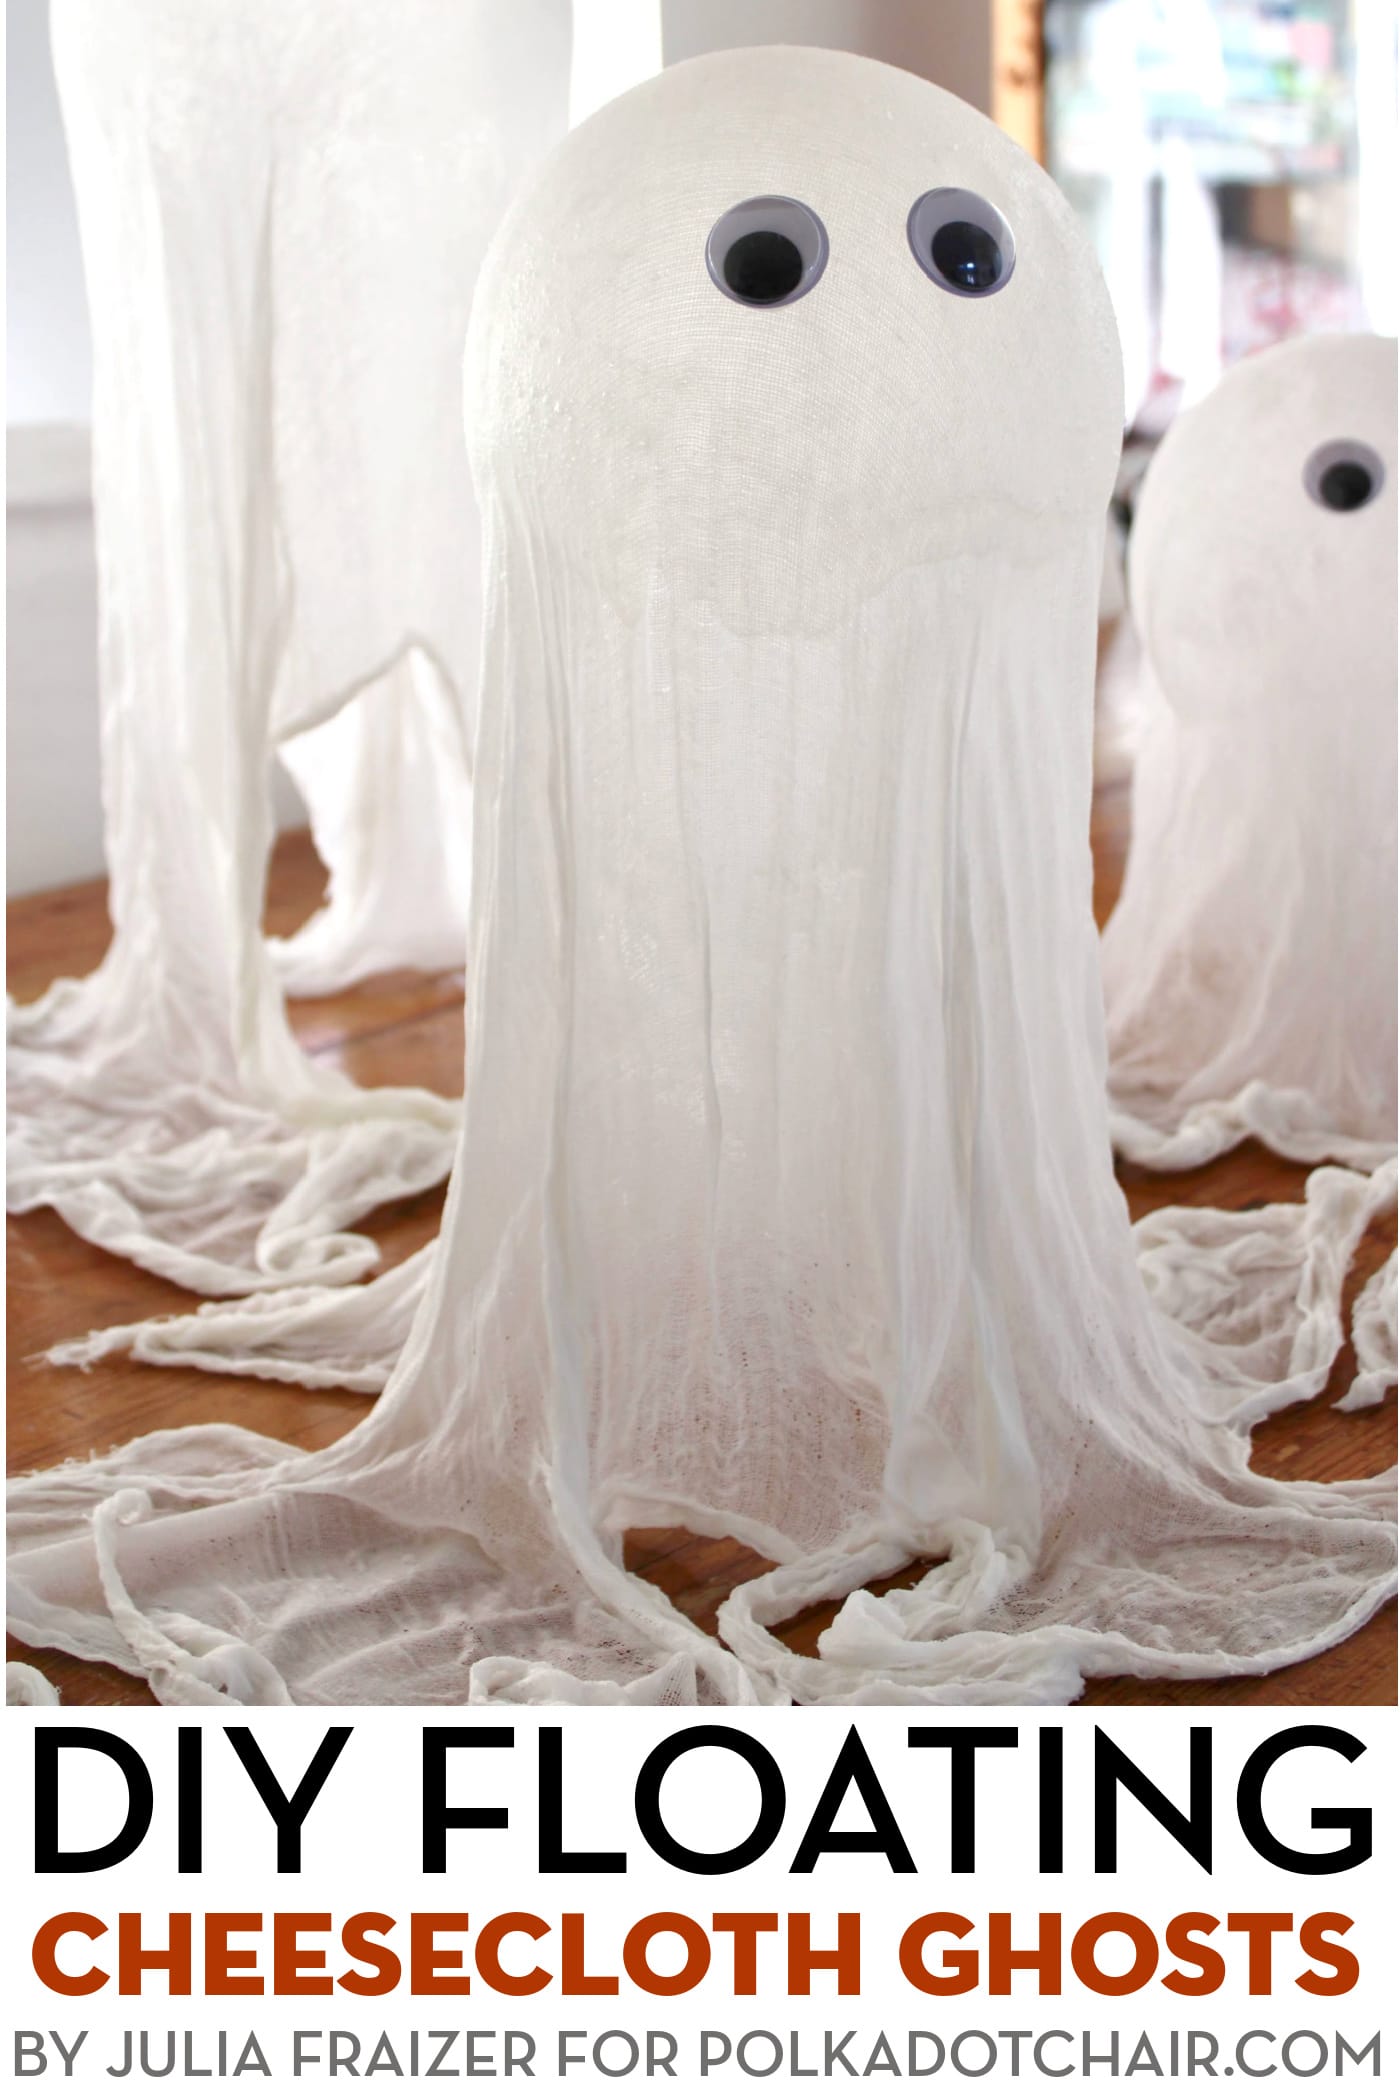
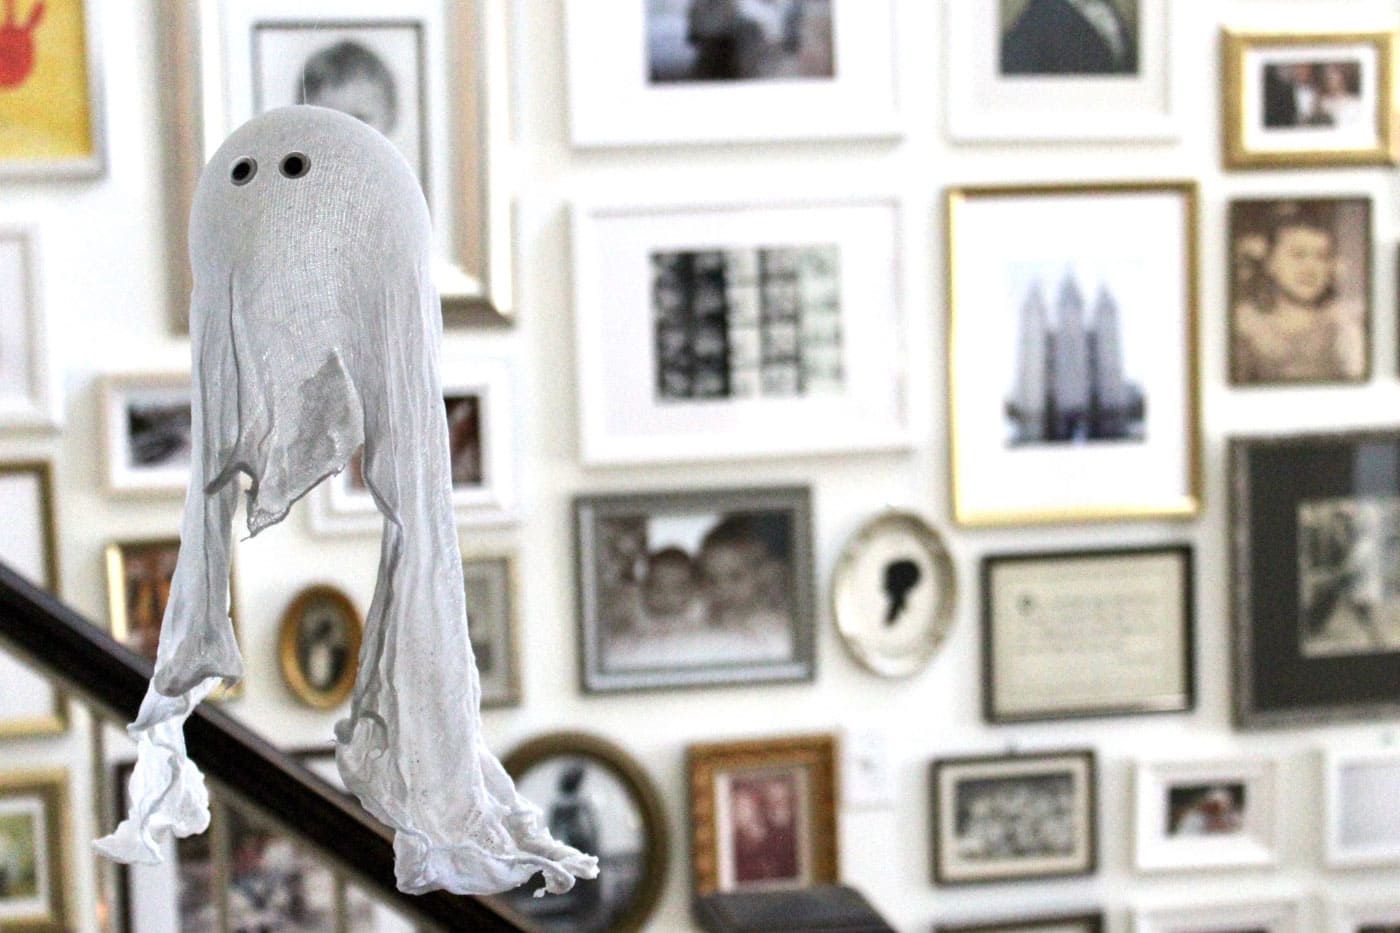
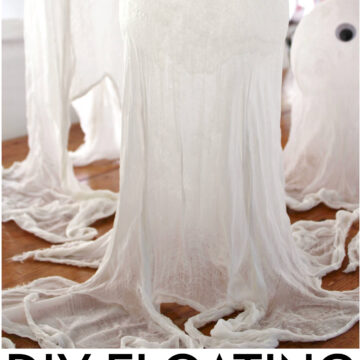
How to Make Floating Cheesecloth Ghosts
Learn how to make adorable and not-so-spooky floating cheesecloth ghosts with our free tutorial. A cute and easy DIY Halloween craft!
Do you remember the cheesecloth ghosts our mothers made years ago? I do! My mom made a witch version of this cheesecloth craft that she brought out every Halloween, and it really scared me!
How to Make Cheesecloth Ghosts
Making these ghosts has become a Halloween tradition around here, and today, I will show you how to make the ghosts in two different sizes.
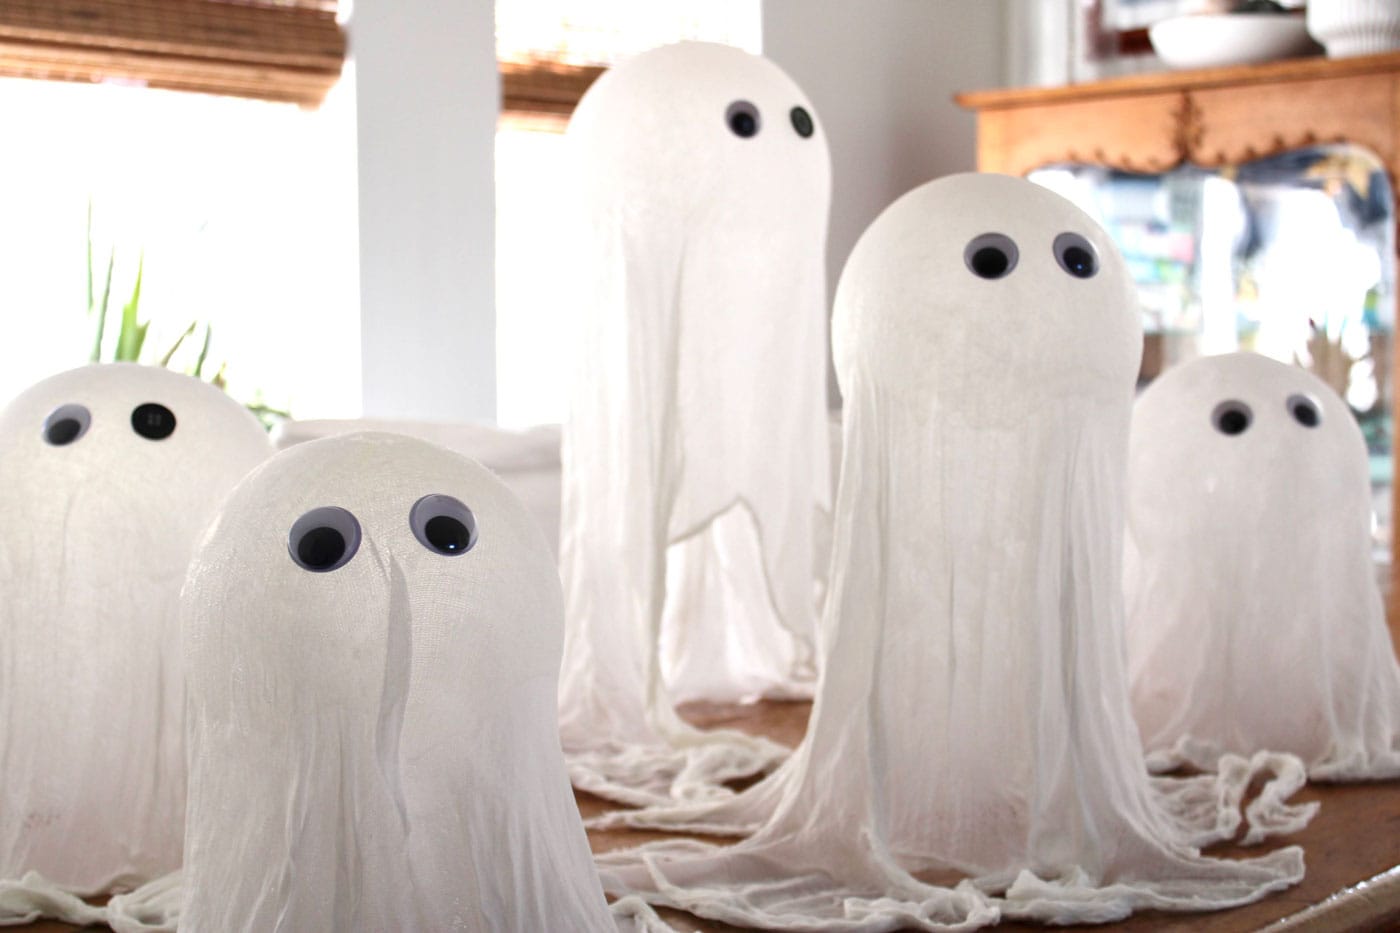
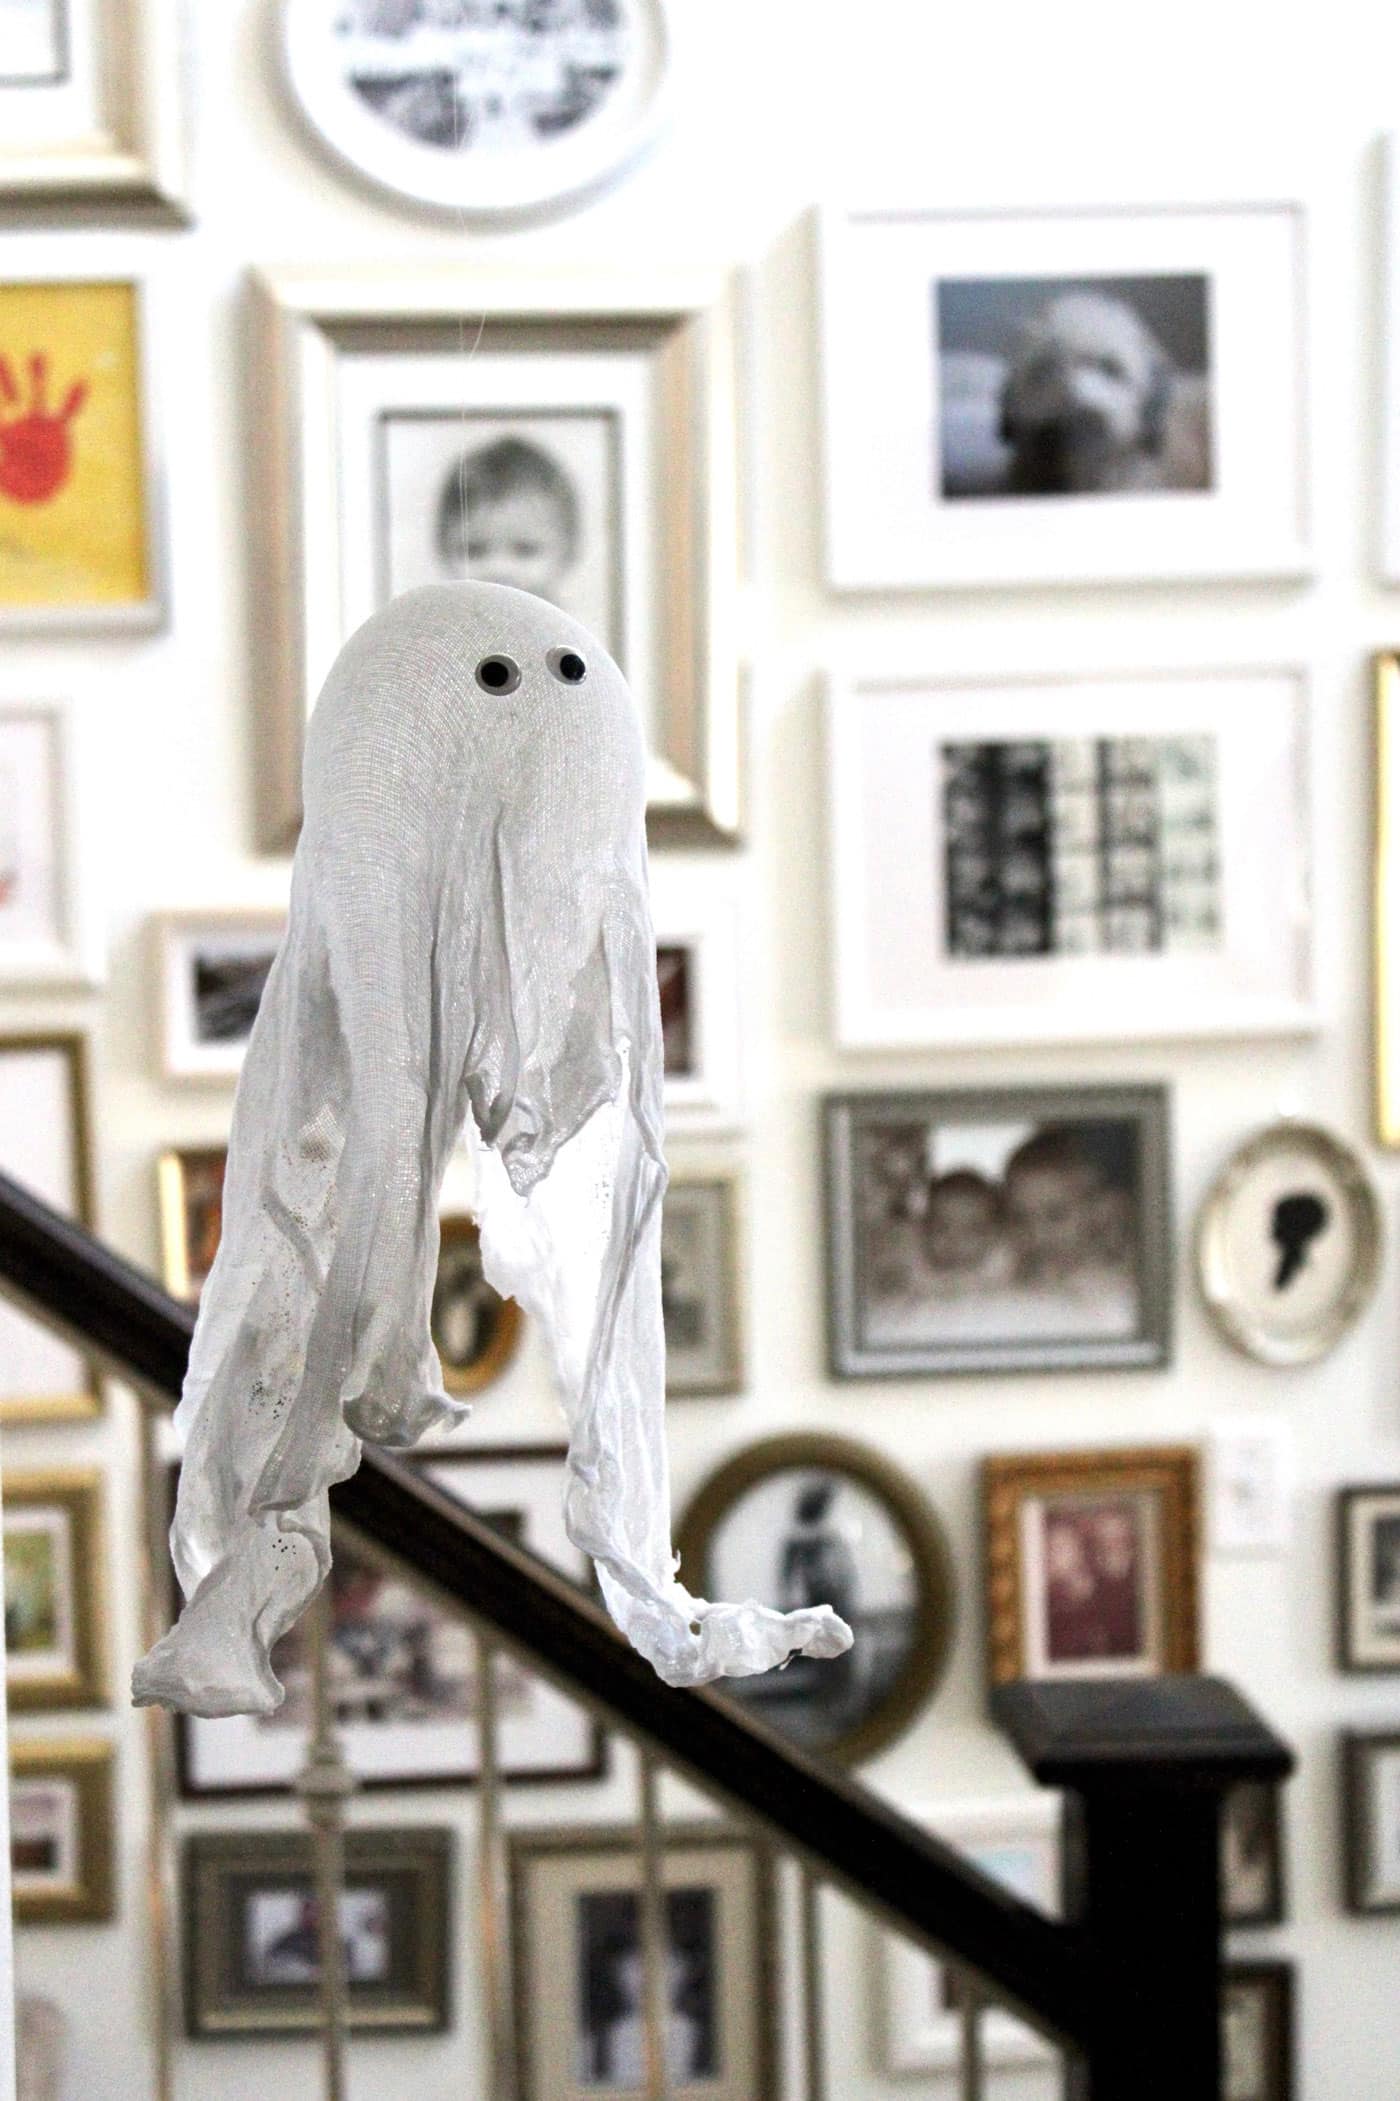
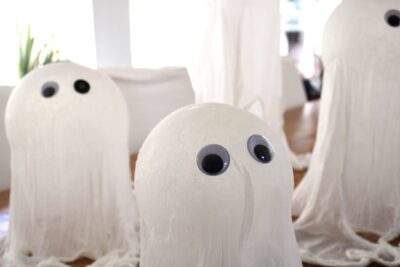
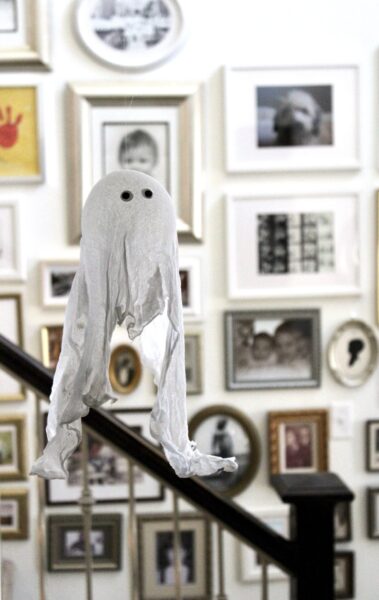
This small ghost is adorable and perfect for hanging in doorways, from the porch ceiling to light fixtures.
Or you could opt not to hang them and set them on tables, bookshelves, and fireplace mantles.
How to Make Light Up Ghosts
The larger size makes the perfect Halloween centerpiece or porch decor. Add a string of battery-operated fairy lights to make it extra festive, so they light up at night. They would look especially cool next to a faux Witches Cauldron.
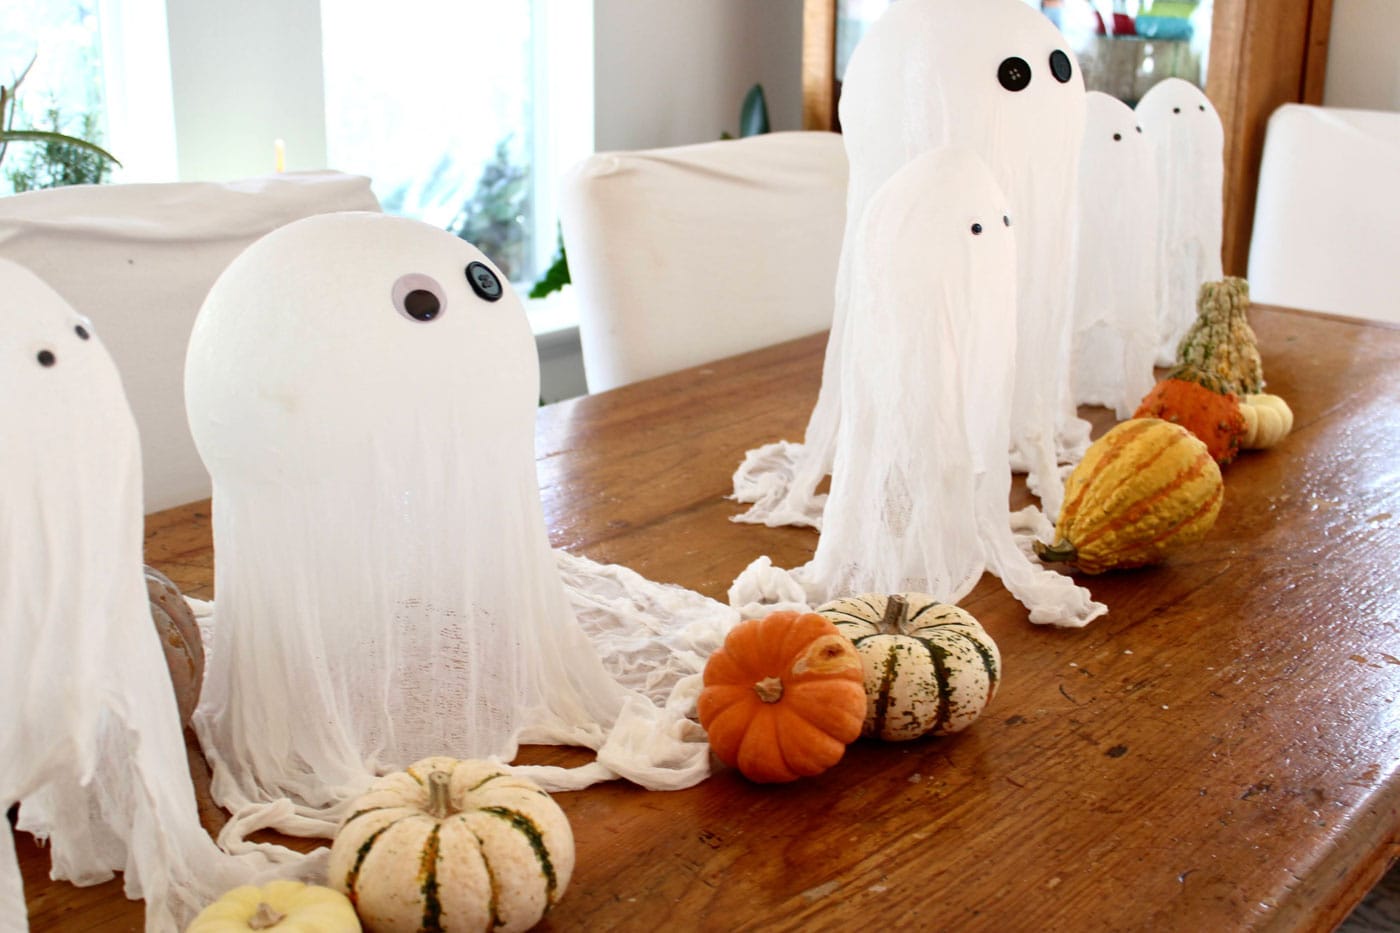
These ghosts are easy to make and, if stored properly, will last for years to come.
Supply List for Cheesecloth Ghosts
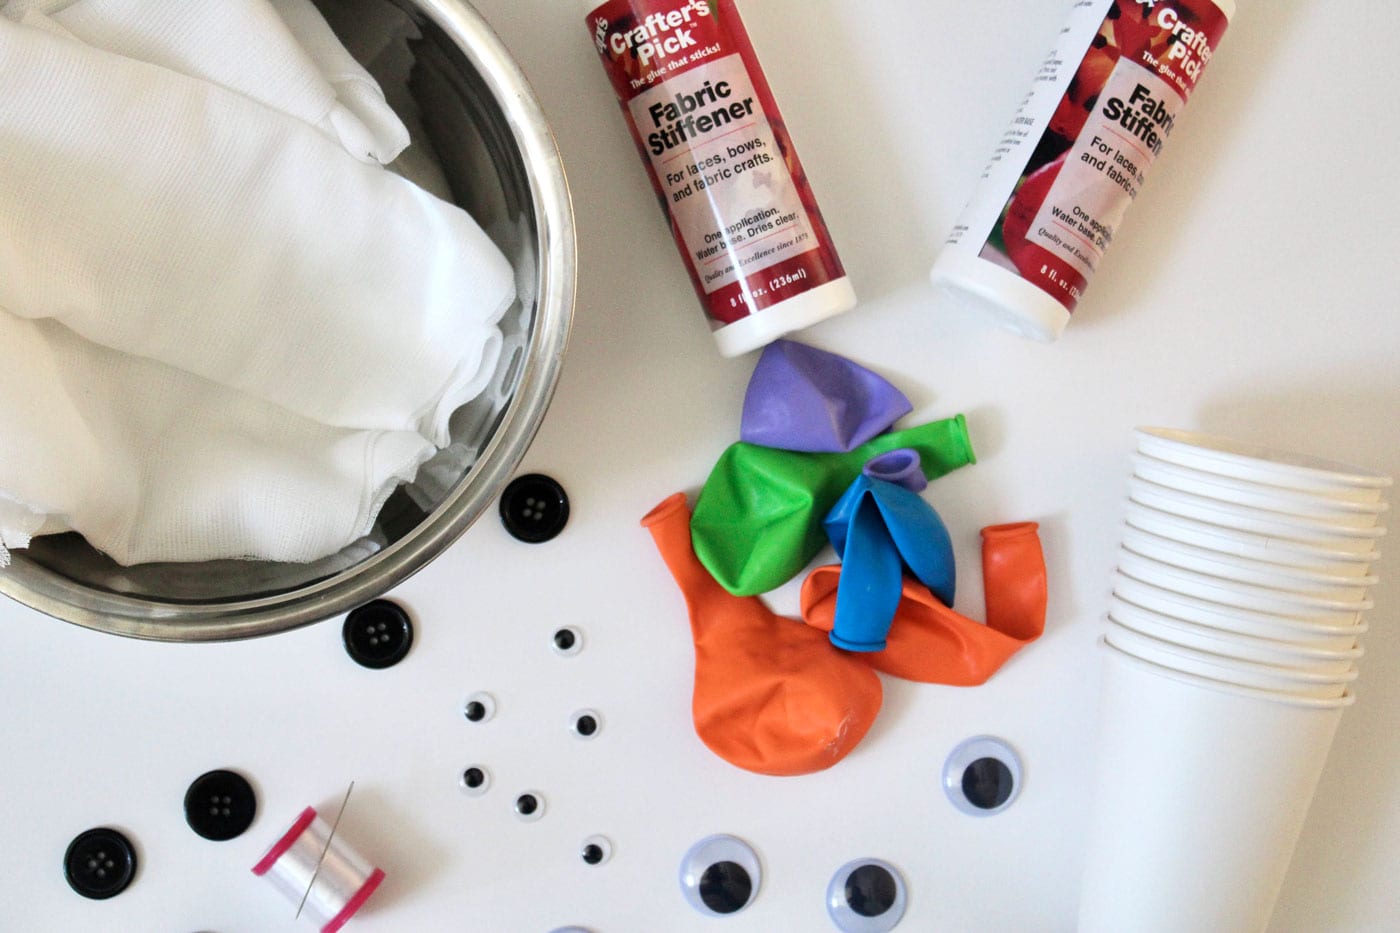
- Several yards of cheesecloth (A large ghost needs approximately 1 yard of cheesecloth. A small ghost needs ½ yard.)
- One or more bottles of fabric stiffener. I recommend Stiffy Fabric Stiffener by Plaid.
- Balloons
- Paper or plastic cups. I recommend red plastic cups for the larger ghost. If using paper cups, you will also need plastic wrap)
- Tape
- Buttons or googly eyes
- Clear thread or fishing line if you plan to hang your ghosts
- A plastic tarp, tablecloth, or other plastic protective cover protects your work surface.
Video Tutorial
You can find a step-by-step video tutorial of this project on the Bay Hill Studios YouTube channel.
Instructions
DIY Floating Cheesecloth Ghosts
Equipment
supplies
- Several yards of cheesecloth A large ghost needs approximately 1 yards of cheesecloth. A small ghost needs ½ yard
- One or more bottles of fabric stiffener. I recommend Stiffy Fabric Stiffener by Plaid.
- Balloons
- Paper or plastic cups. I recommend red plastic cups for the larger ghost. If using paper cups you will also need plastic wrap)
- Tape
- Buttons or googly eyes
- Clear thread or fishing line if you plan to hang your ghosts
- Plastic tarp Or tablecloth or other plastic protective covering to protect your work surface.
Instructions
Step 1:
- Lay out your tarp or protective covering over your work surface.
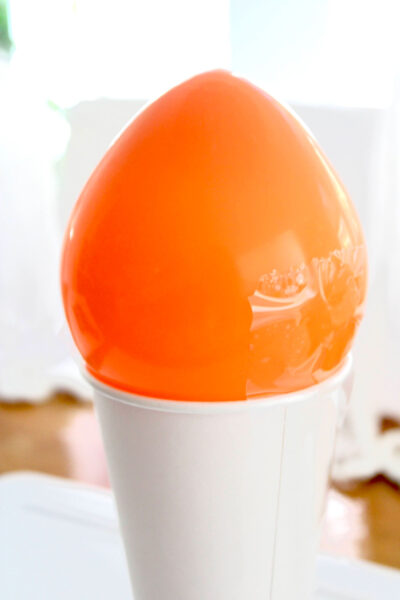
- For the smaller ghost, tape two 8-10 oz cups together as shown. For the larger ghost, you can use a red plastic cup alone, or to make it taller, stack them up and tape them together as shown above.


Step 2:
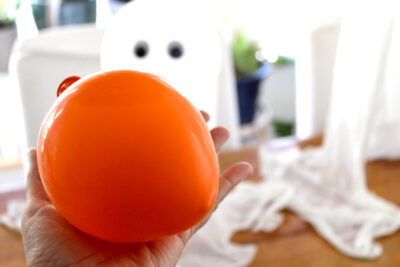
- For the small ghost, blow up a balloon so it fits in the palm of your hand. For a larger ghost, it should be about the size of a cantaloupe. The size isn’t exact – just make the balloon the size you want your ghost head to be.

Step 3:
- Set the balloon on top of the cup and place a piece of tape on each side to hold it in place.
Step 4:
- Pour the fabric stiffener into a bowl. Cut the length of cheesecloth you desire. For a small ghost, I recommend about 18” wide. For the larger ghost, I recommend 1 yard. You can open up your cheesecloth and lay it over the balloon form to get an idea of how much fabric you have to work with and whether you would like more. The folded portion of the cheesecloth is fairly long, so if you plan on hanging your ghost and don’t want the cheesecloth to form a puddle on the base, cut that folded portion to the length you desire.

Step 5:
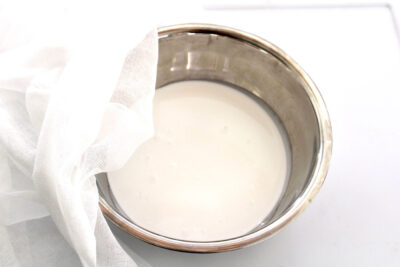
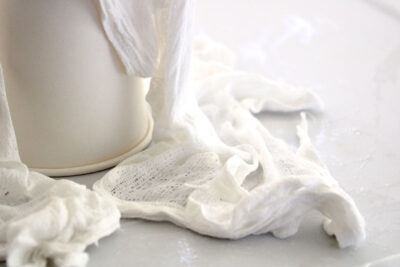
- Open/unfold the cheesecloth and dunk the cheesecloth into the fabric stiffener. Turn it over and squeeze it to make sure there are no dry sections. You want the liquid to cover every part of the cheesecloth.
Step 6:
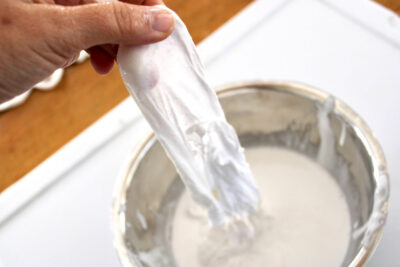
- Pull the cheesecloth out and squeeze out all of the excess liquid. The easiest way to do this is to hold the cheesecloth with one hand, and with the other hand, firmly squeeze, starting at the top and pulling downwards, making sure the excess liquid goes back into the bowl.
Step 7:
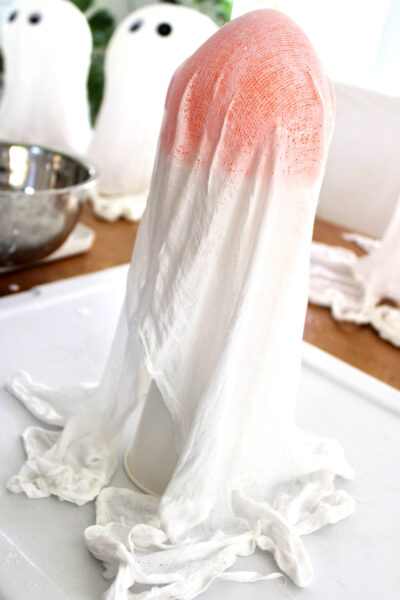
- Open the cheesecloth slowly (and patiently), then drape it over the balloon form. (NOTE: If you used paper cups, lay a sheet of plastic wrap over the balloon and cups so the fabric stiffener doesn’t stick to the paper cups as it dries.)
Step 8:
- Arrange the excess fabric so it “puddles” around the base. If you are hanging the ghost and don’t want the “puddle look” cut the cheesecloth shorter so it doesn’t touch the table surface.
Step 9:
- Let your ghost dry overnight. At this time, you’ll want to inspect the bottom portion where the fabric is puddled up. If it hasn’t dried yet, give it more time.
Step 10:
- Add eyes to your ghost. This can be googly eyes, buttons, or you can draw eyes with a black marker. Use a hot glue gun or tacky glue and let them dry completely.
- For extra pizzaz, you can get a string of battery operated fairy lights and set them in the ghost so it lights up at night. Fun!
Step 11:
- If you want to hang your ghost, use a needle and thread to attach clear thread or fishing line to the top of the head. Hang with tape, command hooks, or whatever method works for you.

Video
About the Designer
Julia Frazier is the founder of Bayhill Studio. Julia designs quilts and projects geared toward beginner quilters and crafters. You’ll usually find her at her sewing machine or hiking in the nearby mountains. Follow Julia on Instagram @bayhillstudio, and subscribe to her YouTube channel for new and exciting projects and tutorials. Be sure to check out her Bayhill Studio website for a growing list of tutorials and patterns.
Also by Julia:
Grandmother’s Groovy Garden Quilt
Ys I do remember these and made them with flour which attracted bugs -Love the “Stiffy” it’s so easy to use and doesn’t discolor (or attract bugs!) How about Christmas trees and Angels? Thanks!