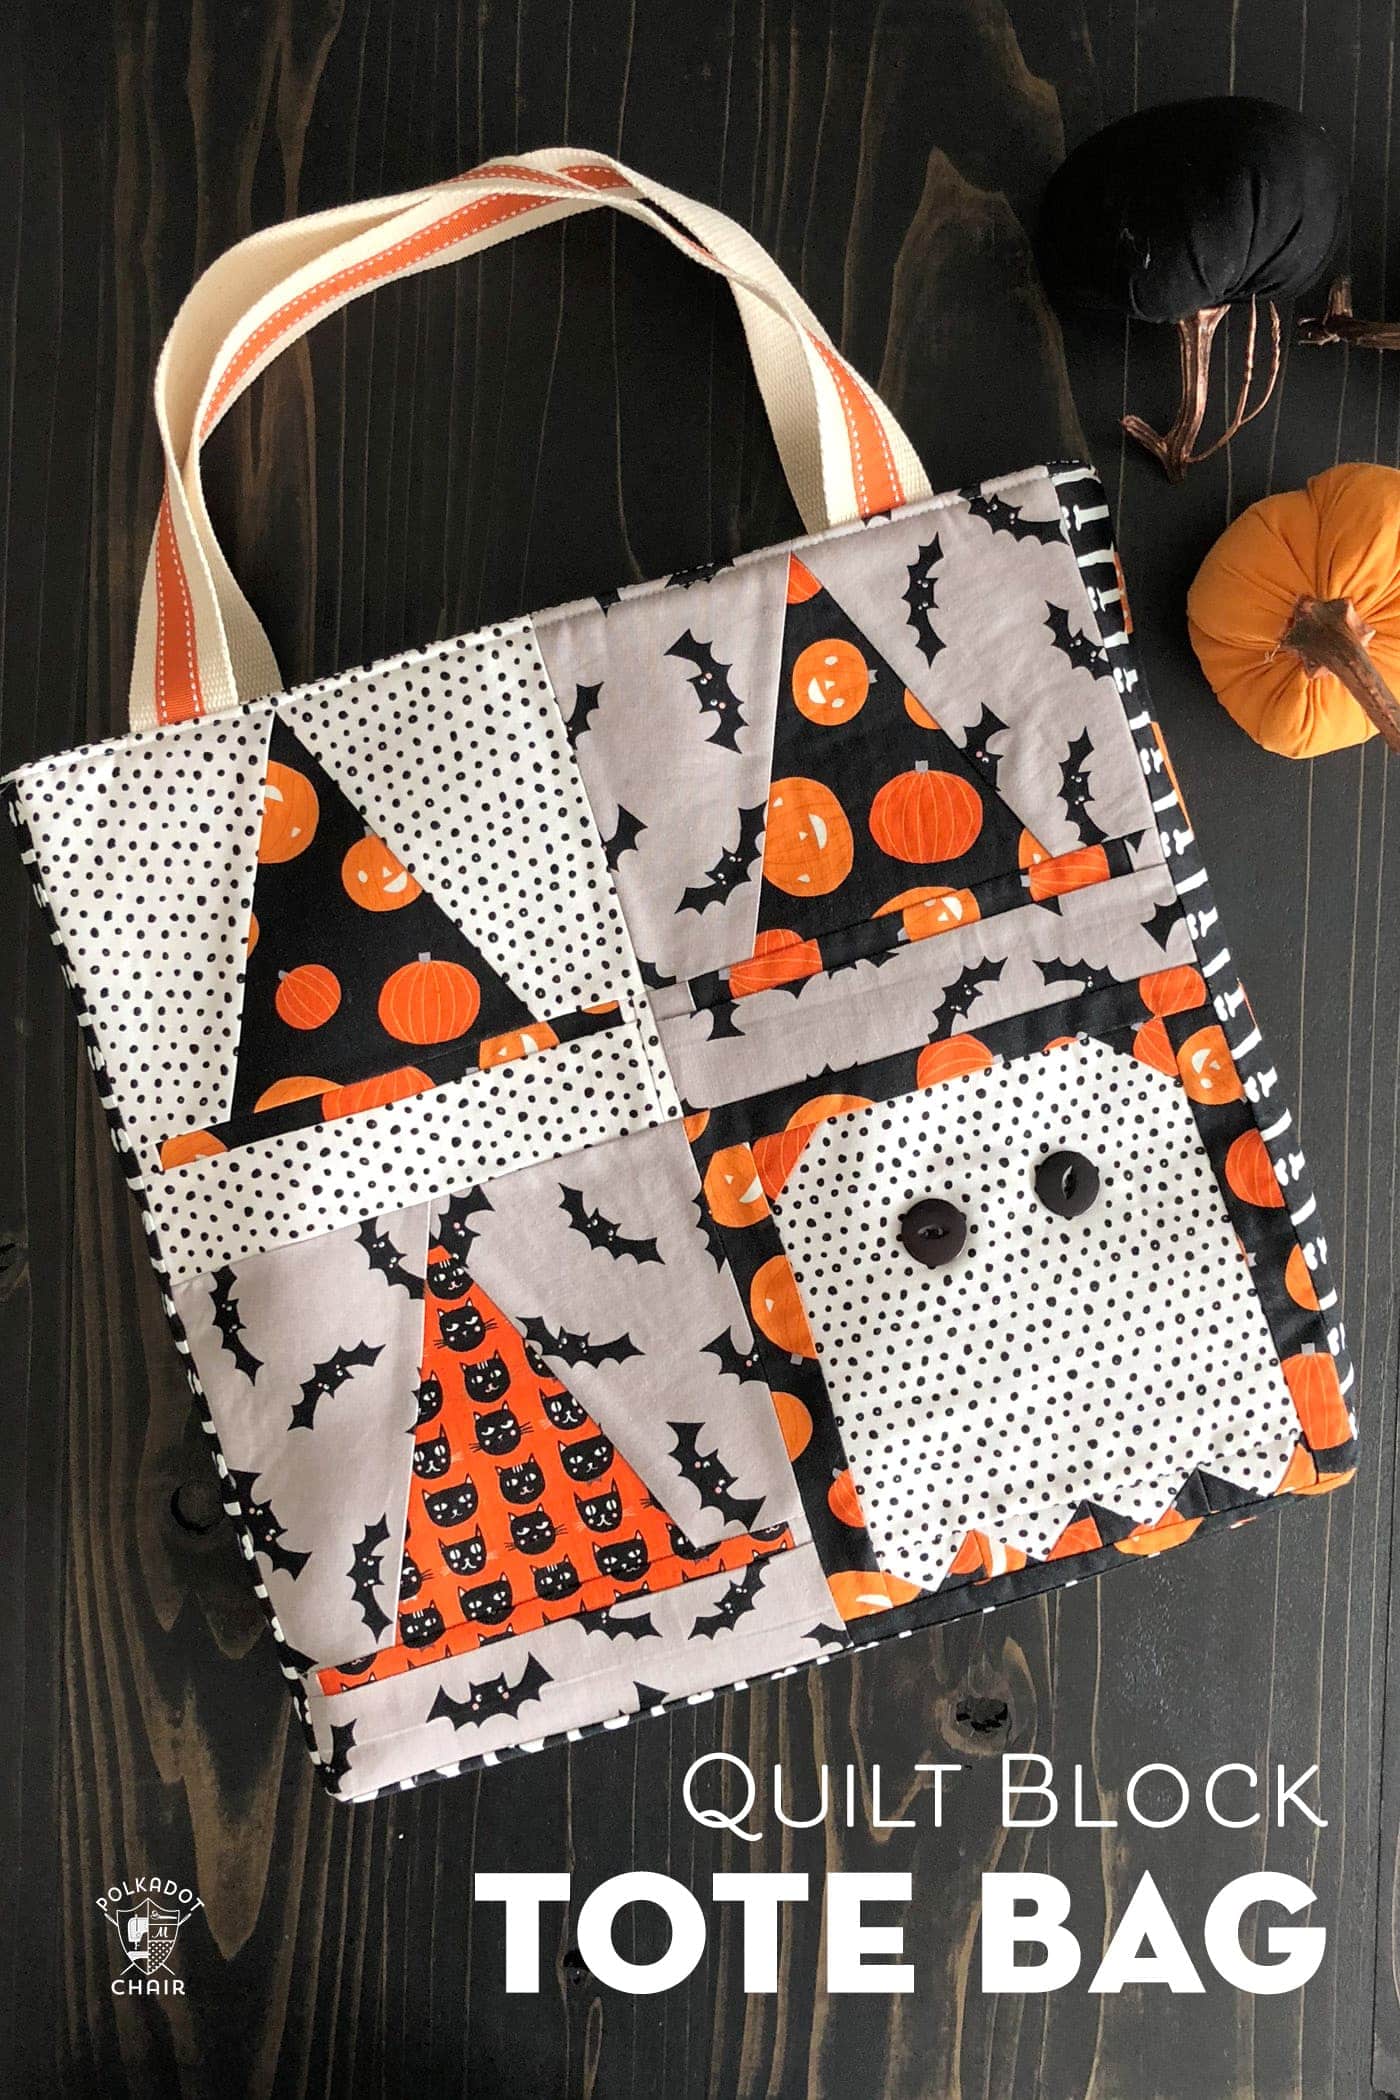
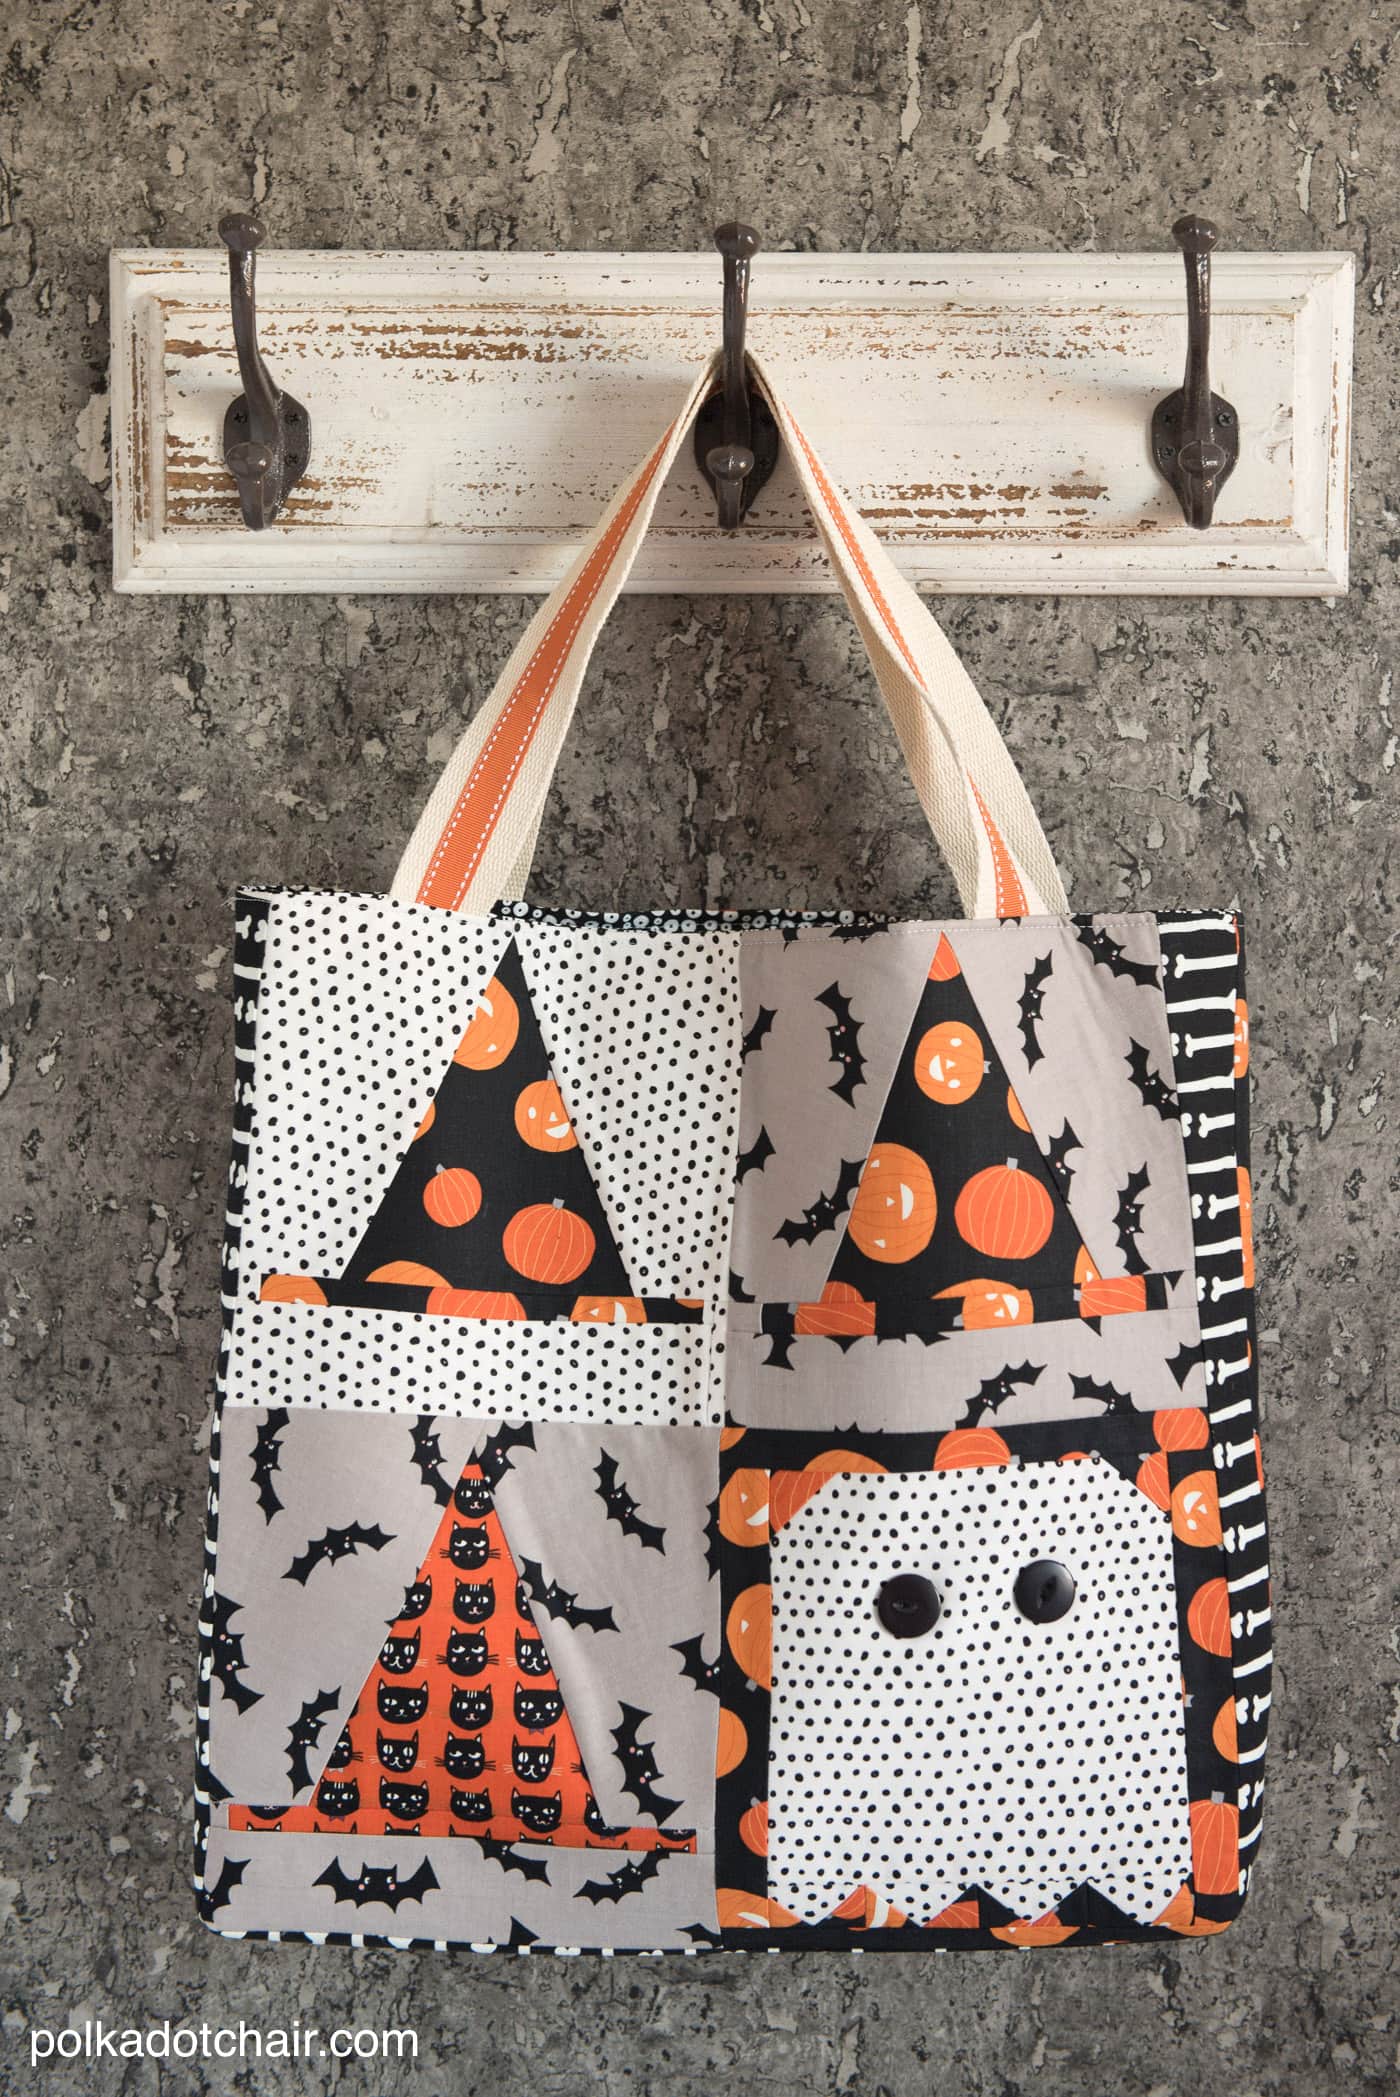
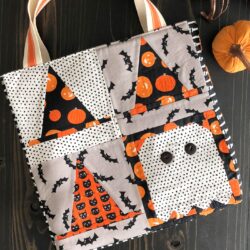
Quilt Block Tote Bag Tutorial – Halloween Version!
This quilt block tote bag tutorial is excellent for using a few leftover quilt blocks. It also makes a great project if you’re not in the mood to make an entire quilt but would like to make a few blocks!
I’m showing you a Halloween version, but you can quickly adapt it for any occasion or holiday!
Before I released the Foundation Paper-Pieced version of my Witch’s Hat Quilt block, I needed to test the pattern several times. Since I already had a quilt made for myself, I didn’t want to make another quilt, so I ended up with a bunch of random quilt blocks.
My first idea was to turn them into another pillow, but then I thought of turning them into a fun tote bag instead!
Quilt Block Details
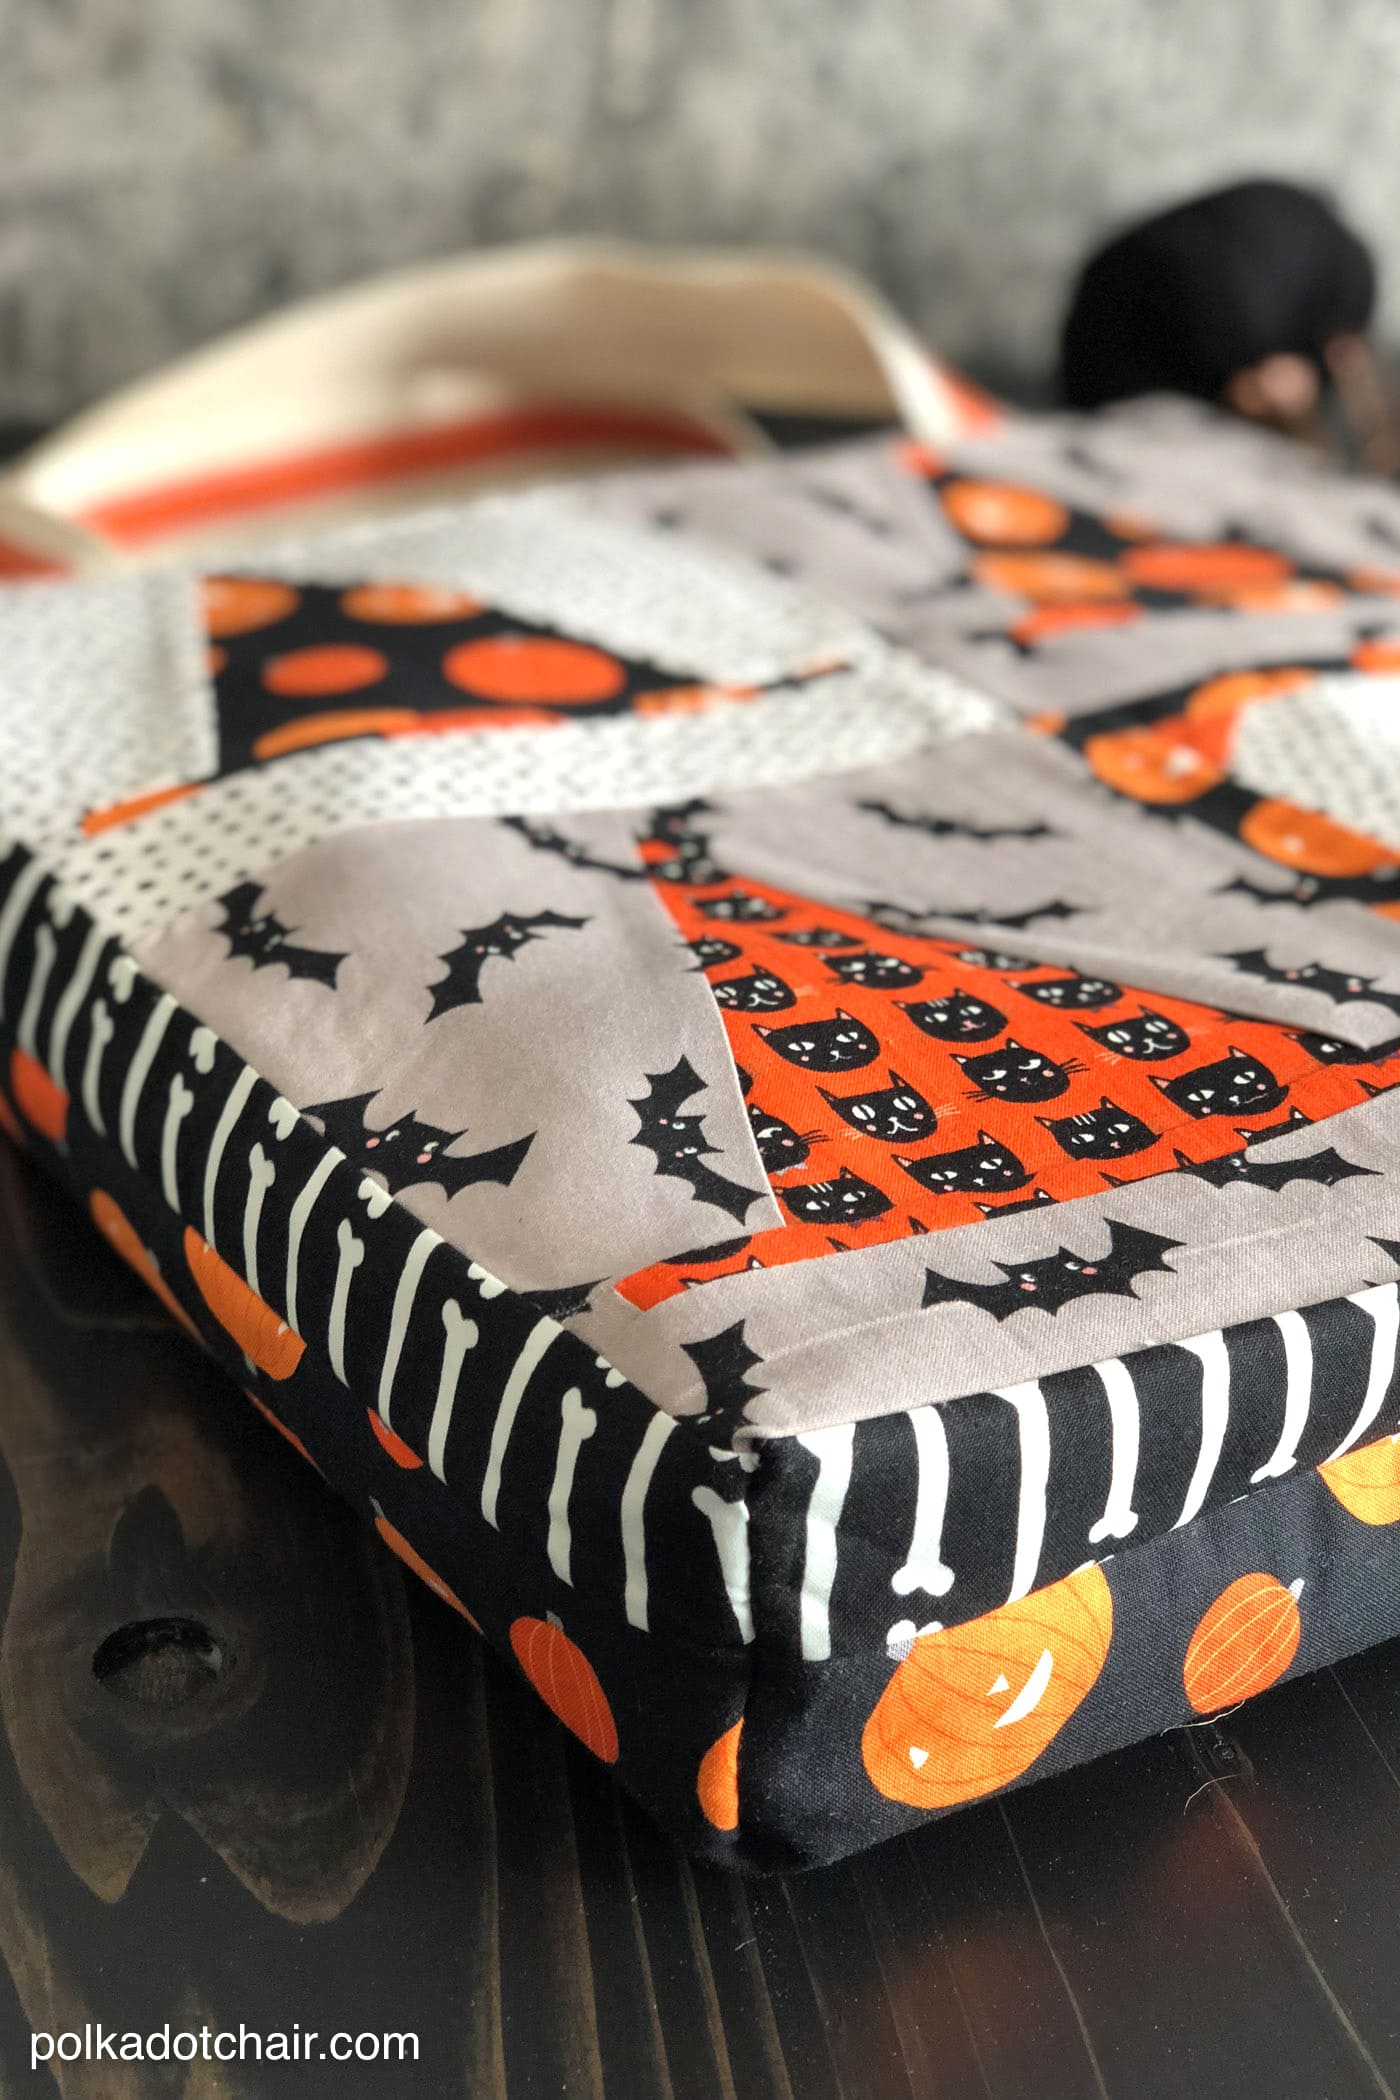
This tote bag is made from 4 quilt blocks that are 8″ x 8″ BEFORE finishing. If you’re using a different-size quilt block, you can adapt the bag size as needed. I’ll tell you how to do that below.
I think this tutorial will be more straightforward if all four quilt blocks are the same size and you start with a square as the feature point of your bag. You could also use one JUMBO quilt block for the center.
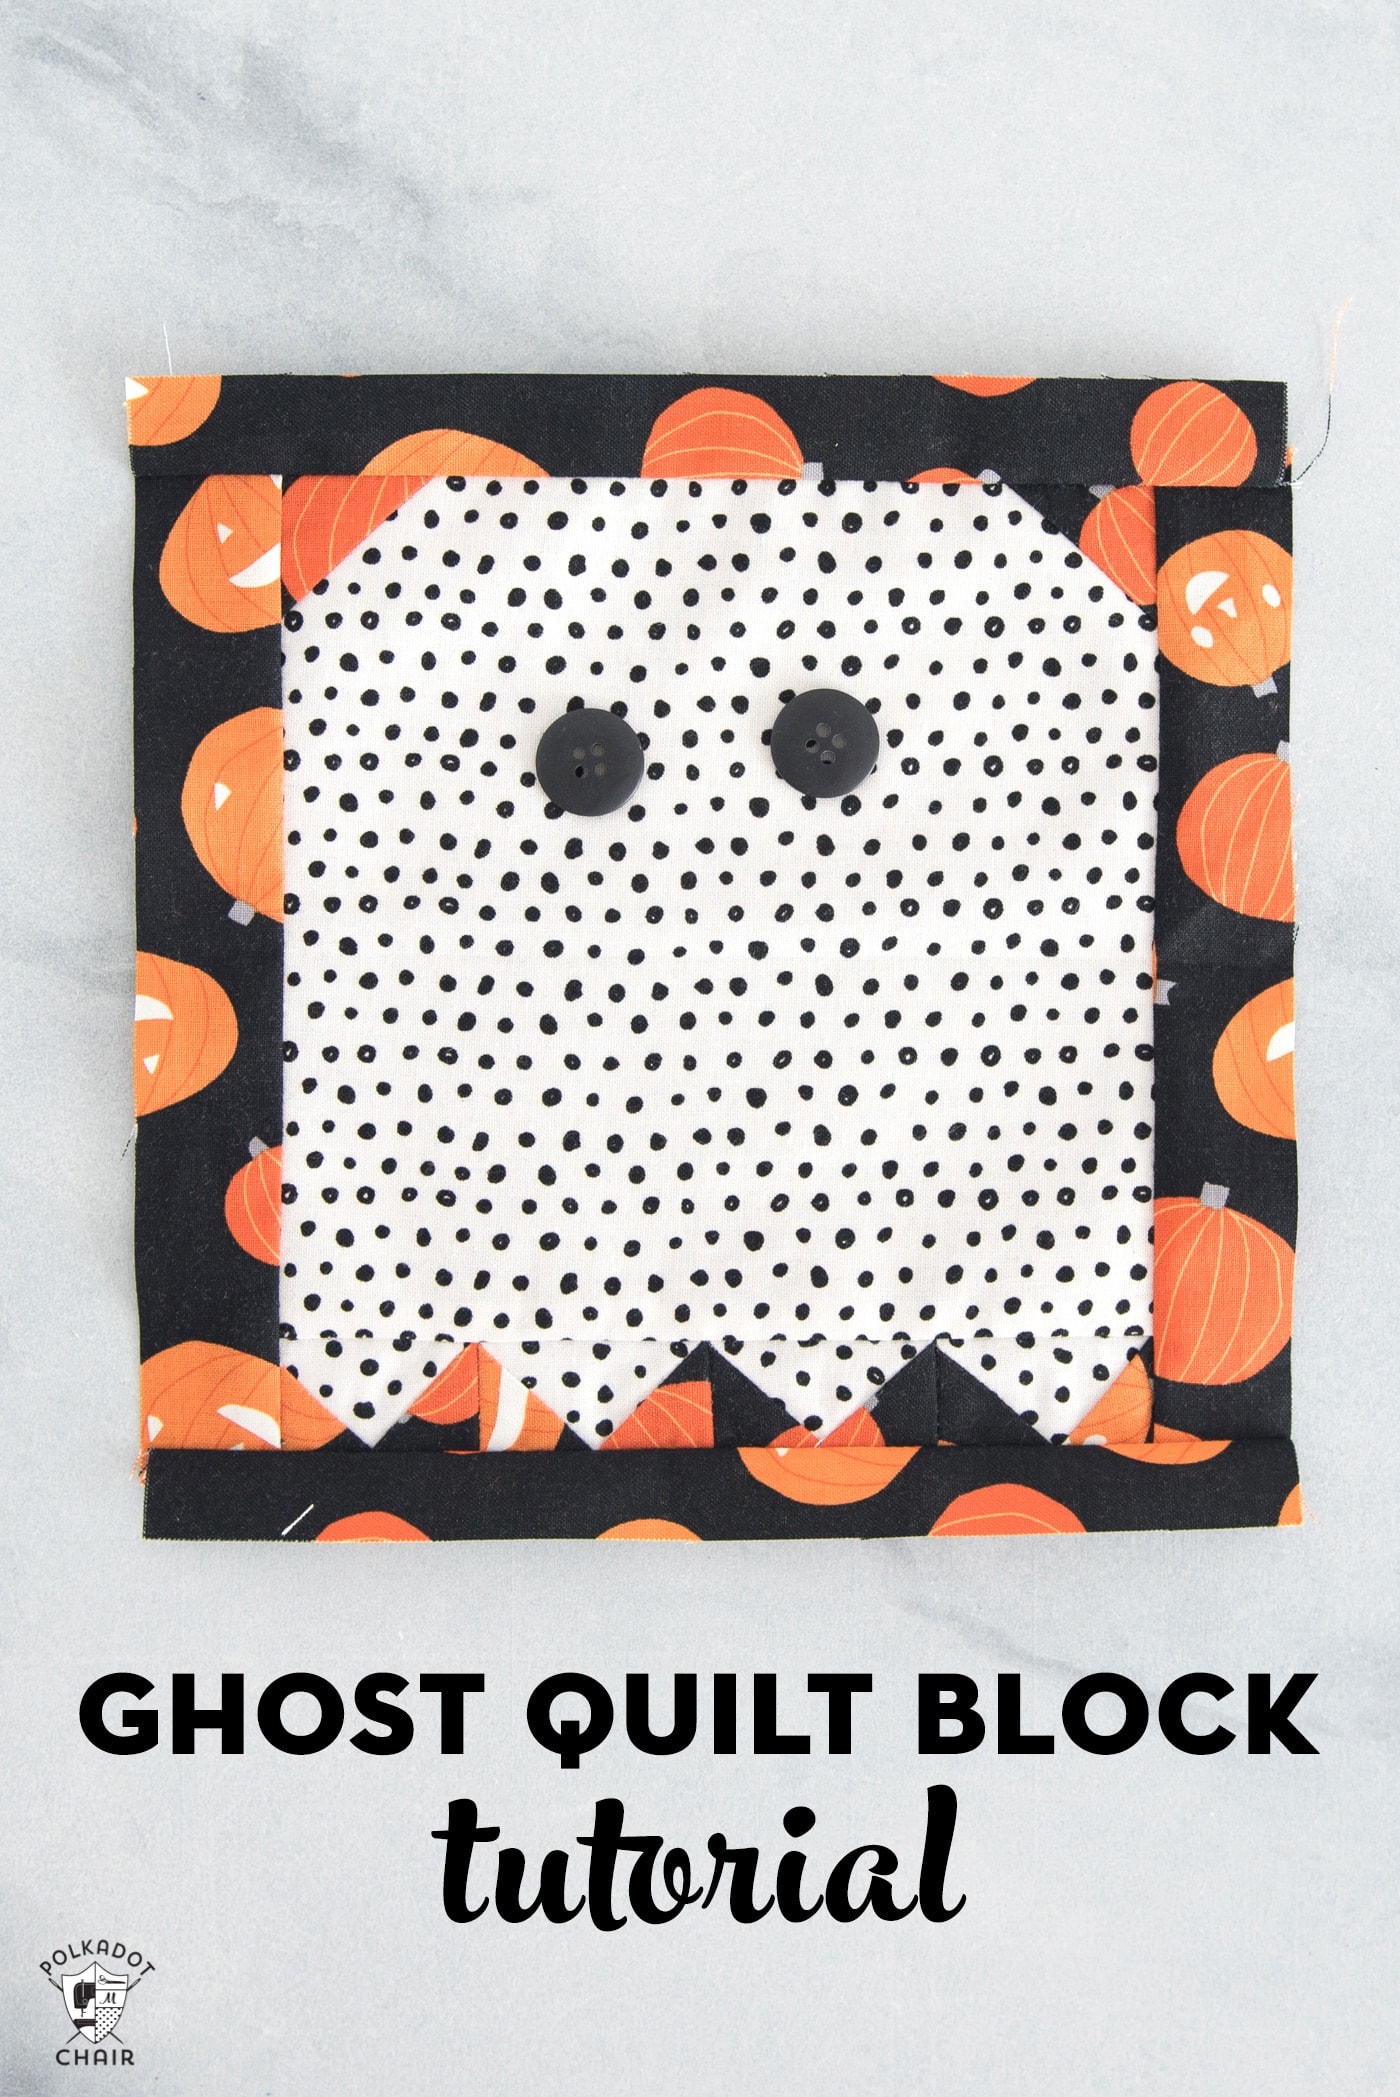
I used one Ghost Quilt block and 3 Witch Hat Quilt Blocks to make my tote bag.
You can get a free tutorial for the Ghost Quilt Block HERE.
To make the Witch Hat blocks, you must purchase the block pattern in the shop. There is an FPP version here and a traditionally pieced version HERE.
The quilt blocks from my Pumpkin Patch Ghosts Quilt Pattern would also work very well for this project. Those blocks are 9 1/2″ x 9 1/2″ BEFORE finishing, so you would need to adjust the bag size as noted in the directions.
Okay, are you ready to start?
Quilt Block Tote Bag Pattern
Equipment
supplies
- 4 Blocks Completed Quilt Blocks mine are 8″ x 8″ before finishing.
- 1/2 yard Fabric for the back of the bag
- 1/4 yard Fabric for the sides of the bag
- 1/2 yard Fabric for bag lining.
- 1/2- 1 yard Fusible Fleece
- 2 yards 1″ wide Cotton Webbing for handles
- Optional: 1/2″ wide grosgrain ribbon
Instructions
Step One: Decide Bag Size
- Stitch your four quilt blocks together with 1/4″ seam allowances. Measure the width of your sewn complete piece. Mine was 15 1/2″ x 15 1/2″. If yours is different, note that below (replace my 15 1/2″ with your measurement).
- Cut two pieces of fabric 2″ x 15 1/2″ (or the size of your finished blocks)
- Cut one piece of fabric 2″ x 15″ (or 1/2″ less than your sewn block size).

- Stitch the two 2″ x 15 1/2″ pieces of fabric to the two sides of your quilt blocks. Stitch with a 1/4″ seam allowance.
- Press seams to one side.
- Stitch the 15″ wide piece to the bottom of the bag. You want to center this piece in the bag precisely. You’ll end up with funny corners at the bottom of the bag. That’s OK!


Step Two: Create your Pattern Pieces
- Using the sewn bag front piece as a guide cut:
- 2 pieces from Bag Lining Fabric
- 2 pieces from Fusible Fleece (4 pieces if you want your bag more sturdy)
- 1 piece from Bag Back Fabric
- The rest of the bag construction process is an essential box tote. If you’ve made one before, this will be a breeze.
- If you want more photos of this process, just click here for this tutorial.
Step Three: Construct the Bag Outside
- Apply the fusible fleece to the wrong side of your quilt block piece and your bag back piece. If desired, quilt.
- Apply fusible fleece to your two bag-lining pieces if you want a more sturdy back.
- Stitch your bag’s front and back pieces together along the sides and bottom. Do NOT stitch in the square at the bottom of the bag.
- Use a 1/4″ seam allowance.
- Press the seam allowances to open.
- Pinch the bottom corner of the bag so that the seams are on top of each other. Here is a photo of this technique from another project.
- Stitch (again with a 1/4″ seam allowance). Be sure to lock your seams.
- Repeat for the other bag’s bottom corner.
- Repeat this entire process for the bag lining pieces.
Step Four: Attach the Handles
- Cut two pieces of webbing to 20″ long. Finish the ends of the webbing with a fray check.
- If desired, apply a piece of grosgrain ribbon to the center of the bag strap. To do this, just glue the ribbon to the bag strap and stitch down each side of the ribbon.
- Place the bag strap on top of the bag’s front piece so that the ends of the bag straps are flush with the top of the tote bag, and each strap is 3″ in from the bag’s side seam.
- Stitch in place with a 1/4″ seam allowance.
- Repeat with the other bag strap on the bag’s back piece.
Step Five: Finishing
- With the tote bag wrong side out and the tote bag lining on the right side out, slip the bag lining into the bag. Line up the bag centers and side seams. Pin in place.
- Stitch around the top of the bag with a 1/2″ seam allowance. Leave a 6″ opening in the back of the bag to turn the bag right side out.
- Turn the bag right side out. Press the top seam well. Top stitch along the top of the bag, making sure to catch the opening as you sew.
- That’s it!!
Other Fun Quilt Tutorials:
Kite Foundation Paper Piecing Tutorial
45+ Beginner Quilt Patterns and Tutorials


Thank you for the cool idea!
Why is it important for the quilt blocks to be square? I have some blocks I’d like to make into tote bags, but they are about 1-1/2″ shorter in height than in width. I’d prefer not to have to cut 1-1/2″ off the width. It seems as if I could do this and the bag would be wider than it is tall. But I may be missing a consequence of not using squares. Can you help shed light on this dilemma?
There are two ways that blocks can be square. One is a shape obvioulsy. But the other “squared” refers to the corners of the blocks all being 90 degrees, or prefect square corners. I write lots of quilt patterns with rectangle blocks. They don’t all have to be square shape.