Tuesday Tutorial: Mini Flip Book Vacation Album
For this weeks Tuesday Tutorial, we are switching gears a bit. I seemed to have lost a bit of my sewing “mojo” this month, so whilst I wait for it to come back, I thought I’d share this fun and easy project for a vacation “flip” album with you!
I like to make “mini” albums of our vacations. I find it feels less overwhelming to finish than 12×12 pages and I like that I can put them out around the house so they get looked at more.
I have 2 methods for doing these, one is to “scrap as you go” while ON vacation and this one, which is to make it after you get home. I’ll share my “scrap as you go” method in a future tuesday tutorial.
I saw a package of tabbed indexed cards at the office supply store and thought they would make a fun base for a mini album.
So for this project you will need:
1 package 5×8 alphabetical tabbed index cards
2 pieces 5×8 chipboard
scrapbook paper
4×6 photos
2- 2″ binder rings
chipboard alphabets
glue
ribbon and other embellishments
First thing you want to do is chop your scrapbook paper down to 5×8 pieces. You want 1 piece of scrapbook paper for each photo you are using. I liked this Basic Grey paper I had in my stash but I think it would be cute to find some double sided paper to use for this project too (since the backs of the paper shows).
Next decide on your “tabs”. I divided my book up into sections… B for Beach, L for La Jolla, Z for Zoo… you get the idea.
Make one “title page” for each section. When I cut my 12×12 paper down to 5×8 I had 4×12 strips left over, so I used them to decorate my title pages.
Then just start adhering your photos to your papers.
Decorate or embellish as you like.
Line up all of your papers and punch 2 holes in the top. I love my 7 gypsies binderie punch for this. It punches though multiple papers and chipboard with NO problems!
After you have made your covers (just cover the chipboard with scrapbook paper, easy peasy), assemble your book.
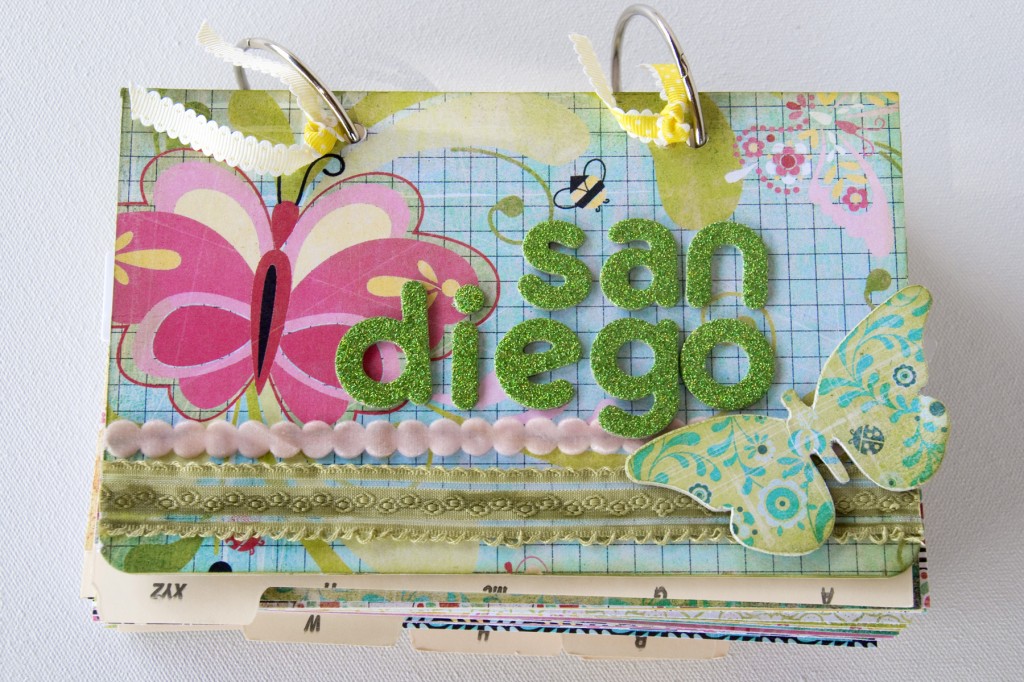
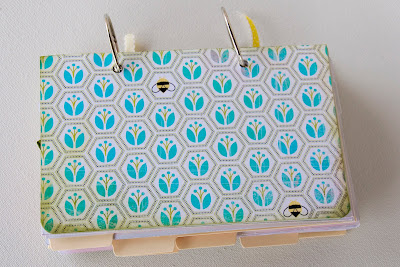
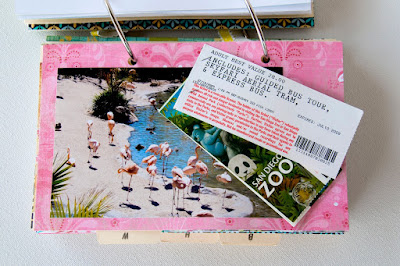
Here are a few shots of my finished book. I still need to print out and some journaling pages to throw in there too…
For the vertical photos, I used some flip flaps from Close to My Heart, I just adhered them behind my title pages, so you can flip through them as you look through the book.
One of the reasons I like this method so much is it provides a great place for all the memorabilia from your trip, you can staple in ticket stubs, receipts, etc..
 |
| Zoo title page |
 |
| inner page |
 |
| La Jolla title page |
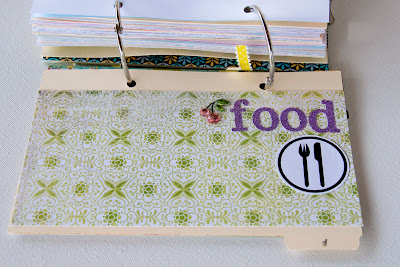 |
| of course there is a food section! the best part of any vacation 🙂 |
I think I ended up using 60-70 photos in my book and it’s about 2″ thick.. not too bad, 60 photos scrapbooked all in about 1 afternoon!
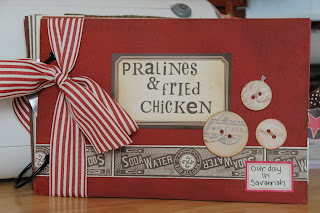
If you’d like another mini book idea, you can the one I made from our trip to Savannah Georgia here:
**oh yeah, that quilt tutorial from last week, it’s coming next week.. every time it rained last week (and it rained ALOT) my internet went out… after about 3 days with spotty service I gave up… (I had started writing the post and lost it way TOO many times!!!)… I just needed to “walk away” before I threw my laptop out the window *wink**








Cute! I am planning on making a little mini recipe book of my favorite fast recipes for my cousin for her wedding-this is a perfect way to do it. Thanks!
I love mini scrapbooks!
oh Melissa, these are just adorable!
Hi, hope it’s OK to contact you here. We would love to include your blog on our giveaway search engine: Giveaway Scout (http://www.giveawayscout.com). Have a look and if interested, use our online form to add your blog (http://www.giveawayscout.com/addblog/ ). thanks, Josh
so way cute..
it is such a great idea! Perfect little book and it seems fairly forgiving….may be the kids can make their own…family activity!
I {heart} mini albums!!! This one is a.dor.able! Thanks for sharing!
I absolutely love this mini flip book idea. Great tutorial!!!