Traveler’s Journal: How To Tips and Tricks
Learn how to make a traveler’s journal with that you can take with you on your vacation. In this tutorial, I walk you through the prep steps to create your journal before you go then offer tips to you for completing the mini scrapbook after you are home.
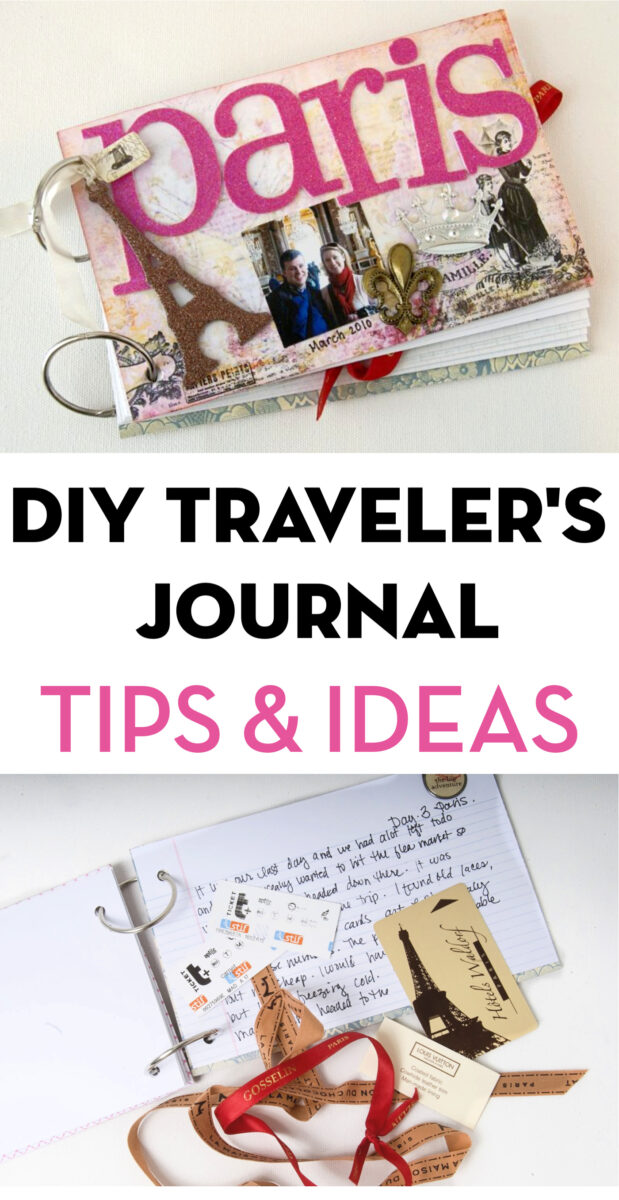
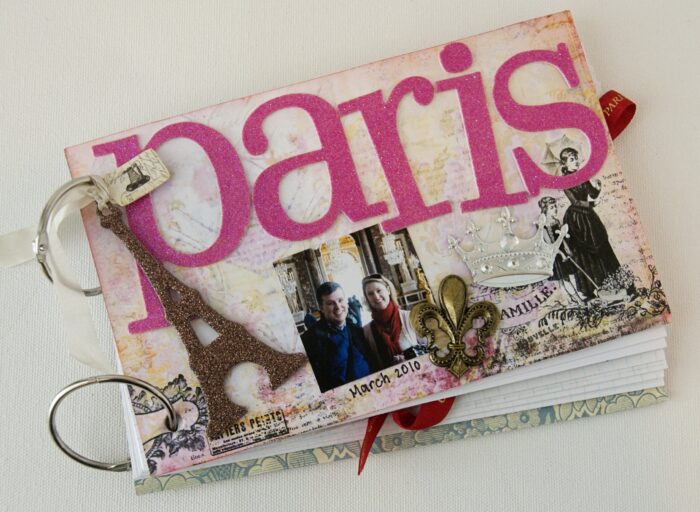
I am sharing something with you today that I have found works for me. It’s not a sewing tutorial, but something that I’ve been doing for the last 3-4 years that I thought you might like to hear about it.
I’ve been an avid scrapbooker for over 15 years now! Over the years I have had to adjust some of my scrapbook habits based on my time, and demands on me at home. I still scrapbook quite a bit but have changed how I handle a couple of things. I have gathered a lot of inspiration for how I create my Travel albums from Ali Edwards. If you’re looking for more ideas and inspiration make sure you check out her site.
How I Create Scrapbooks of my Vacations
Vacations were always one of the hardest things for me to scrapbook. It seemed that I always came home with over 1000 photos, lots of memorabilia (ticket stubs, hotel keys, etc), and a short term memory of what happened while I was gone.
A few years ago the mini-album trend really started to take off and I thought that it would be a great way for me to scrapbook many of my vacations. You see vacations are easy to scrapbook in a mini-album (also referred to as a travelers journal), they have a start and a stop, you can make an album, finish it, and call it good!
Gradually the mini albums transformed so that I made most of them while ON vacation. It is really not hard at all, it just requires a bit of planning ahead of time and a few minutes each night of your trip to jot down what you did that day.
Why I love Travel Journaling
I like scrapbooking/journaling this way because:
- It takes off some of the creative pressure of scrapbooking. This is a literal SCRAP book, it has ticket stubs, doodles, receipts etc. It is also ALL handwritten, so it got me over my “I hate my handwriting” issues really quick!
- It’s the perfect place to keep all of those things that you just don’t know what to do with. Like the pretty ribbon that was tied to your favorite souvenir or the stub to the subway that you got lost on.
- You have a DAILY journal of your trip. This is one of my favorite reasons… As much as you think you are going to remember your trip, you will forget A TON! You will be so glad later that you took a few minutes each night to jot down your thoughts.
- When you come home you can finish up the entire book in about an hour.
Okay, now that hopefully, I’ve convinced you to give it a try, let me share with you my “how to’s”
How to Create a Travelers Journal (before your trip)
Before you leave try to make a quick album with blank sheets. I usually take a couple of pieces of chipboard and cover them in some pretty paper. I then fill them with either blank cardstock or lined card stock (easier to journal on).
I really like to use binder rings for my books, that way if you have something large you want to keep (like a map) you can just punch holes in it and stick it in the book.
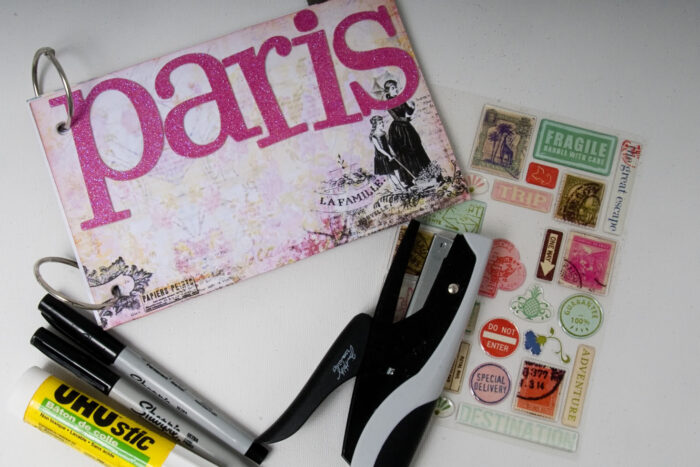
Gather a little baggie of supplies to take with you. Some of the supplies that I like to take include:
- Mini Stapler
- Glue Stick
- Fine Point Sharpies
- Stickers, or other fun (and flat) embellishments
The photo above shows the “baggie” of supplies that I took on my Paris trip.
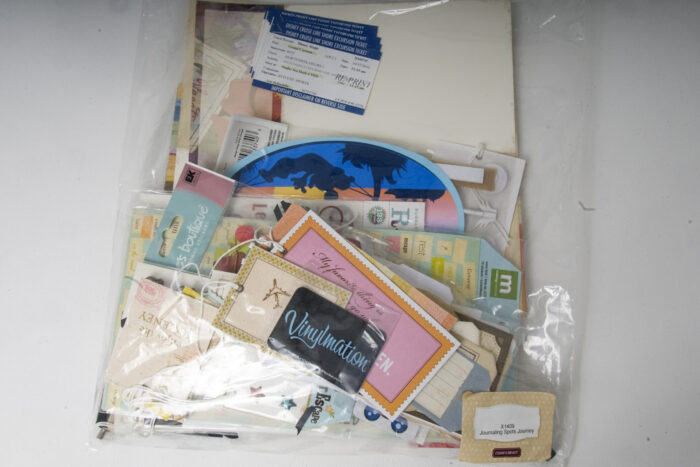
Here is a photo of my baggie from a cruise we took. To see the completed Disney Cruise journal click here.
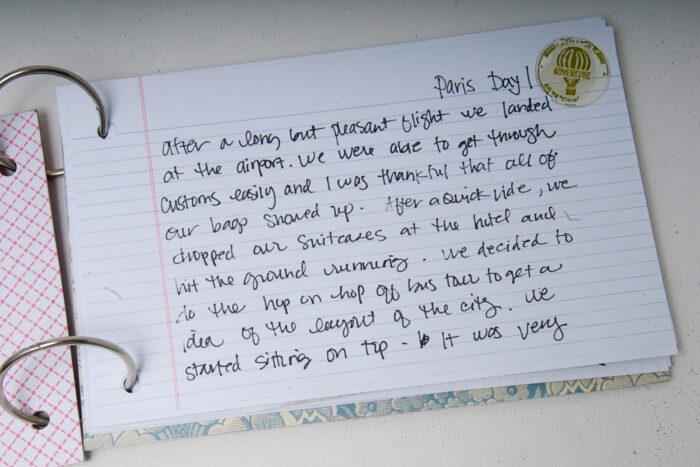
Things to do on your Trip
While you are on vacation, take a few minutes a night and write down what you did that day. If you are really tired, just make a shortlist of the “highs and lows” of the day. Use some stickers if you like to dress up the pages.
Since you packed your stapler and glue stick if you have bits of memorabilia you can stick them in with your journaling pages as you go too. (think about attaching things like the tags to the souvenirs you bought, or the sticker you got for admission to a museum).
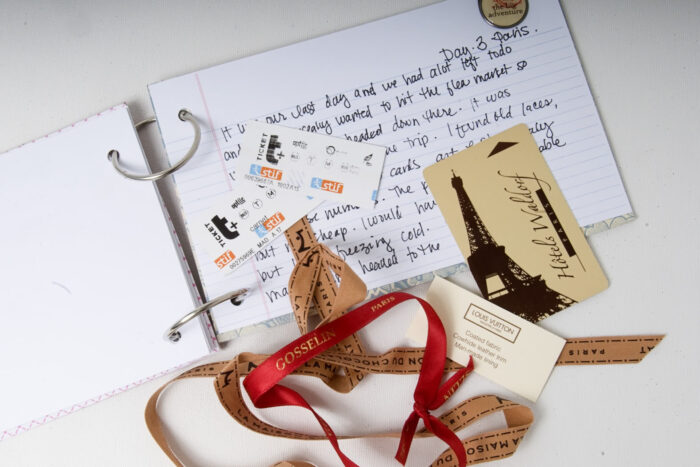
I keep the entire book in a Ziploc baggie on my trip. As I collect “fun” things, I throw them in the baggie too. That way when I come home everything is all together.
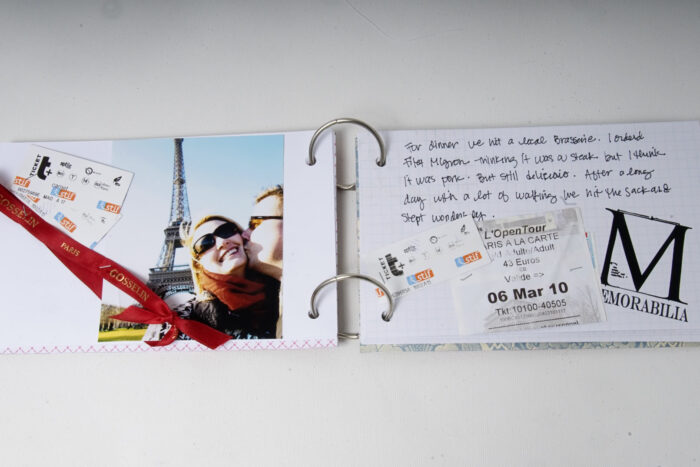
Journal Assembly After your Trip
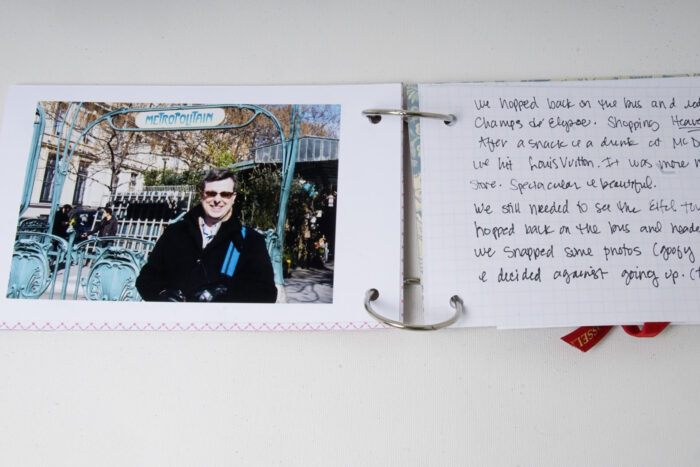
After you get home, print some of the photos from your trip. Then just spend an hour or so and glue them into your album. Sometimes as I journal I’ll write on a blank page “insert a photo of the Eiffel tower here”.. and stuff like that.
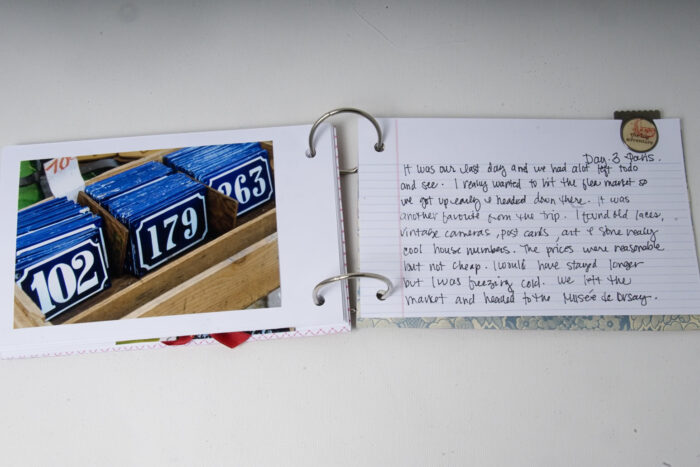
Staple some of your tickets and ribbon into your book, maybe add some more embellishments.
Since it’s bound with binder rings, you can also insert some extra pages if you want to include more photos.
What if I want to create a traditional 12×12 Scrapbook?
In case you are wondering, most of the time I do go back and create 1 or 2 12×12 layouts of our trips to add to my family scrapbook albums.
When I do this it usually goes really quickly since all of my journaling is done for me. I also take the rest of my vacation photos (the majority of them) and either slip them into a photo album that I bought or use a service like Shutterfly to create a photo book of them.
When you realize that you don’t HAVE to scrapbook all 1000 photos from your trip, it takes a TON of pressure off!
More Travelers Journal Ideas
3 Ring Binder Travelers Journal & Free Printable Travel Quotes

I love it!! What a great idea! Your handwriting is great! I wish I could write confidently enough to make this work because I would love to come home from a trip with such a treasure. Thanks for sharing!
That is the most practical scrapbooking idea I have ever seen. I am going to have to do that from now on. Thank you sooooo much for your suggestions and for sharing your cute little books.
I usually write down what we did everyday on our trip and save all the stuff in a bag but you’re one step ahead creating your scrapbook while on vacation – very clever!
love the books! Scrapbooking is still my number one love!
Just a quick note to let you know that a link to this post will be placed on CraftCrave today [31 Mar 01:00am GMT]. Thanks, Maria
I LOVE this scrapbook idea! We are planning a trip to Italy next year and I am going to make one while there as well as one for the couple we are going with! WHat a GREAT idea and I am so excited! THANKS FOR SHARING!!!!! Hugs! Jan
I love this!