10 Best Pressing Practices for Patchwork Quilt Projects
Ten pressing (or ironing) tips to help you achieve near-perfect results when constructing your next quilting project!
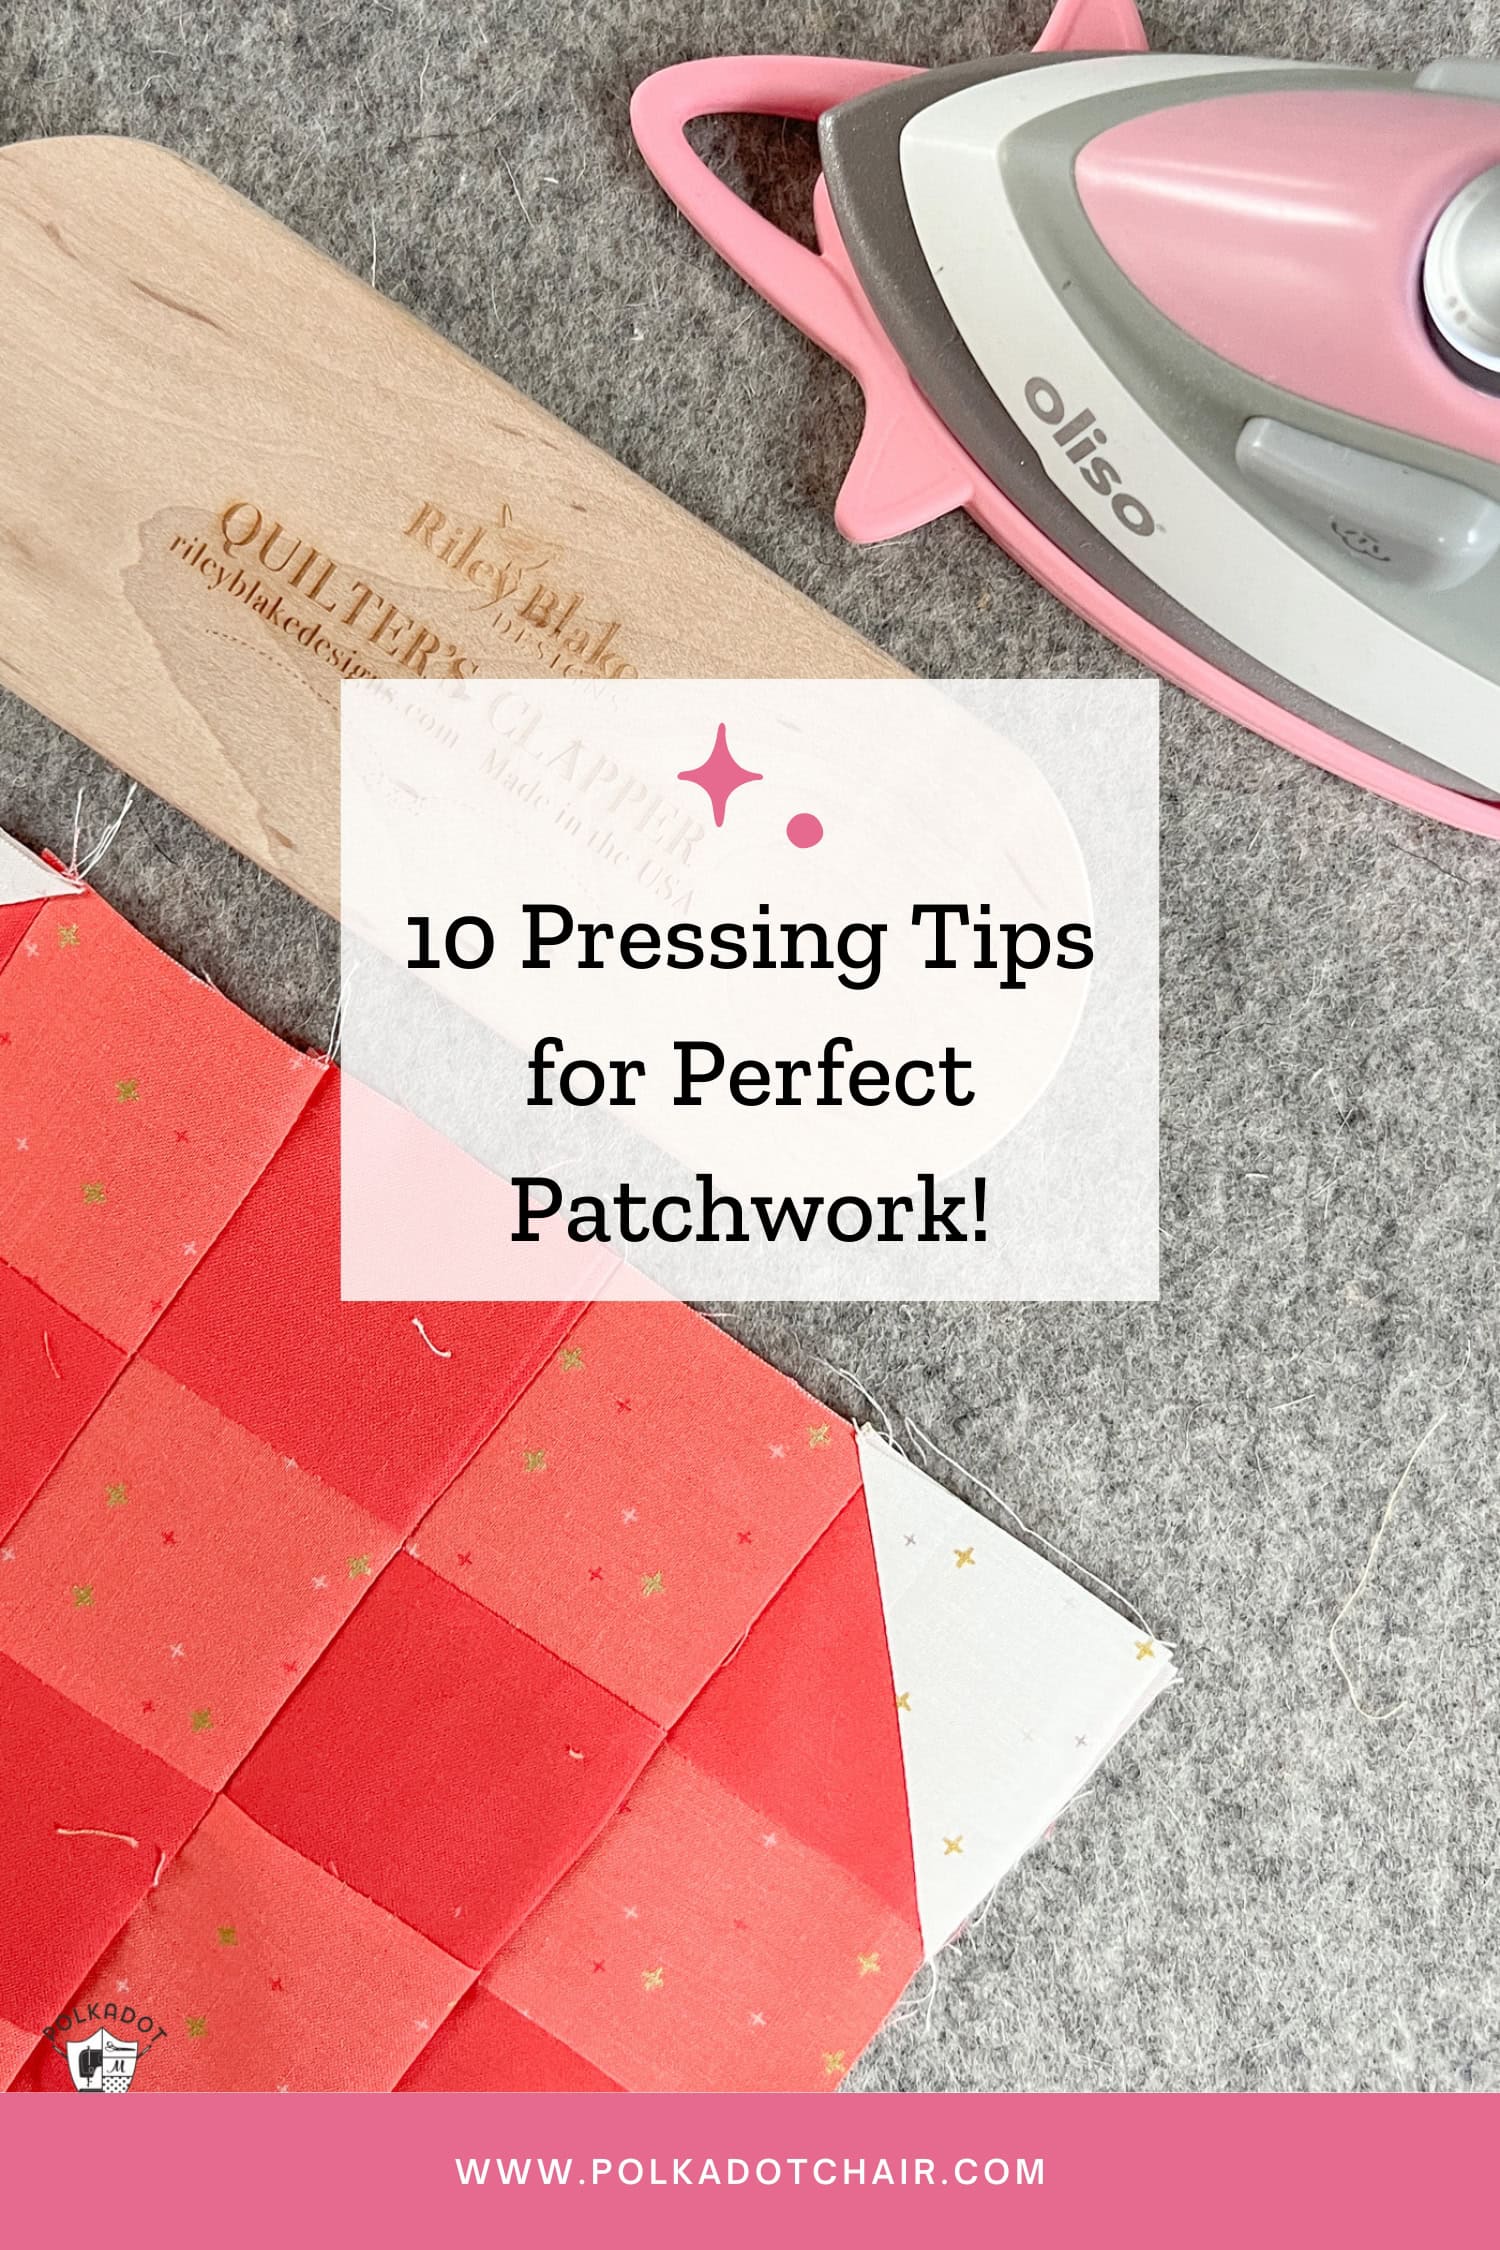
Patchwork quilting is a relaxing and fulfilling hobby. However, achieving impeccable results in your patchwork quilting projects can seem elusive if you’re starting, making the hobby anything but relaxing!
One of the first things I learned when I learned how to sew was that getting great results from a sewing or quilting project relies on your sewing skills AND pressing techniques.
Sewing Tip!
My first sewing teacher told me you should spend as much time pressing as you do sewing, and she was correct!
Quilting and sewing may seem like the same hobby, but there are a few key differences. One key difference is how the fabric is pressed during the construction process. When sewing garments, the seams are pressed open. However, you can press the seams open or to one side when quilting.
Proper pressing can make a world of difference in your finished product. When I first started quilting, I had no idea I shouldn’t move my iron back and forth when I pressed my quilt seams. Once I figured that out, I can’t tell you how much my block accuracy improved!
Since I’m a self-taught quilter and have learned a lot of things the hard way, let me share a bit of my experience with you.
Let’s chat about some of the best pressing practices for patchwork quilting projects.
10 Tips for Perfect Patchwork Pressing
How’s that for a bit of alliteration?! Say that ten times fast 🙂
1. Invest in a High-Quality Iron
The foundation of successful pressing is a reliable iron. Invest in a good quality steam iron that provides consistent heat and steam distribution. Adjust the heat setting according to the fabric you’re working with, and keep the iron clean to prevent any unwanted marks on your patchwork.
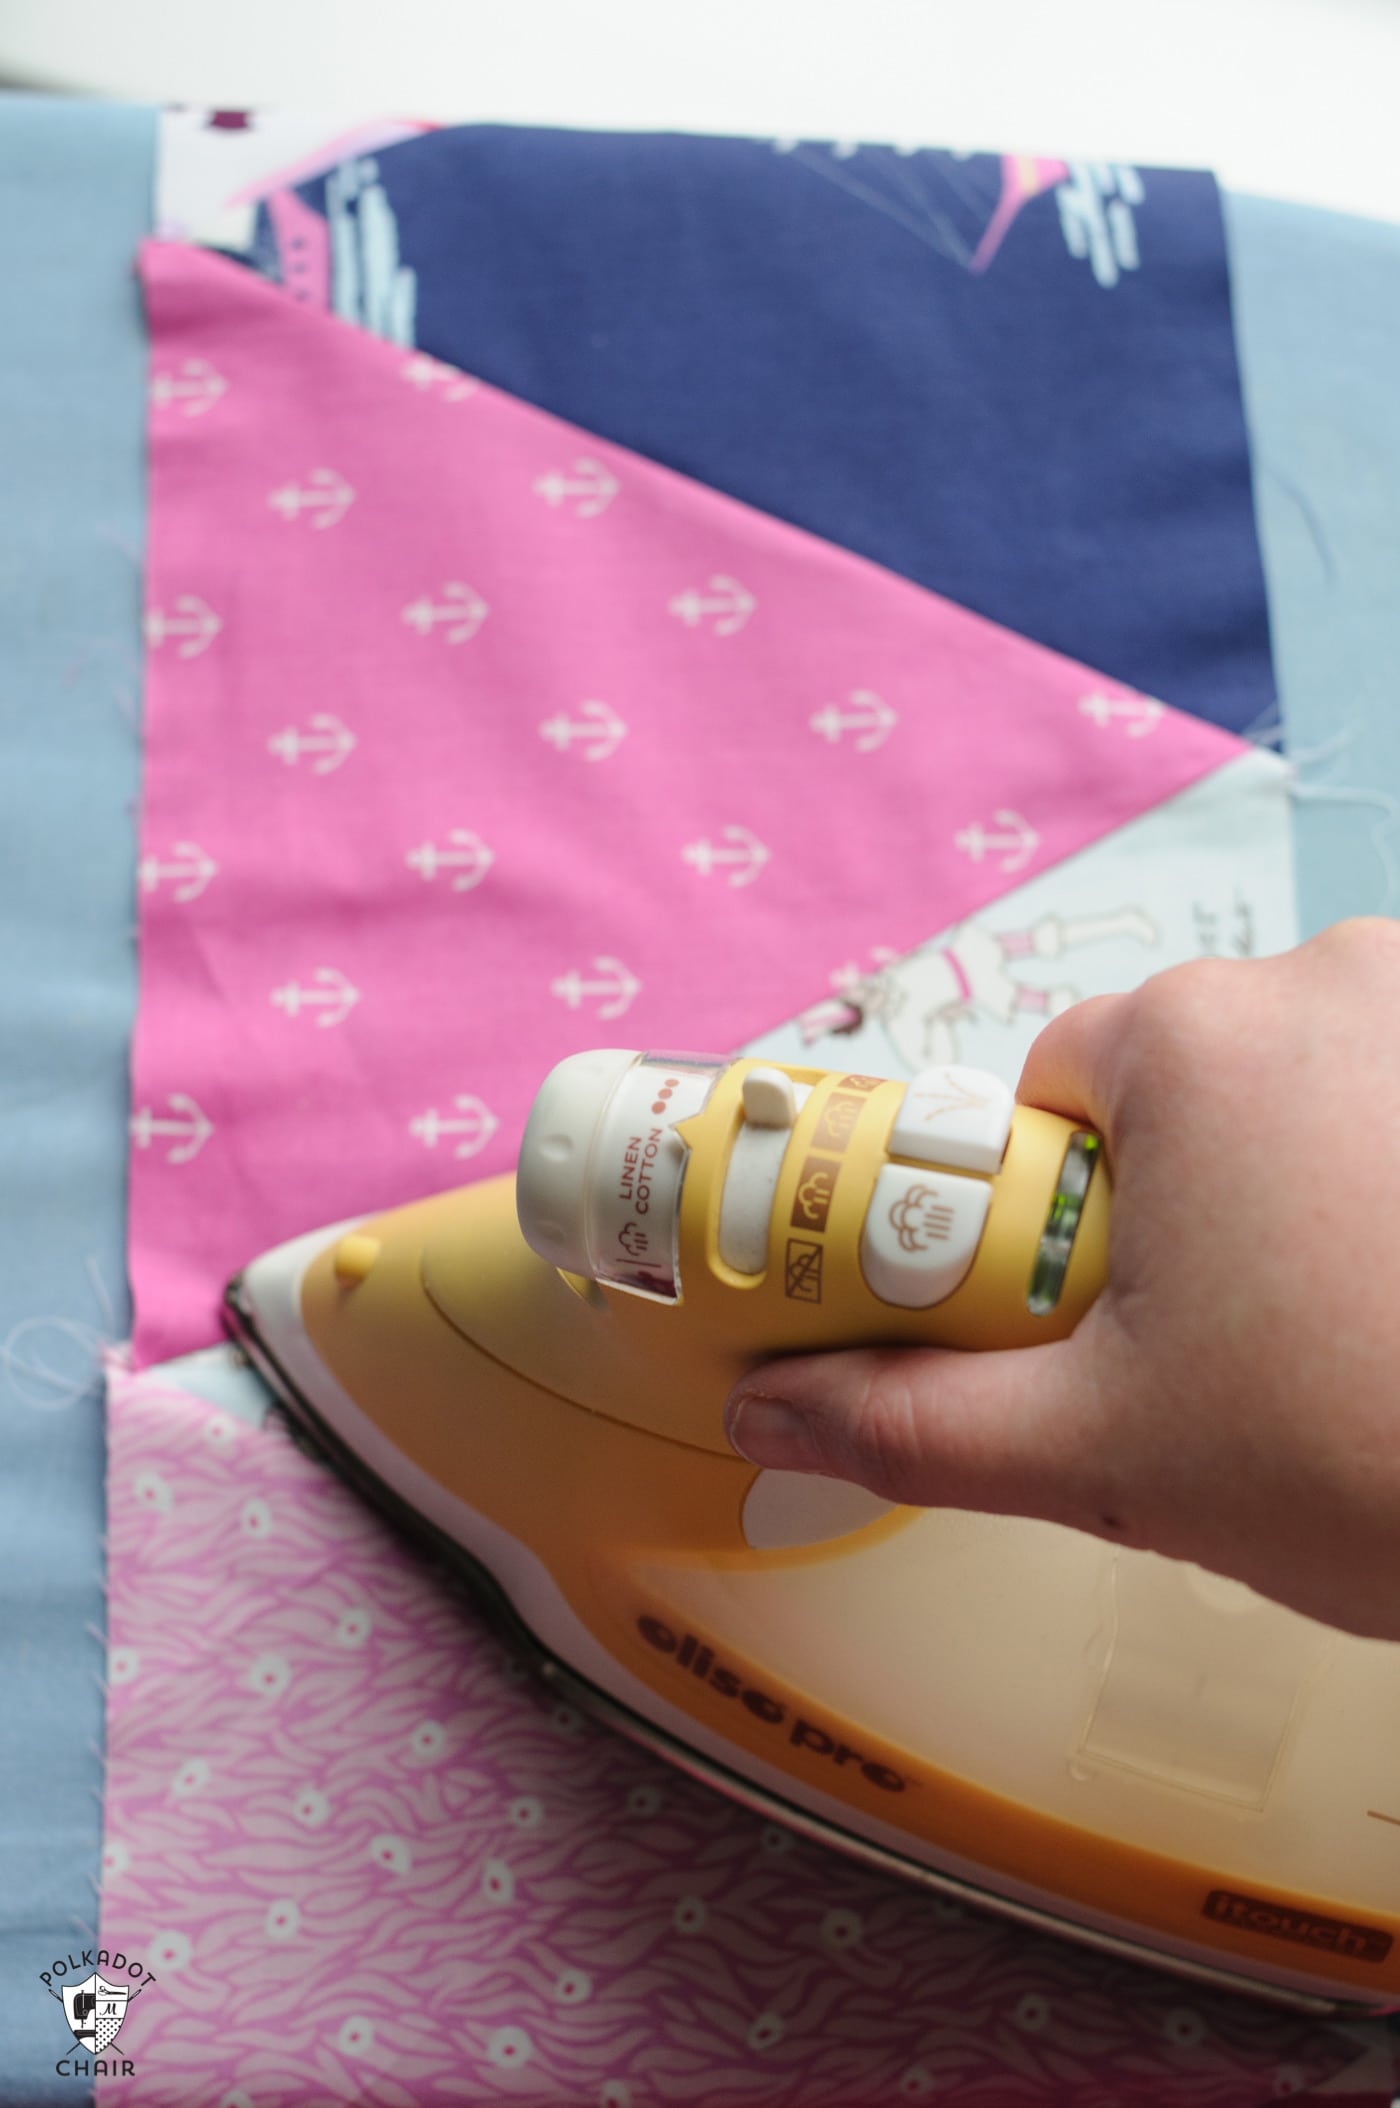
I like my Oliso iron. The self-raising feature saves my wrists when I’m working on large projects. I have many quilting friends who love the Chi Iron (more reasonably priced than the Oliso).
I keep a smaller Oliso iron near my sewing machine and a wool pressing mat to press smaller pieces of fabric.
I always press my larger blocks and seams on my full-size ironing board and use my larger iron.
Pressing Tools
Check out my list of favorite pressing tools, including my favorite mini iron!
2. Set Your Seam Before Opening
Before opening your seams, press them closed as sewn. This “sets” the stitches and helps meld the fabric together.
3. Press, Don’t Iron
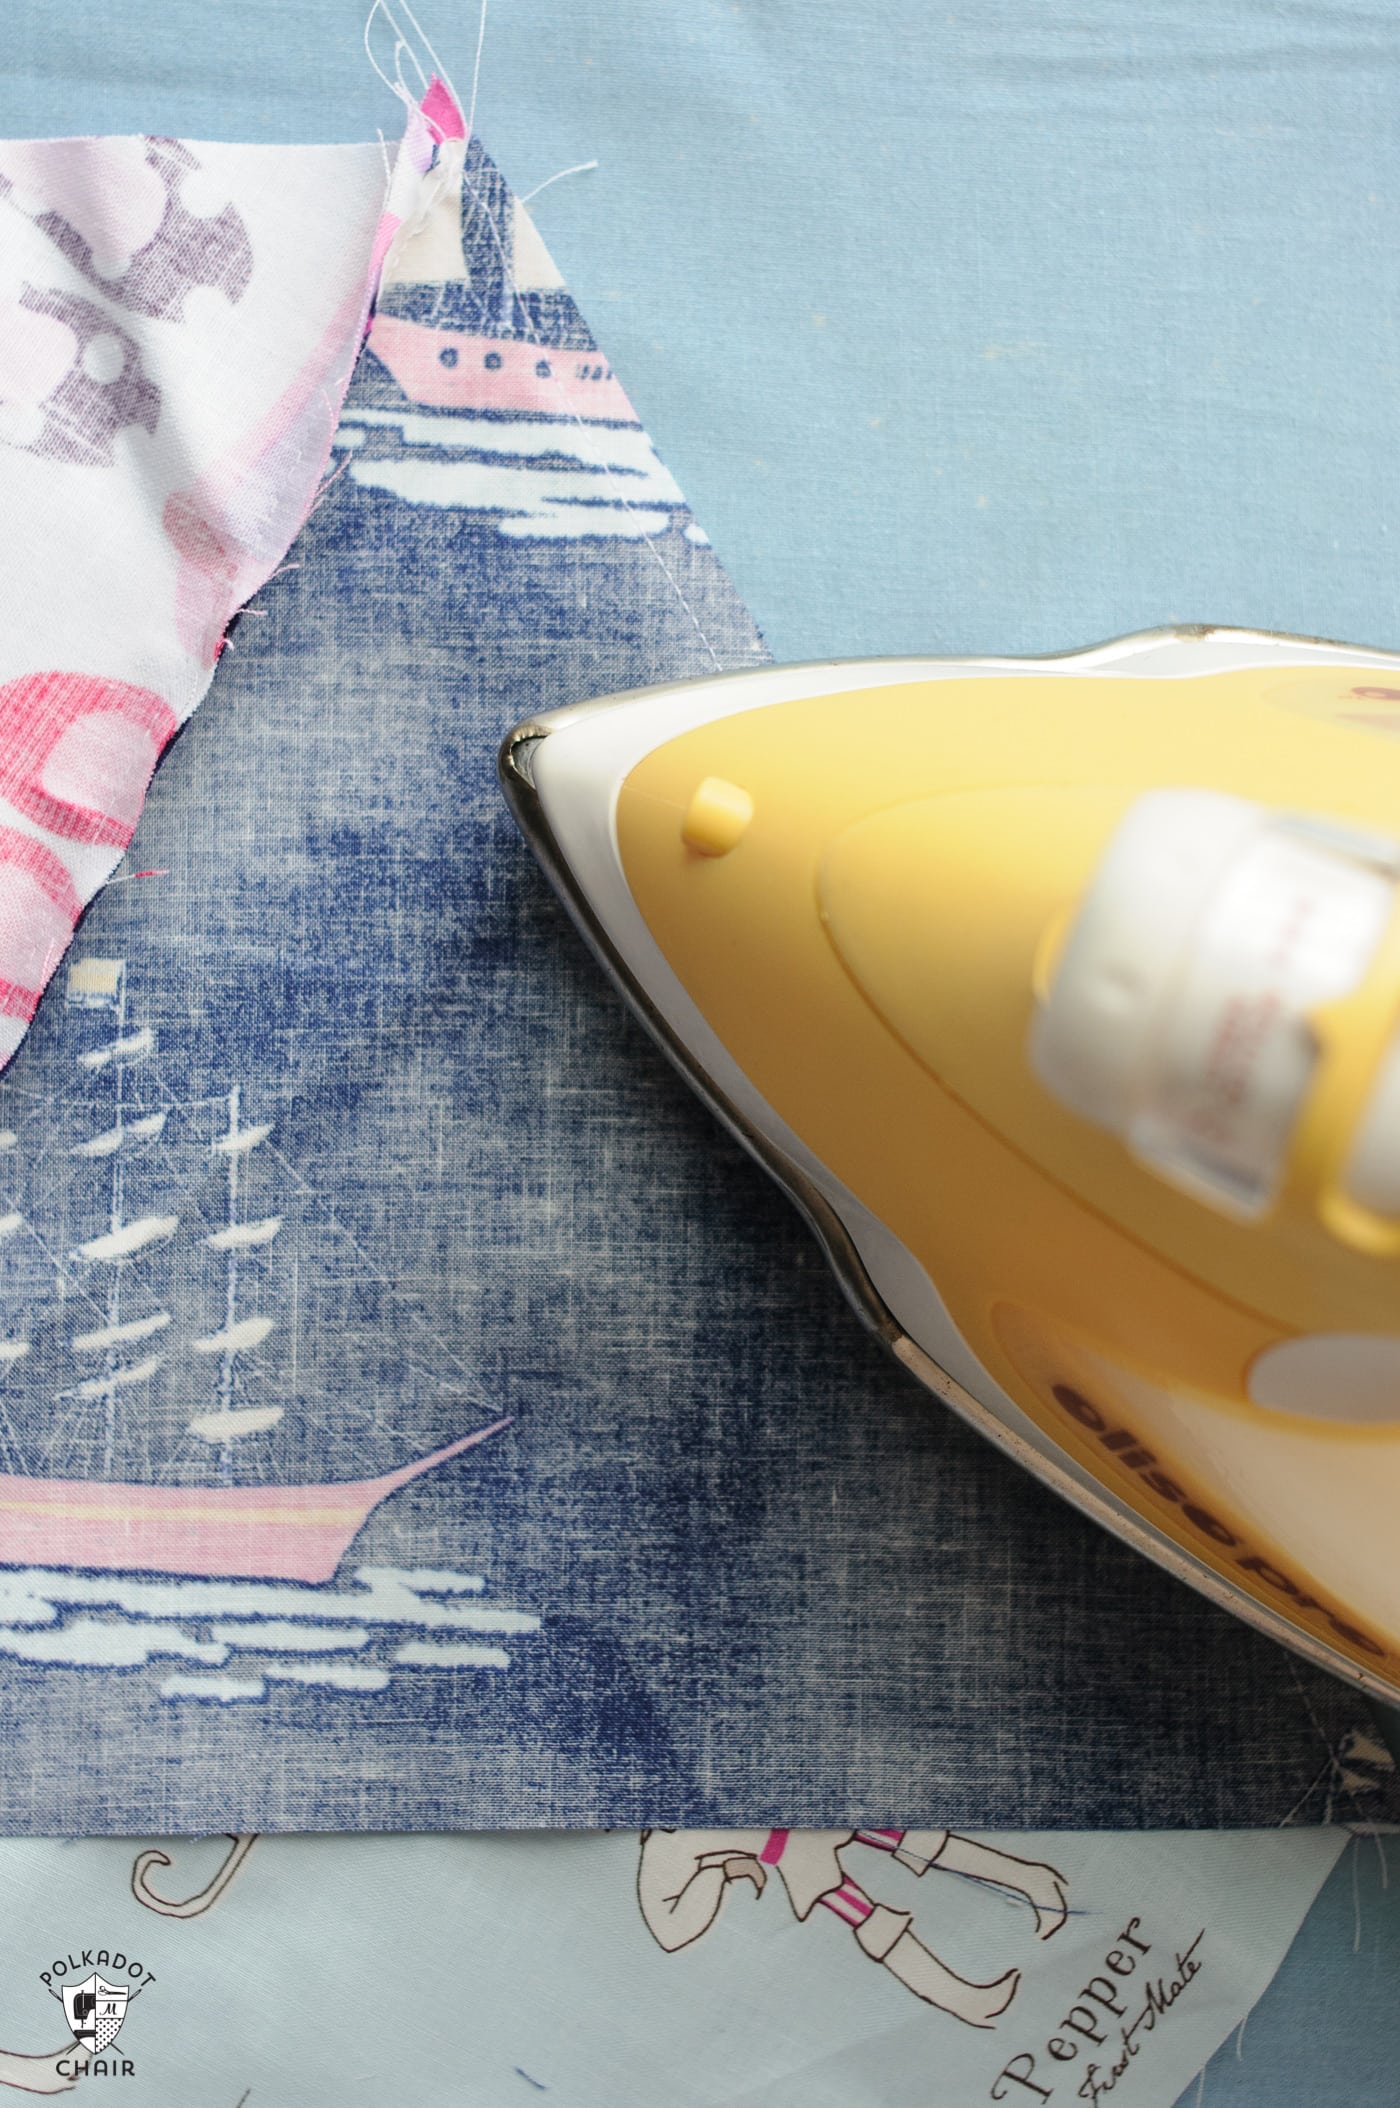
If you are worried that your seam is not all the way “flat,” you can use the nose of the iron to wiggle out the fabric. But if you do this, keep your motions small.
This is, in my opinion, one of the most important tips! When pressing patchwork pieces, use an up-and-down motion rather than sliding the iron. This prevents distortion of the fabric or seams, ensuring a flatter and more accurate result. The weight of the iron should be sufficient to create the desired flatness.
4. Consider Directional Pressing When Assembling a Quilt
Note: I have an entire article detailing when you should press your seams open and when you should press them to one side. Be sure to check that out, especially if you’re new to quilting.
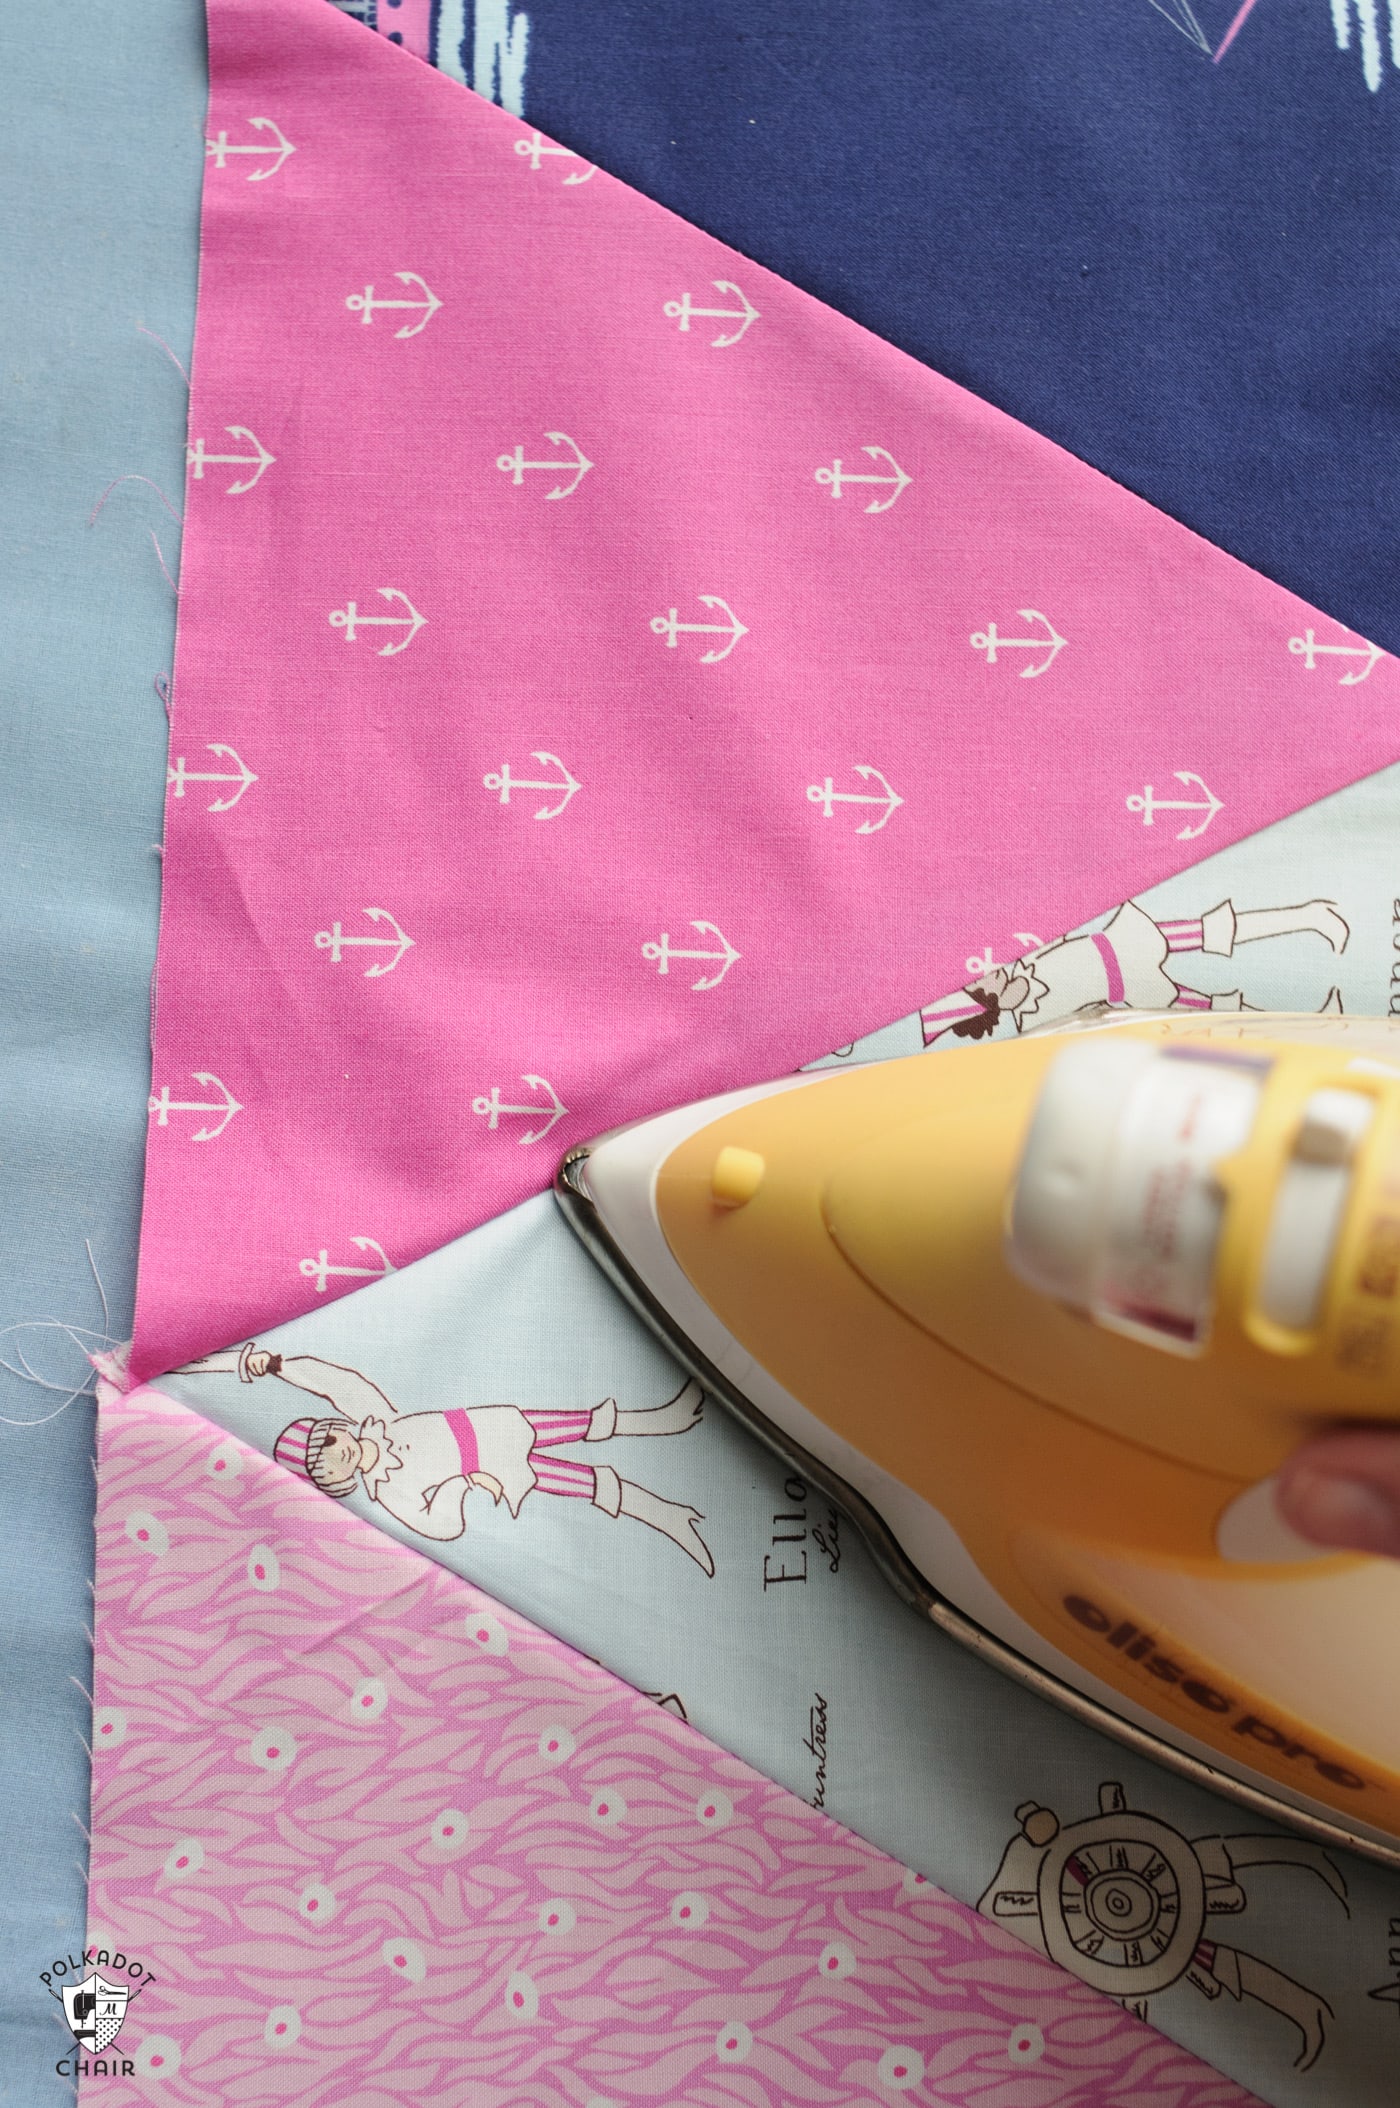
When working with rows of blocks, consider pressing the seams in alternating directions.
For example, press all blocks in row 1 to the left and all of the blocks in row 2 to the right. This interlocking pattern allows the seams to nest together, reducing bulk and ensuring a smooth, flat quilt top.
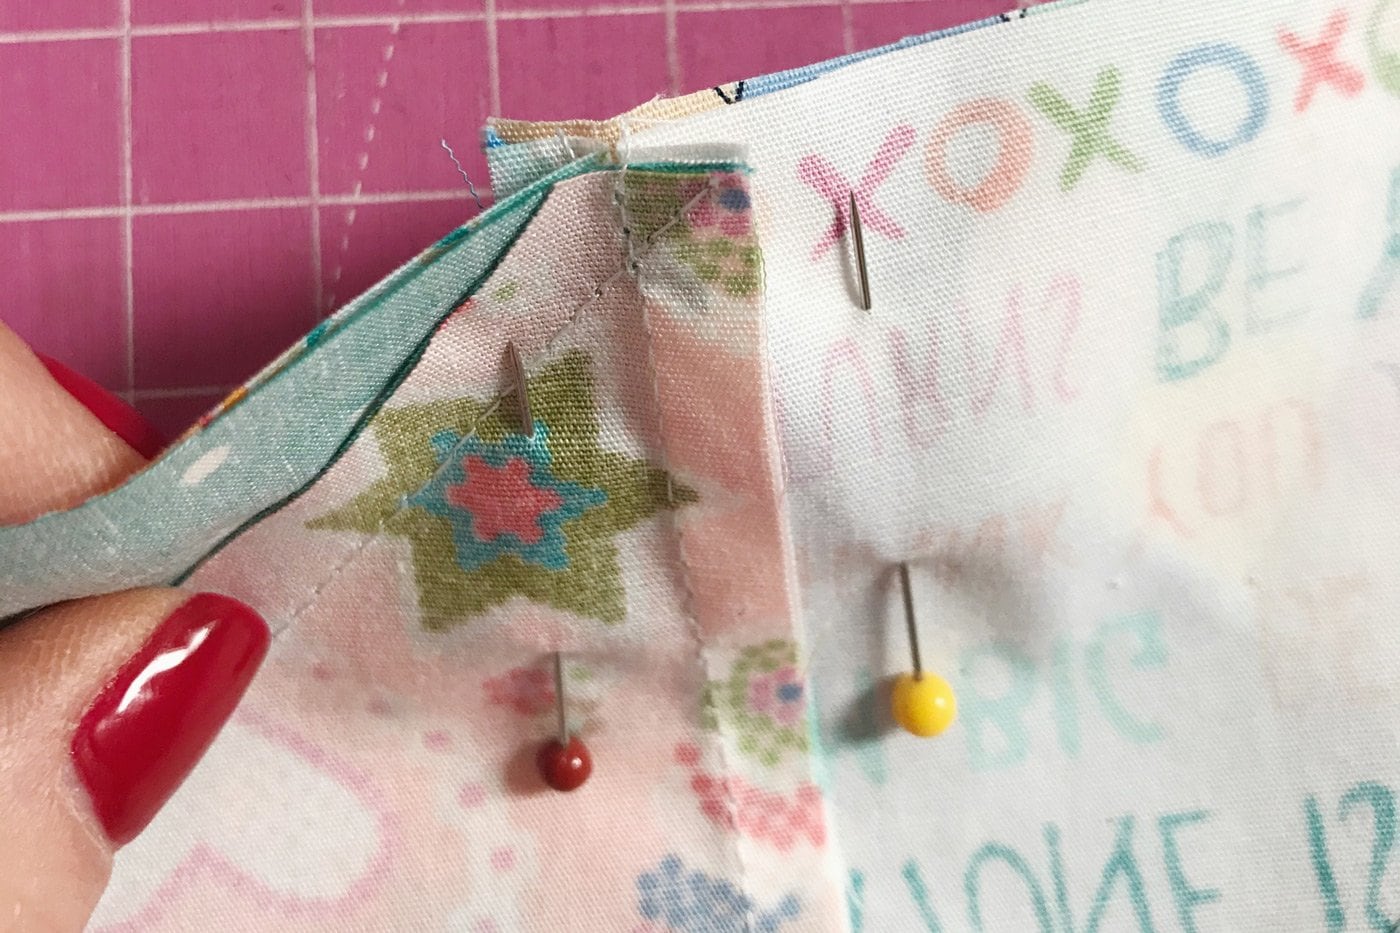
You can also use directional pressing to get more accurate points when constructing quilt blocks.
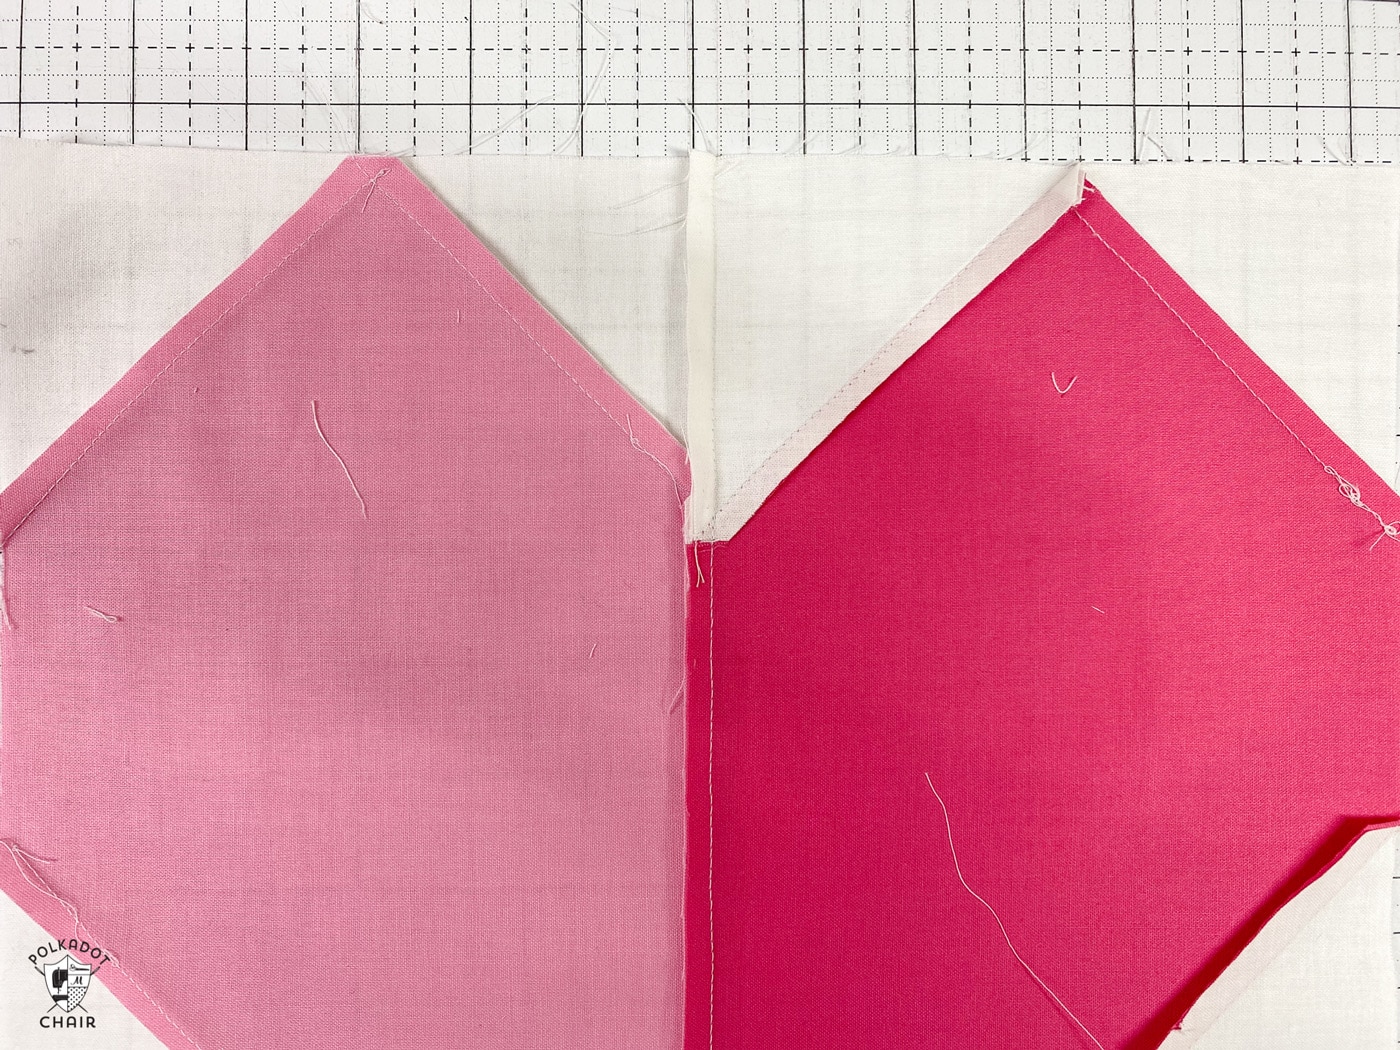
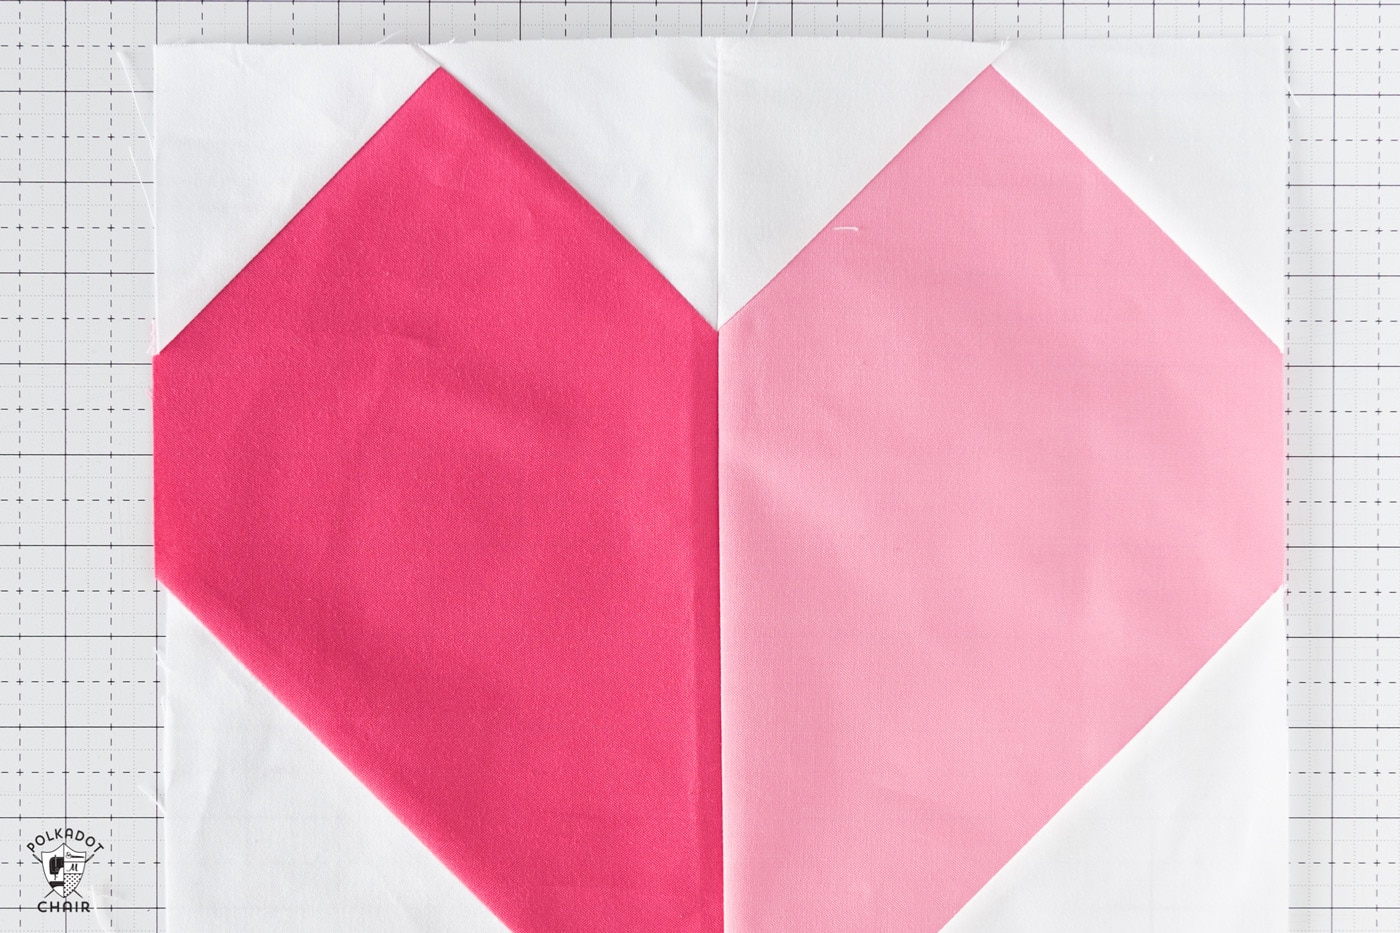
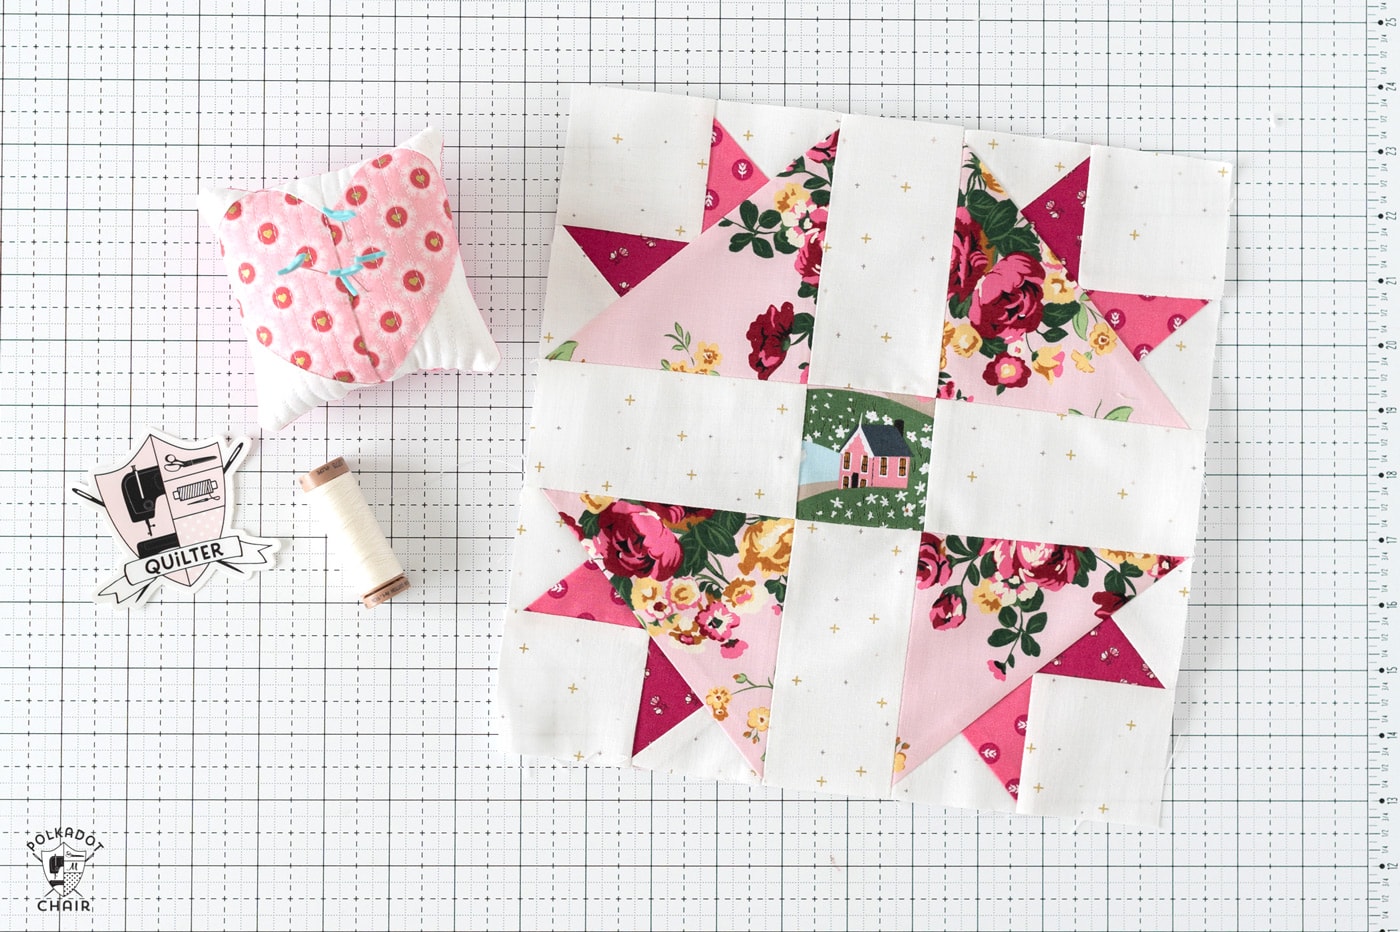
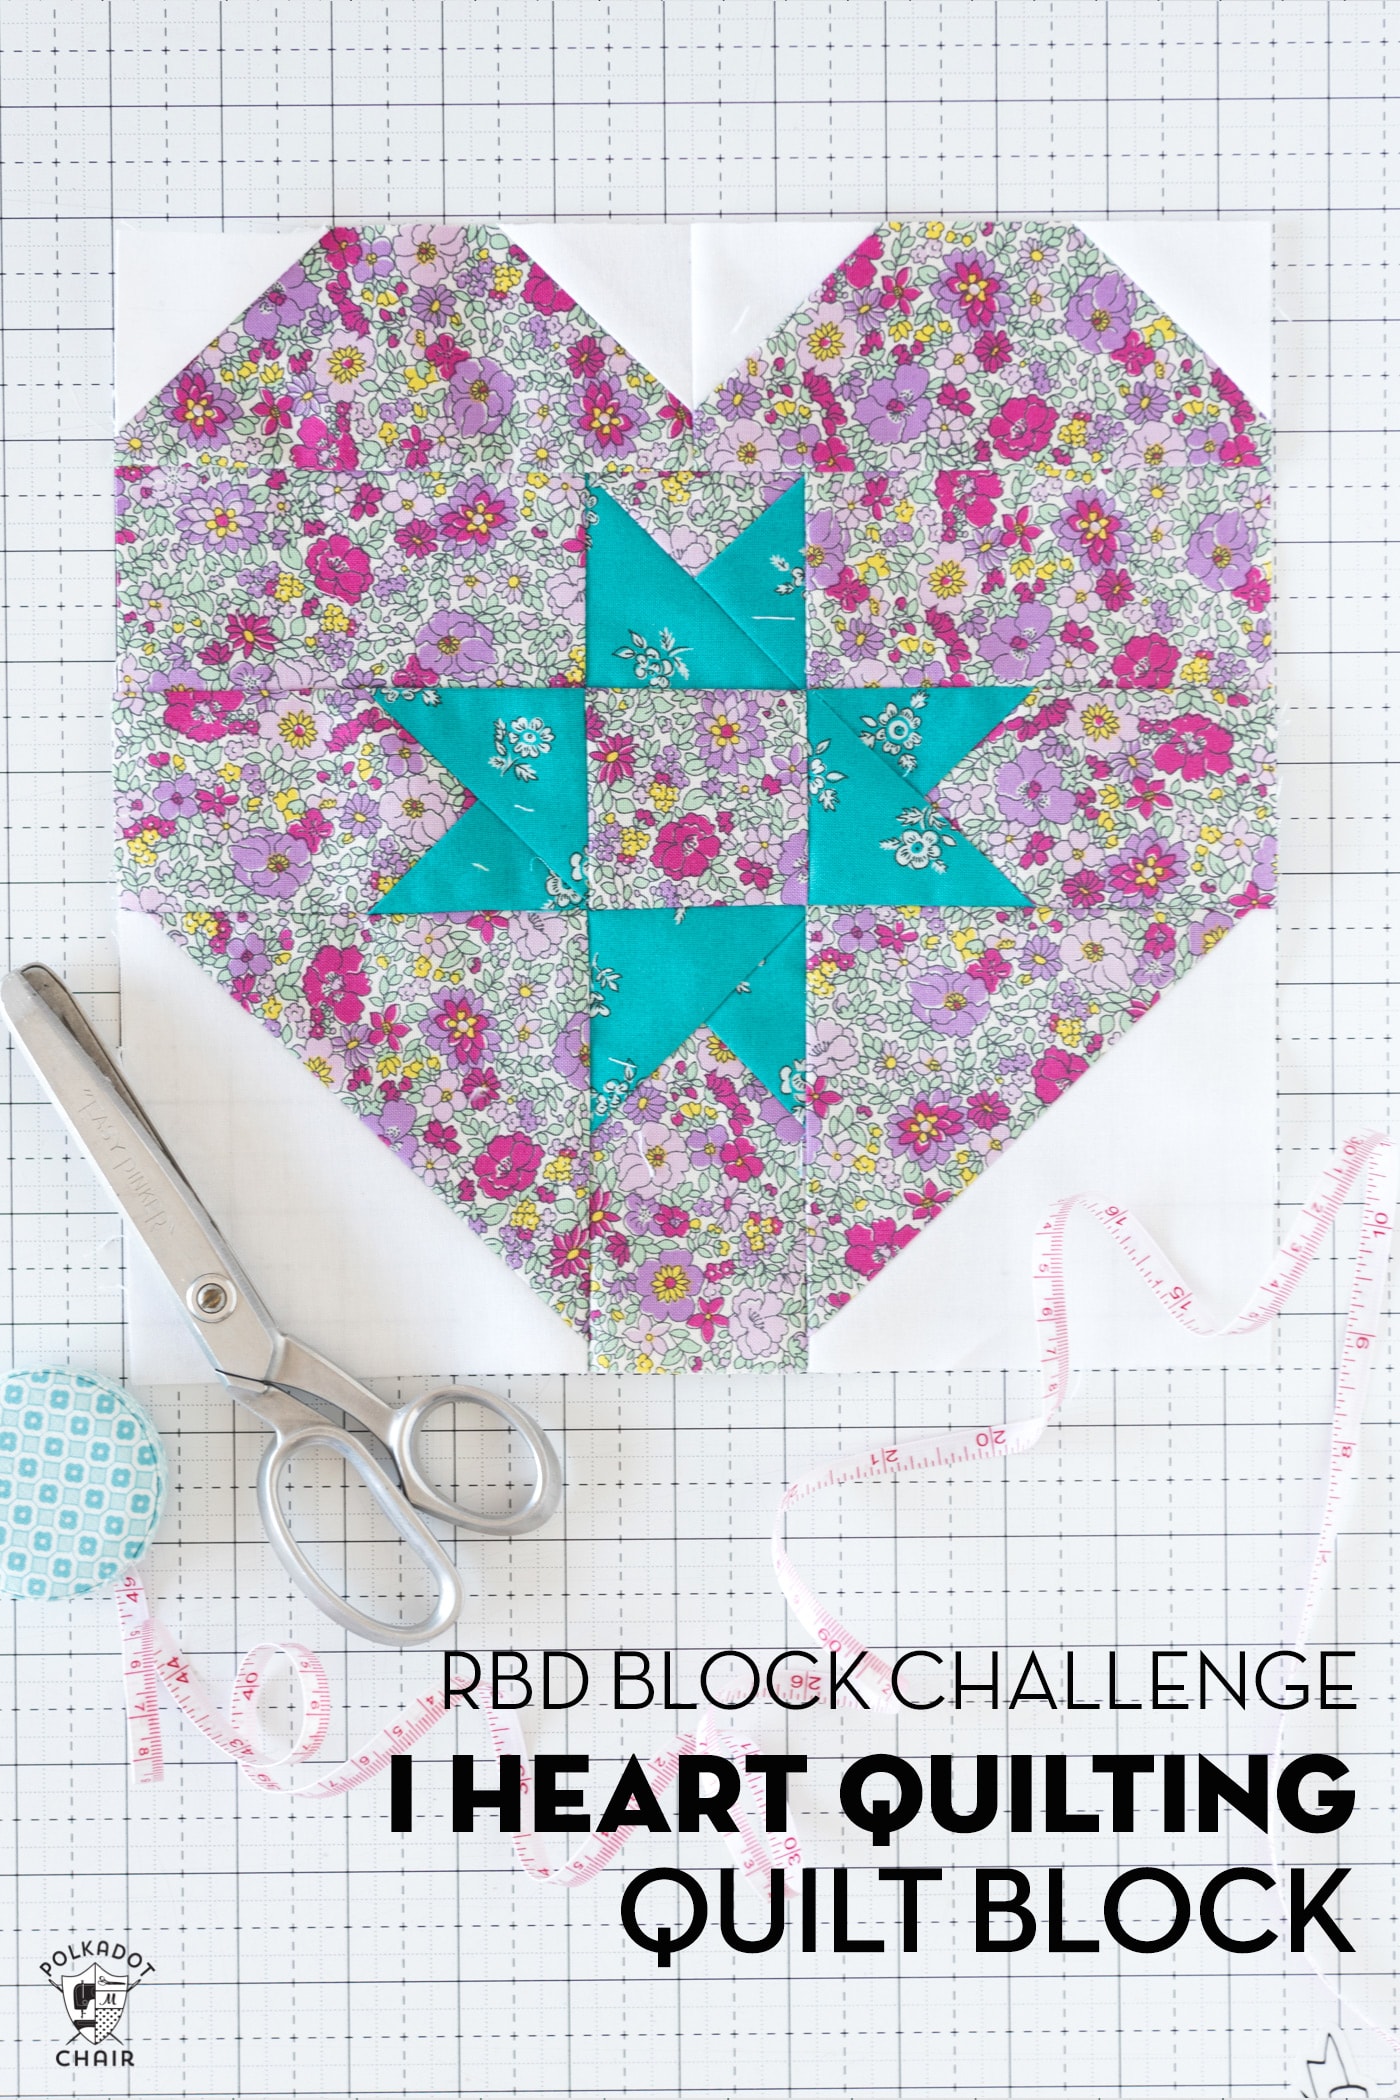
Here is a good example of nested seams on a quilt block. The seams are pressed to opposite sides, which allows the center seam of this heart quilt block to have a precise point.
5. Press Seams of Long Strips Open
When I work with long strips of fabric, pressing the seams open yields a straighter seam.
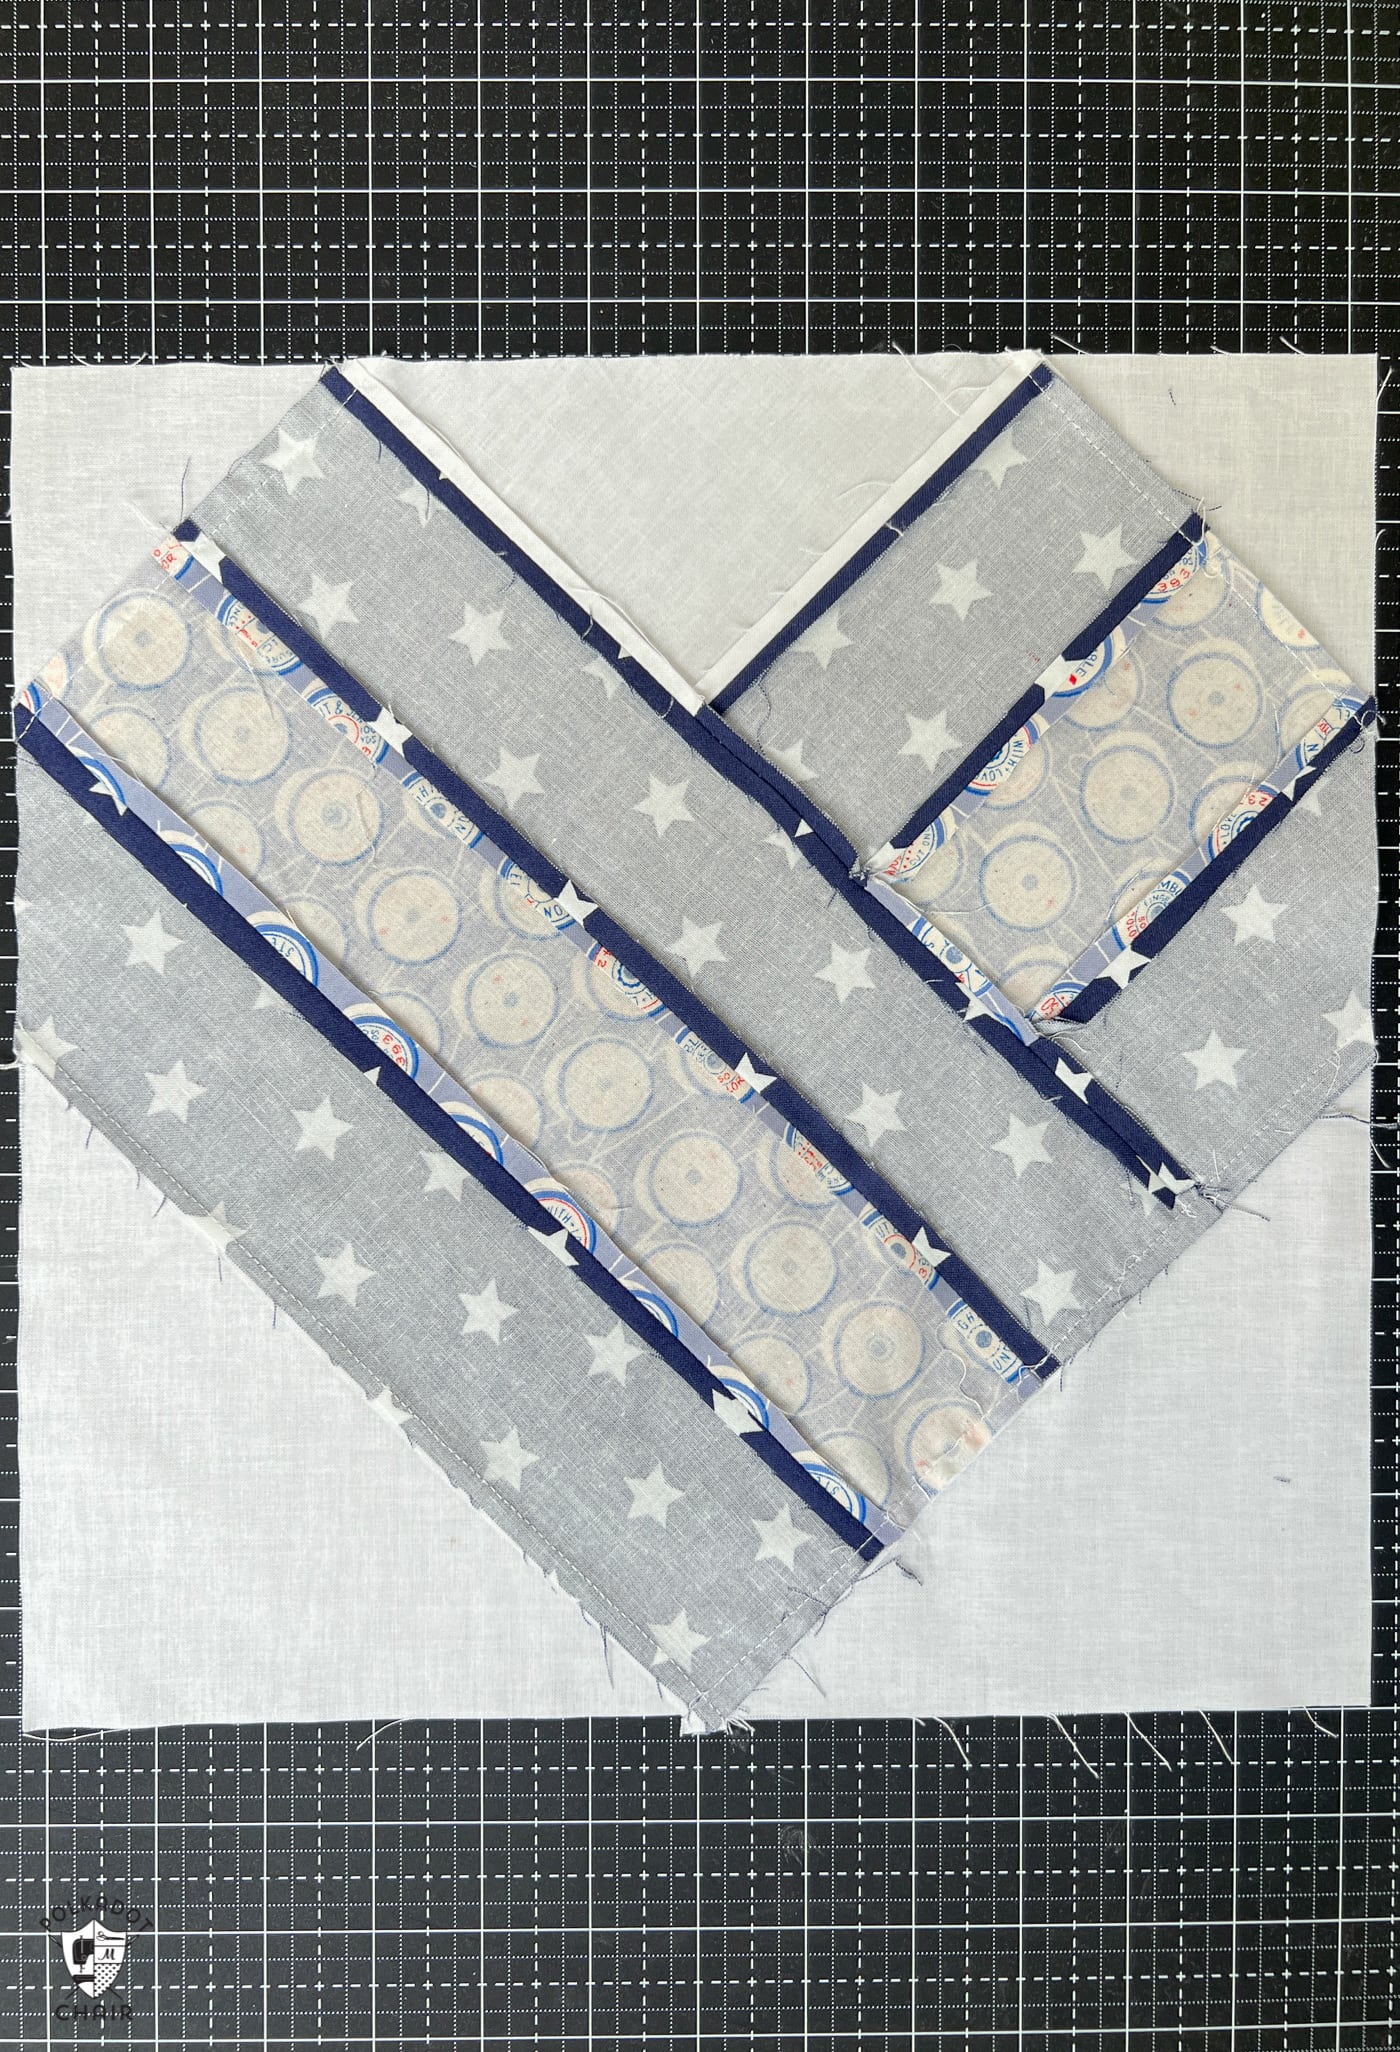
The seams of this heart quilt block’s striped sections are pressed open, keeping the lines straight in the finished block.
6. Be Mindful of Bias Edges
Handle bias edges with care, such as those found on triangles (including half-square and quarter-square triangles). They are more prone to stretching and distortion. When pressing, use a gentle touch to avoid misshaping these edges.

7. Press to One Side or Open Seams?
I discussed the specific reasons for pressing seams to the side or open a lot. However, what about the rest of the time when you’re sewing?
Decide whether you want to press your seams to one side or open. Seams pressed to one side create stronger, sturdier quilts but can result in bulkier intersections. Open seams reduce bulk and create flatter quilt tops. Your choice should depend on your project and personal preference.
8. Consistency is Key
Maintain consistency in your pressing techniques throughout your project. This will help your quilt blocks fit together seamlessly and ensure your quilt top lies flat when pieced together.
9. Regularly Check for Accuracy
After pressing, frequently check your patchwork pieces for accuracy. Use a square ruler or template to ensure your blocks are the right size and shape. This practice will save you time since you won’t need to go back and fix it later.
10. Don’t Forget the Final Pressing
Once your quilt top is complete, give it a final thorough pressing to set the seams and create a crisp, polished look. This finishing touch can make a world of difference in the overall appearance of your quilt.
By following these best-pressing practices, you’ll be well on your way to creating unique and beautiful patchwork quilts that you can cherish or gift with pride. Happy quilting!

Hallo Melissa, thanks for your pressing tips. They are very useful. And, today I got my Oliso iron. I’m happy 🤗
Best wishes Uschi
Hey Melissa, I really enjoy opening emails from you!!! You have such beautiful work & each project looks so neat & perfect! It’s inspiring to look through your site. Thanks for all the great information you send your readers & also for the free patterns. It’s very nice of you to let others share in what you’re doing.