Must Have Pressing Tools for Quilting Projects
The right pressing tools are essential for achieving crisp, professional results in your patchwork quilting projects. Here are some of my favorite pressing tools used for quilting.
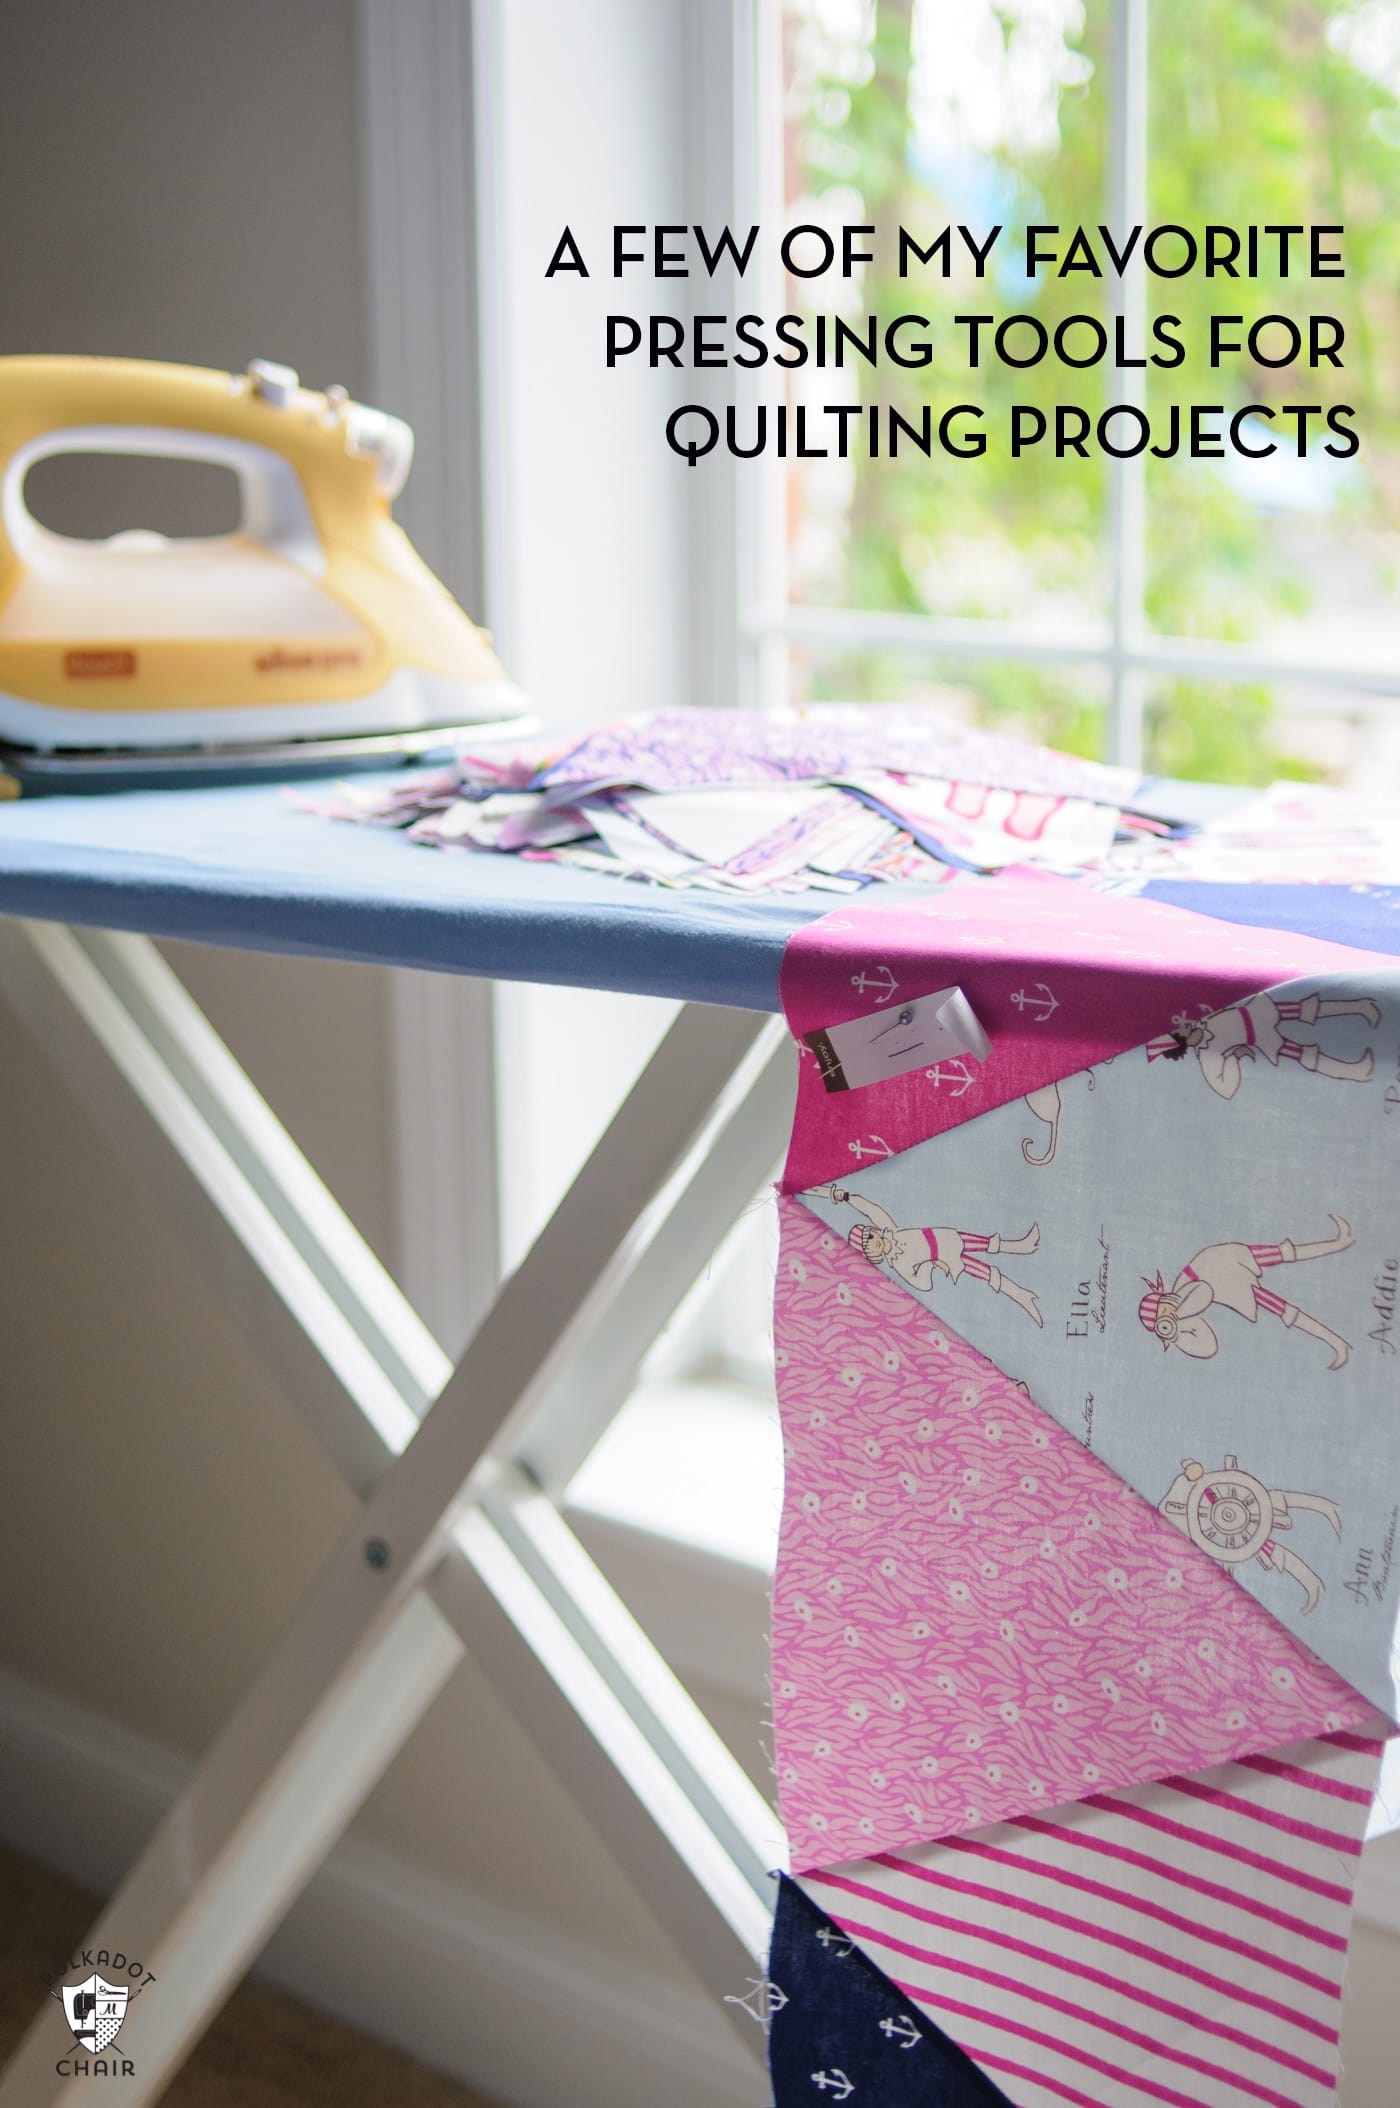
Pressing is an important part of patchwork quilting, but the selection of tools we might need are often lower our “must buy” quilting notions list.
Perhaps because they aren’t as exciting as some of the other types of sewing equipment and gadgets, but that doesn’t mean they should be overlooked or always pushed to the bottom of that list.
My Favorite & Most Used Pressing Tools
I’ve invited Amy Ball to share some of her favorite pressing tools that she uses when she’s quilting. In addition to Amy’s favorites, I’m sharing a few of my own as well!
Best Irons for Quilting
Amy:
I don’t have a clever quilty one (although I would love one), but I have always preferred the “normal” sized irons to the mini crafting ones.
For me, the most important features of my quilting iron are to have it get nice and hot (but not too hot!), not too heavy (because then your arm doesn’t ache after lots of pressing!), and an auto-shutoff (because I’m terrible at leaving it turned on even when I’m not using it!).
Melissa:
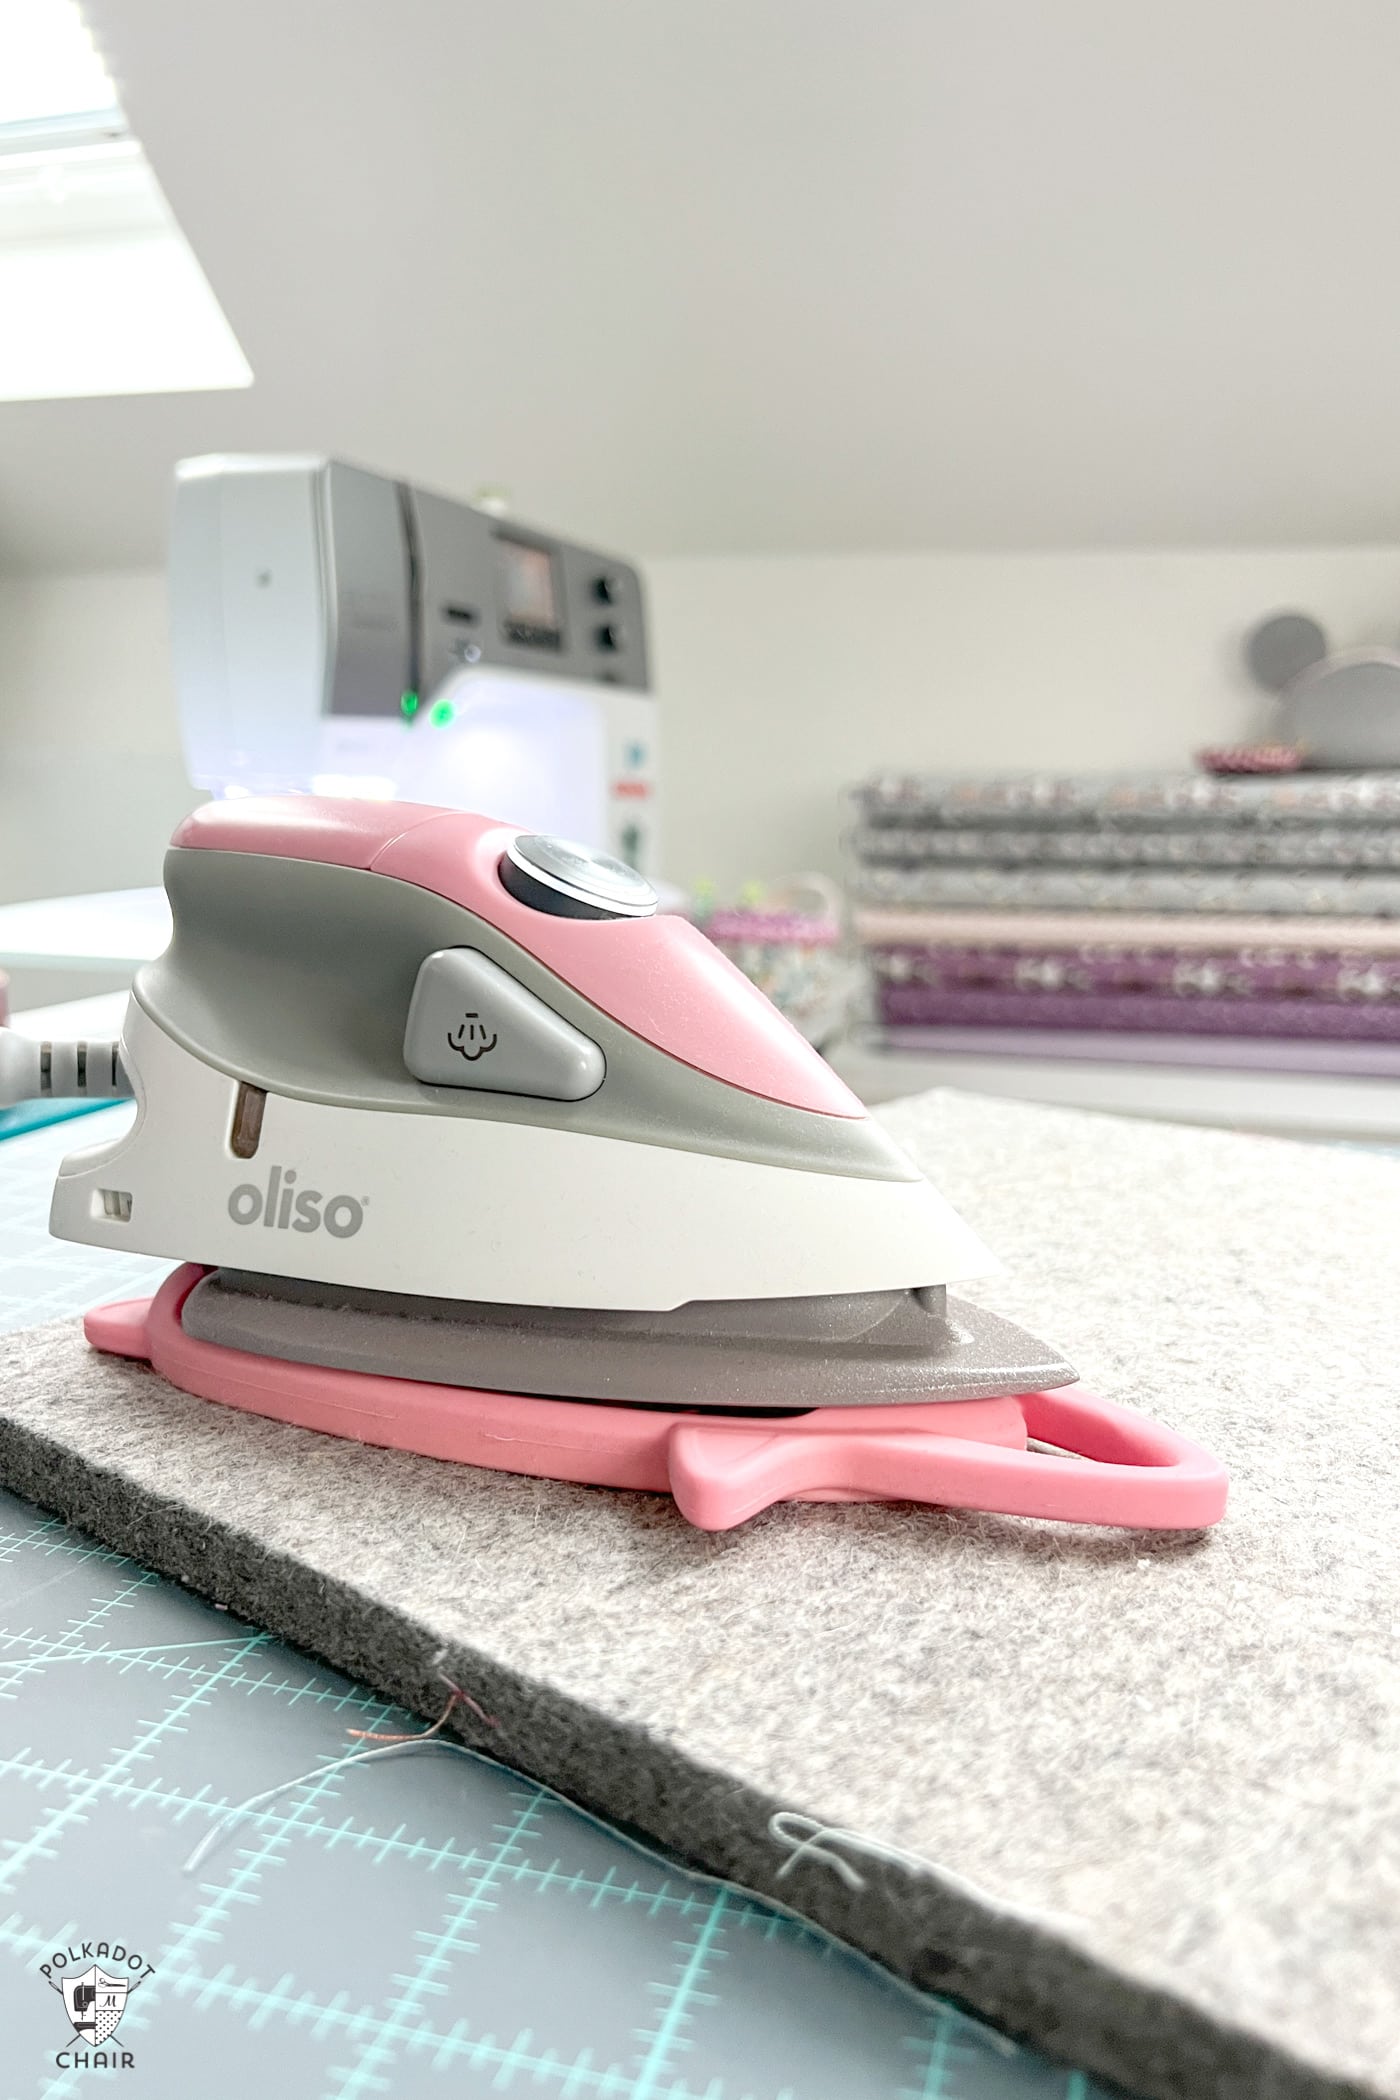
I have been through so many irons over the years. Right now, my favorite is my Oliso. I have arthritis, and it raises and lowers by itself, which is a big help to me. This is my second Oliso, as my first one burned up unexpectedly.
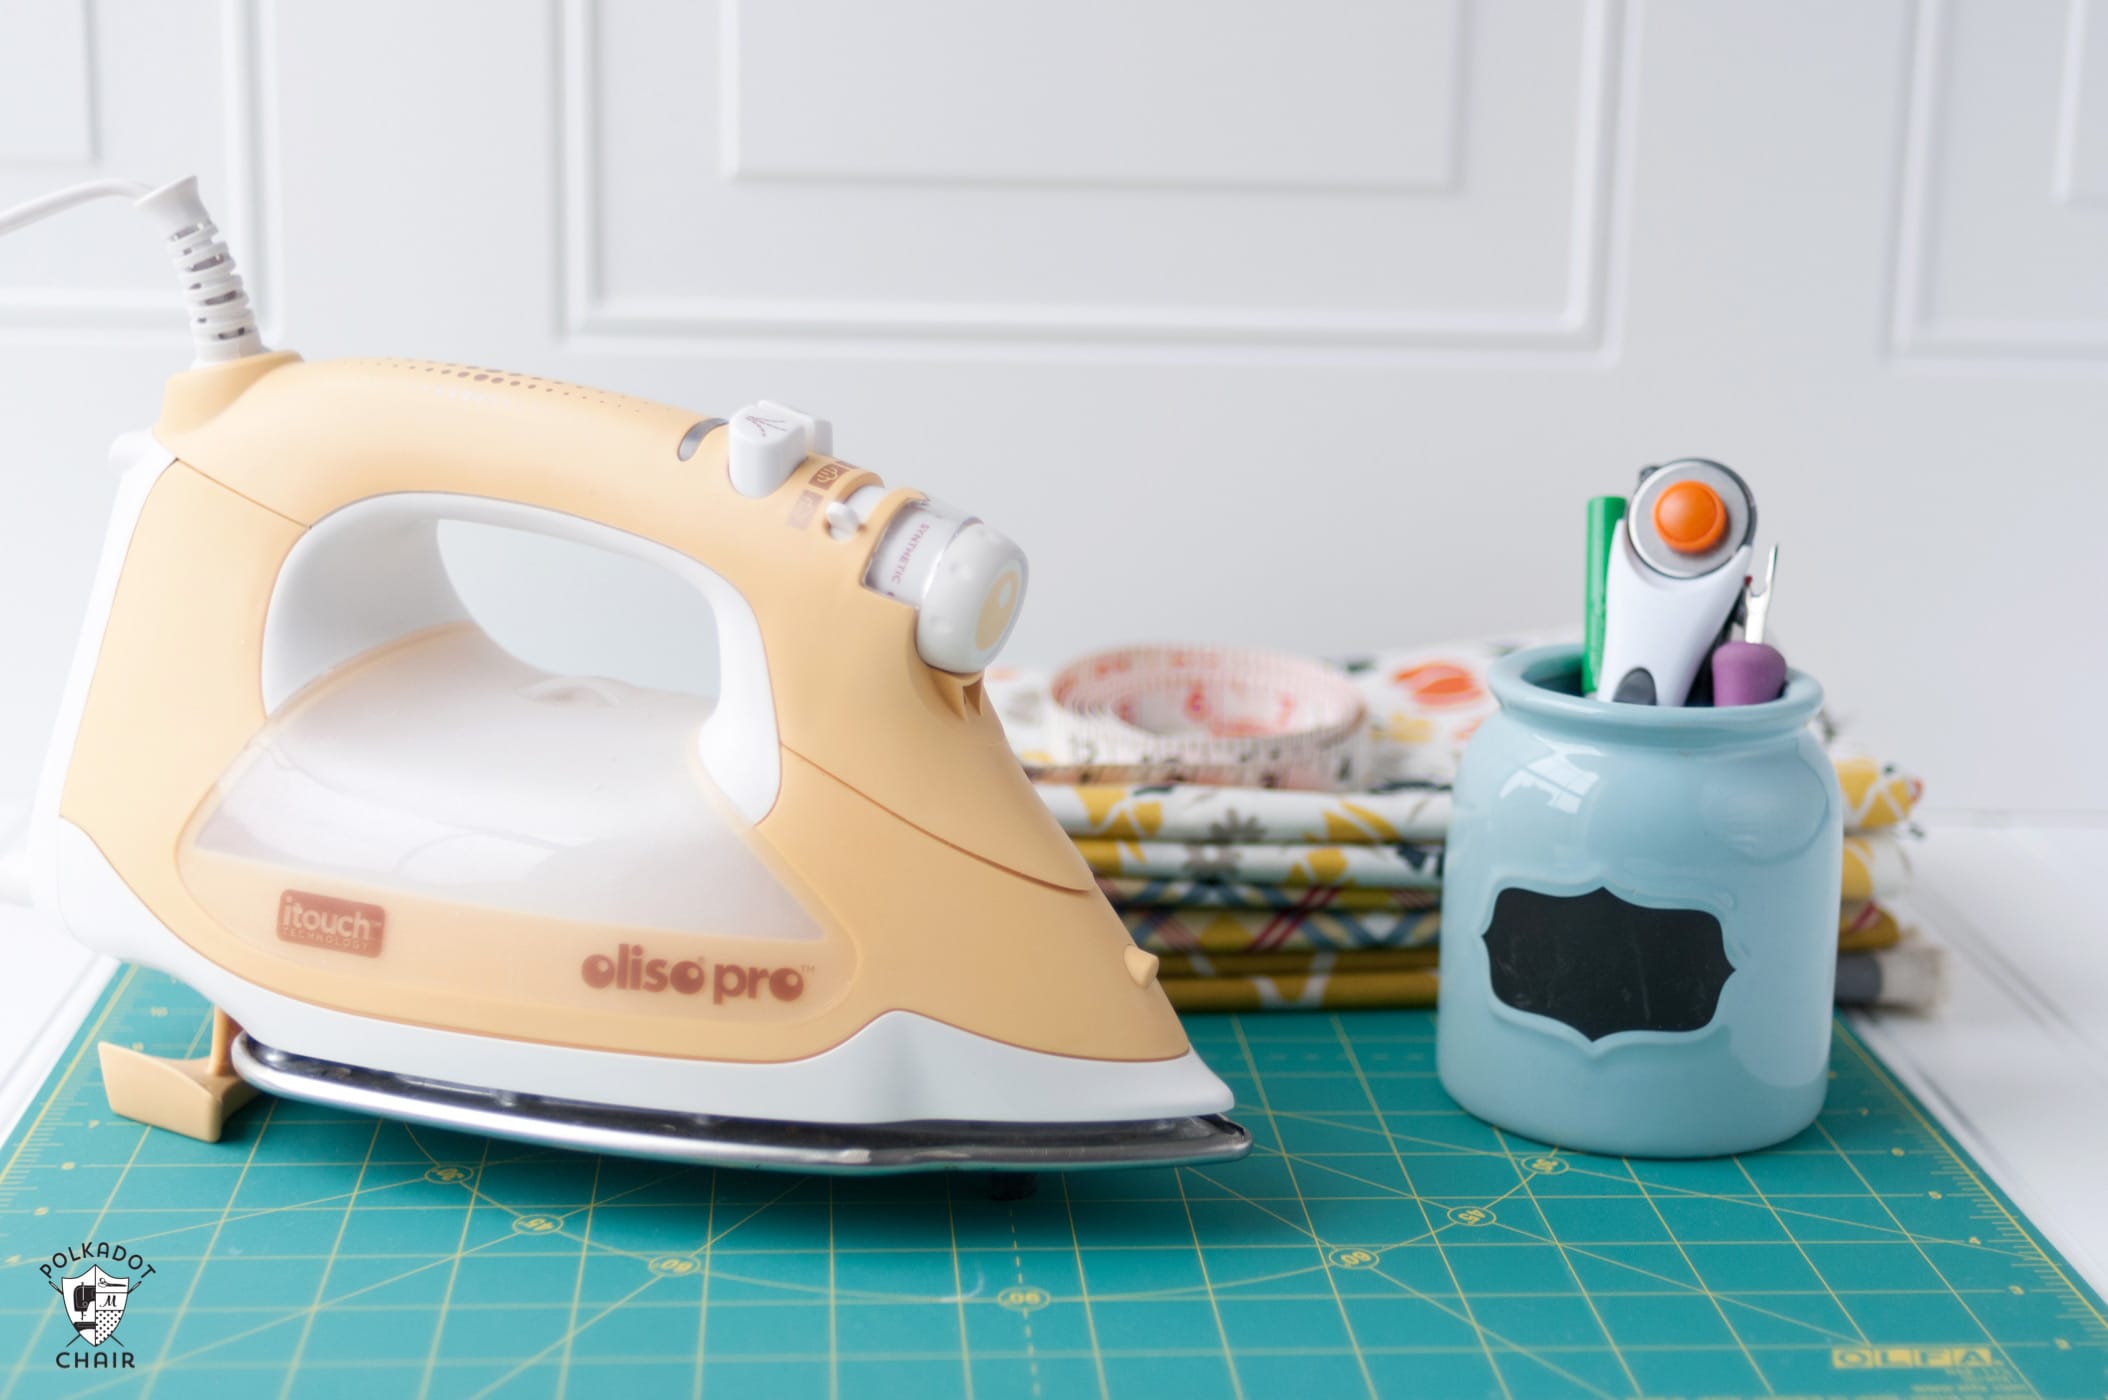
For the most part, I love it. It gets hot fast, but mine has been leaking lately. To be honest, I’ve never had an iron that didn’t leak. I’m not sure it exists. The leaking is minimal and doesn’t happen often. I keep a hand towel close by in case of a leak. Just a note: the iron in the photo is not plugged in; I would never place a hot iron anywhere but on an ironing board.
I have a friend who just purchased a Chi iron and loves it!
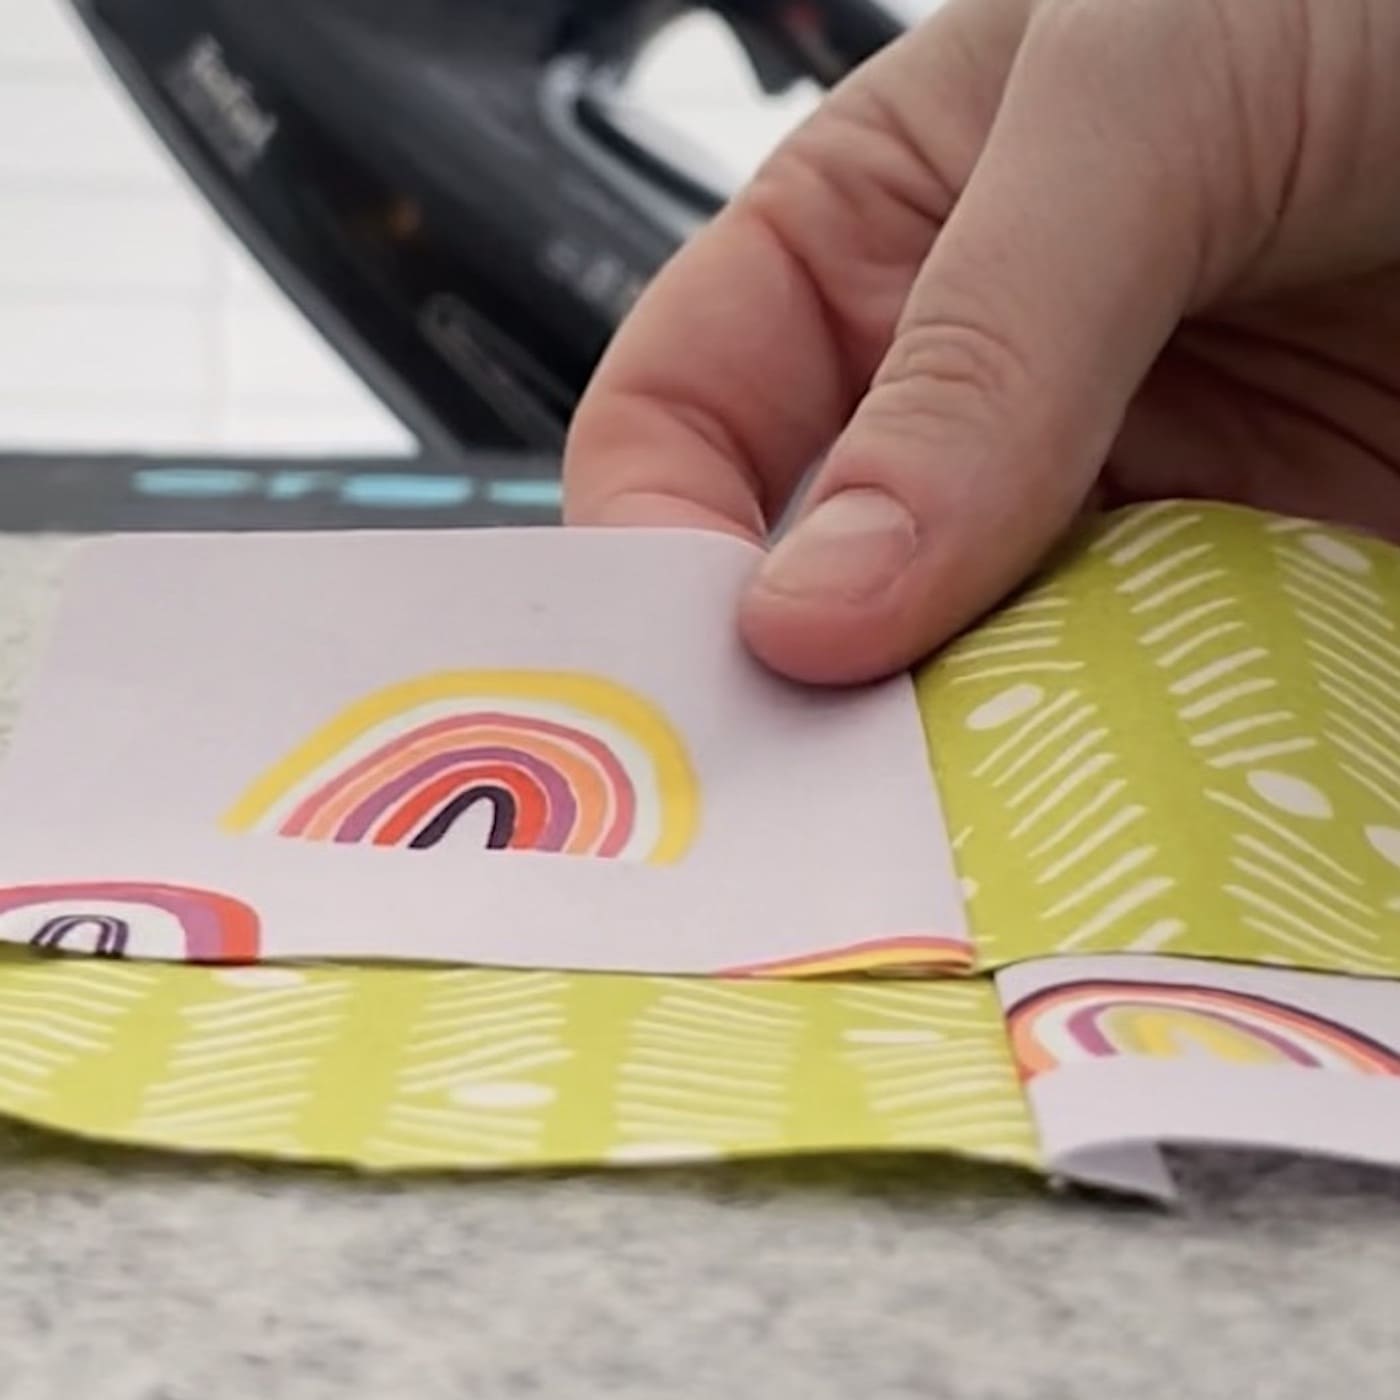
Mini Iron
Melissa:
I like to keep a mini iron on the table close to my sewing machine. I don’t do all of my block pressing using this iron, as I’ve found it’s not quite as accurate when you’re working with bigger seams.
However, I love to keep it close when making half-square triangles or creating blocks using the stitch-and-flip method. I also like to use it when I’m foundation paper piecing.
I have the mini Oliso. I like everything about it except it does not have an auto-off. I believe they are developing a newer mini iron that does have an auto-off, so check before you buy!
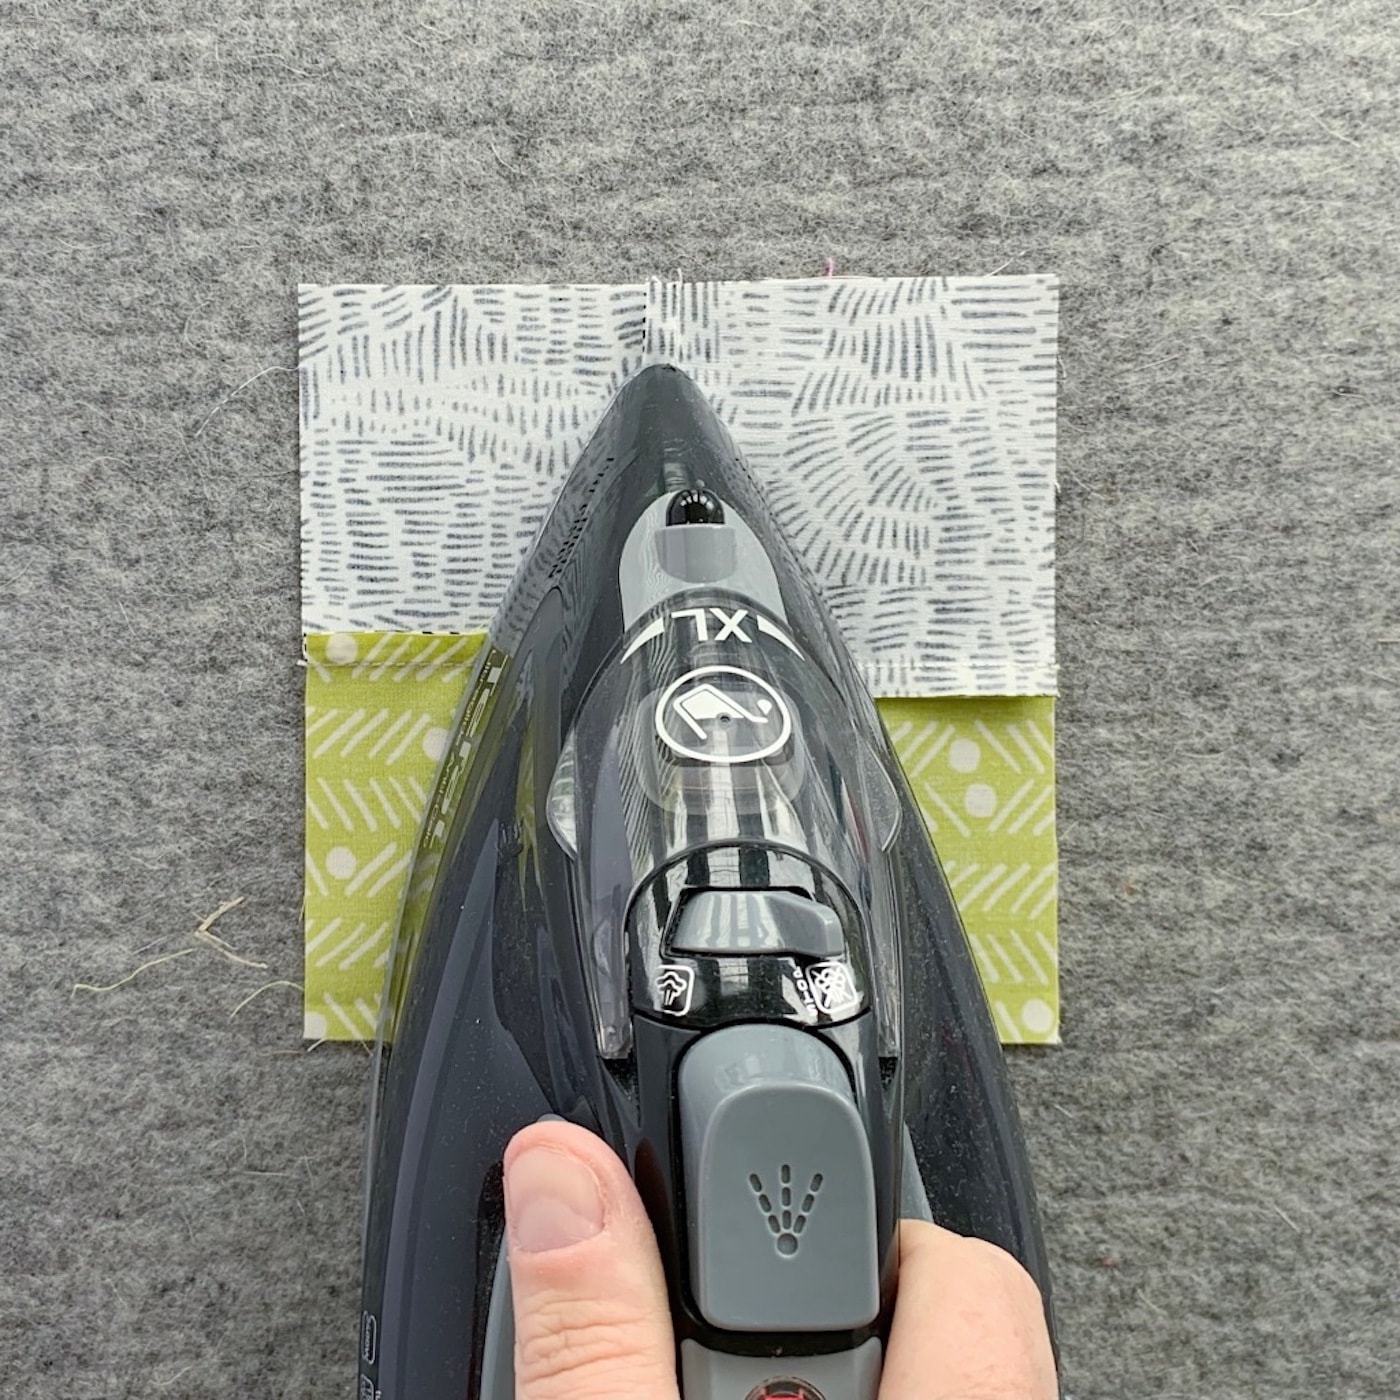
A Felted Wool Pressing Mat
I would highly recommend spending the extra money and getting a 100% wool mat; they are thicker and better quality, which means they are more effective and last longer.
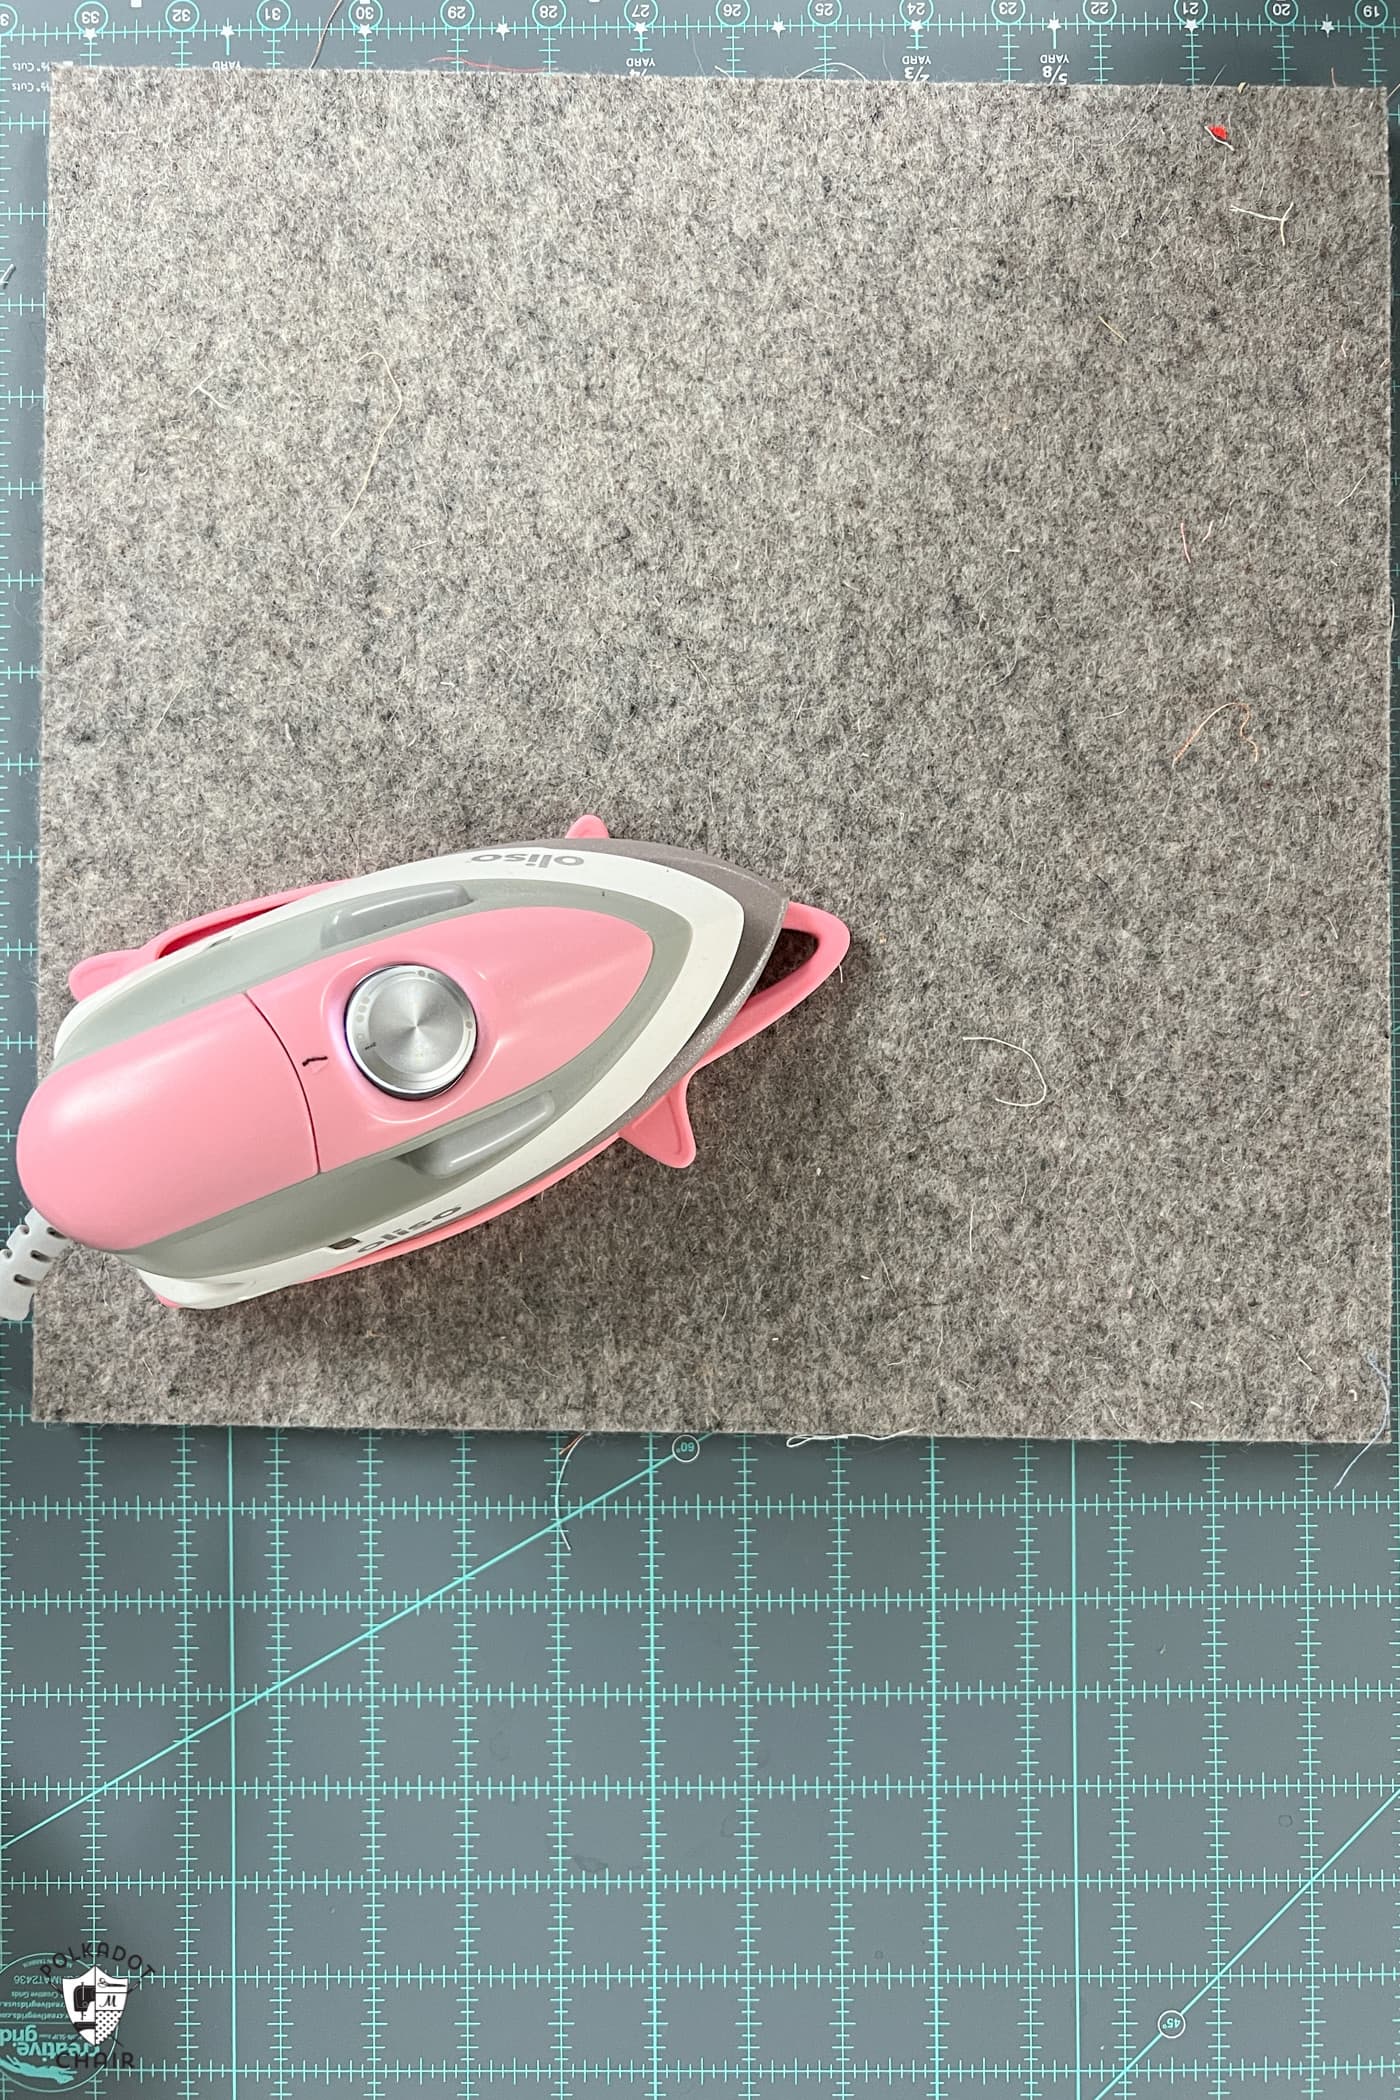
Wool pressing mats are a fantastic tool because the textured surface helps to stop fabric shifting as you press, the felted wool absorbs the heat so both sides of your patchwork are pressed at once, and seams and stitches sink into the soft surface giving a crisper pressing finish.
Pressing Spray
Amy:
Like the wool mat, these aid the pressing process because they relax the fabric, which helps smooth the wrinkles and create a crisper-pressed seam.
There are many different brands, but I only ever use Flatter (by Soak). It is starch-free, and the fragrances are all clean and fresh smelling; I find most other brands to have quite a strong chemical-based scent (to me, anyway!), and I’d prefer something a bit lighter on my quilting tops and patchwork projects.
Seam Roller
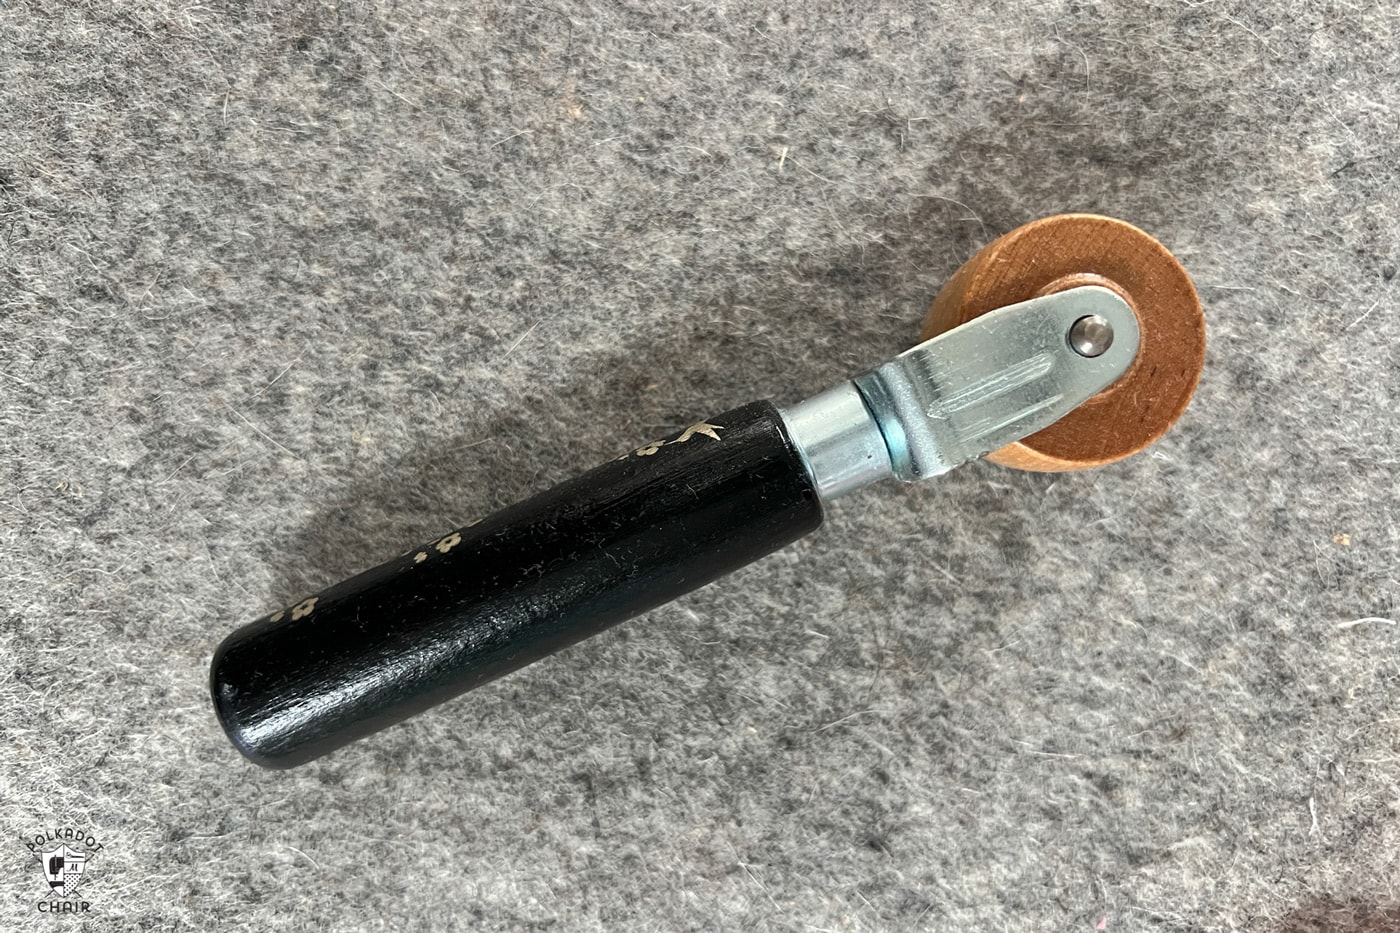
This is a great little tool and, if I’m being honest, far more effective than I first thought it would be. I would never only use a seam roller on a project, but they can be a great substitute for an iron when required. Seam rollers are especially useful for foundation paper piecing.
Tailors Clapper
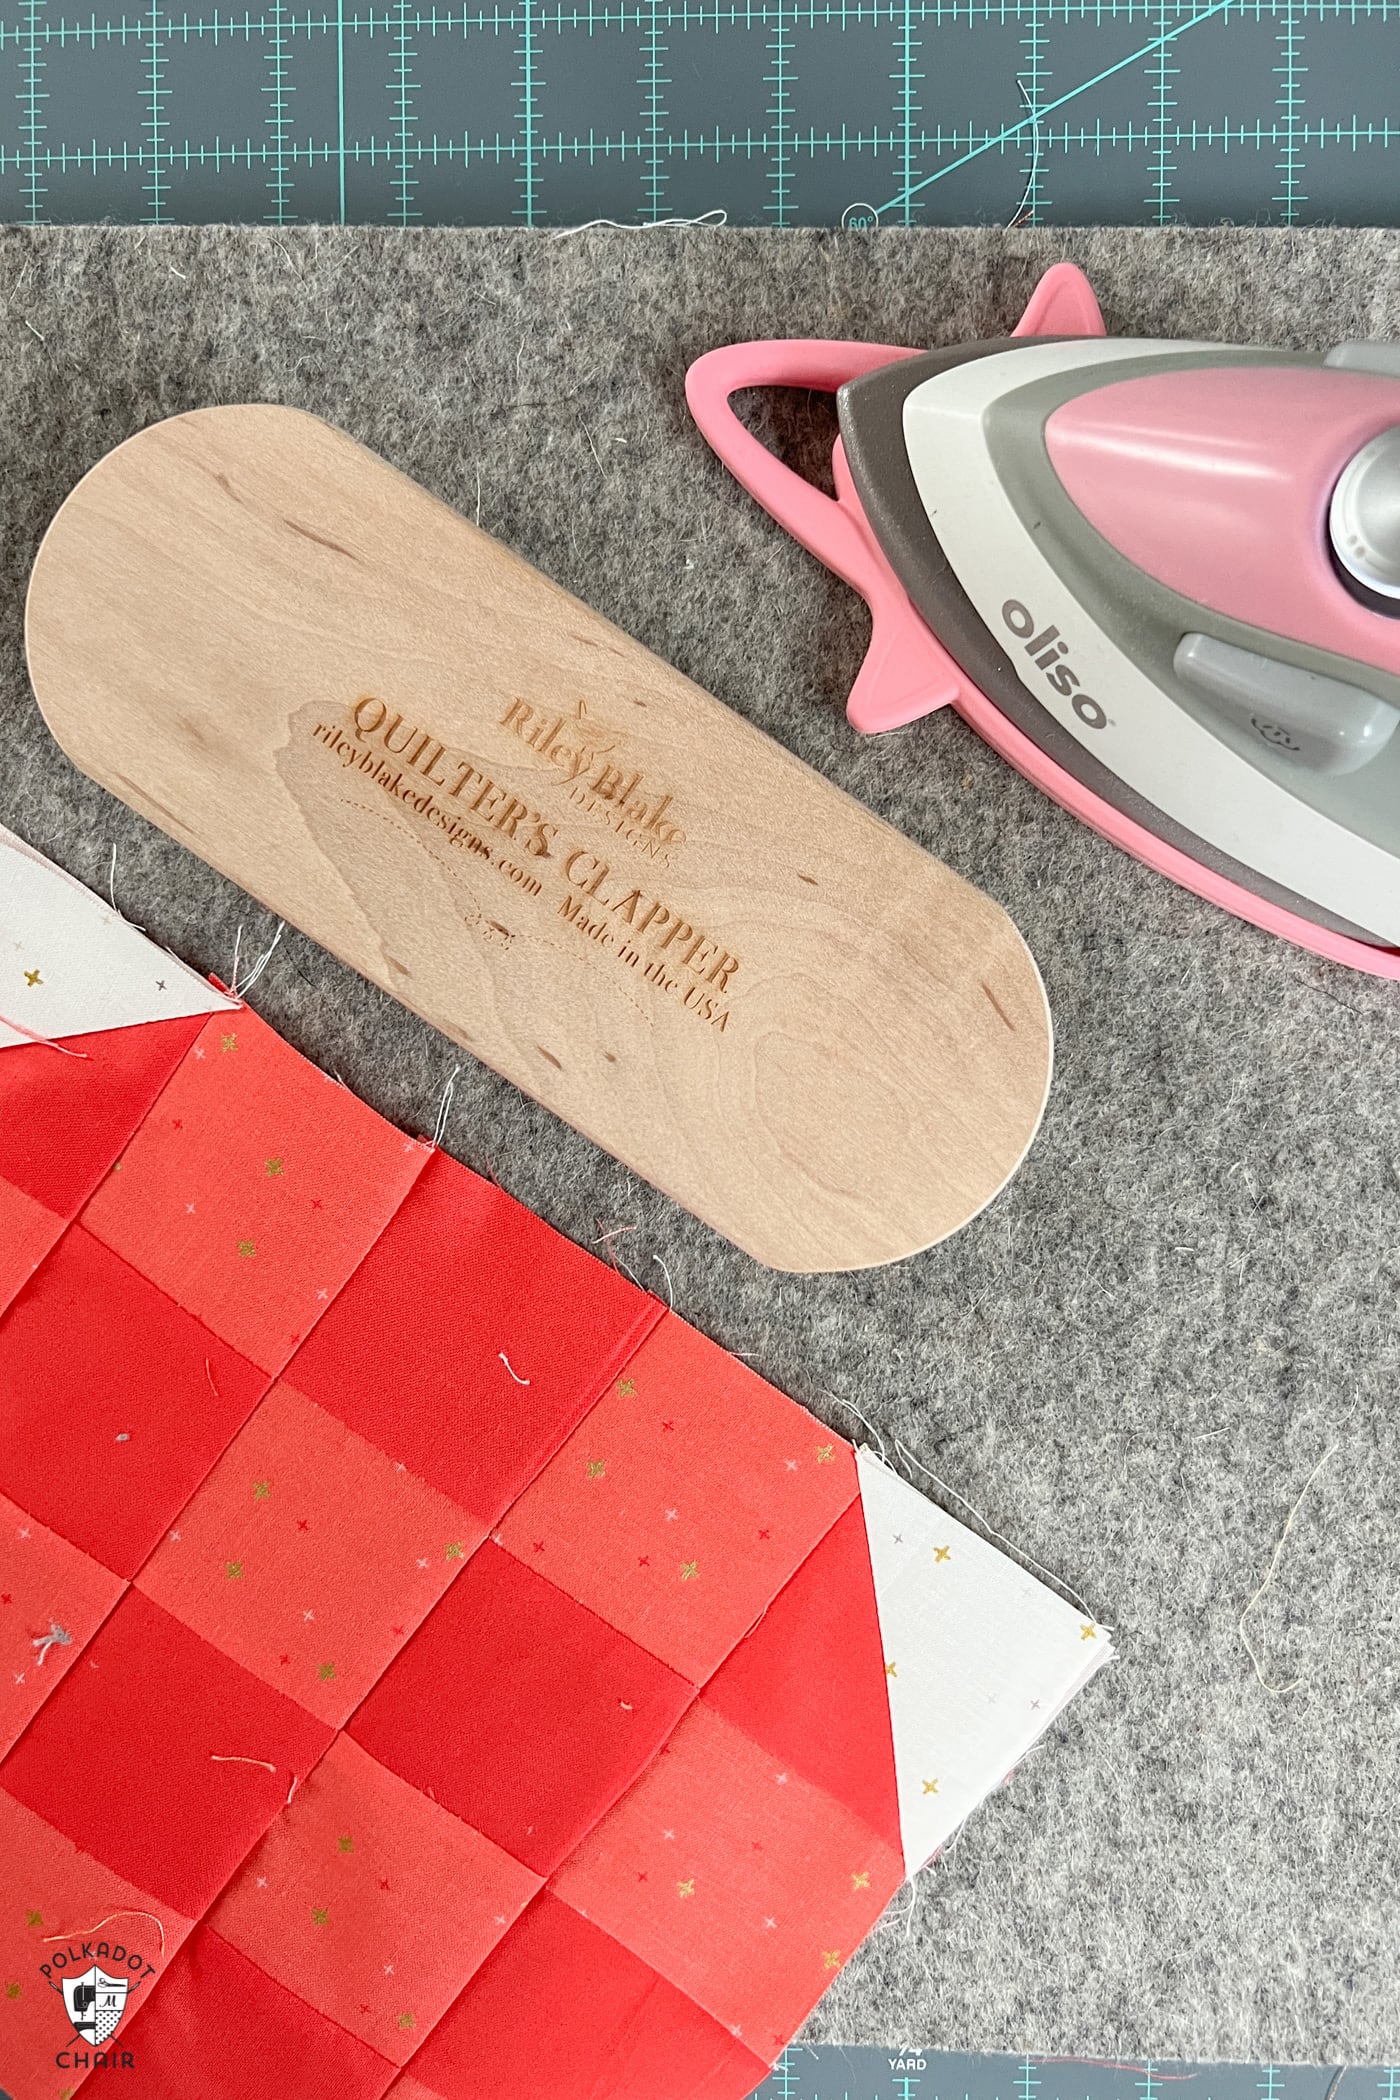
A tailor’s clapper is a wooden tool designed to help set seams and create sharp creases. It’s used by placing it over the seam immediately after pressing to hold the heat and moisture, resulting in crisper seams.
Good Ironing Board
After many years of quilting, I finally invested in a really good ironing board (a Reliable Brand one), and I adore it. I’m tall, and I can raise it up high enough to use it comfortably. It’s also a little bit wider than a standard ironing board, which I love. It was an investment, but one that I felt was worth it, given the number of hours I spend a day pressing.
Do you have a favorite pressing tool that we didn’t include in our list? If so, just let us know in the comments section.
This!
The folding Big Board (big board enterprises)
Best purchase I have made for quilting in 20 years. Sturdy and wide on both ends.
Thanks for your tips!
Mary in Main
Hi Melissa, I know what you mean about having the proper ironing equipment. I’m 81 years young and when my husband and I were younger, he wore Arrow shirts with button-down collars to work. He’s a chemical engineer so he also wore jacket, tie and slacks. I did a lot of shopping for him and he always looked so handsome. One time one of his secretaries asked him where he had his shirts done because they were always pressed perfectly, even the long sleeved ones and he simply replied “My wife does them!” That made me very proud that I took the time to do the job well. He even had some all cotton shirts that were very hard to iron but I always did justice to them. I had a great, old steam iron and used spray starch, especially on the collar, buttons side and button hole side of the shirt. A swift spray on the rest of the shirt made it all so easy. And the other thing was my ironing board, which I still have and use to this day. I bought it at the Sears and Roebuck store in our town and love it. I have bought and replaced the cover several times (usually putting the new one over the old one) and now it’s so thick and nice to iron those button-down collars on or the sleeves or the front of the shirt front with all the buttons on it. Also, you can adjust it up and down and it rolls on wheels so it folds up and can be stored away very easily. I don’t have to do that ironing anymore because he’s retired but now it’s mending things and quilting. I have a small space near my sewing area where I iron with a tiny iron and use starch sometimes, then put on a clapper to set the seam. I’m left-handed (like Jenny Doan) and have my favorite scissors. I even have a pair of old pinking shears but they need sharpening and I found out that they are the devil to try to sharpen. Guess I’ll wait and think about that.
I enjoyed your article very much. Oh, my ironing was usually done on Sunday evenings in our finished basement with the ironing board set to a lower position so I could sit, iron and watch my favorite shows. That was before the new TV’s came out and you need 3 or 4 different controllers to turn on the TV and then another one to select a show to watch. Seems so much more complicated, doesn’t it? Guess we never really stop ironing. Linda
PS: My mother and my mother-in-law both owned machines called “mangles”. I learned how to use my mother’s and got to be very proficient with it. Could even iron a man’s shirt with it. Fantastic machine but of no use in today’s world except maybe at a place that does shirts for you.
Thanks for the tips! I have a few white button downs that I love to wear but have had a hard time getting them crisp! I’ll have to try your tips next time I press them.
My “can’t do without tool is my purple thing
Good tip! Great to save fingers from getting burned!
Hi, how do you clean a wool pressing mat? Mine has brown stains on it from my Rowenta iron (1-2 yrs old) It’s not suppose to leak, but it does. It just ruined a label I made for a baby quilt with brown stains, I’m trying to get them out. It has a baby sleeping on a cloud embroidered on it and says Welcome Baby and the date. I don’t want to make a new one if I don’t have to, it’s a lot of thread, and a lot of time to do it.
Any ideas please?
I haven’t cleaned one before, but my guess would be to soak the stain with water then place a clean rag on the top to absorb the stain. You could also use an iron on top of the rag, you need to pull the stain out of the mat, but it needs somewhere to go, hence the rag.