Quilting 101: Should You Press Seams Open or to the Side?
How do you decide which way to press your patchwork seams? Open or to the side? In quilting, it seems there are a lot of options and opinions when it comes to quilt seams. Today we’re going to break down some of the pros and cons of both methods, with quilt block examples of each.

Patchwork isn’t just about sewing; how you press your blocks is also really important, and the wrong pressing choices can make or break a project!
Seams in a patchwork project can be either pressed to one side or open. Both of these options have pros and cons, and for that reason, I’m likely to use both in the majority of my makes. Here’s a quick run down of the pros and cons of both ways. Note: there are lots more, but these are just the ones I come across most frequently)…
Pressing Seams to the Side Pros & Cons
- Keeps the seams stronger (pro).
- The extra “smidge” of fabric in the seam can make your block slightly too small. It may be harder to achieve a perfect 1/4″ seam allowance.
- Makes Stitch in the Ditch much easier and more secure (pro).
- Seams can be “nested” to help line up the seams when you sew two units or blocks together (pro).
- Whichever part of the block you press a seam towards will emphasize that area because it lifts that section up a little (pro and con!).
- As a press to the side seam has two layers of fabric, it can add to the bulk of a block in places (con).
- The bulk of seams can make free-motion quilting a little harder (con). However, this can be easily overcome with practice and by slowing down.
Pressing Seams Open Pros & Cons
- There is less bulk as the two layers of fabric from the seams are separated (pro).
- It takes longer since you need to “wiggle” your seam open before you begin to press. If you have arthritis or another condition that makes it hard to complete fine movements, this may be a big issue (con).
- The lack of bulk makes all over free motion quilting easier when you are a beginner (pro).
- All aspected of the patchwork design are at the same “level,” as nothing is pushed to the top by the seams (pro and con!).
- Seams aren’t as strong because there is no fabric behind the sewn seam (con).
- Seams can be harder to match up as you aren’t able to nest (con). However, this can be overcome with pinning.
- Your seams may come apart at the ends if your blocks are handled a lot.
When you’re deciding how to press the various seams in your patchwork project, I think it is important to keep in mind how you may want to quilt the project. For example, if you want to stitch in the ditch around parts of your blocks, make sure those have seams pressed to the side.
Block Pressing Examples
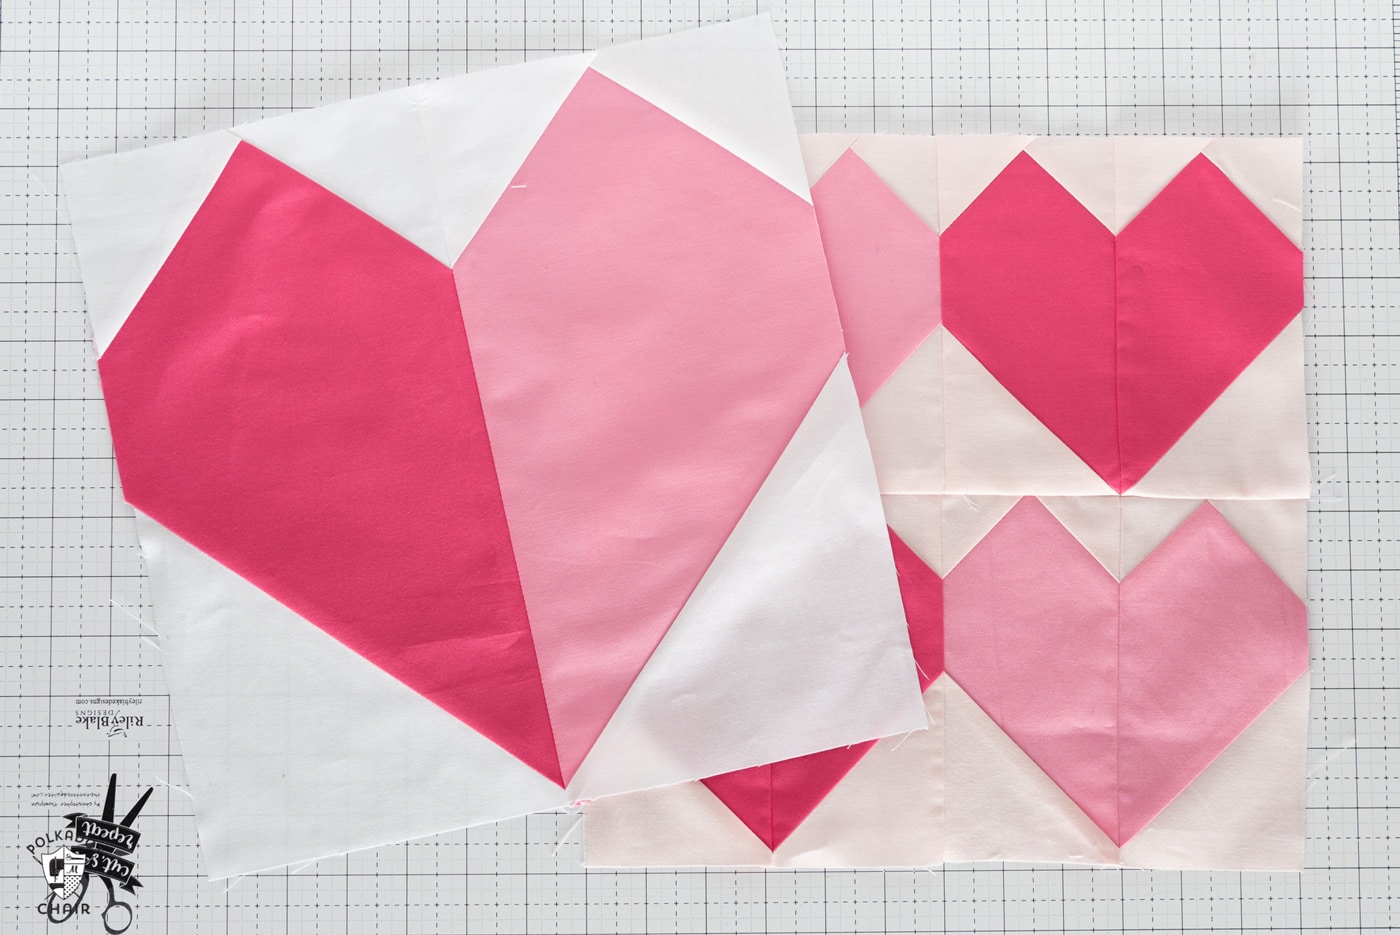
Example One: Pressing Seams Open
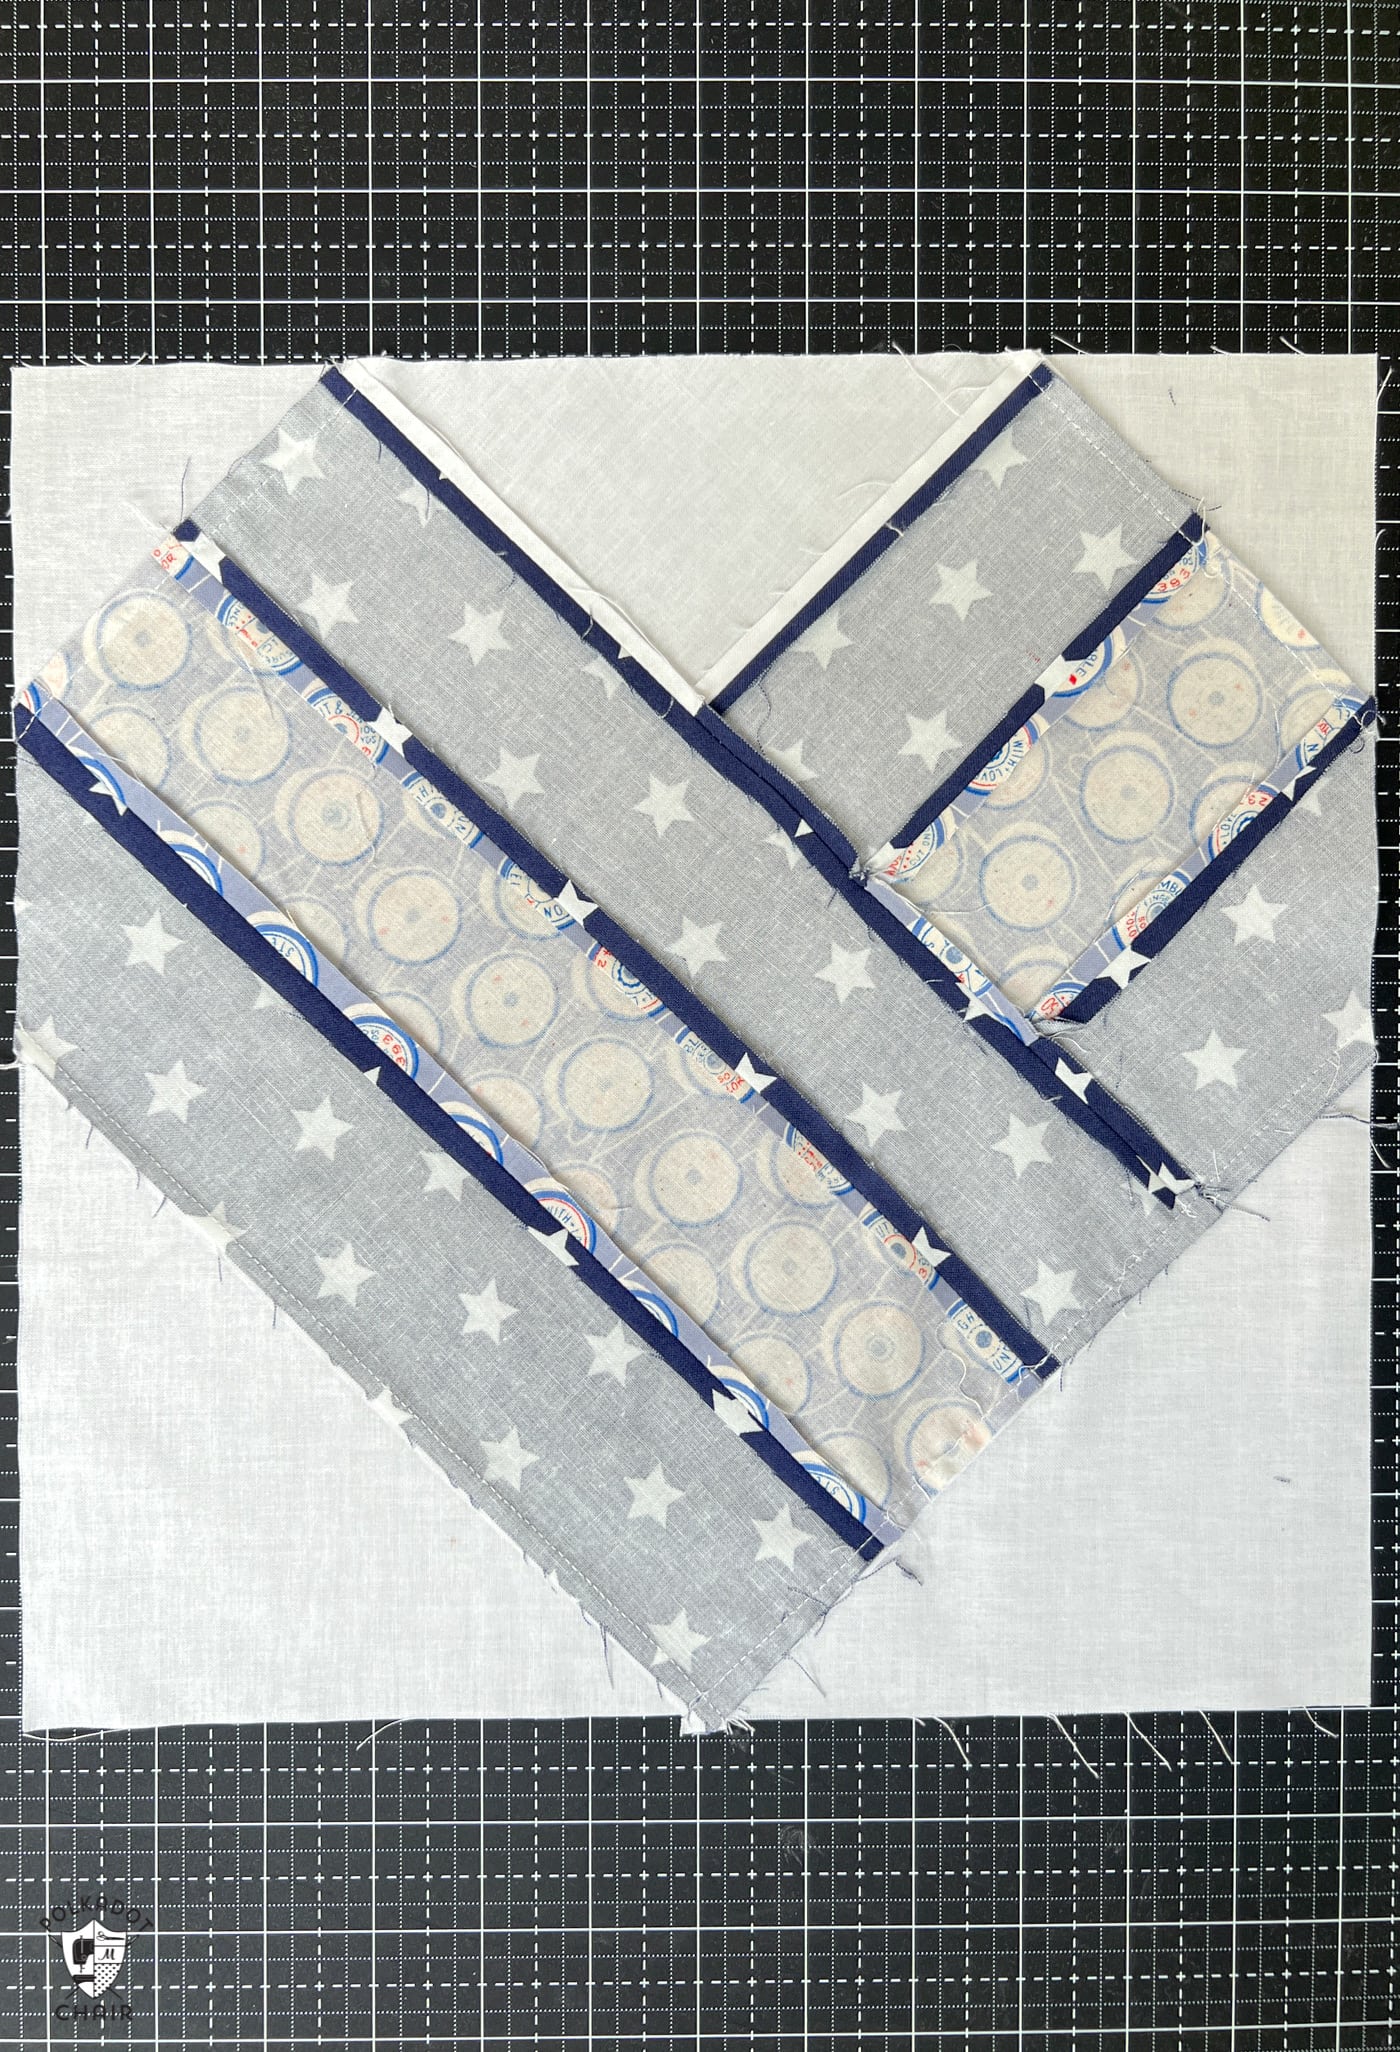
Many quilt patterns ask you to sew long strips of fabric together, then cut them into smaller units (as was done for the completed heart block above). I have found that longer seams need to be pressed open. It’s harder to “wiggle” all of the fabric out of the center of a long seam, and the seam can distort as you press it. Pressing the seams open helps to keep the longer seams straight as you work.
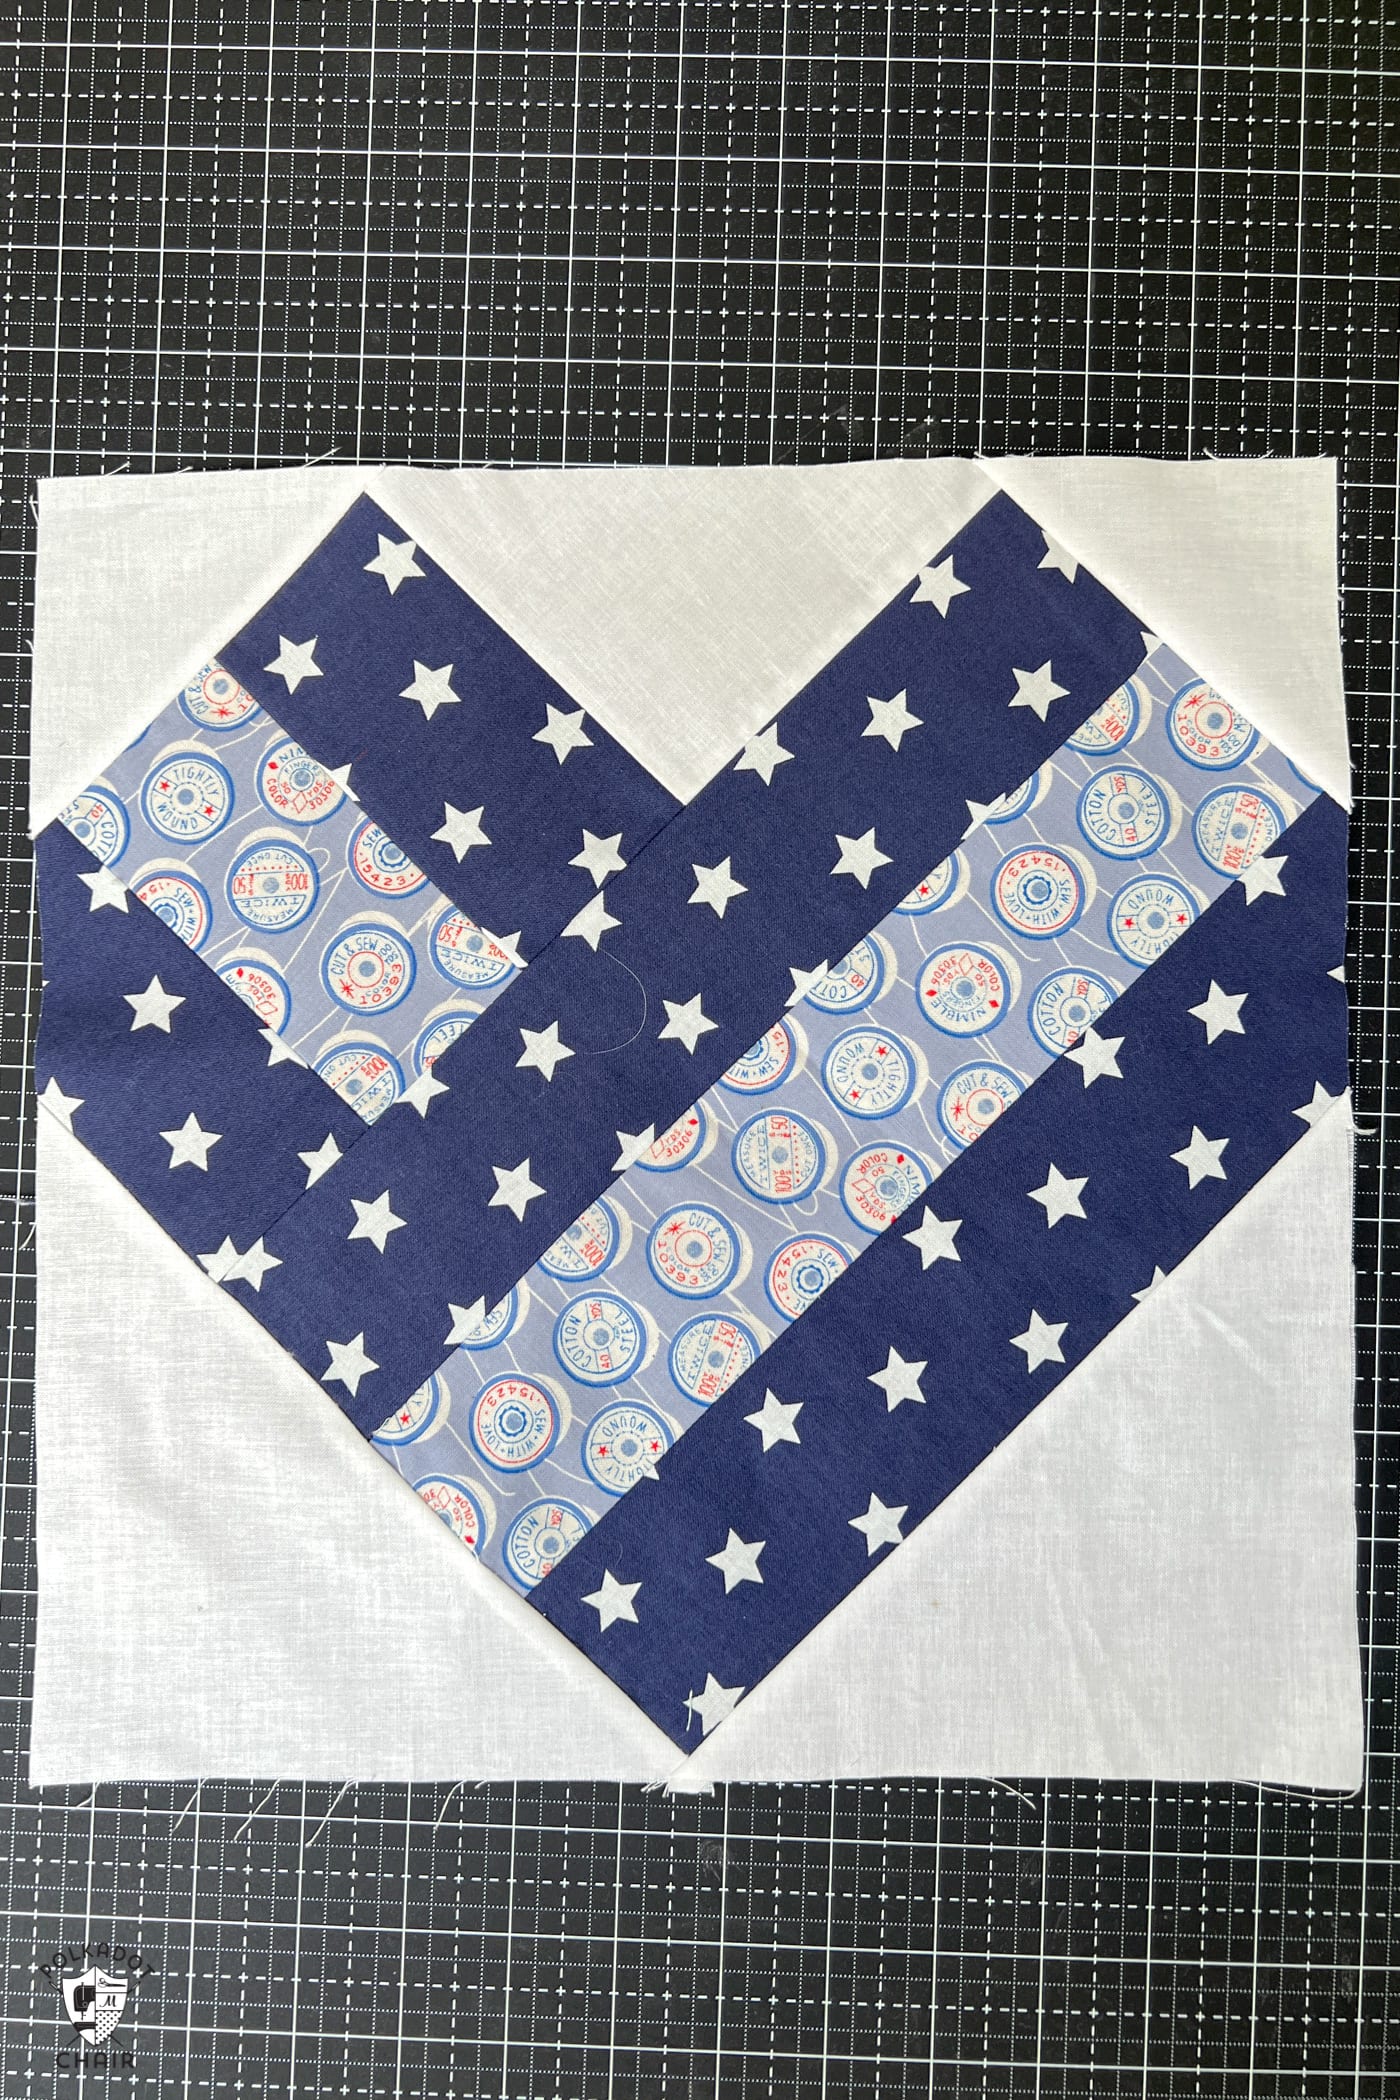
(working on a red, white, and blue version of my All the Hearts Quilt)
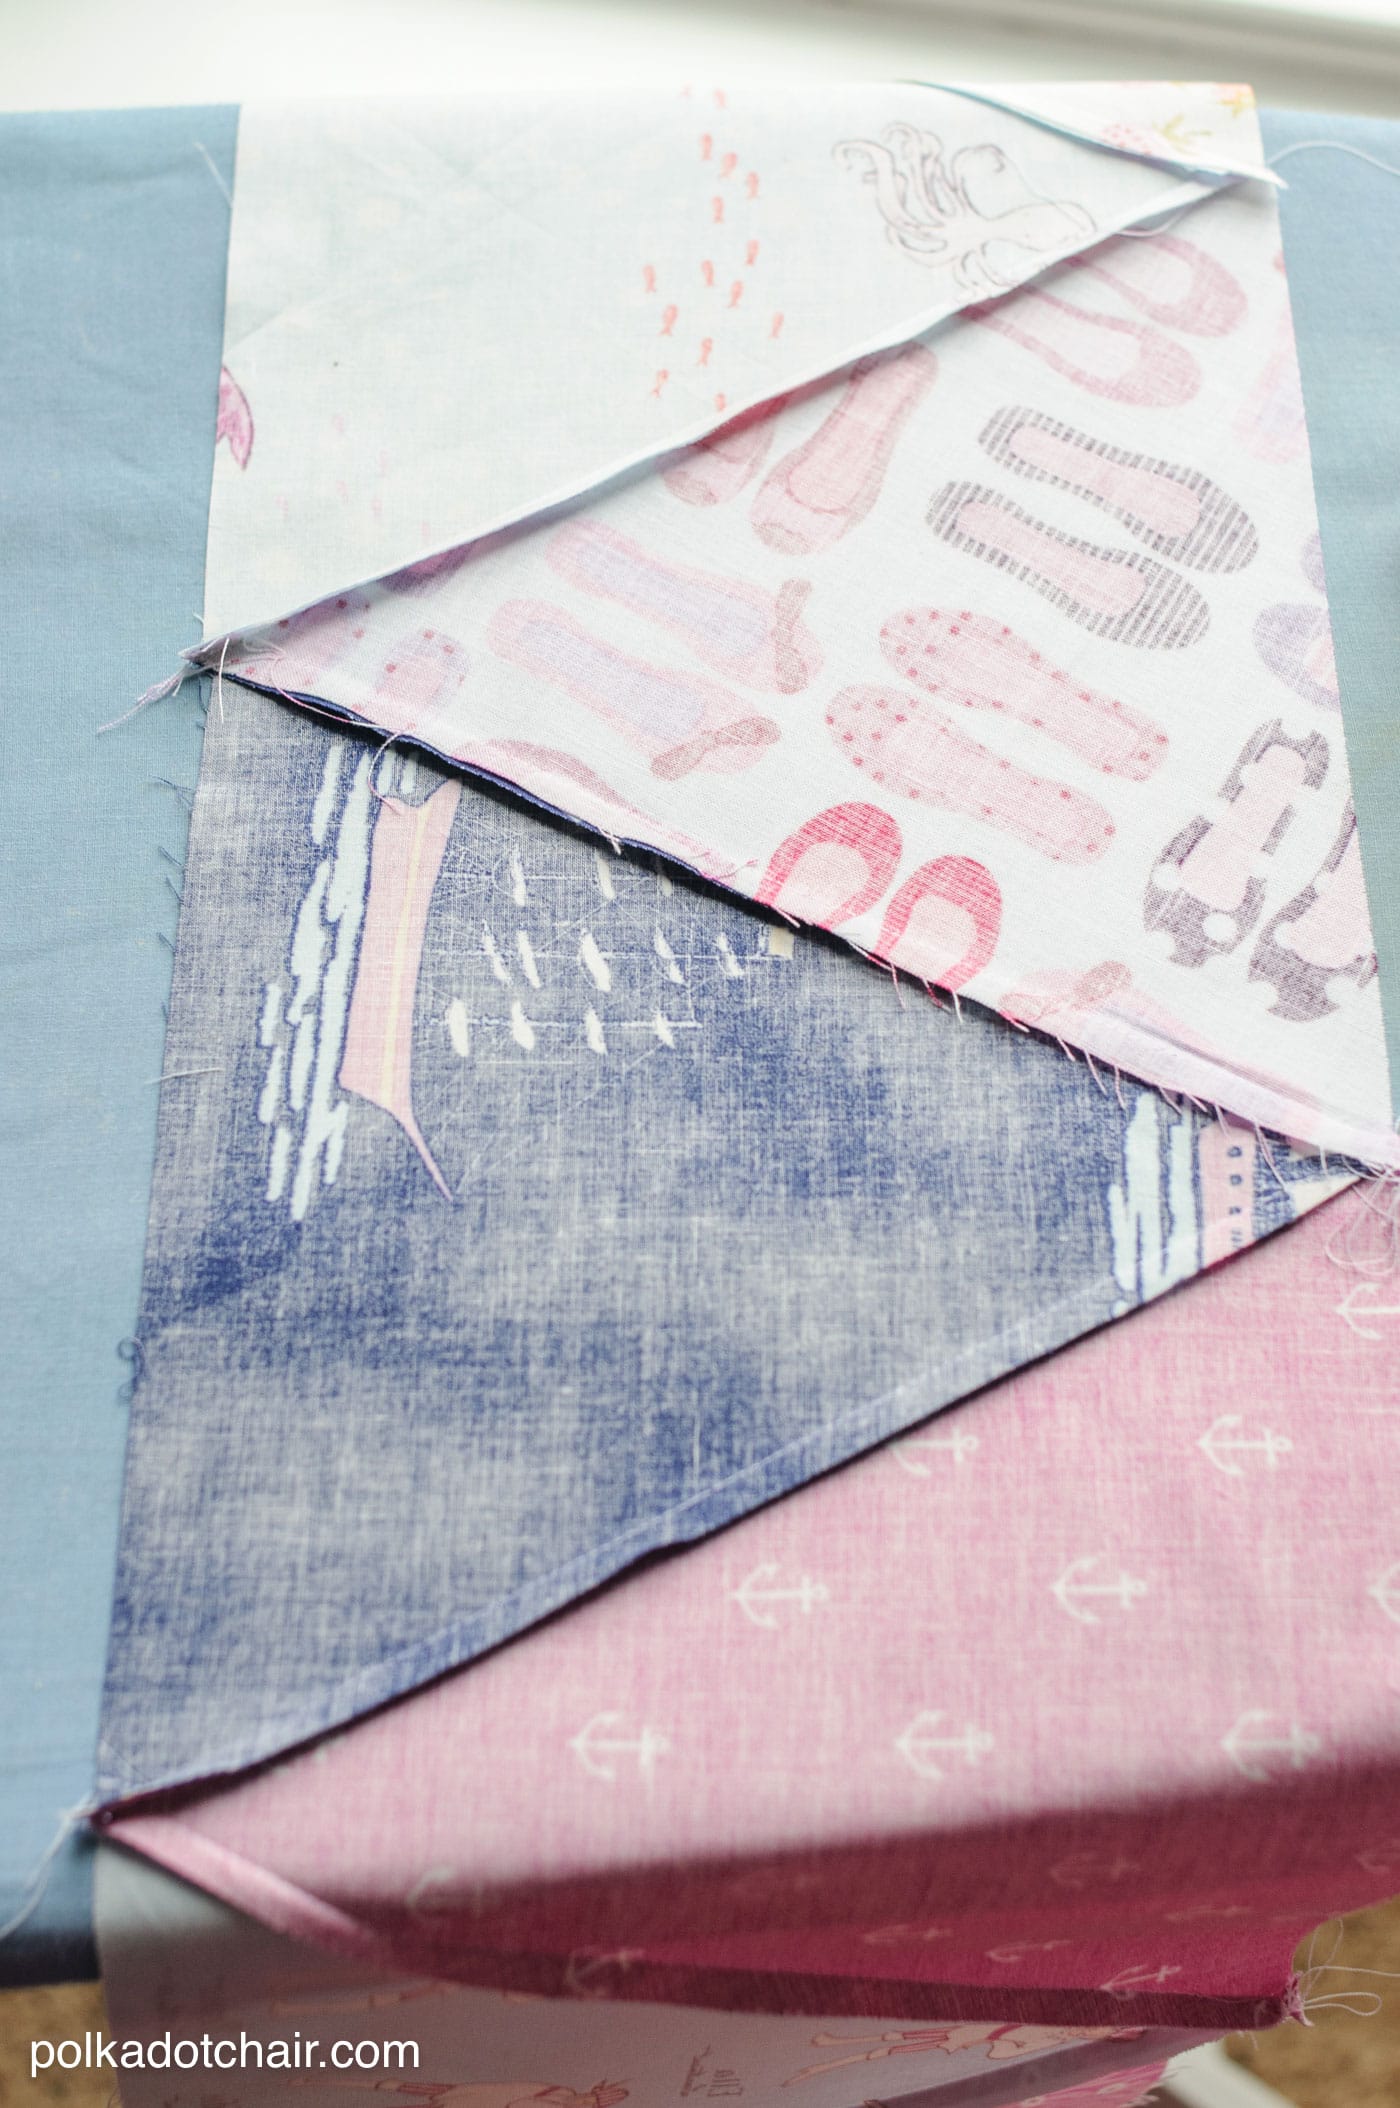
Example Two: Pressing Seams to One Side
When I made the heart blocks for my All the Hearts Quilt, I wanted the center point of the heart block to be sharp. Pressing the seams to one side allowed me to nest the seams to get a precise point.
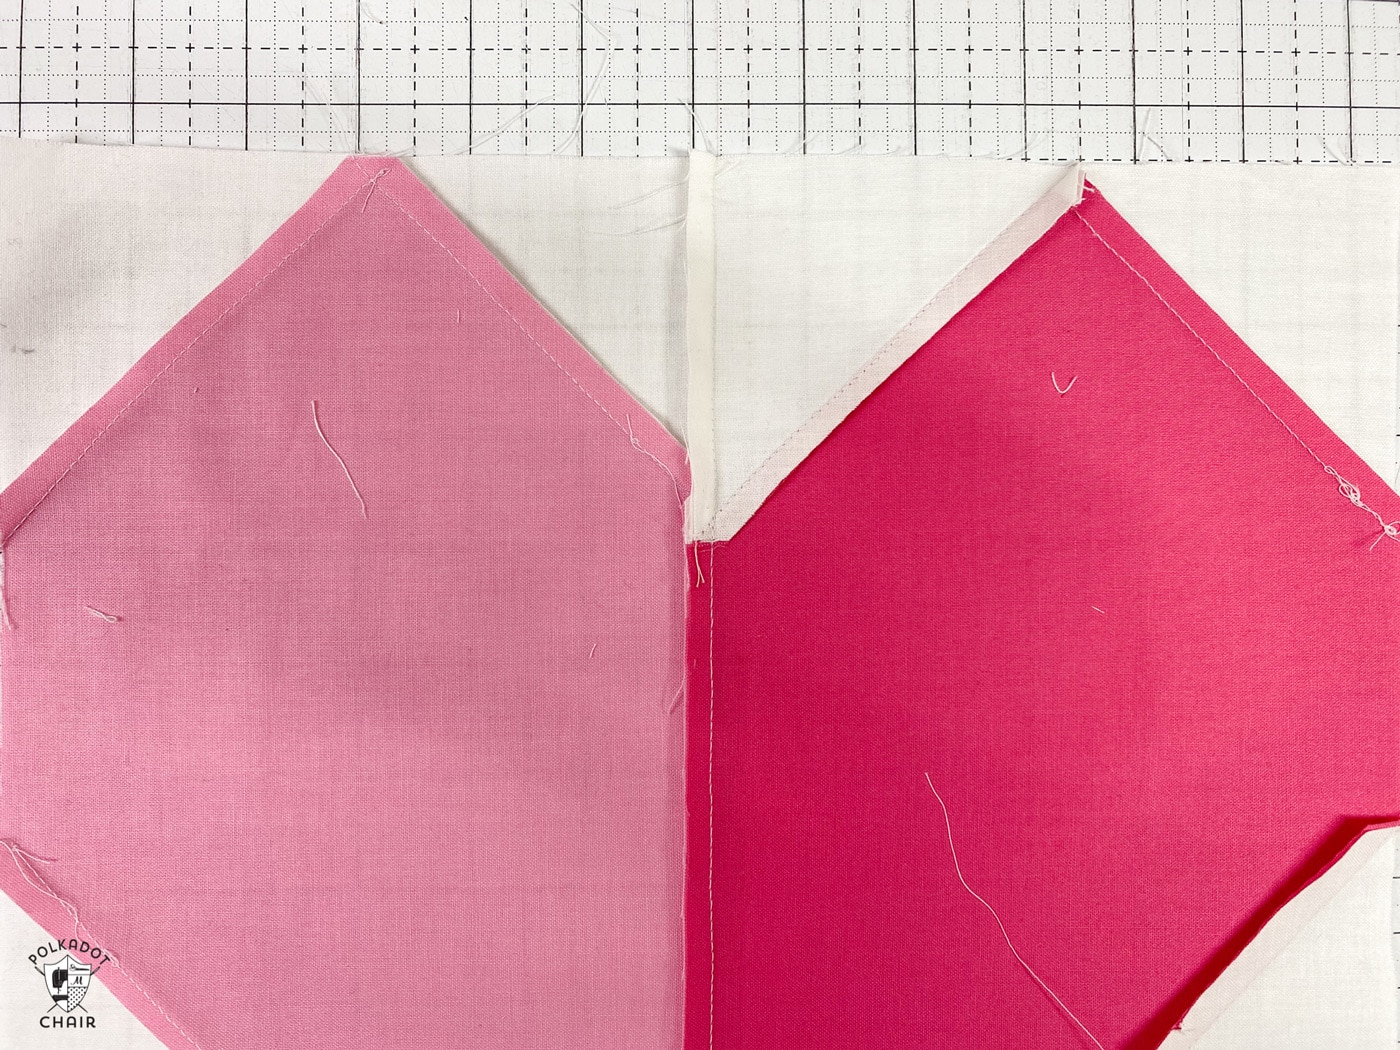
To do this, I pressed the seams of the left side of the block to the print fabric and the seams of the right side of the block to the background fabric.
When the left and right portions were placed on top of each other, the seams nested into each other. This allowed me to create a precise point on my seam.
Example 3: Pressing Both Open & To the Side
Back of Garden Charm Quilt Block
When our blog contributor Amy Ball made the block below, she recommended using a mixture of pressing seams open and to the side to help avoid bulk.
But even if you are making a different block design, you can use these hints! They are helpful when you are using a mixture of units like half-square triangles and different-sized squares.
I asked Amy to elaborate on the pressing of this block. This is what she said.
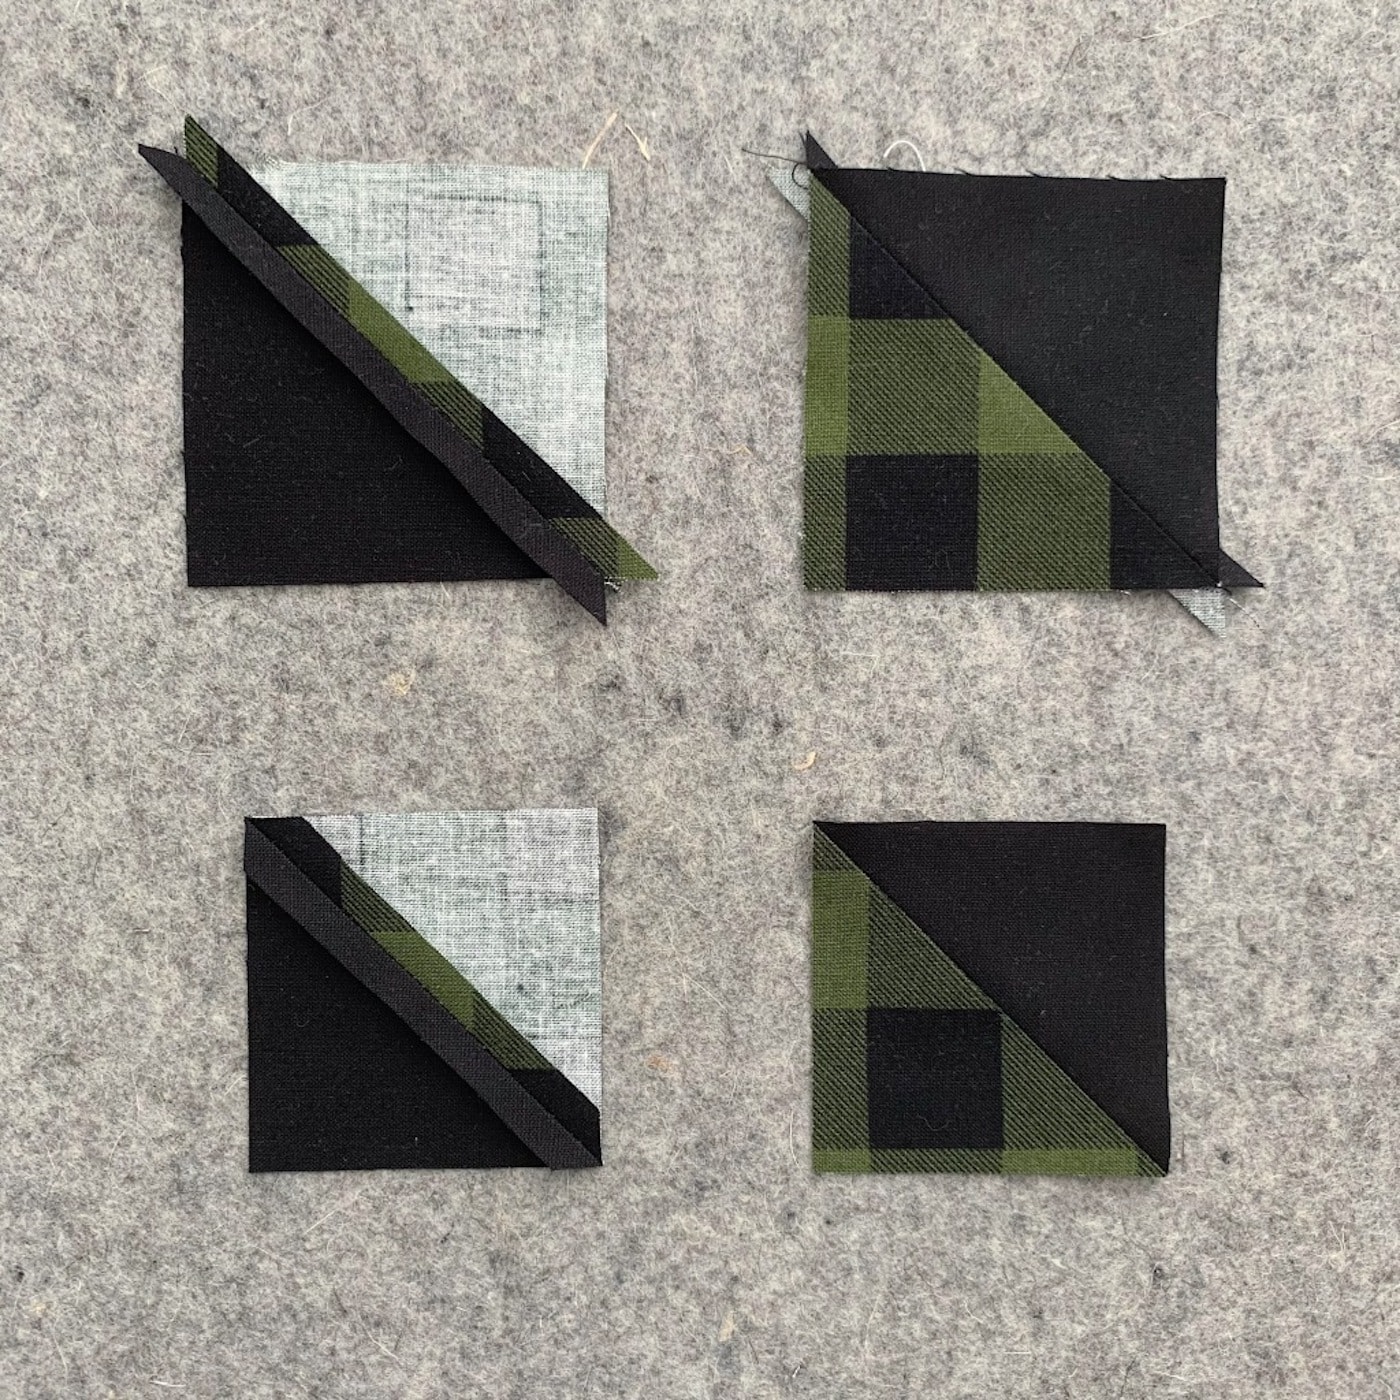
I press open the half-square triangle seams before trimming down to size. In this design, the HSTs have different style block units all around them, which is why I choose to press these open. In an all-HST project, I would probably press to the side for strength.
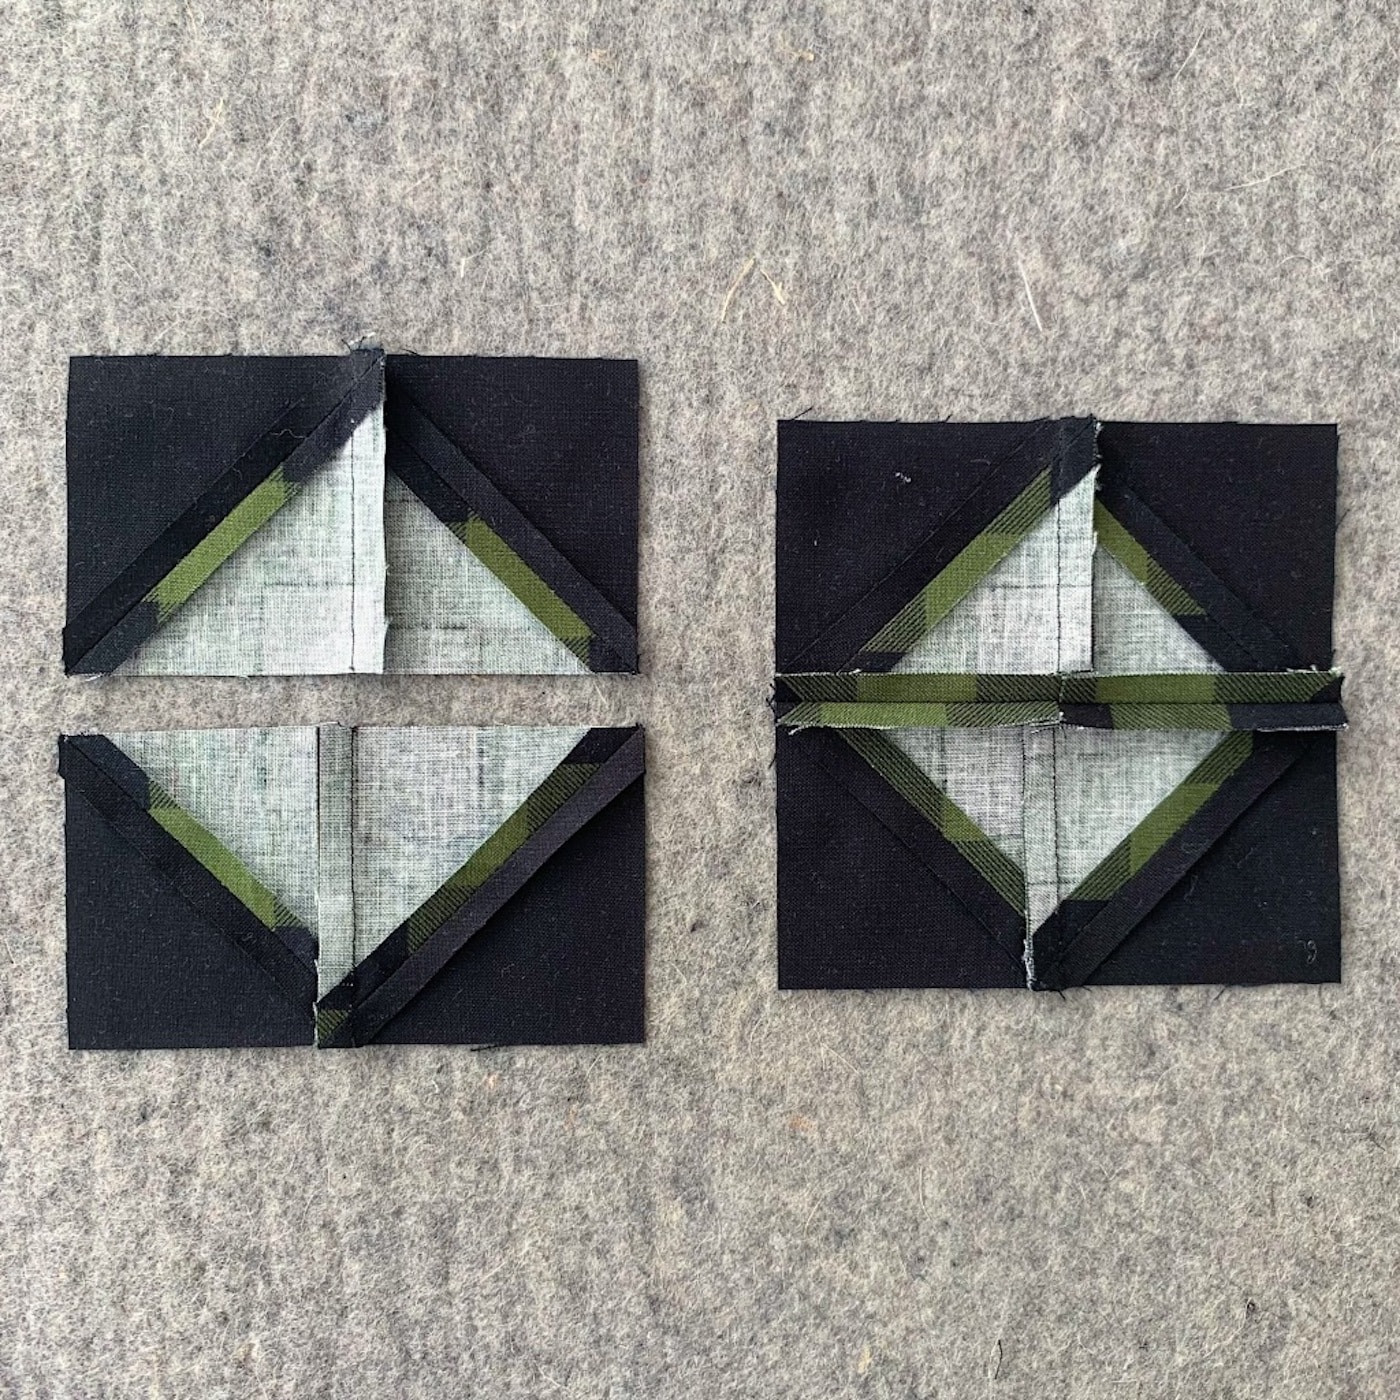
For the little diamond units, I use a mix of pressing to the side and open. The two HSTs together are pressed to the side so that when those two units come together. I can nest those seams so the diamond matches up perfectly.
When the two halves go together, I then press those seams open because of where they will be going into the block later on.
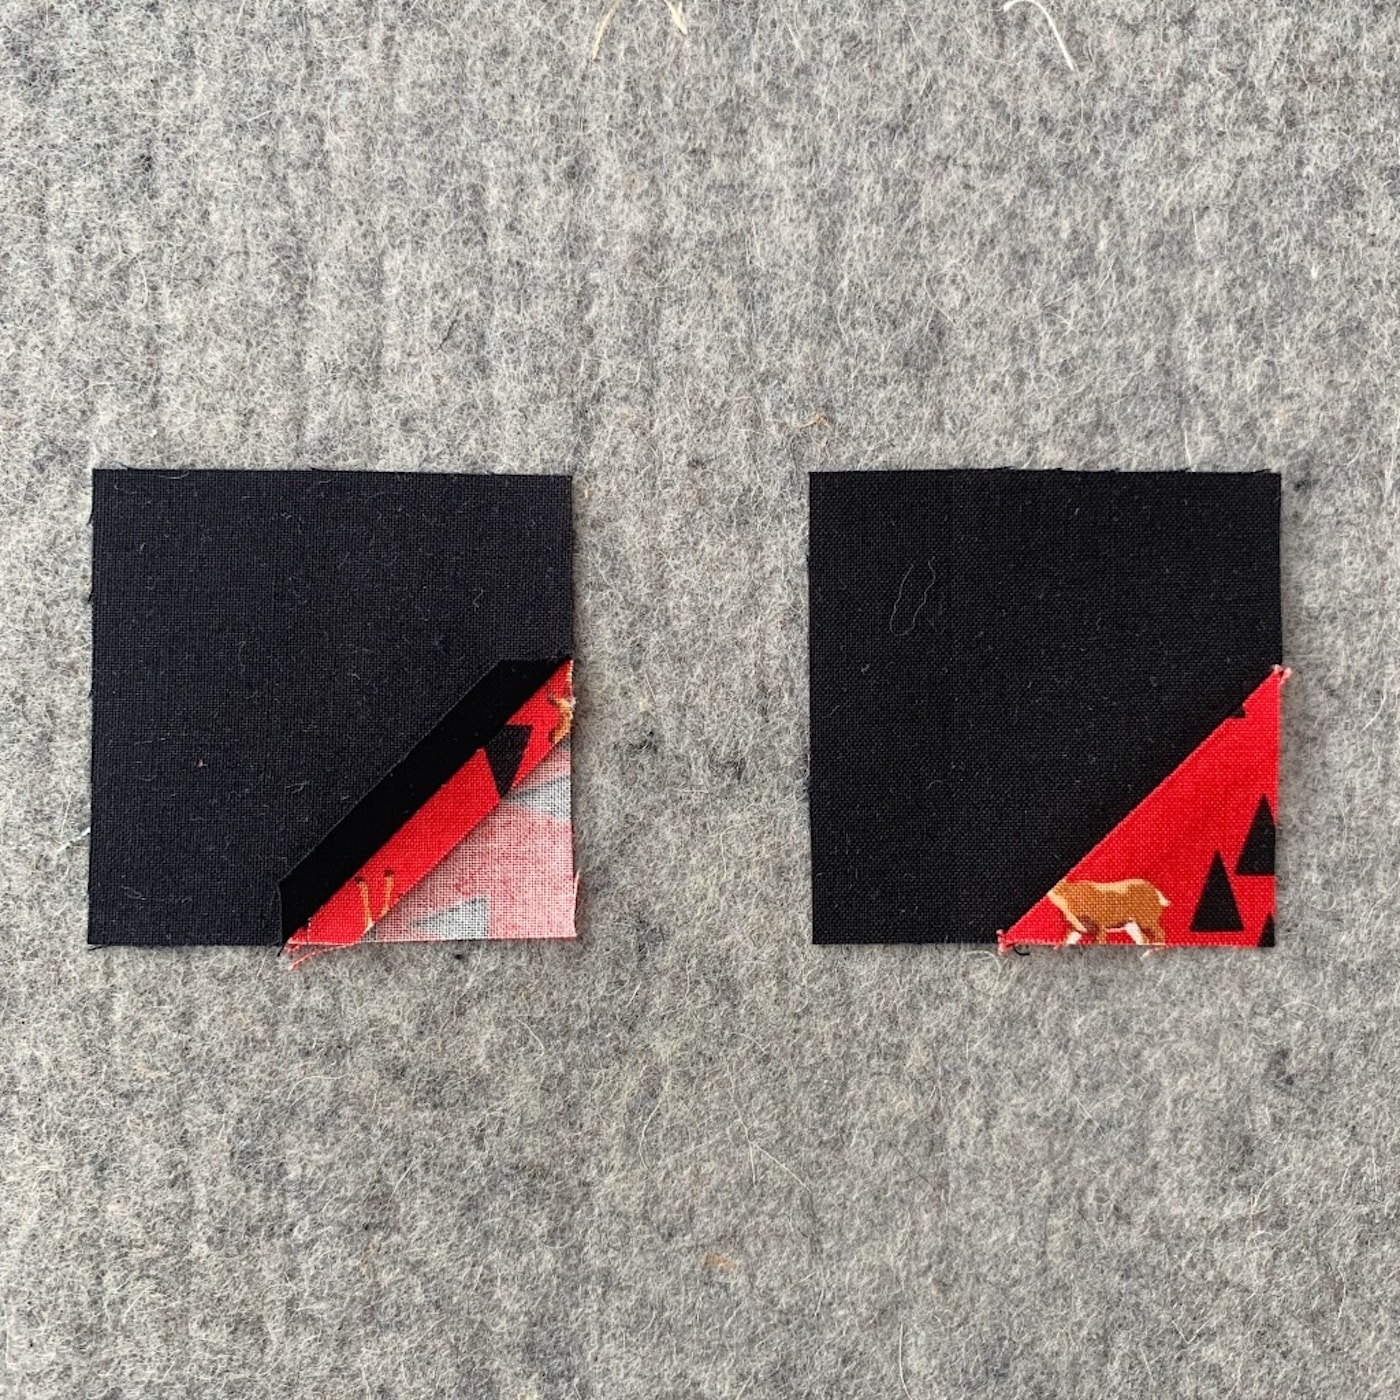
I press open the corner square triangle seams. The seams wouldn’t need to be open when looking at just one block, but once the blocks come together to make the quilt, it’s easier to match the pressed open seams.
This is because if they are pressed to the side, they might not match to the next block.

And again, for these units, I press to the side so I can nest the seams.
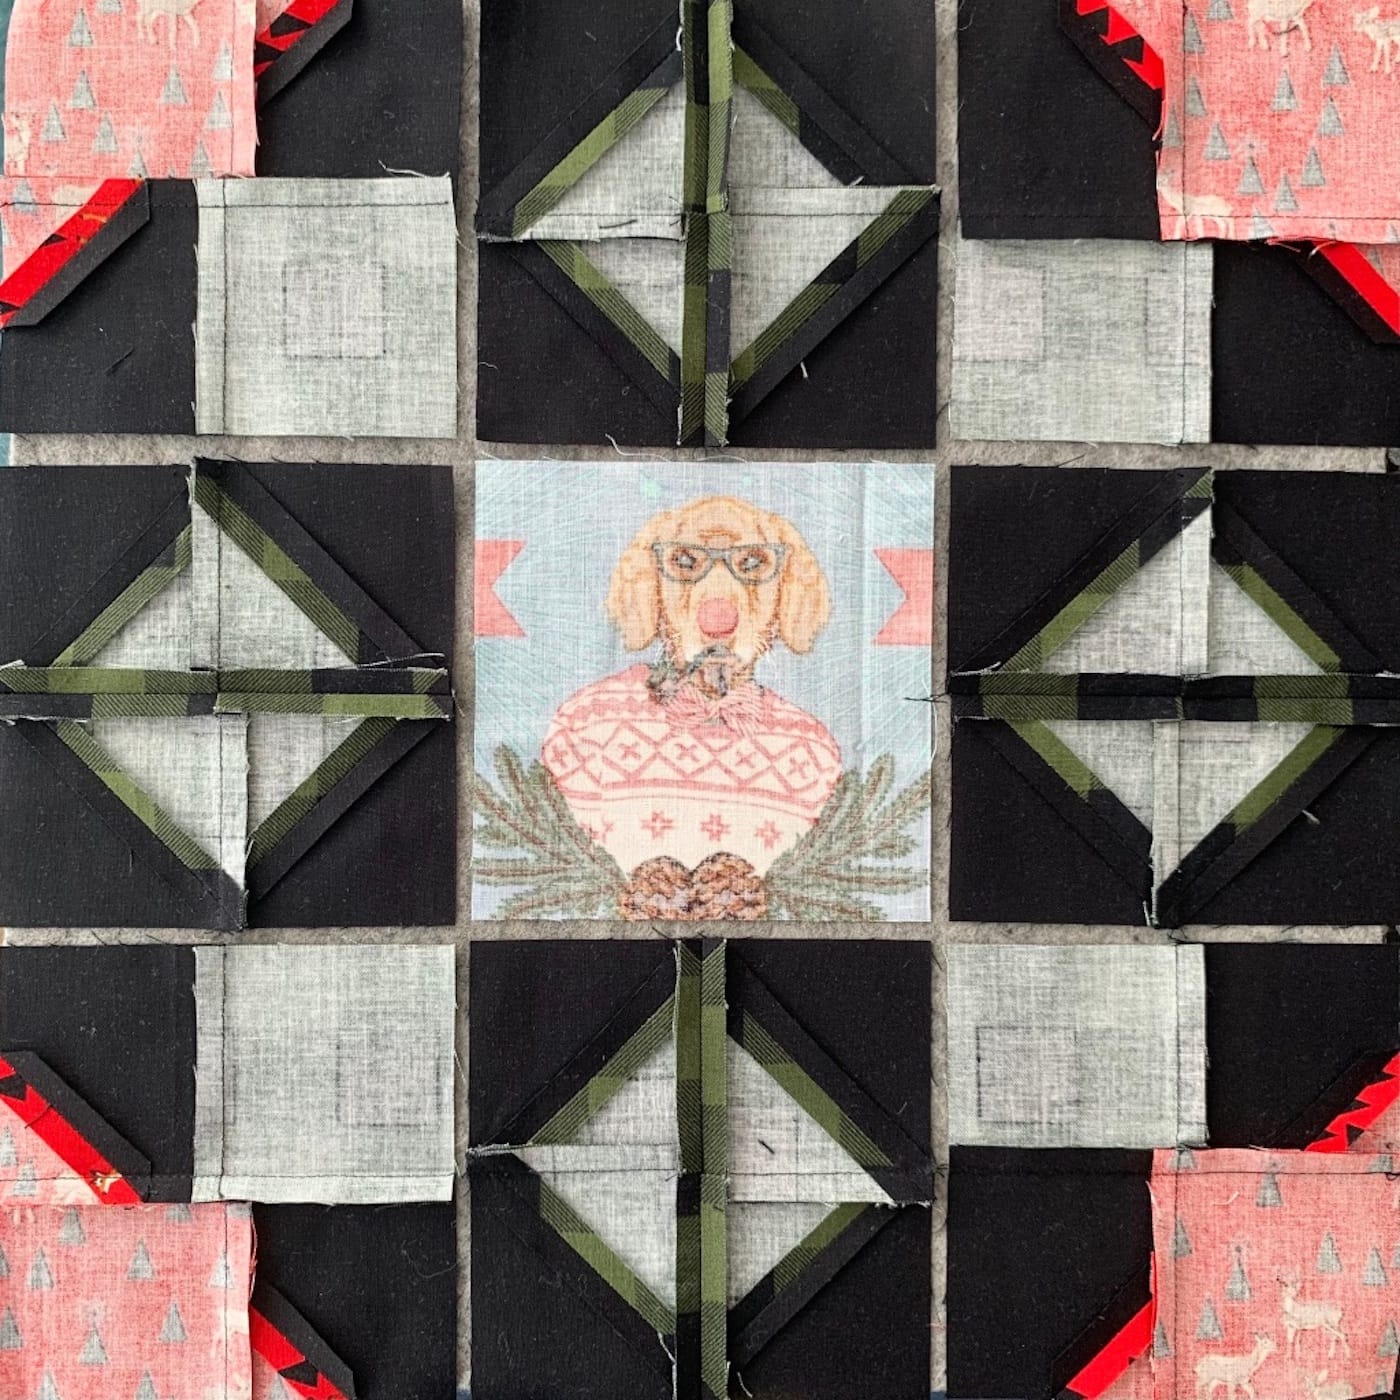
Here are all the units coming together. Most of the pressed-to-the-side seams of these units will nest together to finish the block. Not all of them…nothing is perfect in patchwork!
You can see that those pressed-open seams of the diamond units are being sewn to one square, so pressing them open will reduce the bulk and keep that central square looking more even.
So tell us, what’s your preferred way to press your seams? Any tips you’d like to share, leave them in the comments section.

This is a great article and very helpful – thank you! By chance, is a pdf available?
Great tips that I wish I had earlier in my quilting. I like to press open except for linen blend, which I press to the side to protect the seams. So far so good.
To make the seams stronger I will iron to the side on any quilt that will be washed a lot, like a baby quilt, even if it means more bulk in the piecing. On those quilts I even backstitch to make stronger seams. Same for any huge quilt, like a queen or king size, because the weight of the quilt can eventually snap the thread, especially when wet after washing.
On smaller quilts I will either press to the side or press open for the reasons already discussed in this article. I kind of dislike open seams though because stitch in the ditch means you’re only sewing on the thread holding the pieces together which makes it less secure.
Thank you for this info!
I have been wondering about this for years and have never seen it addressed on any of the quilting shows that I watch.
I am a begining quilter and have acquired stacks of fabric, tools and tips and now that this question has been answered, I feel very comfortable finally starting a new project!
The part on pressing seams to the side have worked fine for me. I loved the idea of using Panels. Want to combine panels & smaller square strips as the border. This is for my granddaughter in college. A throw to just cover her studying. Not to complicated. What you showed are not her colors. She wants purple, sapphire & a pastel green. I don’t know if you can read this or refer me to a Panel company? If you do or can Thank you. I was getting your e-mails, but they stopped.
Very informative, and I like your pro’s & con’s designations. I started out sewing clothing back in the 1960’s, so open seams. In the early 2000’s, I got a serger, so seams to the side. When I decided to learn quilting, I used to the side seams as I mainly learned from Jenny Doan, I that’s how she does it. I found many other YouTube quilters do it that way, also. Not too long ago I found Fat Quarter Shop on YouTube, and she does the seams open, and always stresses how open seams makes quilting easier.
I recently bought the Cutie Quilt Frame, and am considering open seams on a quilt to see if I find it easier to quilt on the frame, My only quilting until now has been stitch in the ditch on my home machine.
For me, this article is both timely and informative, besides being well written with great photos. Thank you, Melissa, for the great information.
I started in clothing too! It took me a while to adjust to both pressing seams to the side and a 1/4″ seam allowance. It feels so small compared to the 5/8ths for apparel.
I prefer to press seams to the side, probably because that’s what I learned 25 years ago. I should add that I hand quilt and it is easier to hand quilt at the edge of a seam if the seams are pressed to the side, because you will choose to quilt on the side with 2 layers of fabric plus batting. If the seams are pressed open, there are 3 layers of fabric plus batting.
Thanks for the info about hand quilting!
Thank you for this information. I have experienced some of the same issues, pro and con, to each method. Usually, a mixture of seams open and seams to the side works well for me.