Create a Fat Quarter Nine-Patch Quilt with our Free Pattern; Beginner Friendly!
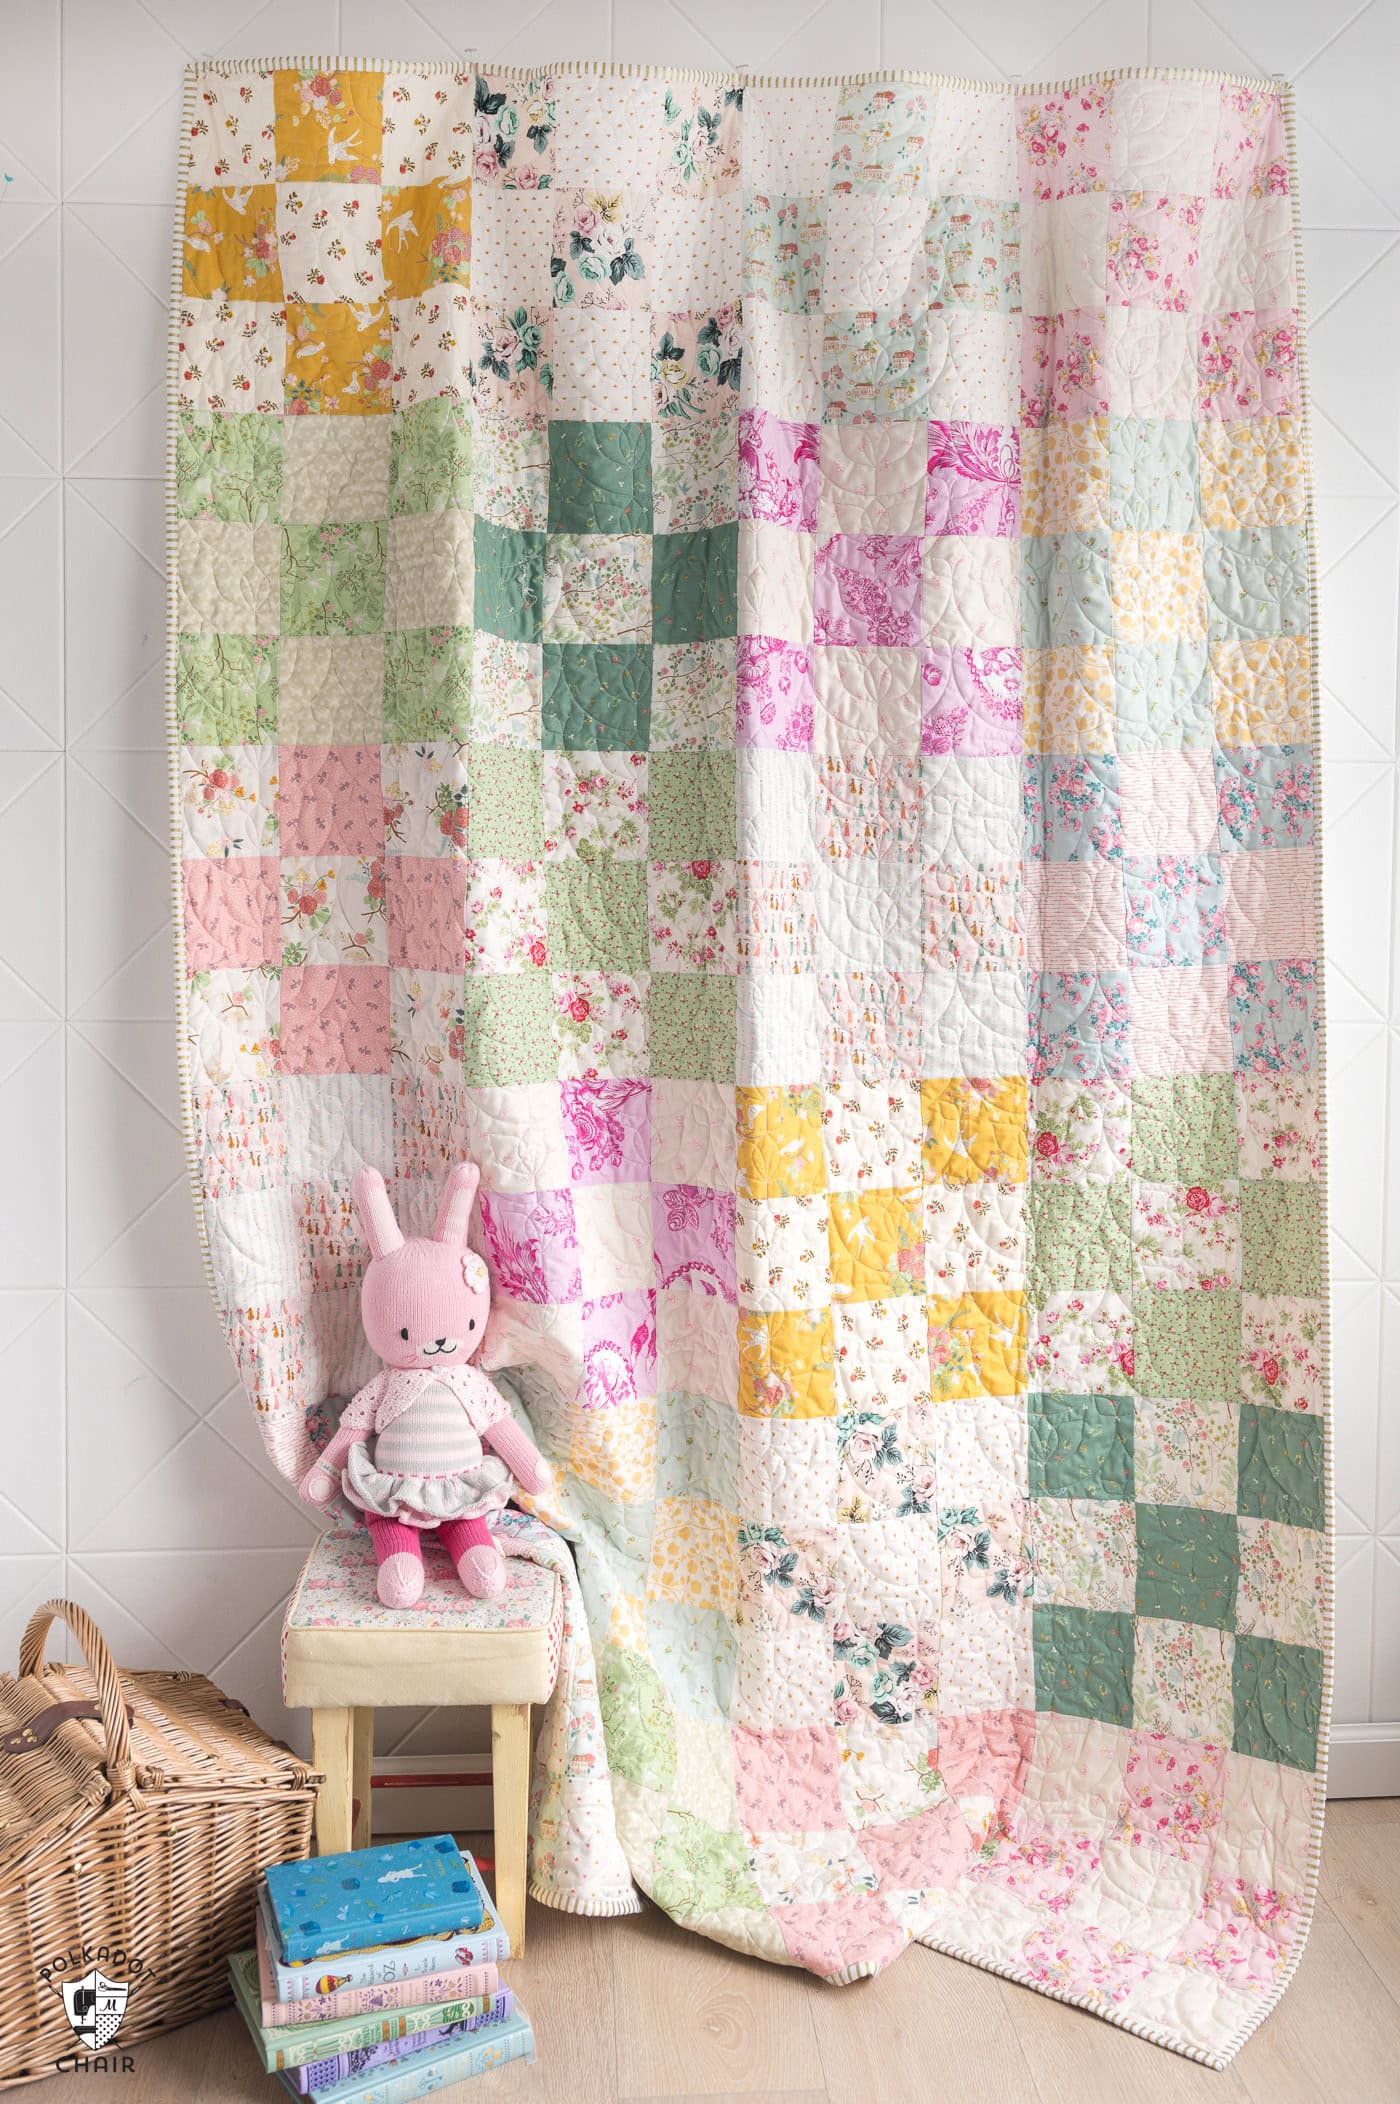
Our Gathered Quarters Nine Patch quilt pattern will allow you to create a stunning, beginner-friendly quilt using a selection of your favorite Fat Quarters.
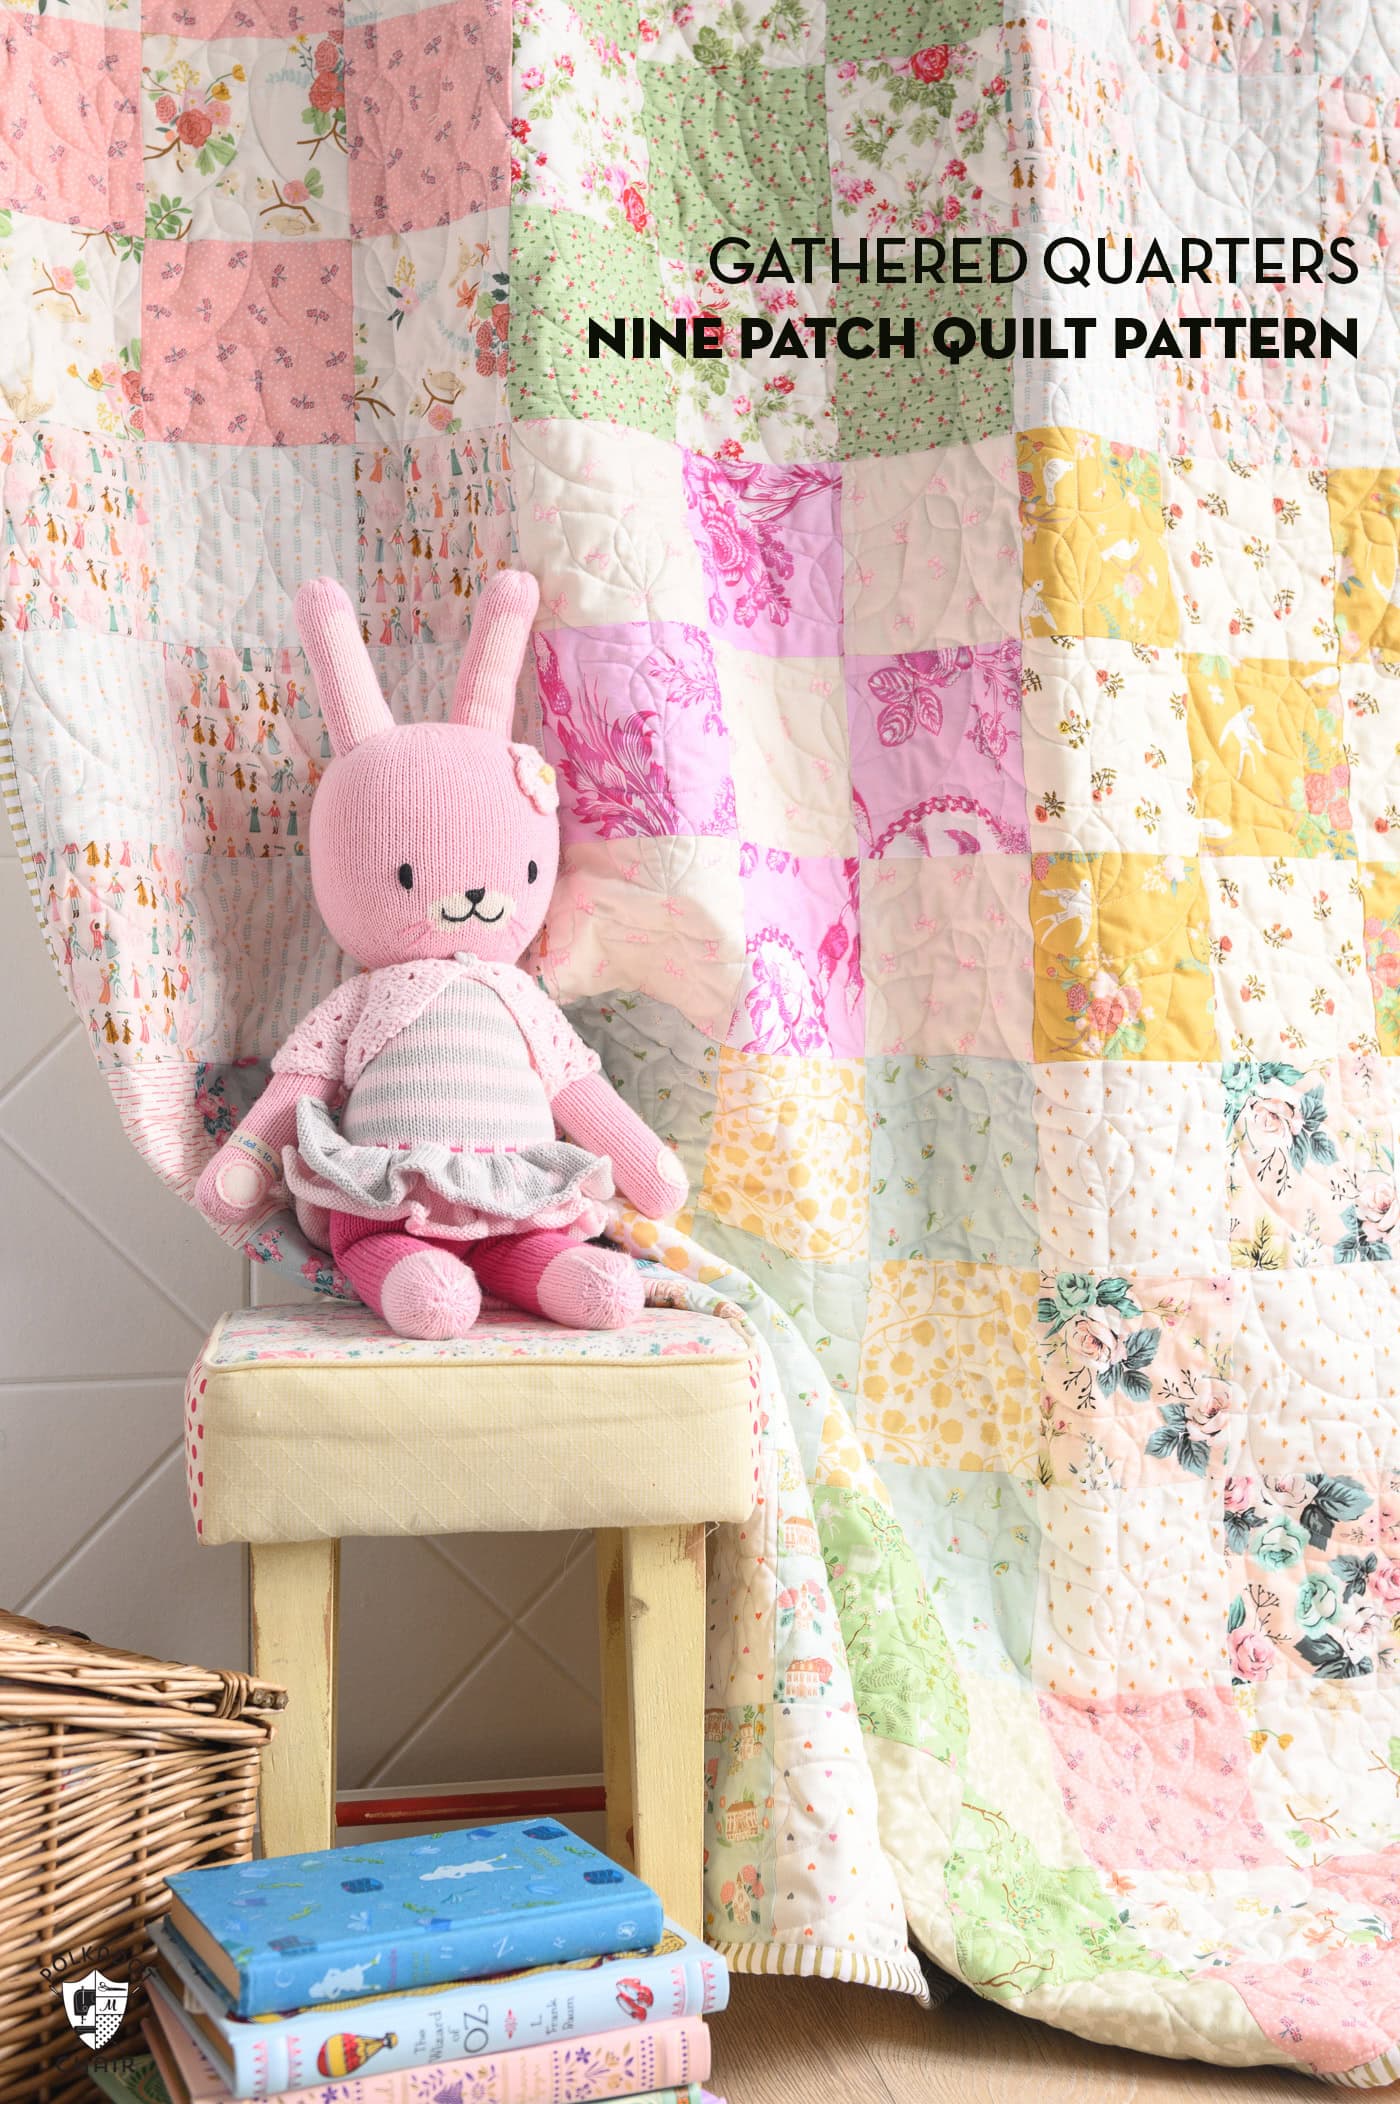
The Nine Patch quilt block is a timeless and versatile pattern that quilters of all skill levels love. This quilt is very quick to piece because it uses a shortcut called strip piecing. This method speeds up the quilting process and ensures accurate and consistent blocks. This pattern is created from Fat Quarters (a specific type of precut fabric), making it quick to cut and quick to piece!
Here’s a step-by-step guide on how to make a quilt using strip pieced Nine Patch quilt block.
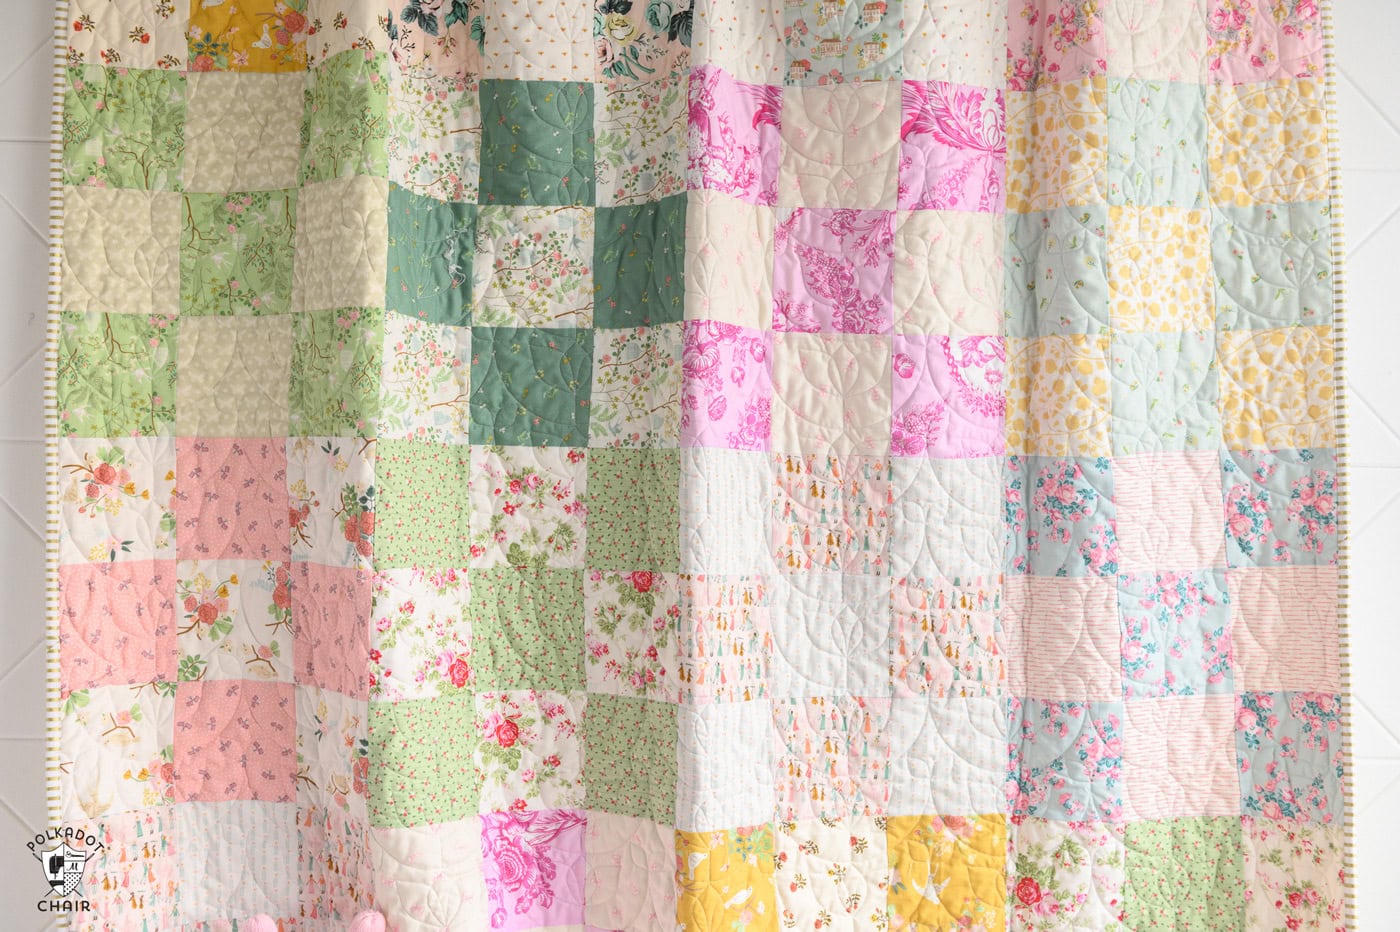
TIP! Select at least two contrasting fabrics. For a traditional look, one light and one dark fabric work well. I wanted to create an intentionally scrappy quilt, so I used a variety of prints and only a few of them were repeats.
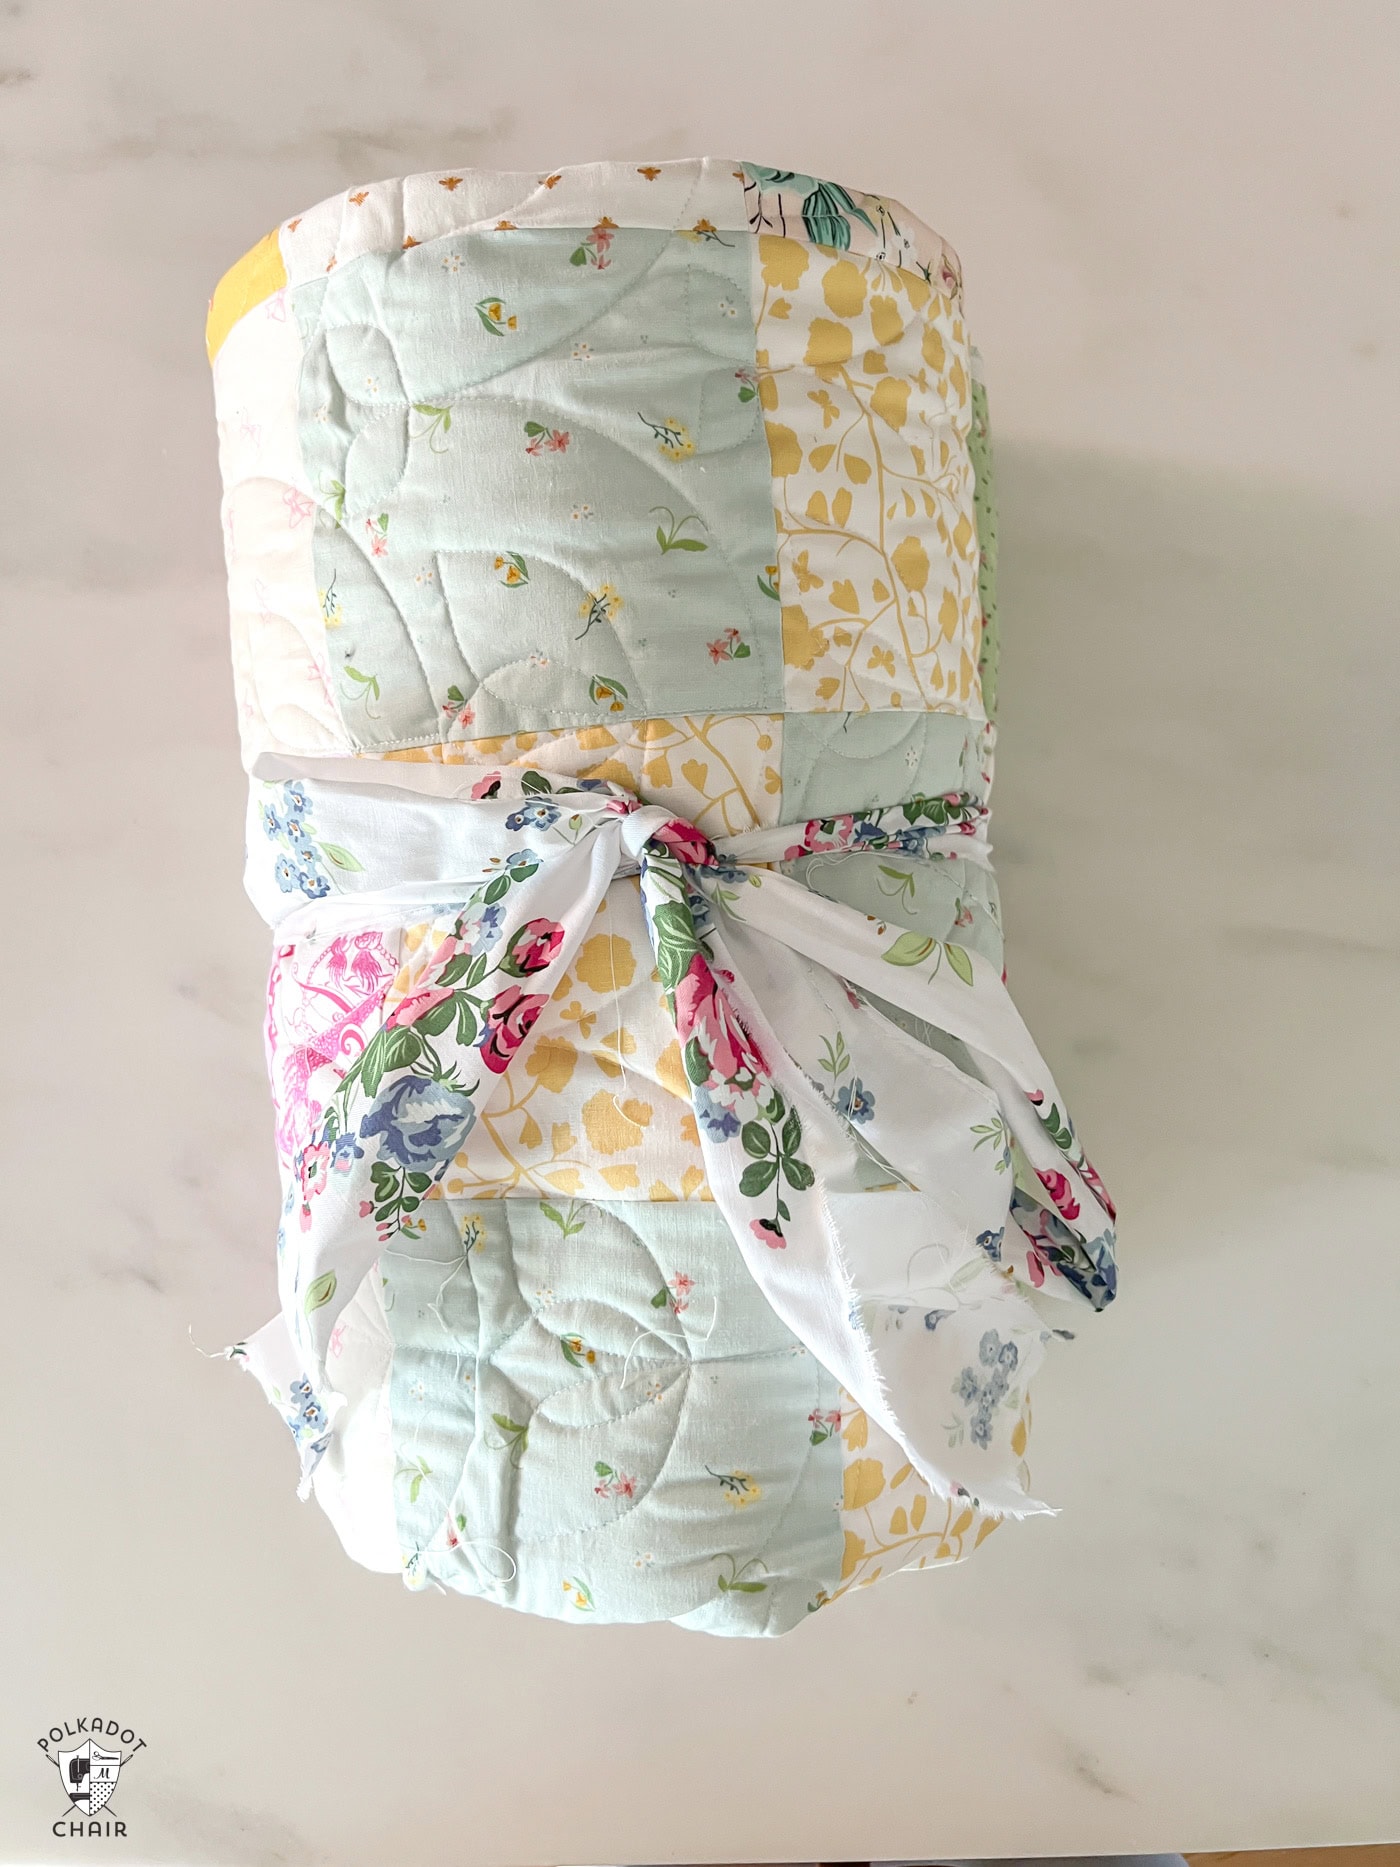
This quilt was created as a gift and was a great opportunity to shop my fabric stash. I didn’t need to buy anything for this quilt! I chose a variety of fat quarters in prints and colors that I thought reflected the recipient’s style.
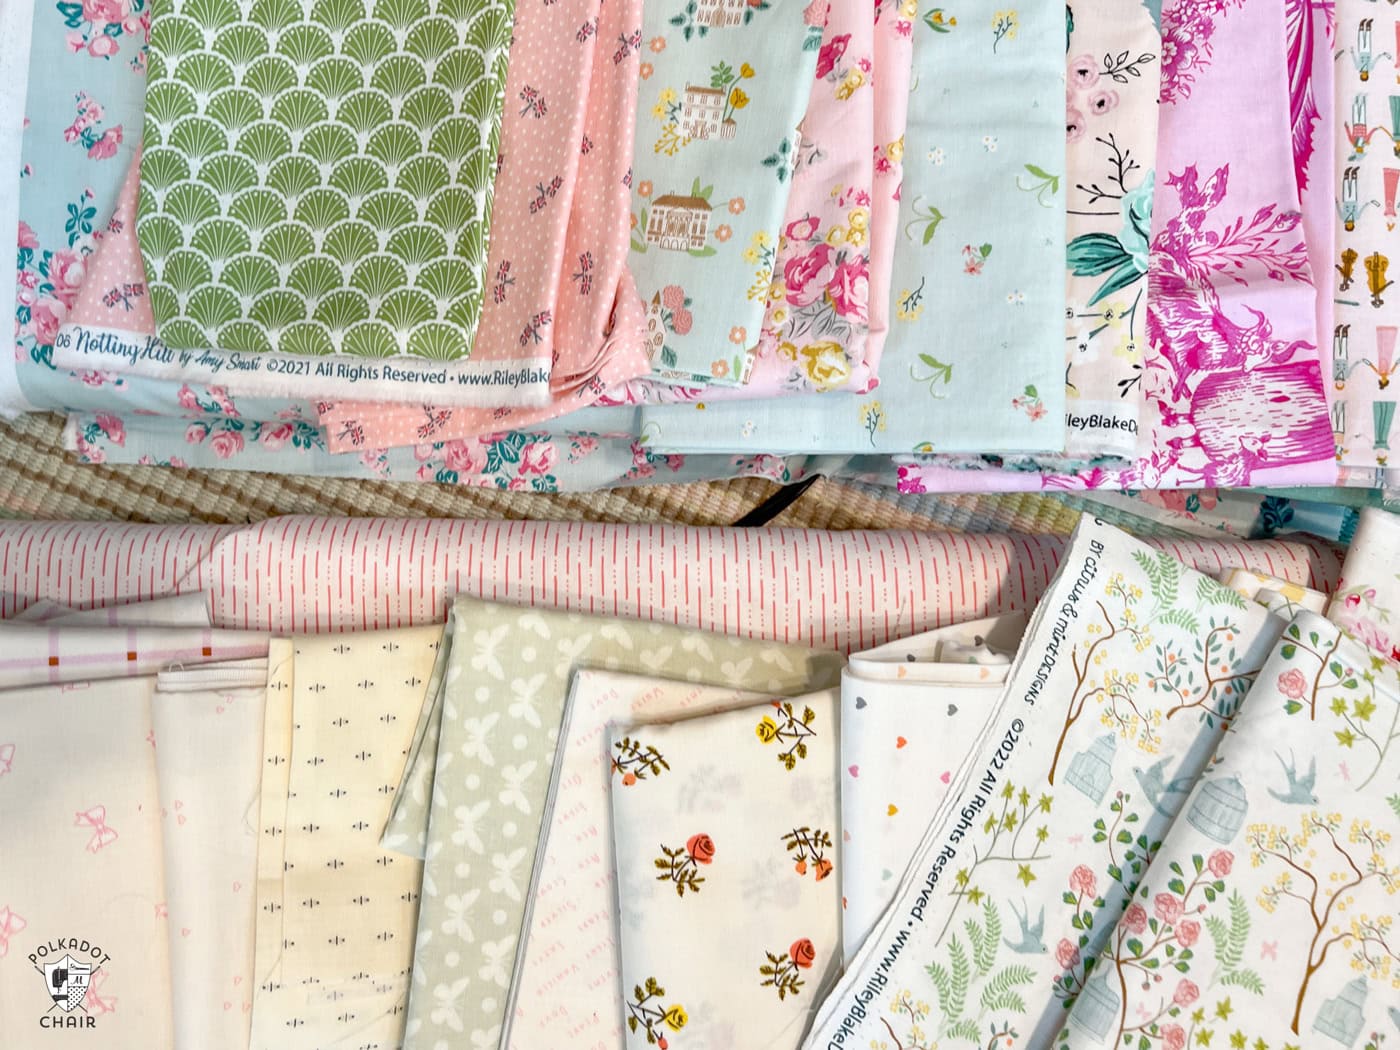
Supplies
- 12 Fat Quarters Light color fabric
- 12 Fat Quarters Darker color fabric
- 2 1/2 Yards Wide Back Fabric for Quilt Back or 5 yards 42″ wide fabric
- 5/8 yard fabric for Binding
Quilt Details
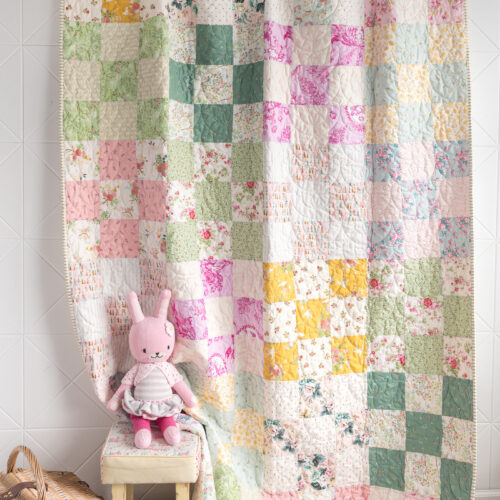
Gathered Quarters Nine Patch Quilt Pattern
Equipment
supplies
- 12 Fat Quarters Light color fabric
- 12 Fat Quarters Darker color fabric
- 5/8 yard Fabric for Binding
- 5 yards Fabric for Backing or 2 1/2 yards Wide Back Fabric
Instructions
Cutting:
- From each fat quarter, cut 3 strips, each 5 1/2” x 18”. Keep the cut strips together as you cut.
- After cutting, you should have 36 strips of light fabric, each 5 1/2” x 18”, and 36 strips of darker fabric, each 5 1/2” x 18”.
Step One: Pairing
- Pair three dark (all the same print) and three light (all the same print) strips together. Repeat with all of your sets of dark and light strips. You do not need to sew the strips at this point. I recommend using a large binding clip to clip the strip sets together. This will help you stay organized as you complete the quilt top.
- After pairing, you should have 24 strips sets, each set with 3 dark and 3 light strips.
Step Two: Create
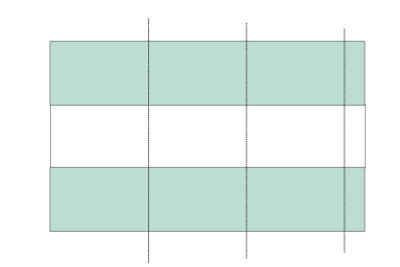
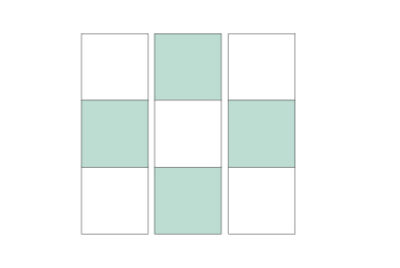
- Sew two light and one dark strip together, as shown in the diagram.
- Sew two dark and one light strip together, as shown in the diagram.
- Press the sewn units (press towards the darker fabric; this will allow you to nest your seams in the next steps).
Step Three:
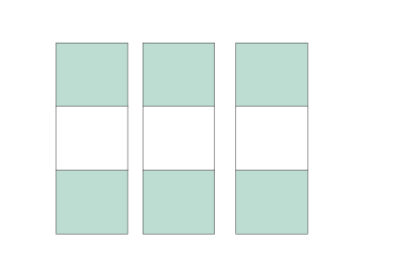
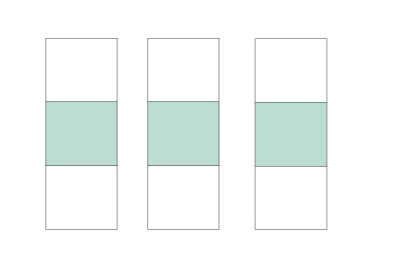
- Cut each strip set created in step two into 3 pieces, each 5 1/2” wide.
- You will end up with 6 units each, 5 1/2" x 15 1/2", 3 units with 2 dark and one light,
- and 3 units with 2 light and one dark square.
Step Four:
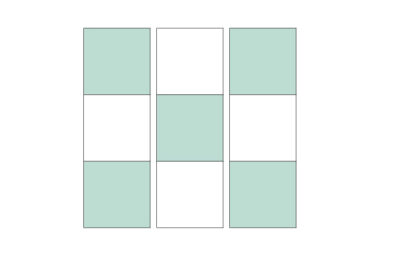
- Sew the strips cut in step three to create two quilt blocks. One block will have darker fabrics at the corners.
- The block set will have lighter fabrics at the corners.
- Repeat, until you have sewn 24 quilt blocks.
Assembly:
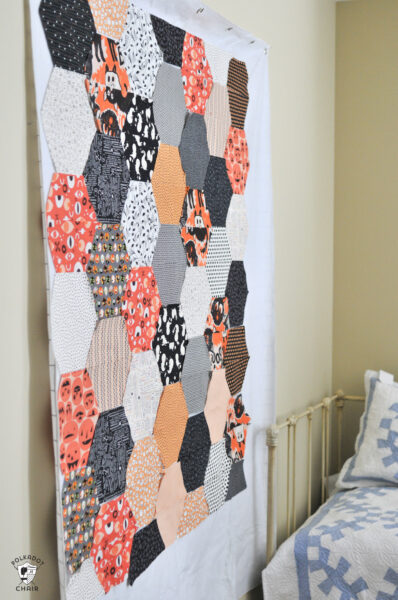
- Lay out your blocks on your floor, a bed, or a design wall. Do this so you can check the color and print balance of your quilt before you sew all of the blocks together.(design wall example from another quilt project)
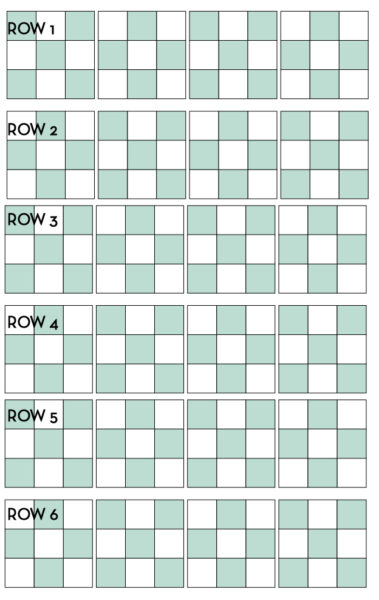
- Arrange the quilt into six rows with four blocks in each row. Alternate the blocks with light corners with the blocks with dark corners.
- Sew the blocks together by rows then sew the rows to each other.
- To create this quilt in another size, fill out the form on this page and we will send you a file with additional layout and yardage requirements.
Tips for Success:
- Consistent seam allowances are crucial for a precisely pieced block.
- Pressing seams properly will help align the rows and achieve flat blocks. I chose to nest the seams of my quilt.
- Chain piecing (sewing multiple segments in continuous lines) can save time and thread.
Using the strip piecing method for Nine Patch quilt blocks speeds up construction and enhances accuracy. Enjoy your quilting!
Additional Sizes
If you’d like to create this quilt in additional sizes, you can easily change the layout and fabric requirements.
I’ve created a very simple PDF with fabric requirements for making the quilt in baby, lap, twin, and queen sizes. To get the PDF, simply fill out the form below. You will still need the directions in this article to complete your quilt.

