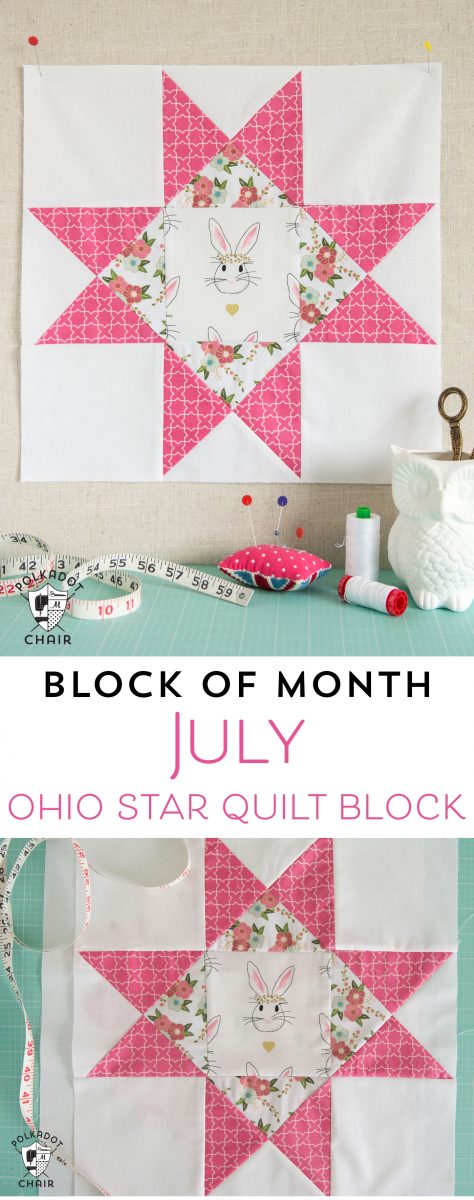
How to Make an Ohio Star Quilt Block – The July Block of the Month
Our Quilt Block of the Month series is beginning to wind down, and this Ohio Star Quilt Block is the second to last block in the series. Next month I’ll share the final block, then in September we will get to talk about stitching all the blocks together into a finished quilt!
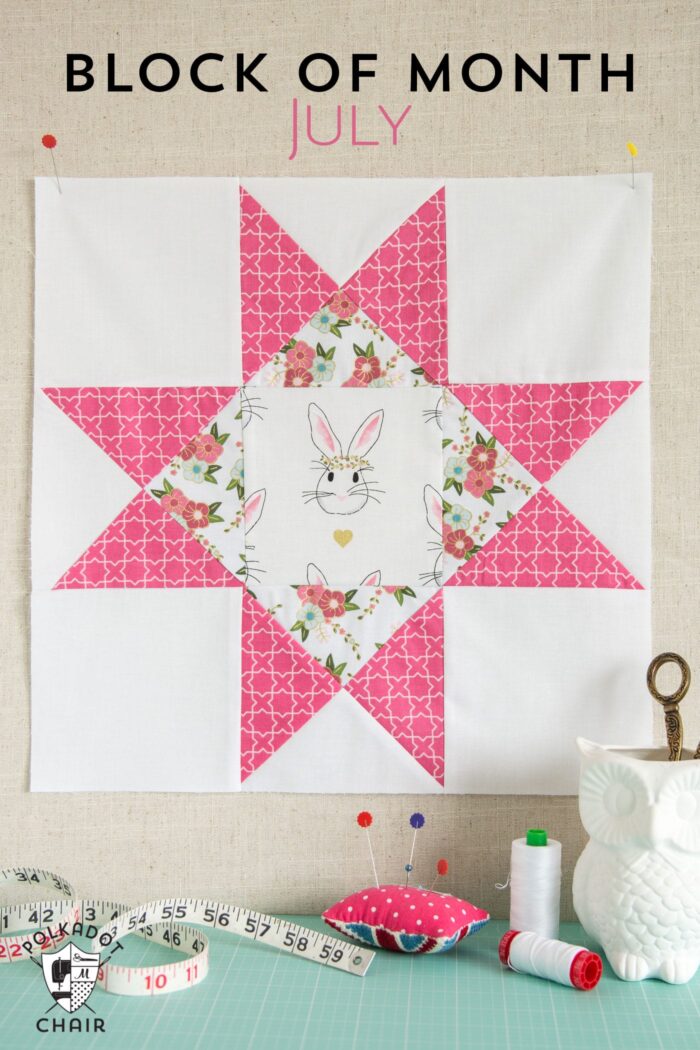
If you’re playing along be sure to share your finished blocks on social media with the hashtag #PolkaDotChairBlocks (if you have a private IG account, hashtags won’t work for you, so share it to my Facebook instead) , I’m on Instagram as @Polkadotchair or you can also share it right to my Facebook Page (you can post a photo over there)
UPDATE: You can now purchase a PDF with ALL of the block instructions for each month in one place!! Click here to PURCHASE
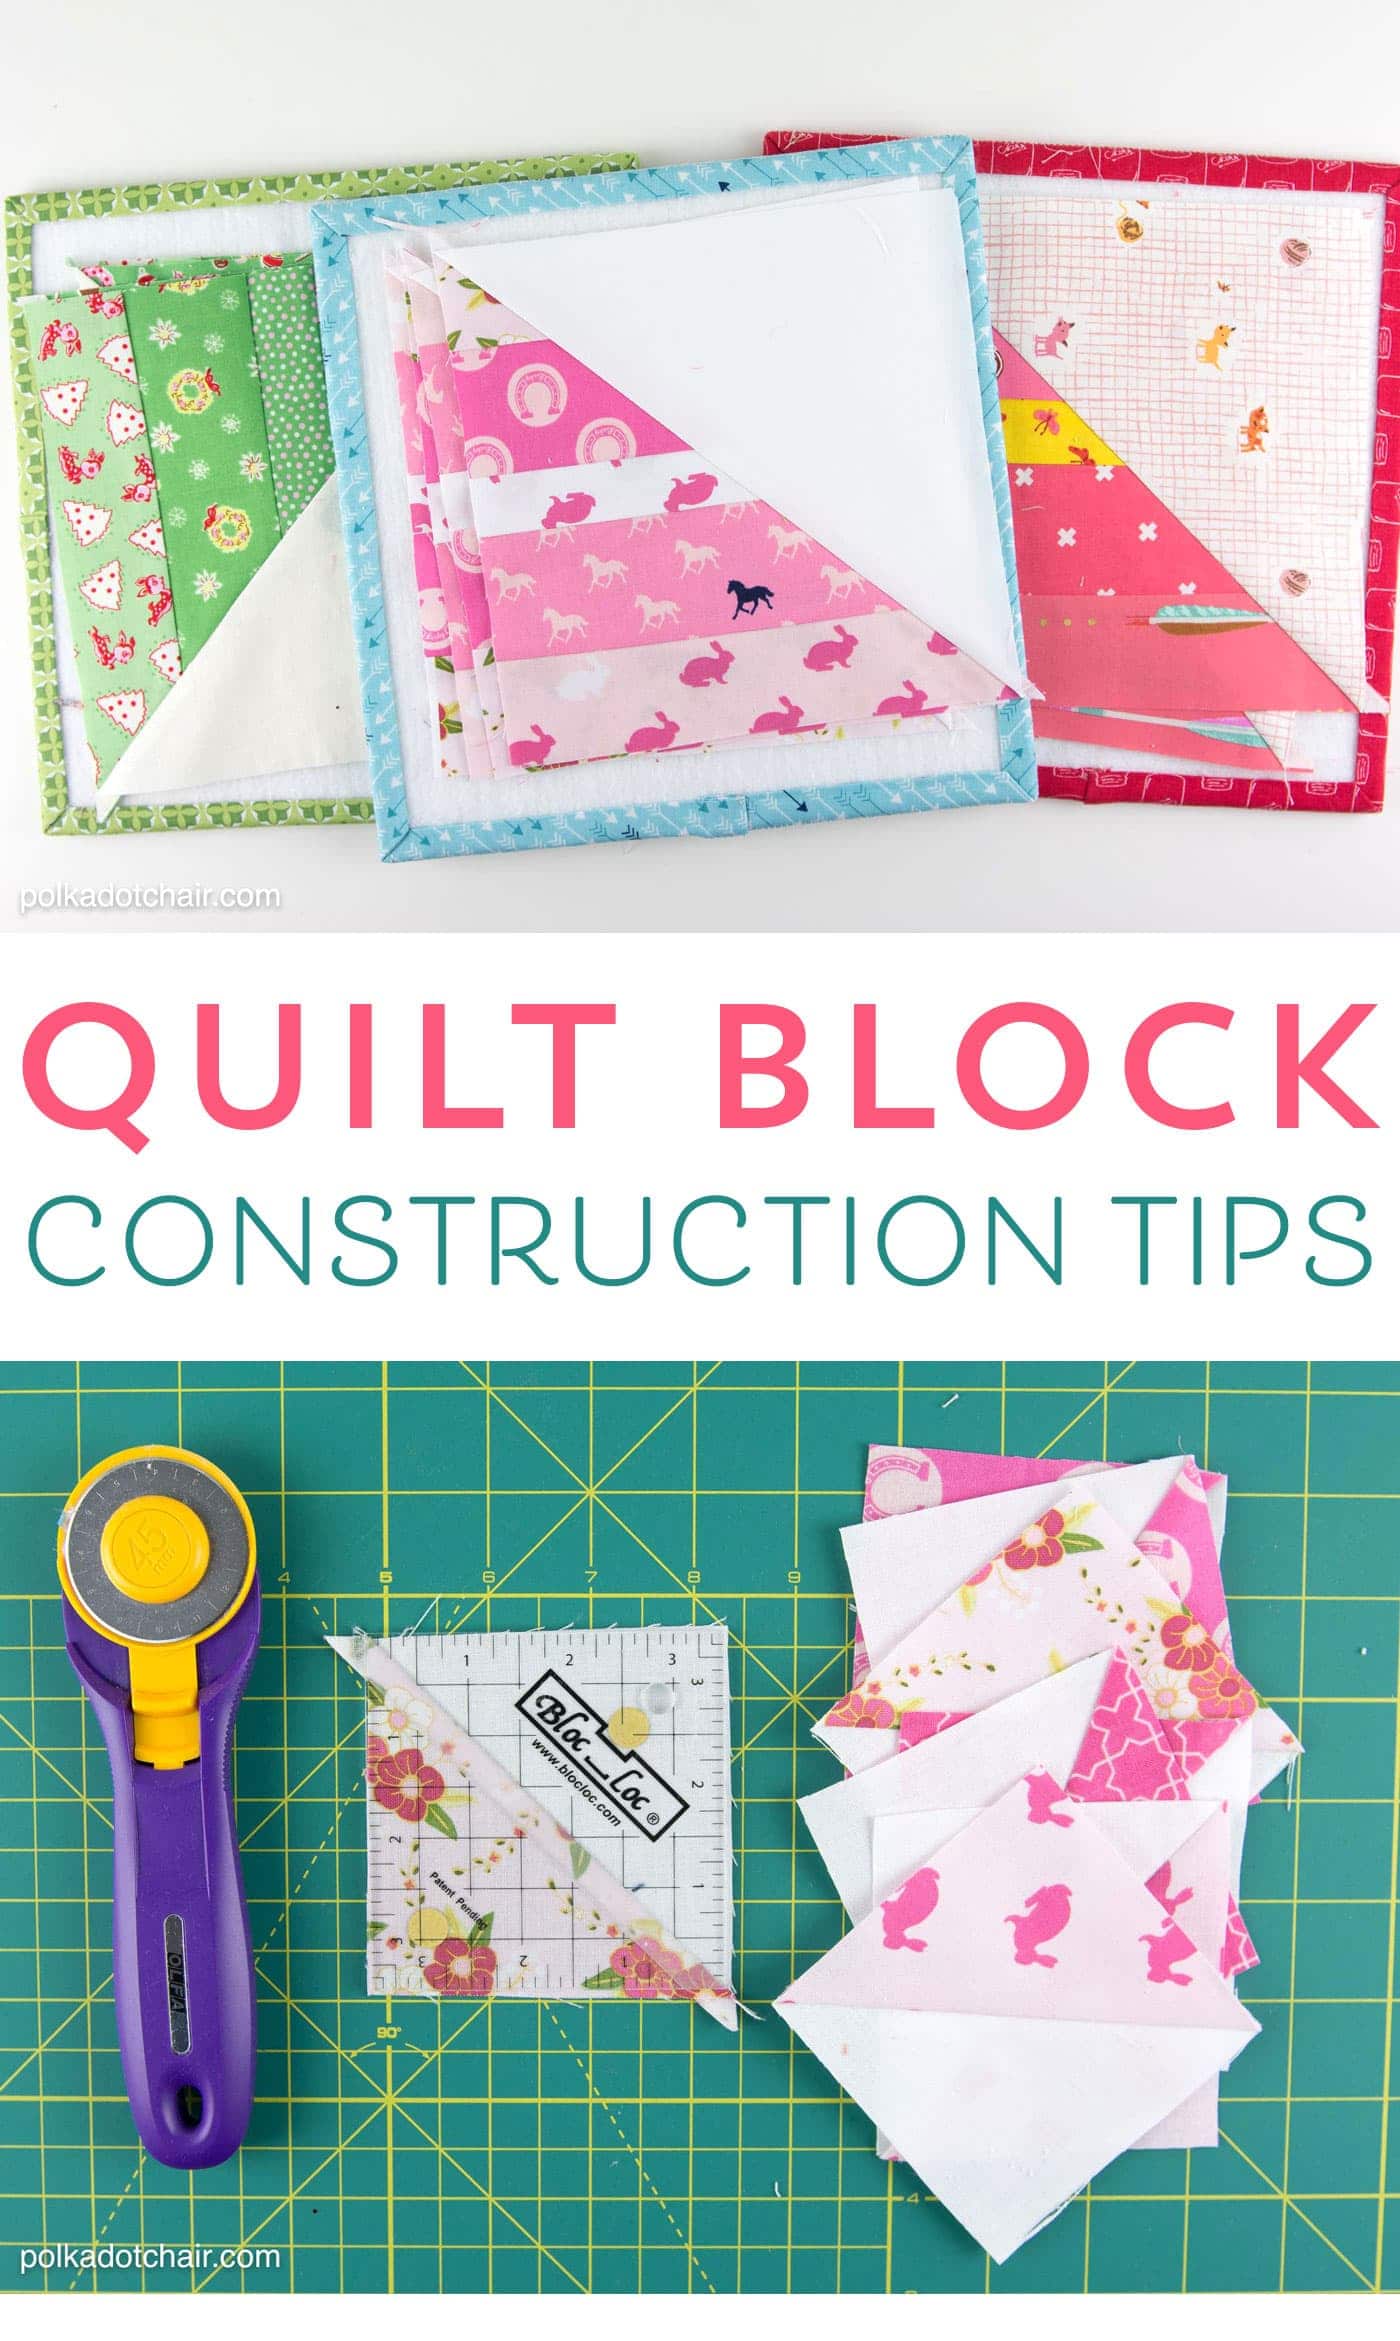
If you missed it be sure to check out this post on Quilt Block Construction Tips. You can find an index to all the posts in this quilt block series to date by clicking here.
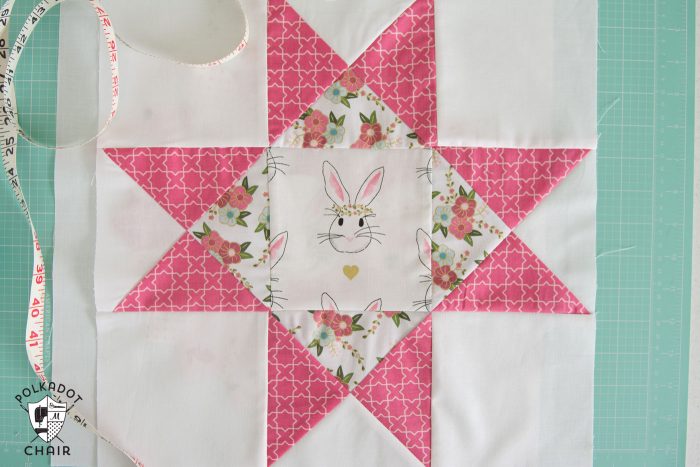
About the Ohio Star Quilt Block:
The Ohio Star Quilt Block is a very traditional block and the construction of this one is pretty straight forward. In months past we’ve created Half Square Triangles (HST) for our blocks, this month we are creating Quarter Square Triangles (QST). Once you get the quarter square triangles made the rest of the block stitches together in a jiffy.
Update on my Progress with the Block of the Month Quilts:
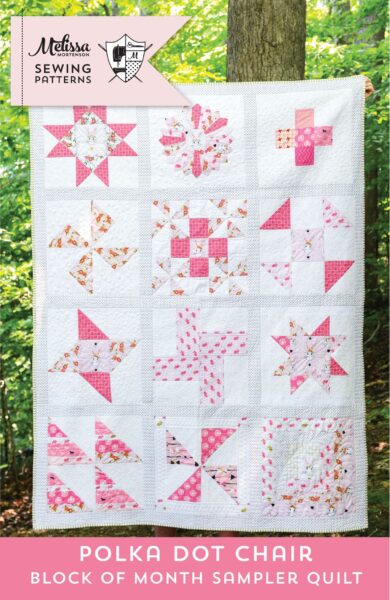
I’ve been able to spend some time catching up on my blocks. As a reminder for some crazy reason I decided to make 4 quilts for the block of the month series. I’ve finished one quilt already (the pink one shown in the main photos) but the other 3 quilts are not even close to being done.
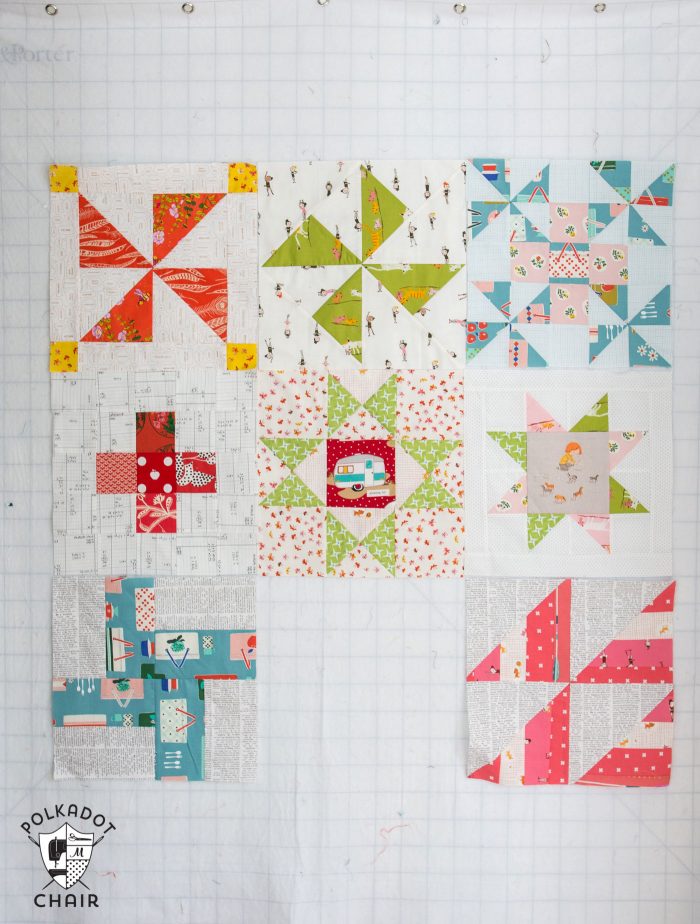
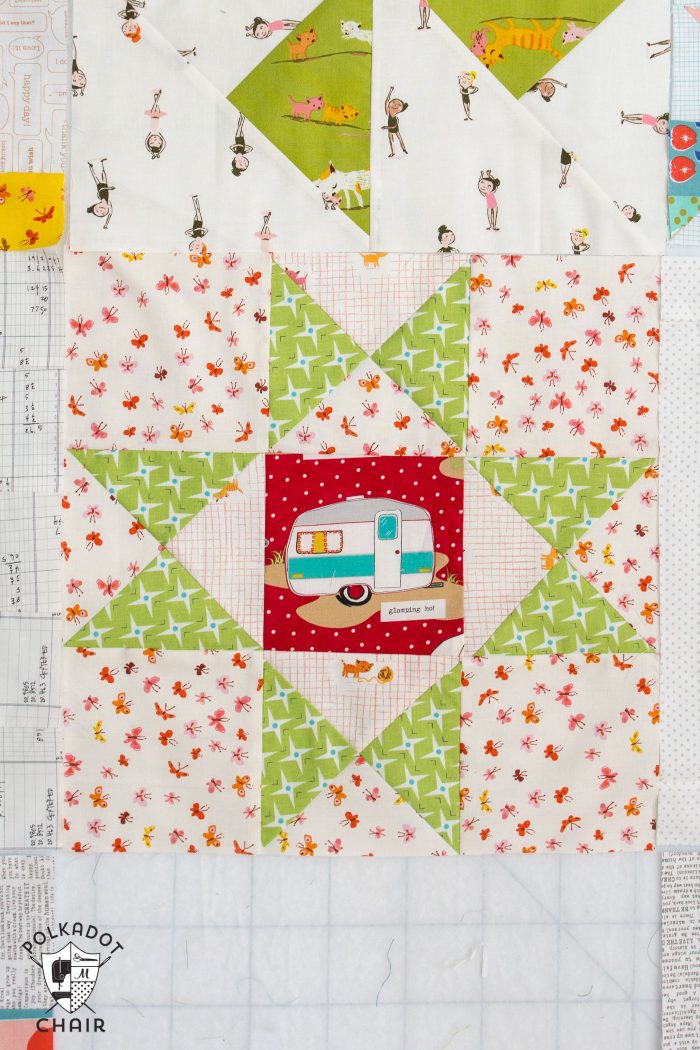
This is the quilt that I have been making with low volume fabrics as the background. I plan to use in our RV. As you can see, since I’ve decided that this quilt is going in an RV I started incorporating more “camping” and retro themed fabrics into the blocks.
I still have 3 more blocks to make for this quilt to catch up (plus next months block). I’m waiting for some of the Riley Blake Welcome to Utah fabric that I ordered to arrive before I tackle the last few blocks.
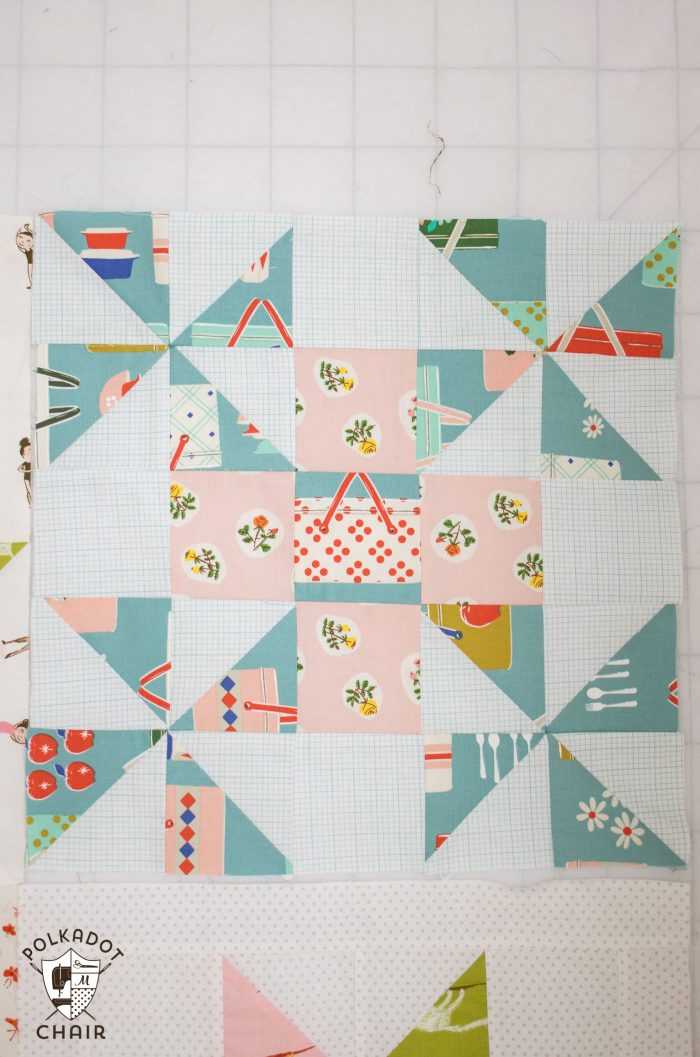
How to Make an Ohio Star Quilt Block:
Yields One 14 1/2″ x 14 1/2″ Finished Size Quilt Block
Ohio Star Block Cutting Directions:
From Background Fabric (BF):
4 pieces each 5 1/2″ x 5 1/2″
1 piece 6 1/2″ x 6 1/2″
From Fabric A (the dark pink shown in the photo):
2 pieces each 6 1/2″ x 6 1/2″
From Fabric B (the floral fabric in the photos):
1 piece 6 1/2″ x 6 1/2″
From Fabric C (the center fabric):
1 piece 5 1/2″ x 5 1/2″
1. Make the Half Square Triangles
Begin by creating Half Square Triangles from fabrics A, B and your background fabric. To do this, layer one 6 1/2″ x 6 1/2″ BF on top of one 6 1/2″ x 6 1/2″ square of fabric A, right sides facing. Draw a diagonal line down the center of one piece and stitch 1/4″ on each side of the line. Cut pieces apart, press and trim to 6 ” x 6″.
Repeat, this time layering Fabric A and Fabric B.
If you need a better explanation of creating a half square triangle you can CLICK HERE.
2. Make the Quarter Square Triangles
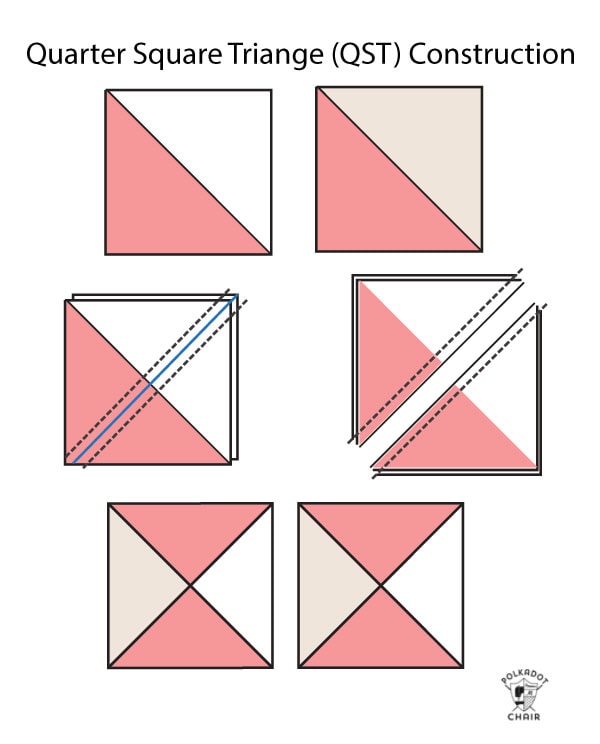
Now you are going to take those 4 Half Square Triangle pieces and create Quarter Square Triangles.
Layer one Quarter Square Triangle made from print A & B on top of one QST made from print A and BF so that the diagonal lines are “nesting” into each other and the two pieces with print A are not on the same side.
Draw a line down the center of one of the HST pieces going in the opposite direction of the existing sewn line. Stitch 1/4″ on each side of the line. Cut apart and press. Trim down to a 5 1/2″ x 5 1/2″ square.
3. Stitch the Pieces together to Create the Quilt Block
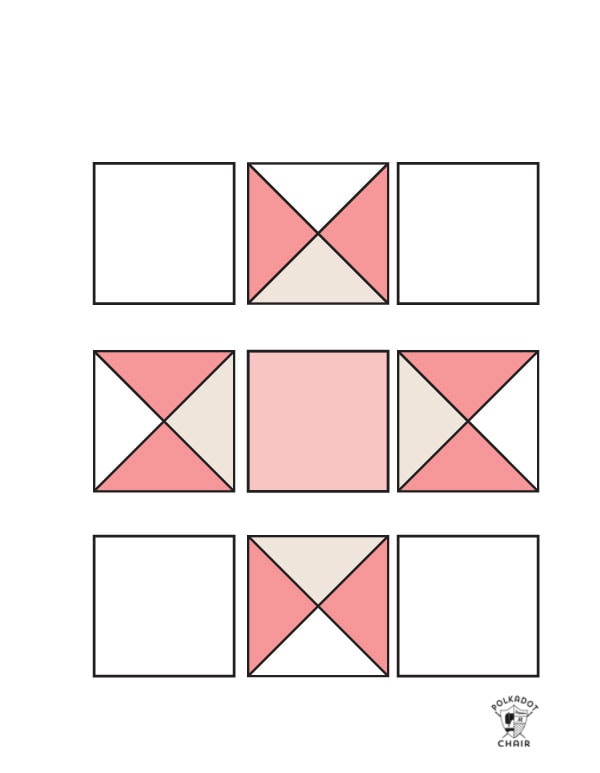
Lay out the block as shown in the diagram. Stitch row 1 together, followed by rows 2 and 3. Press seams to one side, then stitch the rows together to form the block. Trim the block to 15″ x 15″.
More Quilt Block Tutorials:
