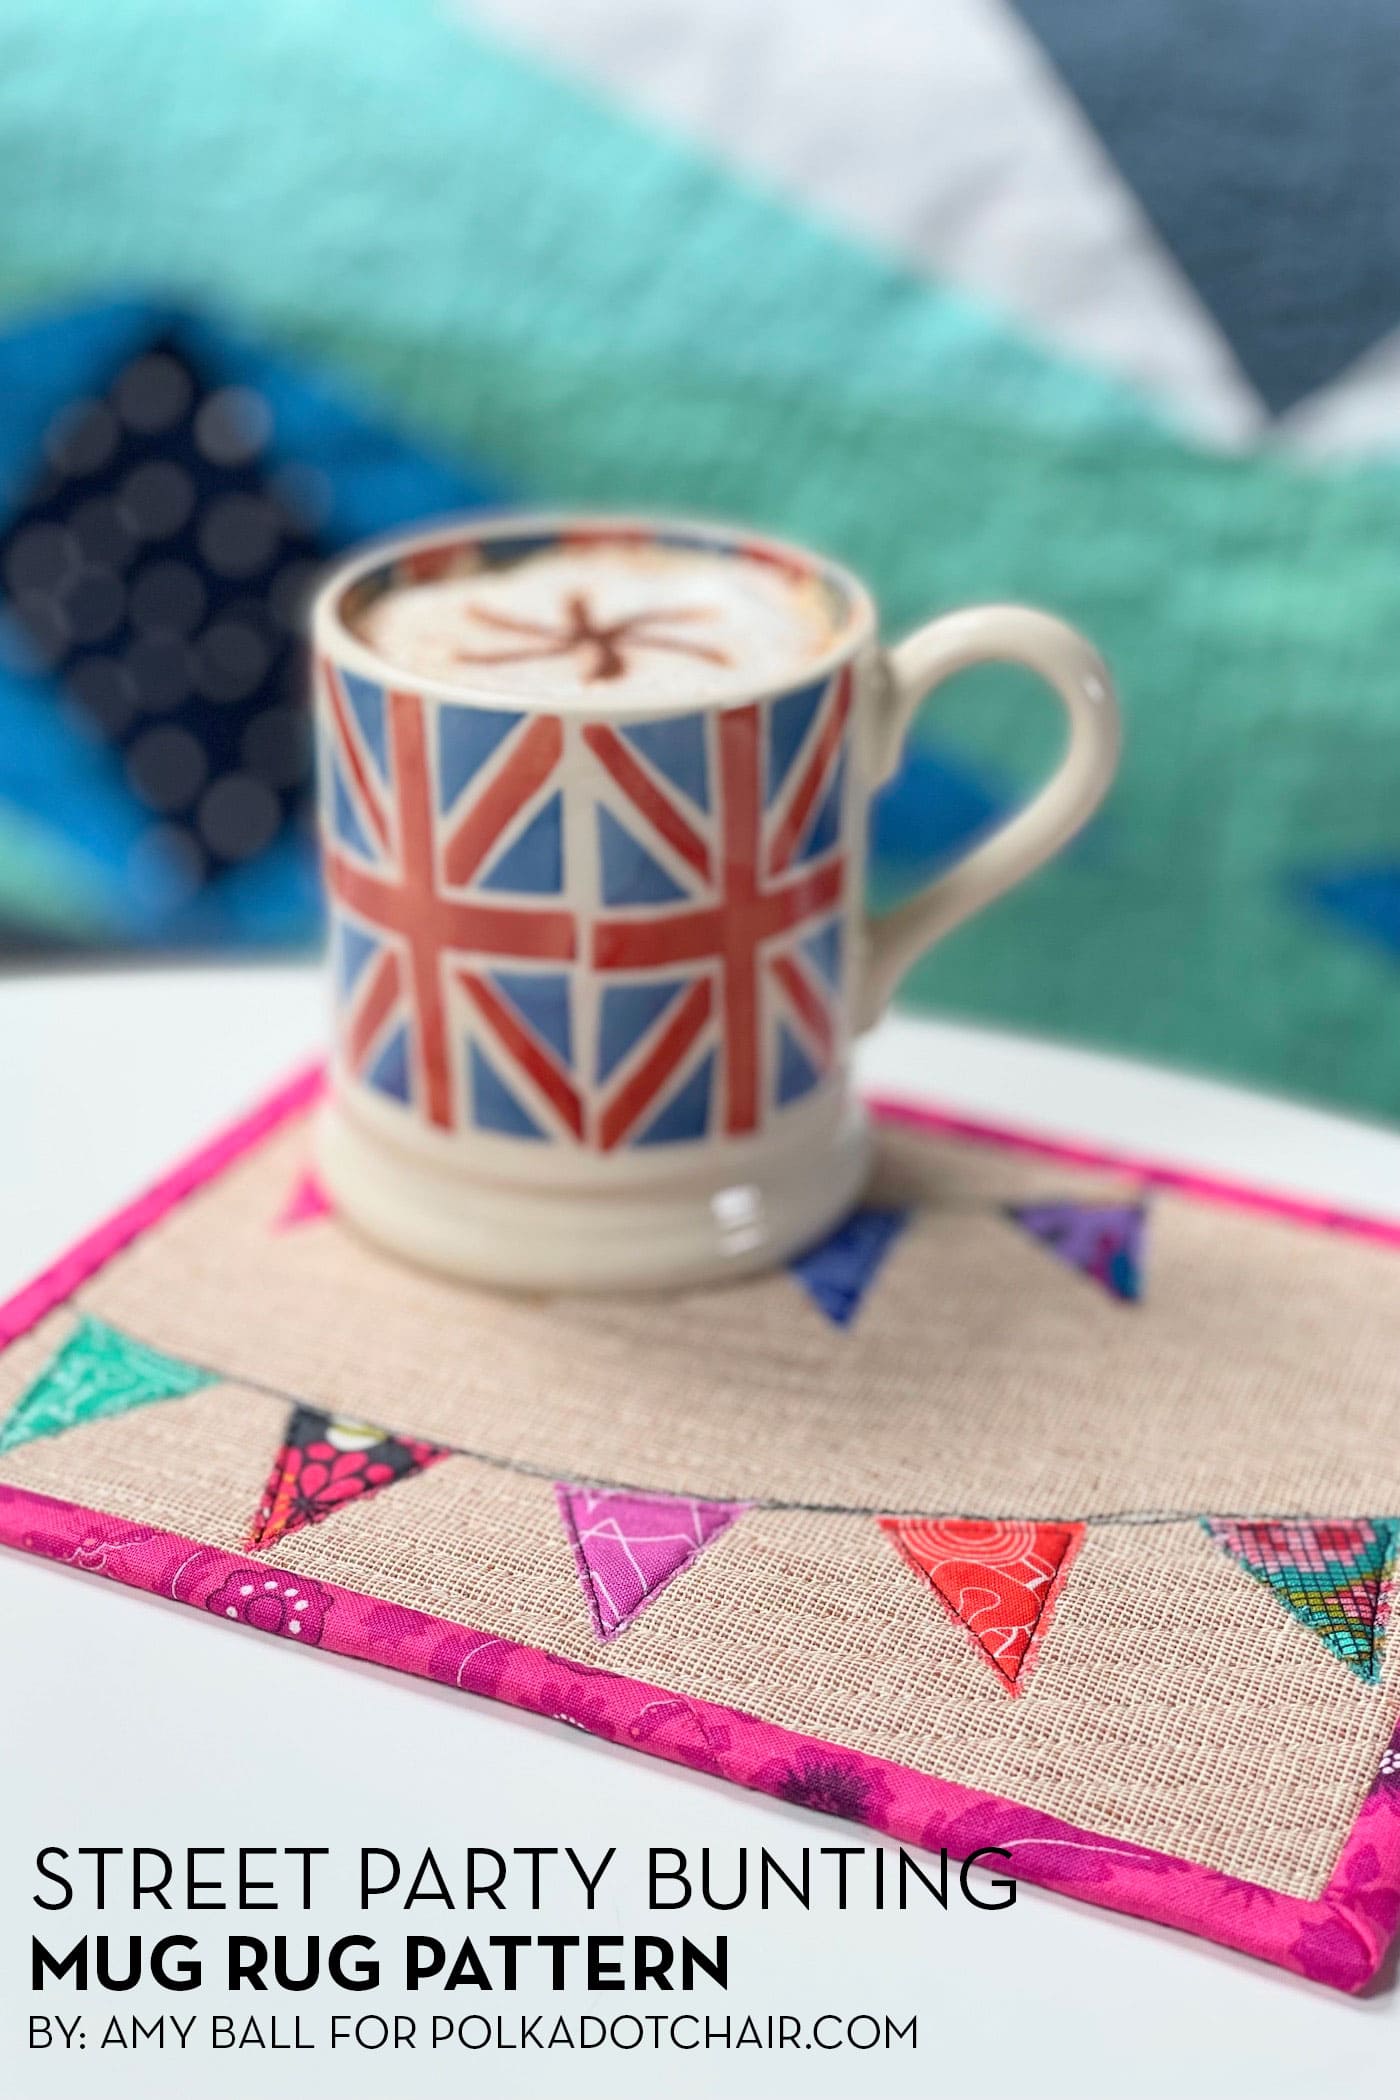
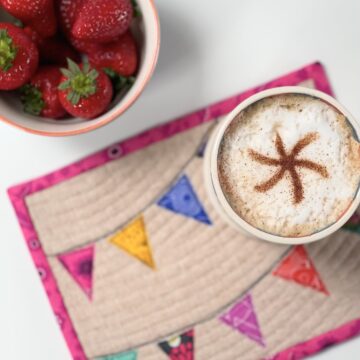
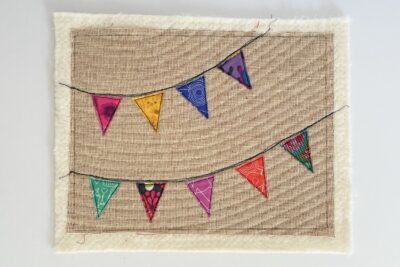
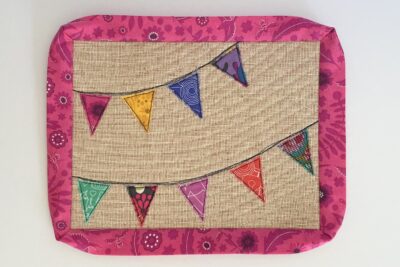
Street Party Bunting Mug Rug Pattern
Our May Rug Mug of the Month pattern is bright, cheerful and colorful, and British-inspired! Learn how to make this cute Street Party Bunting Mug Rug with our free quilted mug rug pattern!
Street parties are a tradition here in the UK that started over a hundred years. They are still enjoyed today for major national days of celebration, especially royal events like weddings, jubilees, and coronations.
And, of course, these street parties are always decorated with fabulous strings of bunting. With the celebrations for the coronation of King Charles III this May, it seemed like the perfect month to have a bunting-themed mug rug!
If you like this Mug Rug pattern, you might also love this free Union Jack Inspired Jubilee Celebration Quilted Pillow pattern.
The skill focus for May is raw edge appliqué. I love the “rustic” look of raw edge appliqué but also love how quick and easy it is too.
Appliquéing shapes like triangles, which can produce some bulky seam allowances at the corners, is made so much simpler when you totally avoid turning under seam allowances!
But be aware… raw edge appliqué does fray and “fluff up” along the unfinished fabric edges, so make sure you always use interfacing to give the fabric some extra strength.
Mug Rug Patterns & Technique Focus
Each month this year, Amy is sharing a free mug rug pattern with all of you! In addition to the pattern, each month will feature a different quilting technique!
- January: Fabric Flash Mug Rug – Using Selvages
- February: First Edition Mug Rug – Fussy Cutting
- March: English Bloom Mug Rug – English Paper Piecing (EPP)
- April: Coffee Cabin Mug Rug – Binding with Quilt Backing
- May: Street Party Bunting – Raw Edge Applique
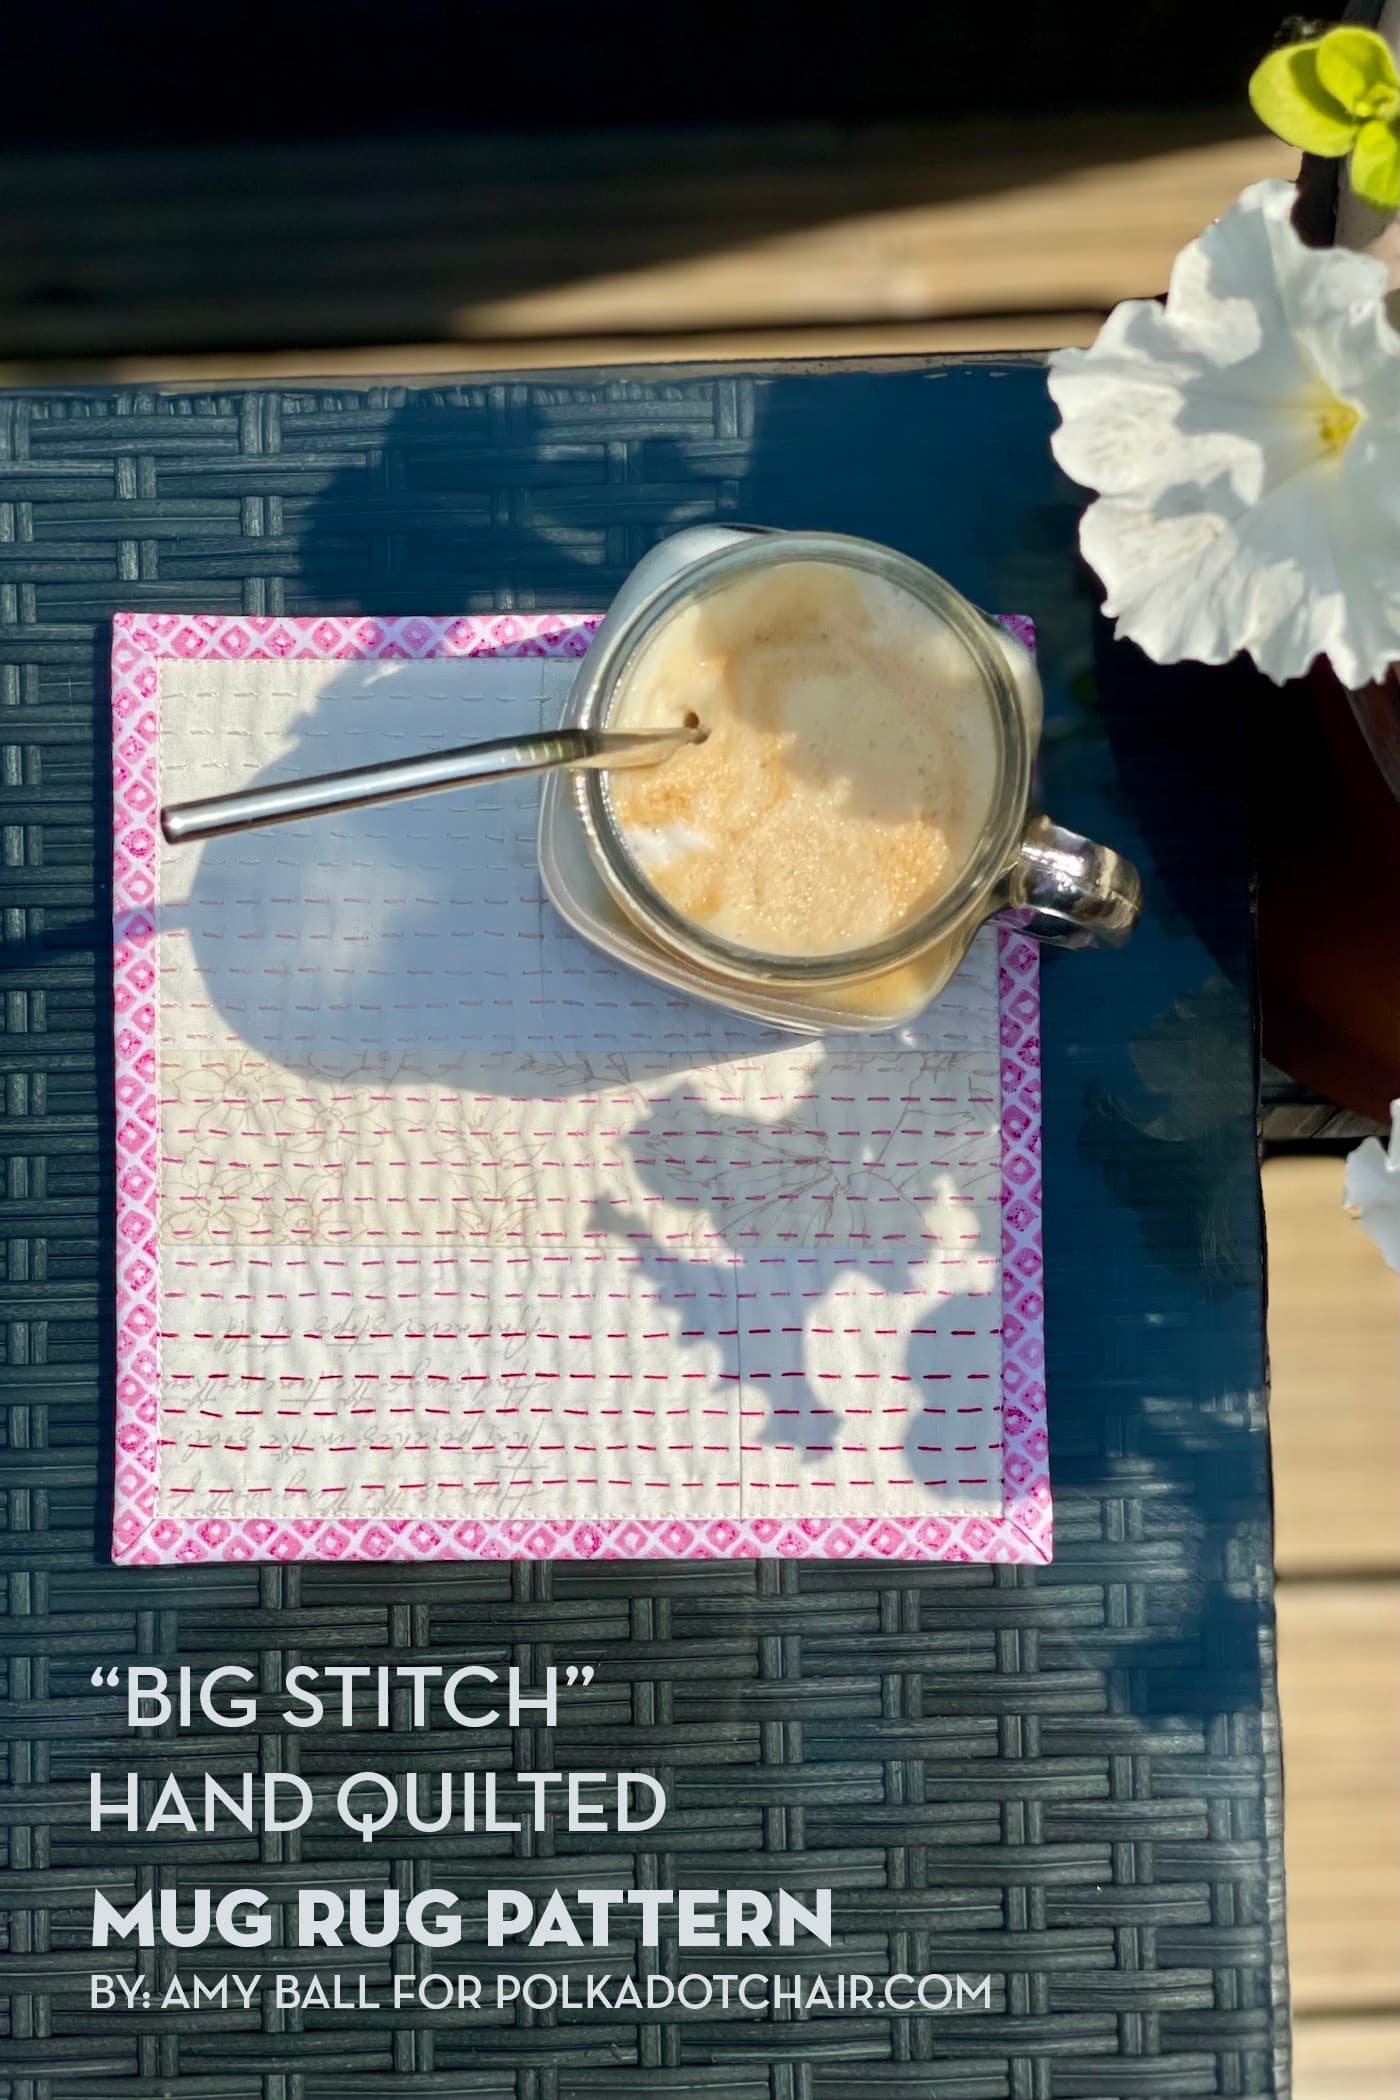
- June: Big Stitch Mug Rug – Hand Quilting
- July: Summer Sun Mug Rug – Improv Piecing
- August: Heart Mug Rug – Patchwork Piecing
- September: Pumpkin Face Mug Rug – Reverse Applique
- October: Cozy Cup Mug Rug – Big Stitch Binding
- November: Christmas Tree Mug Rug – Free Motion Quilting
Mug Rug Supplies
- Main Fabrics 9 small scraps
- Background Fabric 1 fat eighth
- Light iron-on interfacing 6” x 4½” (or scraps)
- Backing Fabric 1 fat eighth
- Binding Fabric 1 fat eighth
- Batting 10” x 8”
Instructions
Street Party Bunting Mug Rug
Equipment
- quilting ruler
supplies
Fabrics:
- 9 small scraps Main Fabrics
- 1 fat eighth fabric for background
- 1 fat eighth Backing Fabric
- 1 fat eighth Binding Fabric
Other
- 1 piece Light iron-on interfacing 6” x 4½” or scraps
- 1 piece Batting 10” x 8”
Instructions
Cutting:
- From Main Fabric scraps cut 1½” x 2” (9).From Background Fabric cut 9” x 7”.From Backing Fabric cut 10” x 8”.From Binding Fabric cut WOF x 2¼” (2).
Construction: Use a ¼” seam allowance, unless otherwise stated.
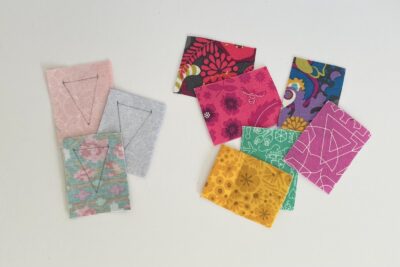
- Press the iron-on interfacing onto the wrong sides of the Main Fabric 1½” x 2” rectangles. If you’re using a larger piece of interfacing, I recommend arranging all the rectangles onto one piece (close together), bonding the interfacing to the fabric and then cutting out the interfaced fabric rectangles. Be sure to always follow the manufacturers instructions on how to use your interfacing.
- Using a fabric pen, draw bunting flag shapes onto the wrong side of the Main Fabric rectangles. First draw the top edge as a horizontal line 1” long. Then mark a point at the centre of this line and 1¼” down. Then add the diagonal sides by joining the centre point to the two ends of the horizontal line.

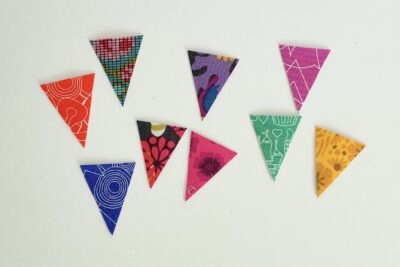
- Carefully cut out the nine bunting flags and set aside for later.
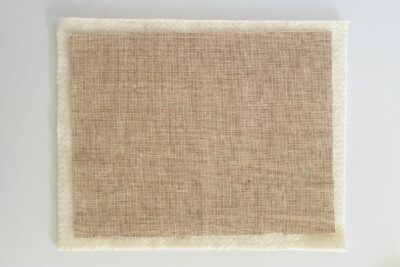
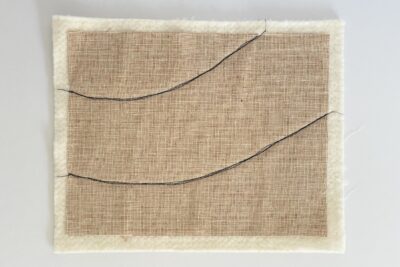
- Take the Background Fabric rectangle and place it right side down, add the batting rectangle and then place the Background Fabric rectangle on top with the right side facing towards you. Make sure all the layers are smooth and flat, then baste together using your preferred method.
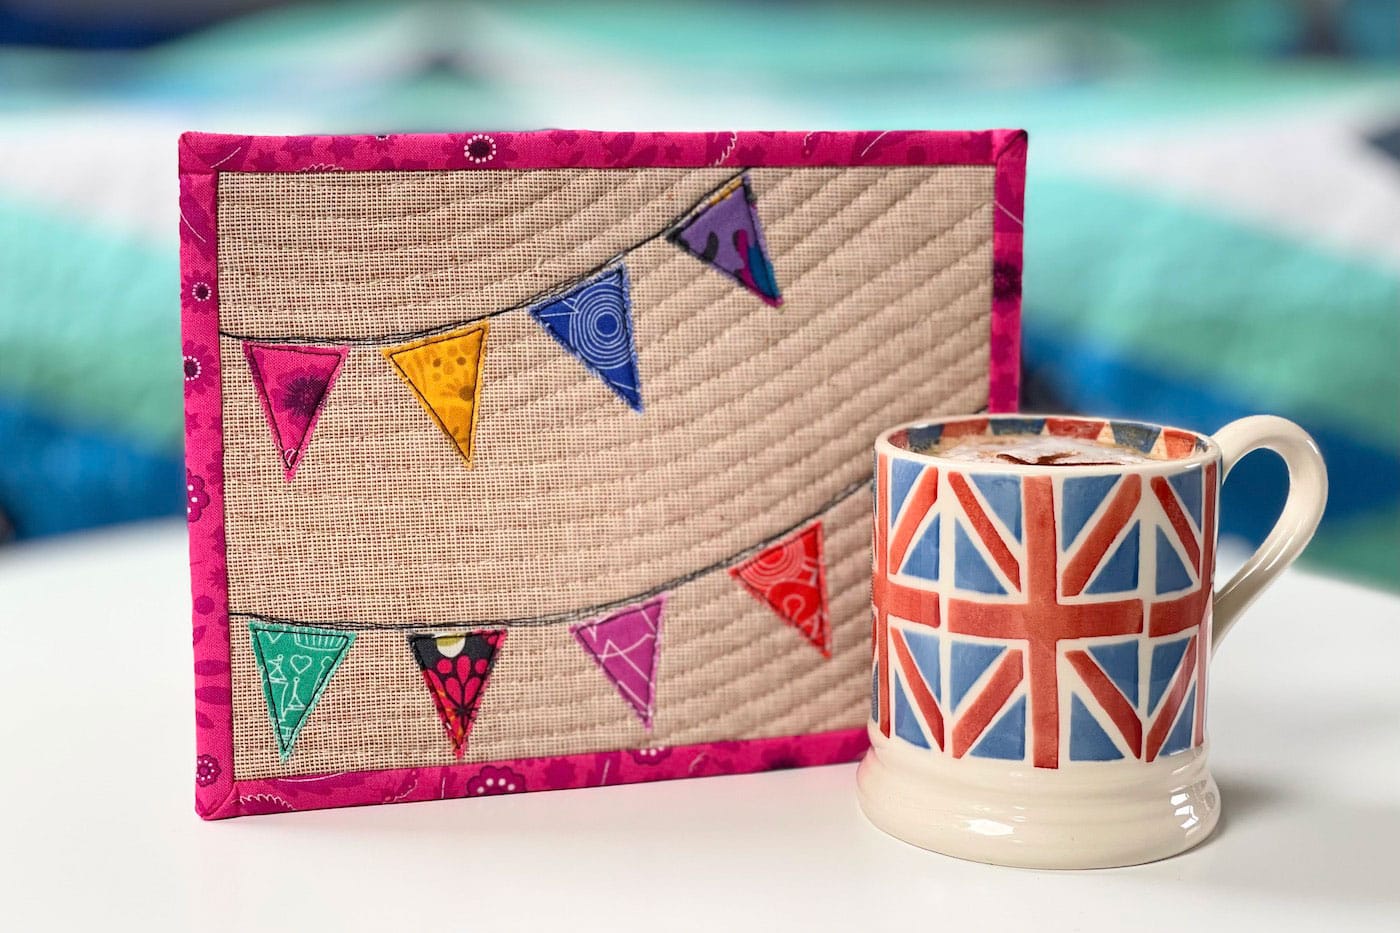
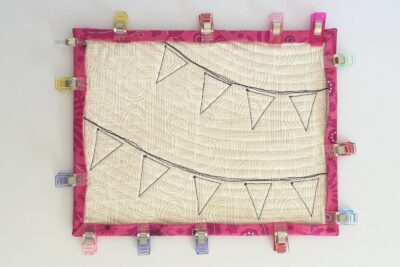
- The next step is to sew the two bunting strings. You can either use a thicker thread (for example 12wt) or sew the line a few times to help it stand out. I’m using the second option as I like the “hand drawn” look of slightly uneven lines of stitching. Draw guide lines to help with spacing; start the upper line about 2” down the left edge and end it about 6” along the top edge, start the lower line about 5” down the left edge and end it about 3” down the right edge, draw both lines with a down then up curve.
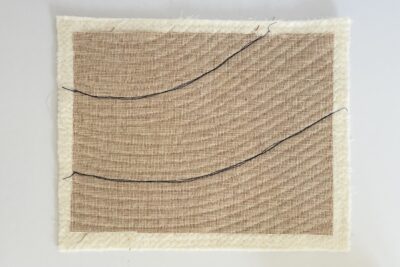
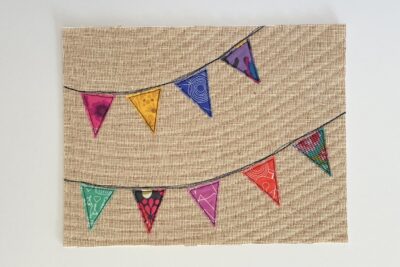
- Quilt as desired. I have used echo quilting matching the curved shape of the bunting strings at about ⅜” spacing.
- Mark the 8½” x 6½” trim size onto the quilted rectangle. You aren’t going to trim yet, this is to make sure the bunting flags are placed at a safe distance from the finished edge once you trim later on.
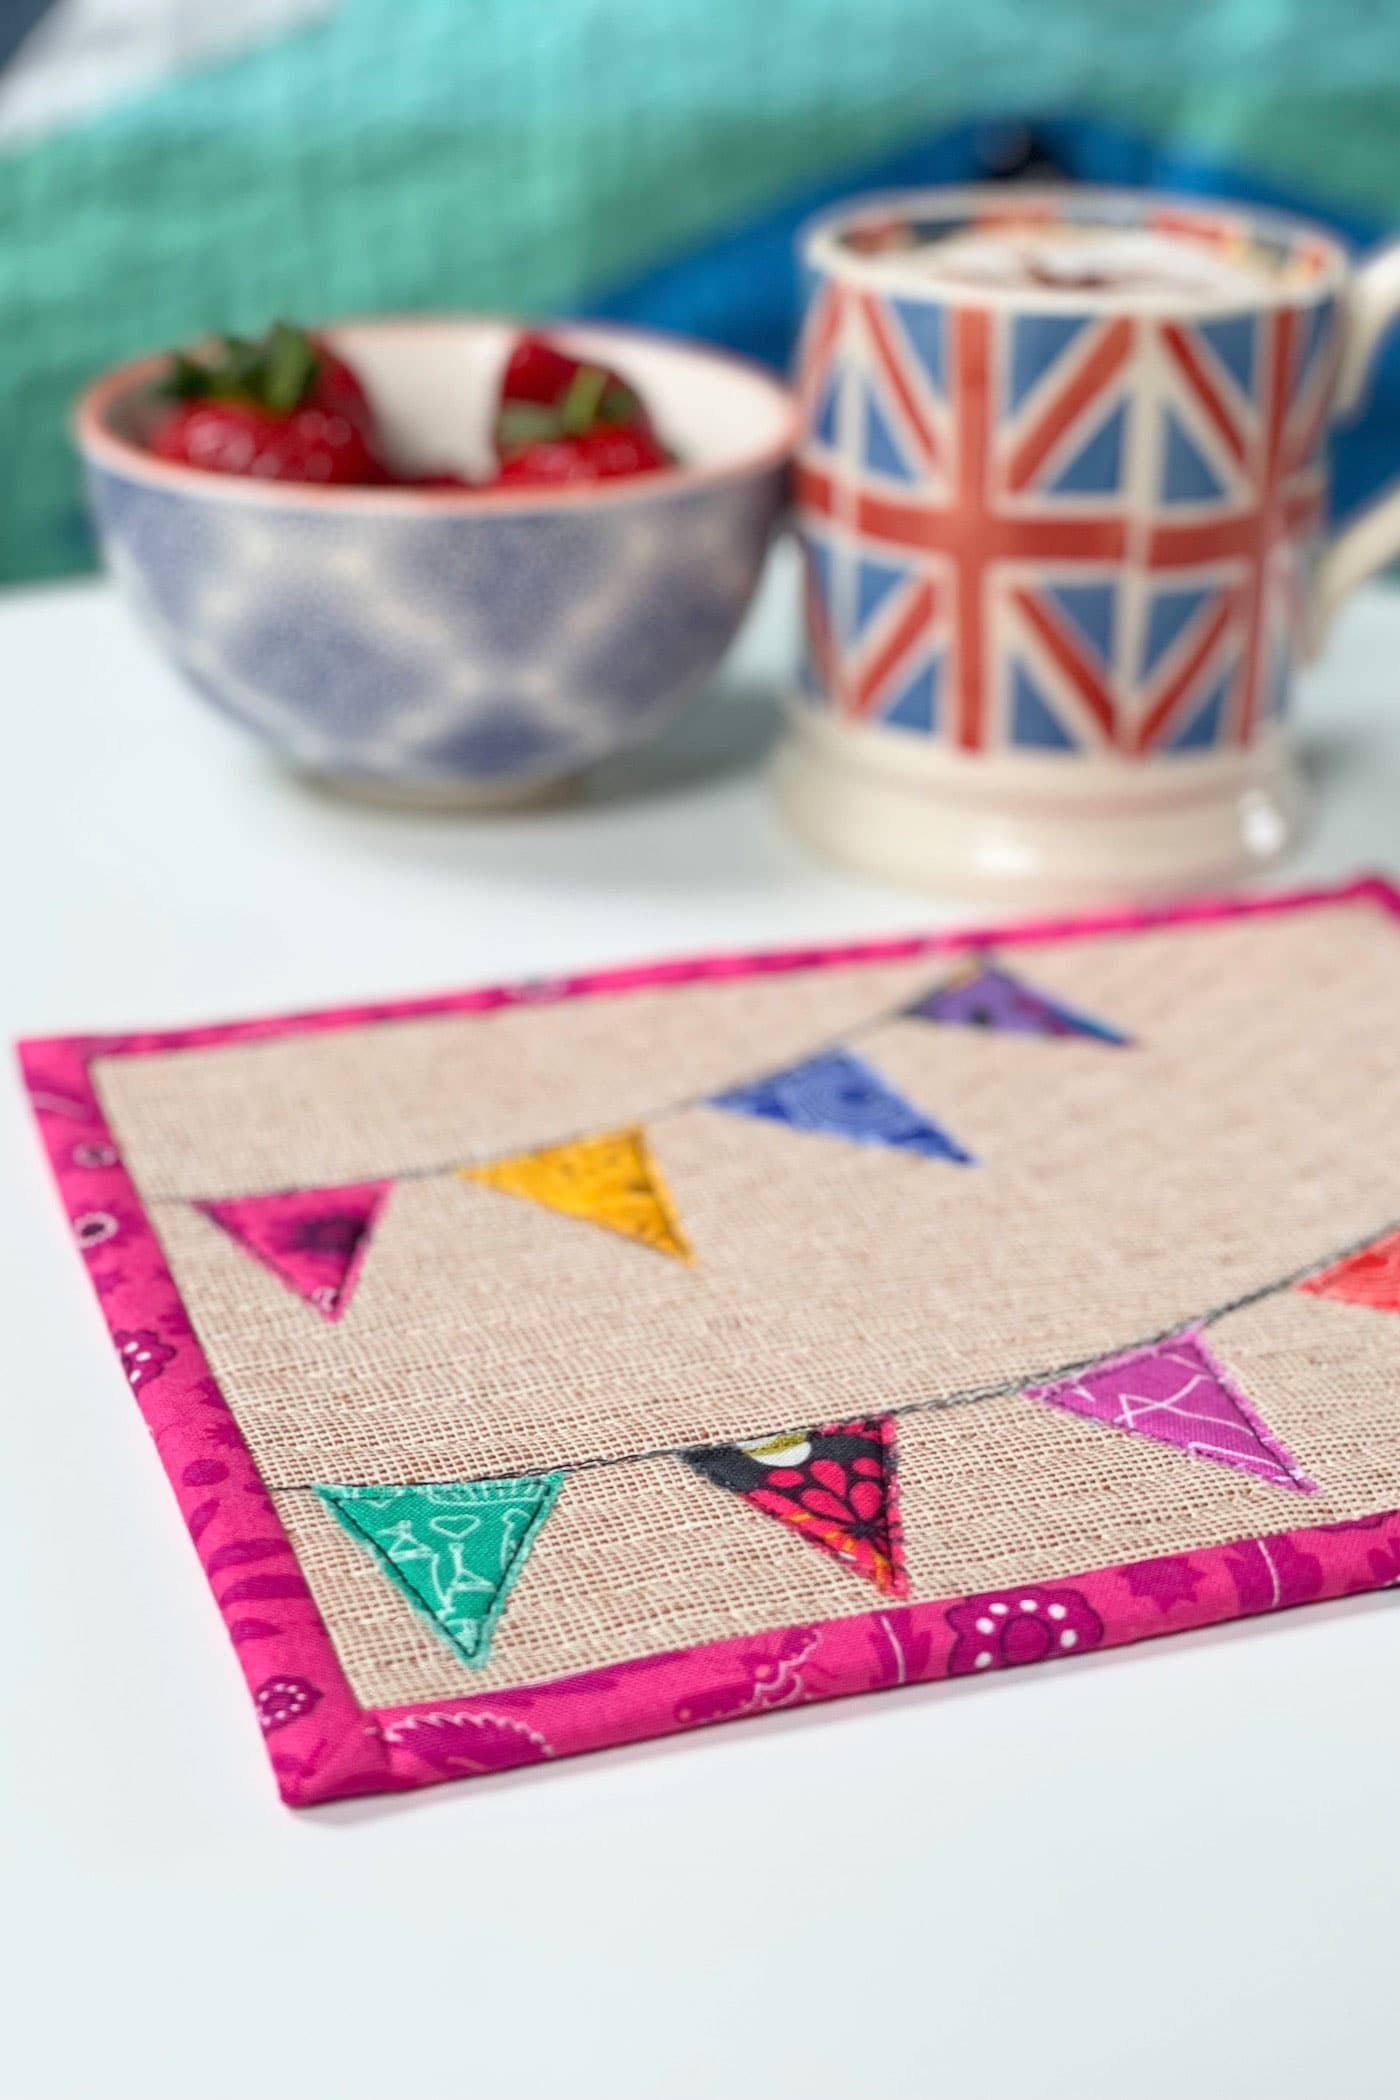
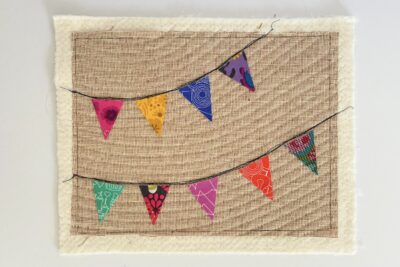
- Place the fabric bunting flags evenly spaced along the two stitched bunting strings. There is space for four flags on the top string and five on the bottom string. Take the time to play around with the order to get a good mix of colours and prints. It’s also important to make sure the bunting flags that are closest to the edges are more than ¼” away from the lines you marked in the previous step…this will ensure none of the flags get caught in the binding.
- Use a couple of dots of fabric glue to hold each bunting flag in place. You can pin them but I find this more fiddly!
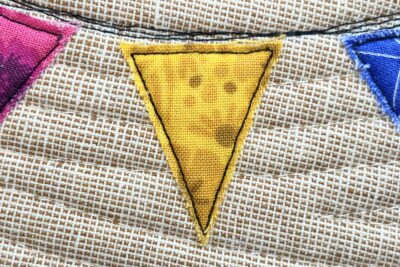
- Now it’s time to appliqué the bunting flags in place. As this is raw edge appliqué you’ll use a regular straight stitch. If you have the option on your sewing machine, reduce the stitch length (about half the length of your regular stitch) and use a clear foot so you have a good view of the fabric edge. Starting at one of the top edge corners, sew very close to the edge (about 1/16”). When you get to the bottom point, stop sewing with the needle in the down position, lift your machine foot and rotate the mug rug, replace the foot and then sew along the next diagonal edge.
- Keep sewing until you get back to where you started. Repeat for all the bunting flags. Take your time with this step.
- Carefully press the mug rug then trim it down to 8½” x 6½” using the guide lines from step 7.
Finishing:
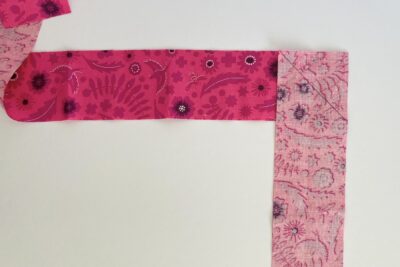
- Take the two binding fabric WOF x 2¼” strips. Draw a 45° line on the wrong side of one strip, at the top corner from top left to bottom right. Pin the strips (right sides together) so the strips are at a right angle to each other and the drawn line is visible.
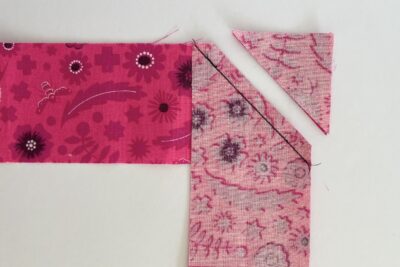
- Sew along the drawn line then trim off the excess corner fabric with a ¼” seam allowance and press to create a long strip. Fold the strip in half along the full length (wrong sides together) and press.
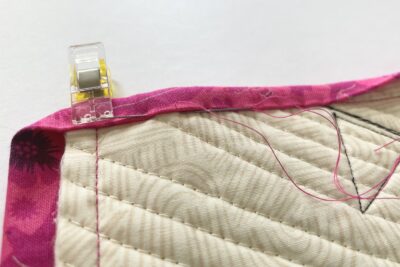
- Pin/clip the binding in place on the front, round the mug rug edges, with the raw edges of the binding and raw edge of the mug rug matching up. [TIP: Clip the binding around all four edges before you start sewing to make sure the seam line from when you joined the two strips isn’t going to be close to any of the corners as this would create too much bulk; ideally you want the binding seam to be close to the middle of one edge.]
- Sew the binding to the front of the mug rug using a ¼” seam allowance, in the same way you would add binding to a quilt top. Take your time to give the four corners neat mitres.
- Fold and press the binding round to the back. Pin/clip in place, making sure your mitred corners are nice and neat.
- Hand sew the binding in place to finish.
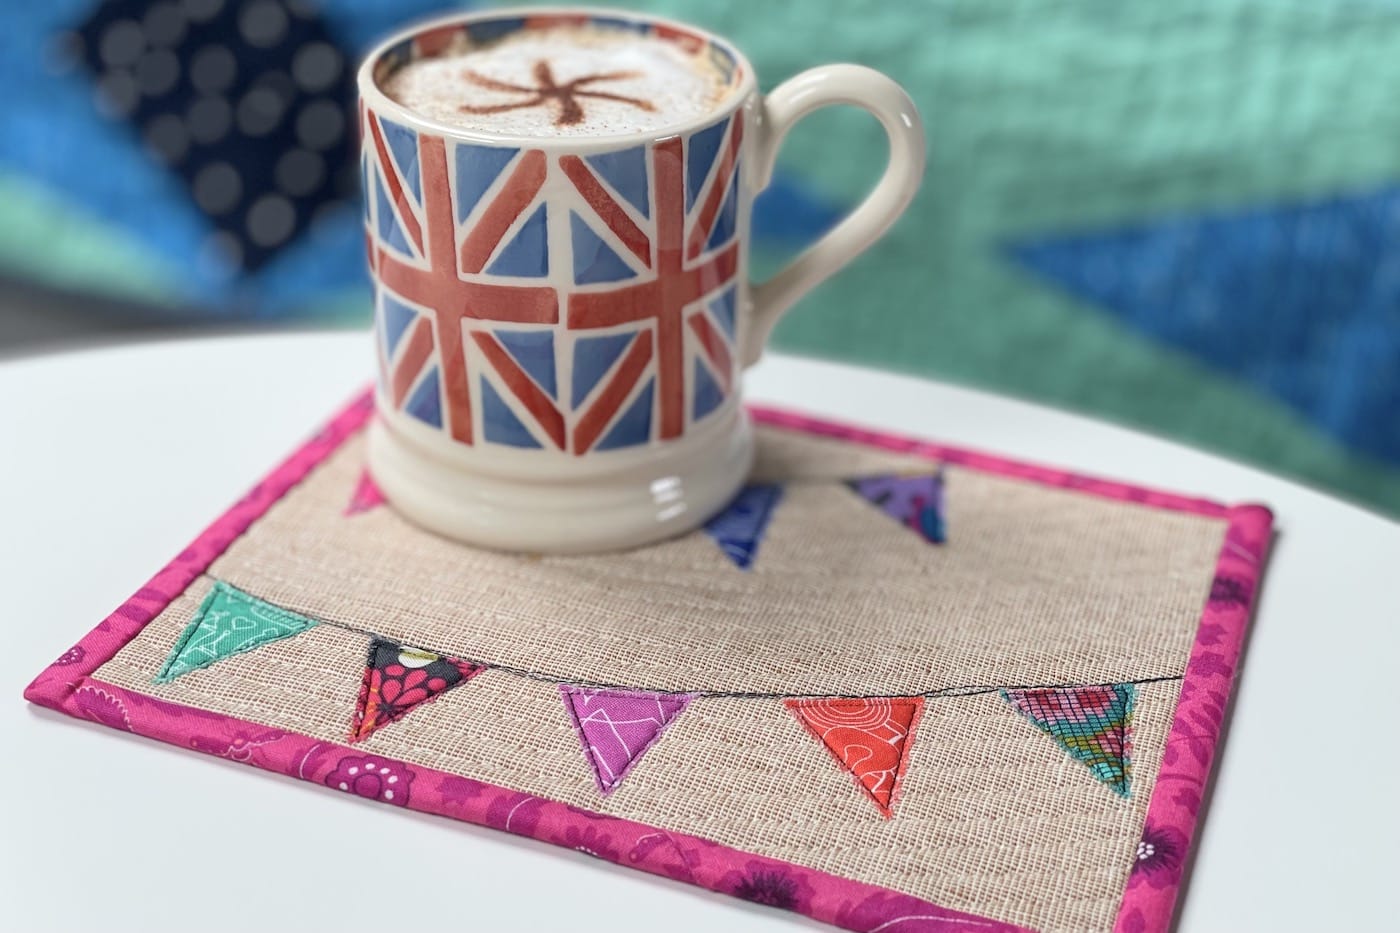
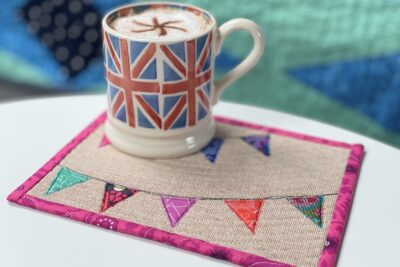
- Grab a hot drink and enjoy your new Street Party mug rug.

About the Designer

Amy lives in the north of England with her husband and son. When she’s not sewing and quilting, Amy can usually be found baking or reading. You can find her on Instagram @amyatthegate

Do you have a suggestion for putting this together in a way that the bunting stitches do not show on the backside? Would the sewing of the bunting flags have to be done before adding the backing fabric?