3 Must-Know Tips for Beginner Quilters
Since I’m a self-taught quilter, there are a lot of things that I learned the “hard way” (i.e., doing it wrong a million times, then finally sitting down to learn the right way to do it). I thought it would be fun to share a few of those things with you so that hopefully, you won’t make the same mistakes that I have.
3 Tips for Beginning Quilters
I’ve narrowed it down to 3, but there are probably more things I’ve done wrong in the past. For the sake of time, we’ll just talk about 3 today. If you’re new to quilting or even if you’re not, maybe I can help you avoid some simple mistakes.
Tip One: Check your seam allowance
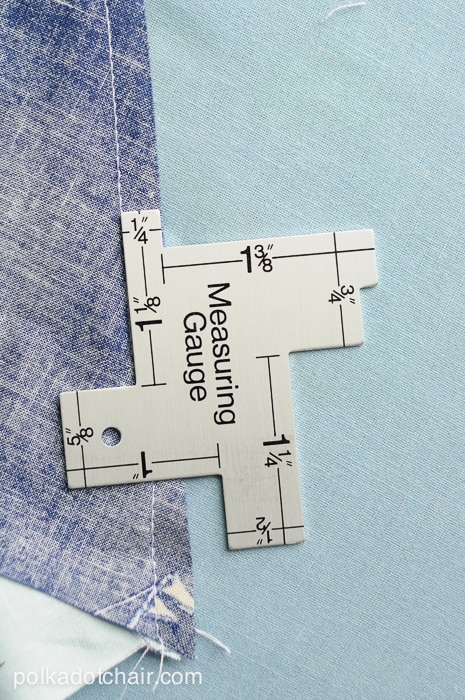
The majority of quilting patterns are based on a 1/4” seam allowance. If this is off by even a 1/16″ of an inch, it can mess up your quilt. Quilts fit together like puzzles; think of what would happen if just one puzzle piece in a puzzle was the wrong size.. the same thing happens with a quilt. Every sewing machine is different in how it handles sewing a 1/4” seam allowance. (btw, a seam allowance is a space between the stitching line and the edge of the fabric).
My older machine had a 1/4″ needle position setting that I used a standard foot. My current machine has a 1/4″ foot with a guide; I noticed, though, even with the 1/4″ foot, it’s off a smidge.
I use my 1/4″ foot and adjust the needle one step to the right. I figured out it was off by testing my seam with a seam gauge. Get a seam gauge and test yours. Learn the best setting for your machine and use it consistently. PICK UP A SEAM GAUGE HERE
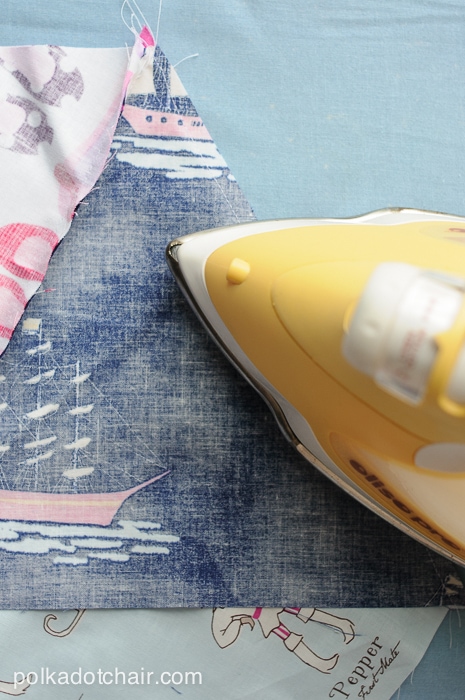
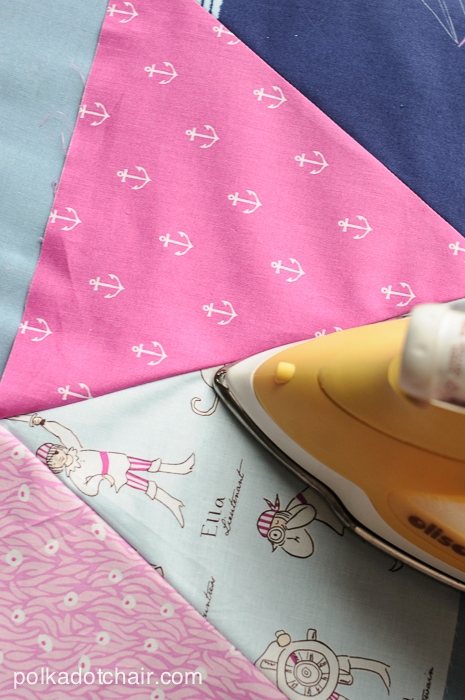
Tip Two: Learn the correct way to press
(FYI: This is my favorite Iron)
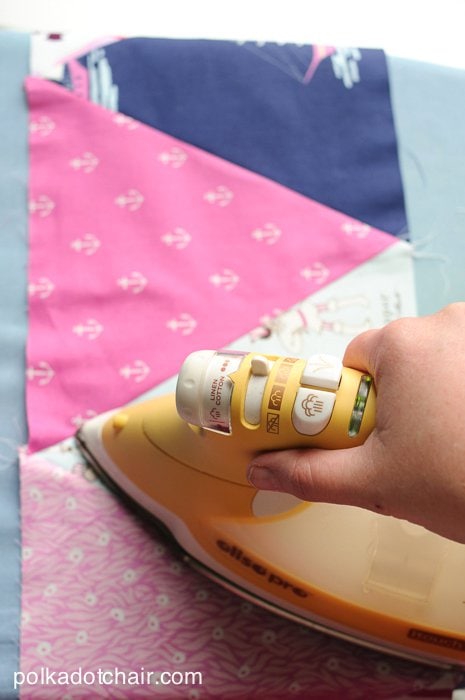
I messed up BIG TIME with this one when I first started. You do NOT iron a quilt. You press it. Don’t make large back and forth motions like you do when ironing clothes. Lift the iron up and down and press the seams of the quilt.
Move the iron back and forth as little as possible. I can’t tell you how many seams I distorted when I first started.
To press a quilt. Start on the wrong side and press the seam once. This sets the stitches.
Flip the quilt to the right side and use the nose of your iron to wiggle into the seam to get it flat (A tip I learned from Amy!). Keeping thinking in your head “flat,” you want your seams to be straight and flat.
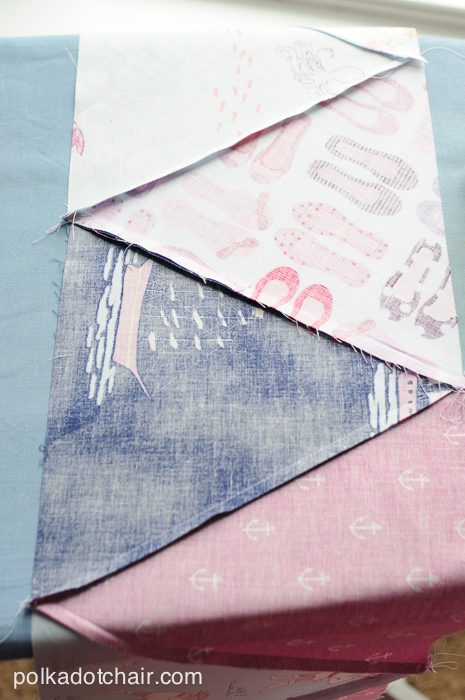
Press all of your seams to one side. Then alternate to the other side for the next row. This will allow your rows to fit together nicely. I press even rows towards me and odd rows away from me.
Tip Three: Use a design wall
(I picked up mine here, and I LOVE IT)
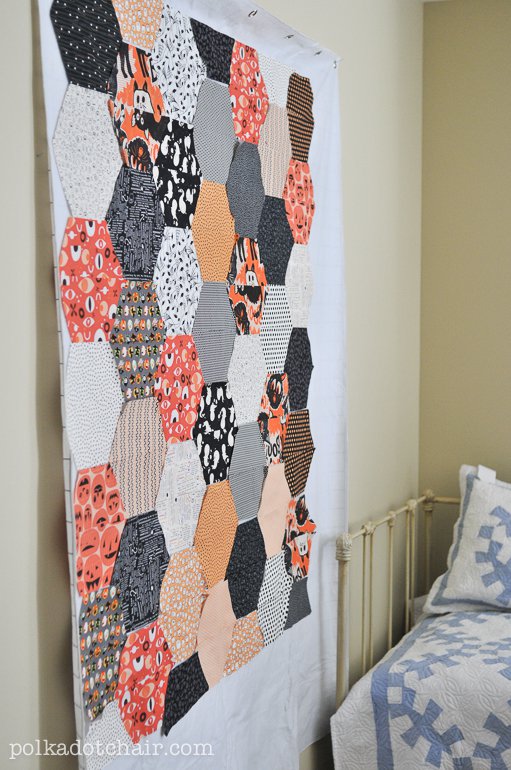
(Large Hexagon Quilt blogged here) When I first started quilting, I just thought, “I just want a random mix, and it will all work out.”
However, I would finish a quilt and realize that I had too much dark in one section of the quilt or too much of a certain color in another part. A design wall allows you to layout your quilt before you sew it to check for the balance in your design. It’s crazy what you WON’T pick up on until you see it all laid out (or photographed).
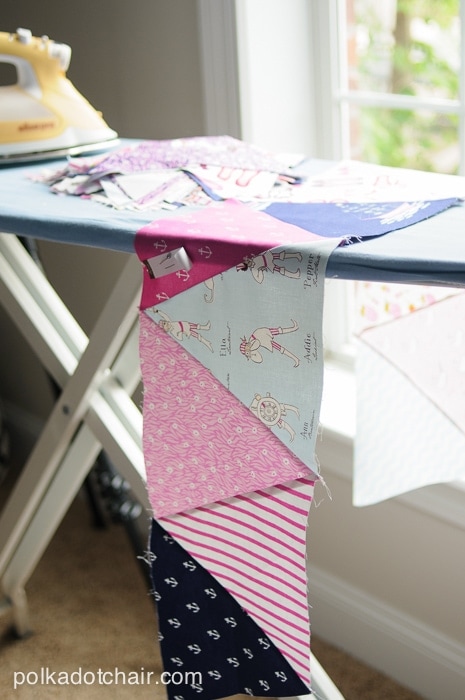
(This quilt is being pieced together after first having the layout worked on my design wall)
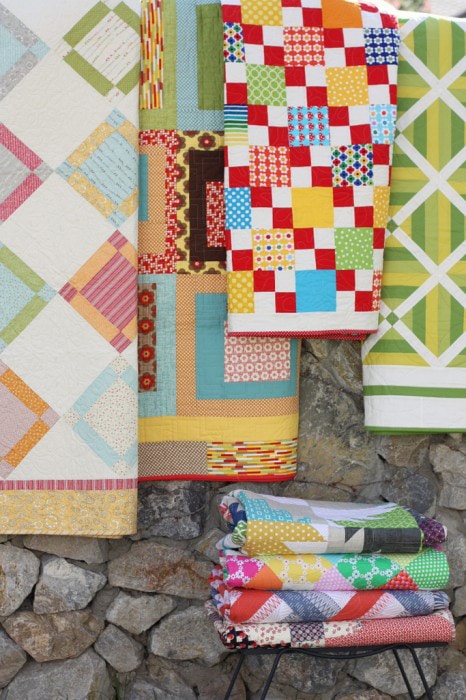
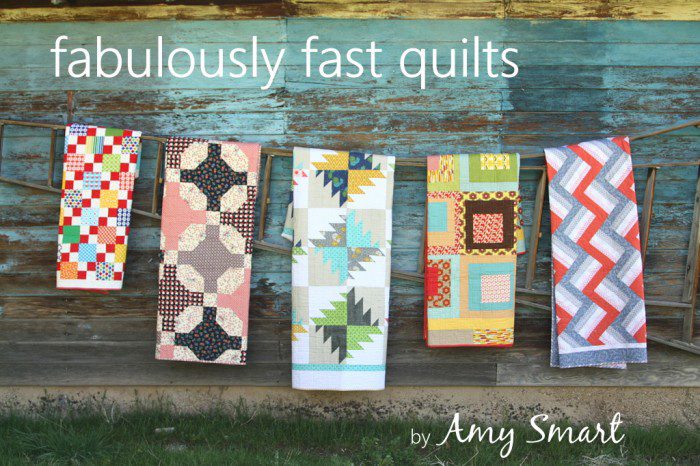
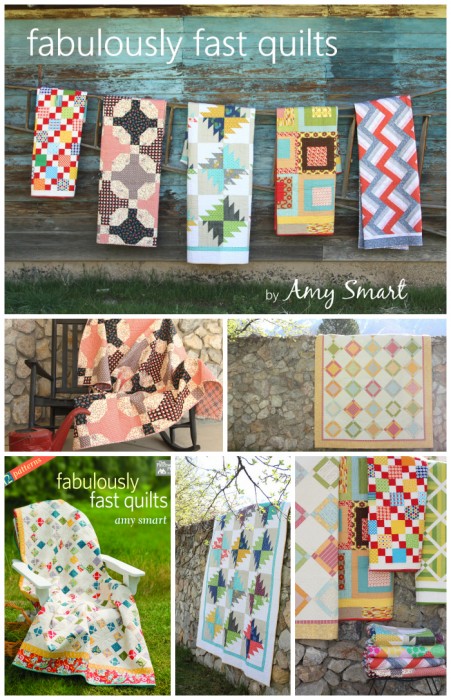
About the Fabulously Fast Quilts Book
I am so excited to be participating in the Fabulously Fast Quilts![]() Book Tour! Amy Smart, from Diary of a Quilter, is one of the VERY FIRST bloggers I met many years ago. Since then, I’ve had the privilege to spend a lot of time with her and can truly call her one of my friends. She is just as creative and nice in “real life” as she seems on her blog. I am so excited for her and her fabulous book!!! I love it when wonderful things happen for my friends.
Book Tour! Amy Smart, from Diary of a Quilter, is one of the VERY FIRST bloggers I met many years ago. Since then, I’ve had the privilege to spend a lot of time with her and can truly call her one of my friends. She is just as creative and nice in “real life” as she seems on her blog. I am so excited for her and her fabulous book!!! I love it when wonderful things happen for my friends.
Now let’s talk about Amy’s fantastic book, Fabulously Fast Quilts![]() . The book is all quilts that piece together quickly but don’t look like they were pieced quickly. I did a couple of double takes with how clever she is with her piecing strategies. I could have sworn some of the quilts would be much more complicated to piece. Amy shares tips for piecing in bulk and some great ways to use your quilt ruler that I had never thought of before.
. The book is all quilts that piece together quickly but don’t look like they were pieced quickly. I did a couple of double takes with how clever she is with her piecing strategies. I could have sworn some of the quilts would be much more complicated to piece. Amy shares tips for piecing in bulk and some great ways to use your quilt ruler that I had never thought of before.
The first chapter is all “how to’s” she shares lots of great quilting tips and tricks (like how to piece long strips together and keep your seams straight). Then she moves onto the quilt patterns which are all fabulous.
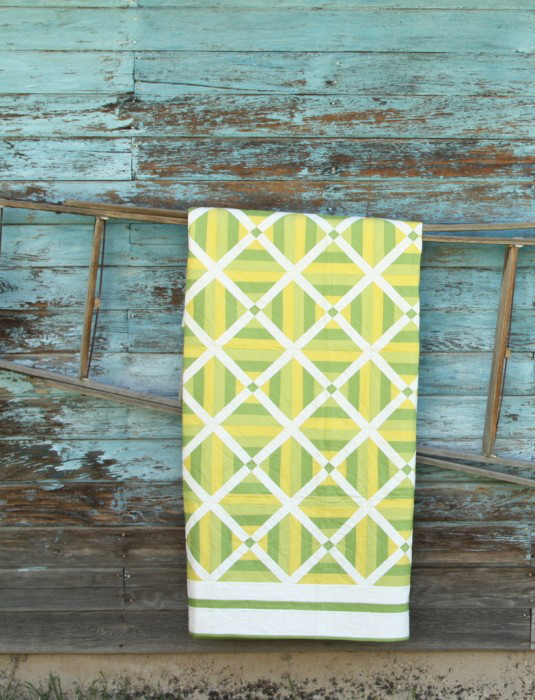
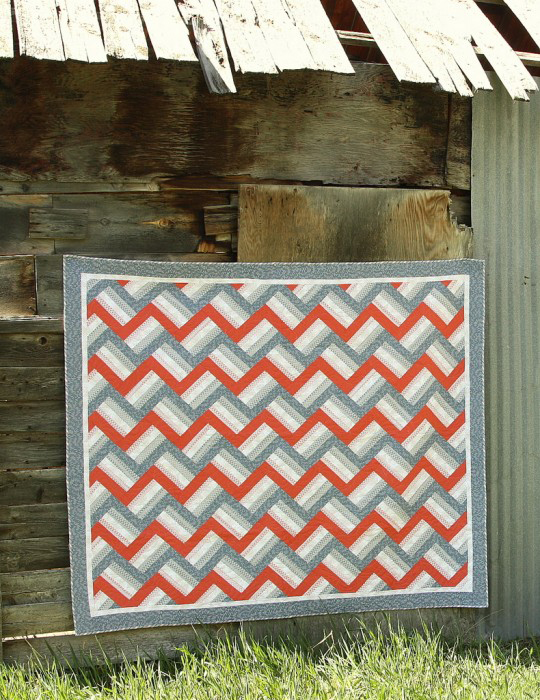
I think this is my favorite quilt in the book. I love the quick and clever way that Amy’s pieces these blocks, plus I think it looks so good in the monochromatic solids.
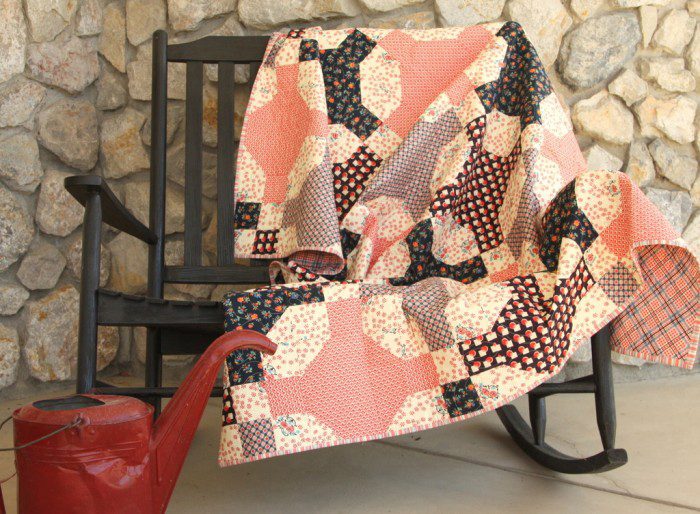
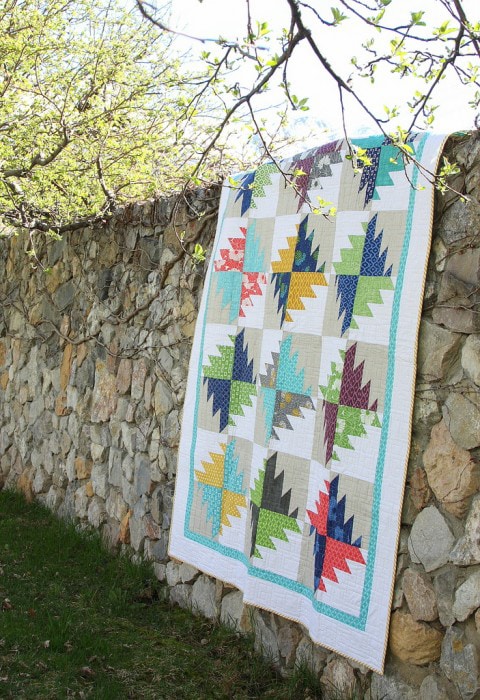
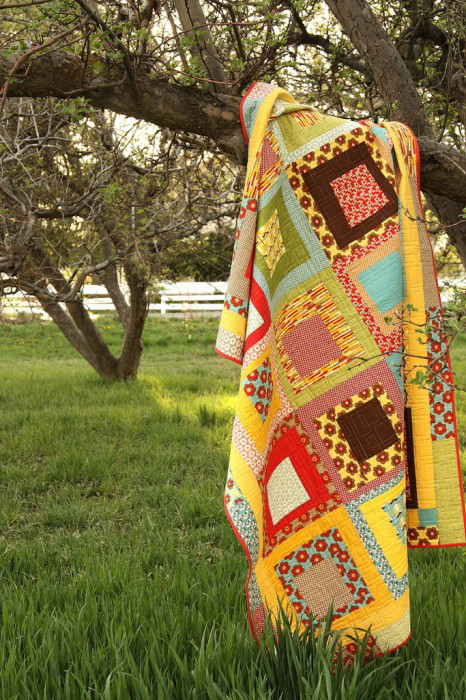
Here are a few more shots of the quilts in the book:
Looking for more fun QUILTING IDEAS? Follow me on Instagram!
Great site
Melissa what great tips. The only thing that I do different is that I open up my seams an press them. I tried doing it your way any when I had the quilt quilted it was not laying flat like when the seam are opened. I guess it is up to the individual the way they want to do it. Again thanks for sharing. Love your polkadotchair.com. you have so many beautiful things.
I’ve learned a lot from reading this thanks. I am a beginner beginner and know absolutely nothing! My ultimate goal is to make a memory quilt of my mother’s and daughter’s clothes.