
Turn Family Photos into a Keepsake Pillow with this Easy Tutorial
If you’re looking for a meaningful handmade gift idea, this vintage photo pillow tutorial is a wonderful way to turn treasured family photographs into something both beautiful and personal.
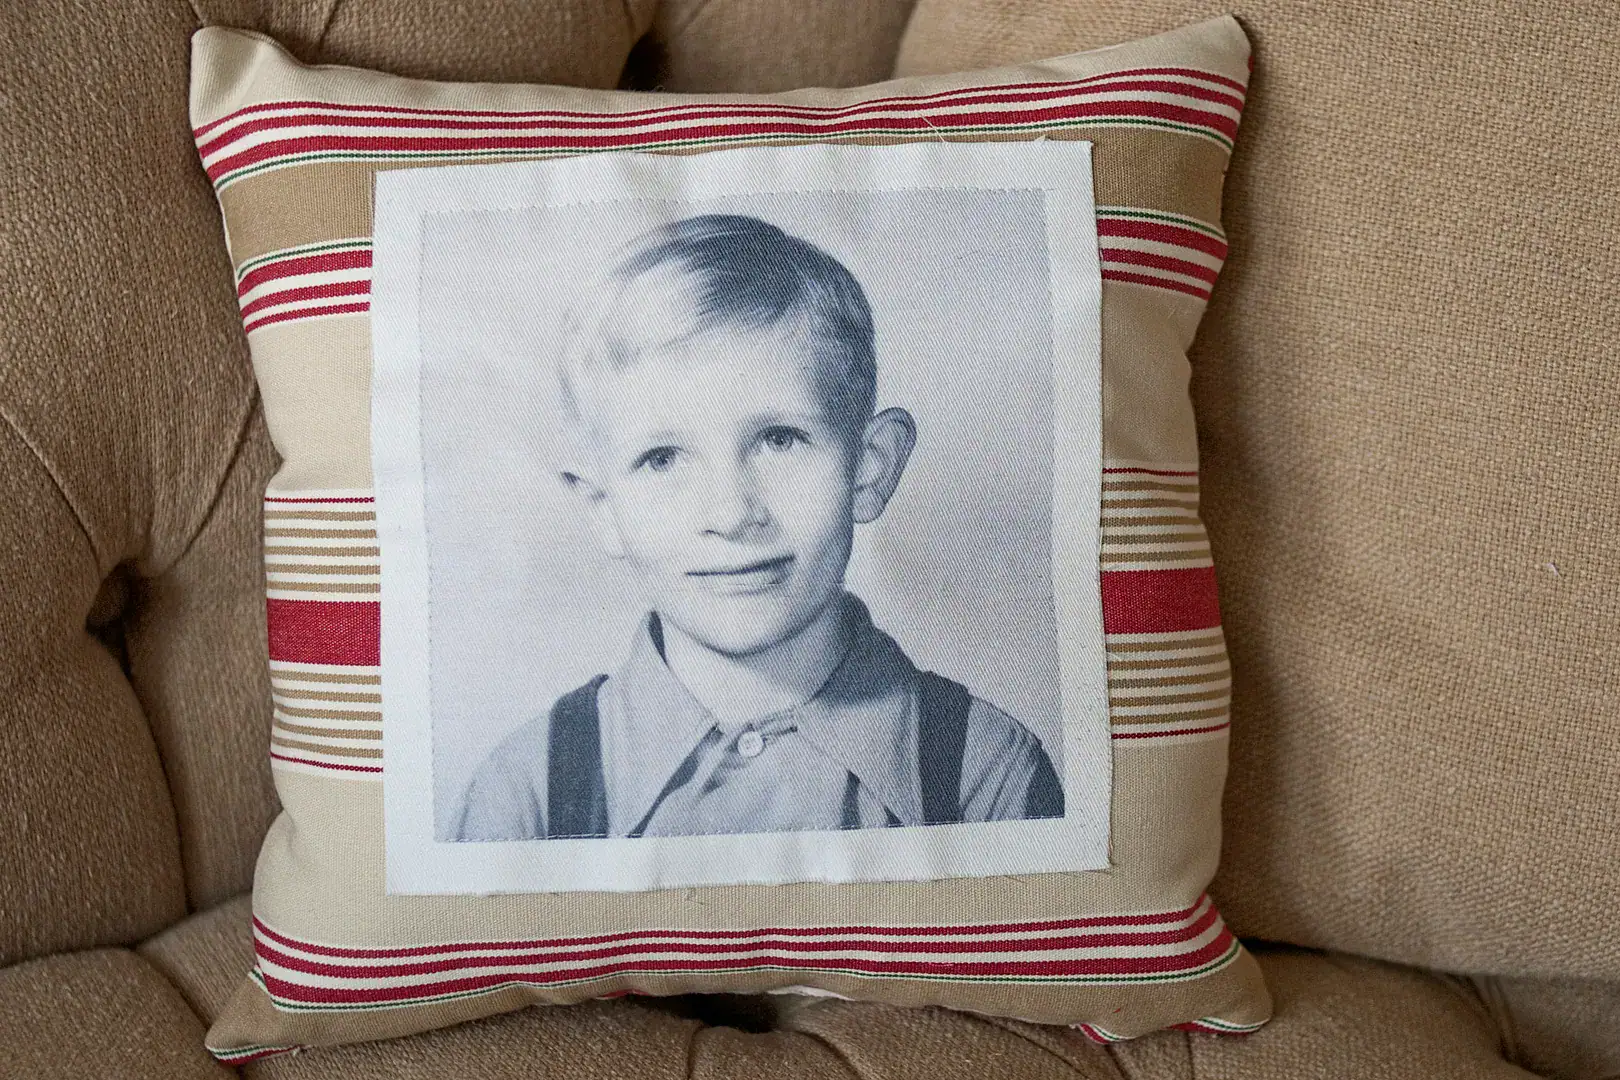
Using printable fabric and a few basic sewing supplies, you can create a custom memory pillow featuring vintage family photos, childhood snapshots, or favorite family memories. This easy sewing project makes a thoughtful keepsake gift for Father’s Day, Mother’s Day, grandparents, or anyone who loves sentimental, handmade decor.
I love to decorate my house with old photos of our ancestors. I got the idea to make a pillow out of some of these vintage photographs. This one is of my Dad as a kid. I’m going to make one of my Mom as a kid next.
Supplies
- Vintage Photo
- 12×12 Pillow Form
- Two 12×12 Pieces of Fabric
- Printable Fabric
- Heat n Bond Lite
- Scrap of White Fabric
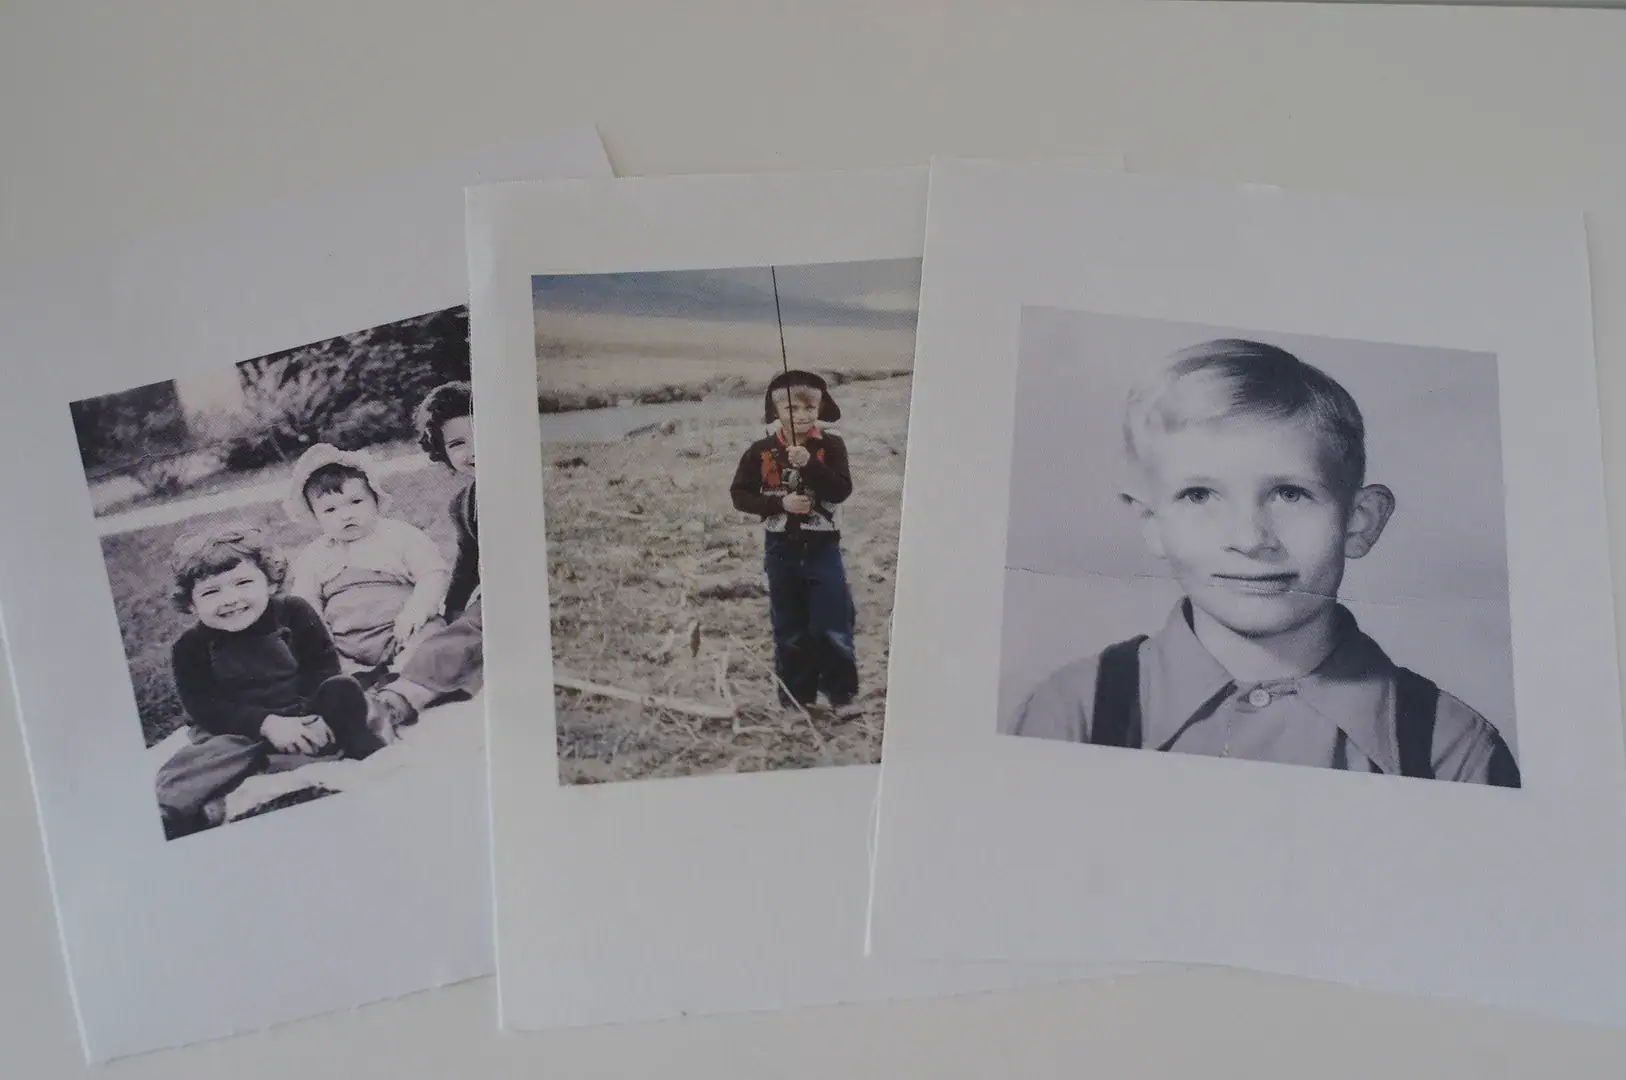
First, print your photo onto your printable fabric. Printable fabric is available at most craft stores. You can buy the fusible or non-fusible; it doesn’t matter.
Trim your photo so that you have a 1/2″ of white fabric showing on the edge.
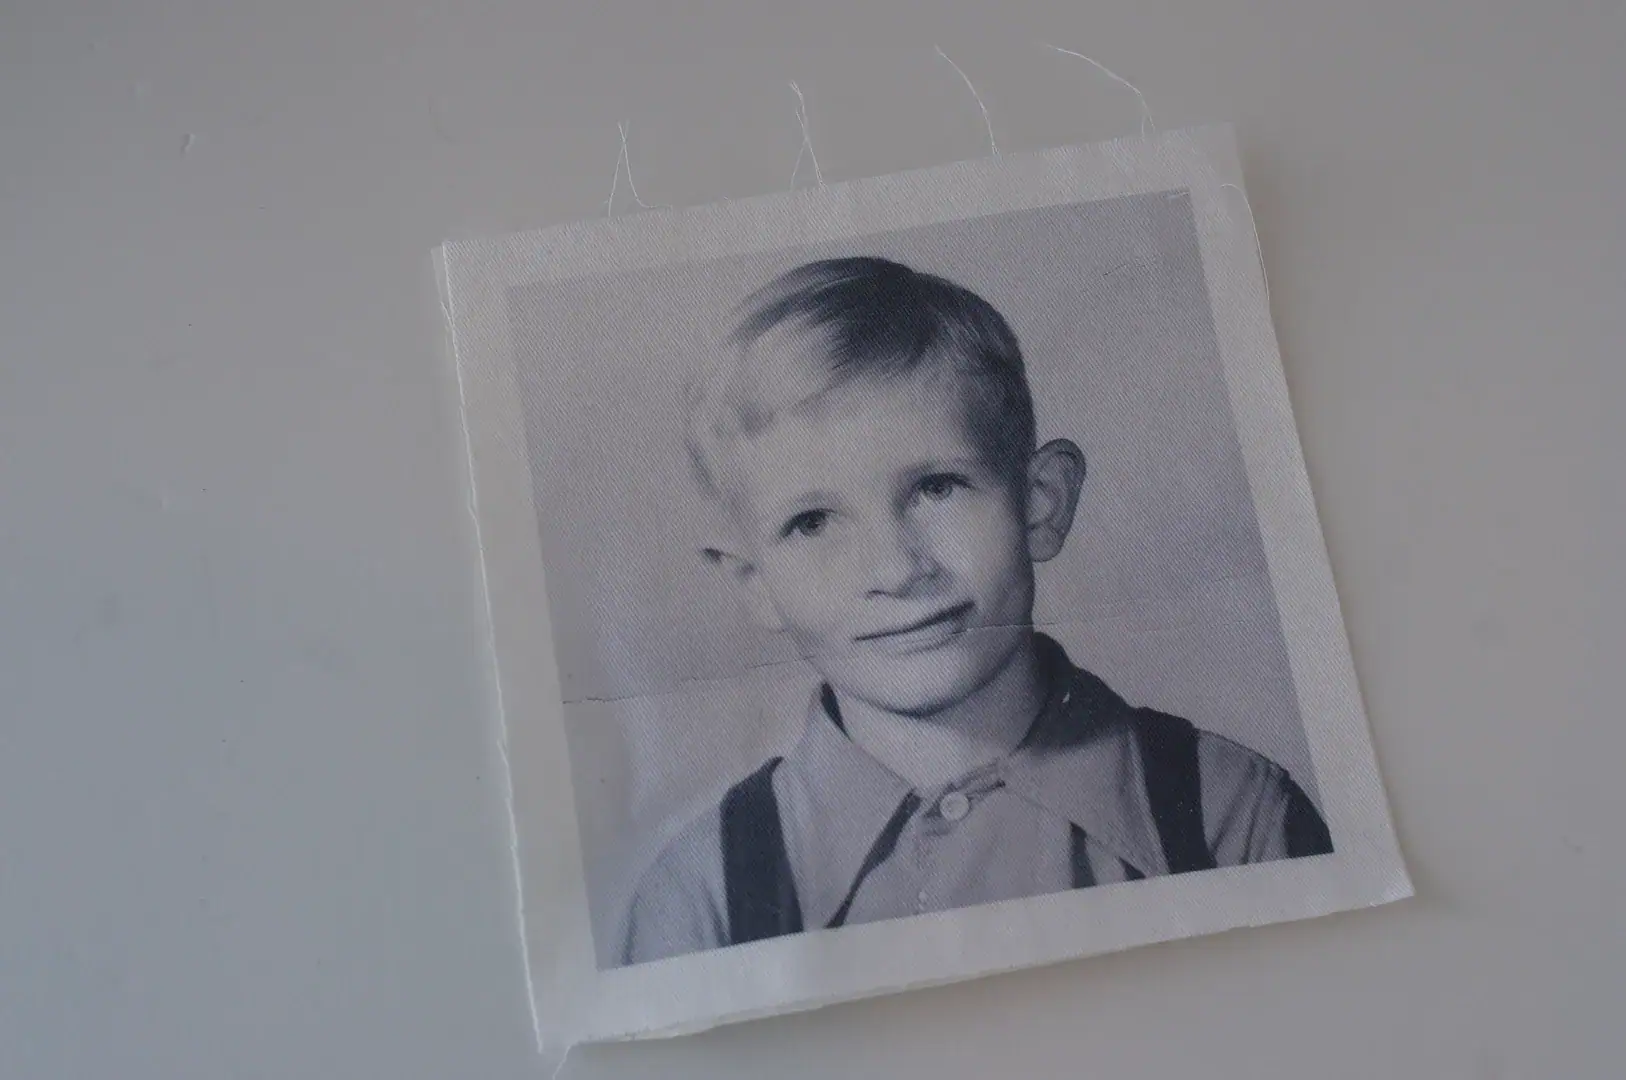
Iron a piece of Heat N Bond Lite onto the back of your fabric photo (unless you are using fusible printable fabric, you can skip this step).
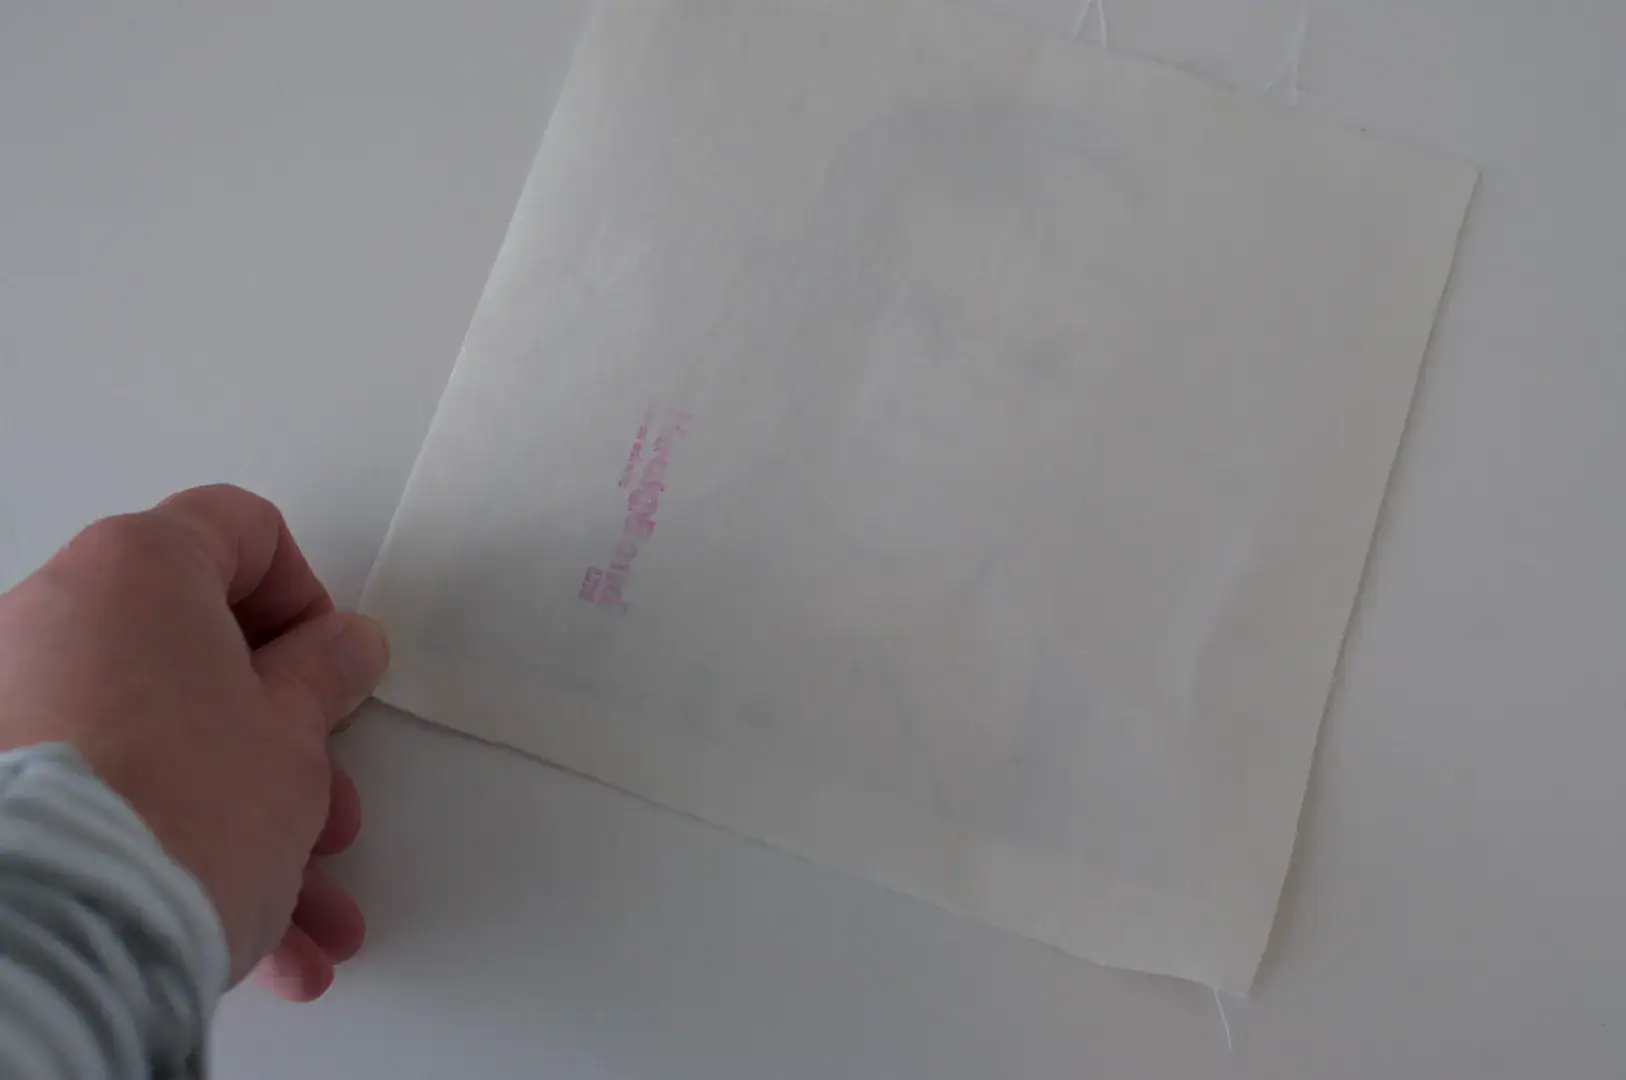
Lay your photo onto the top of your pillow fabric. If your pillow fabric is showing through your photo, place a piece of white fabric behind it to block it out.
Iron the fabric photo onto your pillow or the white scrap of fabric. If you are using a white piece of fabric, you will need to place another piece of Heat ‘ N Bond Lite onto the back of the white fabric, so you can iron your photo onto your pillow.
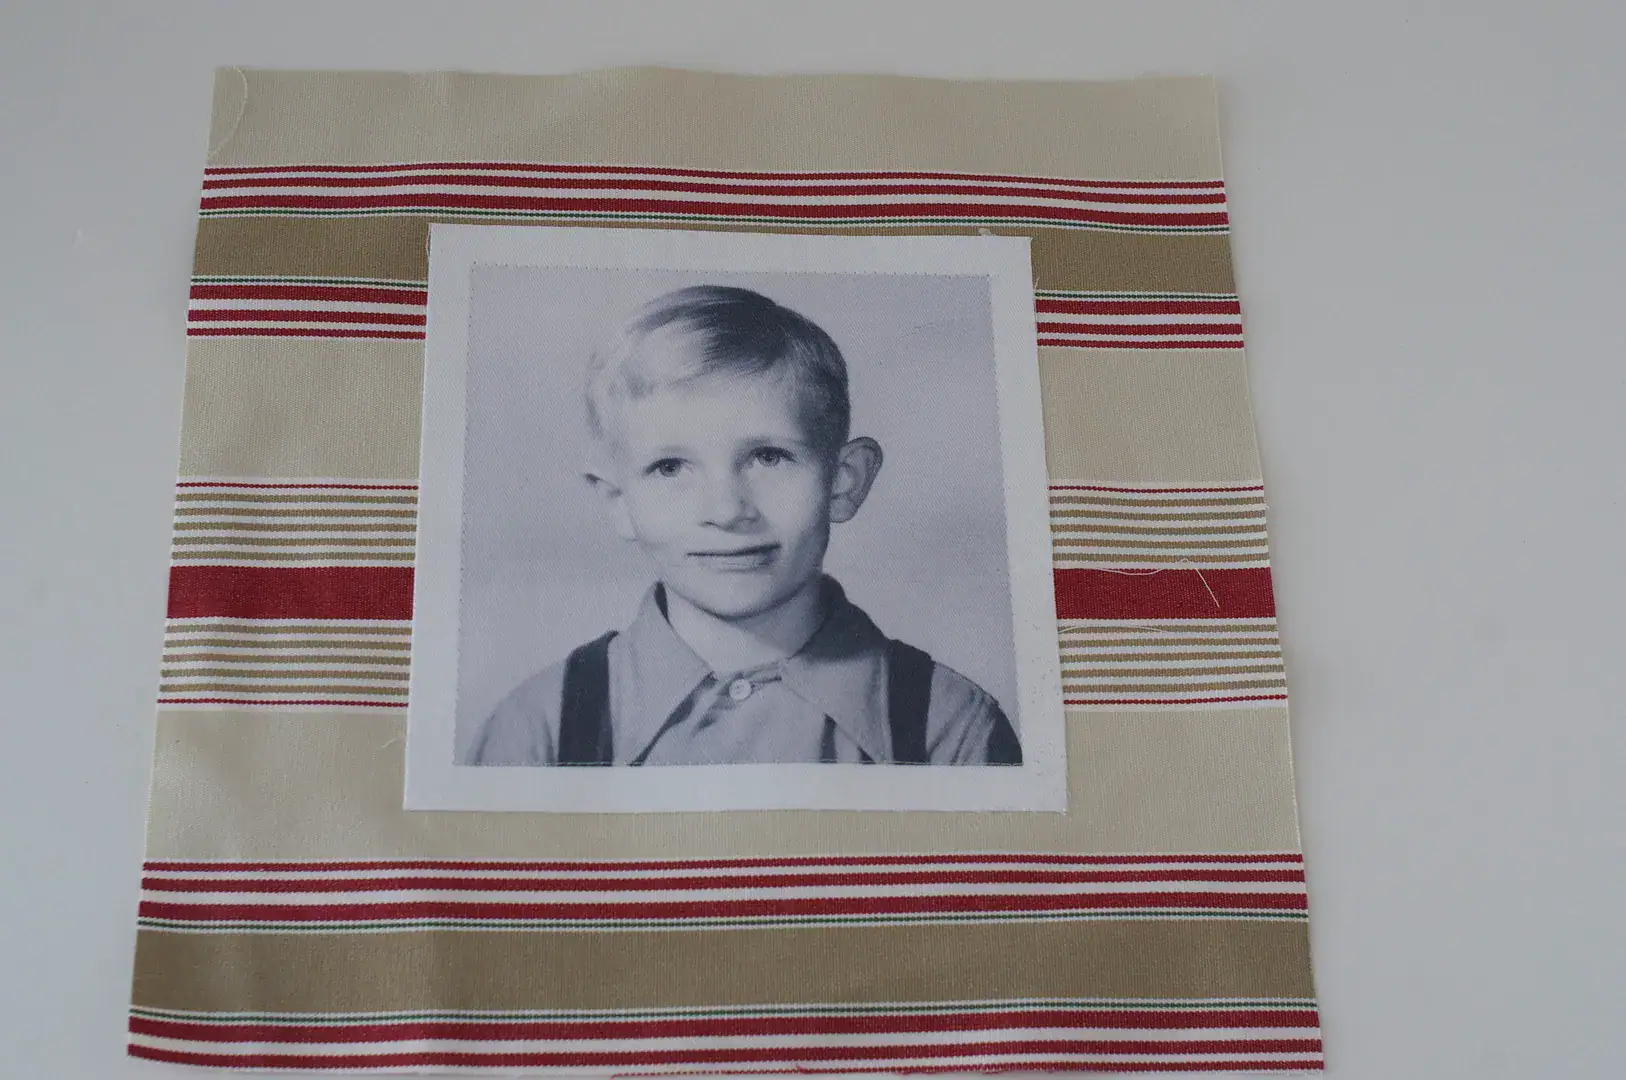
Iron your photo onto the center of one of your 12×12 fabric pieces.
Stitch around the edge of the photo to secure it.
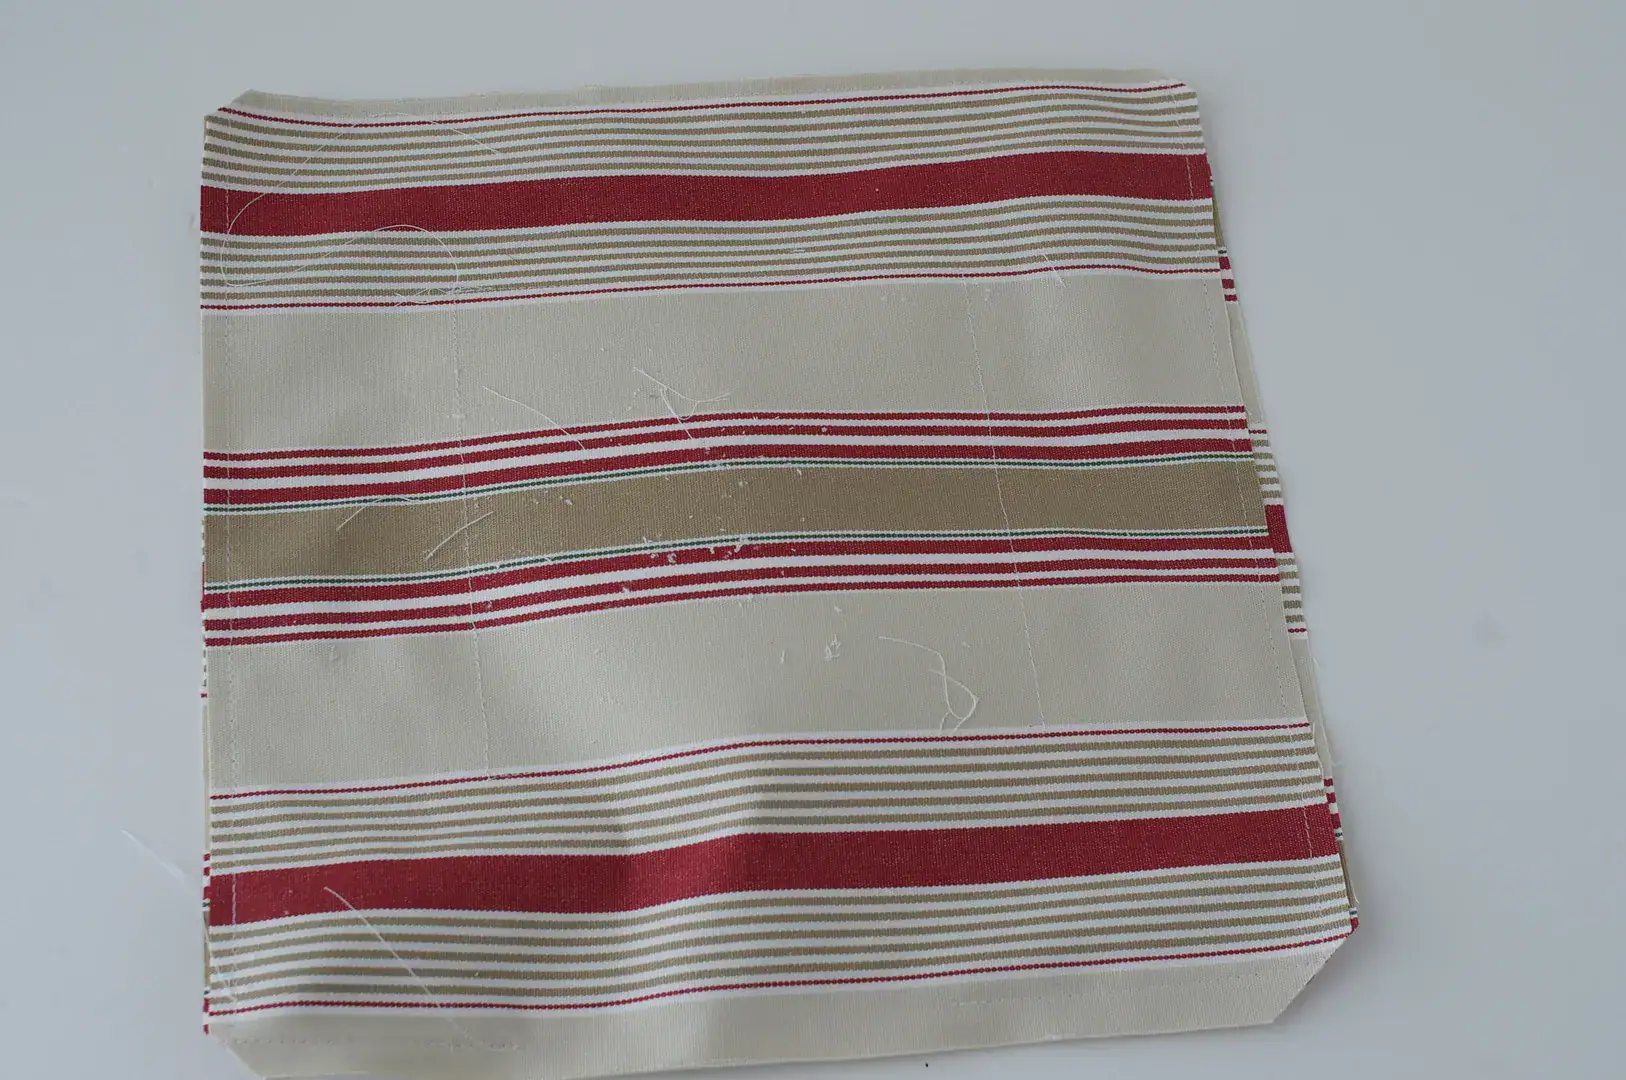
Lay your 2nd 12×12 piece of fabric on top of your fabric with the photo side facing up, right sides together.
Sew around 3 sides, leaving one open to insert your pillow form.
Clip corners, turn right side out and press.
Insert pillow form and hand stitch opening closed.
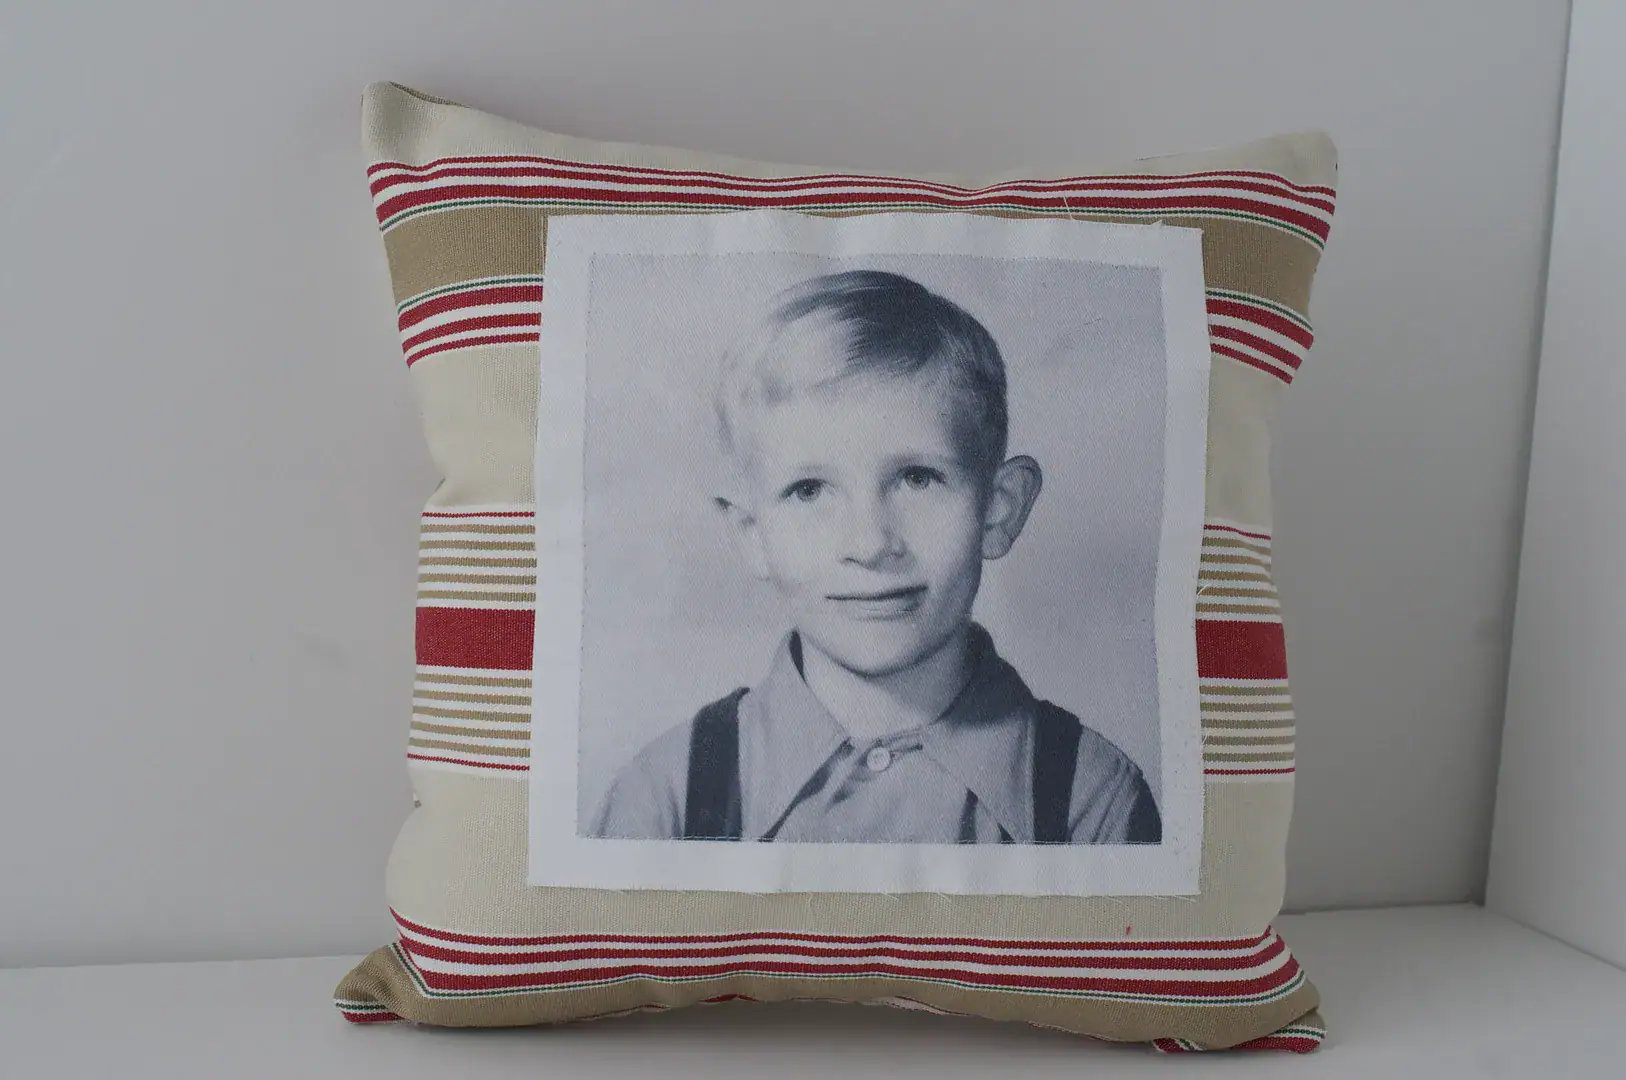
This personalized pillow tutorial is beginner-friendly and can easily be customized to match your home decor style. Add piping, appliqué details, or favorite fabrics to make the design uniquely your own.
How do you put a picture on to the fabric do you need a special printer, special kind of computer ???
I have did this so many times even made shirts, bags you name it. Always and I do mean always a huge hit with the receiver! You can’t go wrong with this or another idea to give as a gift especially with grand kids photos.
Thanks for the turorial, a wonderful idea.
What an awesome gift idea and thanks for the tutorial!