How to use Cricut Infusible Ink
Many of you may have heard that Cricut just debuted a new product, Infusible Ink. You may also be wondering what it is exactly and how to use it. Cricut sent me a box of Infusible Ink goodies to play with, and today, I’m excited to share with you what I’ve discovered. This is sponsored content.
What is Cricut Infusible Ink?
Infusible ink is a product that is made to be cut out with a Cricut machine that essentially “dyes” (for lack of a better term, it’s not dye, it’s ink) your image into whatever you’re applying it to. Many of you might be familiar with iron-on vinyl, which is a “similar” product in that it’s used to apply designs to things like bags and t-shirts.
However, where vinyl sits on top of the medium you’re applying it to, Infusible ink actually infuses itself into the medium. Think of the difference between dying a piece of fabric and ironing a patch onto a piece of fabric.
What would you want to use Infusible Ink for?
If you have a fabric item that is going to get washed over and over again or something that you want to put in the dryer, then infusible ink is perfect. Since it penetrates the fabric, you can wash your item as normal and put it in the dryer.
I’ve had great luck with Iron-On Vinyl holding up to repeated washings (since I discovered the EasyPress), but I do notice that for items that get a lot of wear, vinyl can slowly come off over time.
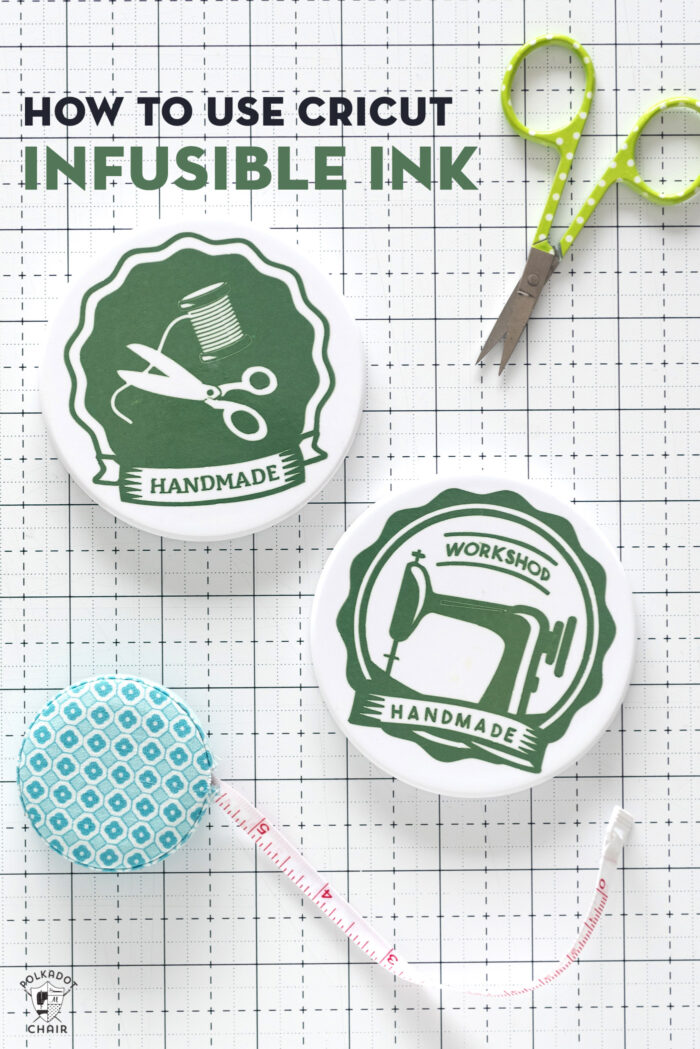
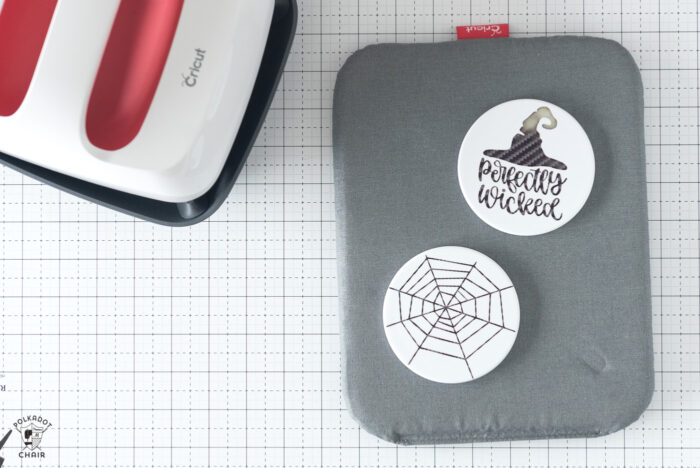
The other thing that invisible ink is great for is creating coasters! For me, this is the thing that I’m most excited about using infusible ink for.
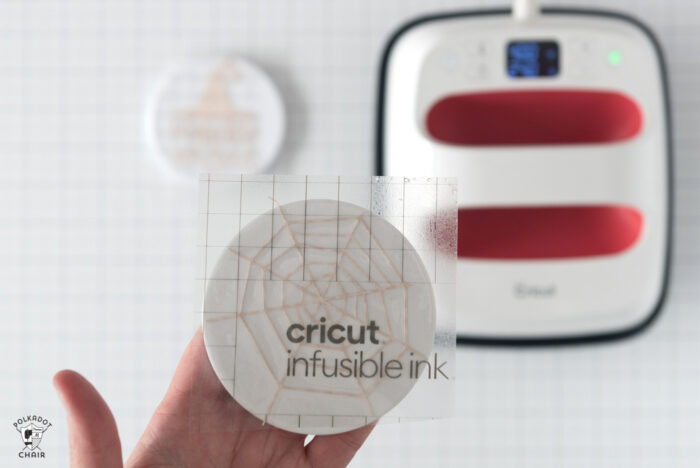
I created a few coasters with the samples Cricut sent me, and I’m absolutely amazed at how it works. It looks like the image was glazed onto the coaster, but it’s actually IN the glaze, not sitting on top of it.
What can you apply Cricut Infusible Ink to?
Infusible Ink needs to be applied to items that are made for Infusible ink. I tried to apply it to some plain canvas and the image was very faint, it didn’t really work.
Right now, you can get t-shirts, baby bodysuits, coasters, and tote bags, and Cricut plans to expand the selection as time goes on. I checked the prices for the Infusible ink items on Michael’s website, and they are priced similarly to other “non” infusible ink products.
Where can you get Infusible ink?
Infusible ink and the blanks are exclusive to Michaels stores right now.
How to Use Cricut Infusible Ink
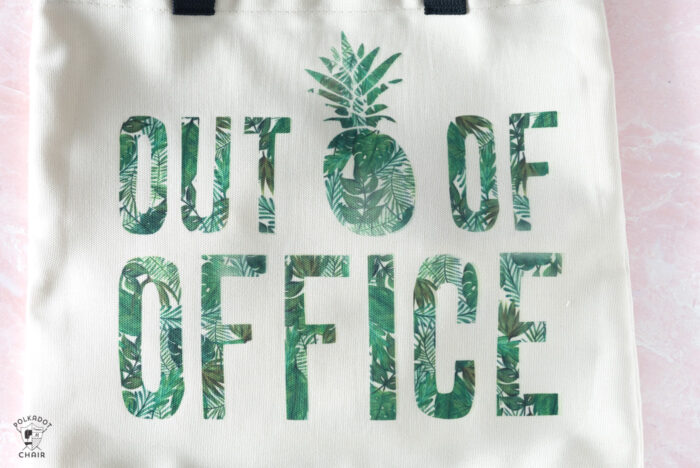
I created two projects to share with you today: a tote bag and a set of coasters. As I worked, I discovered a few things to watch out for when using the ink. I’ll share some tips with you for working with the product.
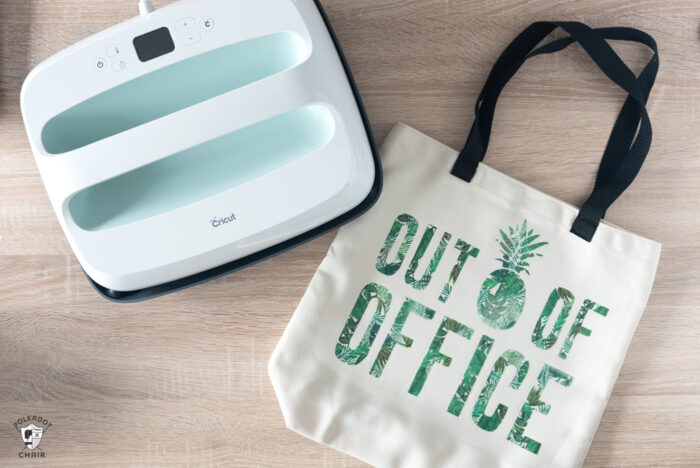
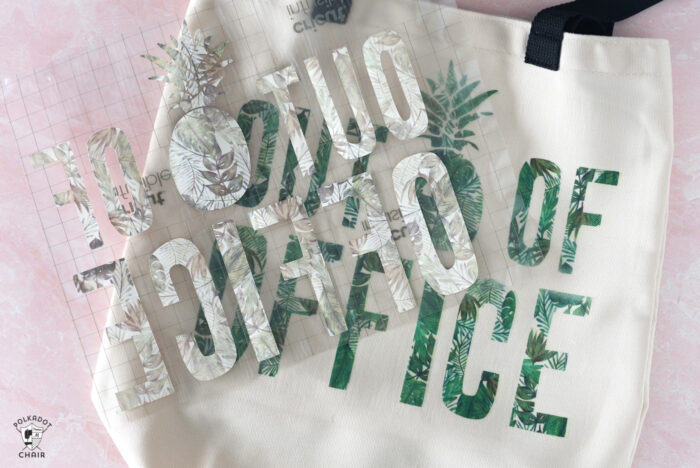
I’ll start with the tote bag since I think working with the tote bag is the most familiar thing to you if you’ve worked with iron-on vinyl before.
To Create the Tote Bag:
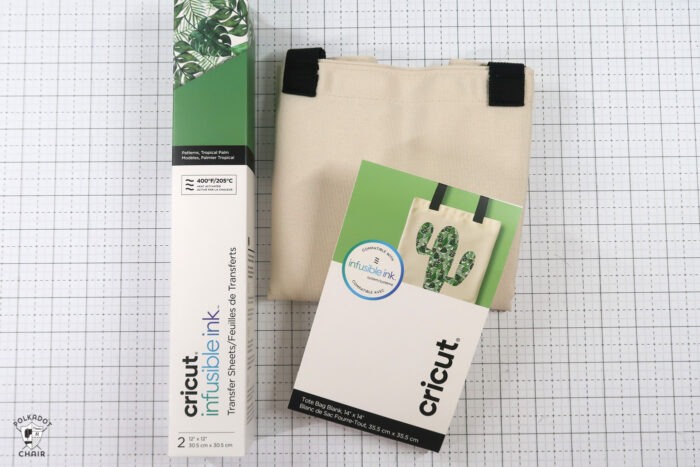
- Infusible Ink Transfer Sheets; Tropical Palm.
- Infusible Ink ready Tote Bag
- Cricut Maker 3 (you can get great deals on machine bundles on Cricut.com)
- Roll Holder for Maker 3
- Cricut EasyPress (I like the large size the best): Make sure you get the EasyPress mat as well.
- Cricut Weeding Tools: (I use the small hook tool ALL the time, making weeding vinyl so much easier).
For my tote bag, I’m using the Infusible Ink tote and the Palm print Infusible Ink sheet. The package comes with 1 palm print sheet and 1 solid green sheet.
Step One: Prepare Your Design
Open your design in Cricut Design Space (I’ve shared my design with you, grab it here).
Send it to the machine to cut as you normally would.
Place the Infusible ink on the Cricut standard grip mat with the shiny side down.
Set your design to “mirror” in Design Space, then select “infusible ink” from the list of materials. Next, load the mat and cut.
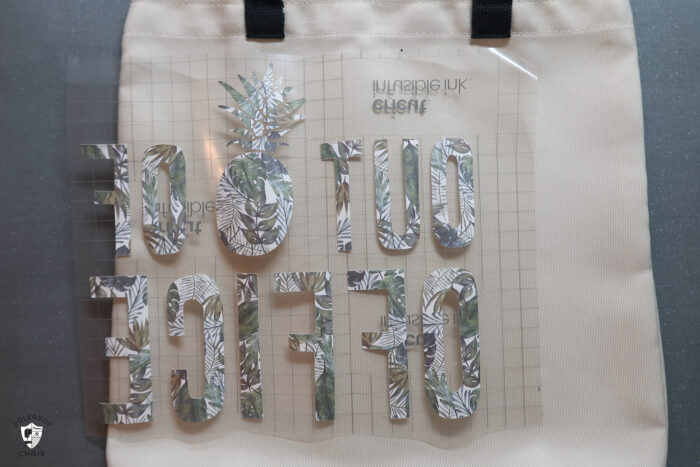
Weed the design. Here’s a tip: Since infusible ink essentially feels like paper, I recommend only weeding it with your fingers or tweezers. Using the hook attachment might damage the sheet.
How to Use Infusible Ink with the Cricut EasyPress
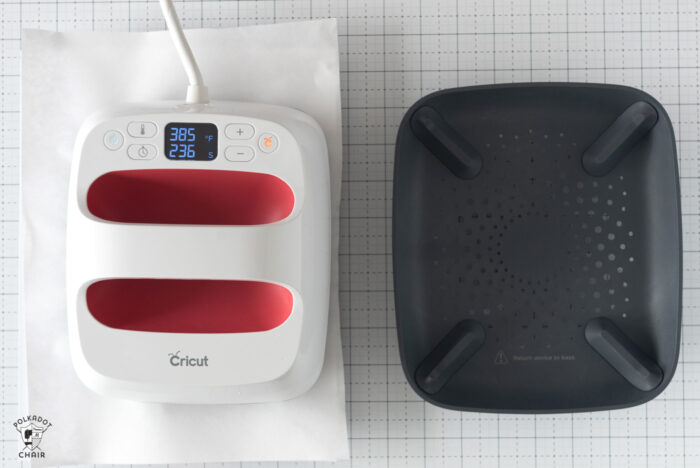
It is recommended that you use an EasyPress 2 for Infusible Ink since it can reach a higher temperature. You can find all of the information about what heat and what temperature to use with your Infusible Ink HERE on the Cricut website.
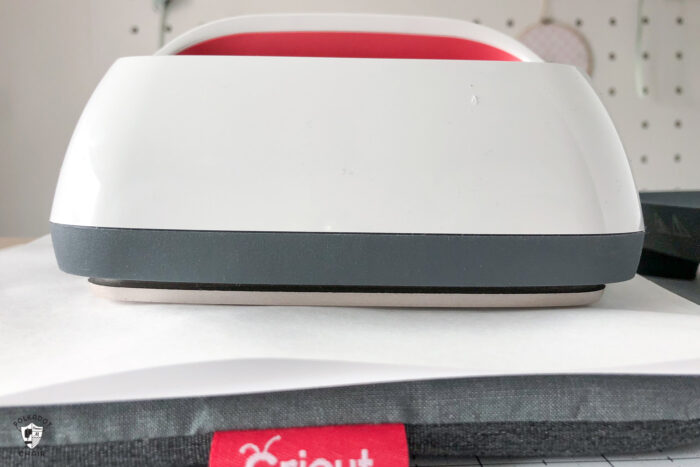
After you’ve weeded your sheet you’re ready to apply it to your tote bag.
Place the tote bag on the EasyPress mat. Then, place the weeded sheet on top of that, with the paper side down.
Make sure that the sheet WILL NOT MOVE. If you need to, use heat-safe tape to secure the sheet in place.
Place the piece of butcher paper with the Infusible Ink sheets on top of the cutout design.
Set your EasyPress to 385 degrees for 40 seconds.
Pick up your EasyPress and place it directly onto the tote bag/paper. Press the Cricut button and wait for the timer to finish. Pick up the EasyPress and move it off the bag. Again, don’t slide it around.
Must-Know Tips!
DO NOT move the EasyPress. It must be on top of the tote bag and not move around. If the image slides on the tote bag, you will not get a clean press.
You need the design to be completely covered by the EasyPress plate. Unlike Iron on Vinyl, you can’t work in sections. You need to heat it up all at the same time.
This is a “one-shot” project, so take some time to make sure you’ve got everything right before you heat up the design.
Wait for the item to cool, then remove the carrier sheet.
Your item is now ready to use!
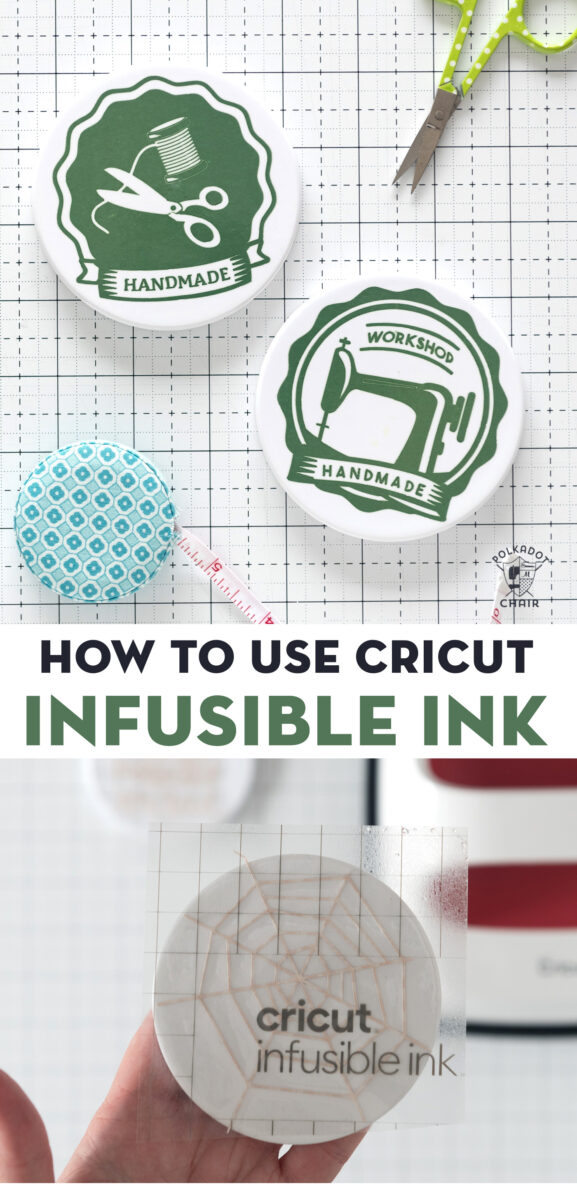
How to Apply Cricut Infusible Ink to Coasters
I mentioned before that I thought that creating coasters is one of the coolest things to do with Infusible Ink.
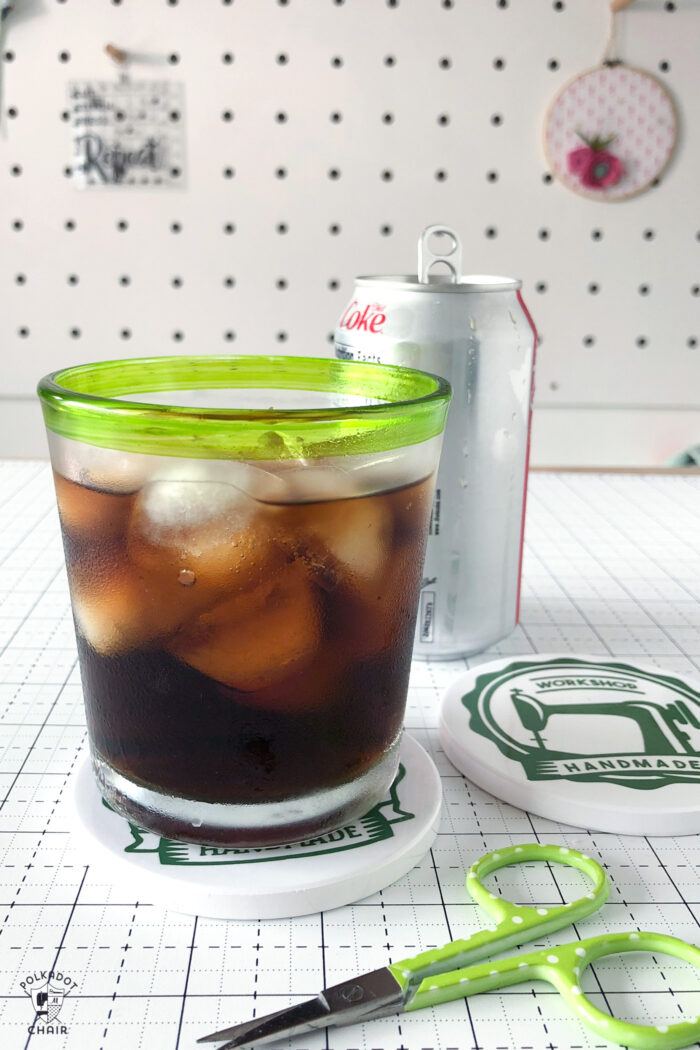
The coasters are shiny, bright, and sturdy. They look really professional and would make great gifts!
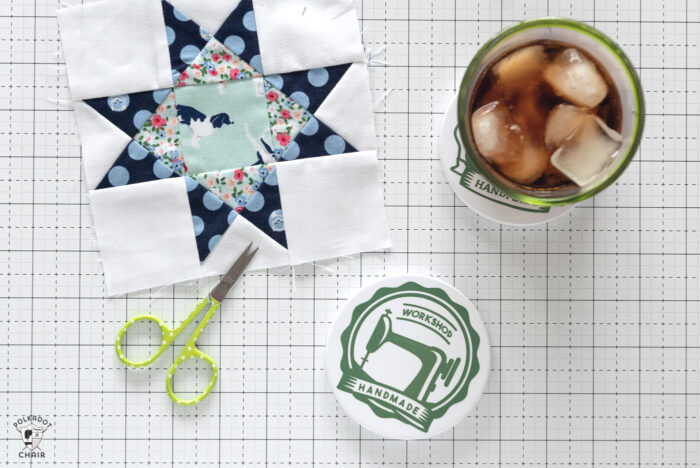
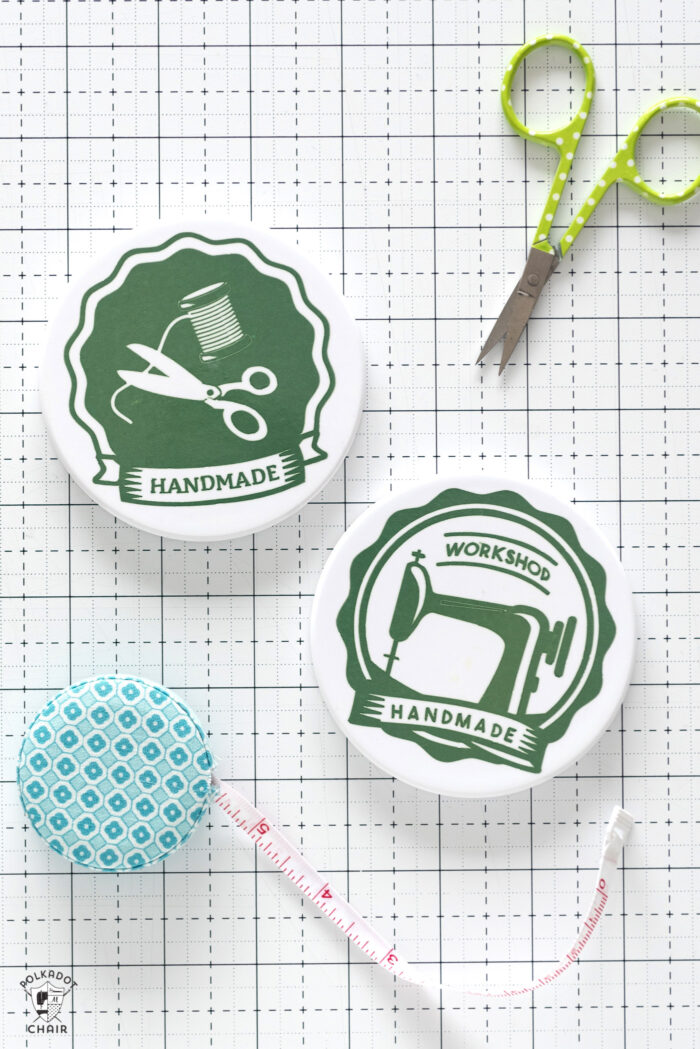
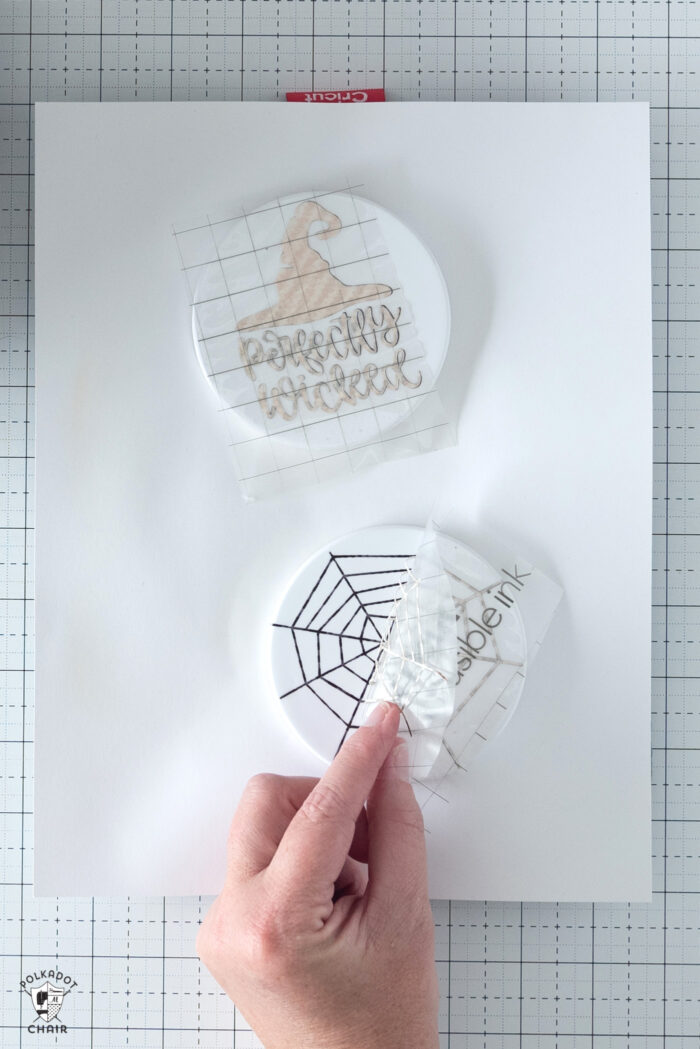
I created two sets of coasters, one using the Maker Badges images in the Design space and one set for Halloween. I’ve shared my Design Space file for the Maker Badges coaster with you. You can get it by clicking here.
I plan to make a few more sets of coasters for the upcoming holidays. I’ll be sure to share those projects with you.
Supplies to Make the Infusible Ink Coasters:
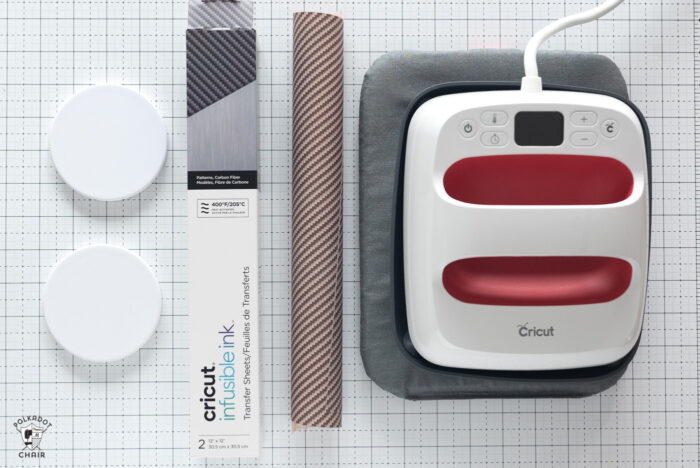
- Cricut Machine; I use a Cricut Maker
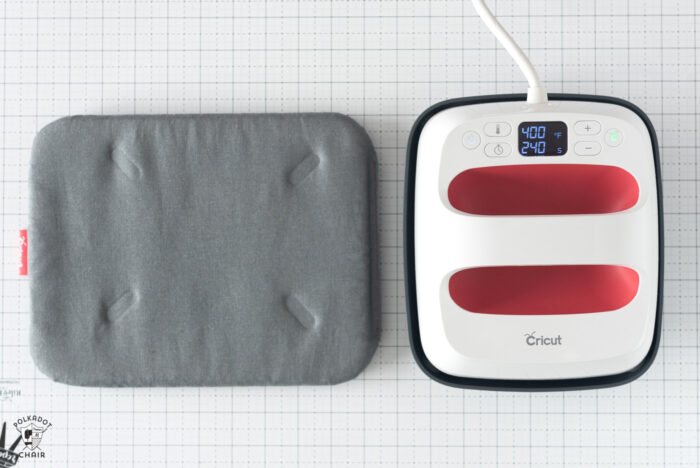
- Cricut EasyPress 2 (any size will work, just make sure it covers your entire design.
- EasyPress Mat
- Infusible Ink Ready Coasters
- Infusible Ink Transfer Sheets in Carbon Fiber.
For Halloween coasters, I used the Carbon Fiber set. In my photo, you can see the sheet before it’s heated up. As you can tell the color changes significantly after it’s been heated and applied.
Cut out your design as you did for the tote bags.
TIP:
The Coasters are about 3 1/2” wide. To make sure your design will fit on the coaster, draw a circle in design space and size it to 3 1/2”. You can then use that circle as a guide to see how your image will fit on your coaster. Delete the circle before you send the design to the machine to cut.
Place your weeded design on your coaster. The paper side will be down. Secure in place with heat resistant tape if you feel that it’s not secure.
Using the EasyPress 2 with Coasters:
You need to make a “sandwich” to set the ink on the coasters.
Layer one is your EasyPress mat.
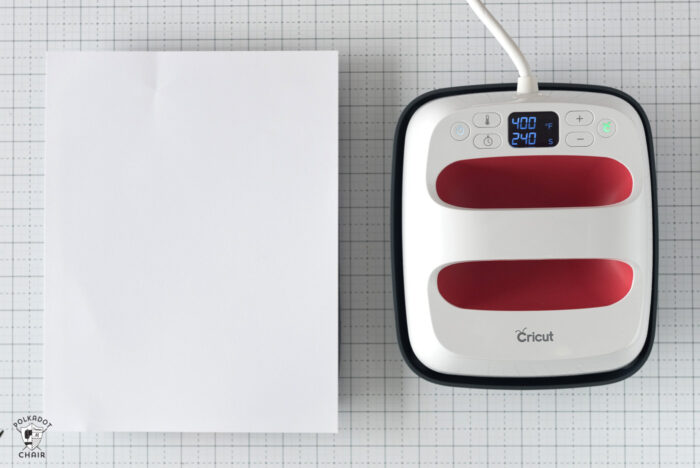
Next, add a piece of white cardstock to the top of the mat.
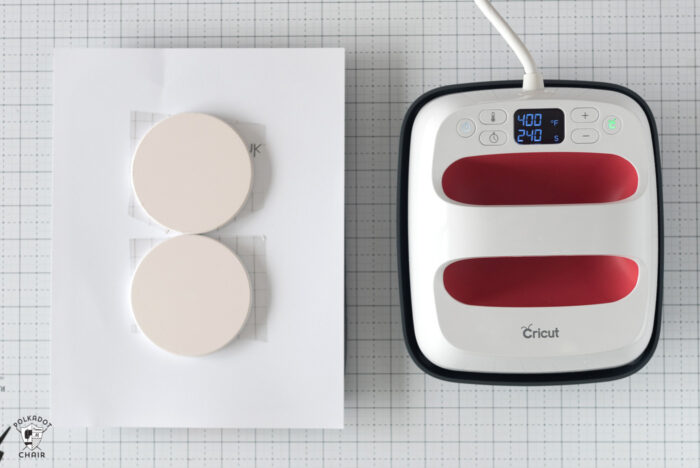
Lay your coasters onto the cardstock. They will be upside down.

Then add the butcher paper that came with your Ink sheets to the top of that.
Set your EasyPress to 400 degrees and 240 seconds (YES, 240 seconds!)
Place the EasyPress onto this “sandwich” of items.
Make sure that the plate covers the entire design.
Press start, and DO NOT TOUCH it.
Watch Out! It’s Hot!
When the timer is done remove the EasyPress and DO NOT TOUCH your items. They are insanely hot! It will take at least 5 minutes before they cool down.
When you’re confident that the coasters are cool, pick them up and remove the carrier sheet.
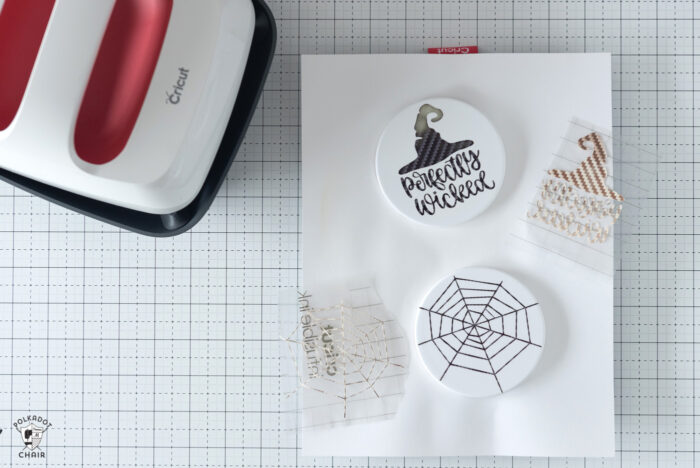
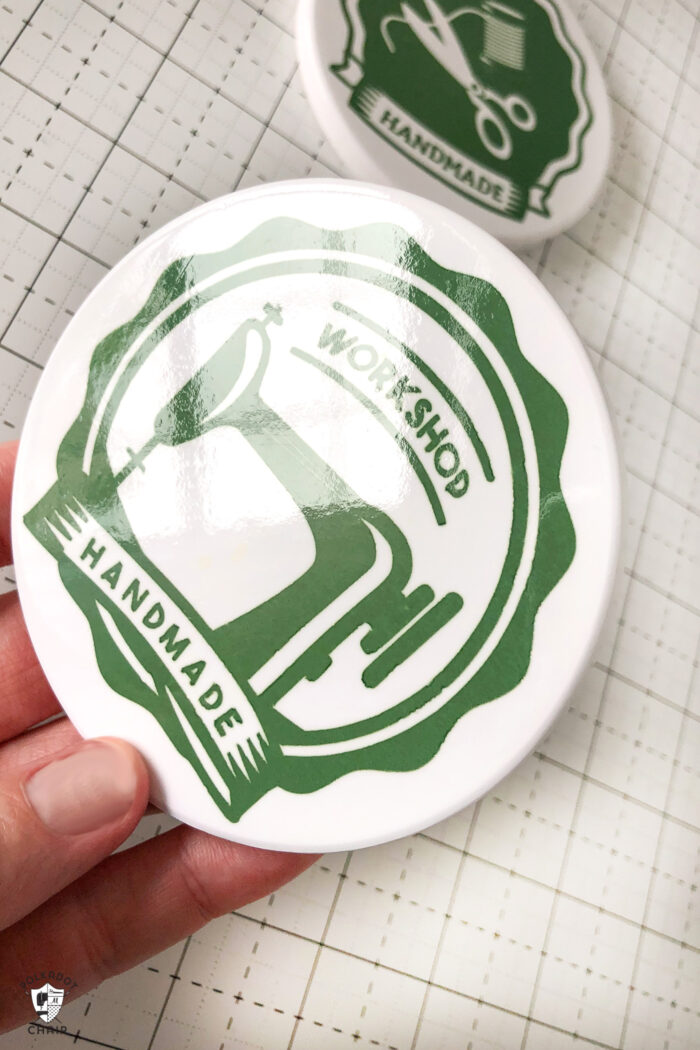
Voila! Like I said before, I love the effect on the coasters.
You will notice that one of my coasters didn’t come out quite right.
Here’s what I did wrong:
The EasyPress plate needs to cover the entire image. I did not realize that part of the plate was not touching that part of my coaster. I should have either used the larger EasyPress OR only worked on one coaster at a time.
Summary:
So, there is my initial “experience” working with Infusible Ink. I didn’t make a t-shirt (I need to get a different size than the one they sent me), but I am really excited to start playing around making tees as well.
I’m really looking forward to making more coasters. I plan to make some with Holiday designs and give them as gifts for Christmas tied up with cute bows. I also think they would be adorable as teacher gifts. You could also monogram them and use them for bridesmaid or groomsmen gifts.
I was concerned that the process would be too particular for working with Infusible Ink. I’m not the “best” when it comes to doing things the EXACT right way. I did not find it to be an issue. It was much easier to work with than I was anticipating and am planning to use it again in the future (blog project or not).
You can get Infusible Ink at Michaels stores.
If you have any questions, leave them in the comments section. If I don’t know the answer, I’ll do my best to find it for you.
More Fun Cricut Maker Projects to Try:
How to use Freezer Paper to Create Custom Stencils
Simple Personalized Pillowcase Tutorial
This is a sponsored conversation written by me on behalf of Cricut. The opinions and text are all mine.

Hi there, I’m about to use my infusible Ink sheet for the first time however I don’t know which side of the butcher paper needs to face up? Shiny side up or down?
1st, make sure you’re using butcher paper and not freezer paper. 2nd, it doesn’t really matter, but I’d put the shiny side up.
Hi! Which infusible ink sheet did you use for the green maker badge coasters?
Hi Melissa!
I just found your site and am excited to see all your tutorials on Cricut!
I have a quilt pattern that requires several very small squares and rectangles, I’m talking about 1,000 or more squares and so I purchased the Cricut to help with this as I can customize the size whereas other die cutters don’t offer this capability. Anyway I have been searching for a tutorial on how to make quilt labels especially using the infused pens and wondered if you know if this can be done. Will the pens write directly onto a piece of fabric? Or is vinyl the best option? What are your thoughts and suggestions?
Thank you for your help!
The pens write on paper then you can use the paper to infuse it onto fabric. You put the pen in the machine instead of a cutting blade.