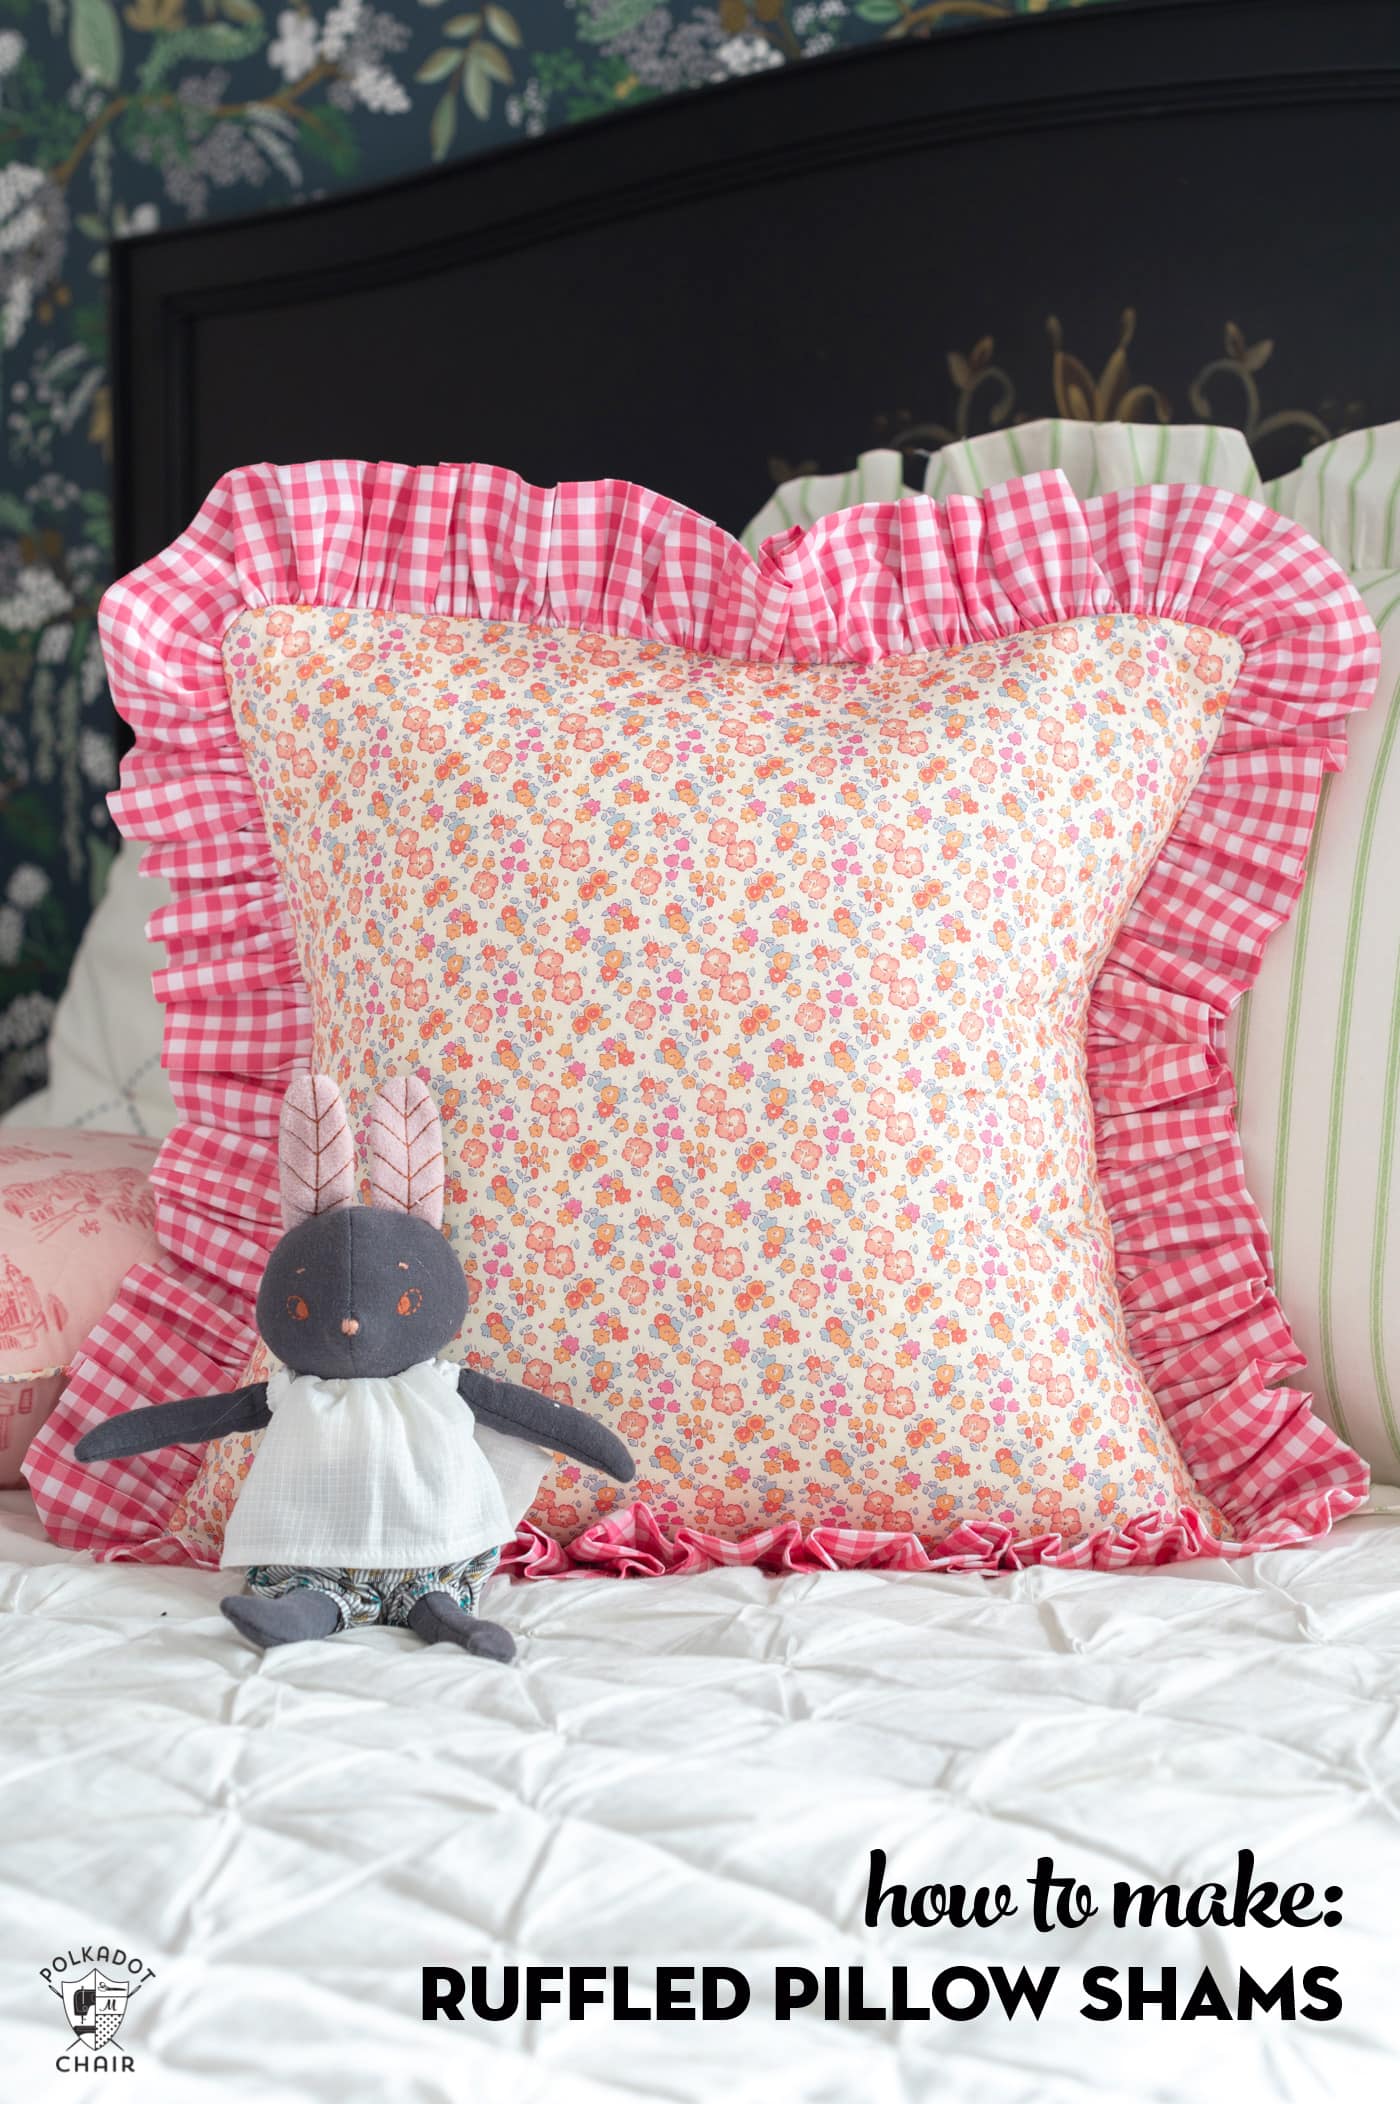
How to Make a Pillow Sham with a Ruffle Edge
Learn how to make a simple ruffled pillow sham in two different sizes with our free sewing tutorial.
My daughter came home from college for a quick visit and asked me if I knew how to make pillow shams with ruffle edges for her bed. I laughed out loud, and she looked at me like I was crazy.
I told her I had ruffled pillow shams on my pillows in my college dorm back in the early 90s. So yes, I know how to make them since I made them for myself over 30 years ago! It’s so funny how things come back into style. It’s even more funny that I remembered how to make the pillows! I wish I had a photo of my 90’s dorm to share with all of you.
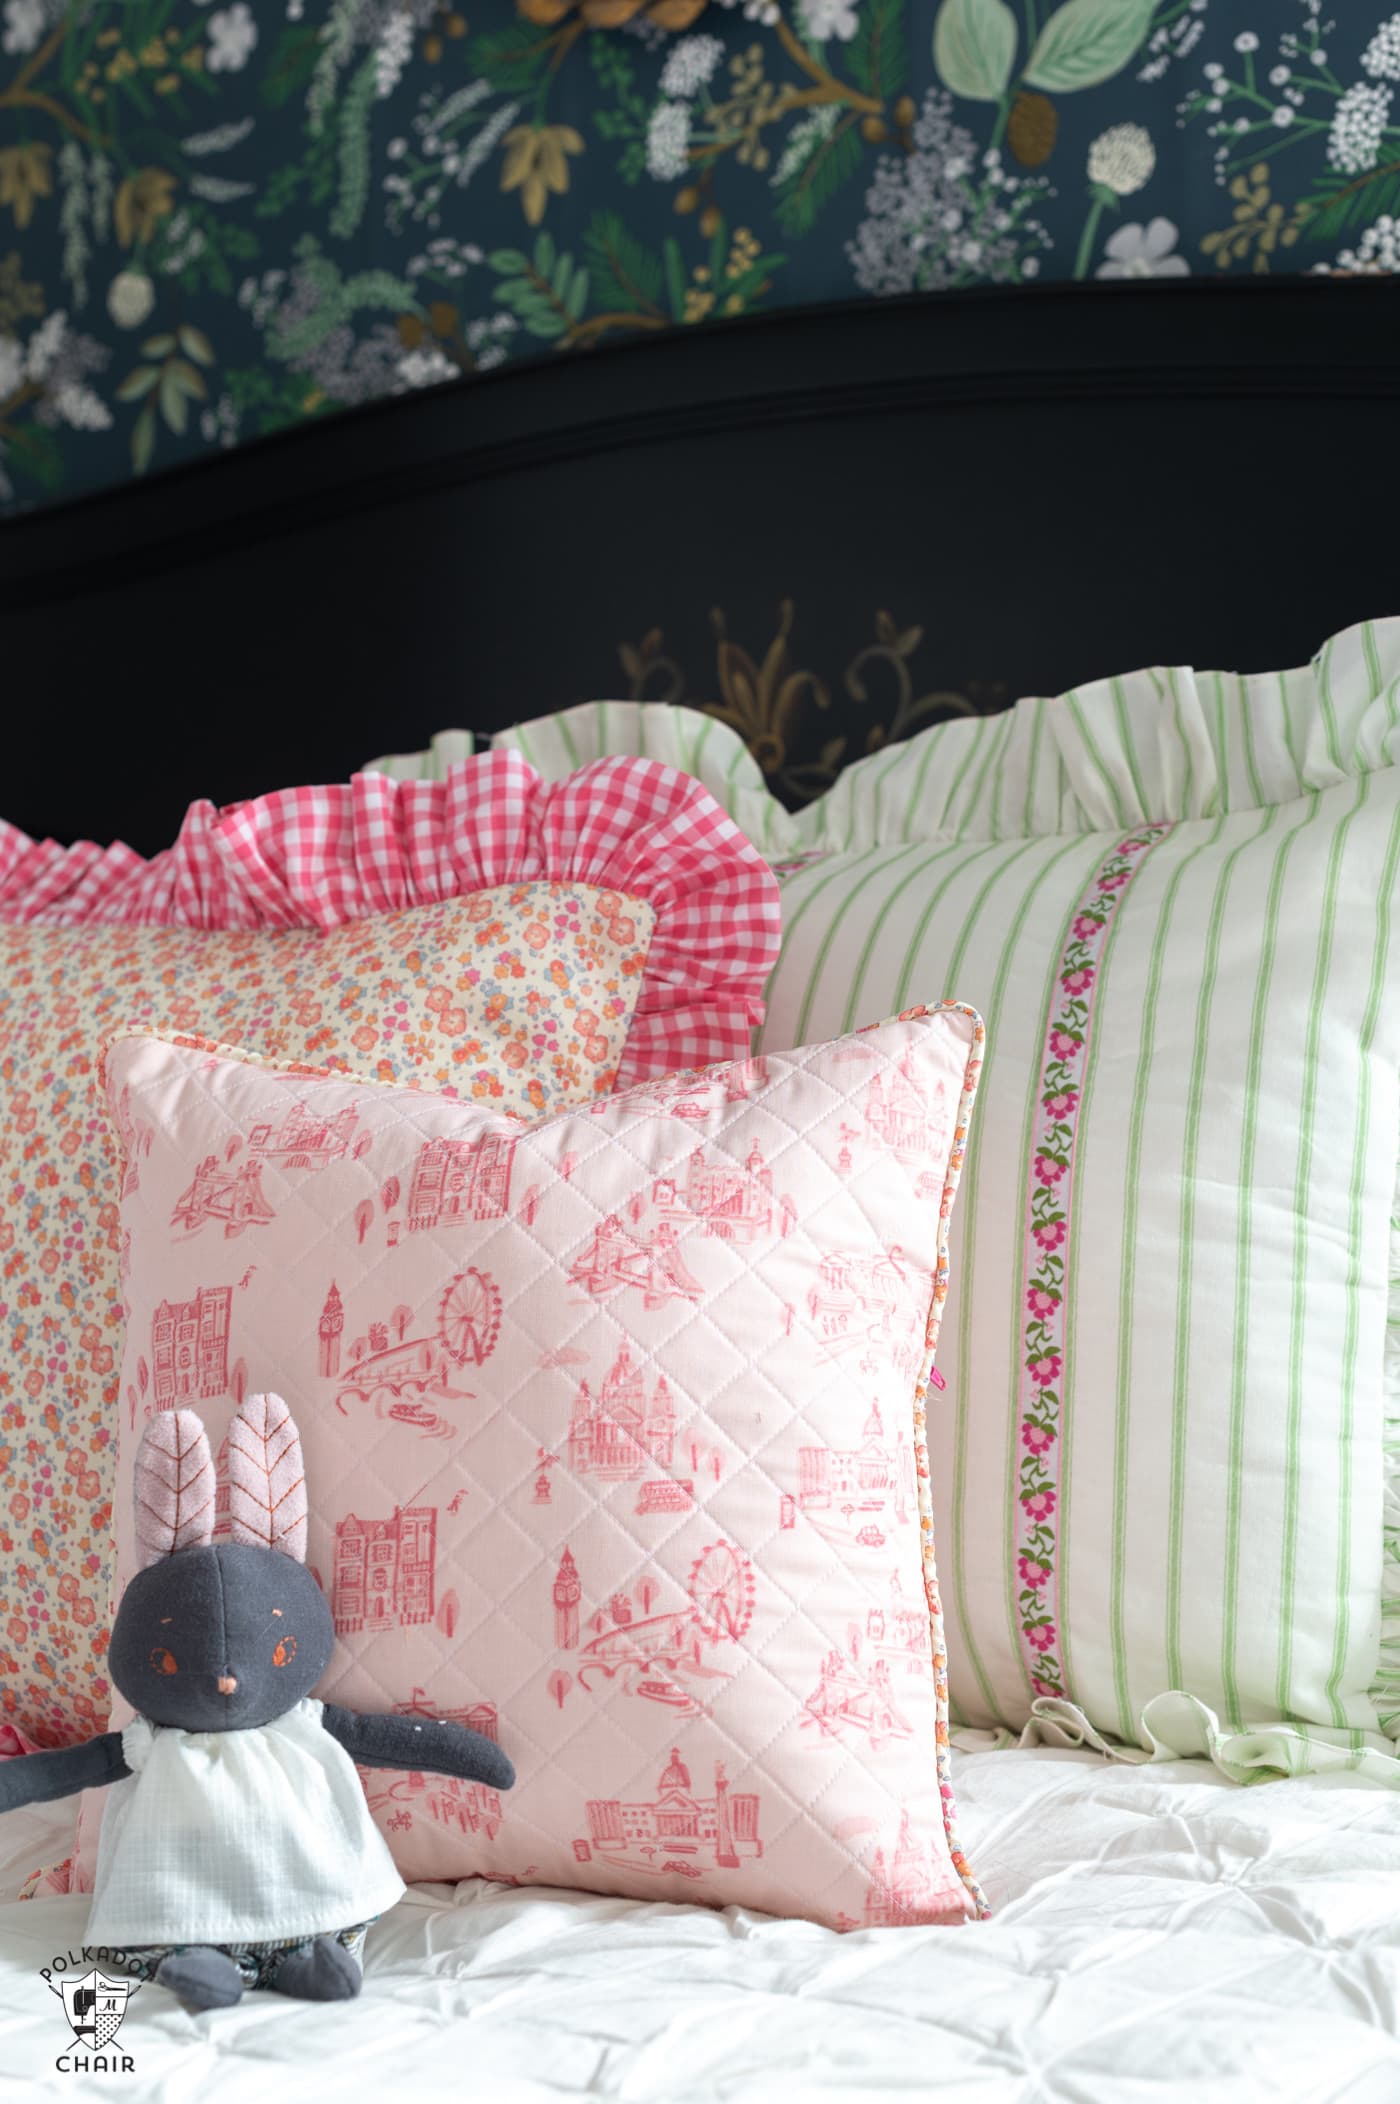
We ended up sewing three pillows for her bed, one 18″ square, one standard size, and one 16″ quilted pillow (more on that later).
The instructions in today’s tutorial are for ruffled throw pillows or bed pillow shams. We also have plans to create ruffle pillow cases; when I do, I’ll be sure to share a tutorial.
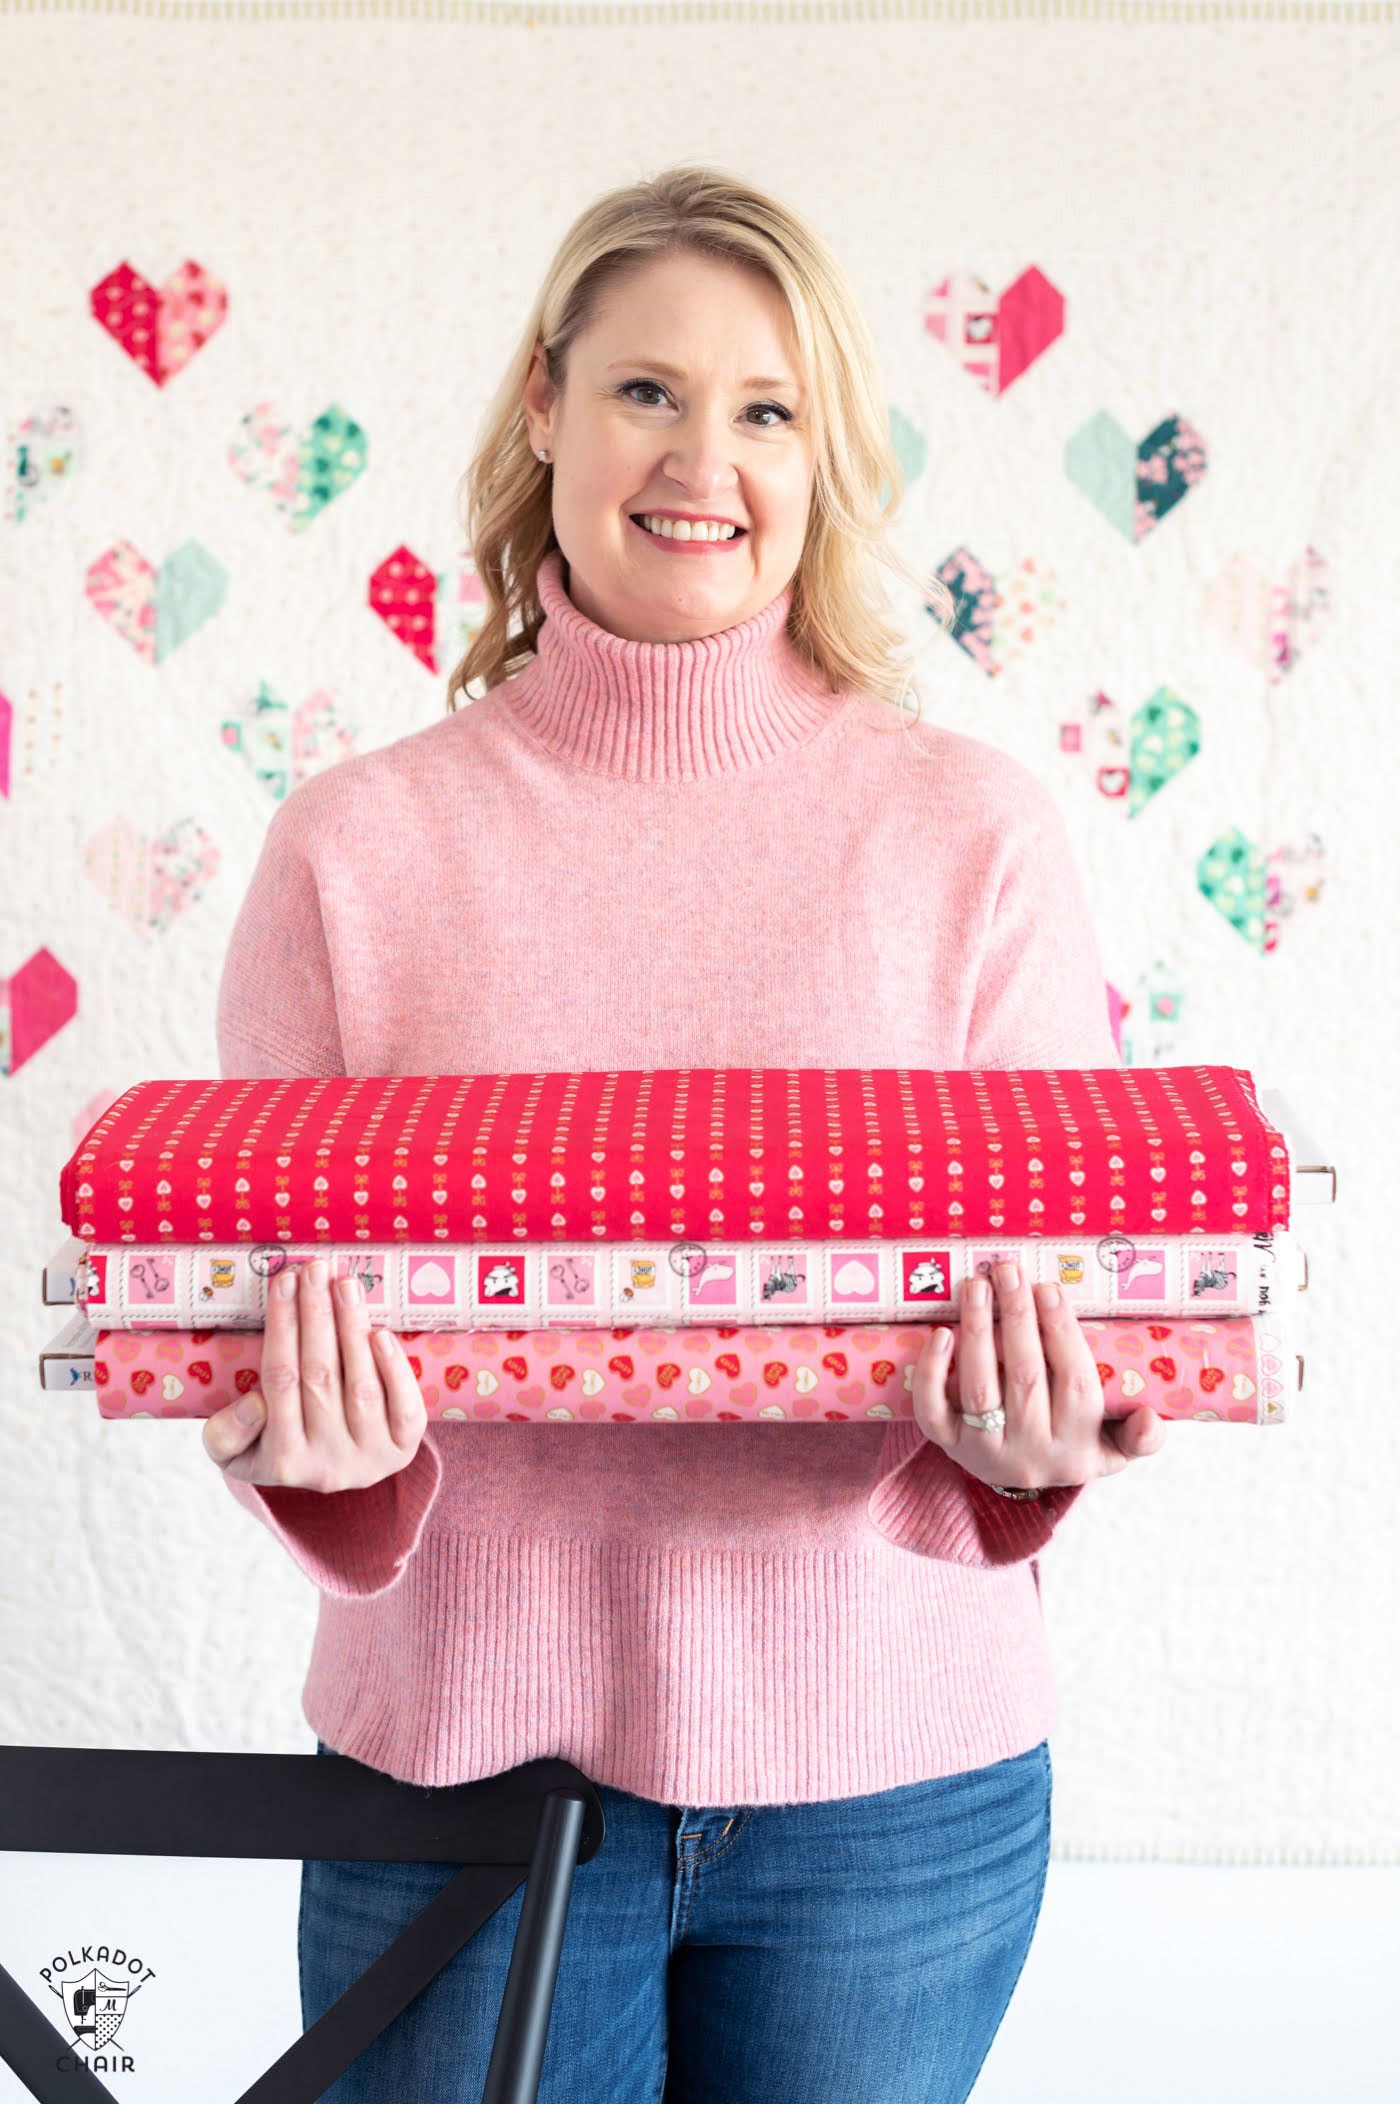
The pillows were quick to sew, and we had so much fun picking up all of the fabrics.
Pillow Details
- 18″ and 20″ x 26″ pillows with a 3″ wide ruffle and a zippered back.
- We added a zipper to the back of the pillows, but I’ve also included instructions for an envelope back.
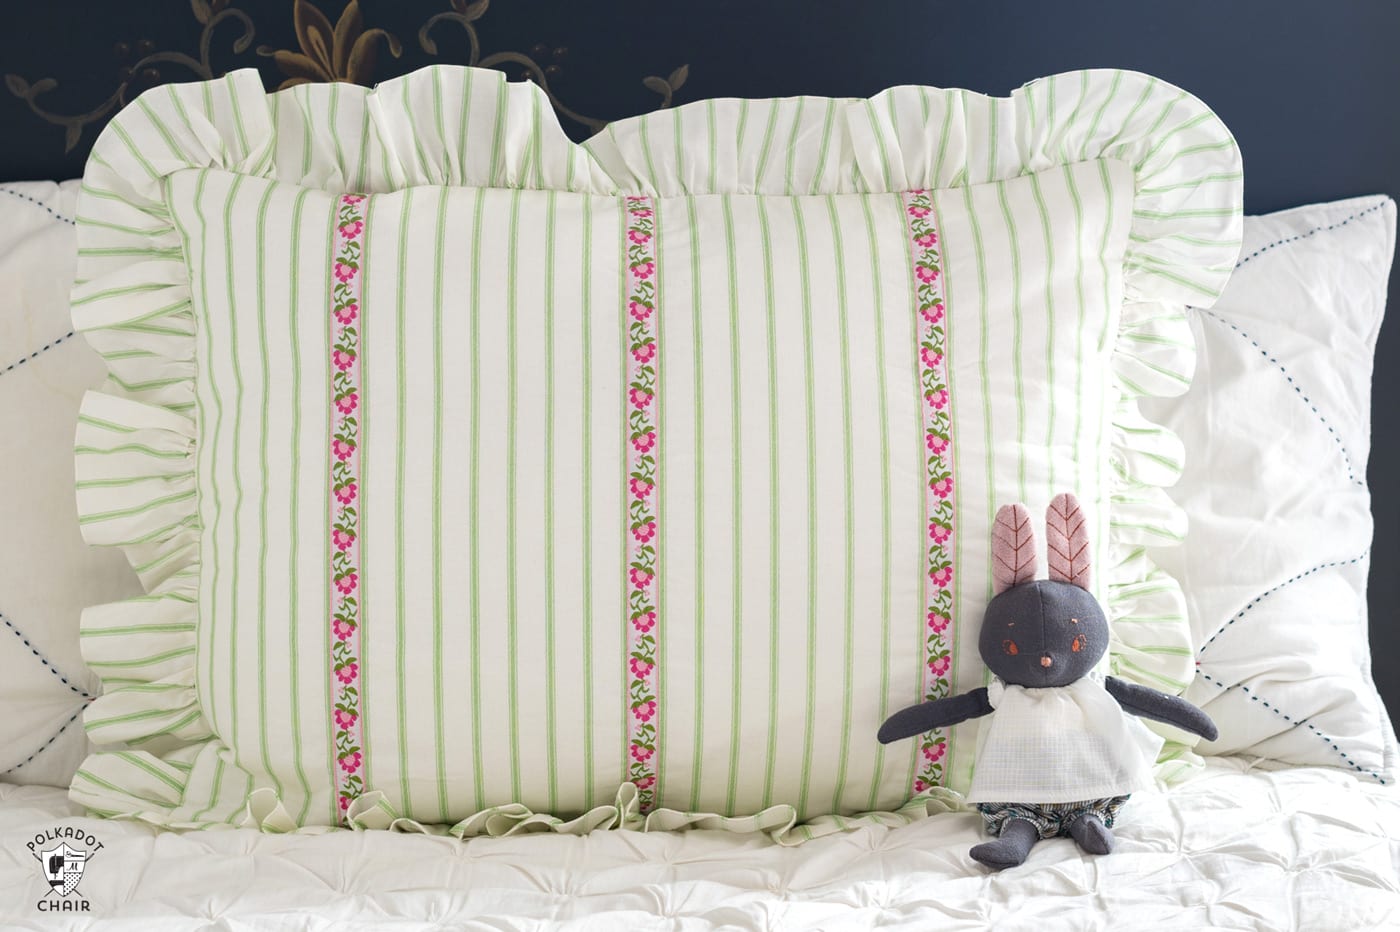
- I’ve included instructions to add optional decorative trim to the front of the standard-size pillow.
Pillow Fabric Choices
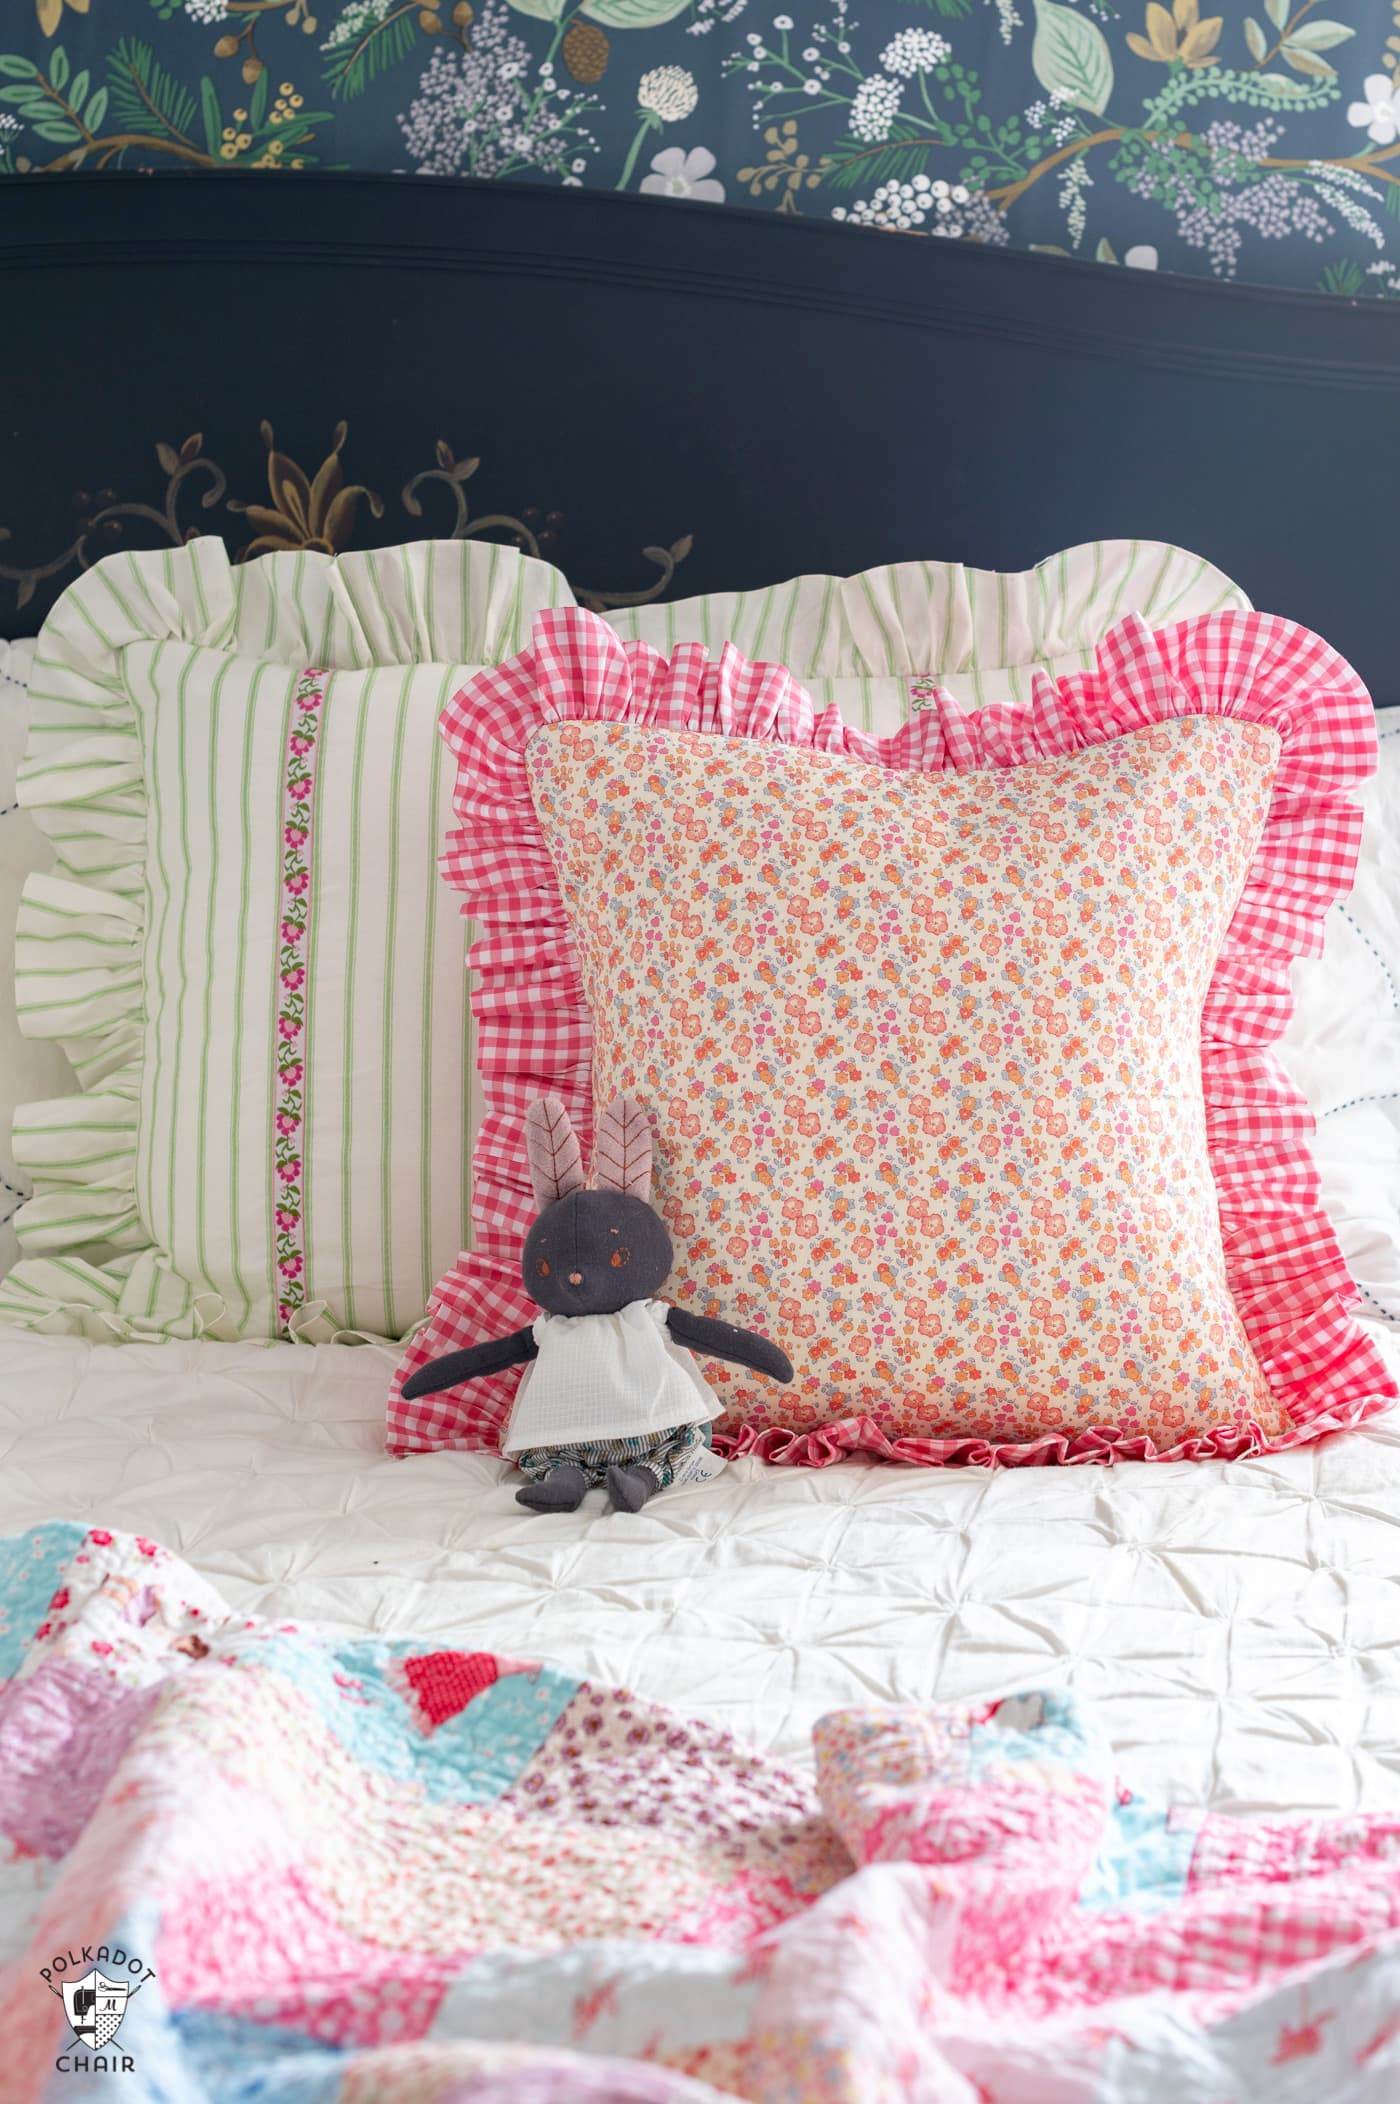
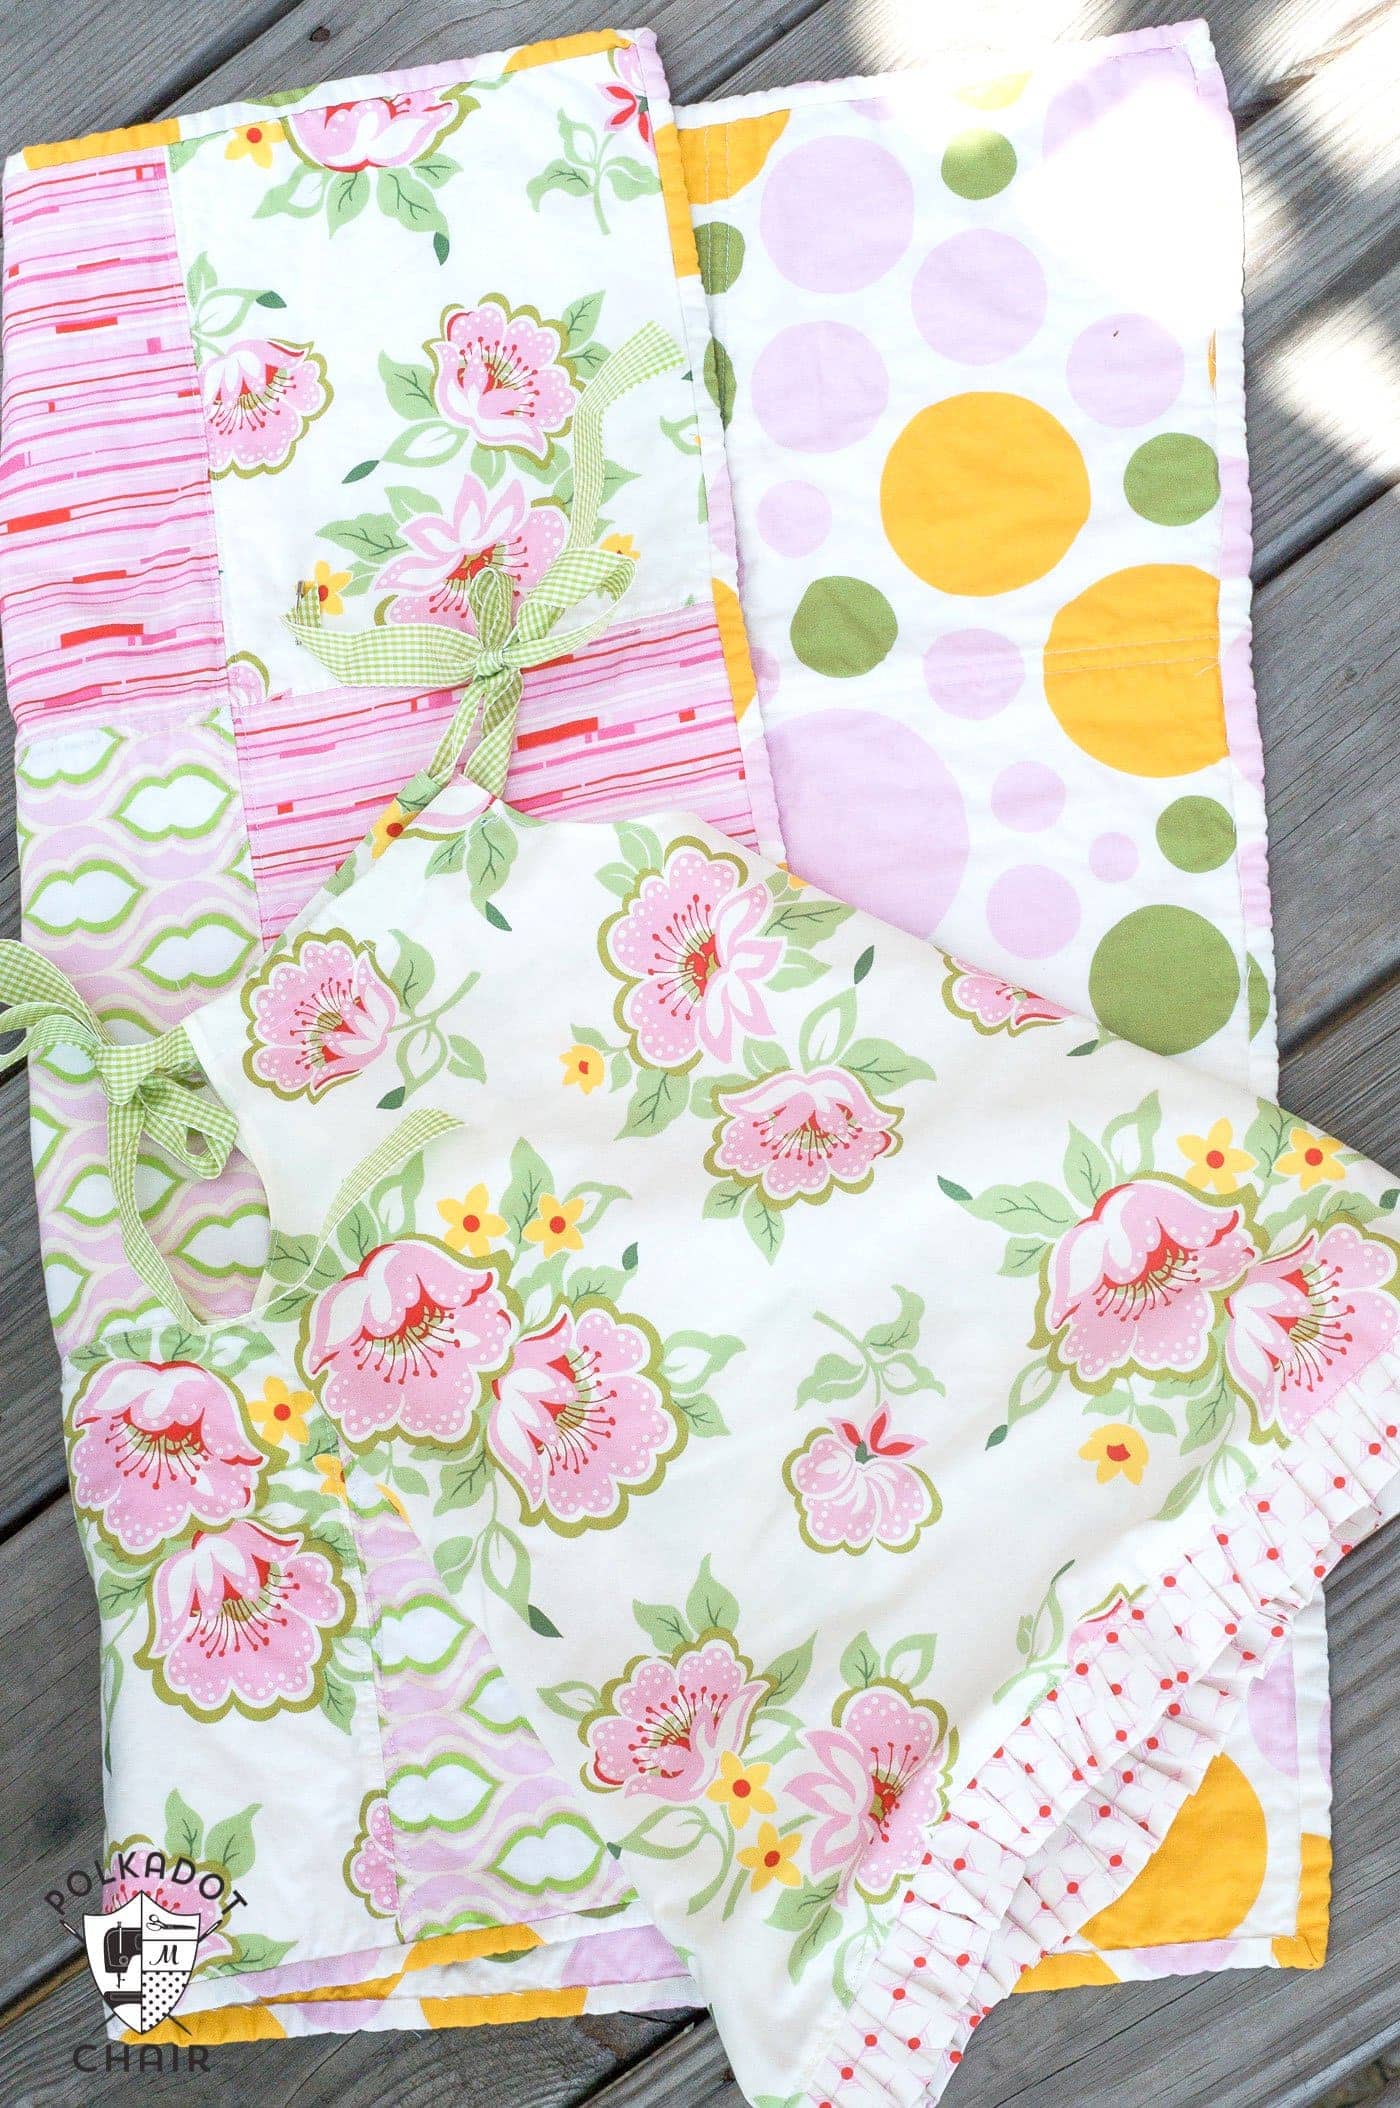
For the pillow front fabrics, I recommend quilting-weight cotton or a very lightweight home decor fabric. The smaller pillow is made from Liberty of London cotton lawn fabric. The larger pillow is sewn from a striped quilting-weight cotton fabric (source unknown).
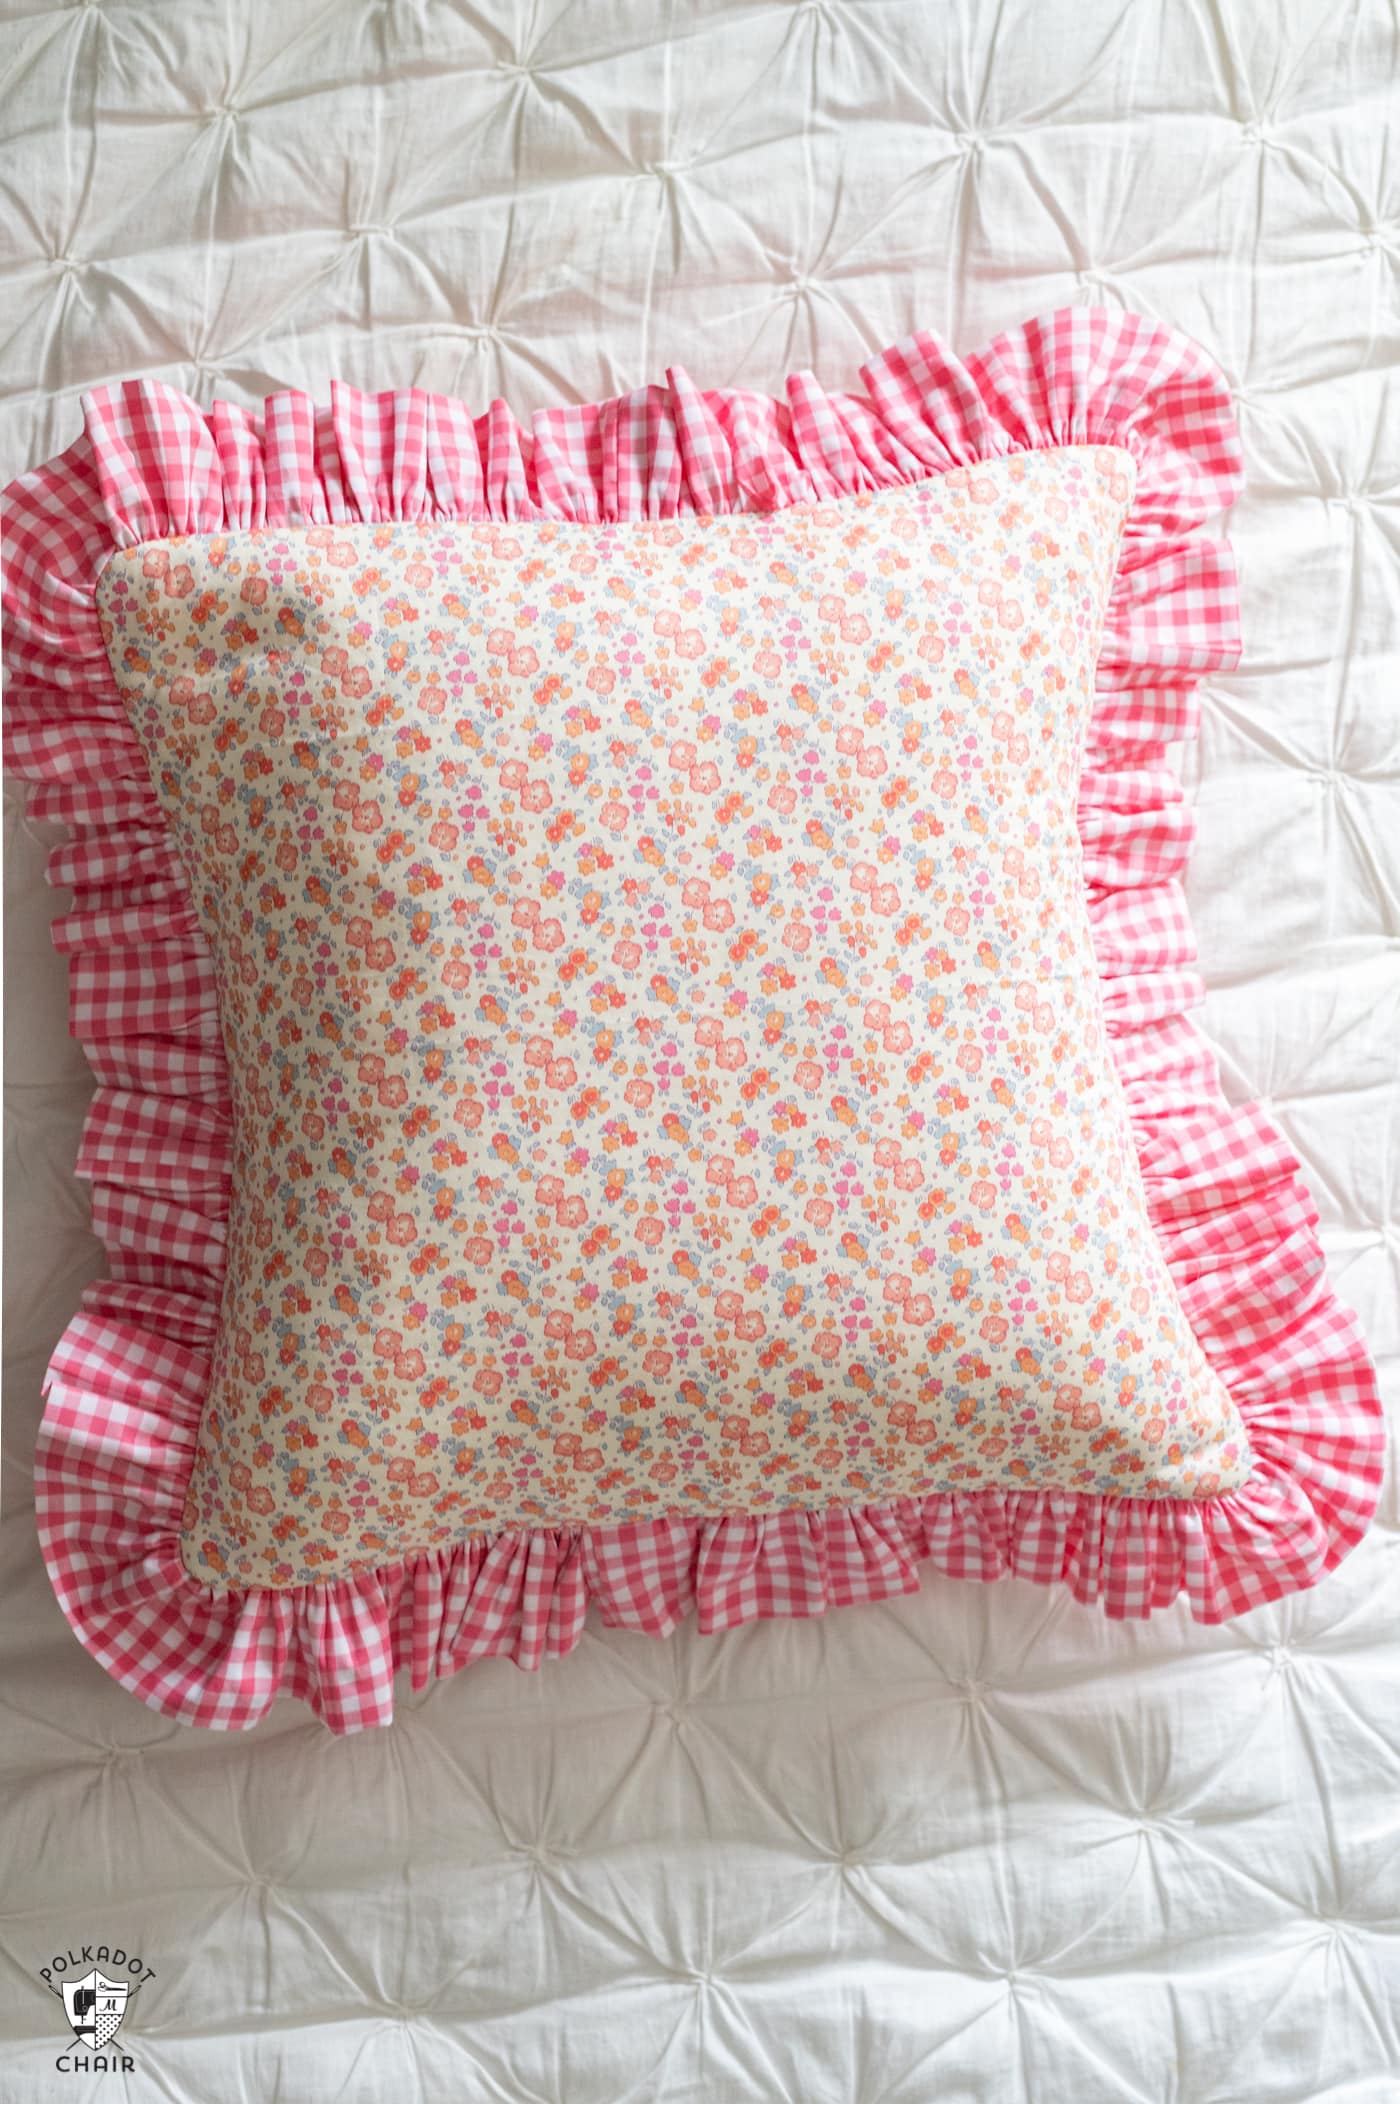
For the ruffle, I recommend a lightweight cotton fabric. I used a woven gingham. The ruffle fabric is not hemmed, it’s folded over, which means that you have twice as much fabric, so I do not recommend using a heavier-weight fabric for the ruffle.
What Pillow Inserts are Best?
I prefer to use a down or a down blend pillow form insert inside of my throw pillows. You can also use synthetic down. They give the pillow a wonderful shape and don’t go flat over time.
For seasonal throw pillows, I recommend sewing them all the same size and adding zippered backs. That way, you can easily remove the covers each season, and you only need one set of pillow inserts.
Directions
Ruffled Pillow Shams
supplies
For 18” Pillow
- 1 Fat Quarter Fabric for pillow front
- ½ Yard Fabric for Pillow Back
- ¾ Yard Fabric for Ruffle
- 1 18" Pillow Form
- ½ yard Fusible Fleece
For Standard Size Pillow Sham
- ¾ yard Fabric for Pillow Front
- ¾ yard Fabric for Ruffle
- ¾ Yard Fabric for Pillow Back
- 2 yards Decorative Trim Optional
- 1 yard Fusible Fleece
- 1 standard Pillow
For both:
- 1 Glue Pen if adding decorative trim
- 1 20" Polyester Zipper if creating a pillow with a zippered back
Instructions
- All seam allowances are ½” unless otherwise noted. WOF= Width of Fabric
Cutting:
- For 18” PillowFrom Pillow Front Fabric: 1 piece 18” x 18” From Pillow Back Fabric: 2 pieces 18” x 12”. From Fusible Fleece: 1 piece 18” x 18”. From Ruffle Fabric: 4 pieces 6” x WOF.
- For Standard Size PillowFrom Pillow Fabric: 1 piece 20” x 26”. From Pillow Back Fabric; 2 pieces 20” x 15”. From Ruffle Fabric; 4 pieces 6” x WOF. From Fusible Fleece: 1 piece 20” x 26”.
Prep:
- Iron the fusible fleece onto the wrong side of the pillow front pieces.

- If adding decorative trim:
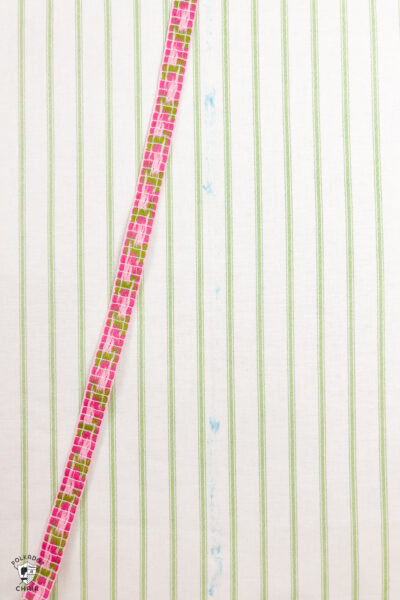
- Place three strips of decorative trim evenly along the pillow front for the standard-size sham. You will want to match the pattern of your fabric. If your fabric pattern is flexible, I recommend placing them at 6 ½” – 13” & 19 ½” locations along the pillow front.
- To attach, run a bead of glue on the wrong side of the ribbon and adhere it with your iron. Top stitch on both sides of the trim close to the edge.

Ruffle:
- (directions for both sizes)
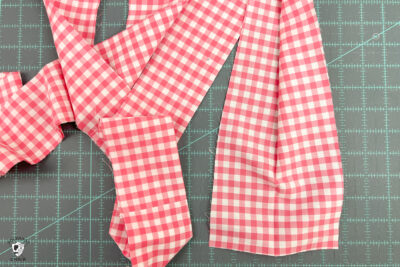
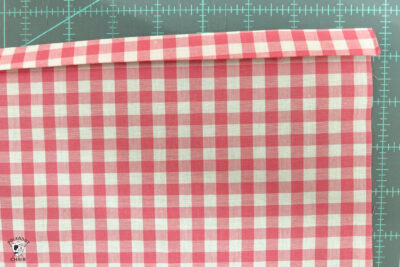
- Sew your four 6” x WOF strips together along the short sides. Fold the fabric strips in half lengthwise with the wrong sides together using your iron.

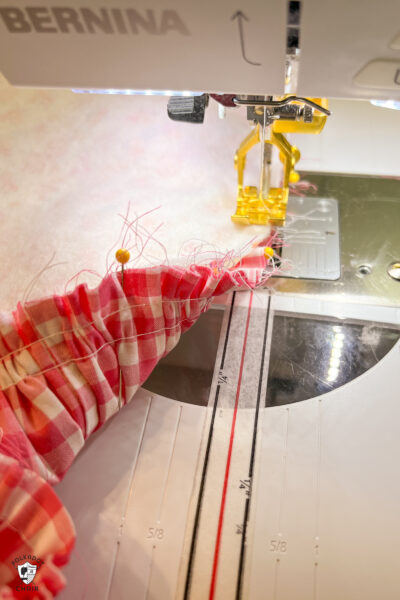
- Run two rows of basting stitches along the raw edge of the ruffle strips. I recommend starting and stopping your basting stitches at several points so that you have some leeway if your thread breaks as you gather.
- You can also use a gathering or ruffling foot if your sewing machine has one.
- Pull up on the basting stitches and gather the ruffle strips until they are the same size as the perimeter of the pillow front.
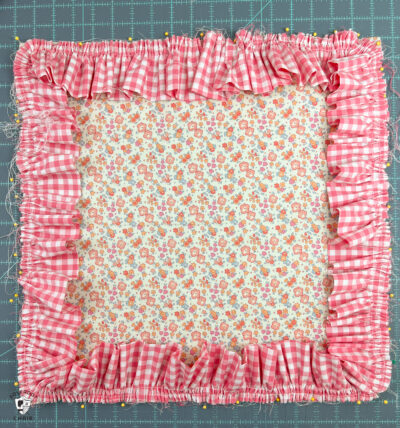
- Pin in place with the raw edge of the ruffle, even with the raw edge of the pillow. Join the ends of the ruffle.

- Sew the ruffle to the pillow front.
- TIP: When you sew, have your pillow front facing up and your ruffle close to the feed dogs on your sewing machine. This will help to feed the ruffles more evenly.
For the Envelope Back
- For the 18” pillow, turn under one 18” long edge of each of your 12” x 18” pieces of fabric twice and press. Sew along the fold to hem.
- For the standard-size pillow, turn under one 20” long edge on each 20” x 15” piece of fabric twice and press. Sew along the fold to hem.
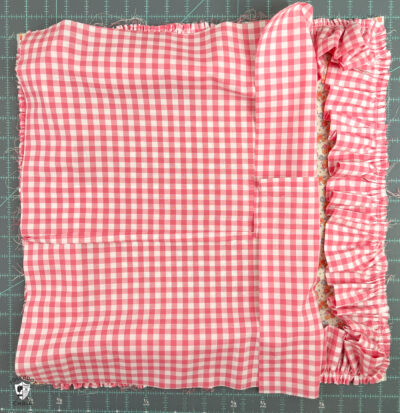
- Layer the two pillow back pieces on top of the pillow front pieces, right sides facing—the hemmed portions of the pillow back pieces towards the center.

- Sew around the outside edge.
- Clip the corners of the pillow, turn right side out, and press.
- Finished pillow
- Finished standard size pillow


For Zippered Back
- To create a zippered back for your pillow, follow our “How to Add a Zipper Back to a Throw Pillow” tutorial.
I wish I had this before now, my first attempt at a ruffle was a disaster !
I will try again now that I know two things more basting separate so thread does not break. Thanks 🙂 I enjoy all your news letters.
gwen
Trust me, I only know to tell you that because I’ve made LOTS of mistakes!
These pillows are sew cute! How do you join the ends of the ruffle? I know how to join ends of binding on a quilt, but not ruffles. Thanks you!
I love everything you post! You certainly have an eye for the right fabric for each piece you create! You are also exceptionally talented!
How do you sew the ruffles on the corners of pillow?
Just gently curve the ruffle around the corners, you may need to loosen the gathering a bit in those points.
Melissa,
I’m looking to make pads for my wooden rocking chair for my sewing room. Do you have any patterns for that? I do have a couple of foam 2 inch cushions that I can use to make the pads.
No sorry!
Ahhh Melissa! You’re so talented too! I love the idea of customizing my bedding, especially that it’s all black and white and I’ve been wanting to try to add a bit of color and flowery style in it but I’m scared but this tutorial gave me the confidence to try it out.
Great tutorial, thank you! Am curious about the fusible fleece. Assume you are using to give stability to front? I have never had pillow covers with an extra layer before.
Sometimes when you put an insert into a pillow sham you see the wrinkles of the pillow behind it which I don’t like. The fusible fleece helps the front of the pillow to appear more smooth.
This is cute- I love ruffles! I have been wanting to make some new pillows for my bed. Thank you for sharing!😁
I agree with you, Nadine! she’s so talented too! I love the idea of customizing my bedding, especially that it’s all black and white and I’ve been wanting to try to add a bit of color and flowery style in it but I’m scared but this tutorial gave me the confidence to try it out.
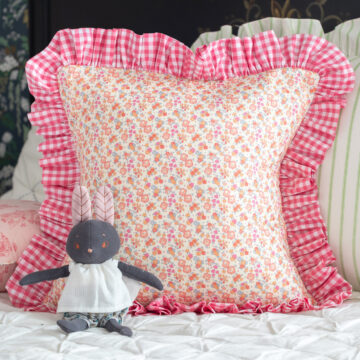
Would you please make a pattern for the rabbit ???????
It’s purchased recently! So sorry, no I wouldn’t want to take some else’s project!
Darling pillow- thank you for the tutorial! Is there a pattern for the sweet little bunny?
It’s purchased