Free Gathered Precuts Quilt Pattern
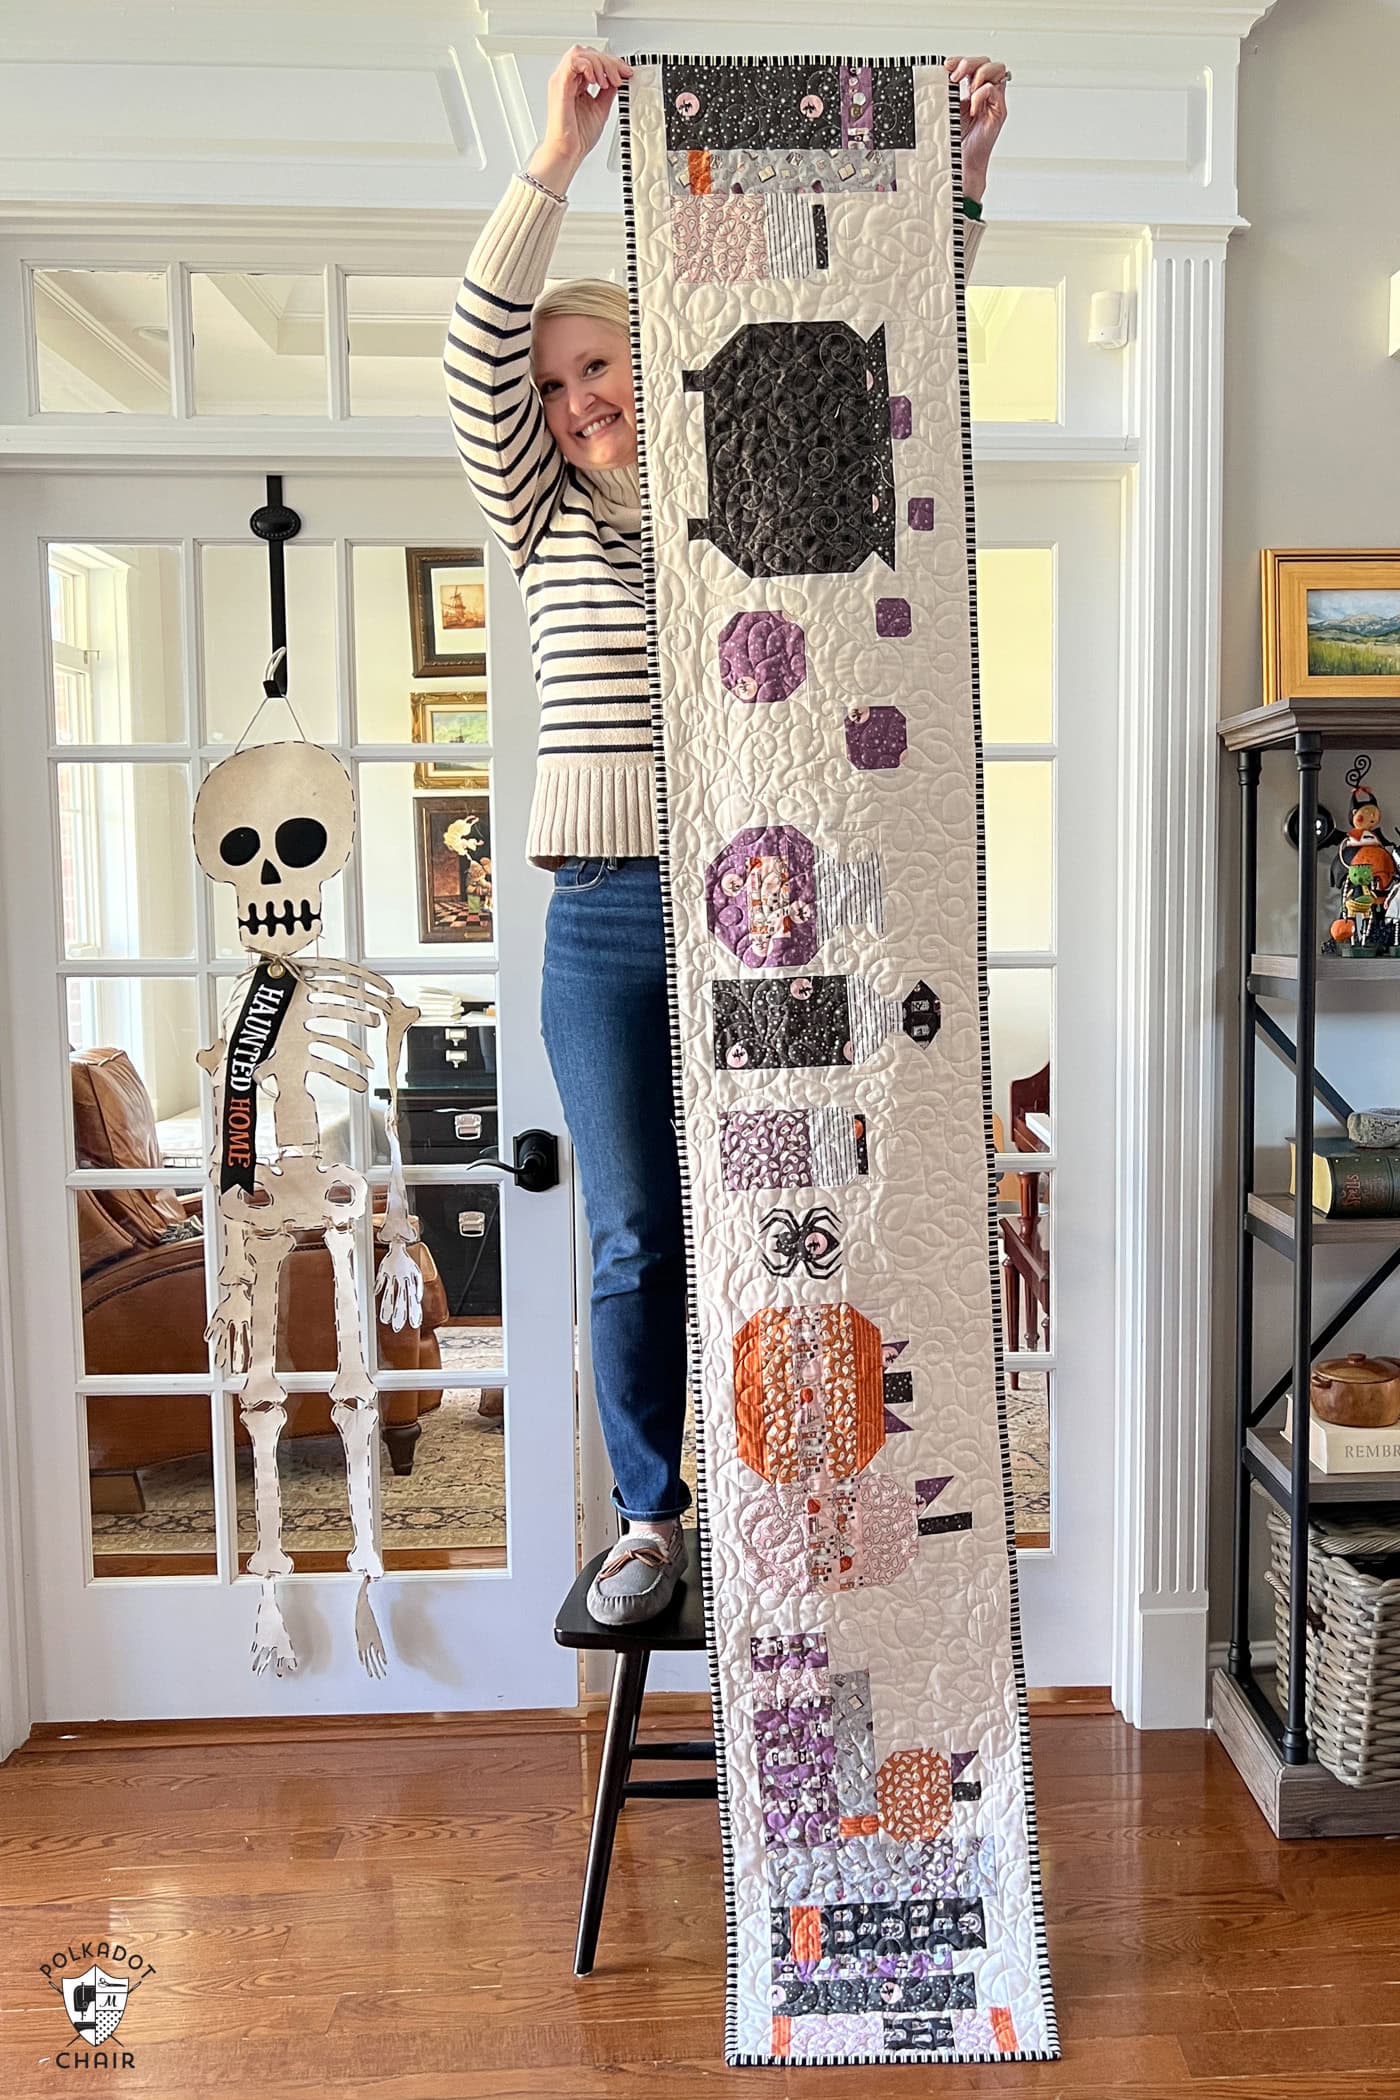
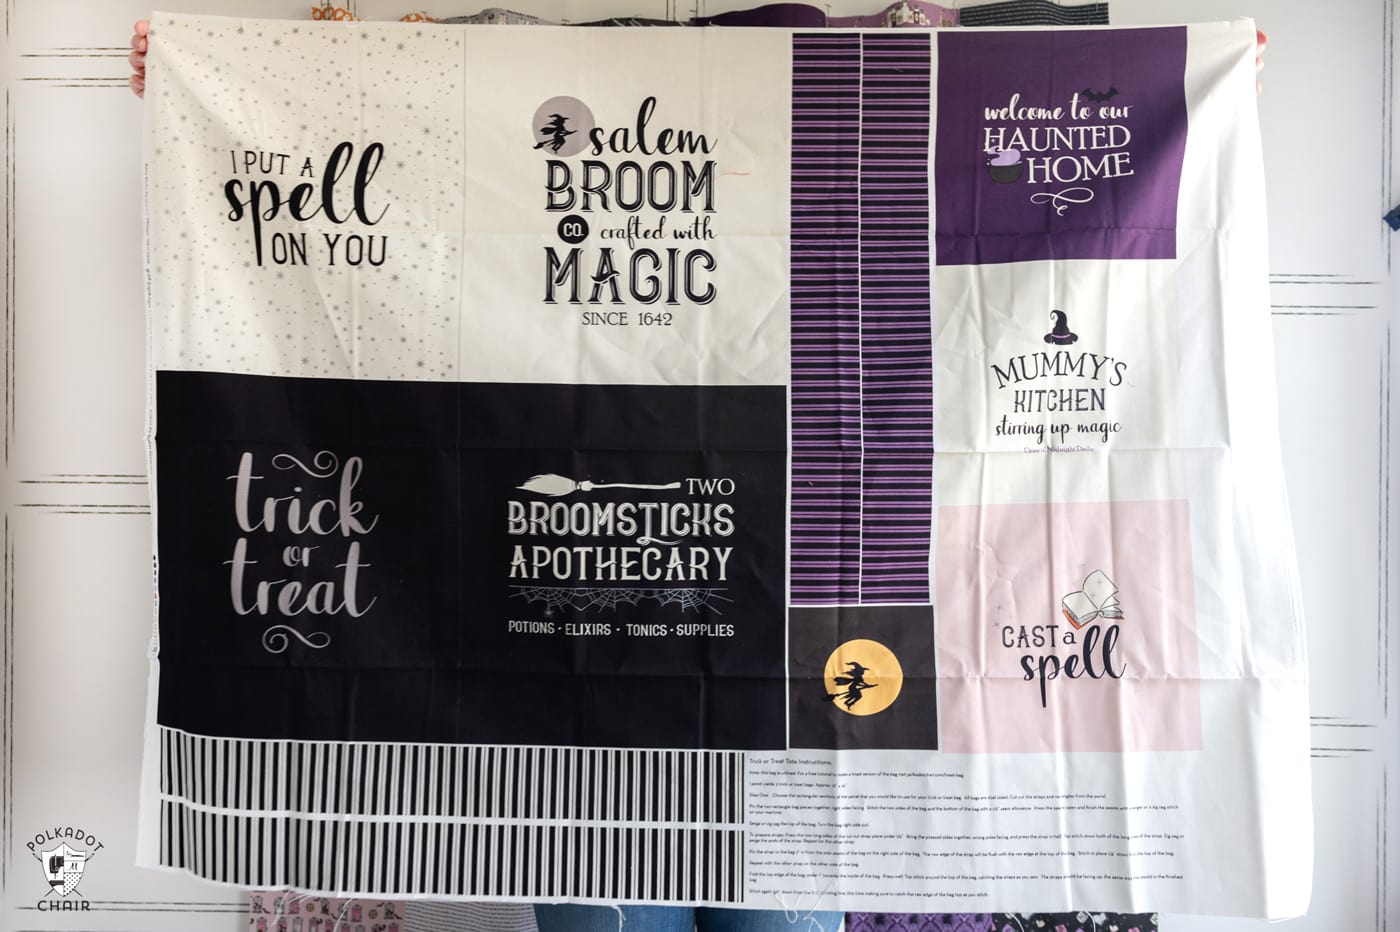
Learn how to make a simple quilt using a precut stack of fabric and a quilt panel! It’s a unique way to incorporate a preprinted quilt panel into a finished quilt.
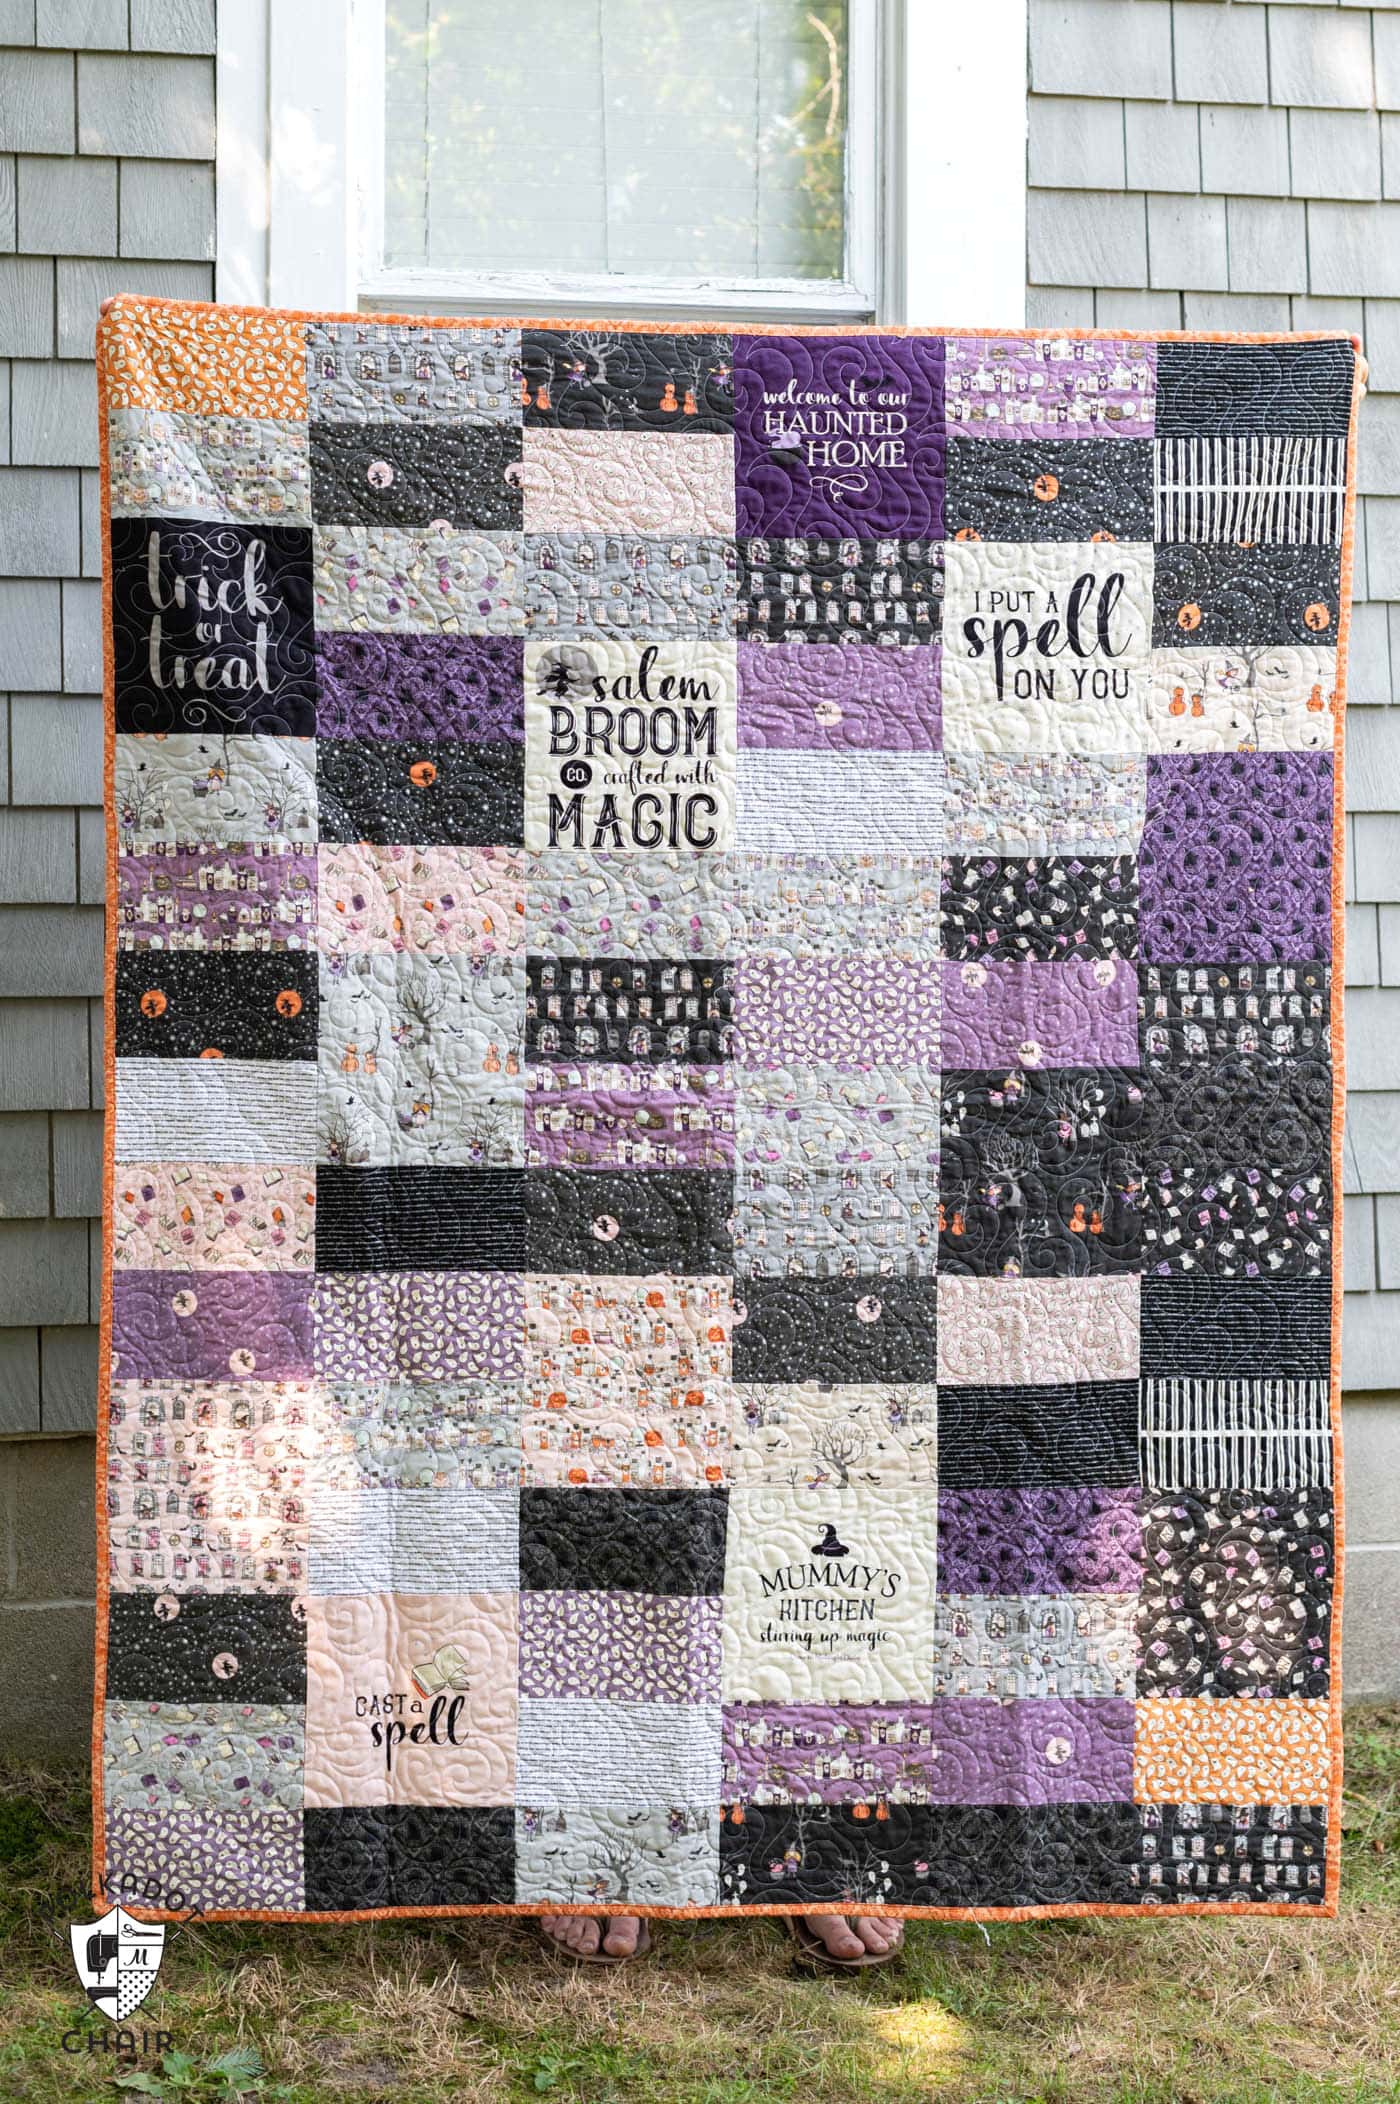
As the leaves turn to warm shades of orange and the air becomes crisp with the arrival of fall, this enchanting season always makes me want to make a quilt!
With the anticipation of Halloween in the air, what better way to celebrate than with a simple to create quilt that captures the essence of this magical time of year?
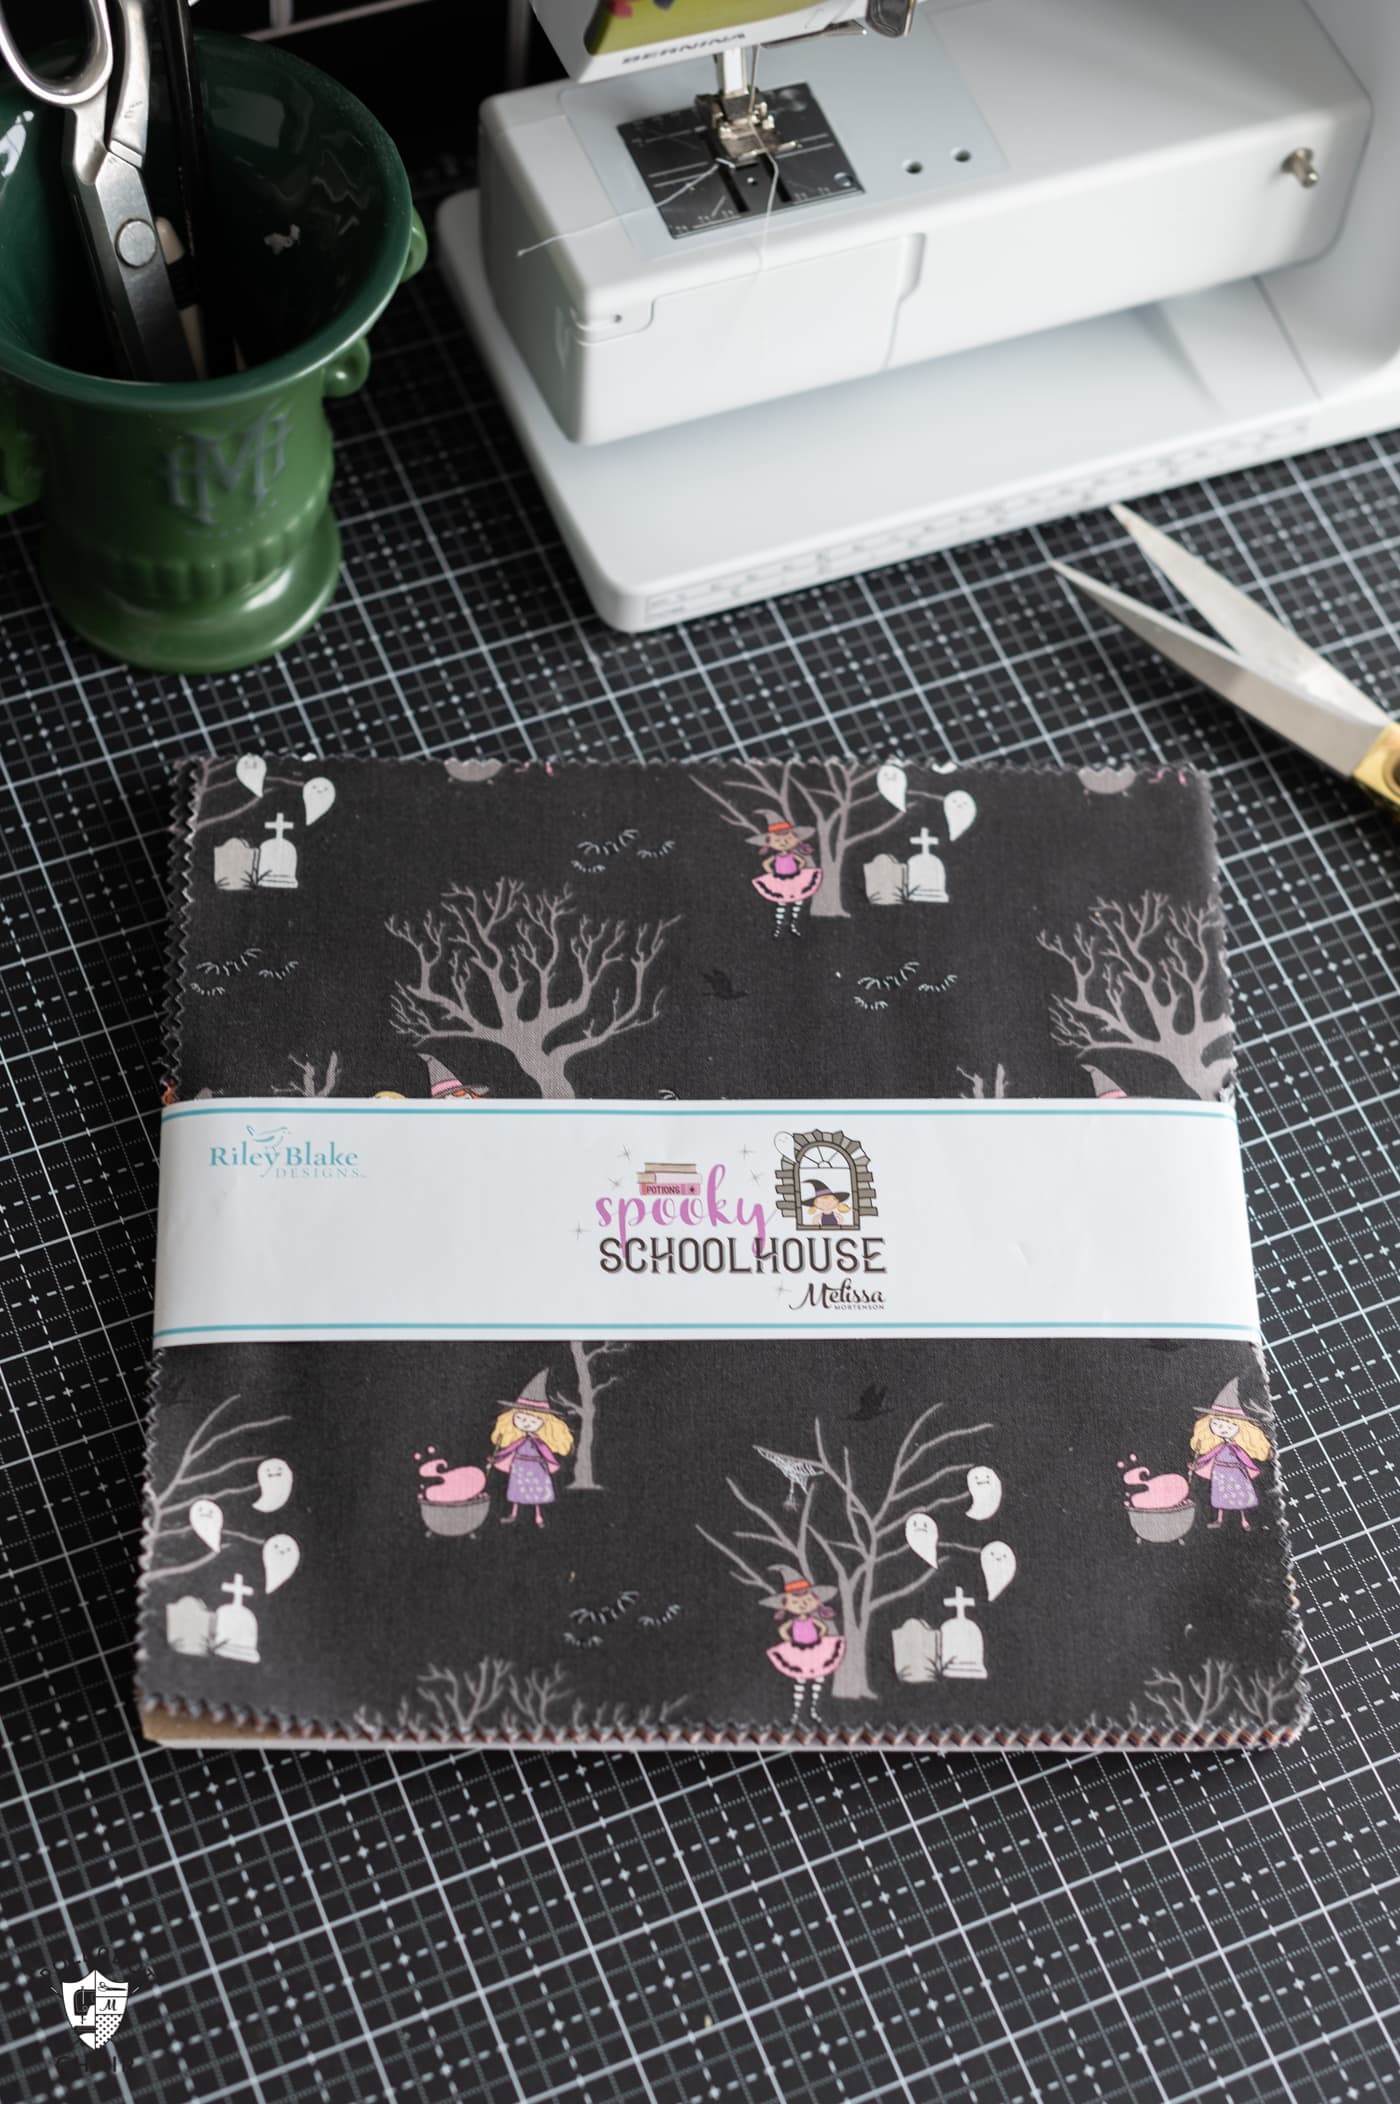
Today, I’m excited to share a special treat – a free quilt pattern designed to be created using precut fabrics. To make this quilt, you only need a 10″ precut stack of fabric and a fabric panel.
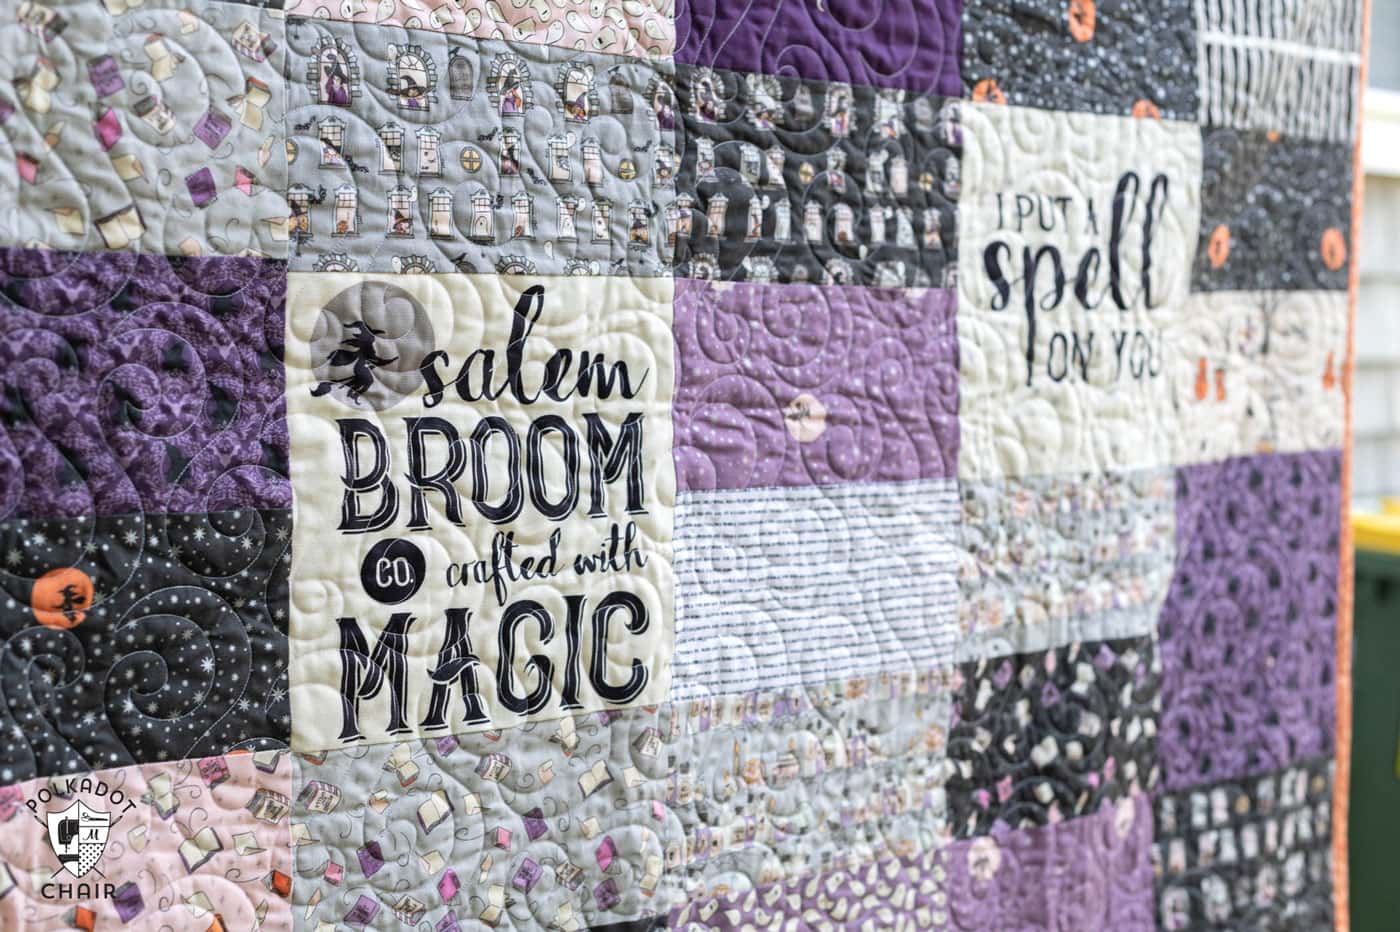
If you’re an experienced quilter, I hope that you will love how fast this quilt is to create. It will be a wonderful pattern if you need to make a quilt for a gift or a seasonal quilt.
If you’re a beginning quilter, this pattern is a great one to help build your skills!
About the Quilt
- Approximate Size: 54″ x 62″
- Supplies: One 10″ Precut Stack of Spooky Schoolhouse Fabric (also available HERE)& one Spooky Schoolhouse Fabric panel (also available HERE)
- Binding: Orange Damask from Spooky Schoolhouse
- Backing: Pink Ghosts from Spooky Schoolhouse
- Quilt Pantograph: London Fog
I designed this quilt pattern because I wanted a quick but cute pattern that would be easily adapted for all the holidays. There are so many cute quilt panels on the market; I love that this pattern incorporates a preprinted panel into the final design.
It would be so easy to adapt this pattern for many other Holidays, especially Christmas.
The Fabric
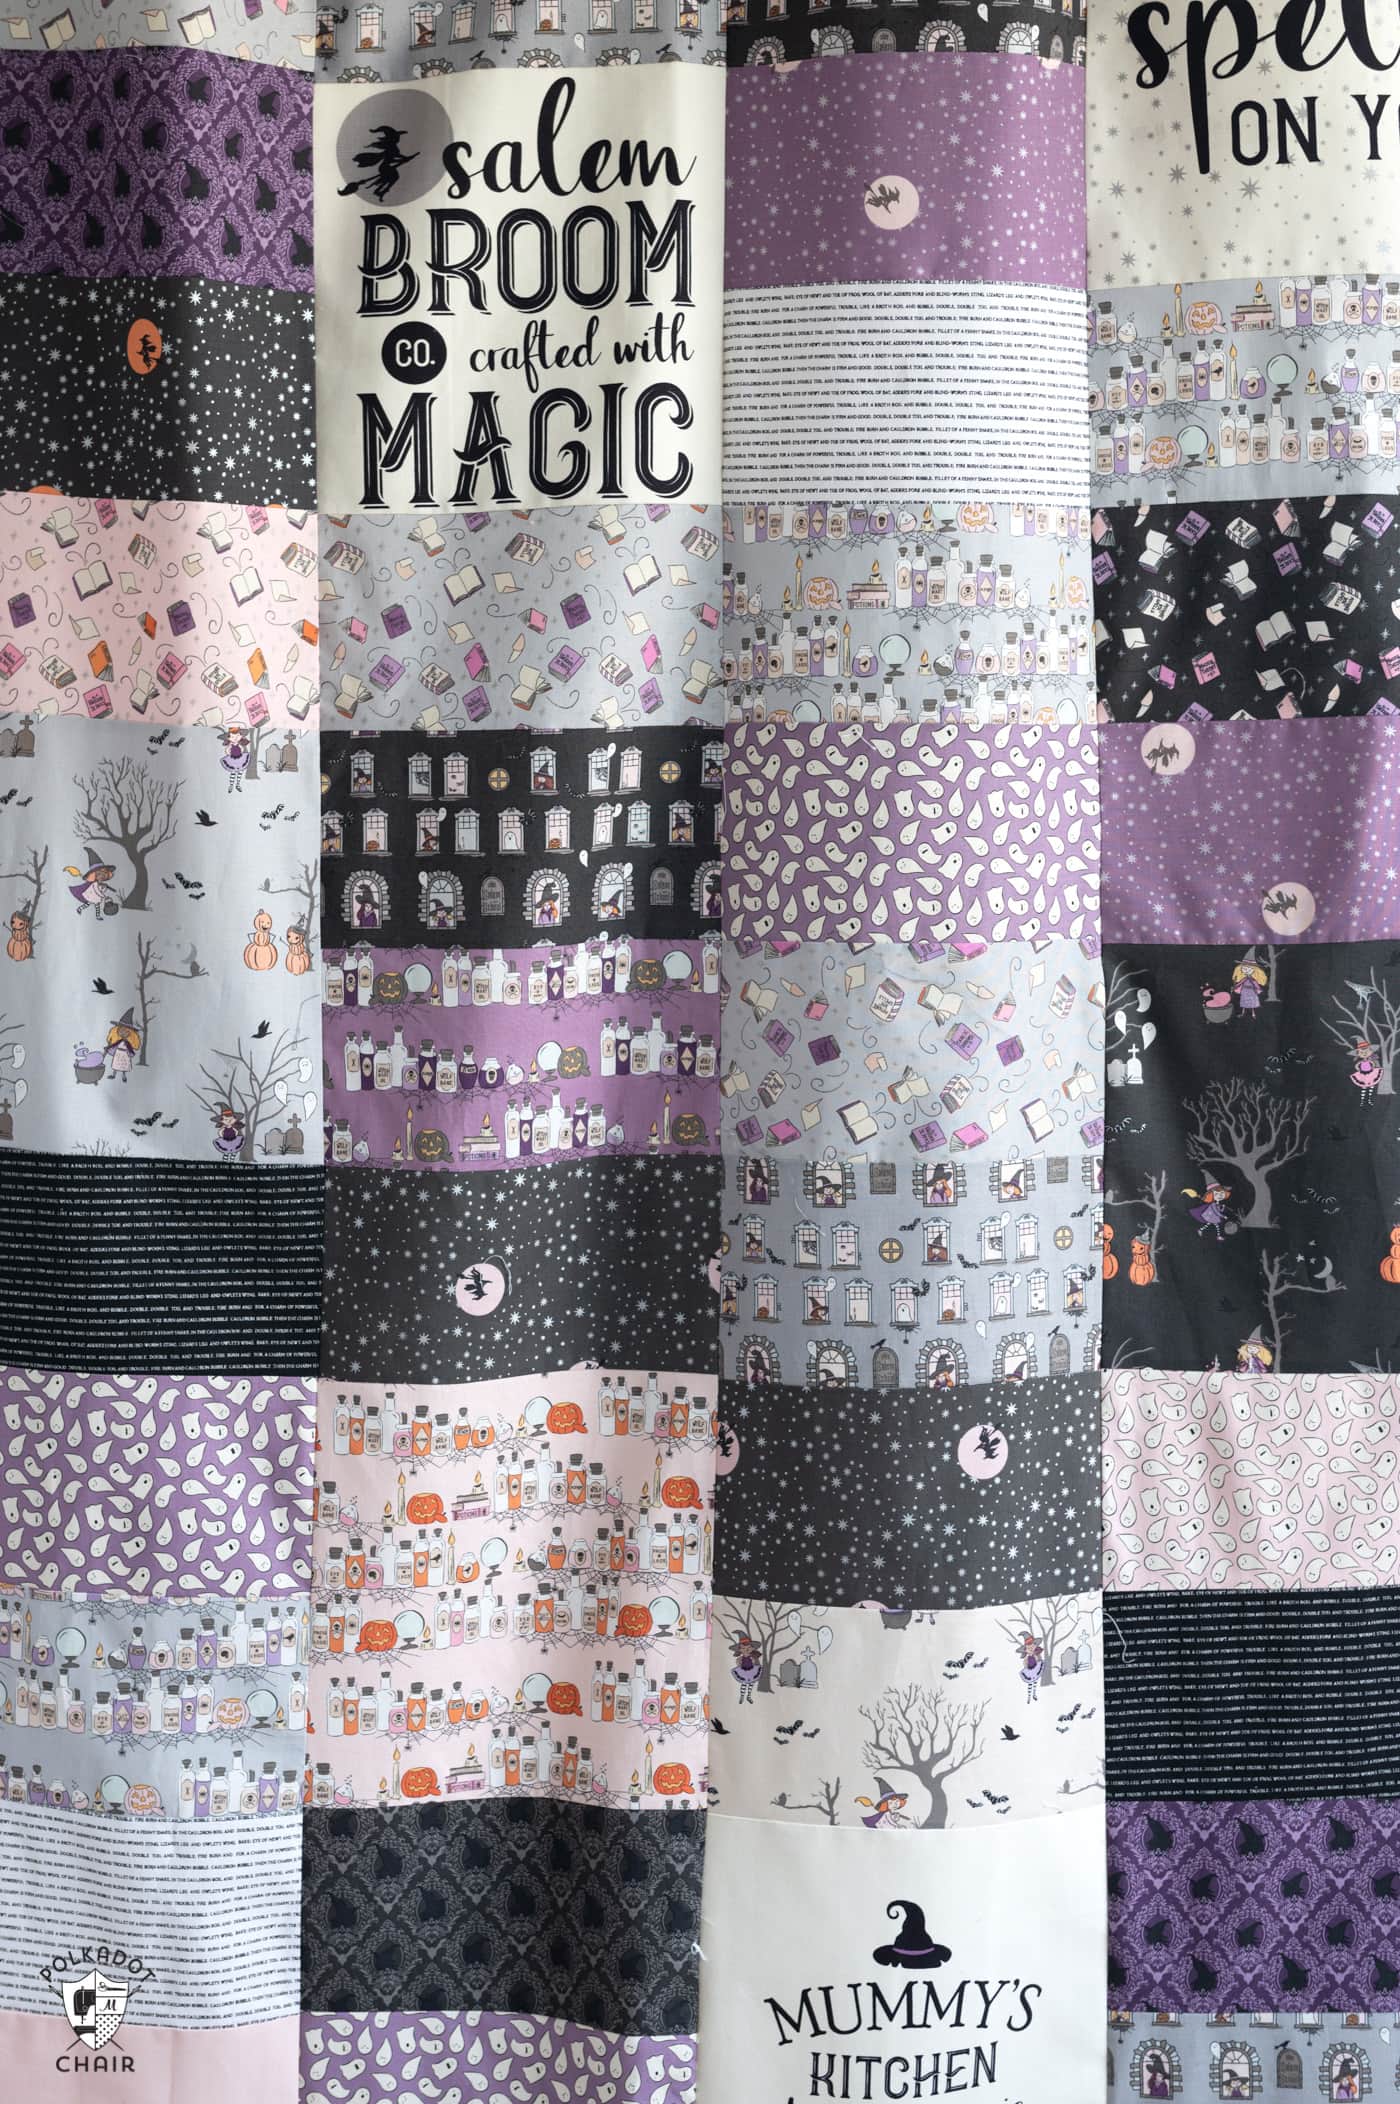
The fabric this quilt is created from is my Spooky Schoolhouse collection with Riley Blake Designs. You can find it in stores now! It’s a Halloween fabric line inspired by an imaginary boarding school for witches!
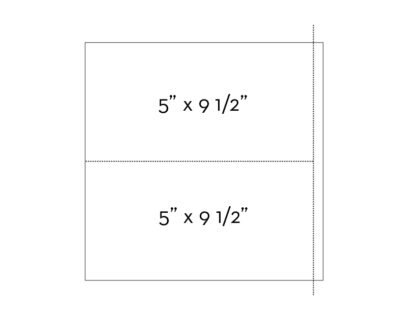
To incorporate a quilt panel into this quilt, the pieces of the panel need to be cut to 9 1/2″ x 9 1/2″ or 5″ x 9 1/2″. If you don’t have a panel that will work for the pattern, you will need to purchase an additional 3/8 yards of fabric.
Instructions
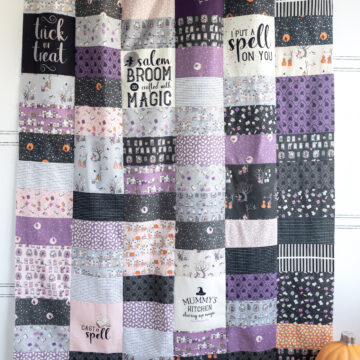
Gathered Precuts Quilt
Equipment
supplies
- 1 package 10” x 10” precut pack of fabric With at least 42 pieces. Fabric in the example quilt is Spooky Schoolhouse by Riley Blake.
- 1 Quilt panel that can be cut into at least three 10” x 10” pieces OR 3/8 yard of fabric. Panel is from the Spooky Schoolhouse Fabric collection.
- ½ yard fabric for Binding
- 2 yards 58-60" wide Minky Backing Fabric You can also use 4 yards of quilting cotton.
Instructions
Pattern Notes
- Quilt Size: 54” x 62”
- To make this quilt you need 45 10" x 10" pieces of fabric. Most precut stacks contain 42 pieces of fabric; you will need one precut pack plus three extra 10” x 10” pieces. These can come from a quilt panel or from yardage. If you purchase yardage, you will need 3/8 yard of fabric.
- Depending on the size of the images in the quilt panel, you can also use it for some of the smaller rectangles in the quilt.
Step One: Cut Up the Panel & Sort the Fabrics
- Decide which portions of your quilt panel you want to use for the quilt top. The large squares are 9 1/2" x 9 1/2”, and the smaller rectangles are 5” x 9 ½”.
- Sort your precut stack into piles. In one pile place the prints you’d like to use for the larger squares and in another pile the ones you will cut into rectangles.
- From the stack of precut pieces and pieces from your quilt panel cut:66 pieces 5” x 9 ½” (note: if you are cutting all of these from precuts, you’ll need 33 precuts).12 pieces 9 ½” x 9 ½”
Step Two: Sew
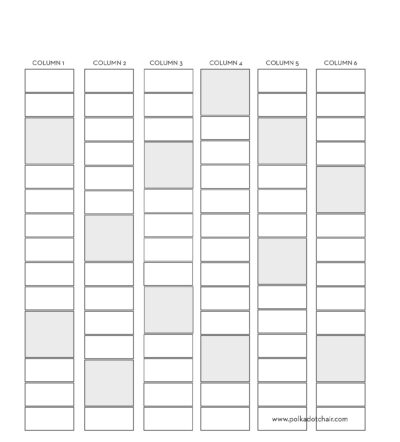
- This quilt is constructed by columns. Each column contains eleven 5” x 9 ½” pieces and two 9 ½” x 9 ½” pieces.
- Refer to the layout diagram for the exact placement of pieces in each column.
- Note: the final layout will vary widely depending on which precut stack of fabric you are using. Some precut stacks contain many of identical prints or use the same colors repeatedly, while others have a wider variety. For this reason, I recommend laying out your pieces on a design wall or the floor before sewing to ensure a balanced placement of print and color in your final quilt designs.
- Sew the pieces in column one together. Repeated by columns 2, 3, 4, 5 & 6.
- After you have the pieces sewn together, press your seams.
- Sew the columns to each other.
Notes
Take the time at the beginning to sort and plan out your quilt. If you are using a panel, I recommend that you plan around the panel. After you know how many 9 1/2″ x 9 1/2″ and 5″ x 9 1/2″ pieces you can cut from your panel, you will know how many pieces of your precut pack you need to use.

