We Heart Mug Rugs Patchwork Heart Sewing Pattern
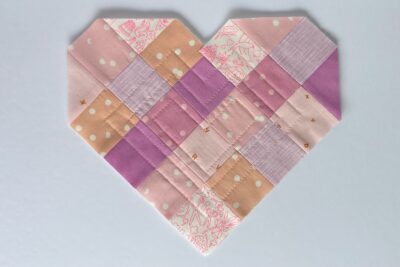
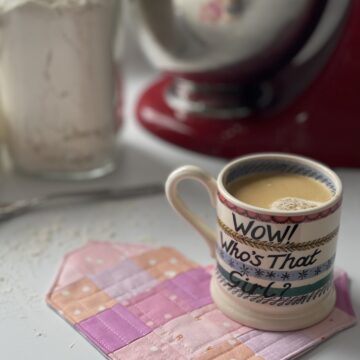
It’s time for our August Mug Rug pattern. This month’s free mug rug pattern is a Patchwork Heart Mug rug.
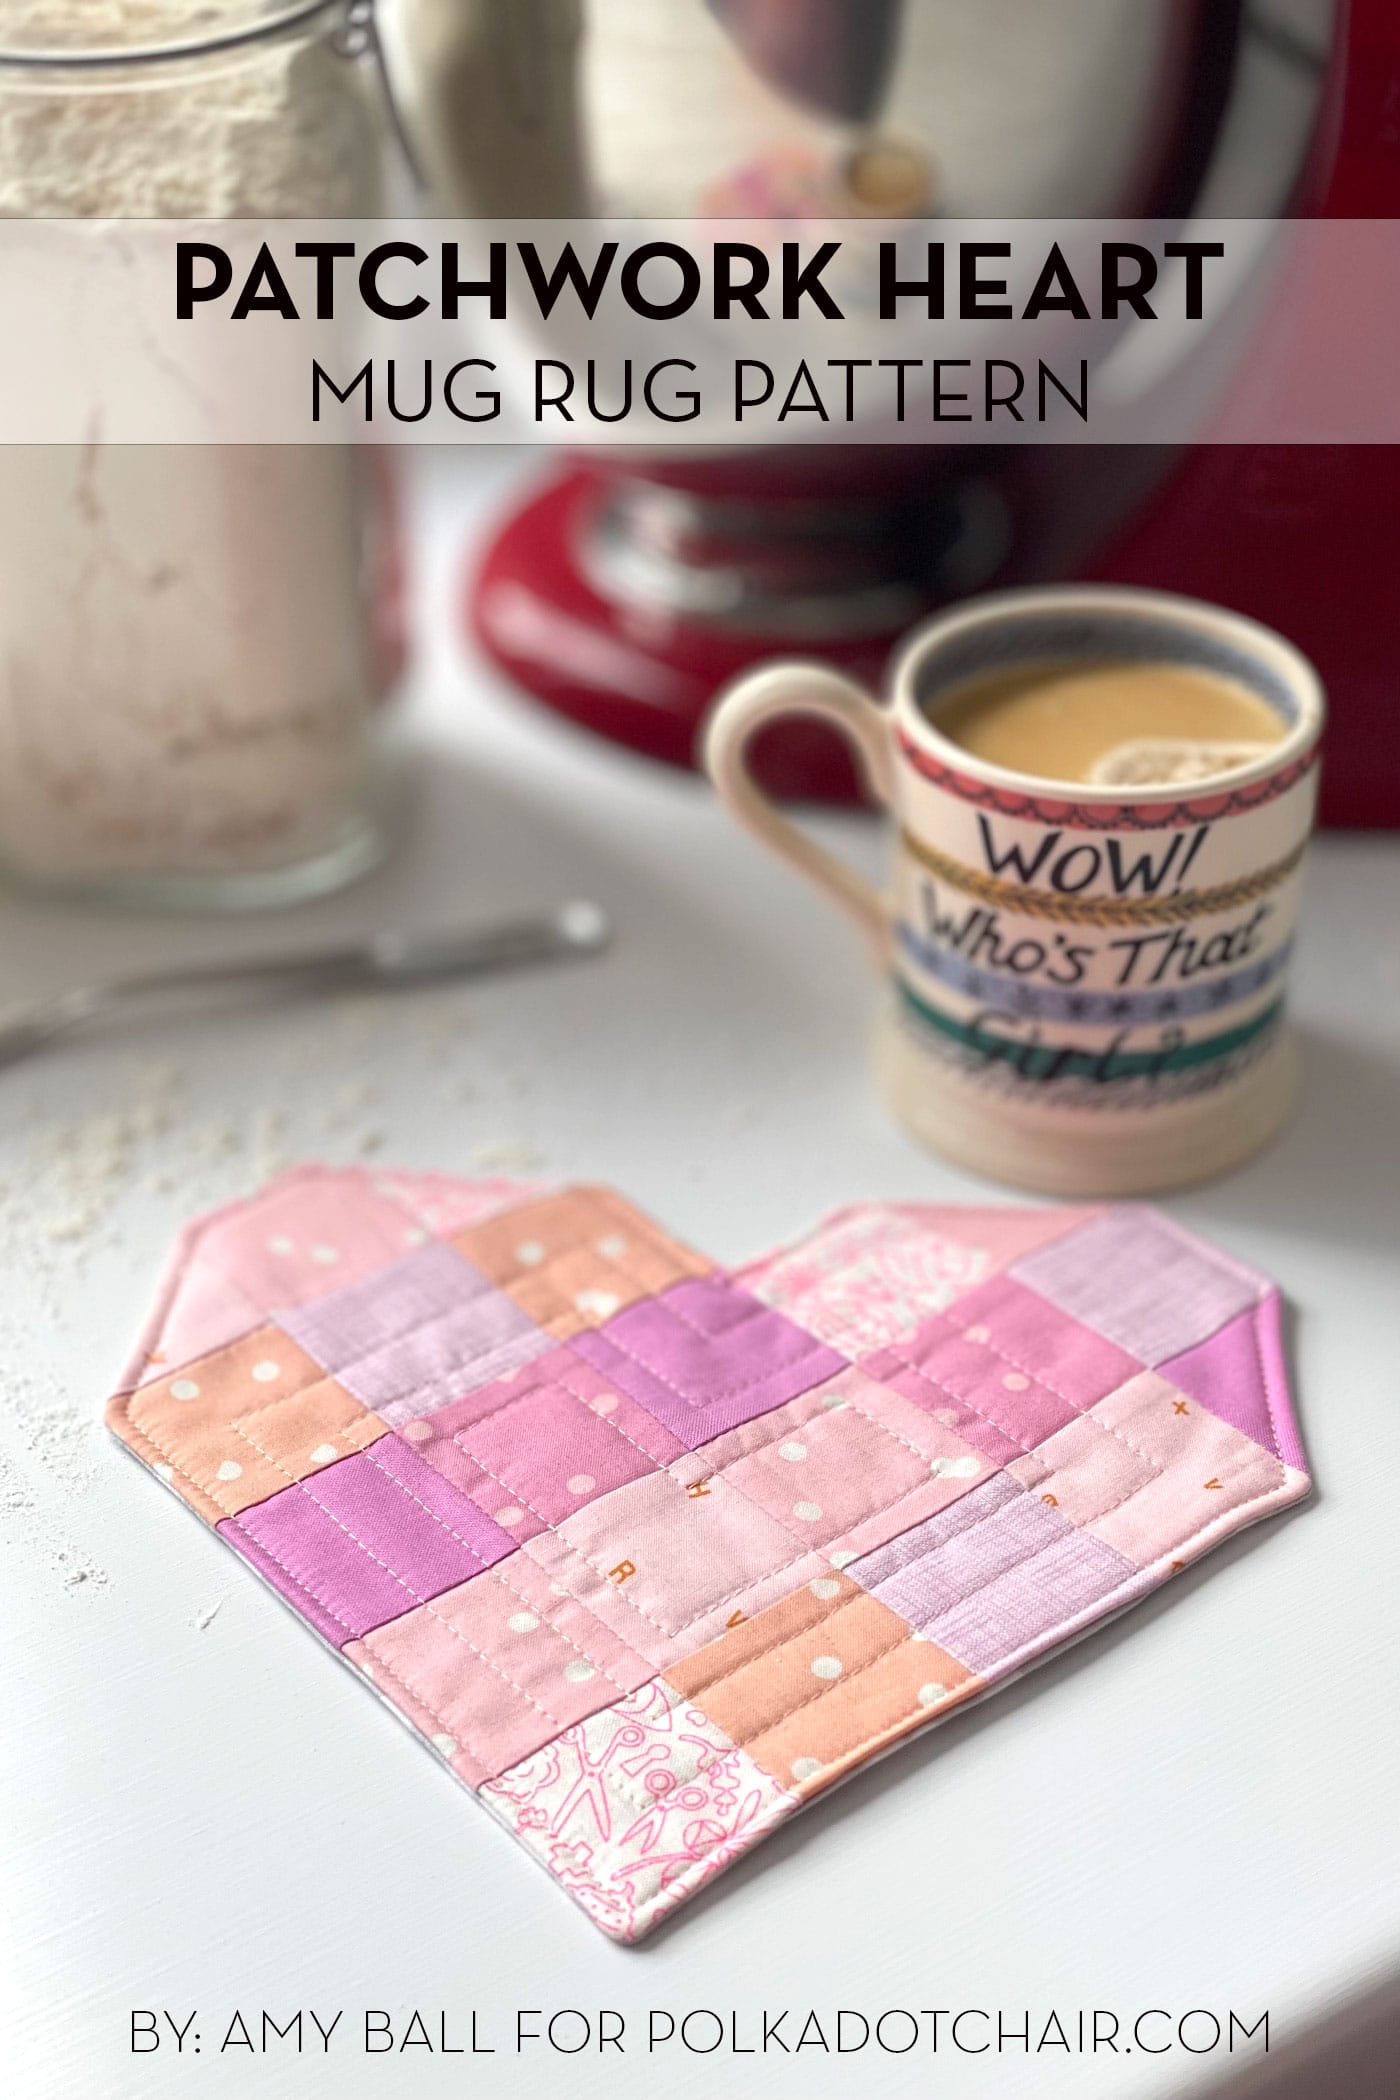
Now that we are over halfway through our year of mug rug patterns, it seemed right to celebrate my love of mug rugs with a heart shape!
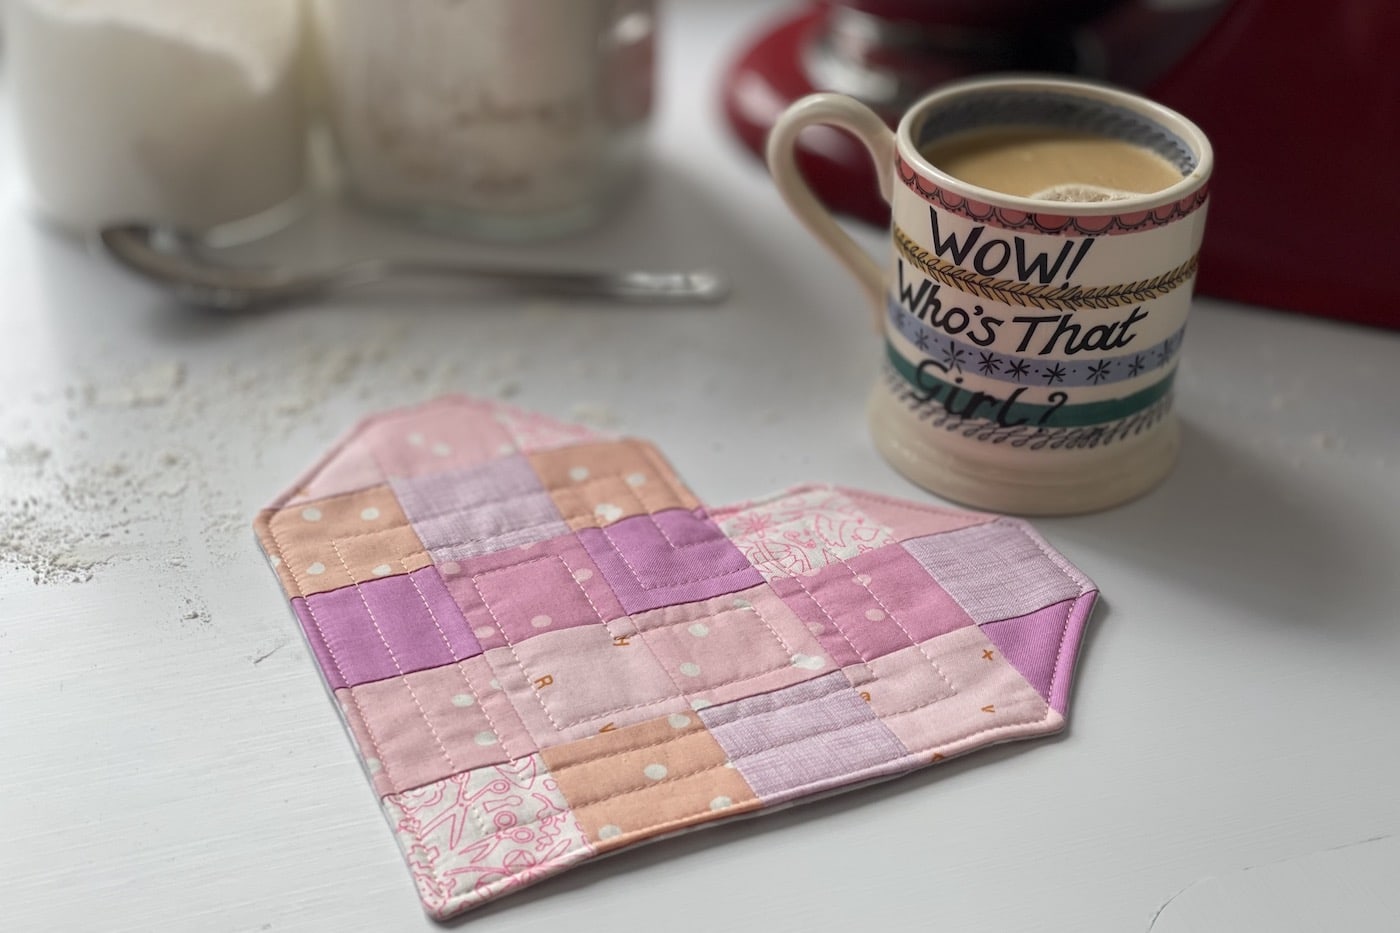
One of the reasons I’m such a big fan of mug rugs is because, as a small (and relatively quick) project, they are the perfect way to try out new skills and techniques, and each month the tutorials have focused on a different sewing skill.
Mug Rug of the Month Patterns & Skill Focus
- January: Fabric Flash Mug Rug – Using Selvages
- February: First Edition Mug Rug – Fussy Cutting
- March: English Bloom Mug Rug – English Paper Piecing (EPP)
- April: Coffee Cabin Mug Rug – Binding with Quilt Backing
- May: Street Party Bunting – Raw Edge Applique
- June: Big Stitch Mug Rug – Hand Quilting
- July: Summer Sun Mug Rug – Improv Piecing
- August: Heart Mug Rug – Patchwork Piecing
- September: Pumpkin Face Mug Rug – Reverse Applique
- October: Cozy Cup Mug Rug – Big Stitch Binding
- November: Christmas Tree Mug Rug – Free Motion Quilting
This month’s skills focus is a back-to-basics one but something that I think is a great skill to master…matching patchwork seams. There are a few different techniques to help with matching seam lines, but in this tutorial, we’re going to use seam nesting.
Instructions
Pay close attention to the direction in which you press the patchwork square seams and take your time to get all the vertical seams nested…this will help them to be perfectly lined up and will also reduce bulk.
We Heart Mug Rugs Sewing Pattern
Equipment
supplies
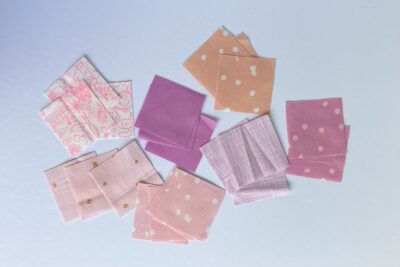
- 7 large scraps Main Fabrics Pink Prints I used seven different prints
- 1 fat eighth Backing Fabric
- 1 piece Batting 9” square
Instructions
Cutting:
- From Pink Prints cut 2” square (21). From Backing Fabric cut 9” square (1).
Construction: Use a ¼” seam allowance, unless otherwise stated.
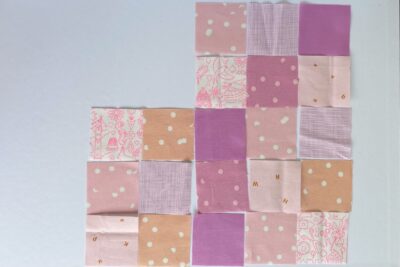
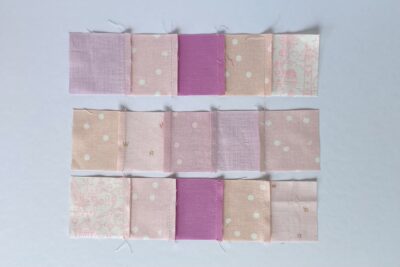
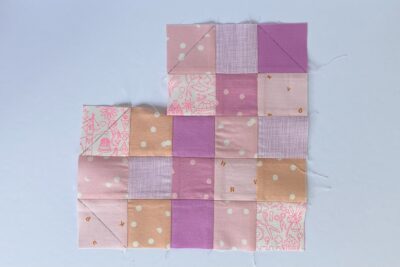
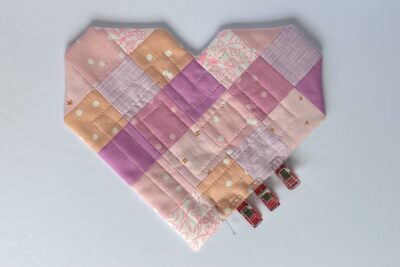
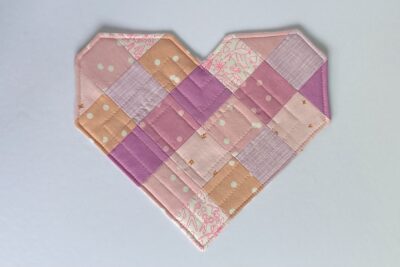
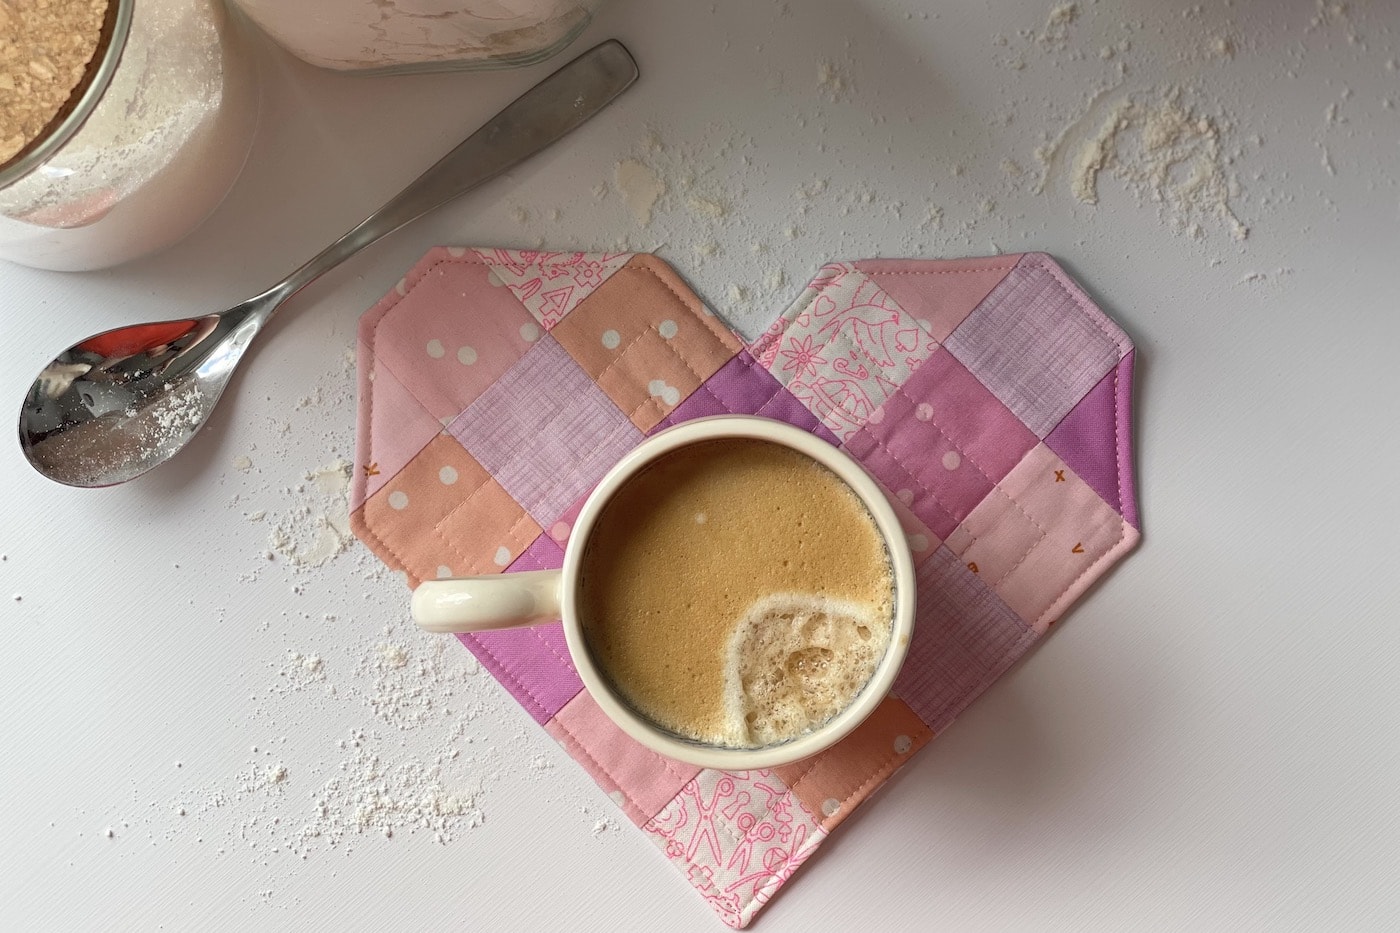
- Take all the Pink 2” squares and arrange them into five columns, using the photo as a guide for placement. Play around with the order of the squares to get a good spread of your fabric prints and make sure no two of the same print are next to each other.
- You are going to put the Pink 2” squares together in two sections at first; the six squares in top right corner of your layout from step 1, then the remaining 15 squares.
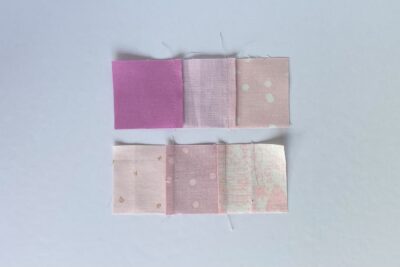
- Take the six squares from the top right corner and sew together in two rows. Press the seams to the top row to the right and press the seams of the bottom row to the left.
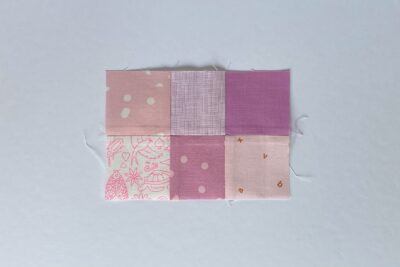
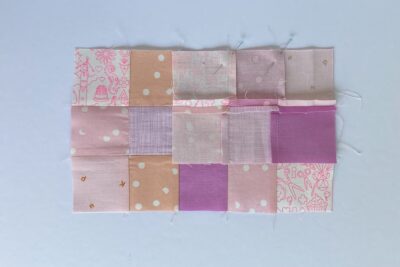
- Now sew the two rows from step 3 together, nesting the vertical seams, then press the central horizontal seam open.
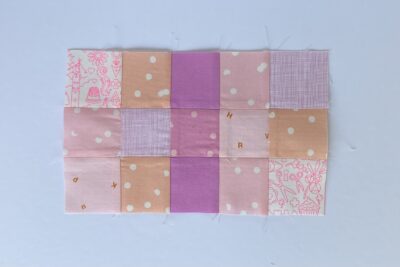
- Take the fifteen remaining squares and sew together in three rows. press the seams of the top row to the right, press the seams of the middle row to the left, and press the seams of the bottom row to the right.
- Now sew the three rows from step 5 together, nesting the vertical seams, then press the two horizontal seams open.
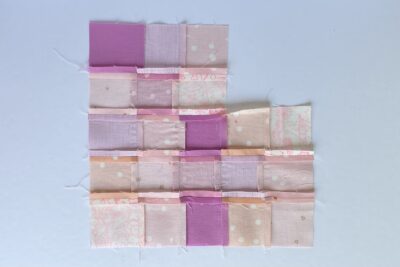
- Place the block from step 6 with the right size facing towards you then pin the smaller block from step 4 to the top right edge (right sides facing) and nesting the vertical seams. Use the photo as a guide for placement.
- Sew this in place and press the seam open.
- Draw 45° lines on four of the corner squares, using the photo as a guide for angle and placement.
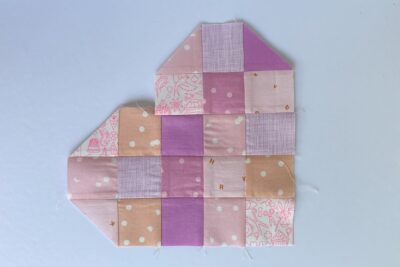
- Trim along the drawn lines to create the heart shape.
Finishing:
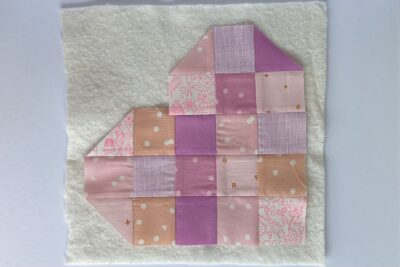
- Baste the patchwork heart to the square of batting using your preferred method.
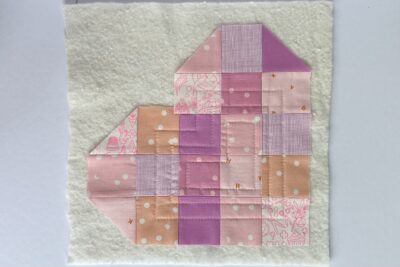
- Quilt as desired. I have used straight line quilting to create three heart shapes echoing the shape of the mug rug. I started with the smallest heart and quilted ¼” inside the the patchwork square seam lines, then I echoed the shape twice with a spacing of ½” each time.
- Trim off the excess batting and neaten any uneven edges.
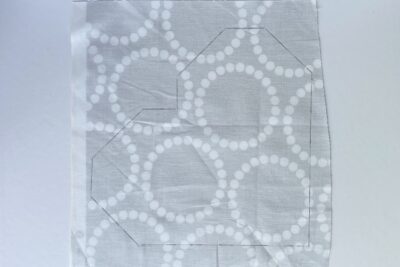
- Using the patchwork heart from step 3 as a template, trace the shape on the backing fabric and then cut out.
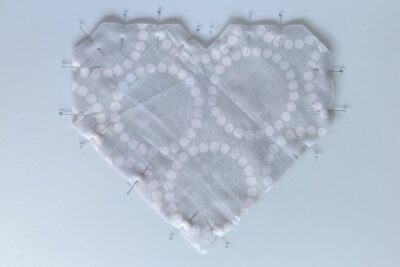
- Take the backing fabric heart and pin it, right sides together, to the patchwork heart. Mark a 3” gap along one of the long, straight edges.
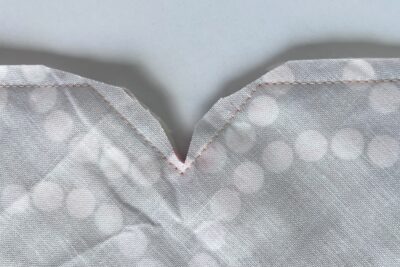
- Sew around the edges, pivoting carefully at the corners, and making sure to leave the 3” gap along one straight edge. Trim off all the corners to help to reduce bulk.
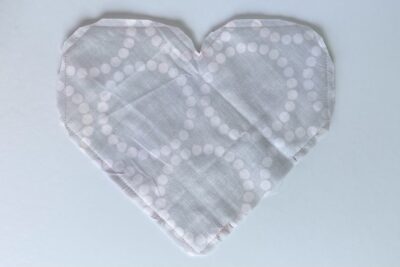
- Carefully turn the mug rug right side out, through the 3” turning hole. Poke out all the corners and pin/clip the turning hole together, folding in the seam allowance to create a neat edge.
- Sew round all the edges (using about a ⅛” seam allowance) making sure you close the turning hole. Press well to finish.
- Enjoy your new We Heart Mug Rugs mug rug.
About the Designer

Amy lives in the north of England with her husband and son. When she’s not sewing and quilting, Amy can usually be found baking or reading. You can find her on Instagram @amyatthegate

