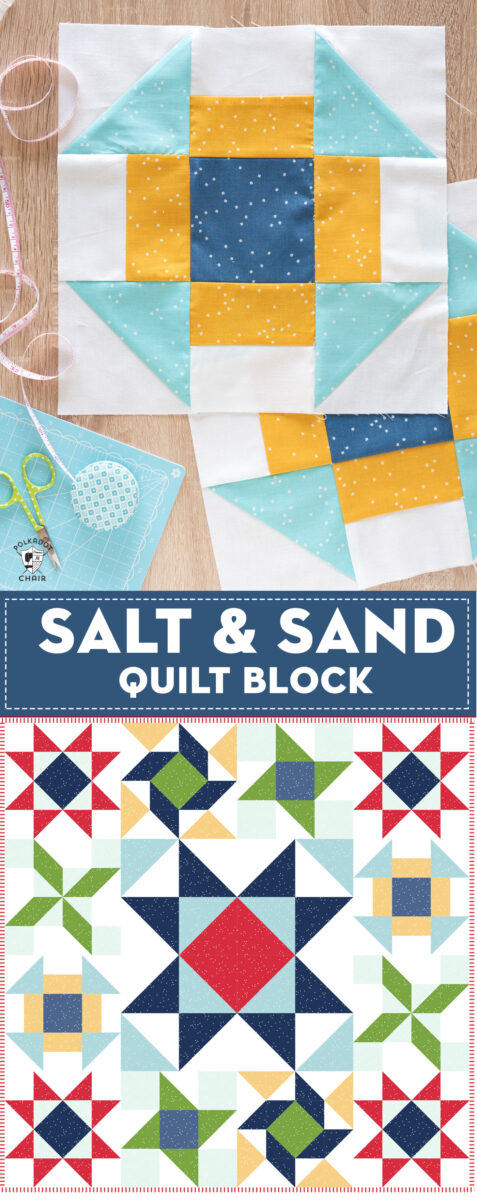
Salt and Sand Quilt Block; Block 4 in the Just for Fun Quilt Along
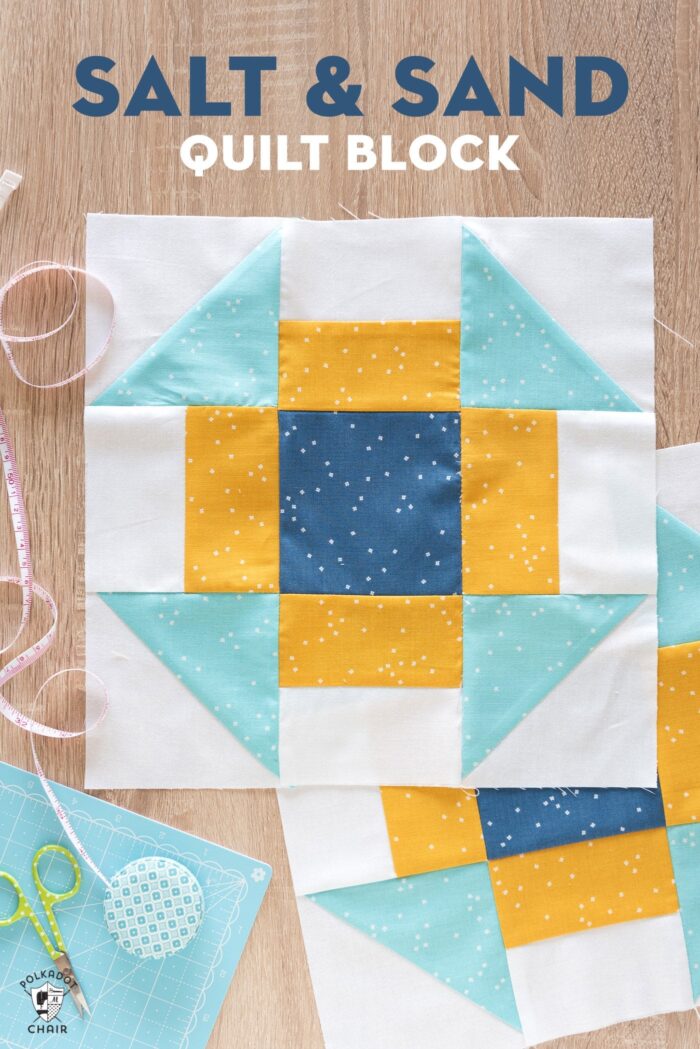
It’s time for the next block in our Just for Fun Quilt Along Series! This month we are celebrating summer with a Churn Dash Quilt Block that I’m calling “Salt and Sand”.
About the Just for Fun Quilt Along:
There are few things I love more than the beach. Unfortunately, the closest beach to where I live is a 9 hr drive (I checked). Since a beach trip is not on our families agenda this summer, I thought I’d bring a bit of the beach home with me and call this quilt block Salt and Sand.
I was inspired by the beachy colors of the block. If you’ve been sewing along with us this block introduces a bit more yellow to our quilt.
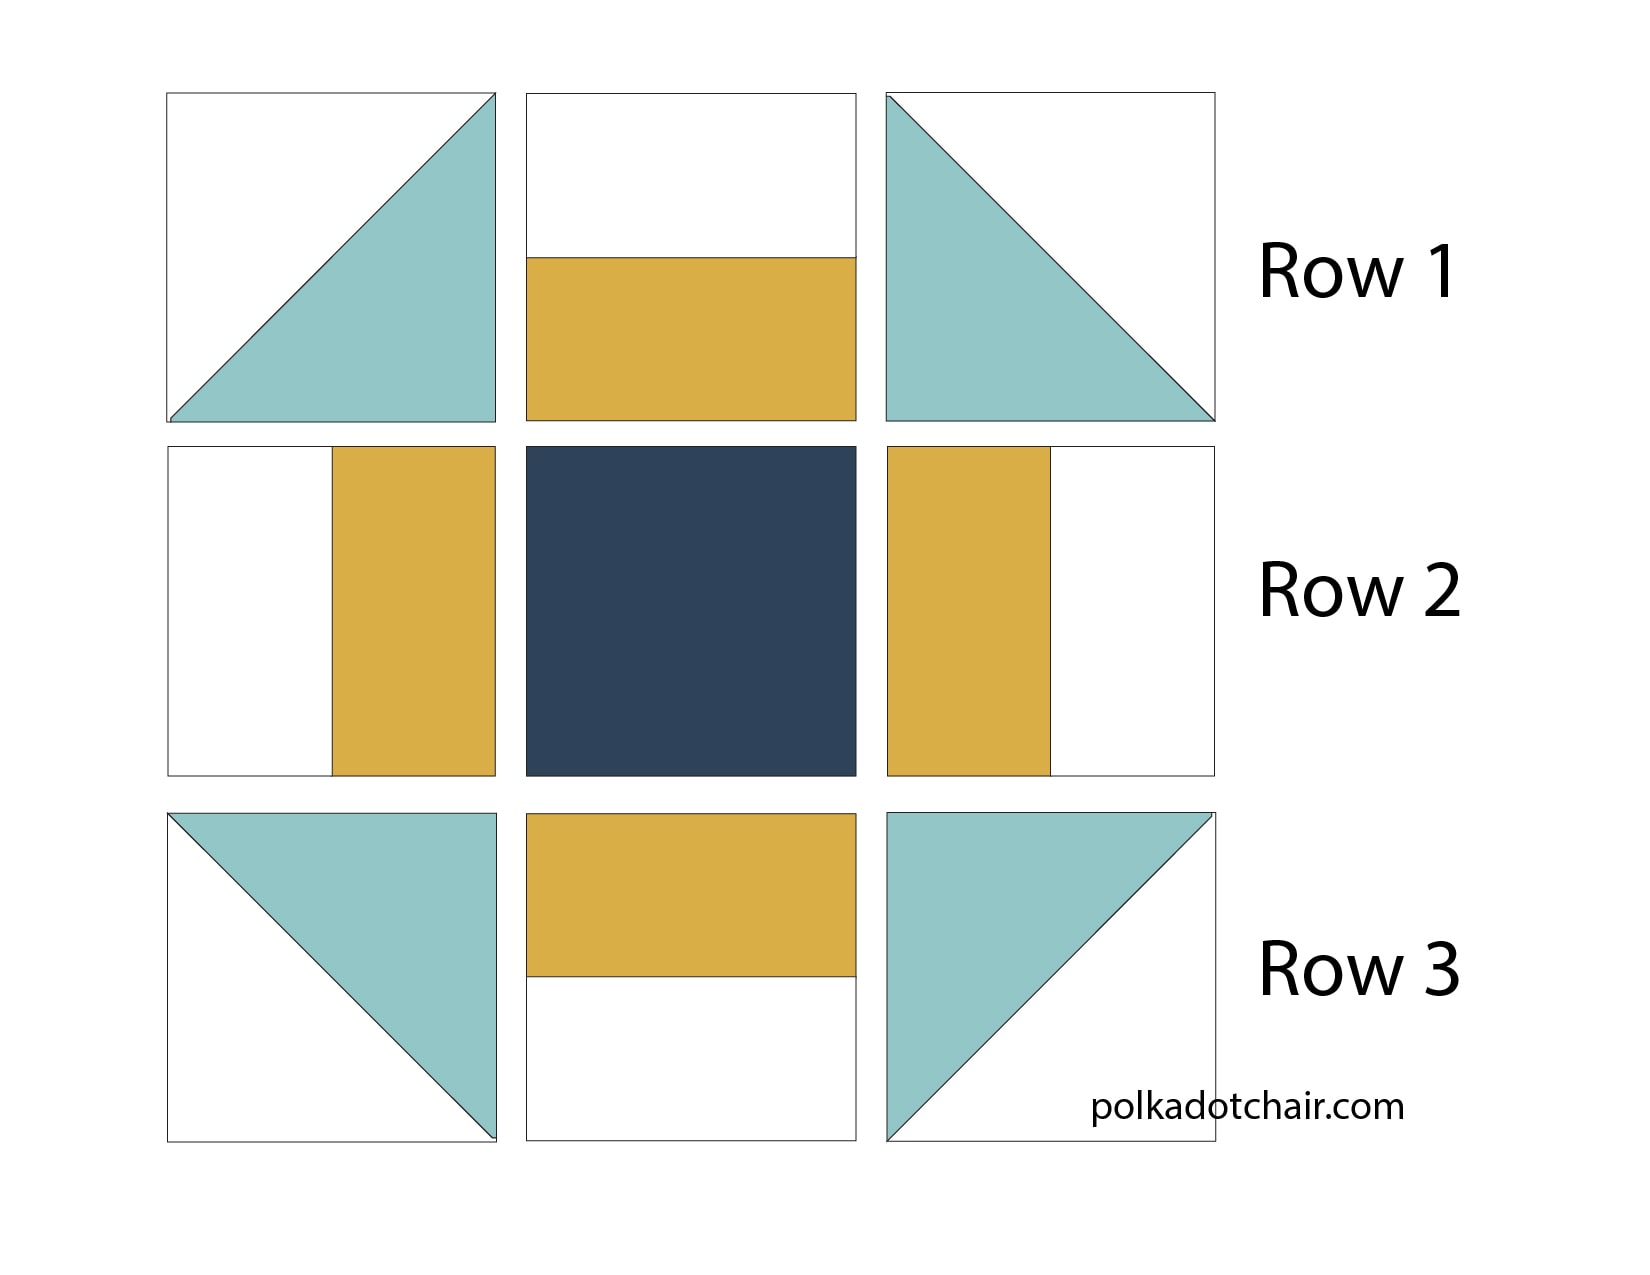
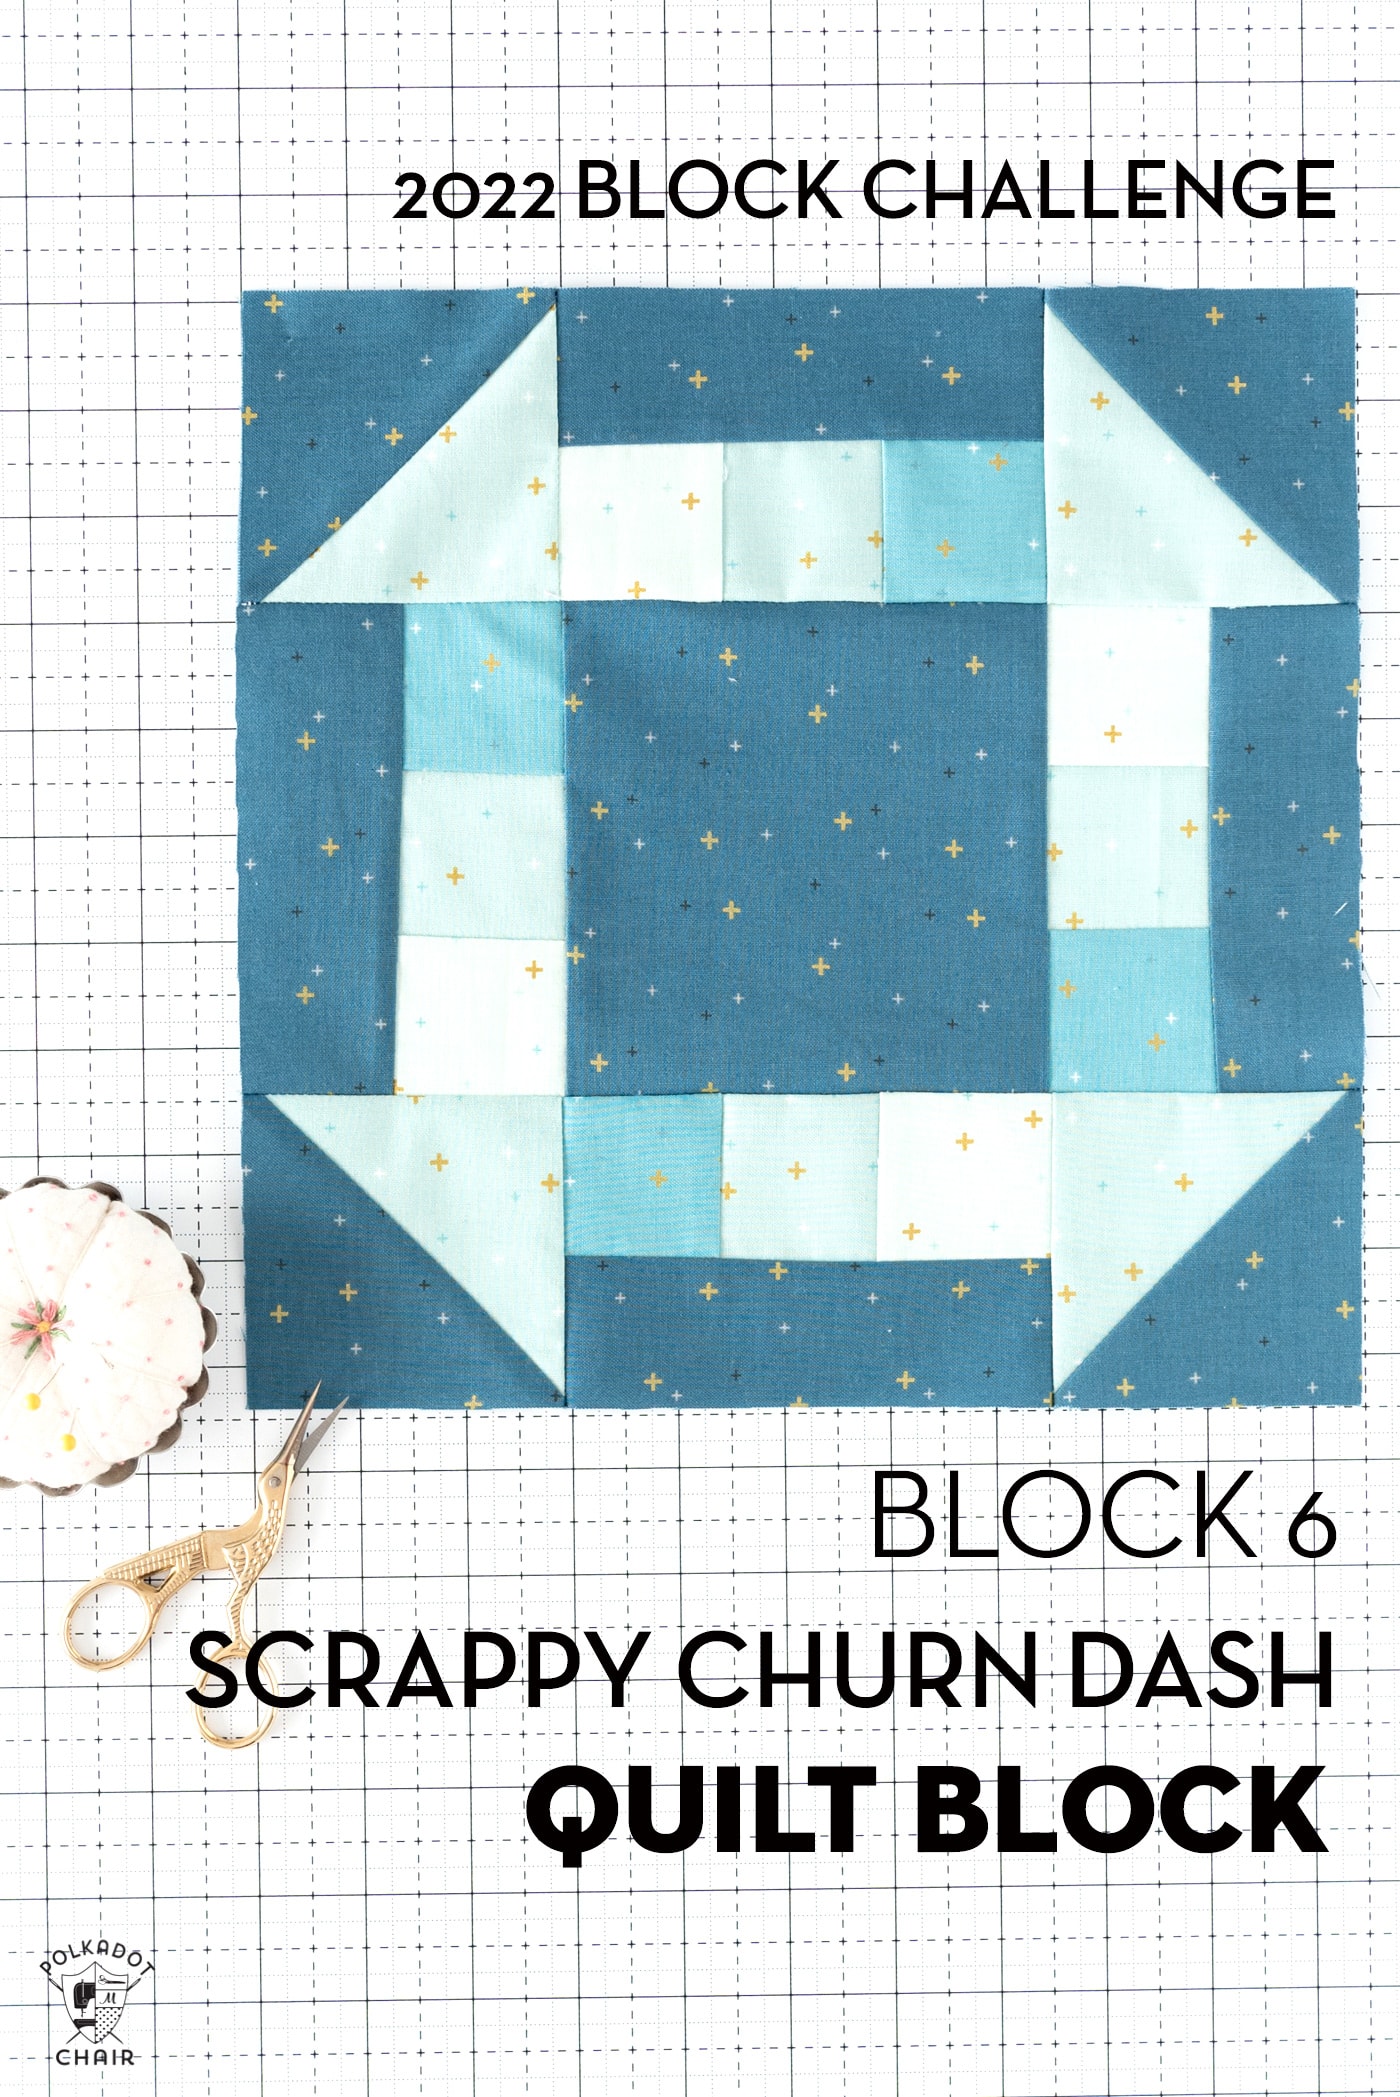
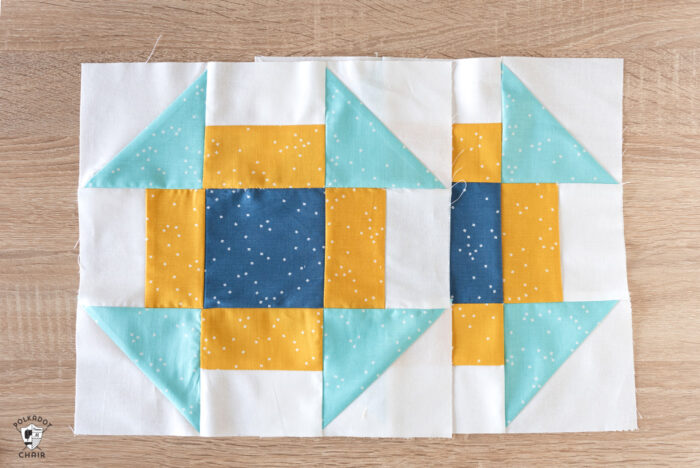
This block is a Churn Dash quilt block. A Churn Dash block is a traditional quilt block and one of the blocks that I’d consider a “building block” if you’re designing a quilt. It features 4 Half Square Triangles in the corners, a center square and 4 strip pieced blocks on the side.
Before I share the quilt block directions. A bit of housekeeping:
This Quilt Block is a part of the Just for Fun Quilt Along begin hosted here during 2019. All of the blocks in the series are named after things that I like to do “for fun”, hence the name Just for Fun.
The block directions are free, but I ask that you do not print and distribute them. If you have a friend that wants to join along, just send them to the site. Also if you are a shop that carries a kit, I have a special printable you can include with the kits directing customers where to find the directions.
You can find all of the information about the Quilt Along (including fabric requirements) ON THIS POST.
UPDATE:
- All of the Blocks in the Just for Fun Quilt Along:
- Block One: Under the Stars
- Block Two: Lake Days
- Block 3: Sunshine & Stars
- Block 4: Salt and Sand
- Block 5: Bike Ride
- Block 6: Road Trip
How to Make the Salt and Sand Block (a Churn Dash Quilt Block)
To make this block piece a bit quicker I’m using a bit of strip piecing. Which pretty much just means that you sew two long pieces of fabric together and then cut them up into smaller pieces. It saves on time and sewing.
As I was making my sample blocks I kept coming up 1/8″ short on the width of my strip pieced blocks. I chalk it up to a slightly incorrect seam allowance. To help you guys avoid this pitfall, you are going to cut the strips 1/4″ wider than necessary. This will give you some wiggle room when you’re piecing since you can always cut the fabric off, but you can’t add it back on.
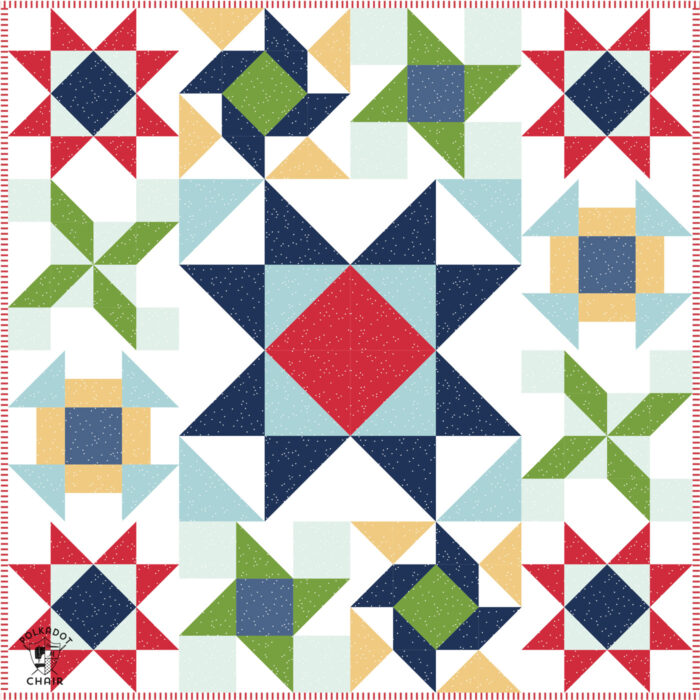
The directions below are for 1 block. Our quilt has two blocks in it. However, I’m sharing the cutting requirements for just one block since I know many of you are varying the layout of your quilt. This way you can “mix and match” more easily.
For Each Block (there are 2 blocks in the quilt layout as shown) Cut:
- Aqua Fabric, 2 pieces each 5″ x 5″
- White Fabric: 2 pieces each 5″ x 5″
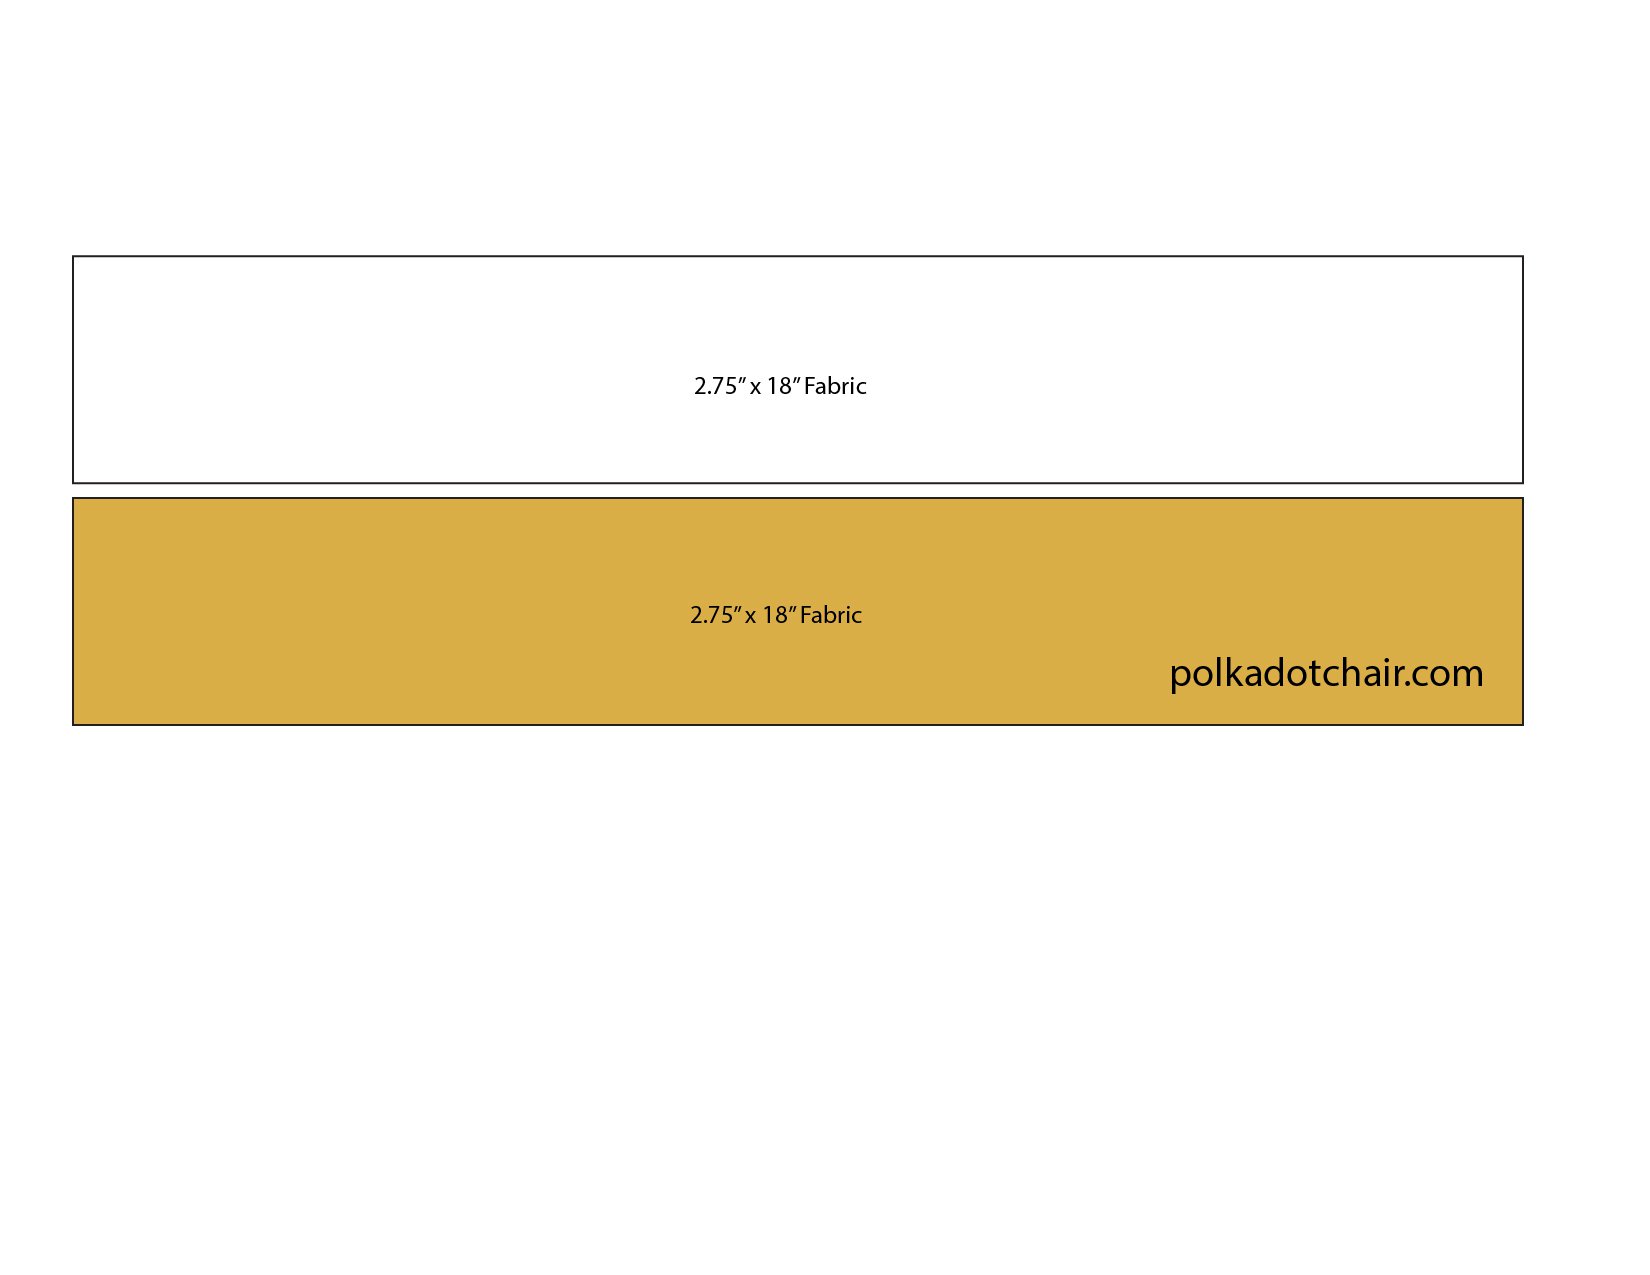
- and 1 piece 2.75″ x 18″
- Yellow Fabric: 1 piece 2.75″ x 18″
- Dark Blue Fabric: 1 piece 4 1/2″ x 4 1/2″
Time needed: 1 hour
How to Make a Churn Dash Quilt Block (the Salt and Sand Quilt Block)
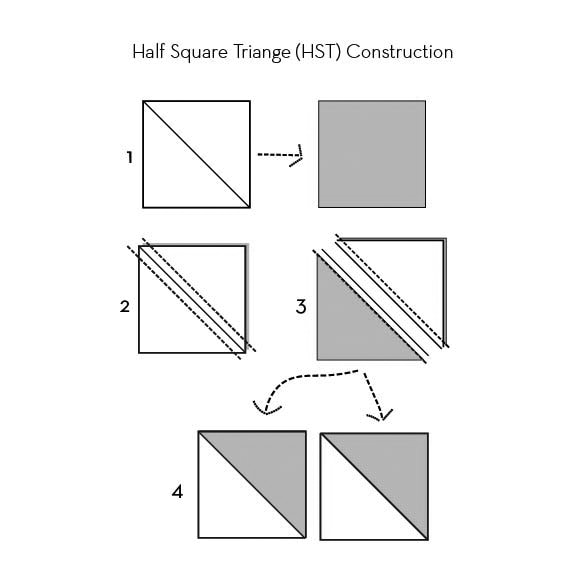
- Create Half Square Triangles
Draw a diagonal line on the wrong side of your two 5″ x 5″ white pieces of fabric.
Layer one 5″ x 5″ white piece of fabric with one 5″ x 5″ aqua piece of fabric, right sides facing.
Stitch 1/4″ on each side of the line you drew.
Cut apart along the line.
Open the fabric piece and press the seams towards the darker fabric.
Trim and square up to 4 1/2″ x 4 1/2″ - Create Strip Blocks
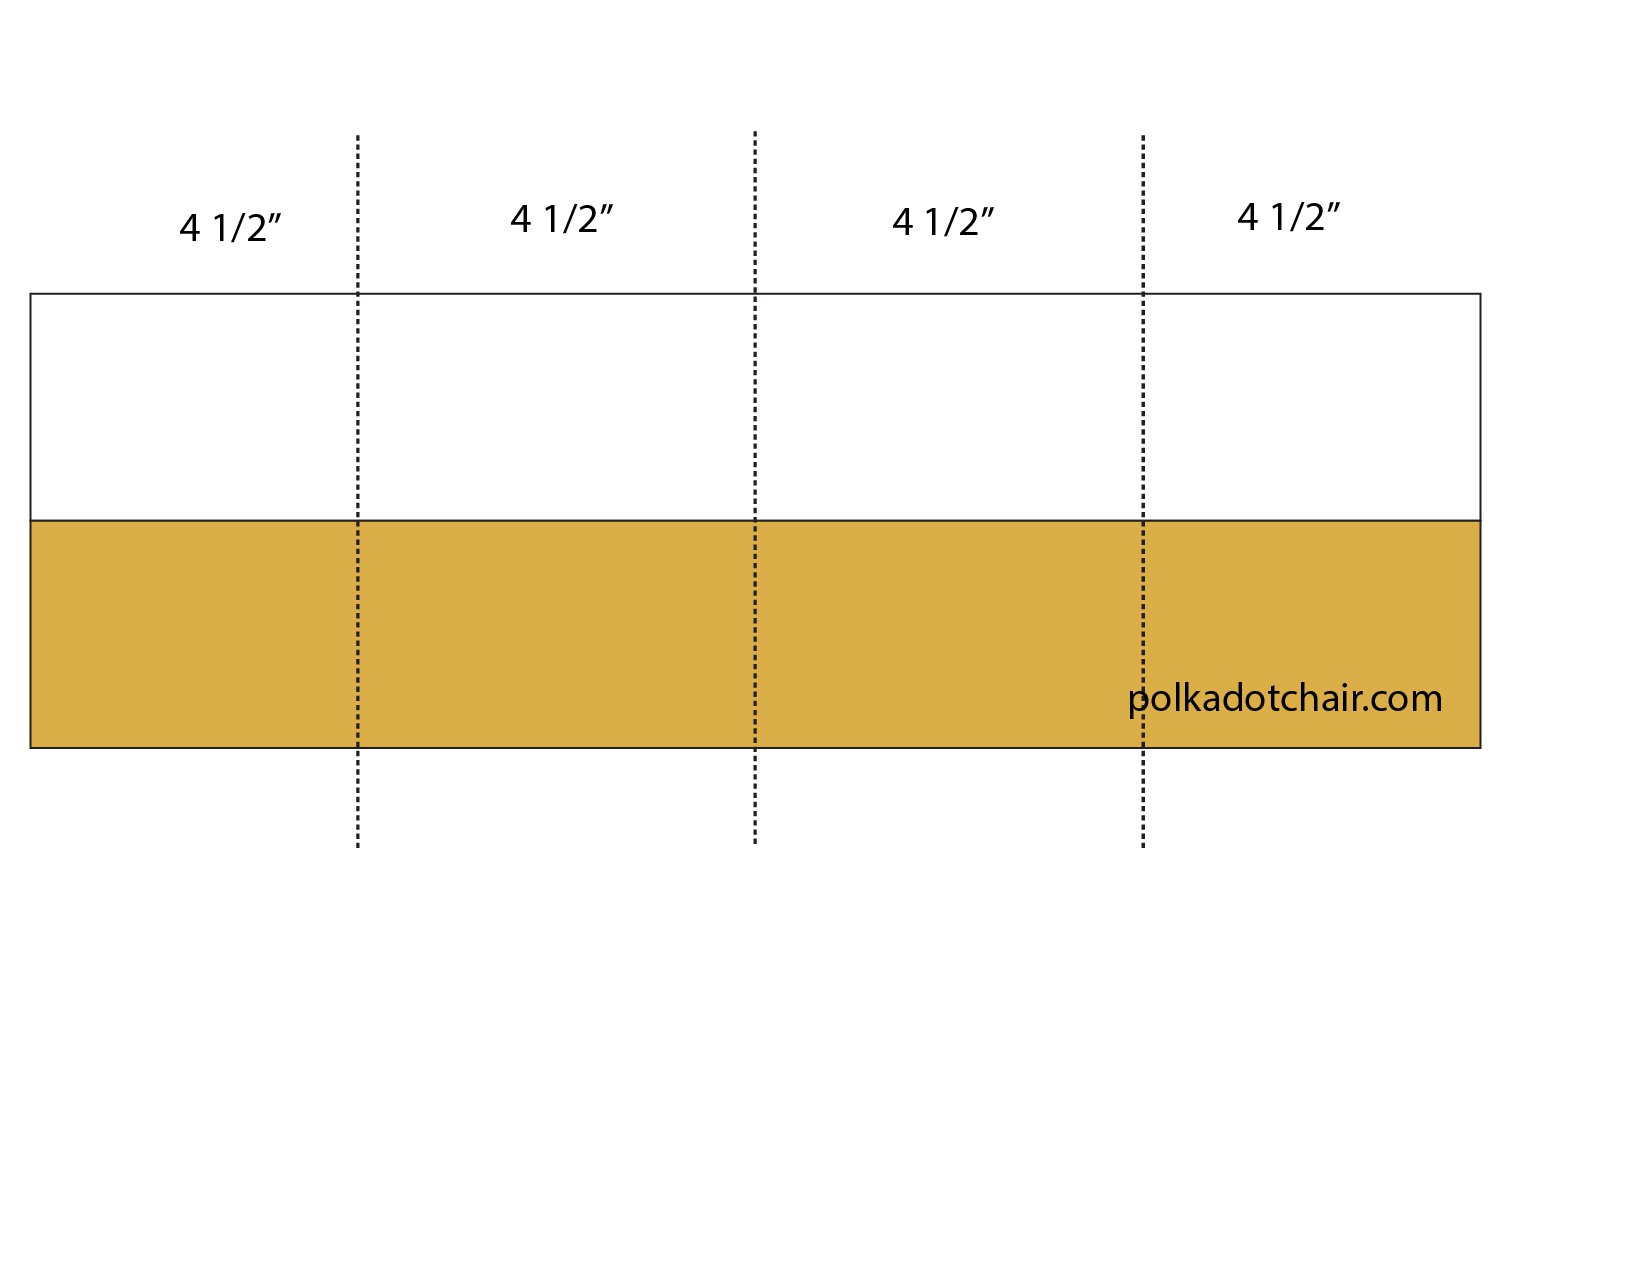
Stitch one 2.75″ x 18″ piece of yellow fabric to one 2.75″ x 18″ piece of white fabric along the 18″ sides. Press the seams towards the darker fabric.
- Cut Strips into Block
Cut the 18″ long strip of fabric into 4 pieces each 4 1/2″ wide. If you stitched your seams and pressed perfectly your piece is now slightly larger than 4 1/2″ x 4 1/2″.
Trim and square up to 4 1/2″ x 4 1/2″ making sure to keep the center seam in the center of the piece as you trim. - Assemble the Block
Arrange the pieces of the block as shown in the diagram. Stitch the blocks in row 1 together then the blocks in row 2 and the blocks in row 3.
Press the seams to one side. I pressed the seams of rows 1 and 3 towards the outside edges and row 2 towards the center of the block. Pressing this way allows seam allowances to be “nested” as they are sewn together.
Stitch row 1 to row 2 and row 2 to row 3.
Repeat for the 2nd block. - Finishing
After you’re done sewing your block together it should measure close to 12 1/2″ x 12 1/2″.
