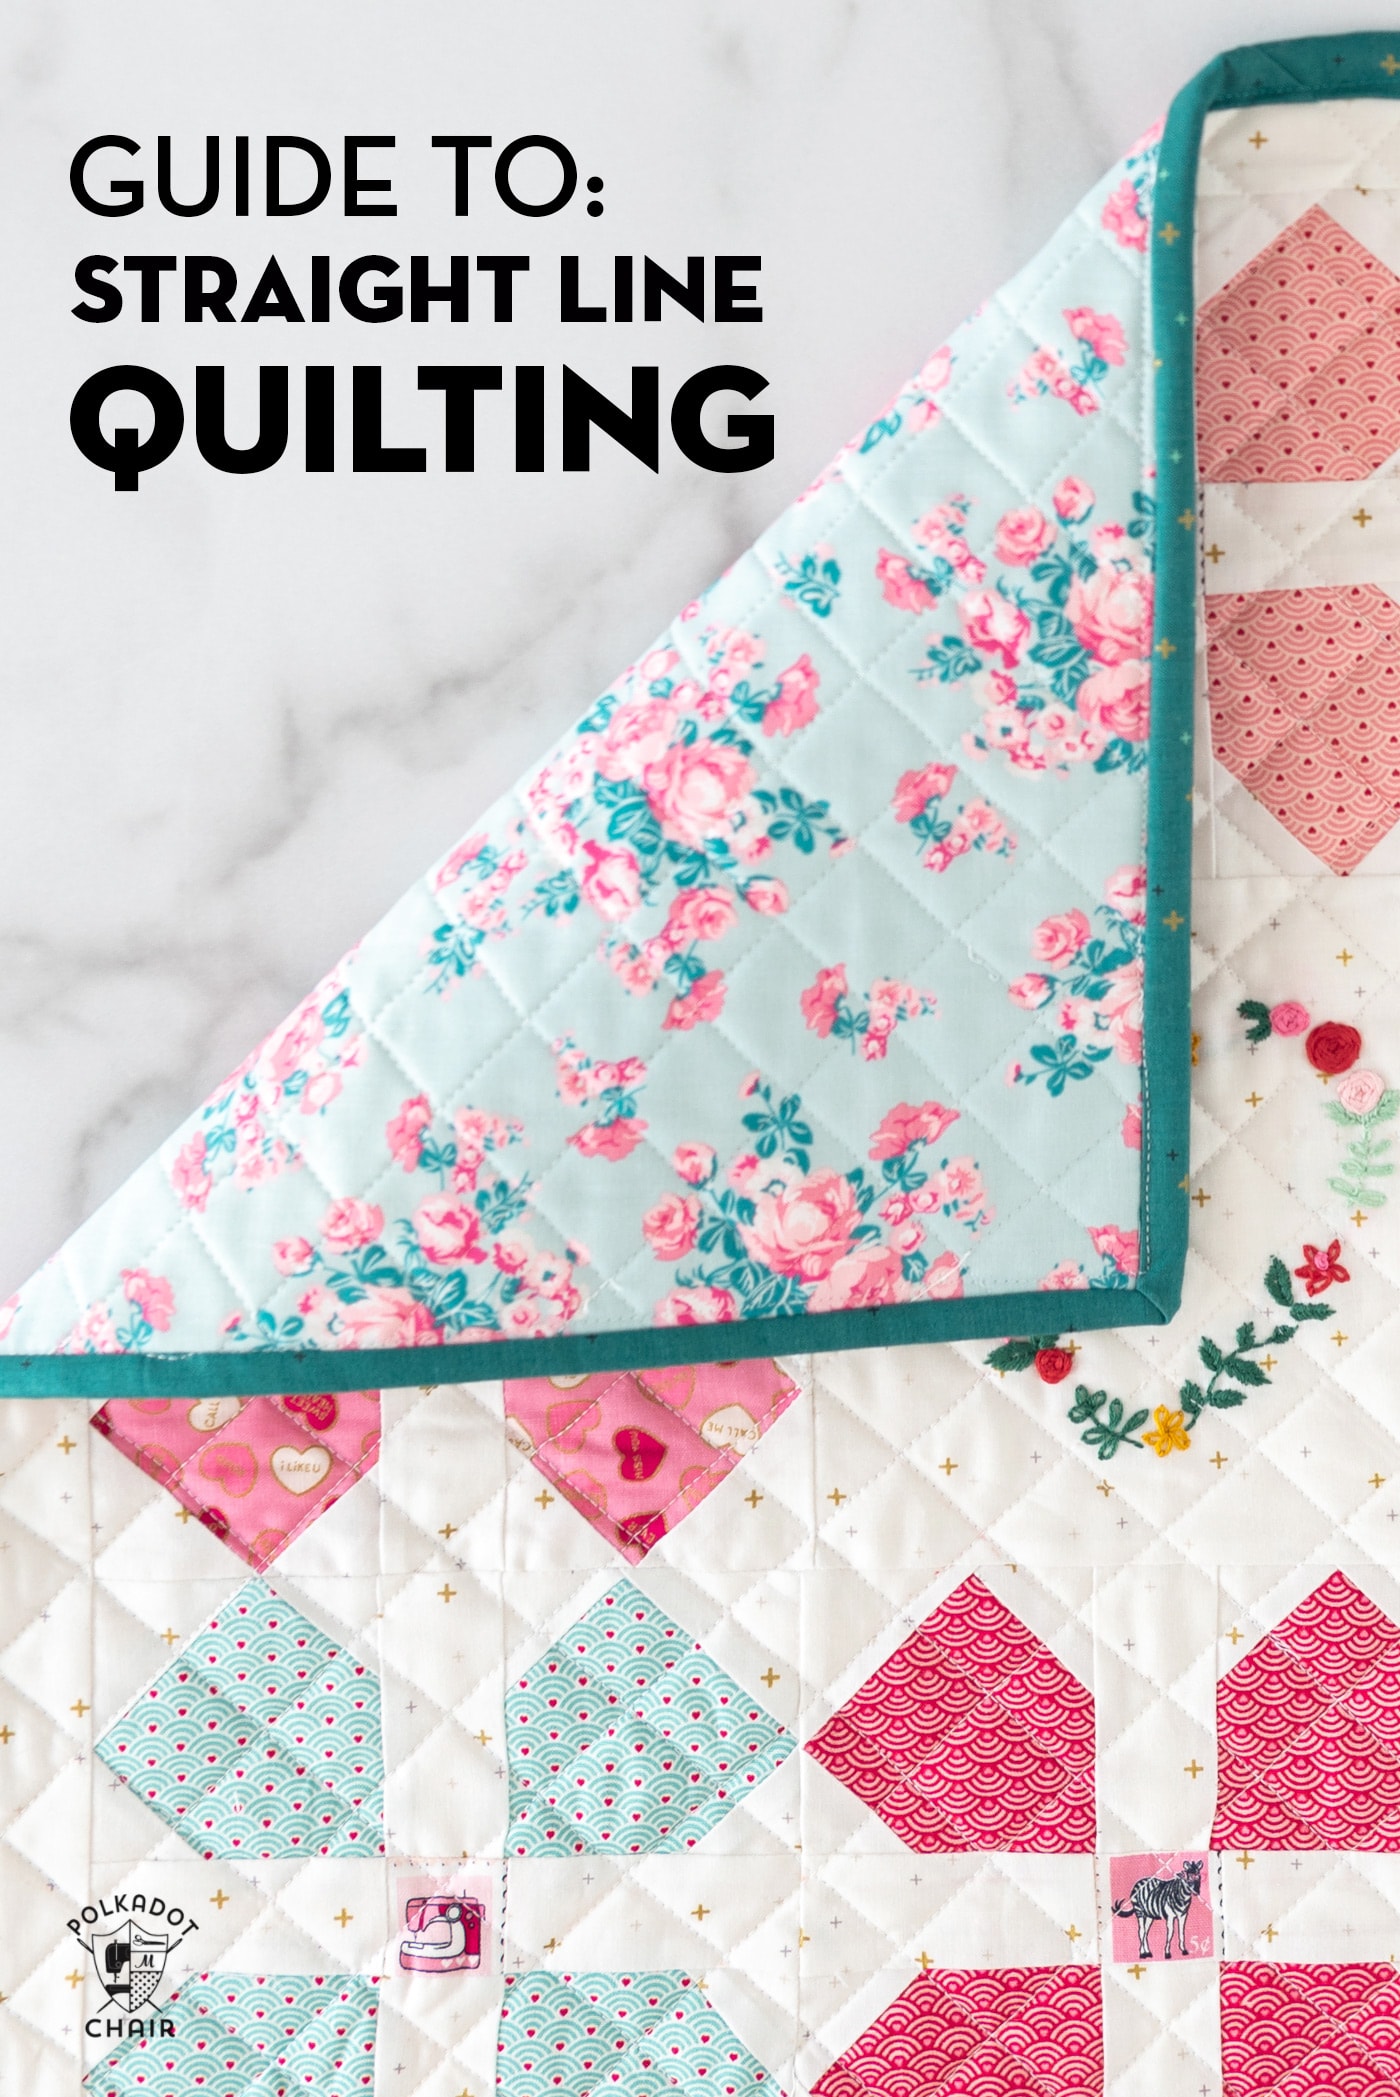
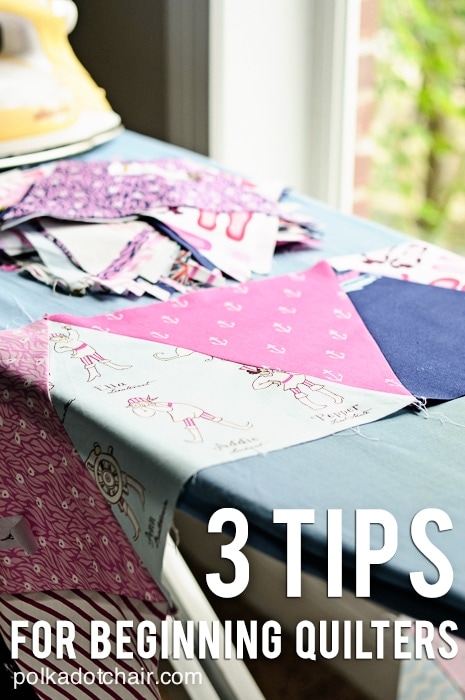
A Guide to Straight Line Quilting Designs
Learn how to straight line quilt your next project with our guide to straight line quilting! This quilting technique is perfect for beginners, as it can be done on a home sewing machine.
If you’re an experienced quilter looking for ideas for your next straight line quilting project, we have four of our favorite design ideas to share with you today.
(Diagonal Line Quilting on Table Topper Project)
This article is part of our ongoing “Learn How to Quilt” Quilting Lessons series!
I’m a huge fan of straight-line quilting. Don’t get me wrong, I love free motion quilting and the variety of effects you can get with an almost endless selection of motifs in so many varying styles, but I think sometimes people avoid straight line quilting because “it’s just straight lines.”
Be sure to check out Machine Quilting Basics if you are new to quilting.
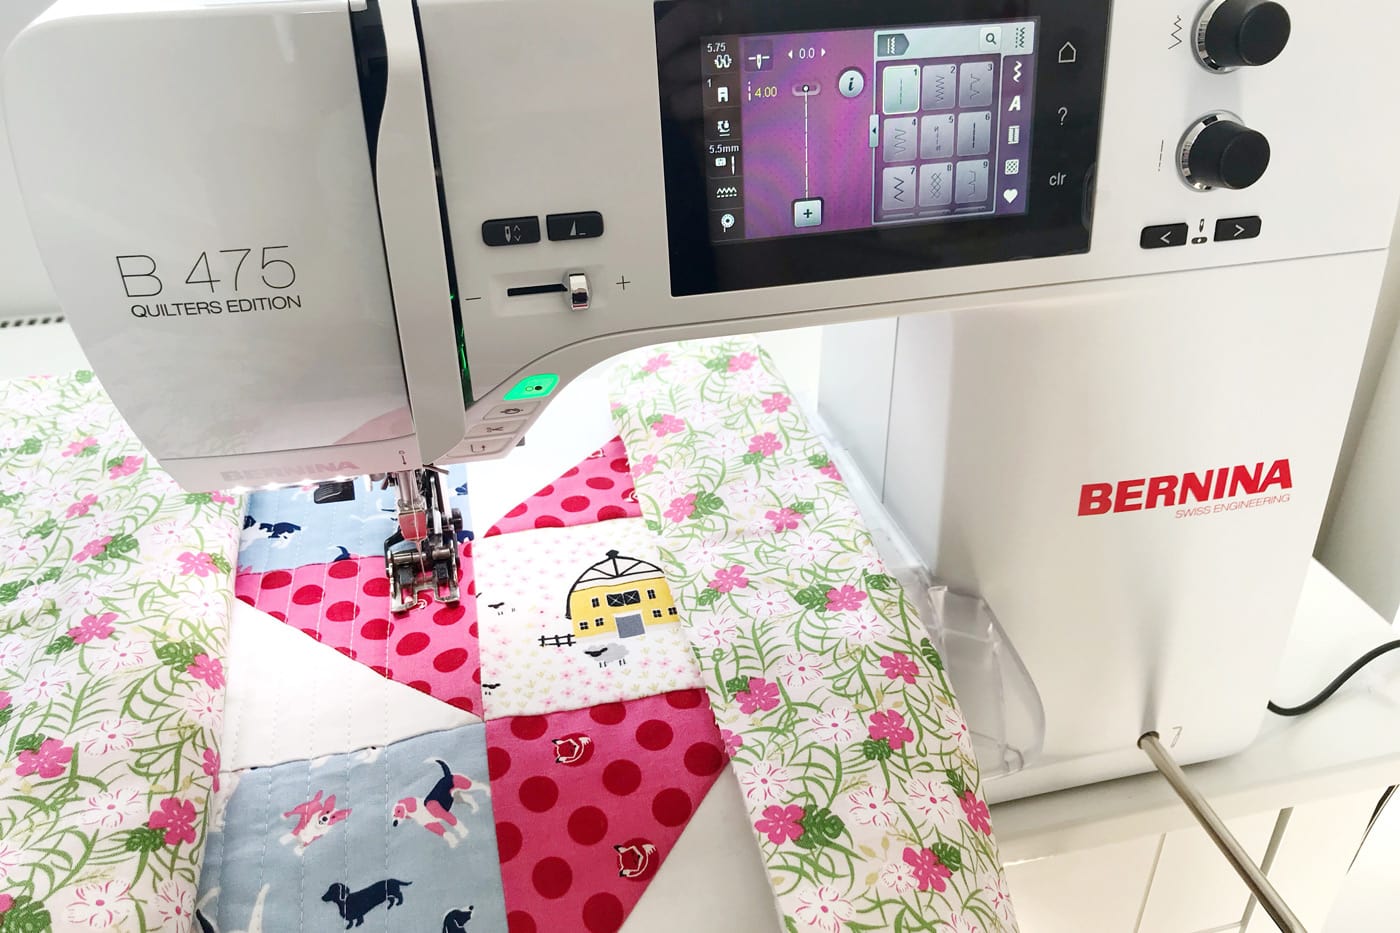
NOTE: To achieve great looking straight line quilting, you will need to use a walking foot or even-feed foot on your sewing machine. These specialized presser feet help to feed the multiple layers of the quilt sandwich (quilt top, batting, and backing) evenly, preventing shifting or puckering during stitching.
What is Straight Line Quilting?
Straight line quilting is a quilting technique where the stitching lines on the quilt top are sewn in straight, parallel lines. It is a popular quilting method that creates a clean and modern look.
Instead of intricate designs of free-motion quilting, straight-line quilting focuses on simplicity and emphasizes the geometric shapes of the quilt blocks or the overall quilt design.
One of the things that I like the best about straight-line quilting is that it is easy to do on a home sewing machine.
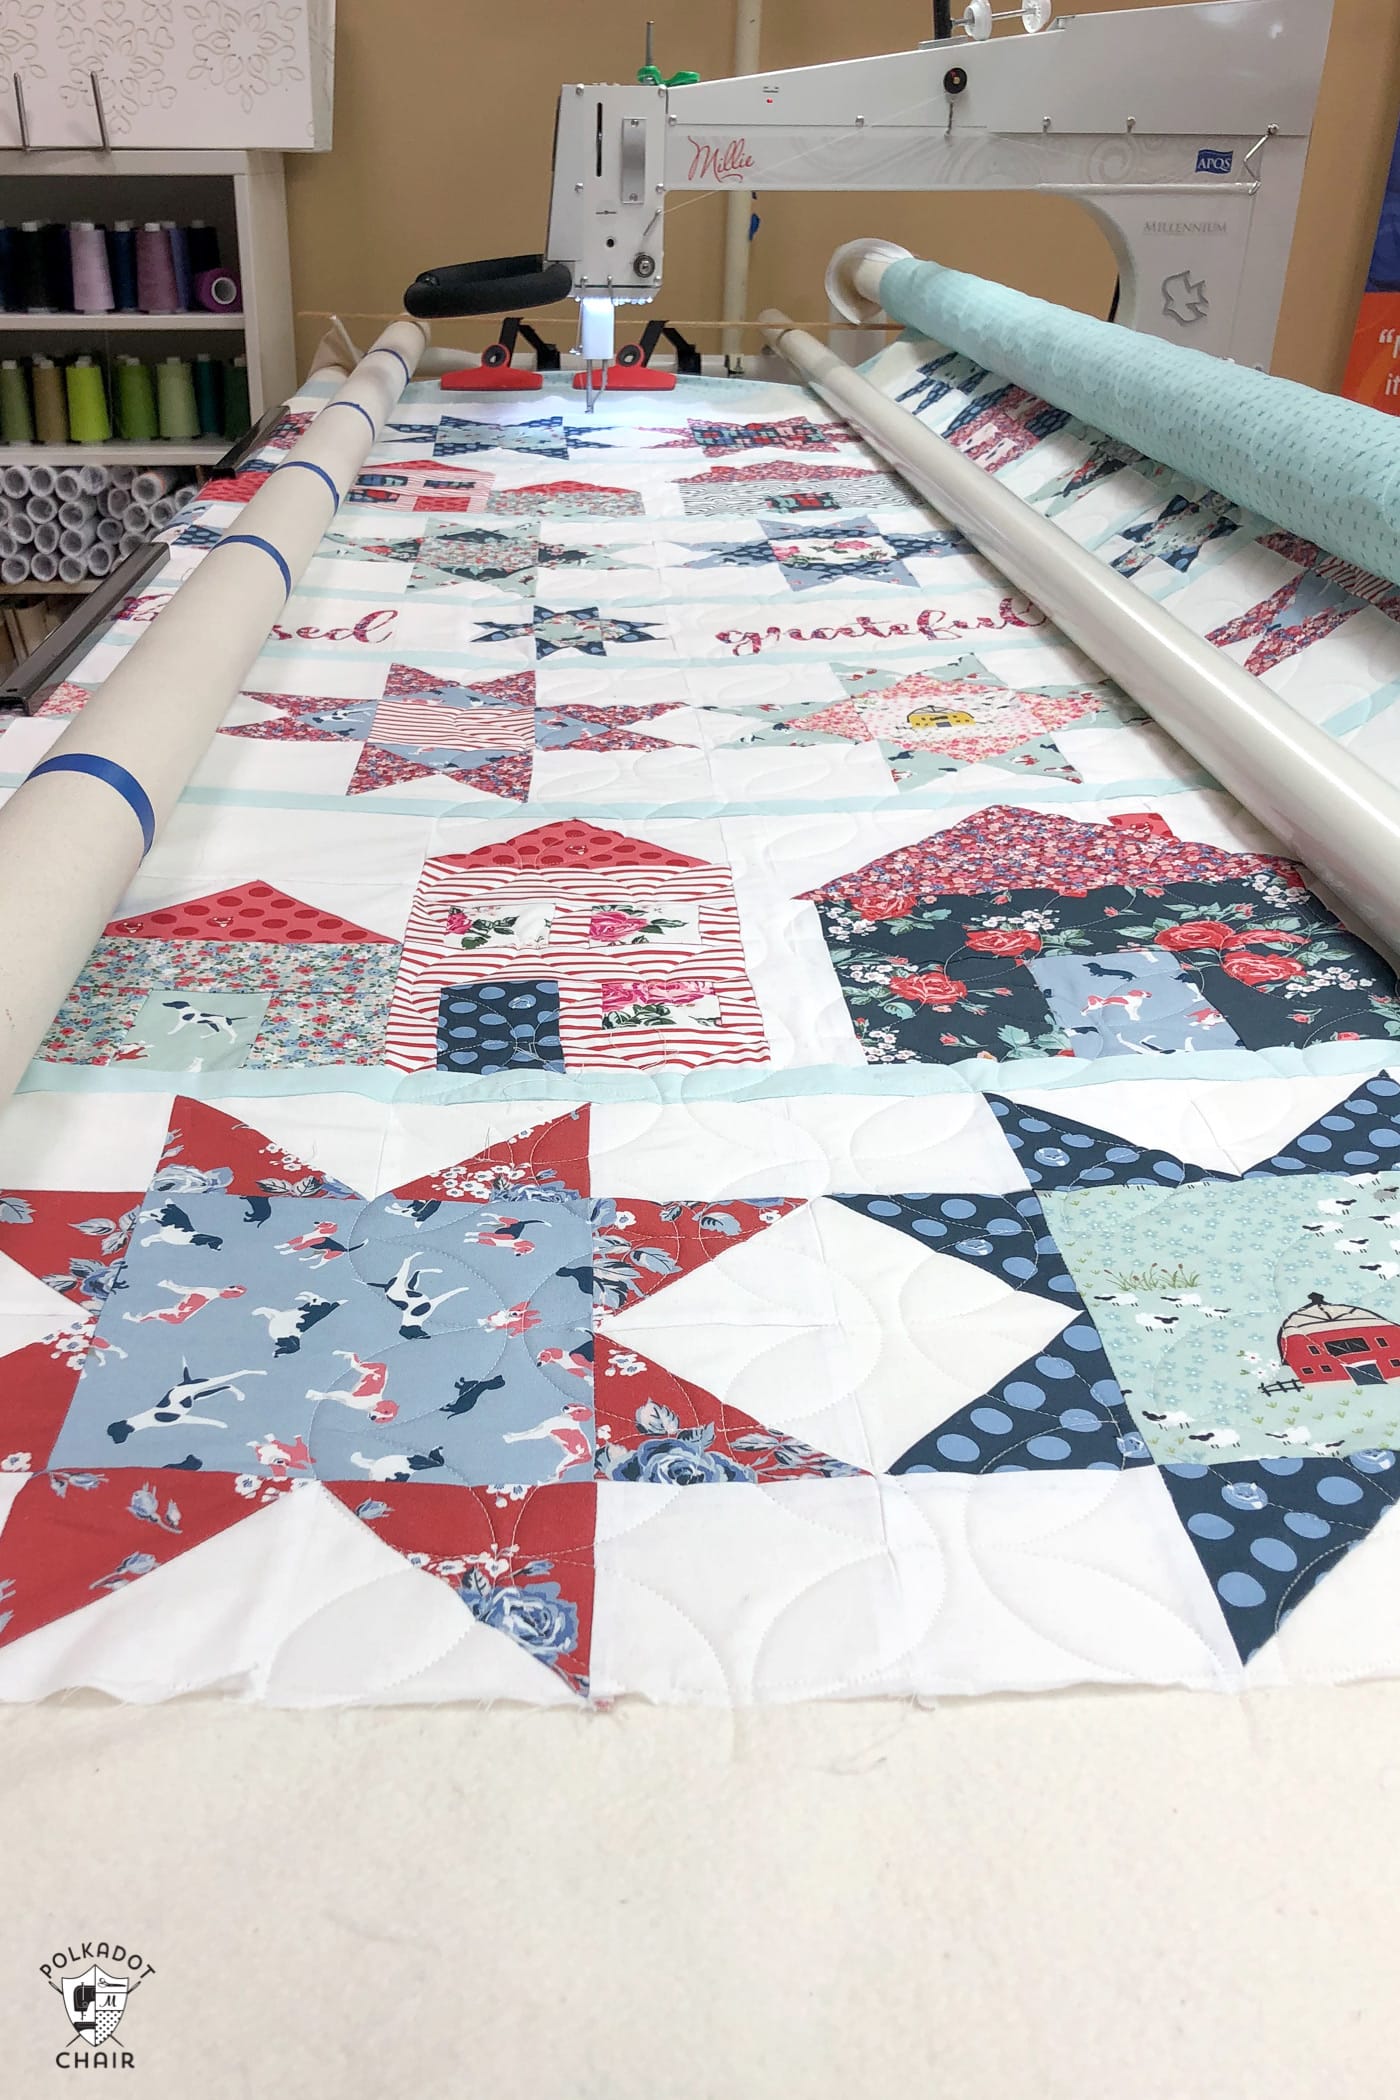
As compared to free-motion quilting, which is mostly done on a long-arm quilting machine. Those machines, due to their cost and size, may be prohibitive for many quilters to purchase.
Read on for my “how to” guide to four simple but effective straight line quilting designs.
Four Straight Line Quilting Designs
Design One: Vertical or Horizontal Parallel Lines
Quilting lines that run parallel to the edge (or edges) of your quilt are a very simple design and perfect for beginners.
The only real choice you need to make, other than thread color, is the spacing between the lines. This can depend on your patchwork design and which areas you want to go through.

(Parallel Line Quilting, 1″ apart on Giant Star Baby Quilt)
I’d be cautious about positioning your quilting lines on the patchwork seams (this then becomes close to stitching in the ditch, which is a slightly different idea to straight line quilting and is harder than it seems), so I would pick a distance that goes between patchwork seams; 1″ and 3″ spaced are favorite distances of mine.
You can mark all the lines using a hera marker and quilting ruler, or you mark just the first few and then use a quilting guide to space out the rest of the lines. Most walking feet come with a guide bar that can be adjusted.
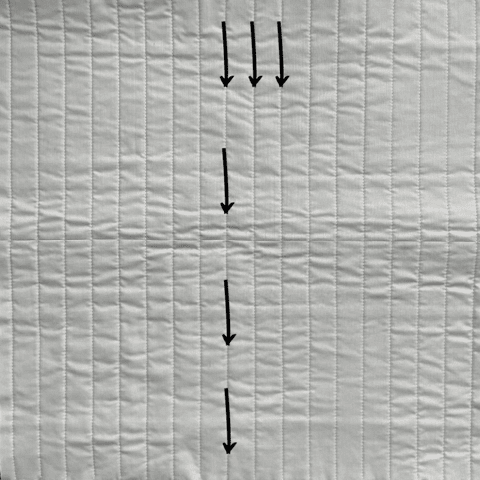
I always start with a line that is right down, or across, the center of the quilt (unless this goes on top of a seam…if this is the case, I work out the central line of the quilt and then add my first two straight lines either side of this making sure the central mark is at the middle mark of the spacing you have chosen.
For example, for 3″ spacing, your central two lines will sit 1 1/2″ on either side). I then work in one direction, always starting at the same edge and moving across the quilt. With a smaller spacing like 1″, I would recommend quilting every other line at first to get the quilt more secured and then going back and filling in the gaps with extra lines.
The general consensus for quilting like this states that you should also start your quilting at the same edge, meaning you always sew from the top of the quilt to the bottom, for example.
I do this from the halfway mark across the edge, but then I do flip the quilt 180 degrees and work out from the central point again. This means that half the quilting goes top to bottom, but the other half goes bottom to top.
It is often advised against doing this as it means your quilt top is being “pulled” in two different directions and can become distorted. I spray-baste my quilts and use a walking foot, so I have never had this issue, and I find that the bulk of having almost all of my quilt top crammed into my sewing machine throat space can cause more issues than sewing from two different edges.
This is totally down to personal preference and your basting method. I’d recommend experimenting with this to see which you prefer.
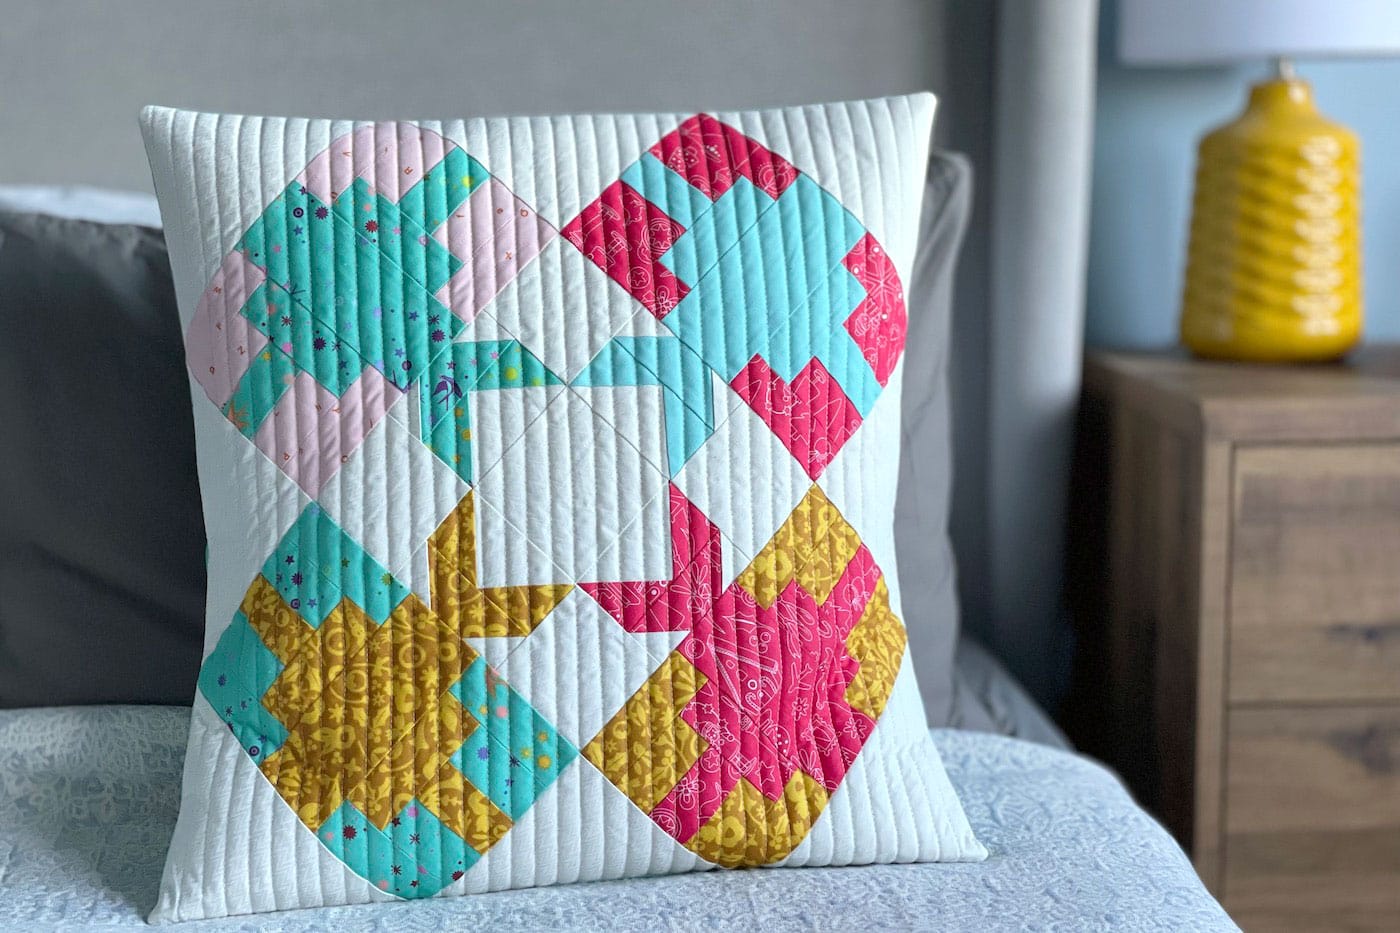
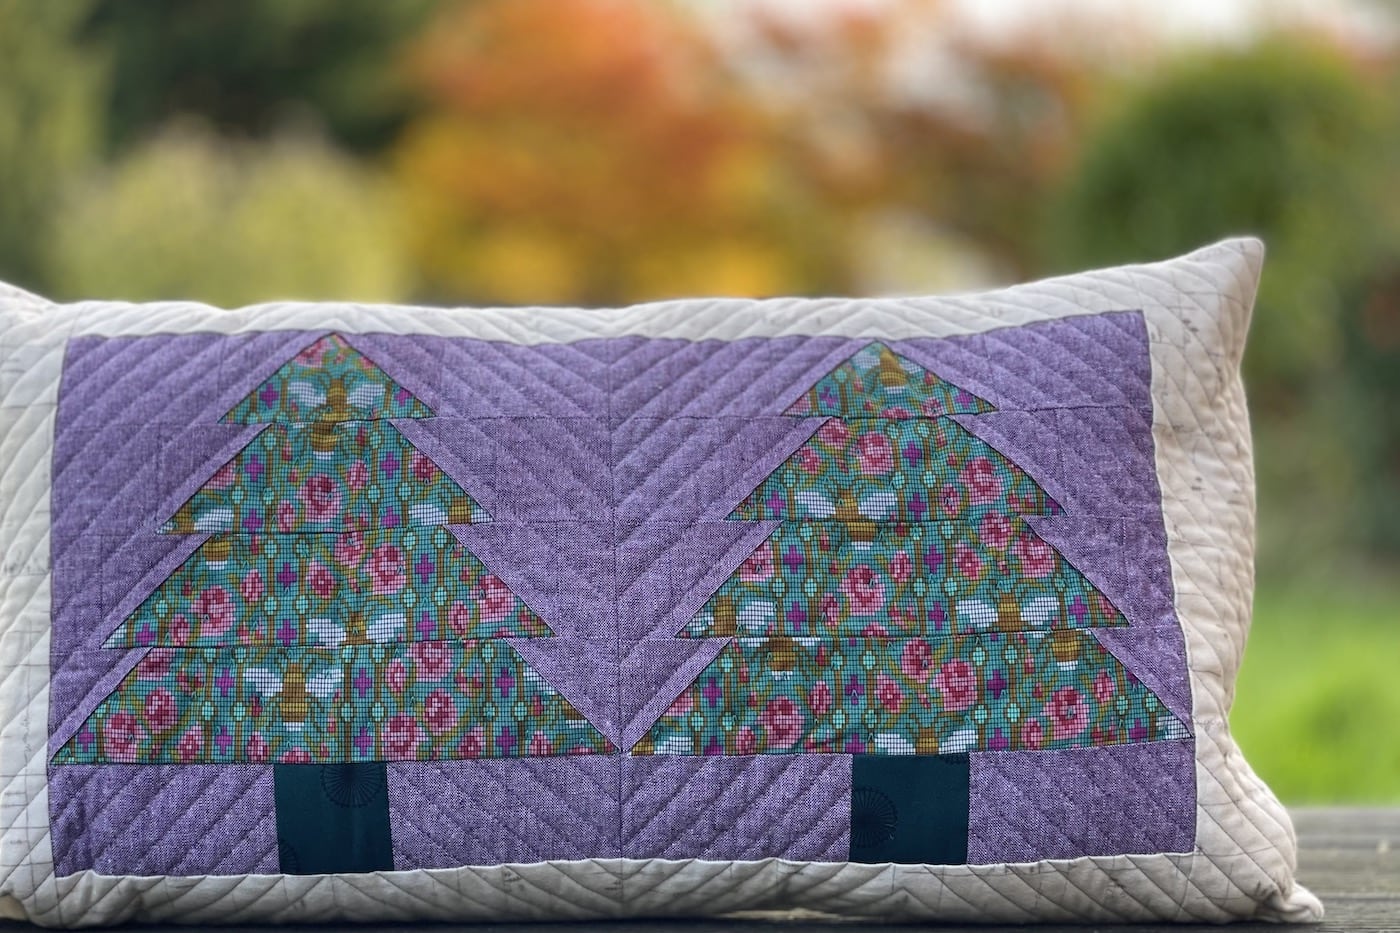
(Parallel Line Quilting on Christmas Presents pillow, 1/2″ apart)
Design Two: Diagonal Parallel Lines
This design is similar to number one other than the fact that the quilting lines run at an angle to the edges of your quilt; the most common angle to use is 45 degrees, but it can be anything you want.
(Diagonal Parallel Line quilting on Spring Bee Runner – note the quilting lines up with the seam intersections)
The only choices are the angle and the spacing between the lines. Again this can depend on your patchwork design and which areas you want to go through; pay attention to your patchwork seams and also where corners meet…do you want your quilting lines to hit the corners or go either side.
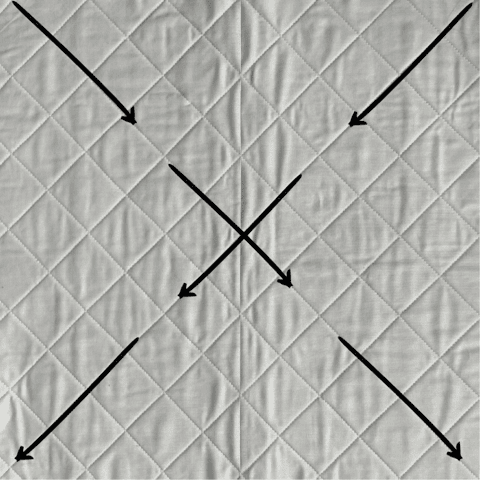
I always start with two central lines, starting at opposite corners so you create crossed lines across your quilt. If you are quilting something square, then this is very easy to find…it will run from one corner to the opposite.
For a rectangular project, you could do corner to opposite corner for your central line and then use that as your guide for the other lines; the angle of this will vary depending on the ratio of your rectangle.
If you want 45-degree quilting lines, then I would start at one corner of the quilt and use your quilting ruler markings to work out where 45o will run; your “central” line will go from one corner down to the opposite edge of the quilt (but not the corner).
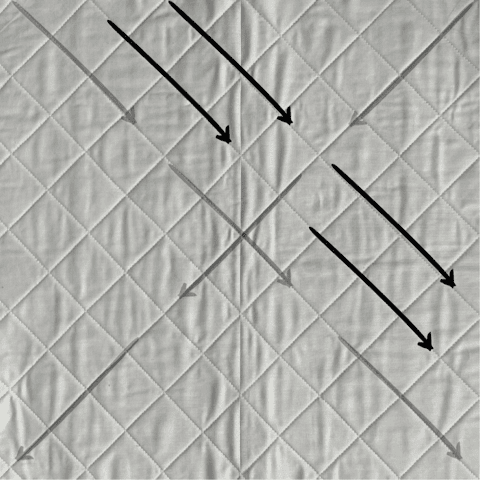
Once the quilt is secured with your central cross, then work in one direction, always starting at the same edge and moving across the quilt. I complete all the lines that run in one direction before moving on to the next.
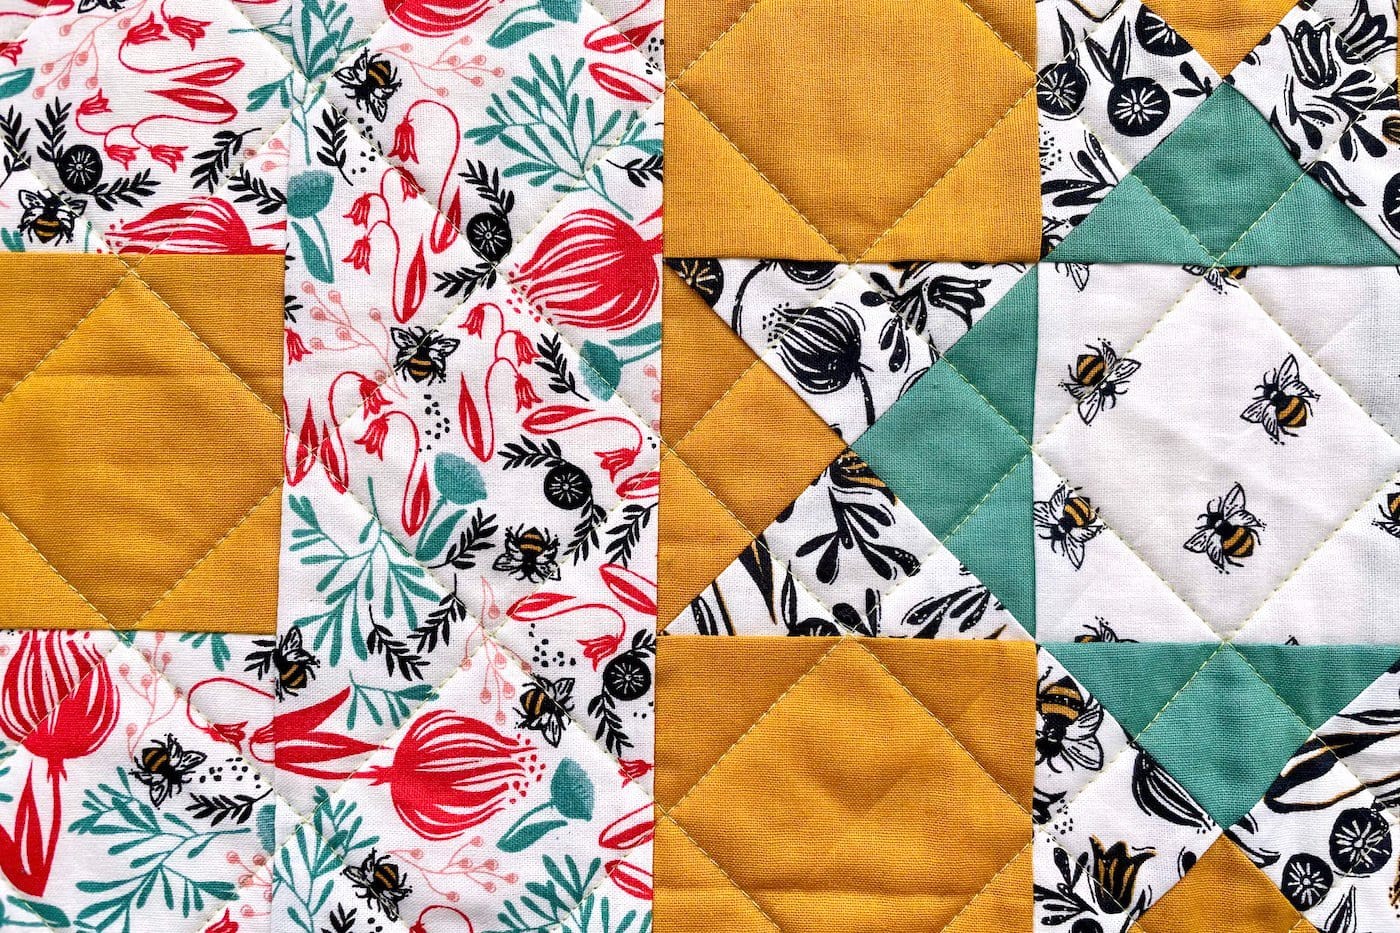
Design Three: Bordering Main Seams
If you are worried about “covering up” too much of patchwork design with lots of quilting lines (especially if you want to use a bold thread color!), then this could be a good choice for you. This design works best for block-based patchwork designs because you are going to use the block seams as your guide for the quilting lines.
The first thing you need to do is identify the seams. Each main block of the quilt with have four seams around the block’s edge that join it to the other blocks. Then there are the seams within the blocks too.

The half-square triangle block above has two clear seams (the ones joining the HSTs to create the block). The star block below has four seams that would be perfect to use for this design of quilting.
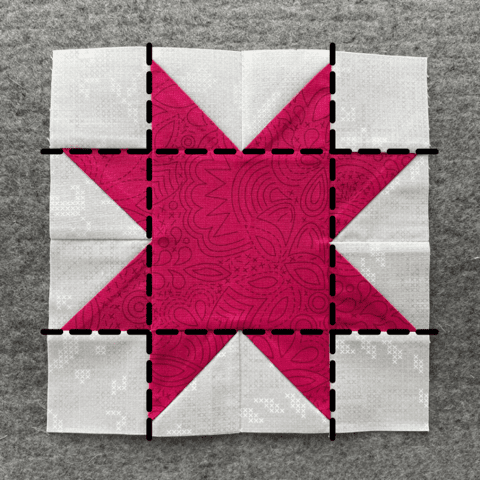
By choosing just these four seams, the central square will be nicely highlighted. If you also quilted either side of the central seams that meet the edge of the square, then you would have quilting lines running right through the middle of the square too. This could look fantastic but could also make the block look very busy.
For this, I start central again and work my way across the width of the quilt, just in line with the other designs.
There’s no need to mark as you are using the block seams as your guide. I like to quilt 1/4″ on either side of the seams, but you could also do 1/2″ for large blocks. Anything bigger than this, and it will start to look just like vertical/horizontal vertical lines.
Straight line quilting 1/4″ on each side of the main seams on a simple Triangle quilt.
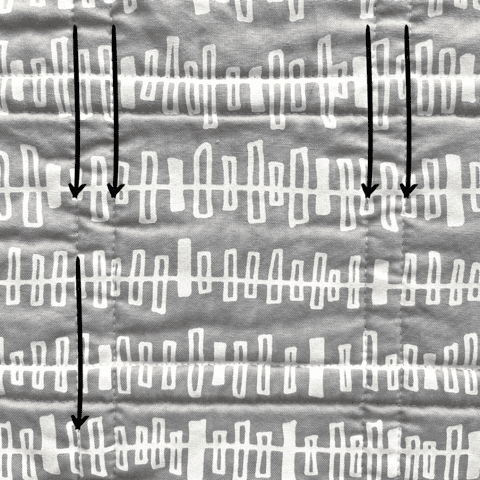
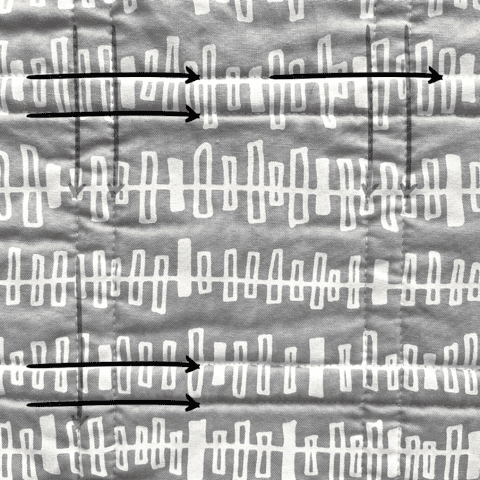
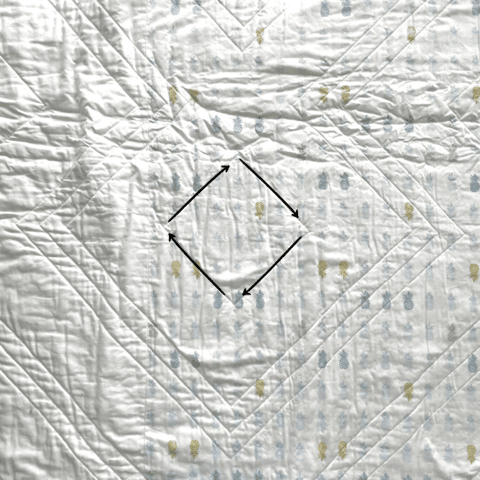
Design Four: Echo Quilting
This is a great choice if you want to highlight elements of the patchwork design. There might be some “paths” created by either the background or the main fabrics of the patchwork.
(Echo quilting on Twin Pines Pillow Pattern)
You could follow these “paths” across or around your quilt and use parallel lines of quilting that turn with each corner or angle. If the “path” is quite thick, you could add several lines of quilting, evenly spaced to fill. If there is no “path,” you could still highlight block elements like quilting around the edge of a star, for example.
This design is a lot more specific to each patchwork design, but the same principles of the other designs mention still stand. Choose simpler areas to secure your quilt initially.
If you are filling a “path” with several lines of quilting, then quilt the central one first, then add the rest. For designs like the example below with lots of turns, I would highly recommend marking lines before you start quilting.
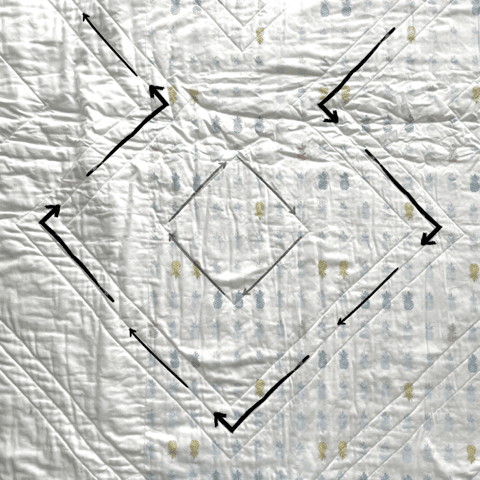
Even if you are using the patchwork design and have seams to follow, marking the turning corners, at the very least, is a really useful thing to do so all the corners line up with each other when you’ve finished.
Very,very helpful. Thank you for the great tips. I’m new to machine quilting but you’ve given me some great ideas!!!
Melissa, thank you for this comprehensive guide to quilting straight lines! I appreciate the photo details and thorough explanations. It’s a great way to quilt on a home sewing machine.
What do you do at the beginning and the end of your row of straight line stitching? Start at the very edge where it’ll be caught under the binding? Back stitch beginning and end? Or stitch a tiny u-turn and head back in the other direction? Thanks for your help!
Hi!
I usually start right at the edge and let the stitching get caught in the binding (or seam if it’s a pillow).
However, if it’s an item that will get manipulated a lot before it’s finished or I’m using very large quilting stitches, I will do a quick back stitch at the start and stop of a line of stitching.