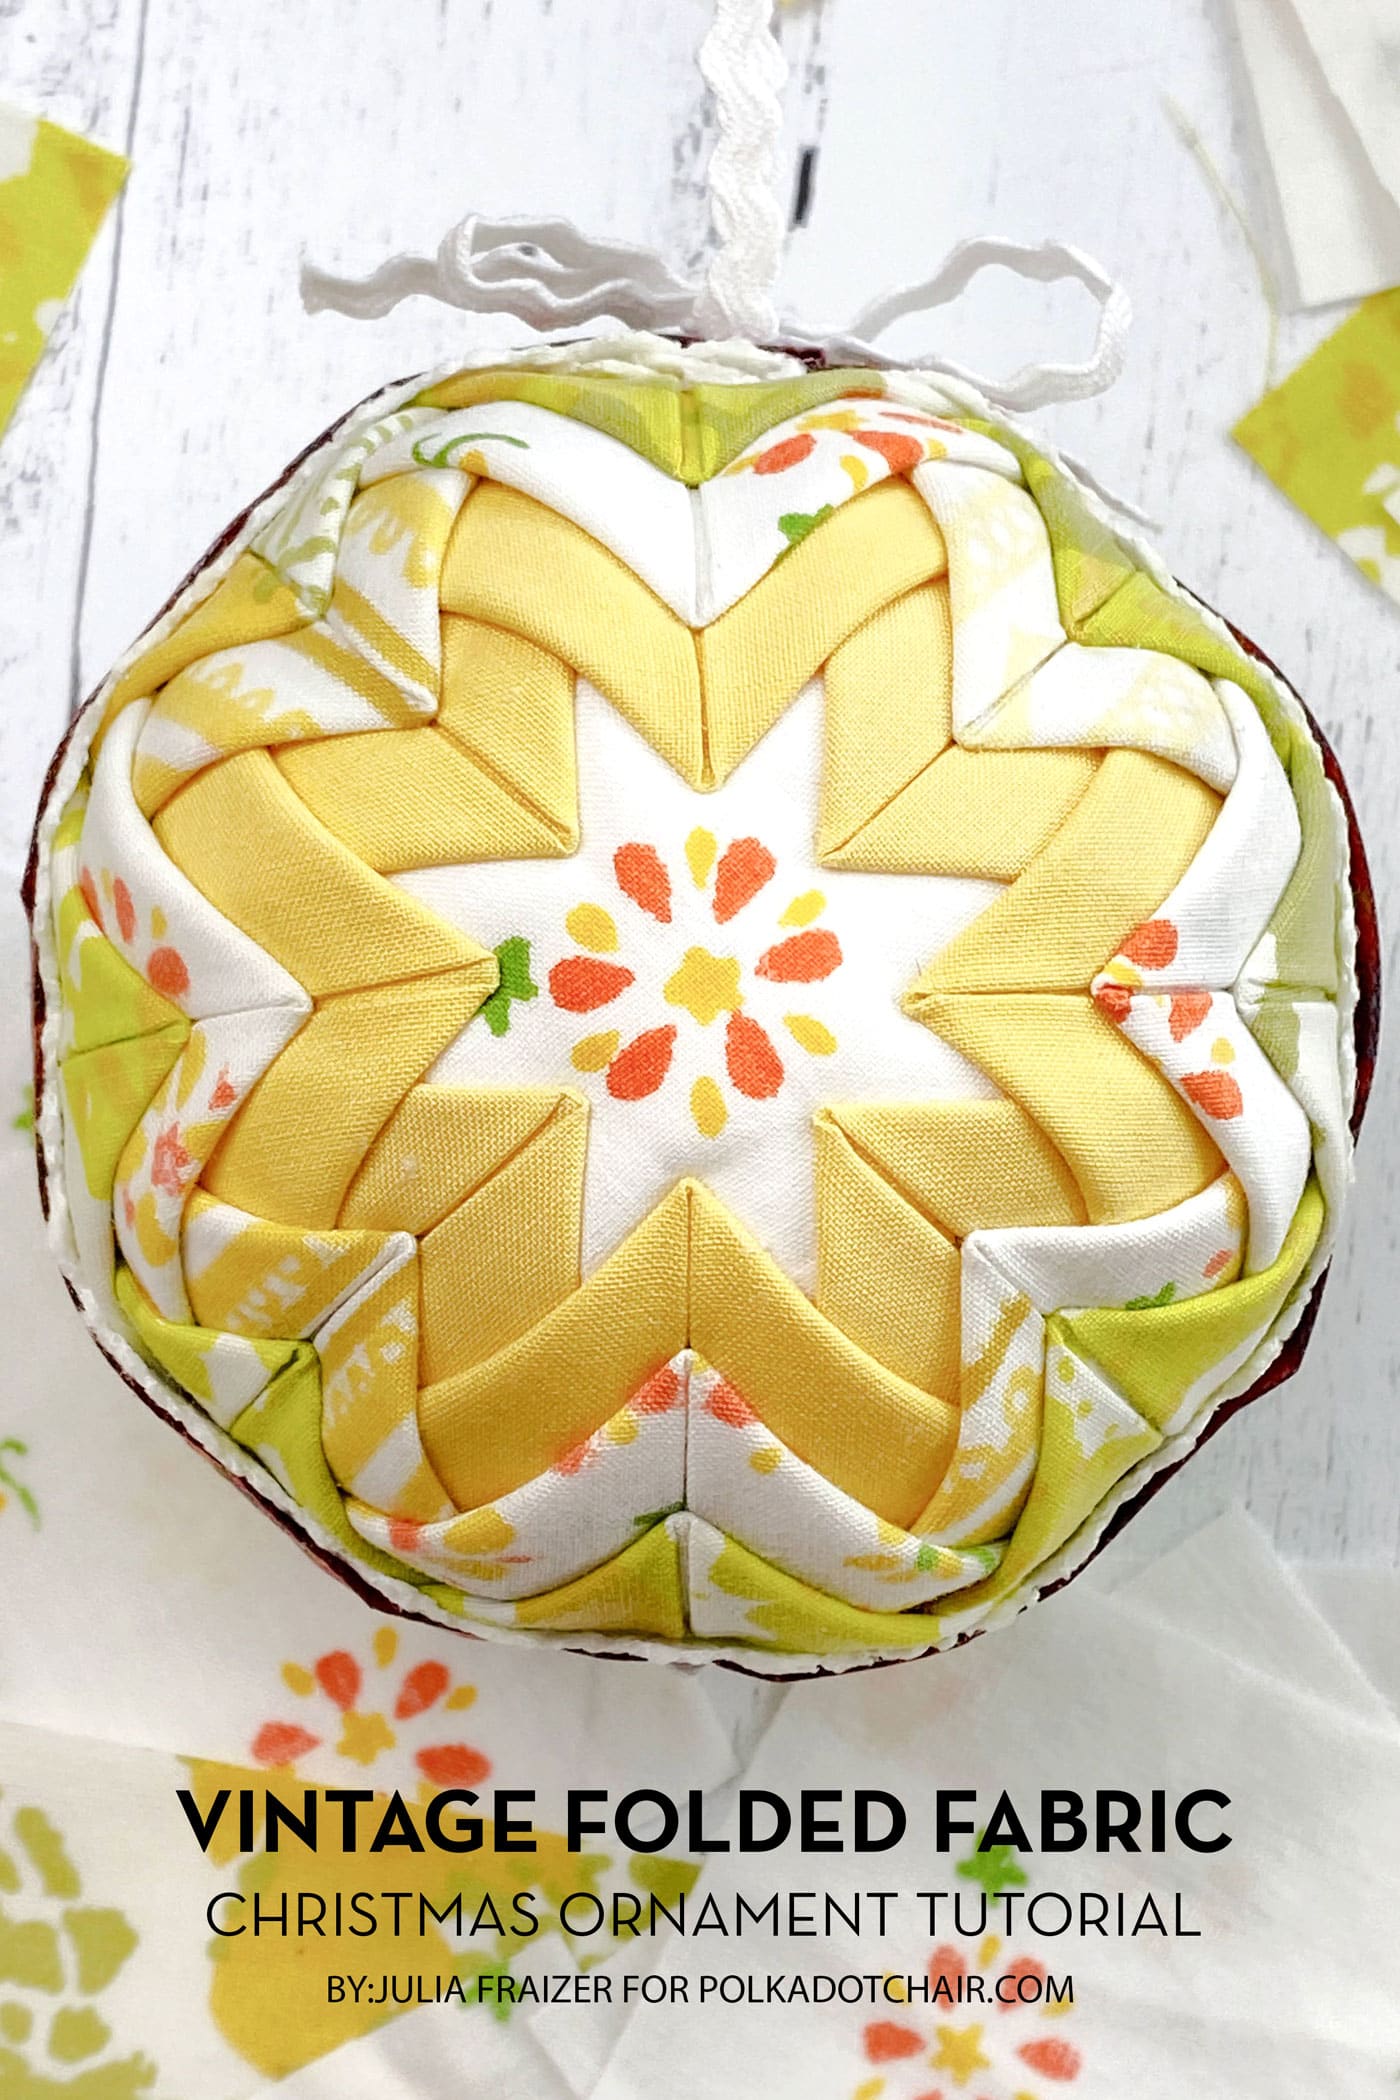
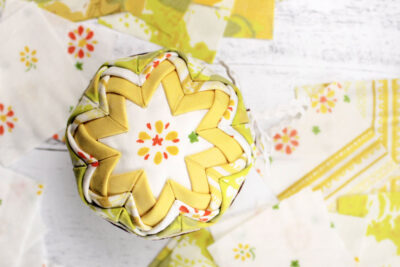
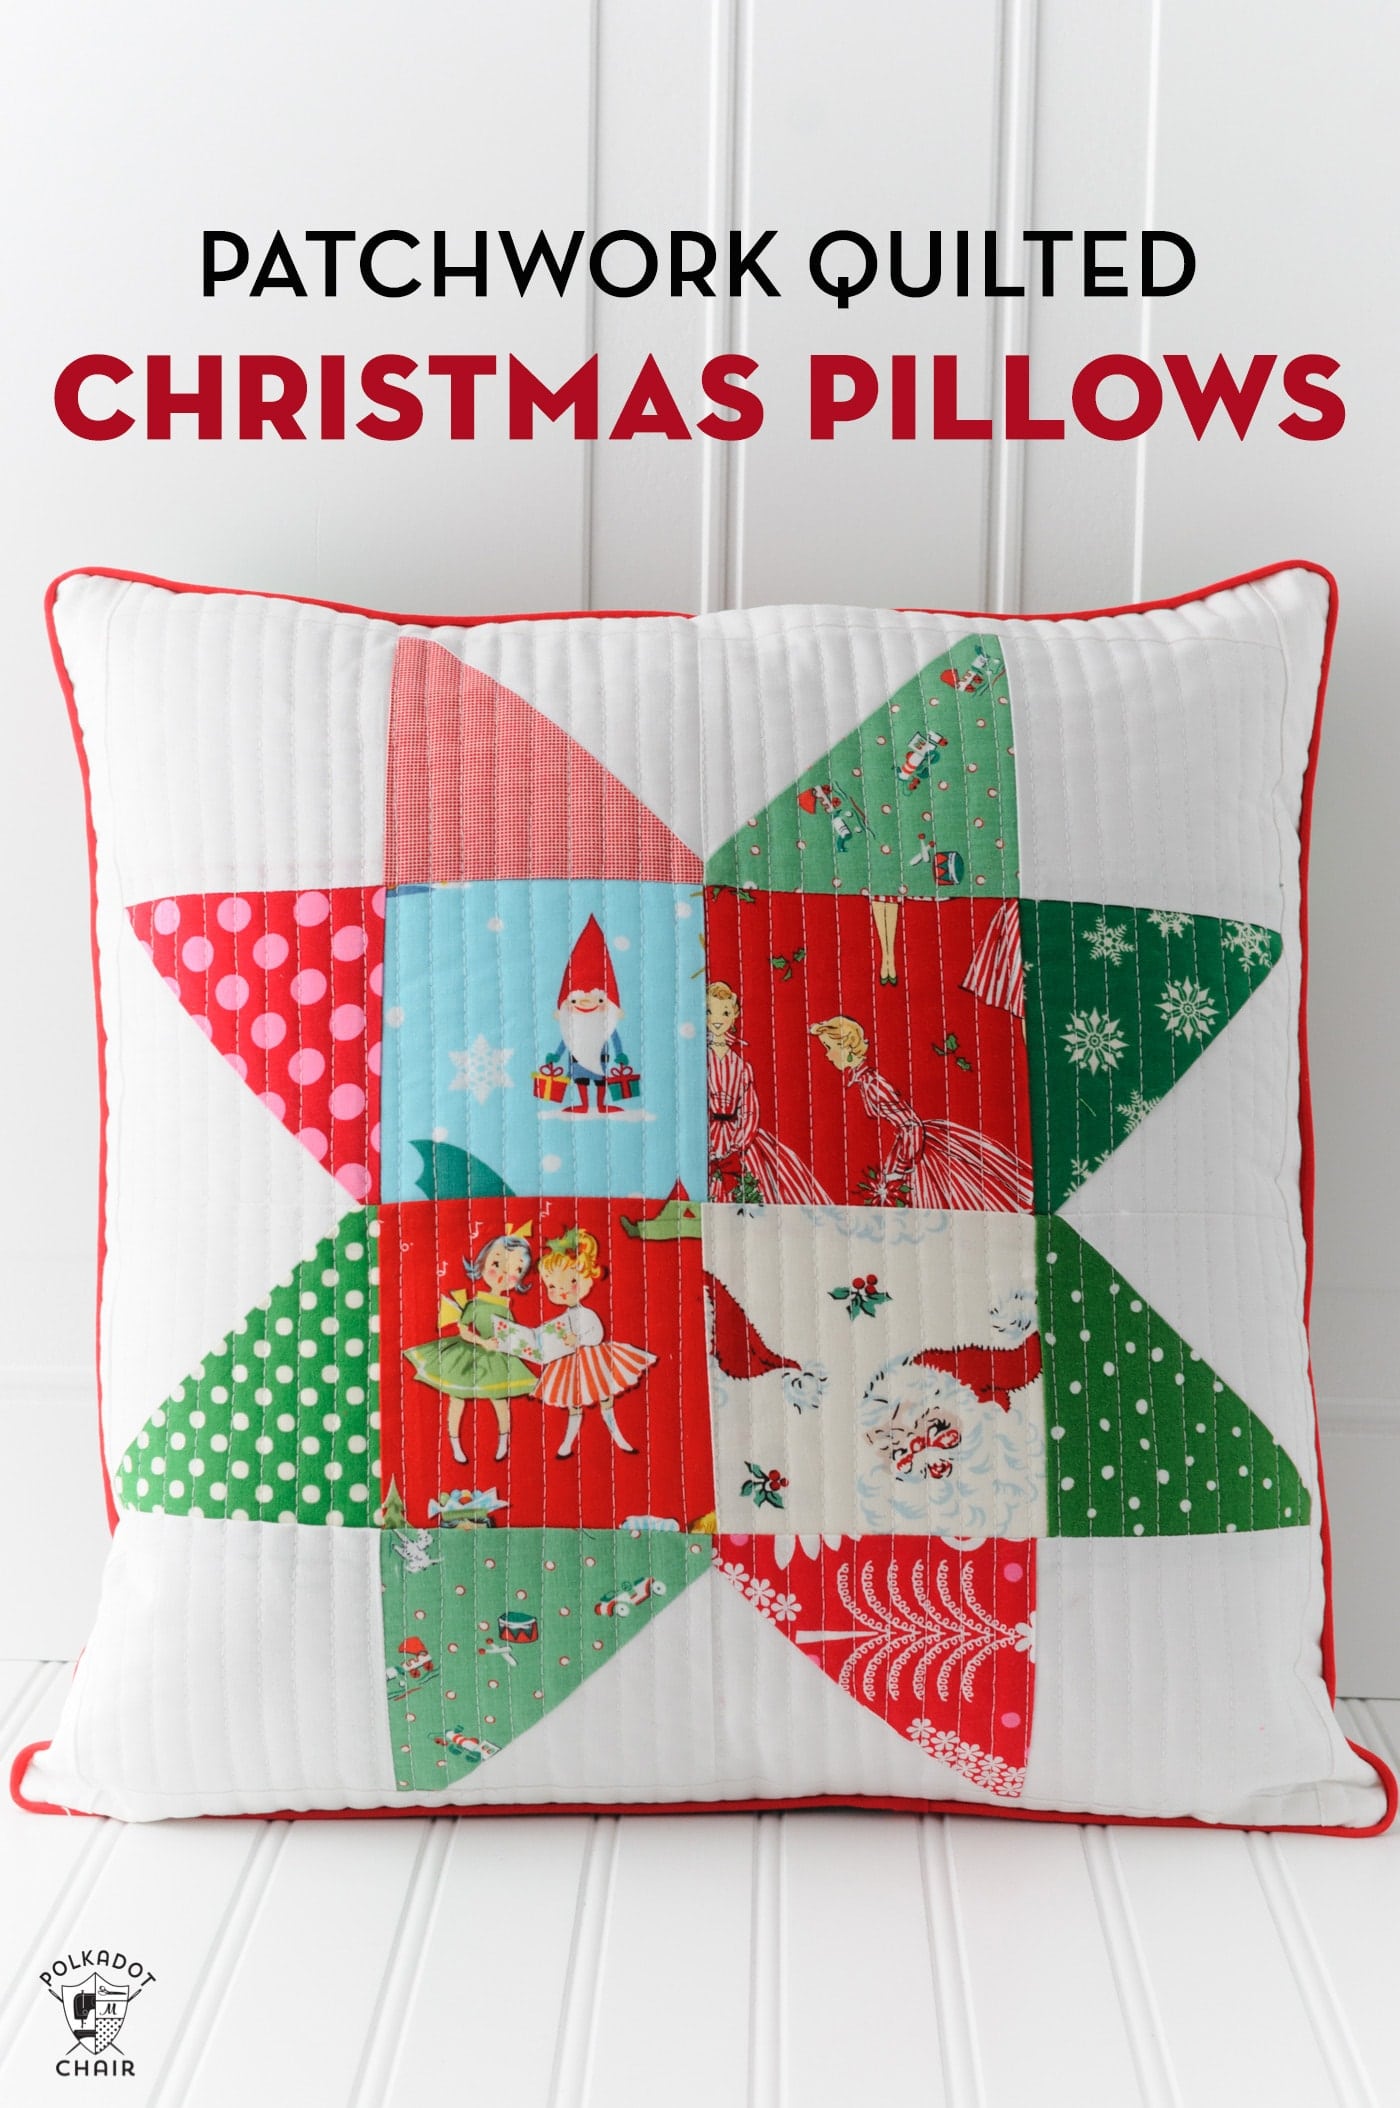
How to Make Fabric Star Quilted Christmas Ornaments
Learn how to make a beautiful and unique Christmas ornament using vintage sheets. This DIY Quilted Fabric Star Christmas ornament tutorial will walk you through all the steps to make this creative ornament! The best part? You don’t need any previous quilting experience to make this beautiful ornament!
Hello, friends! It’s Julia from Bayhill Studio, and today I have a fun spin on the classic no-sew folded star ball ornament. This is another one of those timeless ornaments we had on our tree way back in the 1970s.
I still have that cute version my mom made, but I thought it would be fun to fully embrace the vintage by making an ornament using one of my favorite things – vintage sheets.
I love the unique style and color palettes found in vintage sheets, and every once in a while, I buy one with the idea of turning it into a quilt, but it’s so hard to bring myself to cut into them! I’m pleased to say I finally did it!
Quilted Star Ornament Details
Despite using the term “quilted,” there is nothing quilted on this ornament. The illusion of quilting is created by folding the fabric in layers to build up to a quilted star.
I used fabric from two different sheets for this ornament. You can use any cotton fabrics you like; you do not need to use vintage sheets.
These ornaments typically call for 3-4 different fabrics, but you’ll need more if you choose to make a larger ornament. I got multiple fabrics from two sheets by incorporating the contrasting cuff fabrics.

In addition, I fussy-cut a cute flower design for the center of this ornament. This is optional, and I’ll show you how to do both the traditional method and the fussy-cut method.
Handmade Christmas Ornament Tutorials
This project is part of a year-long series of handmade Christmas ornament tutorials. Here are the other projects shared in this series.
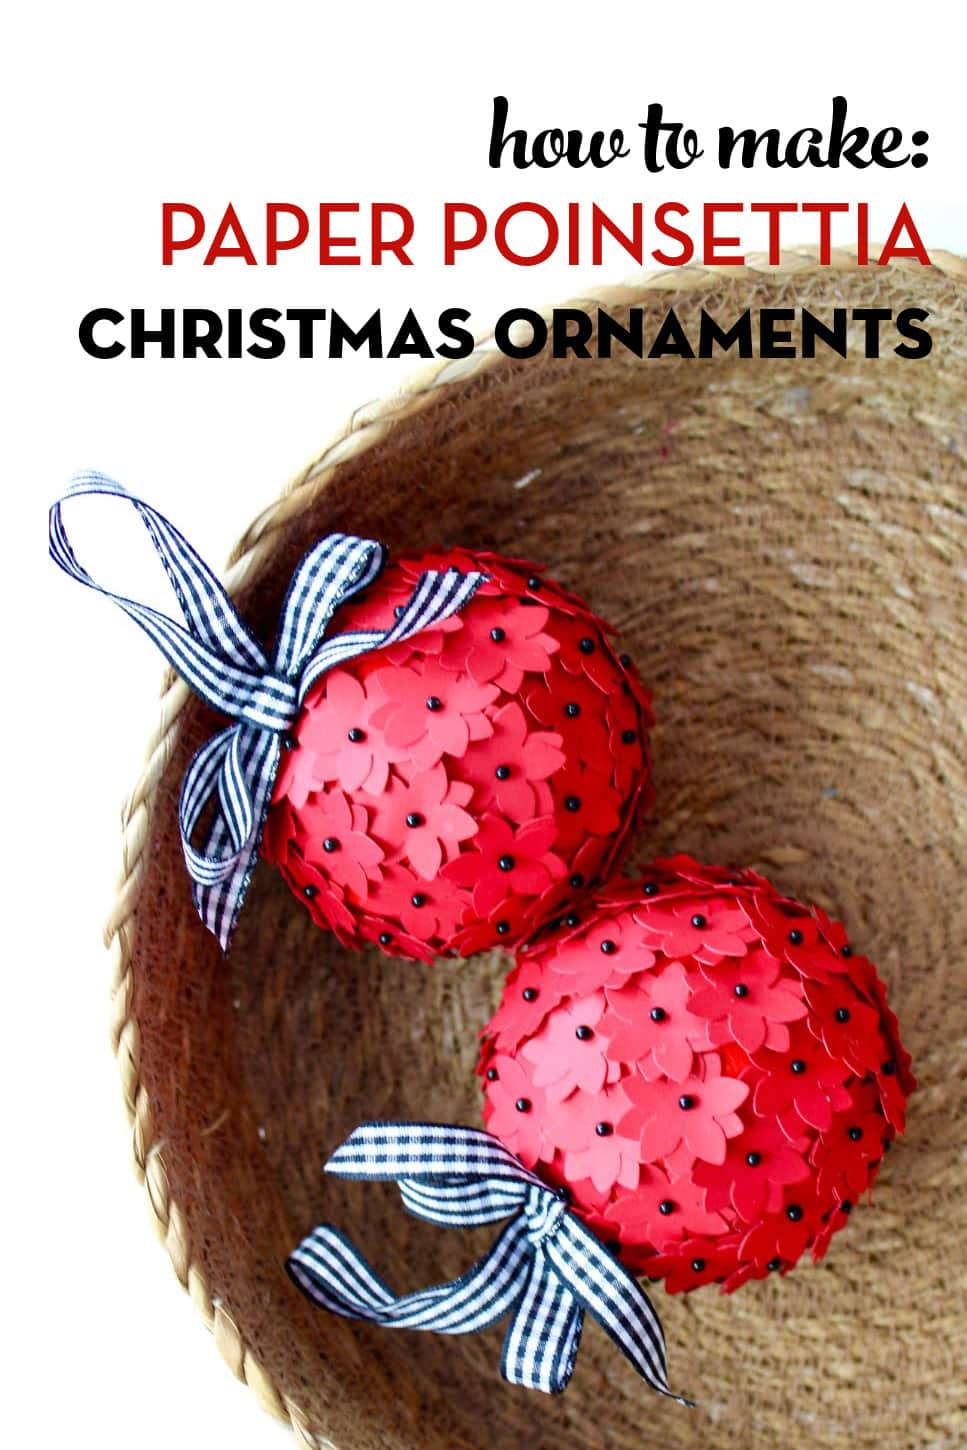
- July: Paper Poinsettia Ornaments
- August: Paper Memory Christmas Ornaments
- September: Kimekomi Fabric Ornaments
- November: Granny Rocker Christmas Ornaments
- December: String Christmas Ornaments
- January: Retro Diorama Ornaments
- February: DIY Splatter Paint Glass Ornaments
- March: Blown Egg Ornament
- April: Retro Photo Ornament Tutorial
- May: Vintage Folded Fabric Ornament
- June: Patchwork Heart Ornament
- July: Improv Pieced Heart Ornaments
- October: Plastic Canvas Gift Card Holder
- November: Yarn Stitched Jingle Bell Ornament
Let’s get started!
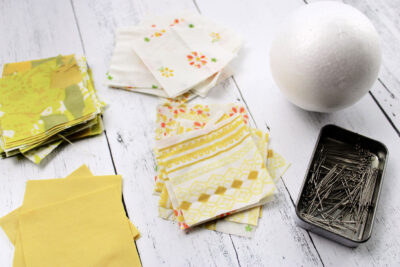
Quilted Star Ornament Supplies

To make this ornament, you will need:
- A 3” foam ball
- Straight pins
- Four different fabrics that contrast with each other
- Ribbon about ⅞” wide and long enough to wrap around the ball
- Optional ½” wide ribbon to layer over the ⅞” ribbon
- ⅛” ric rac trim for loop and bow (or other ribbon/trim of choice)
- Optional pearl headpin for the bottom of the ornament
Instructions
Vintage Fabri Quilted Star Christmas Ornament Tutorial
Equipment
supplies
- 1 3" Foam Ball
- 1 box Small straight pins
- 4 large scraps fabric in contrasting tones
- 1" wide Ribbon
- 1/2" wide Ribbon
- 1/8" wide Ric Rack for loop
- 1 Decorative Pin I used a pearl head pin
Instructions
Begin by prepping your fabrics. All of your fabrics will be cut into 2 ½” squares.
- To make this ornament, you will need:

- Fabric #1 – 8 squares (traditional method) or a 1 ½” – 2” fussy cut square (fussy cut method)Fabric #2 – 16 squares Fabric #3 – 16 squares Fabric #4 – 16 squares
- This method for pressing and folding the squares is the same for both the traditional method and the fussy cut method.
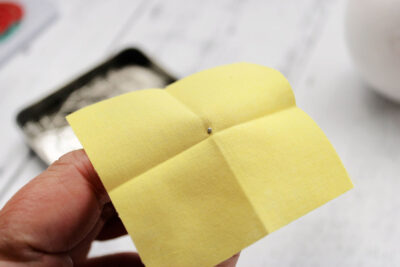
- Press each square in half, and then press in half again.
- Place a pin close to the center, but not exactly on the center fold (this allows you to fold the fabric over the pin).
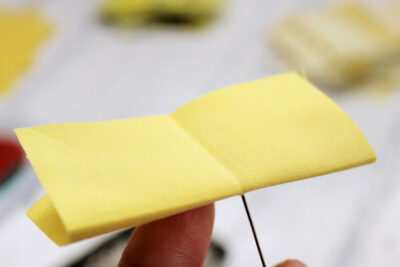
- Fold the fabric over the pin, so the pin is now hidden on the inside.
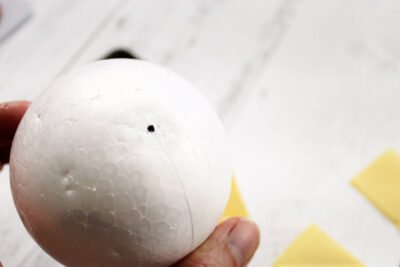
- Now take a moment to mark a top and bottom point on opposite ends of the foam ball. I used a dark marker here so you can clearly see it, but typically I use something lighter, like a pencil.
- For the traditional method, I like to start by pinning a square of scrap fabric over the center marking. This scrap fabric will act as a background for the first four triangles so that the foam ball doesn’t show through.
- Next, pin the folded square to the foam ball so that the center of the square matches the center marking on the foam ball.
- Fold one side of the square up along the center fold line as shown, to form a triangle. Pin at both corners of the triangle.
- Repeat on the other side. This is the basic fold and pin technique that you will use for the rest of the ornament.
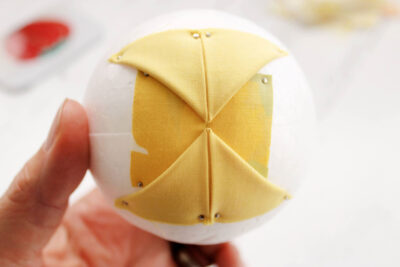
- Next, we’re going to pin a square down so the center point meets the center point of the first square we pinned down. Fold each side up to form a triangle the same way we did with the first square. Repeat, adding two more folded triangles using the same fold and pin technique. You now have four triangles.
- This is what I call the traditional method. To continue with this design, you will add another folded triangle at each opening. I spaced mine so the next triangle started ½” up from the center point, as shown in the image above. You can play around with your design and space yours closer or farther from the center. You will repeat this until you have 8 folded triangles for the second layer.
- Repeat each layer the same way until you reach the middle of the ornament. Then you’ll start over on the opposite side so it looks exactly like the first side. When the fabrics meet at the middle point, skip forward to the step where I add the ribbon trim.
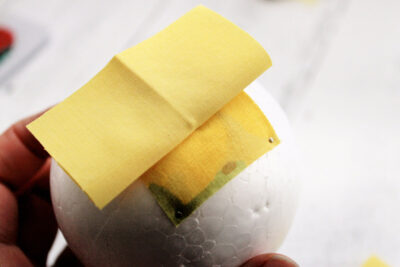
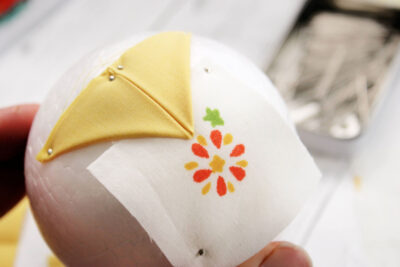
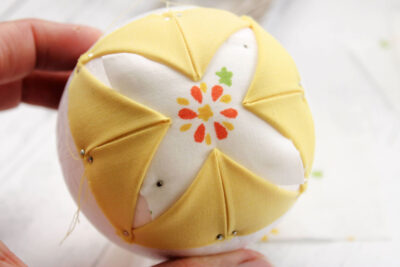
- To fussy cut, choose a design that you want to be at the center of your ornament. I chose this sweet little star flower. Pin it in place.
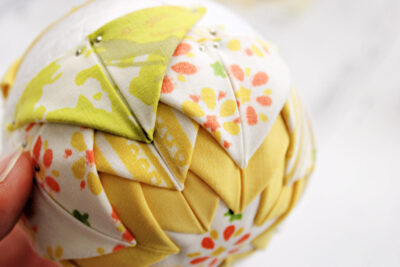
- For this step, you’ll see we’re basically skipping the first 4 folded triangles and moving to the second layer of 8 triangles.
- Start by adding the first folded triangle so the center point is somewhat close to the center design. (On the opposite side, I didn’t pin mine close enough to the center, and a tiny bit of raw edge from the fussy cut piece is peeking through. This is a reminder to get as close to the center picture as possible.
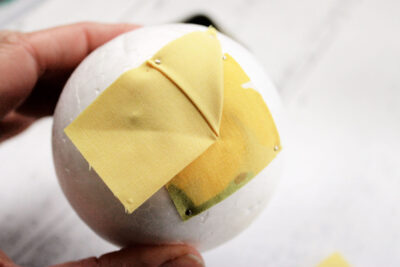
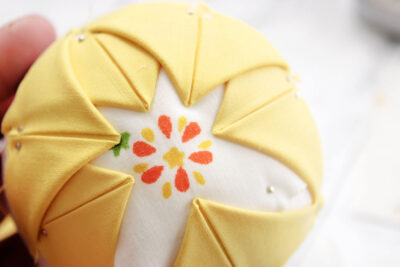
- Next, add a folded triangle to the opposite side. Then added folded triangles to the two remaining sides so it looks like this.
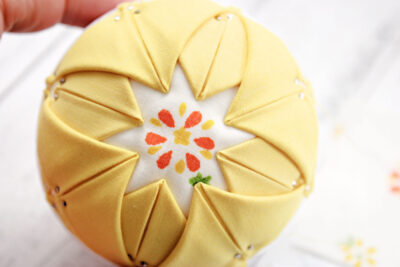
- Now we are going to fill in the next four folded triangles. Notice that I am adding them to each of the four open spaces. Here I have added two folded triangles, with two more to go.
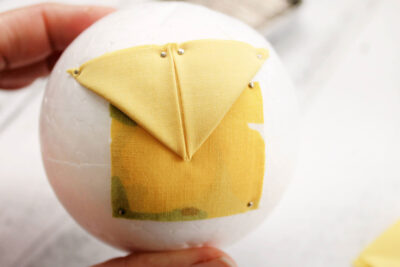
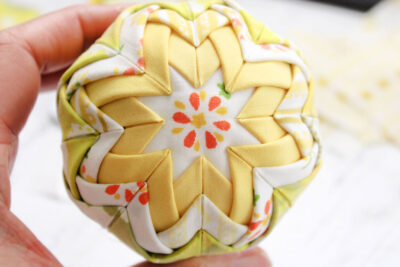
- Here is what that finished first layer looks like. This solid yellow fabric came from one of the decorative cuffs on my vintage sheet. I love how the solid yellow provides a frame for the little star flower.
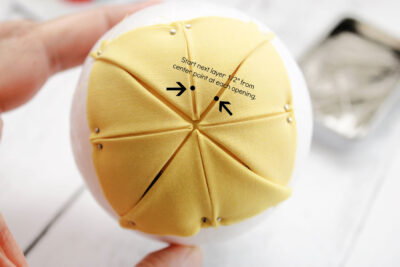
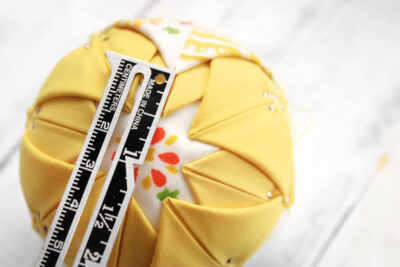
- For the next group, I decided to use fabric from the same sheet as my fussy cut square. It has a white background and an open, airy design that contrasts nicely with the solid yellow fabric. Here you can see I am measuring ½” from the center point. This is where I pin the center pin for the next layer of folded triangles.
- *Note: The first four folded triangles in the second group are pinned over the first four folded triangles of the first layer.
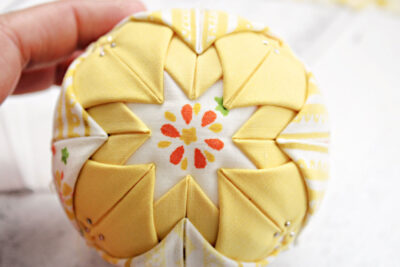
- Here are the first four folded triangles pined and looking pretty. I’ll continue with the same fabric, adding the next four folded triangles in the same way.
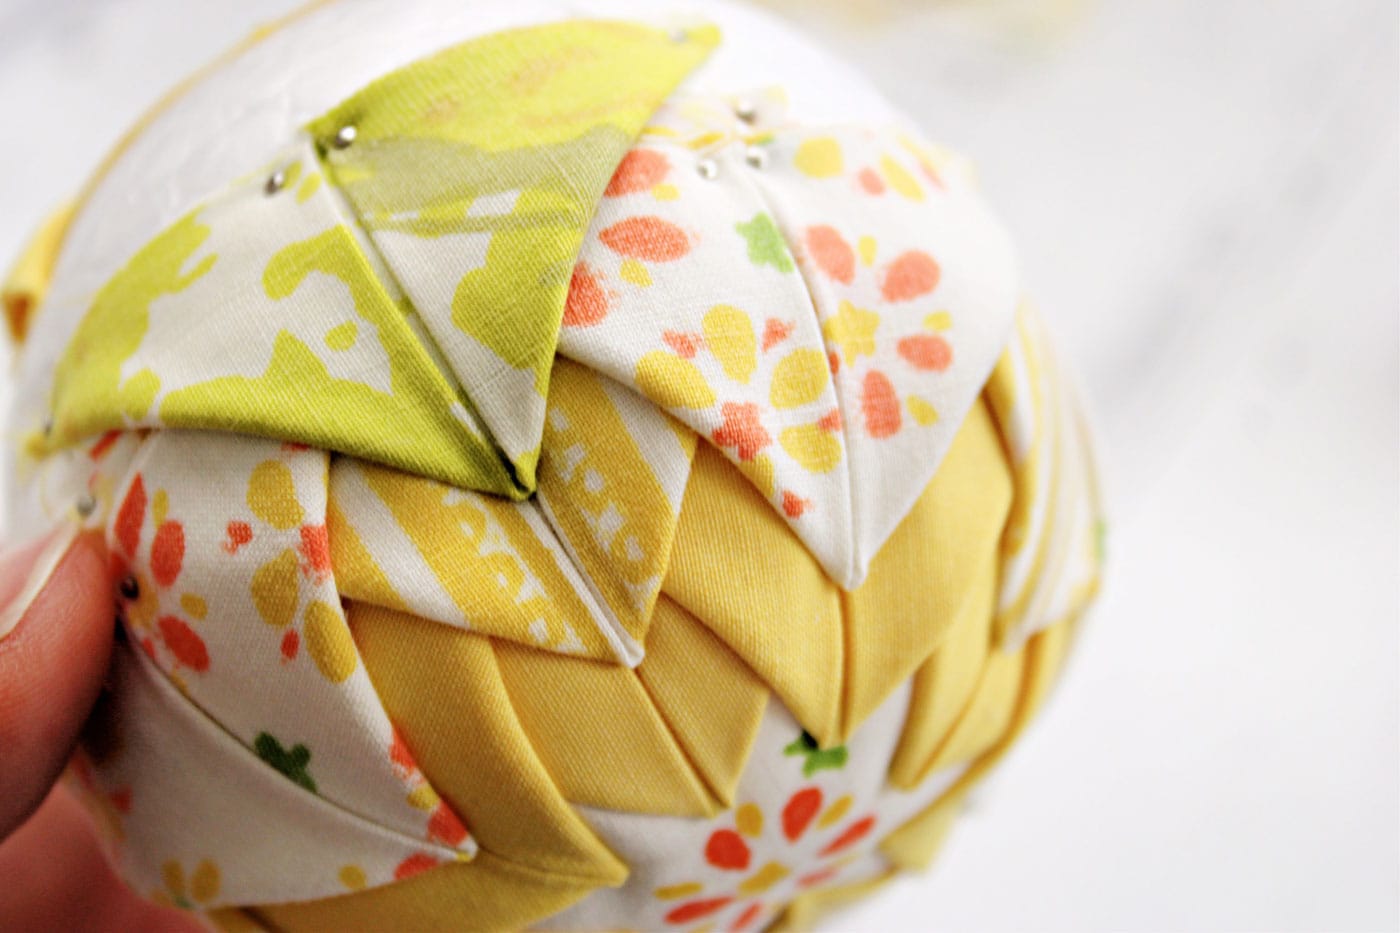
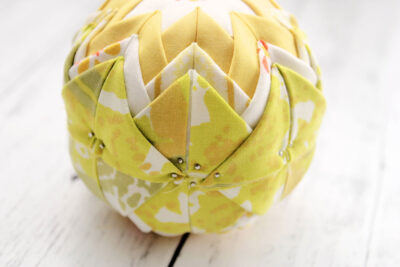
- I have finished the second layer, and here I am starting on the third and final layer. I used fabric from my second sheet, which has lovely shades of green that contrast with all of the yellow in this ornament.
- Again, notice I am starting by pinning my folded triangles to the first layer of the second group of triangles. You can see how this creates a beautiful layered effect.
- And here is one side completely finished! If you choose to space the layers closer or farther apart, you may end up using more or less fabric that what I listed at the beginning. If so, just know that your stopping point is when your top layer reaches the midpoint of the foam ball.
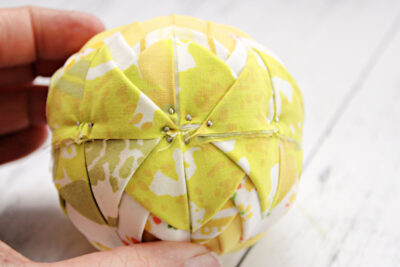
- Repeat this process on the other side.
- Here is what the midpoint looks like when the two sides meet. One of my sides did overlap the other just a tiny bit, and that’s okay. I will be covering the overlap and all of the little pins with ribbon.
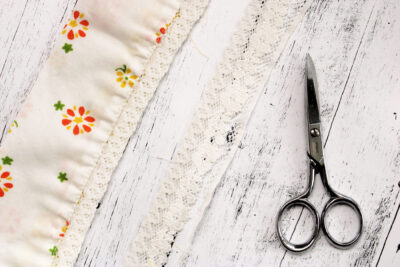
- One of my sheets had a cute white lace trim sewn into the cuff portion. I decided that rather than throw it away, I wanted to try to use this lace, so I carefully unpicked it from the cuff and pressed it. The only problem is that it had a definite straight edge on the right side, as you can see here.
- So I pulled out my scissors and slowly cut around the lace design, removing the straight edge, and it turned out perfect!
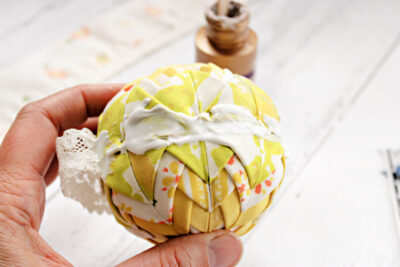
- Because the lace has so many holes, I knew I couldn’t use a lot of pins here to hold it in place, so I brushed on some tacky glue (I know it looks like a lot here, but it really wasn’t very much) and pressed the lace in place over the unsightly center portion of the ornament.
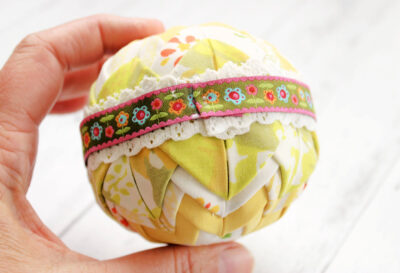
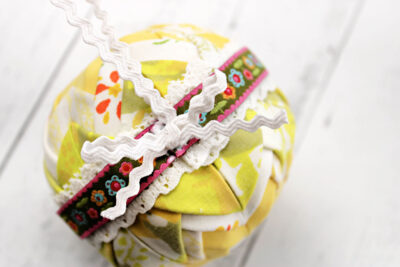
- After the glue dried, I decided to add another layer of ribbon I had in my stash. This is ½” ribbon, which ended up being just the right size to let the lace ribbon peek out from underneath. I brushed a little glue down and let the top ribbon in place, folding over the end and pinning it in place.

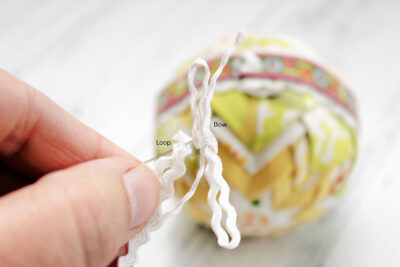
- I finished it off with a loop and a bow. I used tiny ⅛” ric rac, which stays true to the 70’s vintage sheet aesthetic. I first slid the straight pin through the underside of the bow, and then through the two ends of the loop.
- I added a dollop of glue to the spot where these would be pinned (where the ribbon ends meet) and pinned them into the foam ball. So cute!
- I also opted to add one pearl head pin to the bottom of the foam ball to help secure the ribbon and lace just a little more. I think it adds a nice touch.


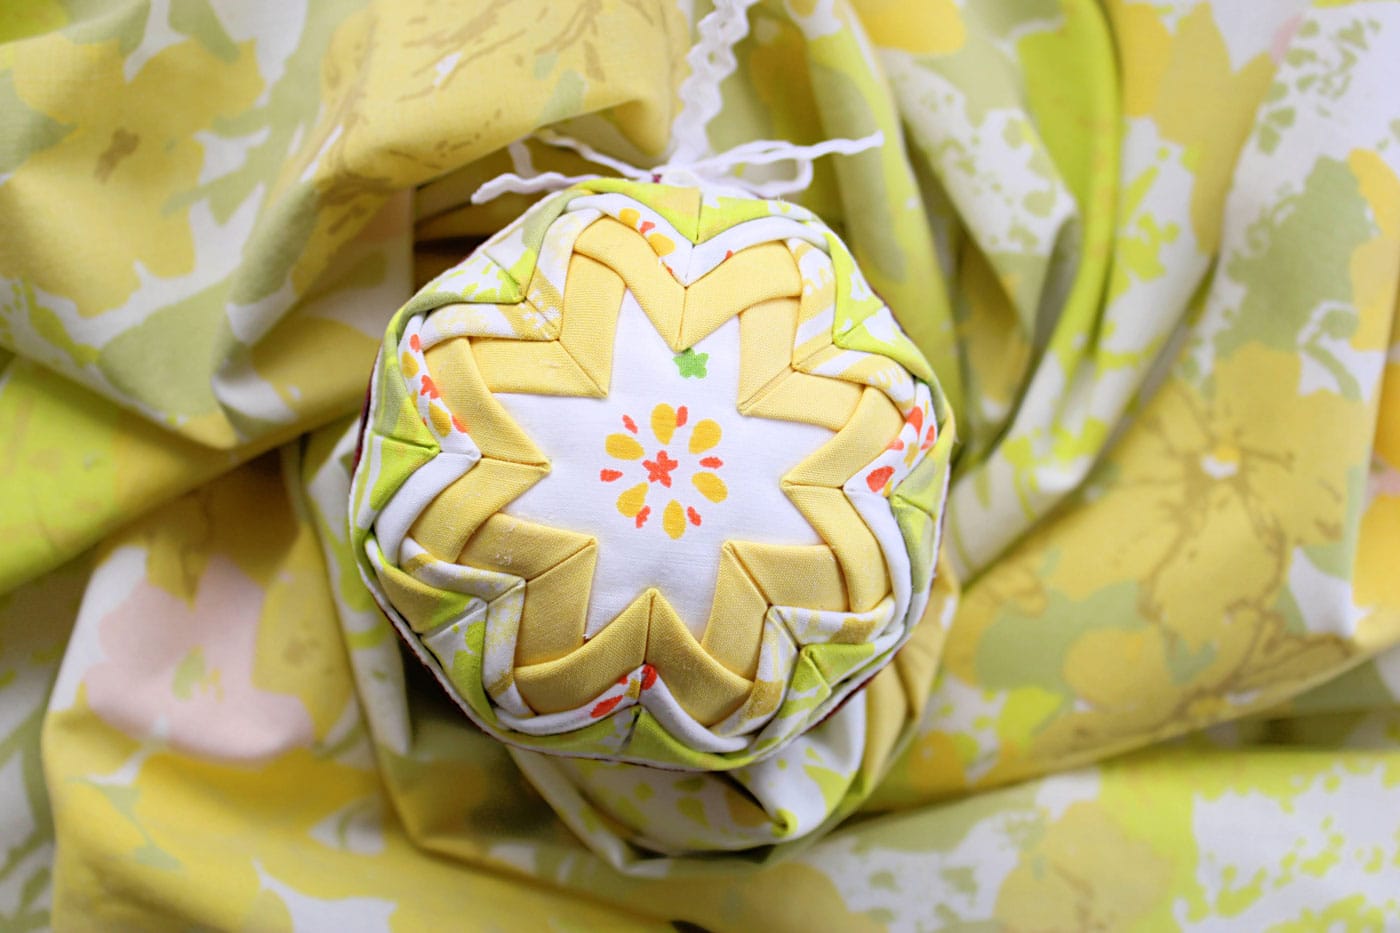
This is a fantastic way to use up precious fabric scraps, making a lovely gift destined to become a cherished keepsake.
Thank you so much for stopping by! I hope you’ll make your own Folded Fabric Star Ornaments and share them with me on Instagram @bayhillstudio. Take a moment to subscribe to my YouTube Channel and follow me on Instagram for more creative content and project inspiration. Have a blessed day!
About the Designer

Julia Frazier is the founder of Bayhill Studio. Julia designs quilts and projects geared toward beginner quilters and crafters. You’ll usually find her at her sewing machine or hiking in the nearby mountains. Follow Julia on Instagram @bayhillstudio, and subscribe to her YouTube channel for new and exciting projects and tutorials. Be sure to check out her Bayhill Studio website for a growing list of tutorials and patterns.
Also by Julia:
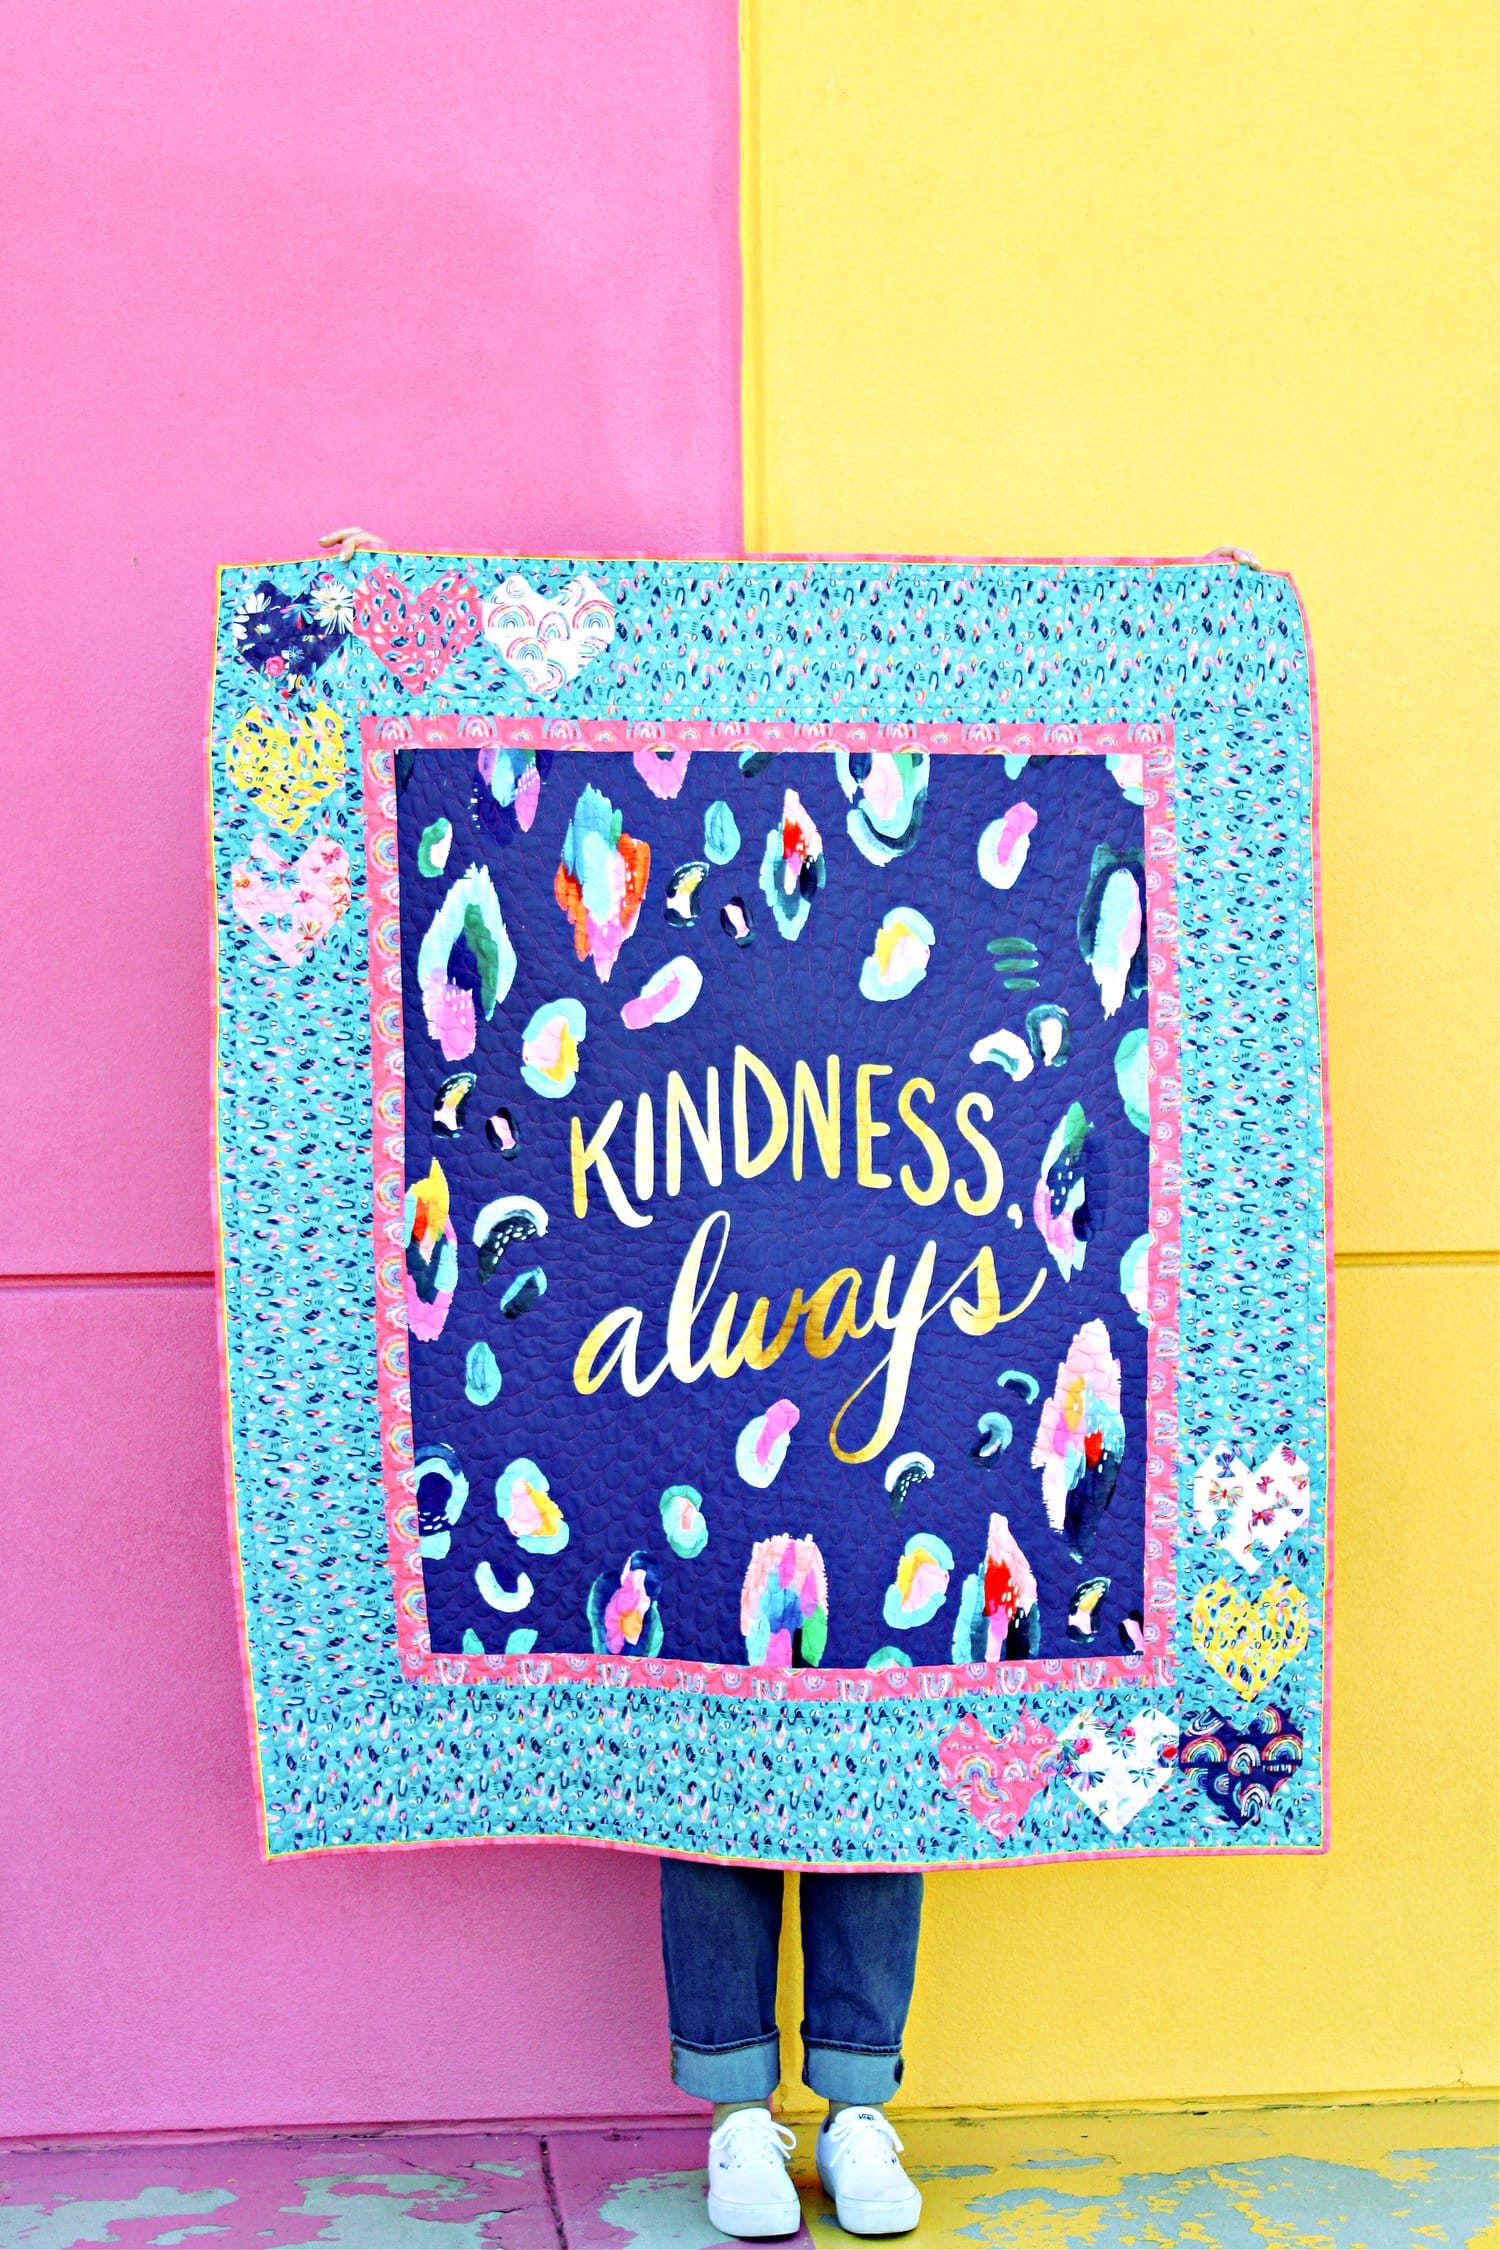
Kindness Always Quilt Panel Quilt

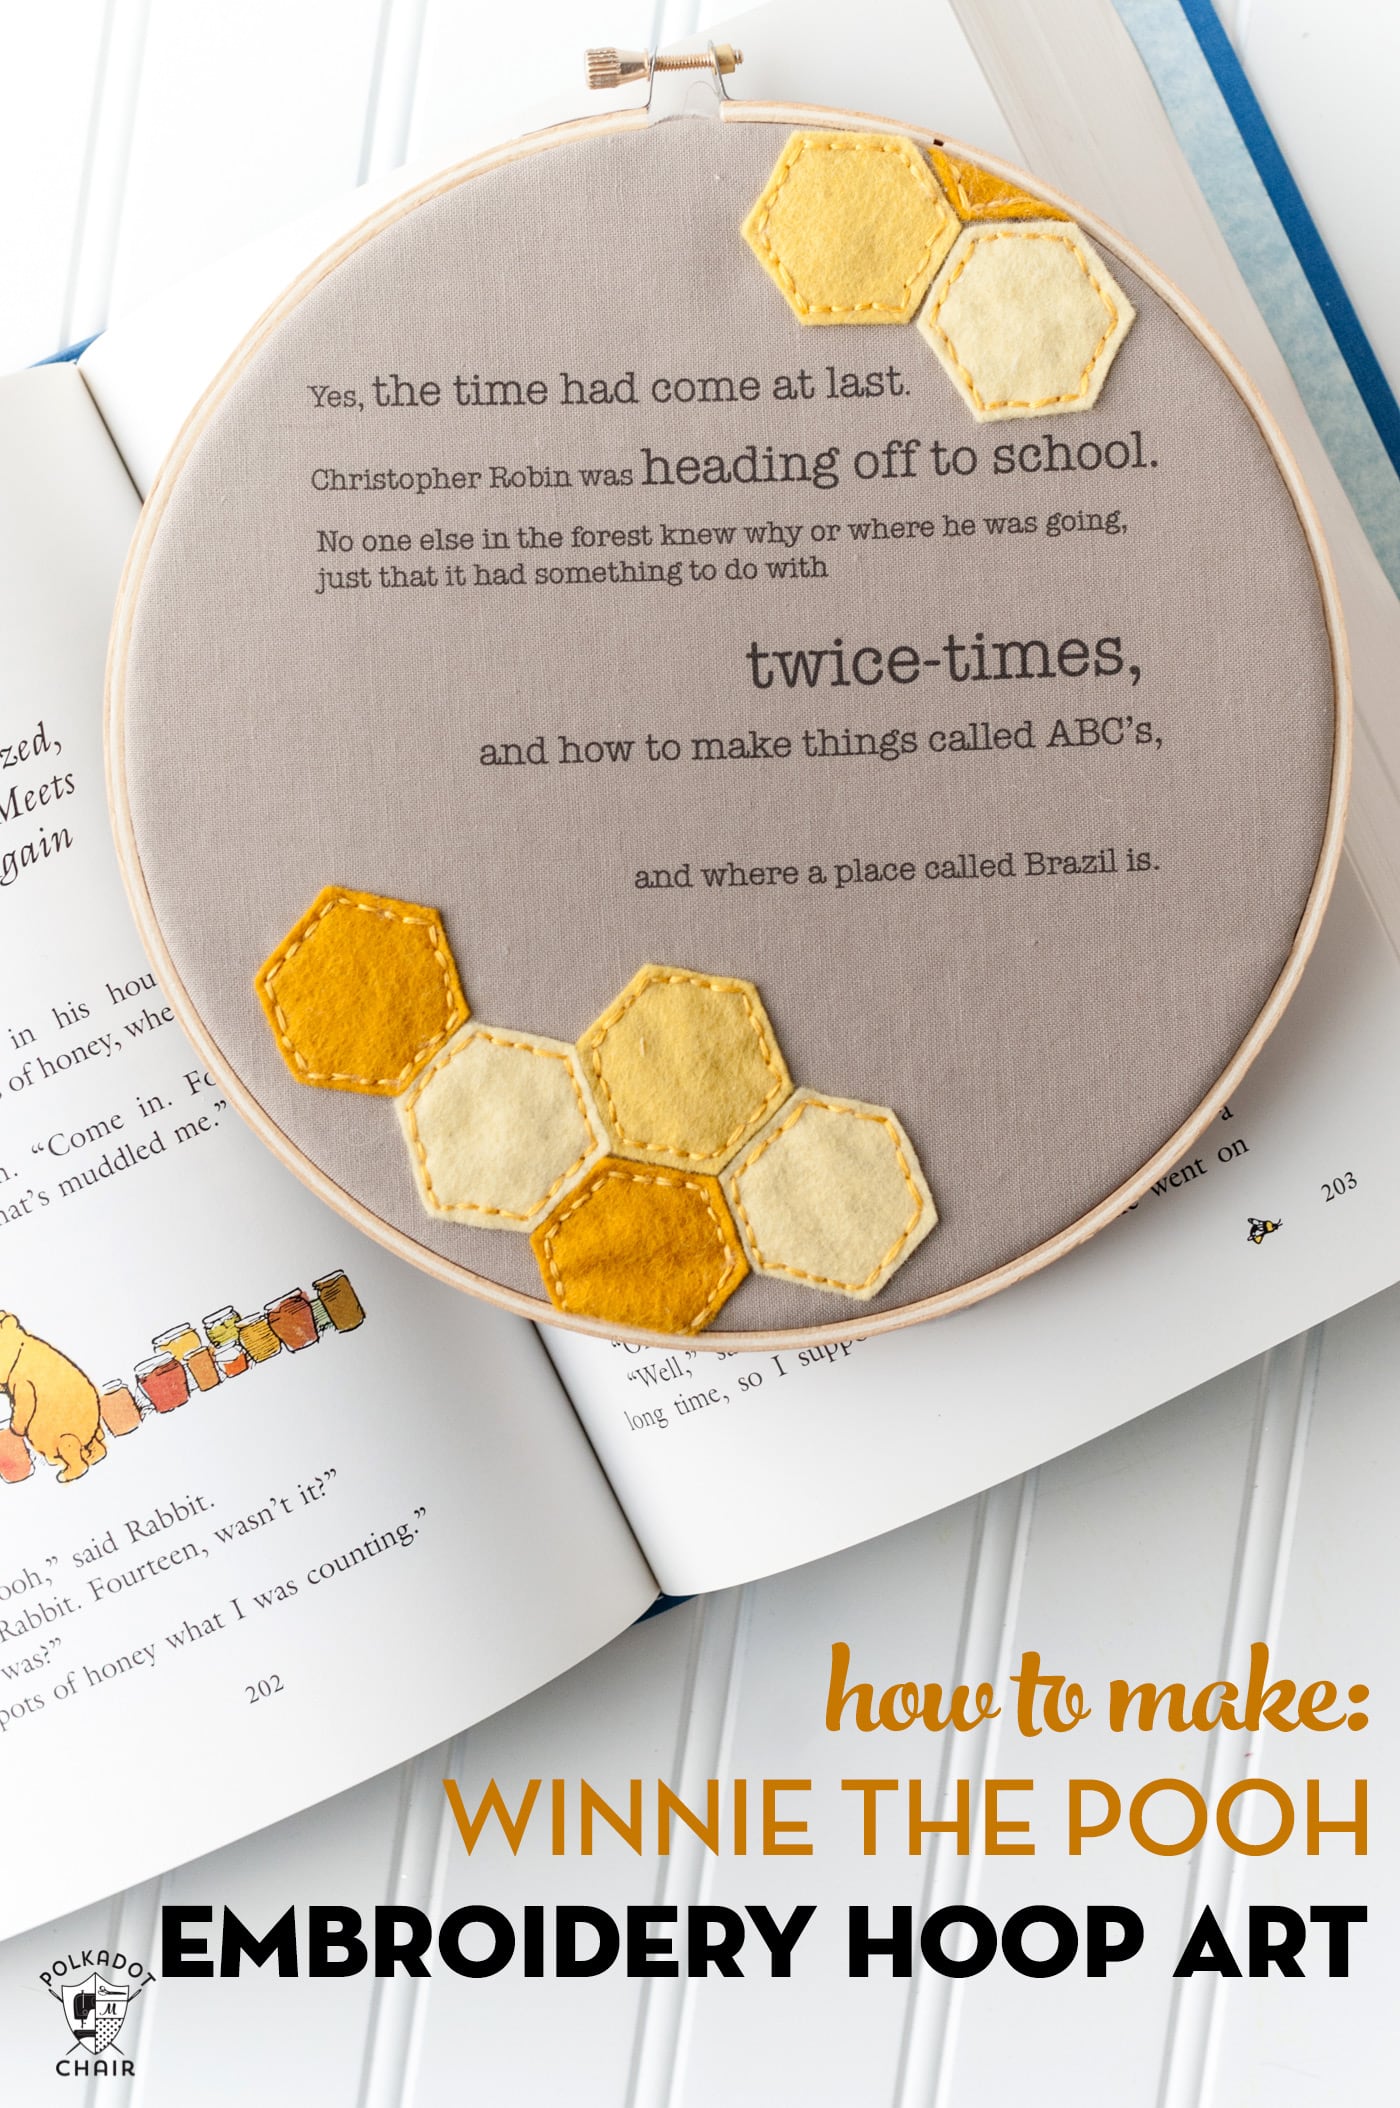

Years ago I made folded stars in an embroidery hoop. The ornaments are so pretty and could be made with matching fabric bias tape too. I put up a tree year round and decorate it for Christmas, Thanksgiving, Halloween, Valentines, St Patricks, Easter and American for the summer months.
Great tutorial! I have 3.8” foam balls so could you tell me how much to size up my fabric squares for this size ball?
This is a great tutorial and I especially appreciate the printing options you provided. I’ve been looking for a small project to bring RVing this summer. I think I just found it.
So glad you like it!
Last year, I lost my baby brother and my son. I took shirts from each of them plus some material from chair cushions of my Mother-in-law and made these decorations for several family members. They all loved them and it is a wonderful memory of wonderful people. Your instructions make this very easy to follow.
Oh, I’m so sorry for the loss. That is a wonderful way to preserve their memory, thanks for sharing your story.