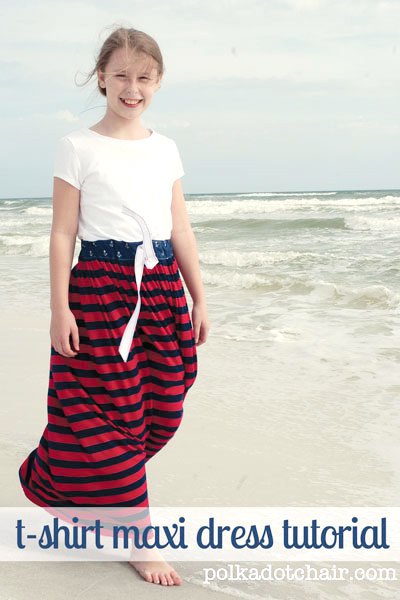
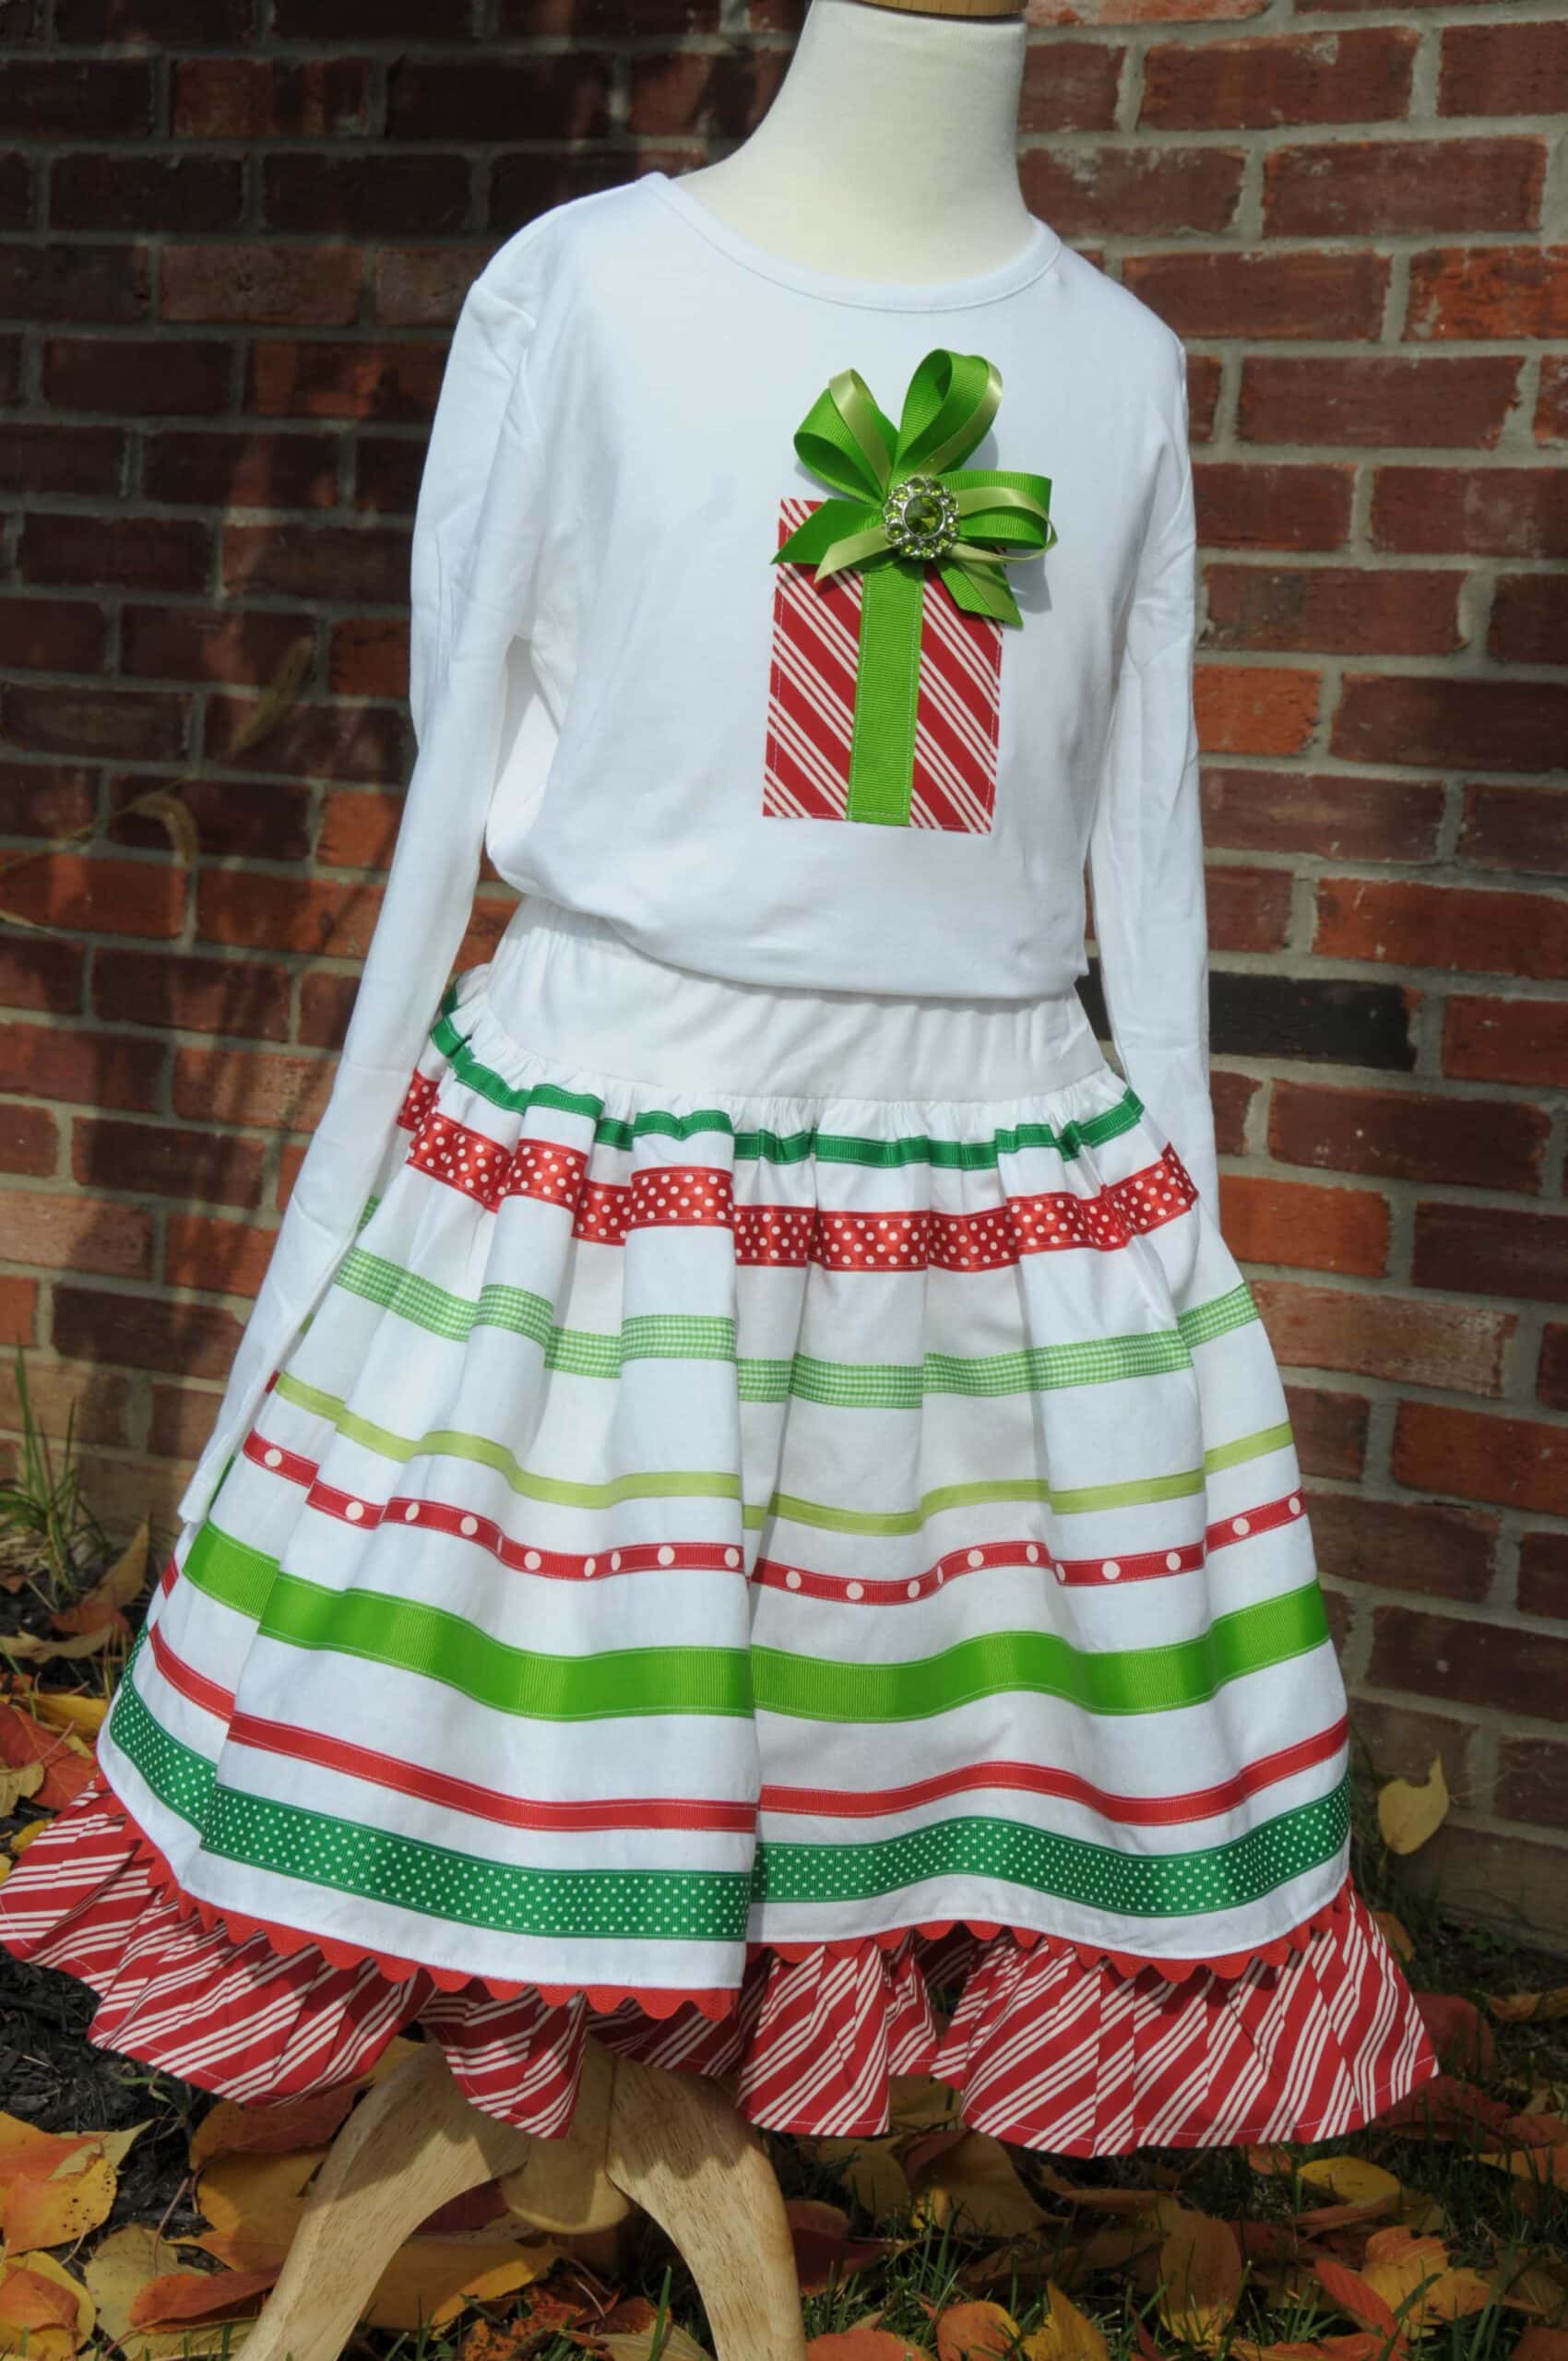
Girls T-Shirt Maxi Dress Tutorial
This Girls Maxi Dress is so easy to sew! You start with a purchased t-shirt so half of the work is already done for you! It makes the perfect breezy summer dress.
Last year I shared this tutorial for a maxi dress made from a t-shirt. My daughter wore it all summer and as I watched her wear it I realized that the sewing pattern could be improved upon a little bit.
Kids T-Shirt Maxi Dress Pattern:
Two summers ago I made her this t-shirt dress. I really liked the way the waistband came together on that one so I decided to combine the 2 patterns into one! This version of a kids maxi dress is made from knit fabrics. If you’re not familiar with knit fabrics, they have “stretch” to them. Pretty much it’s what t-shirts are made from. The previous Maxi dress tutorial I shared had woven fabric as the skirt.

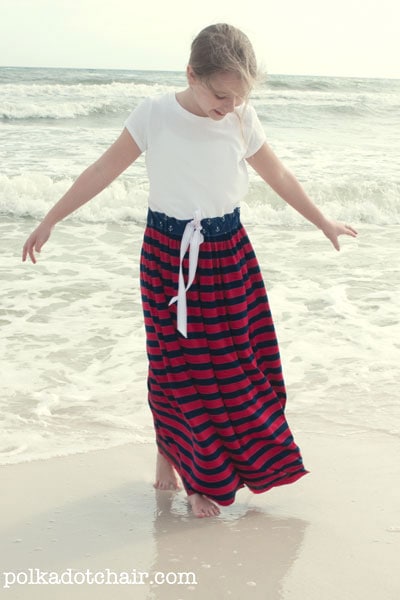
In April while we were on Spring Break I took full advantage of the beach for some blog photography.
We learned that maxi dresses are not the best for the beach (they get wet!) but are still a really fun and comfortable option for summer dressing.
If you’d like to make one here’s how.
Supplies for Girls Maxi T-Shirt Dress:
1 t-shirt- I prefer working with girls fitted t’s.
Fat quarter for the waistband
2 eyelets for the waistband
Ribbon for the tie around the waist. (Note: this dress has a drawstring, if you’re worried about it being a choking hazard you’ll want to sew it very well in place at the back seam).
Scraps of Heavyweight fusible interfacing
Knit fabric for the skirt. You need as much yardage as you want the skirt to be long enough. So measure from the girl’s natural waist (about where the belly button is) to the floor. Add a couple of inches.
Ball needle for sewing machine
*note: in the instructional photos there is a different t-shirt that’s because I messed up and ruined the first t-shirt. I went back and made a 2nd dress the one you see. Also, I decided to make the t-shirt longer than the one pictured.
Step One: Cut the T-Shirt & Sew the Skirt
To begin, cut off the t-shirt at the natural waist (the same spot you measured for the skirt length).
Using the ball needle on your machine, sew knit fabric along the 2 selvage edges, with right sides together. You can also use a Serger for this step if you have one. This is now your skirt piece, the seam you just sewed will be going down the back of the dress.
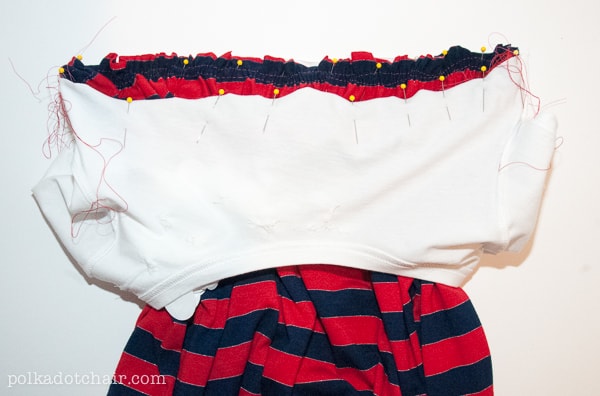
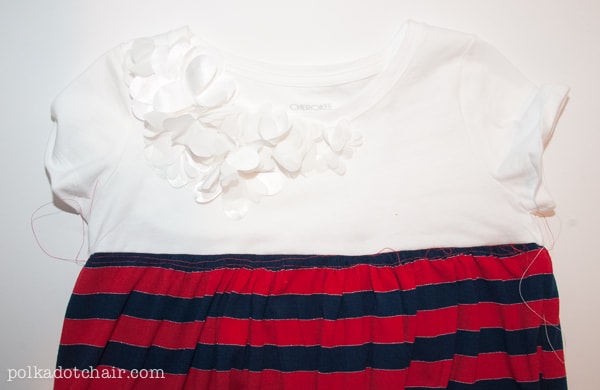
Step Two: Gather the Skirt & Attach it to the Shirt
Run 2 rows of gathering stitches along the top of your skirt piece.
Slip skirt piece into t-shirt right sides together, pull on gathering strings until gathers are even and the skirt piece matches the t-shirt piece.
Sew with a 1/2” seam. You can also use a serger for this step if you’d like.
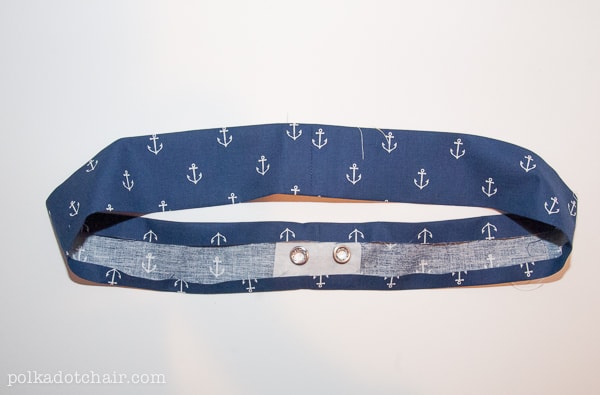
Step Three: the Waistband
Measure the circumference of the dress where the skirt meets the t-shirt. Note that measurement.
Cut your waistband piece 3” wide by the circumference of the skirt waist, + 1” for seam allowance.
Sew waistband together at short ends and press seam open (use 1/2” seam allowance).
Press under 2 long ends of waistband 1/2”.
Find the center front of the waistband and apply scrap of fusible interfacing. Set 2 eyelets into this spot.

Pin waistband to dress matching the bottom of the waistband with the top of the skirt. Stitch in place close to the 2 edges of the waistband.
Cut ribbon to desired length and thread through the waistband.
Since your fabric is a knit, you won’t need to hem it, just cut it off at the desired length. However, if you would like to hem it you can do it by turning under the bottom seam by 1/2″ and stitching with either a single or double needle.


I blog often and I genuinely appreciate your information. This article has
really peaked my interest. I will book mark your website and keep checking for new
details about once per week. I opted in for your RSS feed too.
Paragraph writing is also a fun, if you be familiar with afterward you can write otherwise it is complex to write.
That’s a great pattern. Thank you for sharing !
I have been bemoaning the fact that there is little out there for the tween ( or almost tween). I have an almost 11 year old granddaughter who is 5 foot already and definitely not a little girl. I think your maxi dress would really suit her! Thanks for the tutorial!
I’m glad you like it! My youngest just turned 12 so I’m always looking for ways to still be able to sew for her.
This tutorial couldn’t have come at a better time. I bought a couple of drop-sleeve T’s a few weeks ago and loved them. Yes, past tense “loved”. Machine wash in cold water, they said. Line dry, they said. I didn’t even get past the washing part and they shrunk by about 1/3. I was livid. Luckily I did a pattern rubbing before I washed them. I had planned on making some replicas with Goodwill finds. (I found two super large cotton dresses for only a couple of bucks. I couldn’t pass up all that fabric.) So anyhoo, It looks like I won’t be able to wear the new t-shirts after I washed them, even though I gave them a good stretching when they came out of the washer. I just might need to turn them into sleeveless tops then refashion them into a maxi dress.
Yeah!! I’m so glad!! Let me know how it turns out
It makes sense to sew a waist band on and I was thinking of doing just that with Sofia’s dress I made using your tutorial last year. As soon as we had a spot of sunshine at the beginning of May it was the first dress she wanted to put on, so I’m so glad it still fits and also that she’s still happy to wear it! But her sash does slip up and down so I need to stitch it in place. I like the drawstring solution though, will try that if I get to make her another one for the summer (if we ever have a summer!). Thanks again, Louise, Leicestershire, UK – PS I blogged about your dress and patterns last year: http://www.sewsofia.co.uk/sew-whats-new/jubilee-june