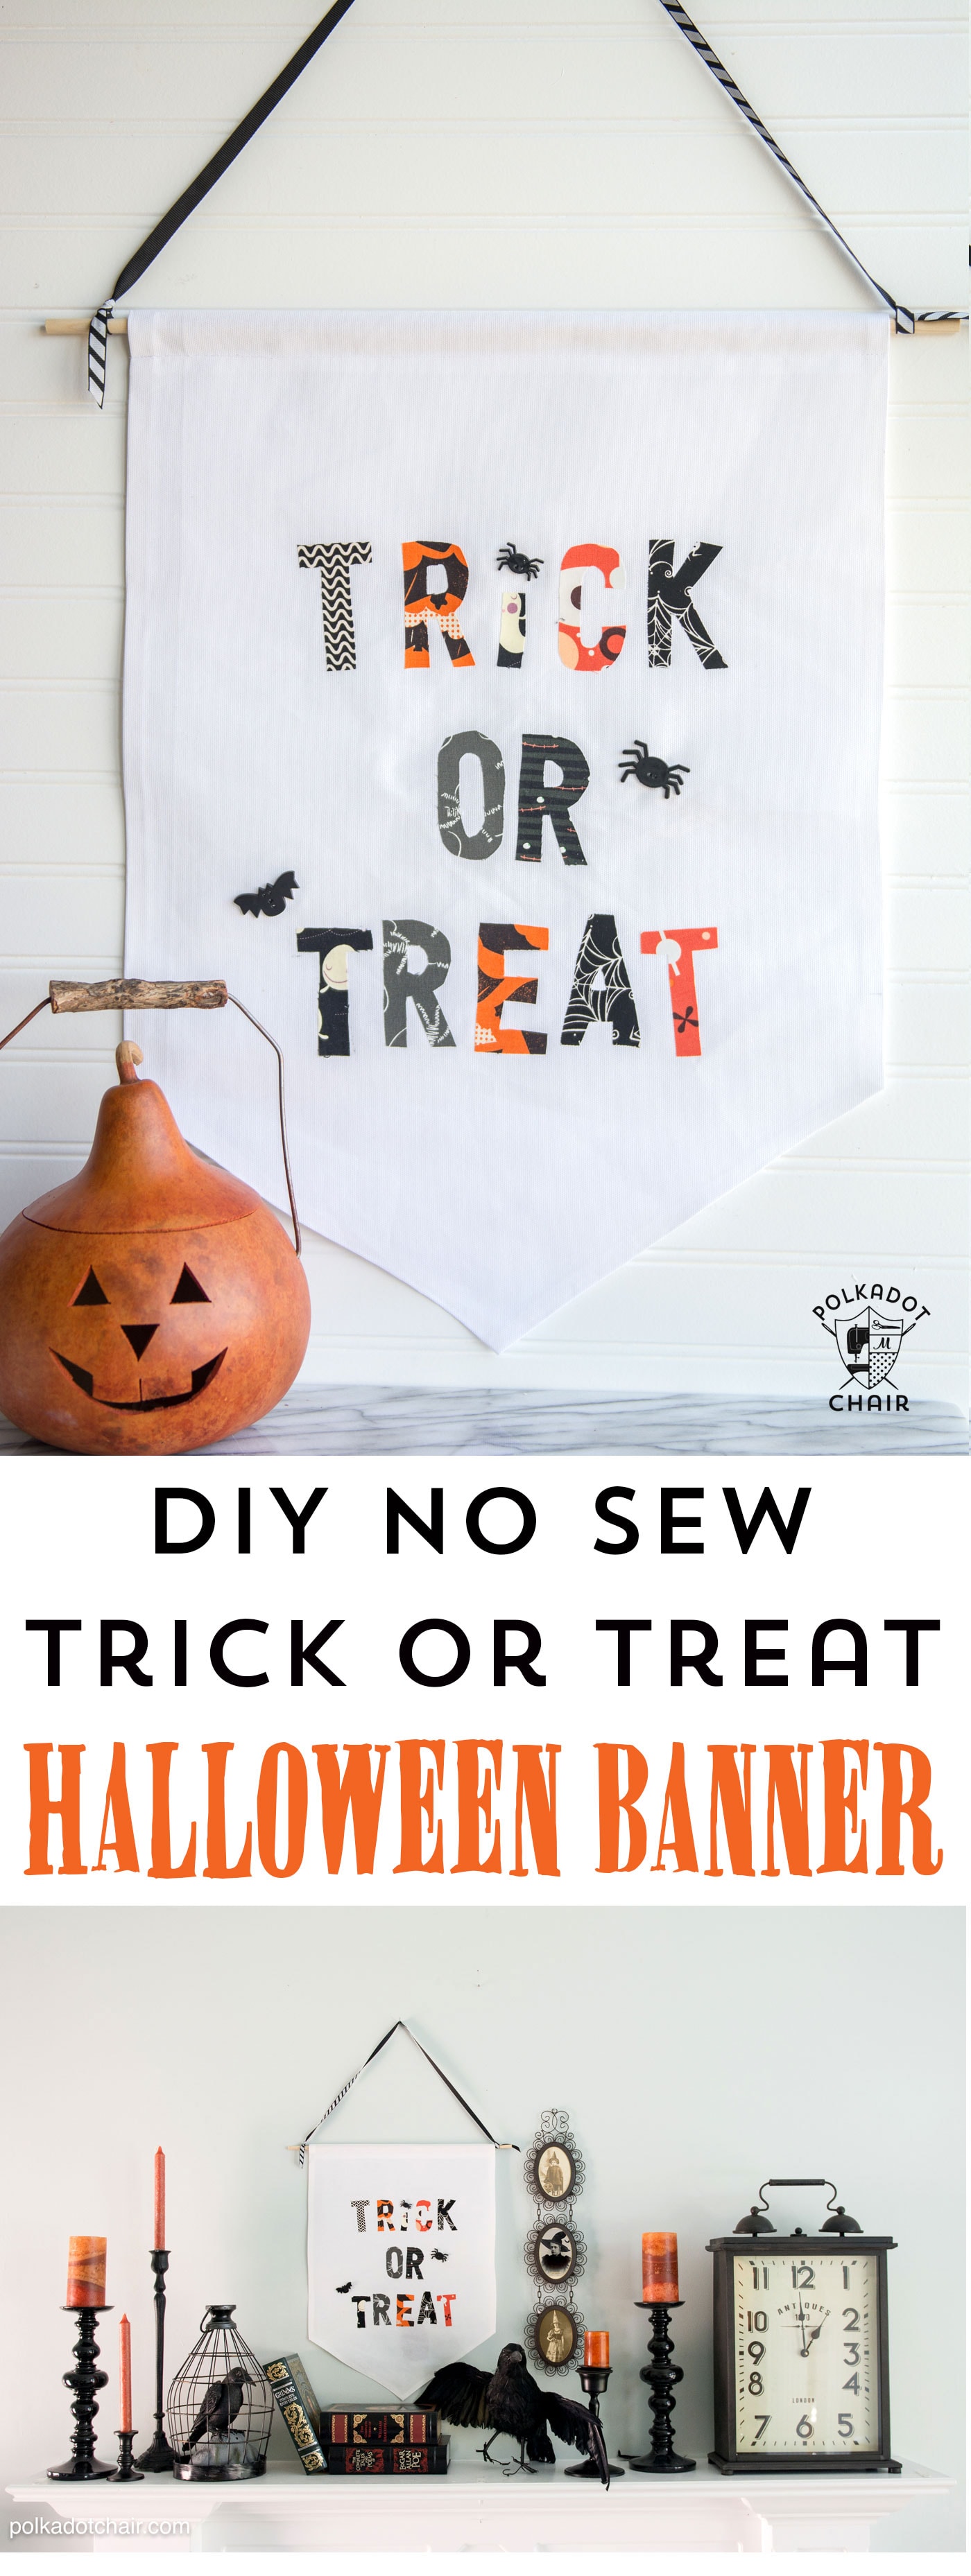
DIY Trick or Treat Canvas Halloween Banner
I love Halloween and try to add a few fun DIY Halloween decorations to my home each year. This DIY Trick or Treat Canvas Halloween Banner is incredibly easy to make, and you won’t even need a sewing machine!
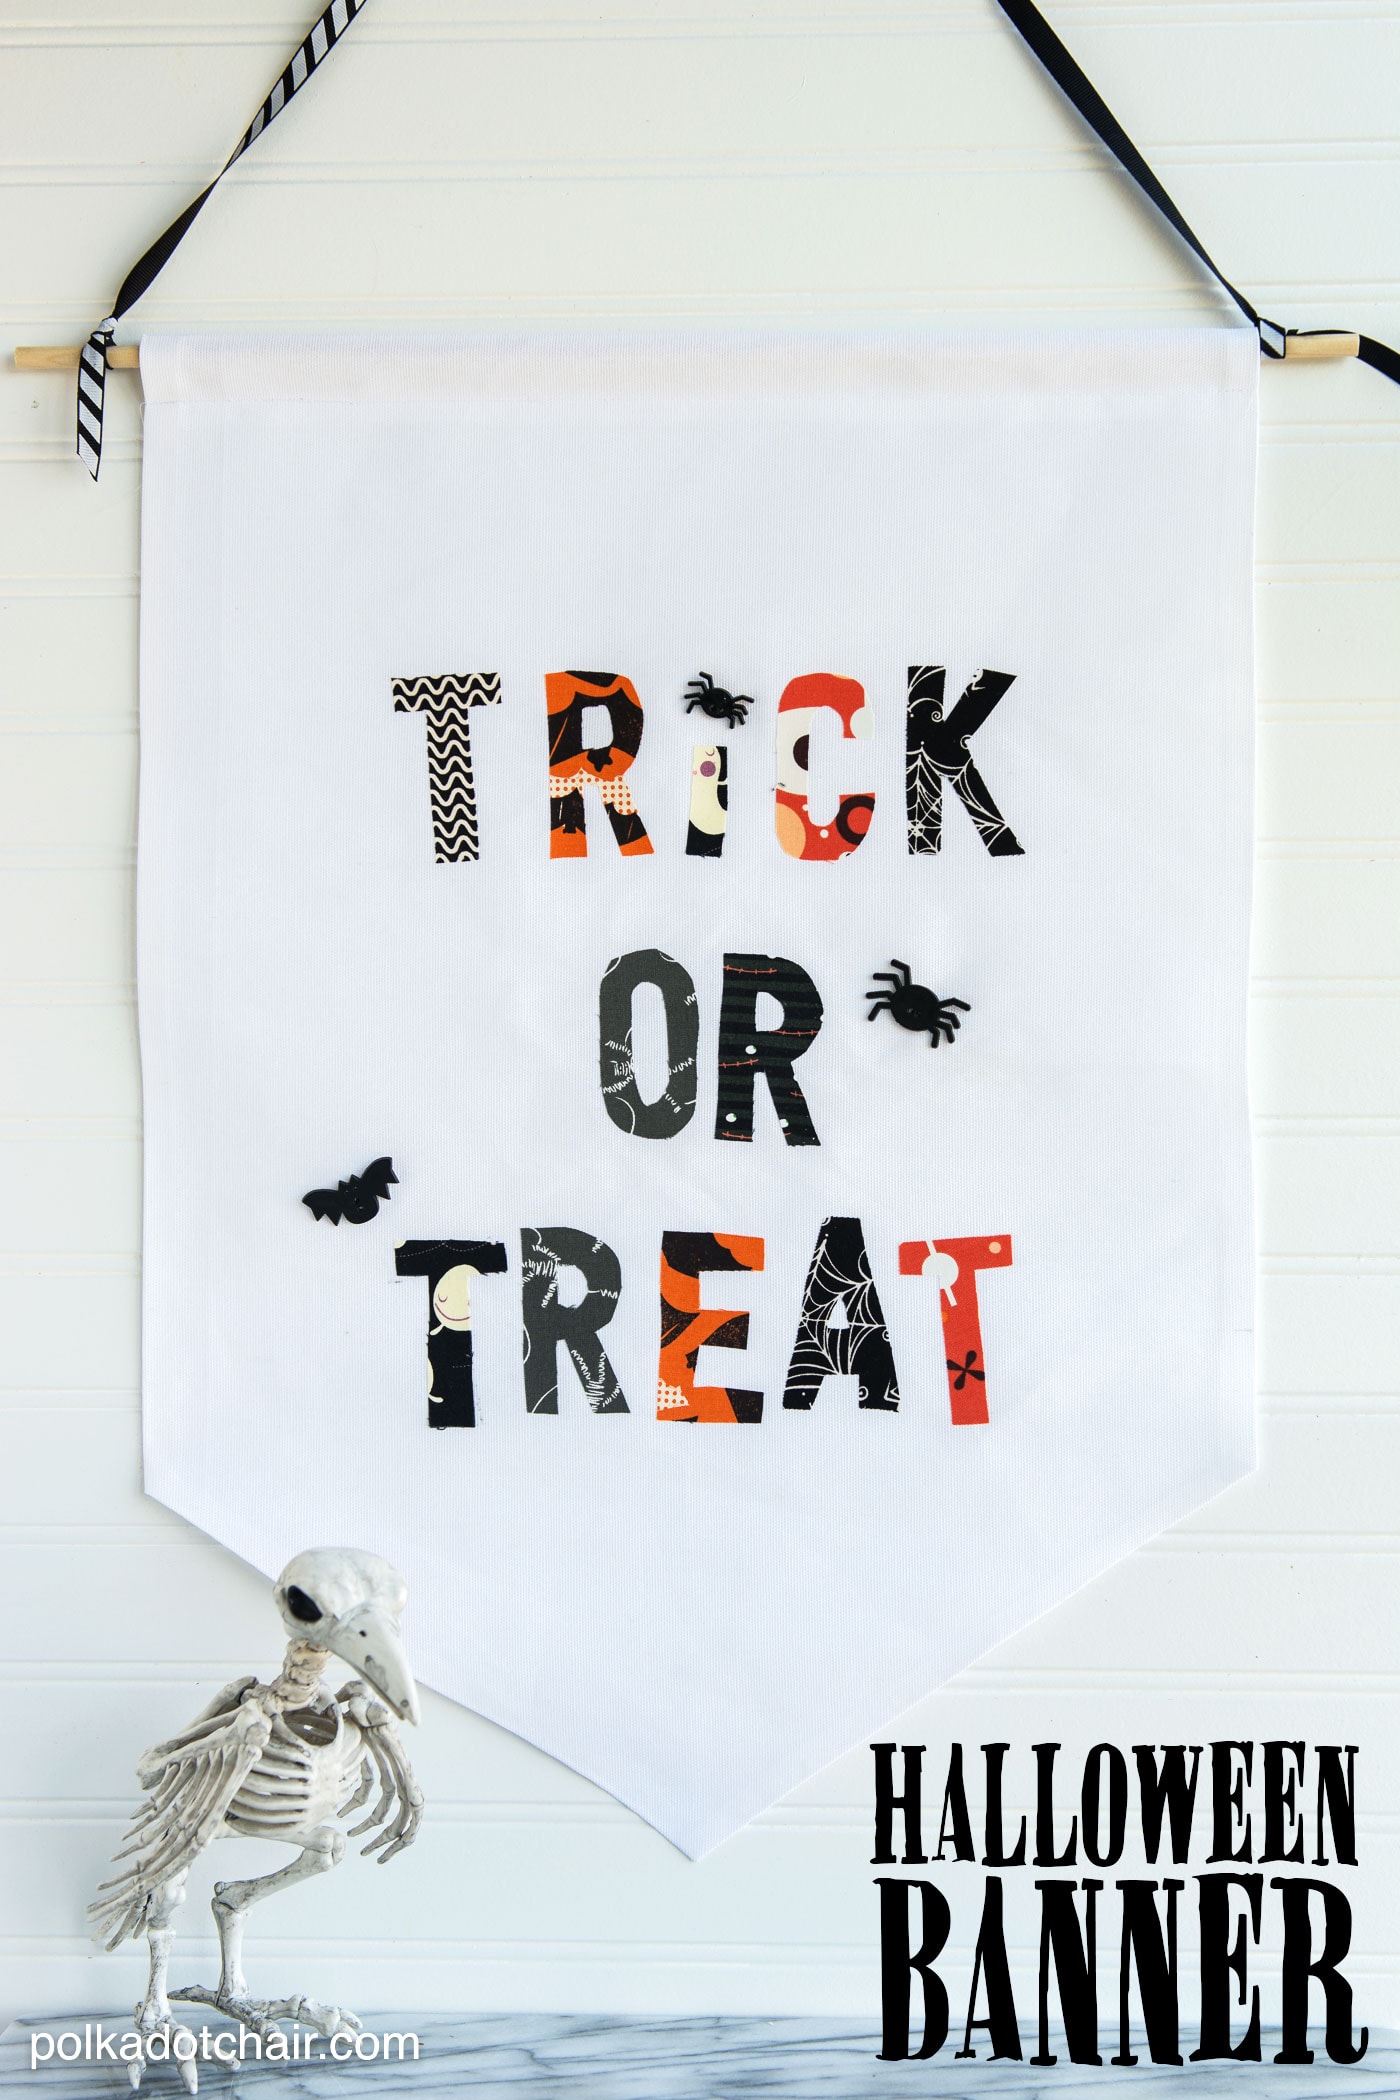
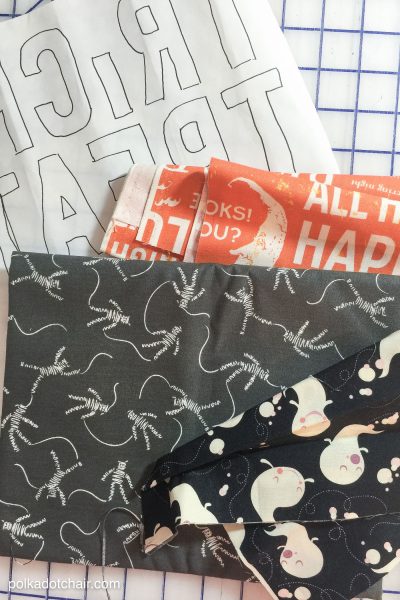
I have a really BIG collection of Halloween fabrics, and I’m always looking for more ways to use up my stash. This canvas banner is made primarily from the fabric that I used for my Halloween Hexagon Quilt. One day as I was rummaging through the scraps I got the idea to use some of them to make this Halloween Banner.
Want to make one too? It’s really easy, with only one seam to sew, and you can skip that if you want to.
How to Get the Template
Fill out the form above, and we will email you a copy of the Trick or Treat letters PDF to make the project.
DIY Trick or Treat Canvas Halloween Banner
Equipment
- Template Fill out the form on this site and we will email it to you
supplies
- 1 piece White canvas 18" x 24" twill, or home decor fabric
- Scraps of Halloween fabric – you can buy Halloween fabric HERE
- A piece of paper-backed fusible web
- 1 20″ dowel rod
- 1/4" wide Steam a Seam package
- 1 piece Ribbon
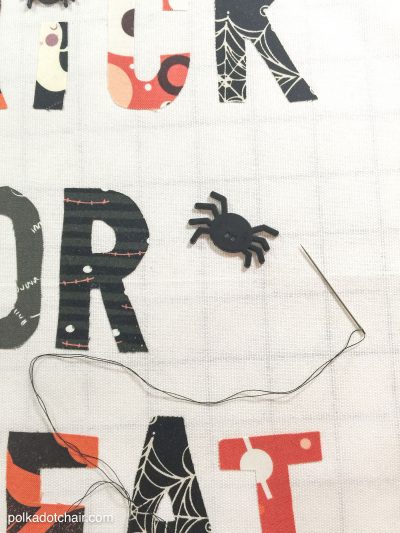
- 2-3 Spider Buttons
Instructions
Step One: Trace the Trick or Treat Letters
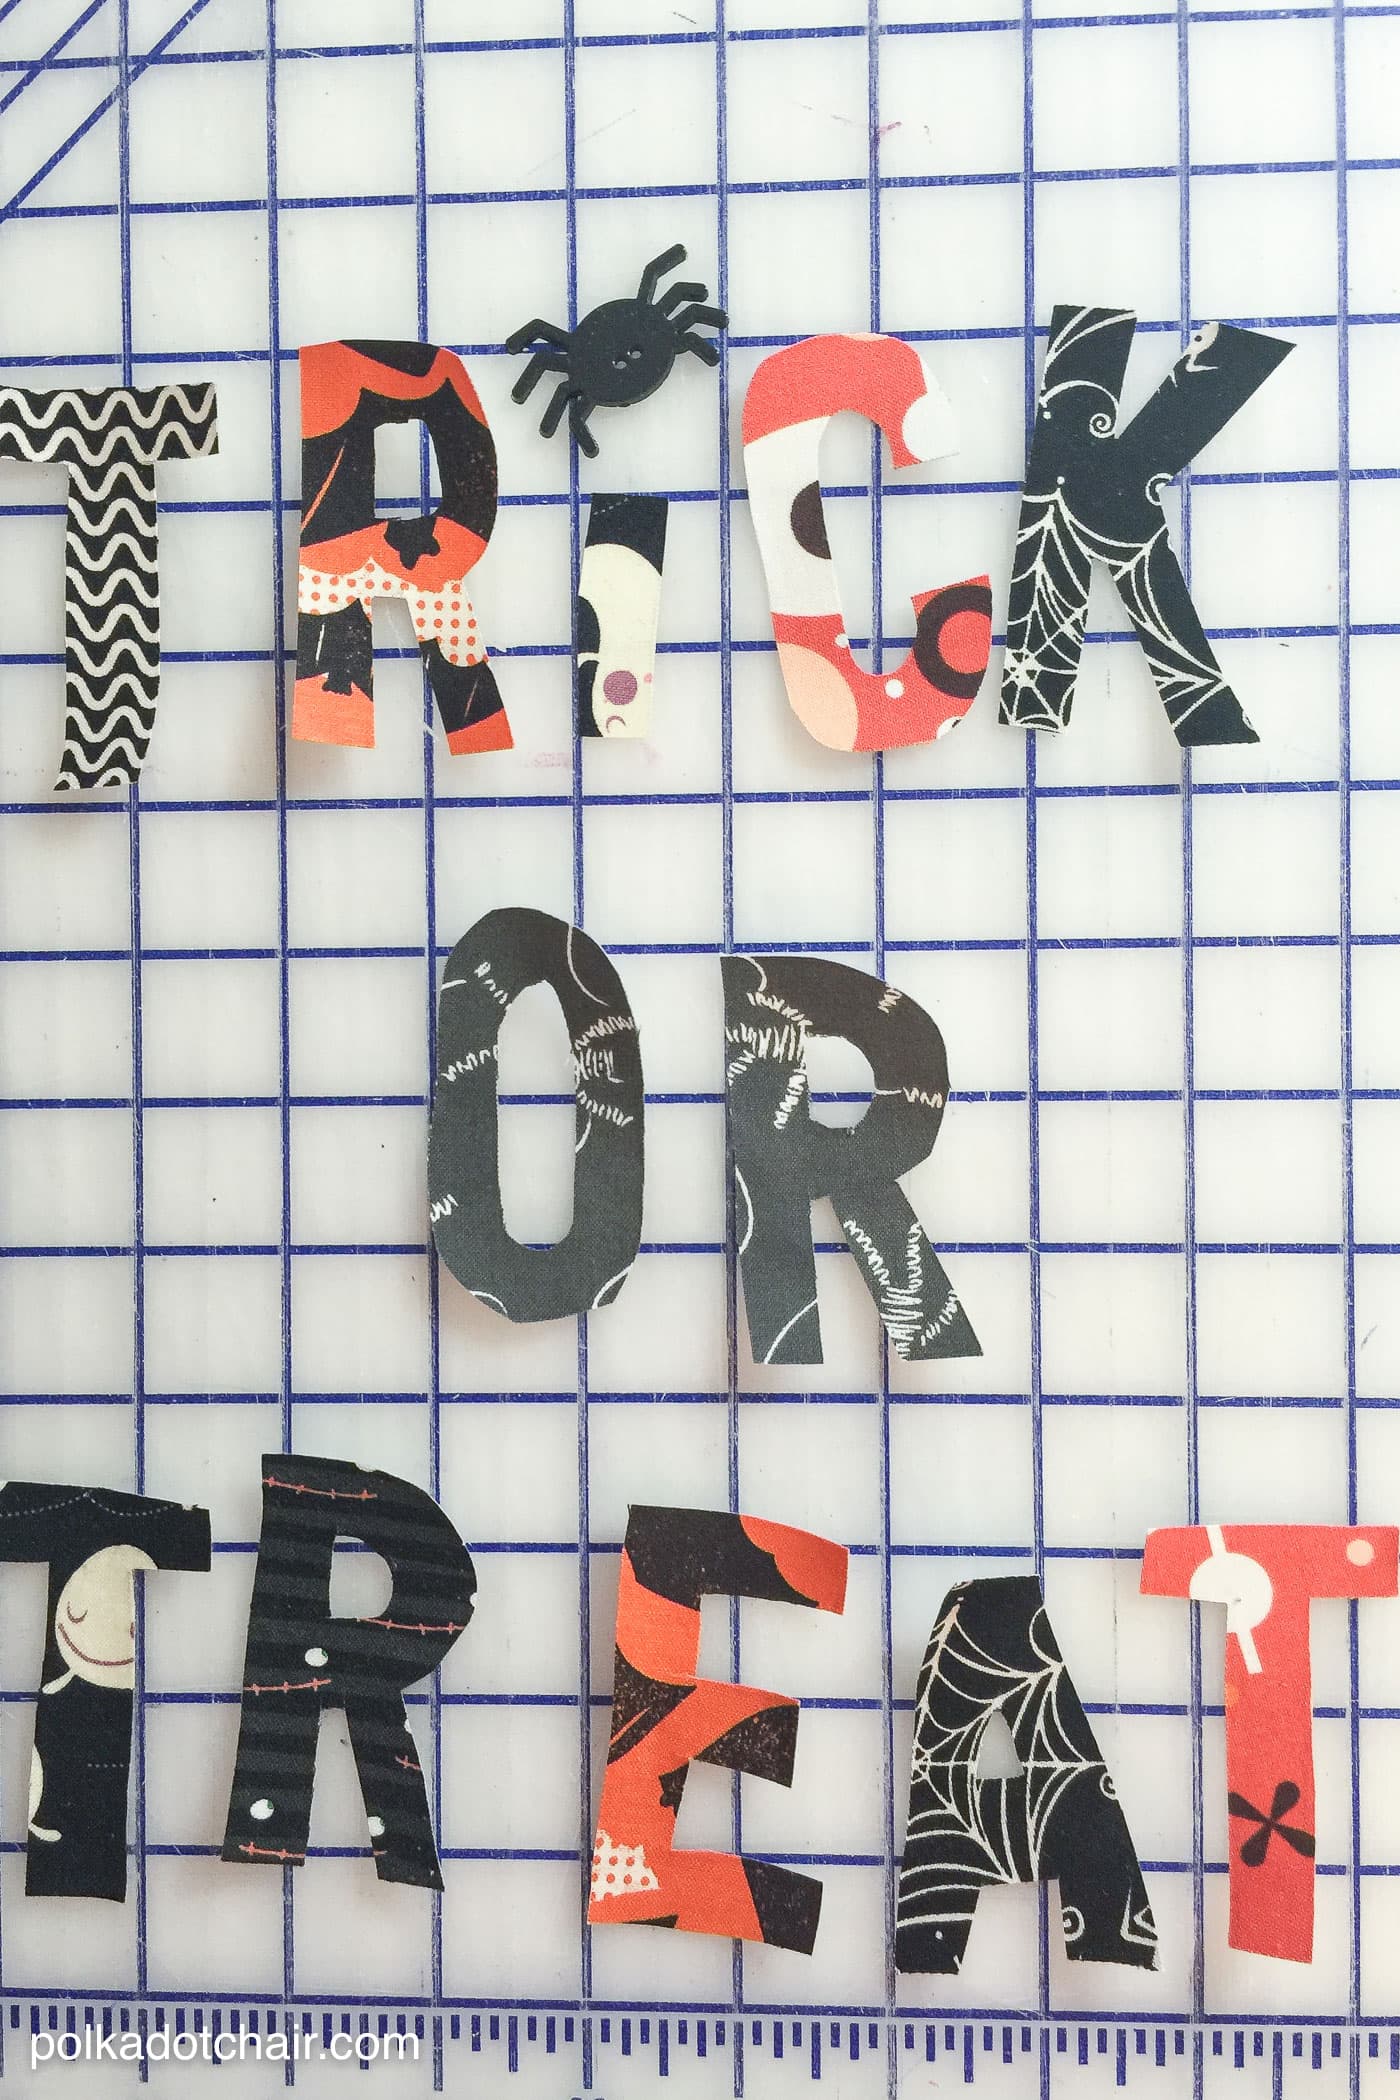
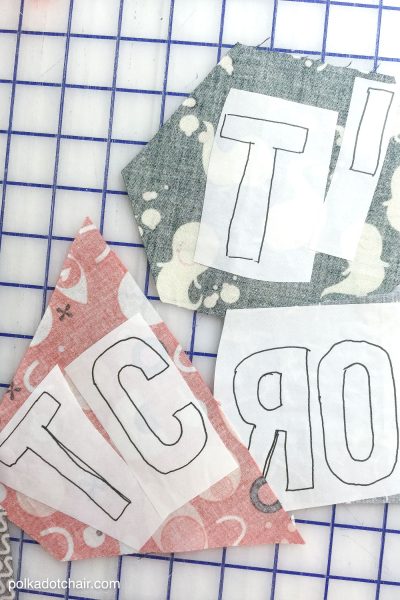
- Print out the template and trace the letters onto a piece of paper-backed fusible web. Yes, they are backward on purpose.

- Trace the “T” 3 times and the “R” 3 times (so you have the correct letters to spell TRICK OR TREAT)
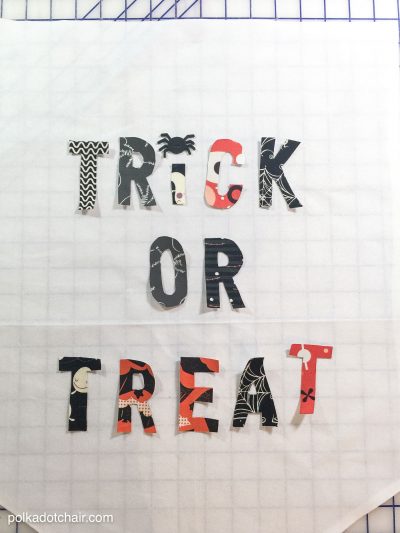
Step Two: Cut out the Letters from the Halloween Fabric
- Cut out letters loosely and press onto the wrong side of your fabric scraps.
- Cut out again this time precisely.

Step Three: Make the Canvas Banner
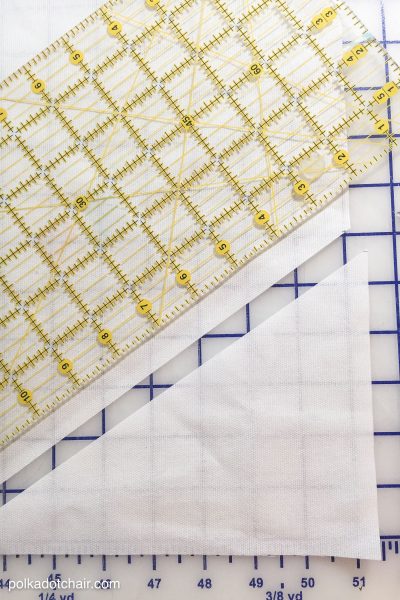
- Measure the center of the 18″ side of your 18″ x 24″ piece of fabric. Mark it.
- Measure down 18″ on each 24″ side of the fabric. Mark each spot.
- Draw a line from the 18″ mark to the center of the fabric. Do the same for the other side of the fabric.
- Cut the fabric along these lines to create the banner shape.
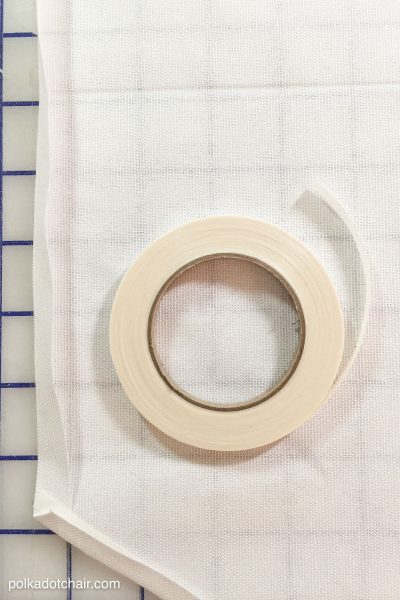
- Fold under the raw edges of all sides except the top 3/8″ and press. Use a piece of steam a seam to hold the hem in place.
Step Four: Apply the Letters
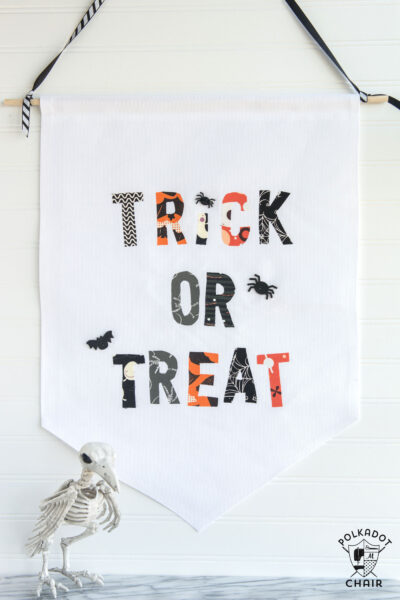
- On the top of the banner, fold down 1″ and stitch along the raw edge with a straight line; this will create a pocket to hold the dowel rod.

- Lay the cut letters out where you’d like them. Peel off the paper backing and iron it in place.
- Embellish with spider buttons as you like!
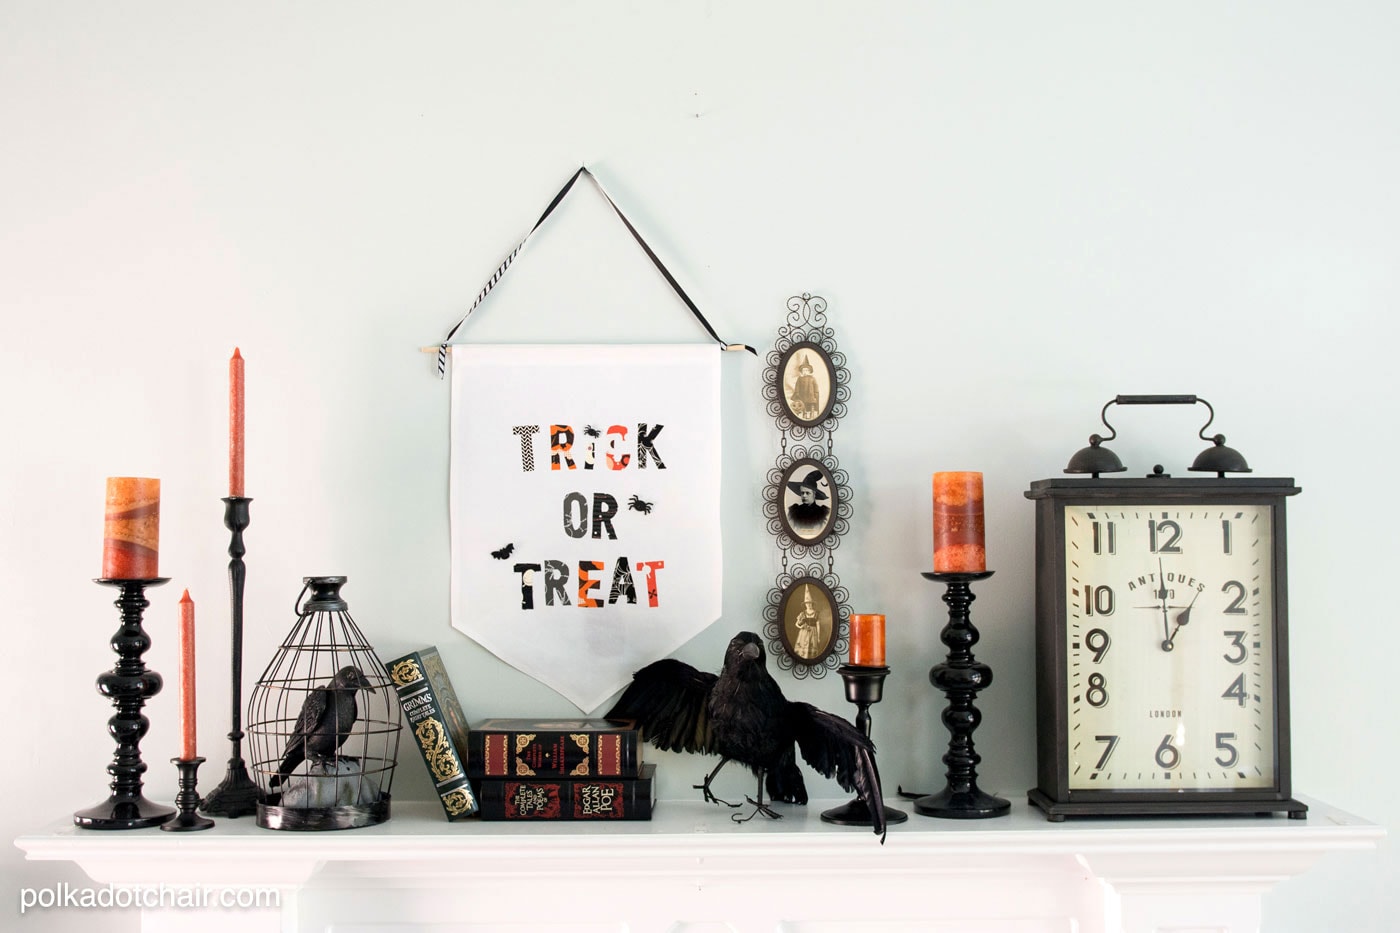
- Now you’ve got a cute banner that you can hang on your front door, above your fireplace mantle, or on your wall. Enjoy!!
This project first appeared on Tatertots & Jello (you should totally stop by there sometime, Jen has AMAZING Halloween Craft Projects)
More Cute Halloween Craft Projects:
American Girl Doll Halloween Apron Pattern
Halloween Geo Mesh Wreath Tutorial


Oh I must make this! Thank you for the great idea/design and detailed instructions : )