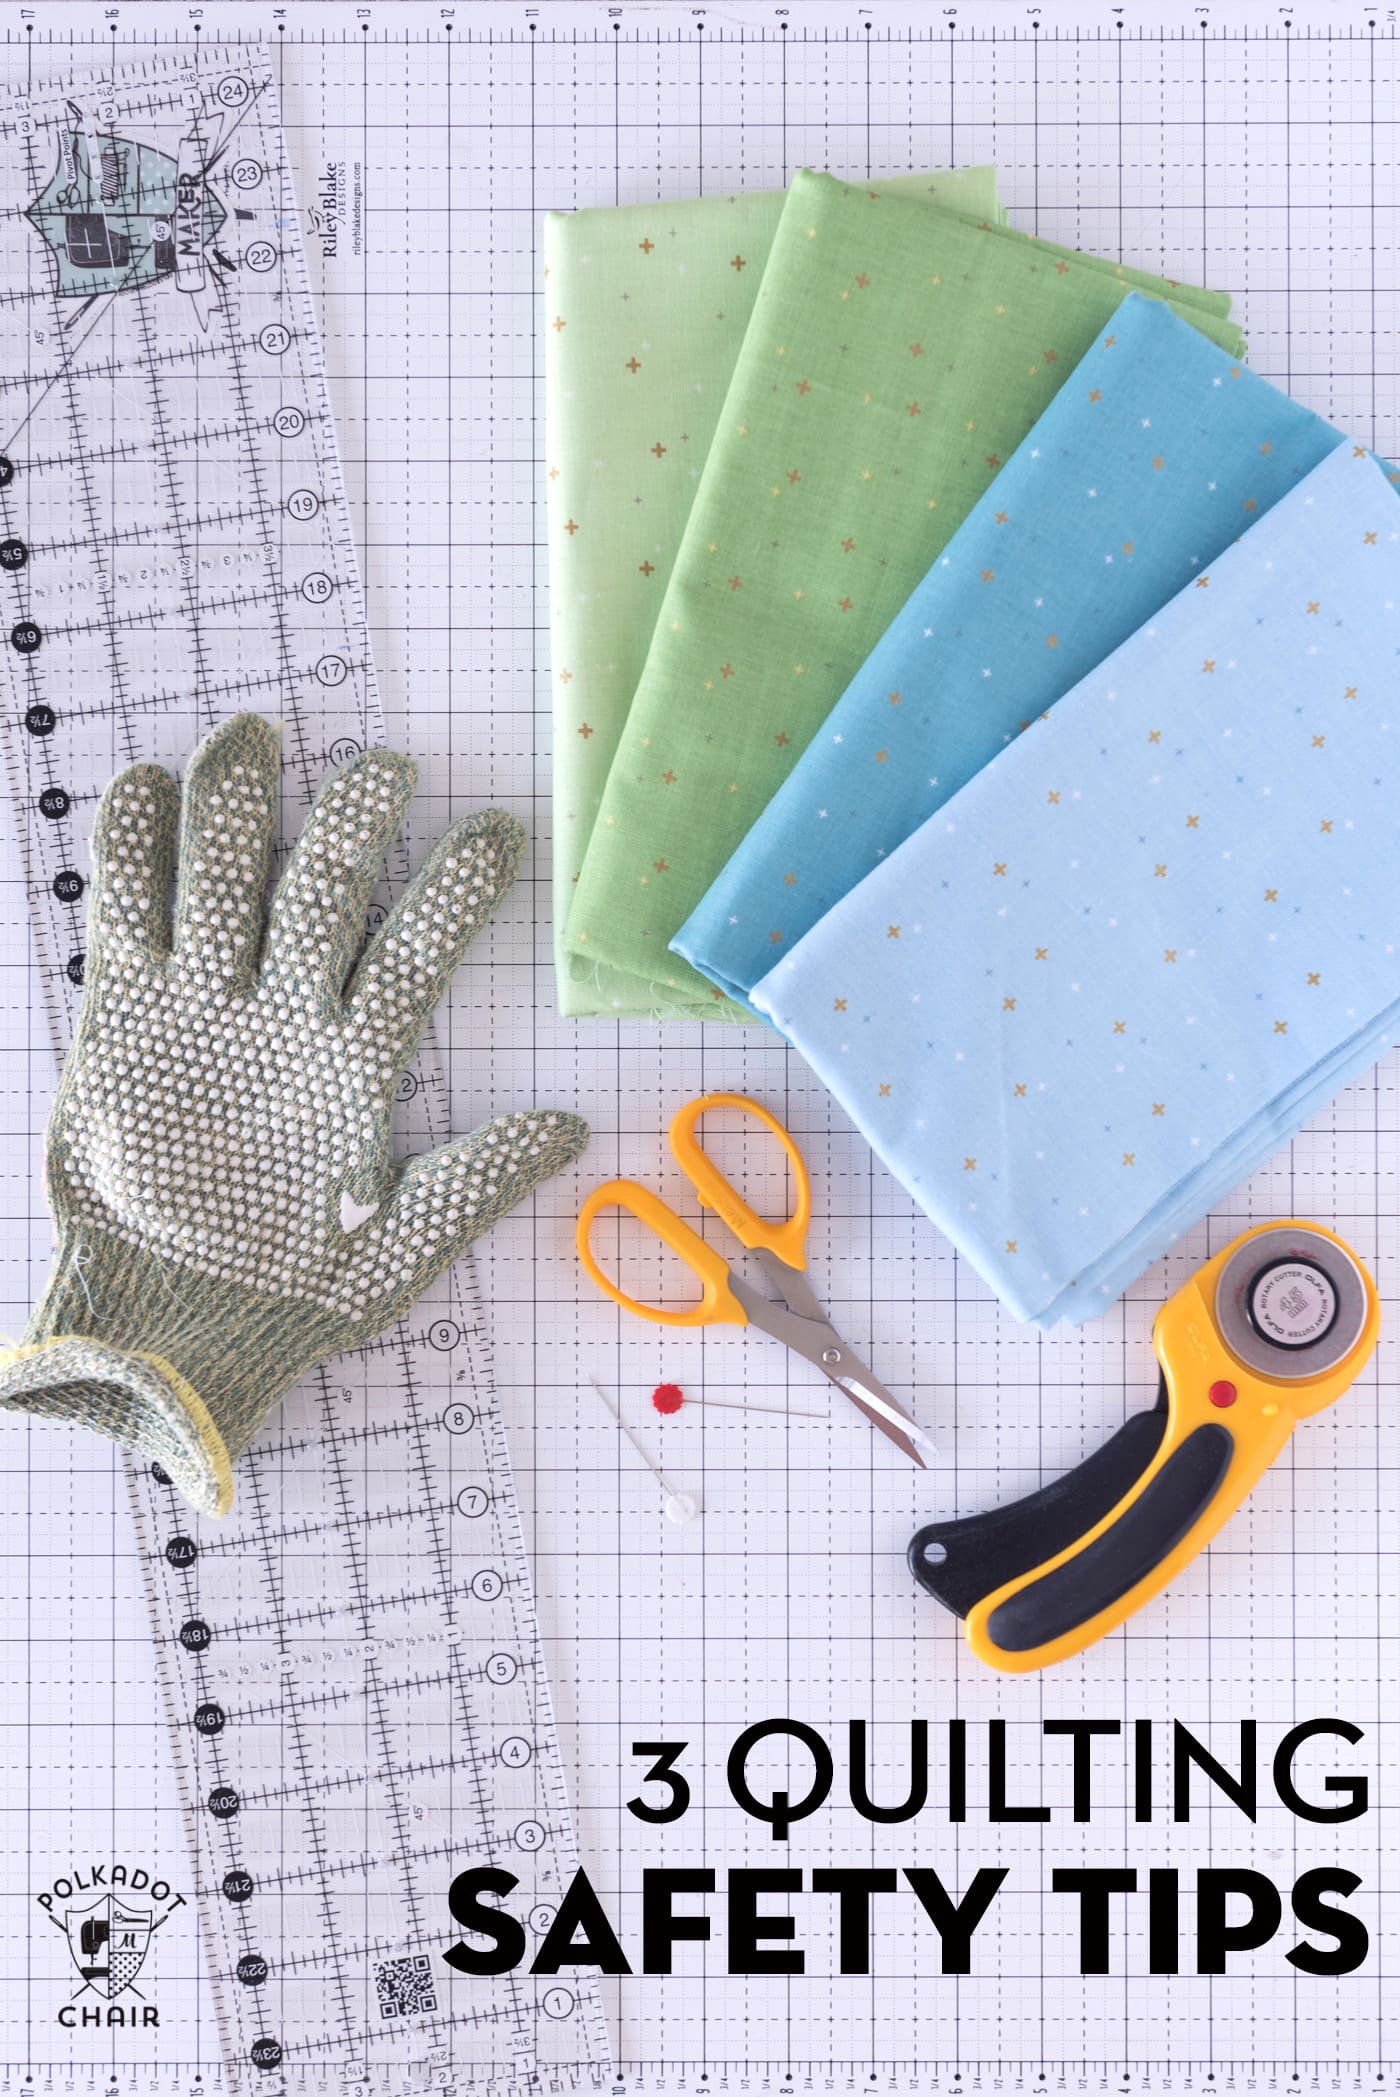
Nine of My Favorite Quilt Piecing Tips & Tricks
Today I want to share with you some of my tried and true quilt-piecing tips and tricks that you can use while you are constructing a quilt.
If you are new to quilting I hope that some of these tips help you to feel more confident as you tackle your first quilt.
If you’re a long-time quilter, I’m guessing you may also share some fantastic quilt tips if you do feel free to leave them in the comments section so that everyone can benefit from your knowledge!
9 Must-Know Quilt Piecing Tips & Tricks
I’m primarily a self-taught quilter. I’ve had lots of friends to help me along the way. I’m always grateful when people are willing to share their knowledge with others.
Since I am mostly self-taught, there are a lot of things that I learned the hard way, which is where most of these tips and tricks originated.
I also get questions from you guys frequently. I thought I’d also address some of the most frequently asked questions about constructing a quilt that I get.
1. Before you Start, Check your Seam Allowance
Quilt patterns are designed to fit together like puzzle pieces. Each piece has a 1/4″ extra on it to account for seam allowance.
If you sew your pieces together and your seam allowance is not exactly 1/4″ your quilt block will not line up properly. Imagine puzzle pieces that are too big or too small.
I use a 1/4″ foot on my sewing machine and a seam guide. My machine came with one. If yours didn’t you can purchase a magnetic one that will attach to your machine.
You can also use a bit of washi tape or painter’s tape to tape off the 1/4 mark on your machine.
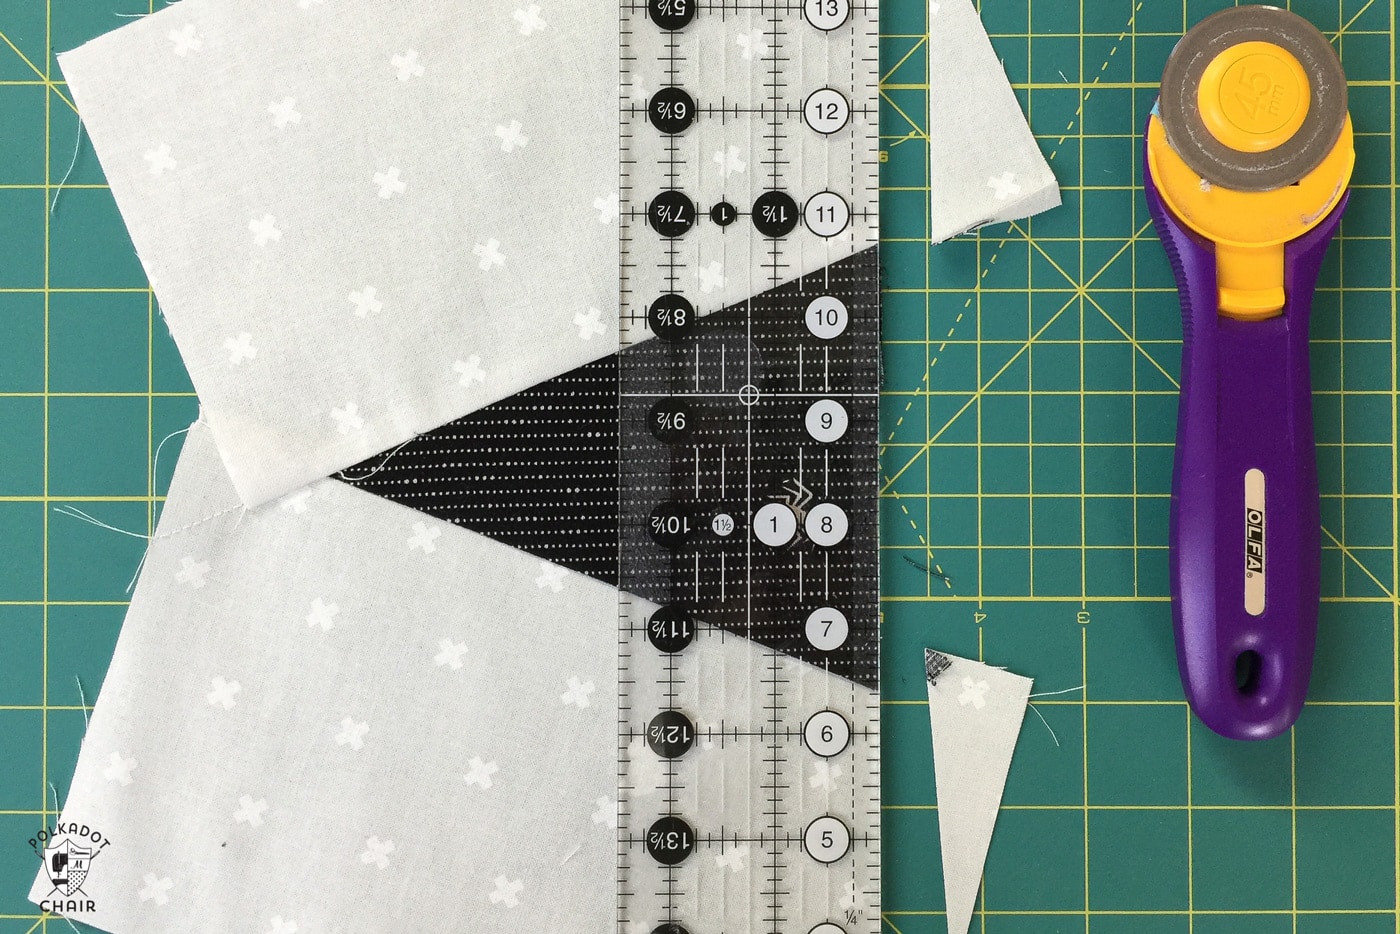
A note about 1/4″: Many quilt patterns call for a “Scant 1/4″ seam allowance, which means the seam allowance is one thread line less than 1/4”. As shown below, the seam allowance line is on the inside of the ruler, not on the outside of the ruler. Just that little bit of change can make a bit of difference during construction.
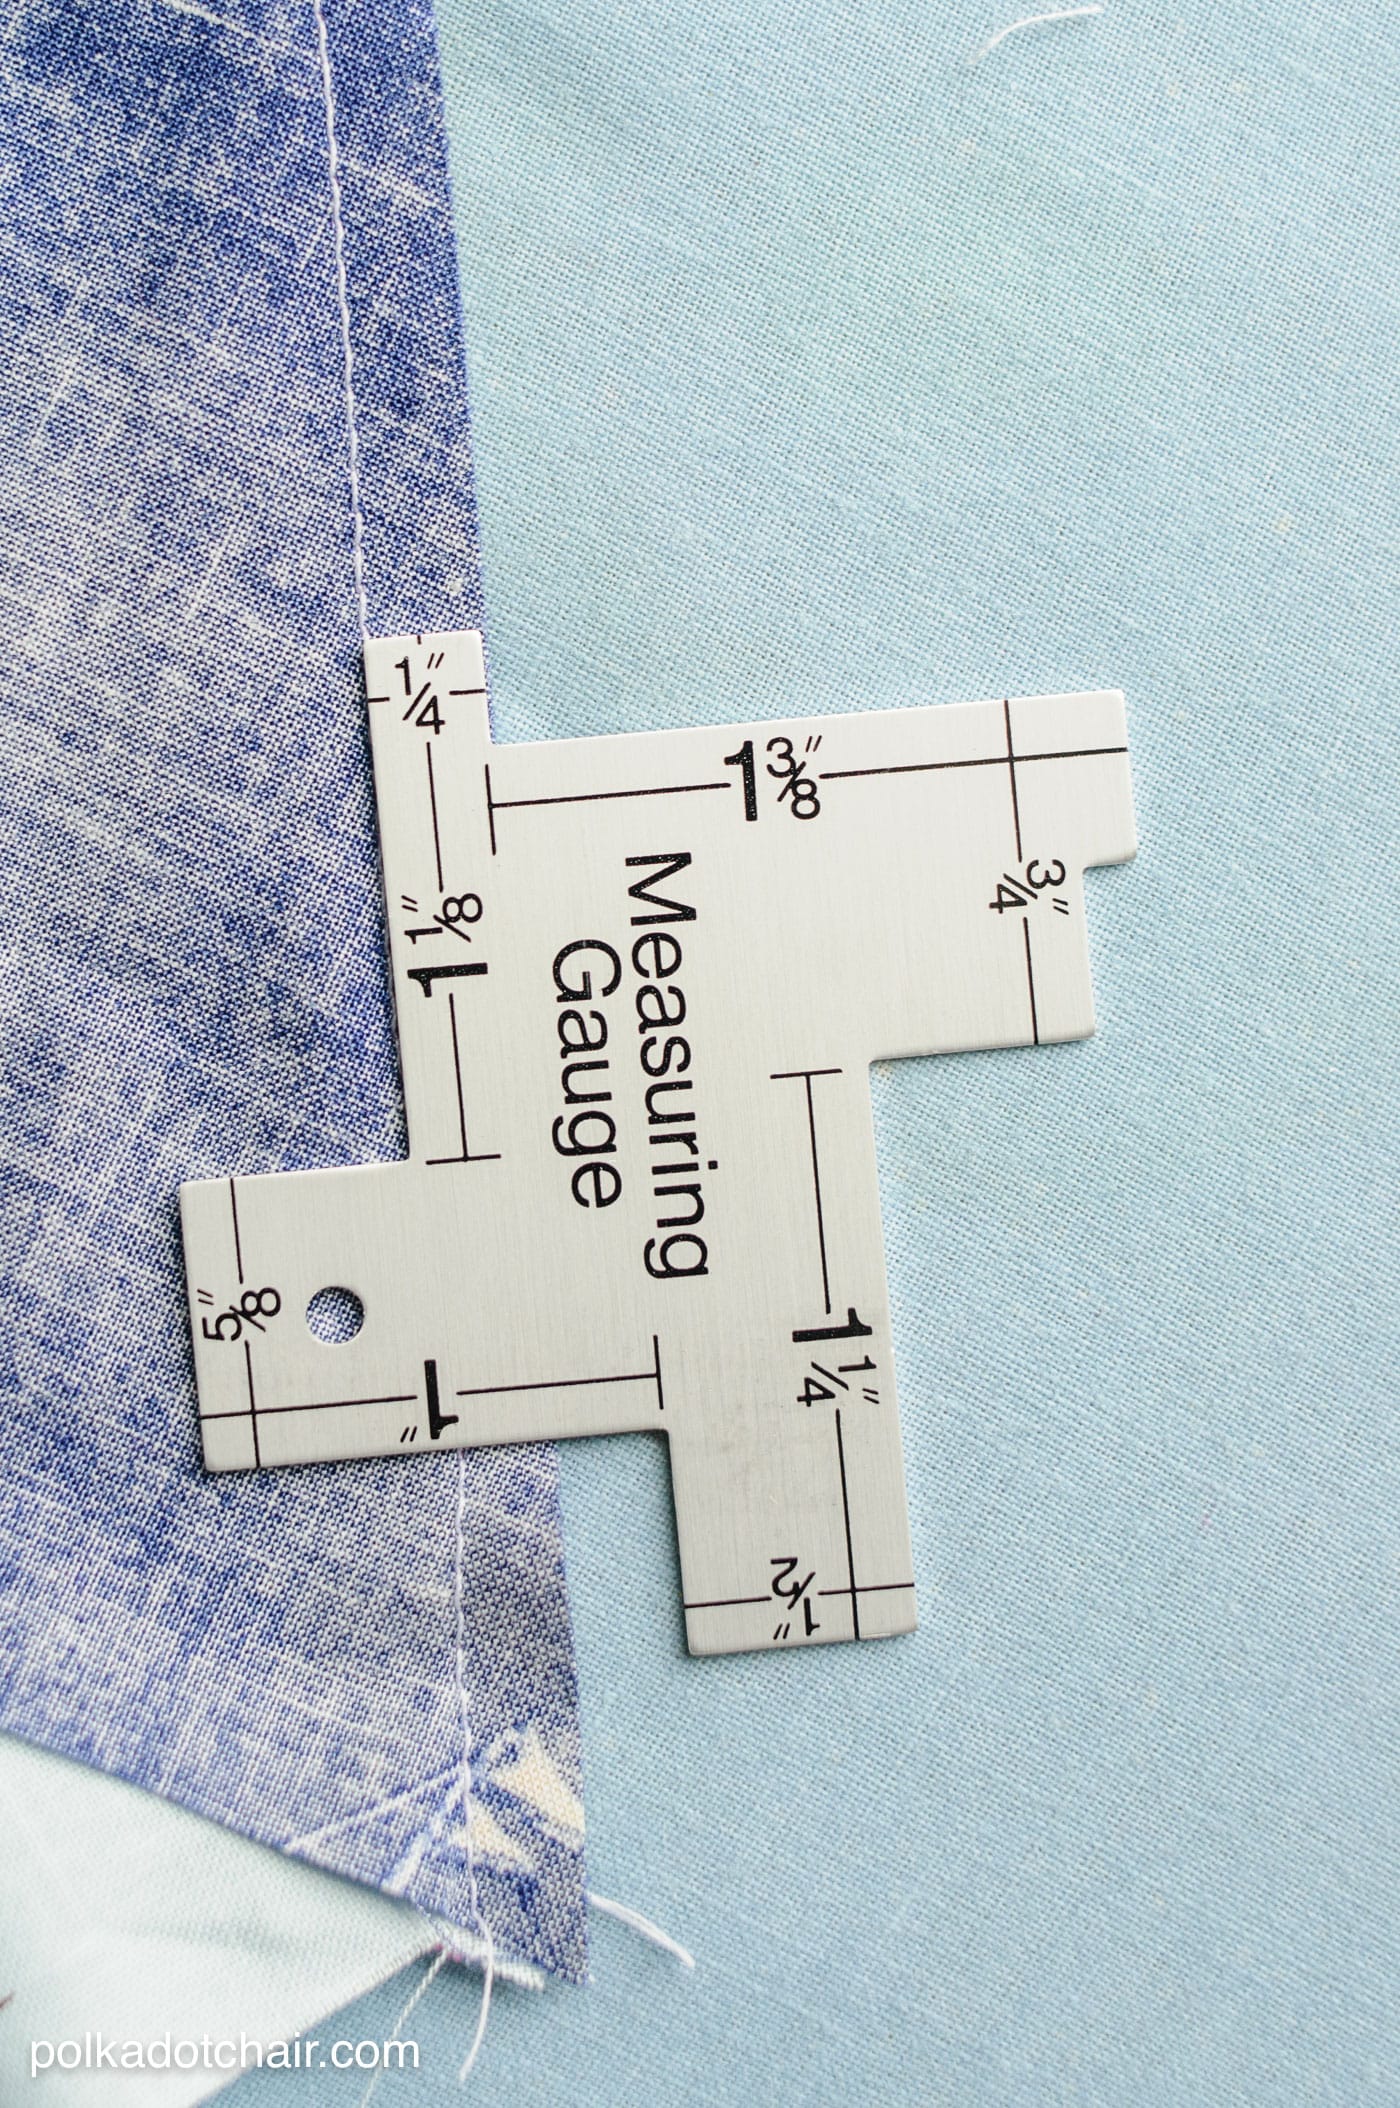
When I think I’ve got my seam allowance where I want it, I check it with a seam gauge. I have this simple one.
After figuring out where 1/4″ is on your machine, ensure you are consistent with keeping it throughout the quilt construction.
2. There is a Difference Between Pressing and Ironing
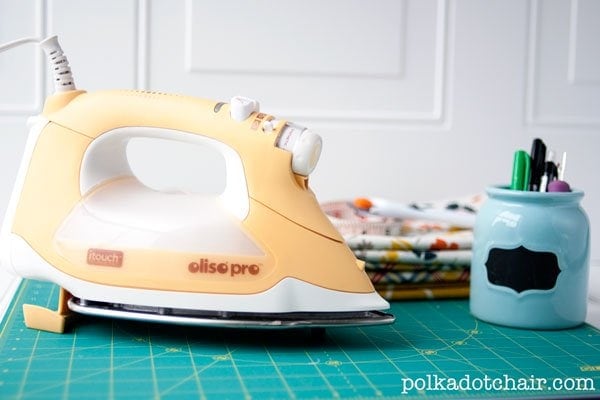
It is important when quilting to press correctly. When you iron your clothes, you move the iron back and forth. Ironing your quilt seams can stretch your fabric out of shape, which can cause problems when piecing your quilt blocks.
In some quilt patterns, the blocks are more “at risk” for stretching seams if triangle pieces are cut at an angle. (Due to the weave of the fabric, Fabric stretches more on an angle, also called the bias.)
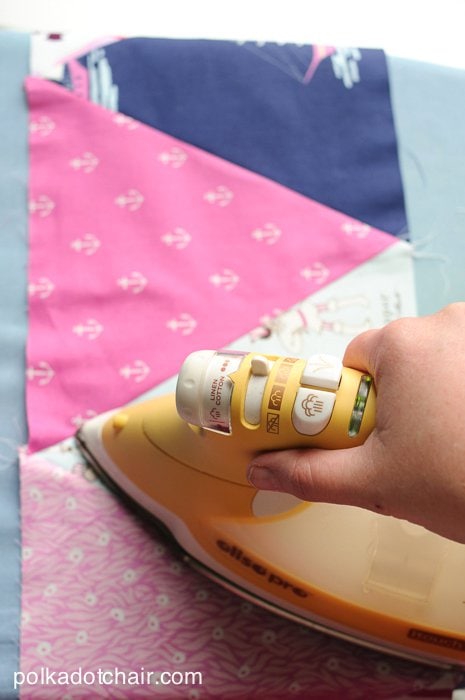
When you iron the seams in your quilt block, PRESS them. Don’t iron them. Pressing means moving your iron up and down and applying even firm pressure. When you need to move your iron to another part of your seam, pick it up and move it. Don’t slide it.
3. Trim Blocks Carefully
I hate a few things more than making a quilt block and having it come up 1/2″ or 1/4″ too short in width or height.
When I want an 8″ x 8″ block, I want it to be exactly 8″ x 8″. I have found the best way to get a quilt block the size I want it is to trim it down after it has been pieced.
Some quilt patterns, like my Halloween Haberdashery quilt, are designed to be trimmed. It is designed on purpose to be a bit large, then trimmed (and squared up) at the end. That way, you get perfect square blocks.
When you’re trimming, just remember that you can always trim the piece down more, but you can’t add fabric back on that you cut off. So, be conservative with your trimming until you get the hang of what you’re doing.
4. A Small Ruler is Better for Trimming
While you’re trimming your blocks, I find it easier to use a smaller ruler (like 18″ long) instead of a big quilt ruler. You’re working with smaller pieces of fabric, and there are just fewer rulers to get in the way.
5. Use a Large Book to Keep your Seams Flat
This is a tip I learned from Alison of Cluck, Cluck Sew. If you are pressing in “bulk” (i.e., many quilt blocks at a time). Press one block, and then, while it’s still warm, put it under a heavy book on your ironing board or table.
Then, add the next “warm” block on top. Keep doing this until you’ve got too many blocks, then move them out from under the book and start again. The heat of the block under the big book will flatten out your seams for you.
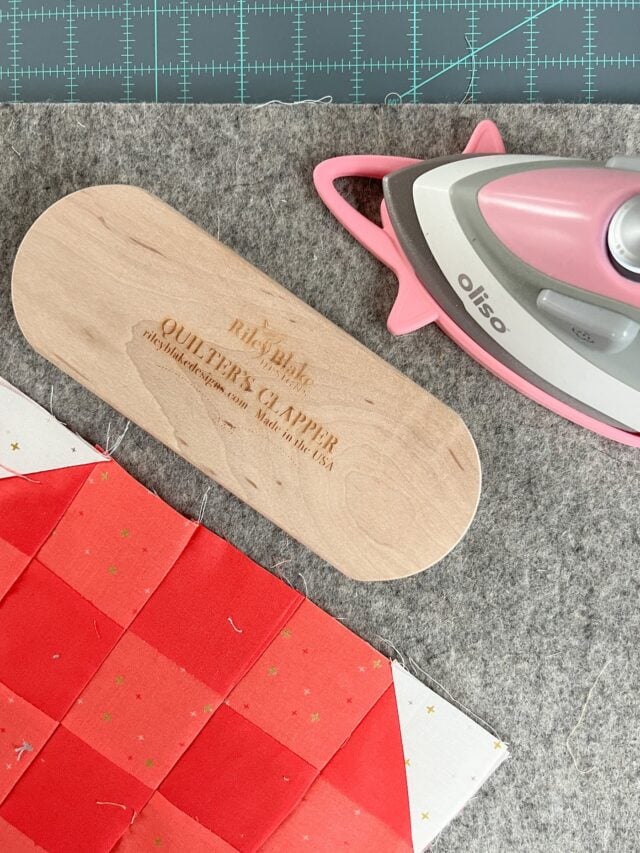
You can also use a Quilter’s clapper if you have one.
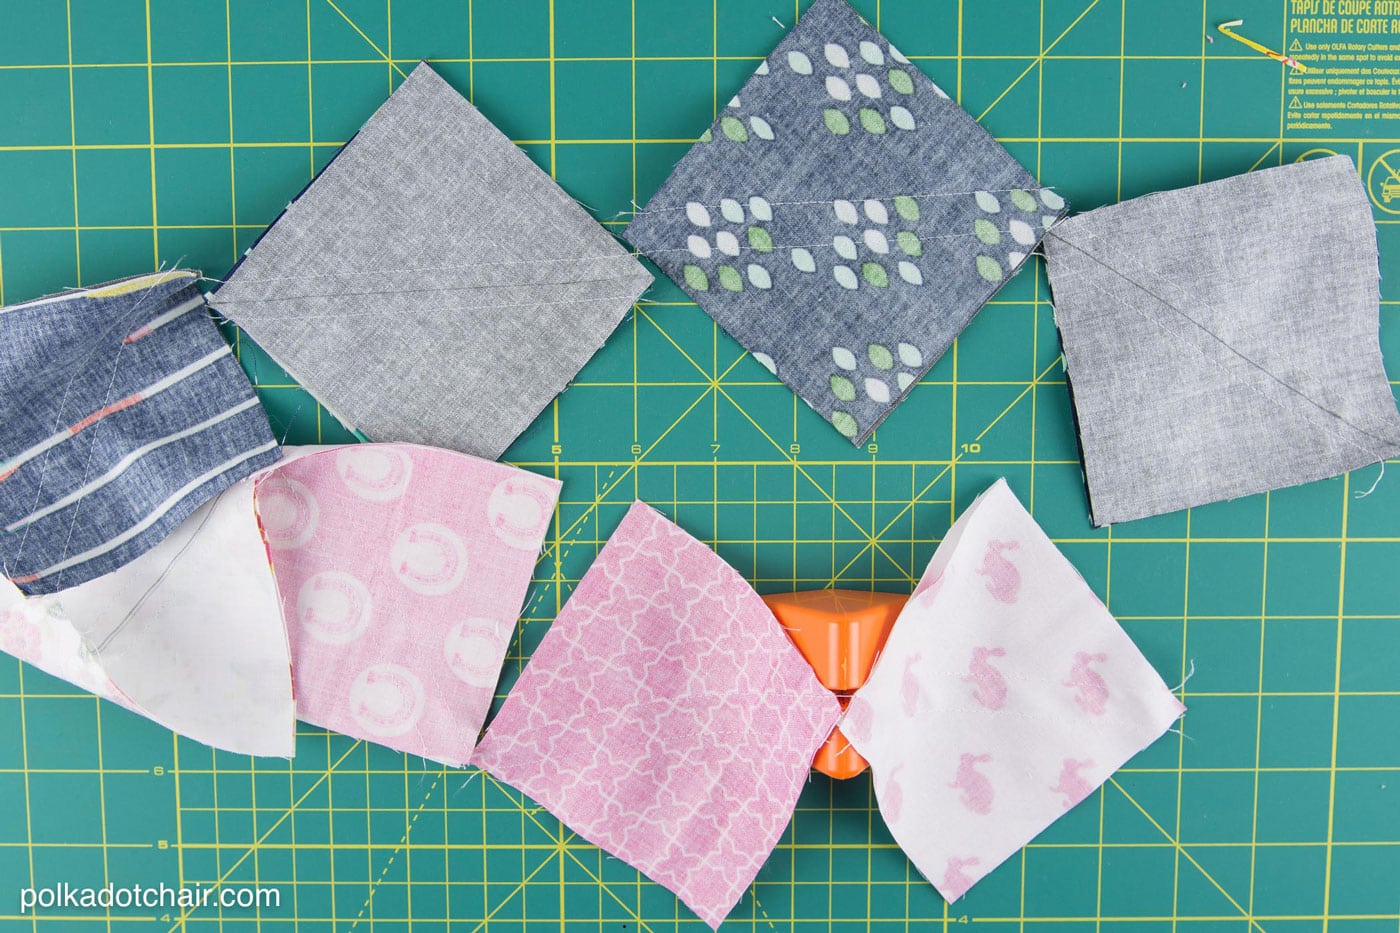
6. Pay Attention to the Direction of your Fabric
Some quilts, like my Halloween Haberdashery quilt, feature diagonal seams. If your fabric is directional, the fabric will be at an angle when your quilt block is done. It’s okay! Here is a photo of Erin’s quilt. You can see her backgrounds are all facing different directions.
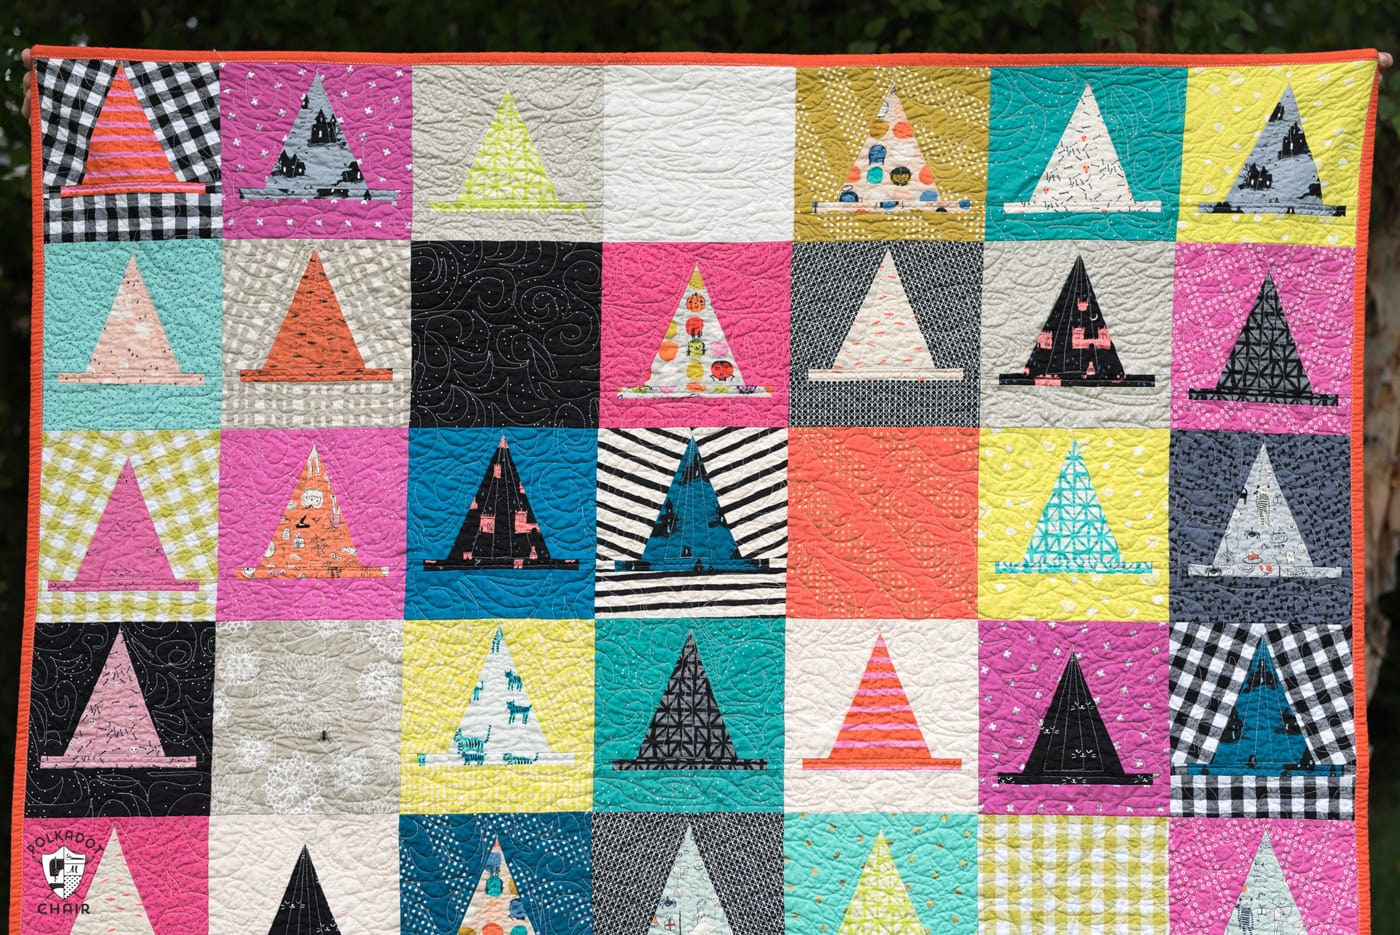
For some parts of a quilt, it DOES matter which way the fabric faces. For example, the witch hats are on this quilt. You want the fabric to be “up and down” for both the triangle hat piece and the brim piece.
Before you cut out your fabric for a quilt or a quilt block, take a moment and make sure your fabric will be facing the correct direction when the block is constructed.
7. Work in Batches & Chain Piece When Possible
I think it takes longer to make one block from start to finish and then repeat the process 40 times. Instead, I prefer to work in batches.
I will sew the right side of the hat on all the blocks, press and trim, and then sew the left side of the hat on all the blocks. Then, I will move on to the next seam.
There are parts of this quilt that you can chain piece. This means that you can start sewing a seam when you get to the end of the fabric, but the next piece under the presser foot and keep sewing.
You’ll save time by not cutting your strings and restarting with each block. When you get to the end, simply snip the pieces apart.
Here’s a video that shows you how to chain-piece your blocks.
8. Use Leaders and Enders
This is difficult to explain, but it is covered in the video above. If you’ve ever started sewing a quilt seam and had the fabric jam into your sewing machine, using leaders and enders can help prevent that.
A leader is a small piece of fabric that you start sewing first, then feed the quilt piece next while chain piecing. It keeps the first small piece from getting jammed down in your feed dogs. You can also use an ender to keep the last seam on your “chain pieced” blocks straight.
9: Relax, This is Fun!
Guys, it’s a hobby. It’s just for fun. That doesn’t mean that there won’t be frustrating parts, but on the whole, it should be enjoyable.
If you mess up, shake it off and move on. Take your time, and don’t be in a rush. As you work, think about Mr. Rogers singing, “I like to take my time…”
When I quilt, I’m not out to win any contests (not that there is anything wrong with entering a quilt at a show or fair). I’m doing it for fun.
You will learn something new with each quilt you make. You can then use that knowledge in the next quilt you make.
If you’re new, your skills will gradually improve. The only way to learn and improve is to DO. Sometimes, “doing” means messing up. If you mess up a lot and it’s terrible, what’s the big deal? Just don’t show it to anyone. Like I said, it’s supposed to be fun.
More Quilting Tips:
Tips & Tricks for Picking Fabric for A Quilt

Love your pages and tips!
Just a reminder along with your pressing and ironing tips.
Don’t use water, steam, best press, etc. after you have cut your fabric. Shrink your fabrics before you cut. Or don’t use steam when you press.
It will shrink and now the puzzle pieces in the block will not fit!
Thank you for all the helpful tips!!
I love that measuring gage idea and added it to the Amazon cart immediately.
I am just starting to learn all about quilting myself but having a great time.
Thanks again :))
Thank you for the 9 reminders. Sometimes experience sewers need to go back and review to create a masterpiece. !
When I’m in a tizzy my favourite quilter always calms me by saying there are no quilt police and there are no mistakes just design opportunities 😁
Thanks for your tips. Piecing is so vital to the finished product and you cover all of the factors that can lead to a disappointing outcome. I find that trimming as you go is so important, but your point about not over-doing it (you can trim more, but you can’t put it back once its cut off) is also crucial. Thank you!!!
I have been quilting for about five years but some of the worst mistakes I made were when I tried to overreach my abilities. Just remember to keep it very simple in the beginning and don’t buy the real expensive fabrics until you’re starting to feel confident. Many times in those years I have forced myself to dial it back and I’ve gone back to a very simple pattern. Doing that helps to build up my confidence again. Happy quilting.
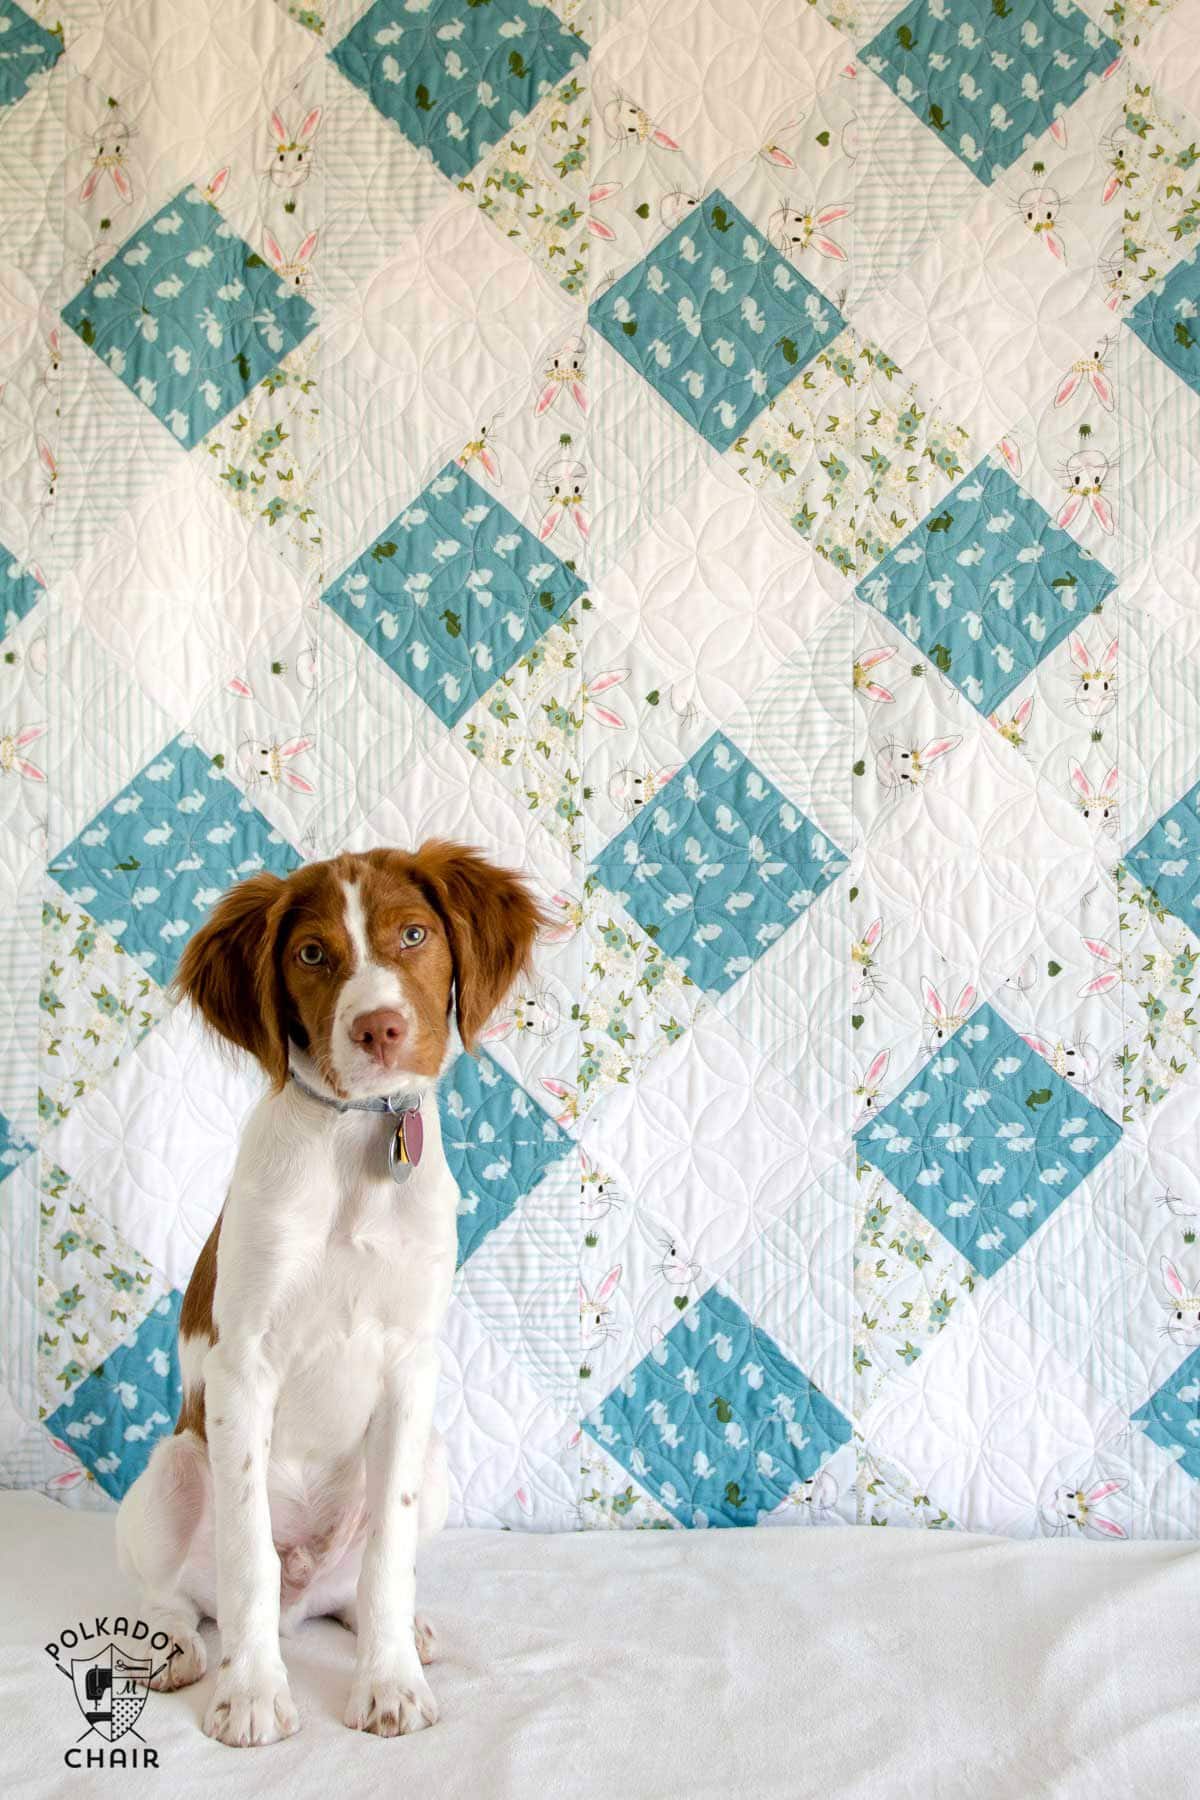
Random question, what breed is the dog in the shot with the bunny quilt? He’s adorable!
He’s a Brittany
Thanks Melissa #1 for working on giving us the “print friendly” page. I always look on every blog where there is something to download, as you well know ads take extra paper and a lot of color ink. I hate commenting but….on the Print Friendly page the is usually an option to print or PDF. I could not find that option here. I prefer to save as PDF and I can print when I am home. I read my blogs and email on my phone. I have no idea if the PDF button was optional or $$$. Has anyone else looked for the PDF?
#2. Great work on the tutorials and Tips on the QAL. You are making this fun!
Hi!
I didn’t enable the PDF version. I had to take the print and PDF away a few years ago because people were selling the tutorials as PDF’s. It was pretty rampant, not just one or two.
I’m trying the printing only this time to see how it goes. With a PDF someone will just email the post and not come over to visit the blog. It’s all a balance, people visiting the blog lets me keep the content free for visitors. If they don’t visit then I can’t keep running the site.
I have a secret Pinterest board that I pin projects I want to make in the short term too. You could pin the project to a board so you know where it is then come back and print when you are ready.
Melissa, I am so grateful I found your site. I am intimidated to learn how to quilt as I am a perfectionist. I just want to make each of my sons a nice flannel quilt and potentially when the day comes a baby quilt or two. Your work is so beautiful. Any suggestions how to start?