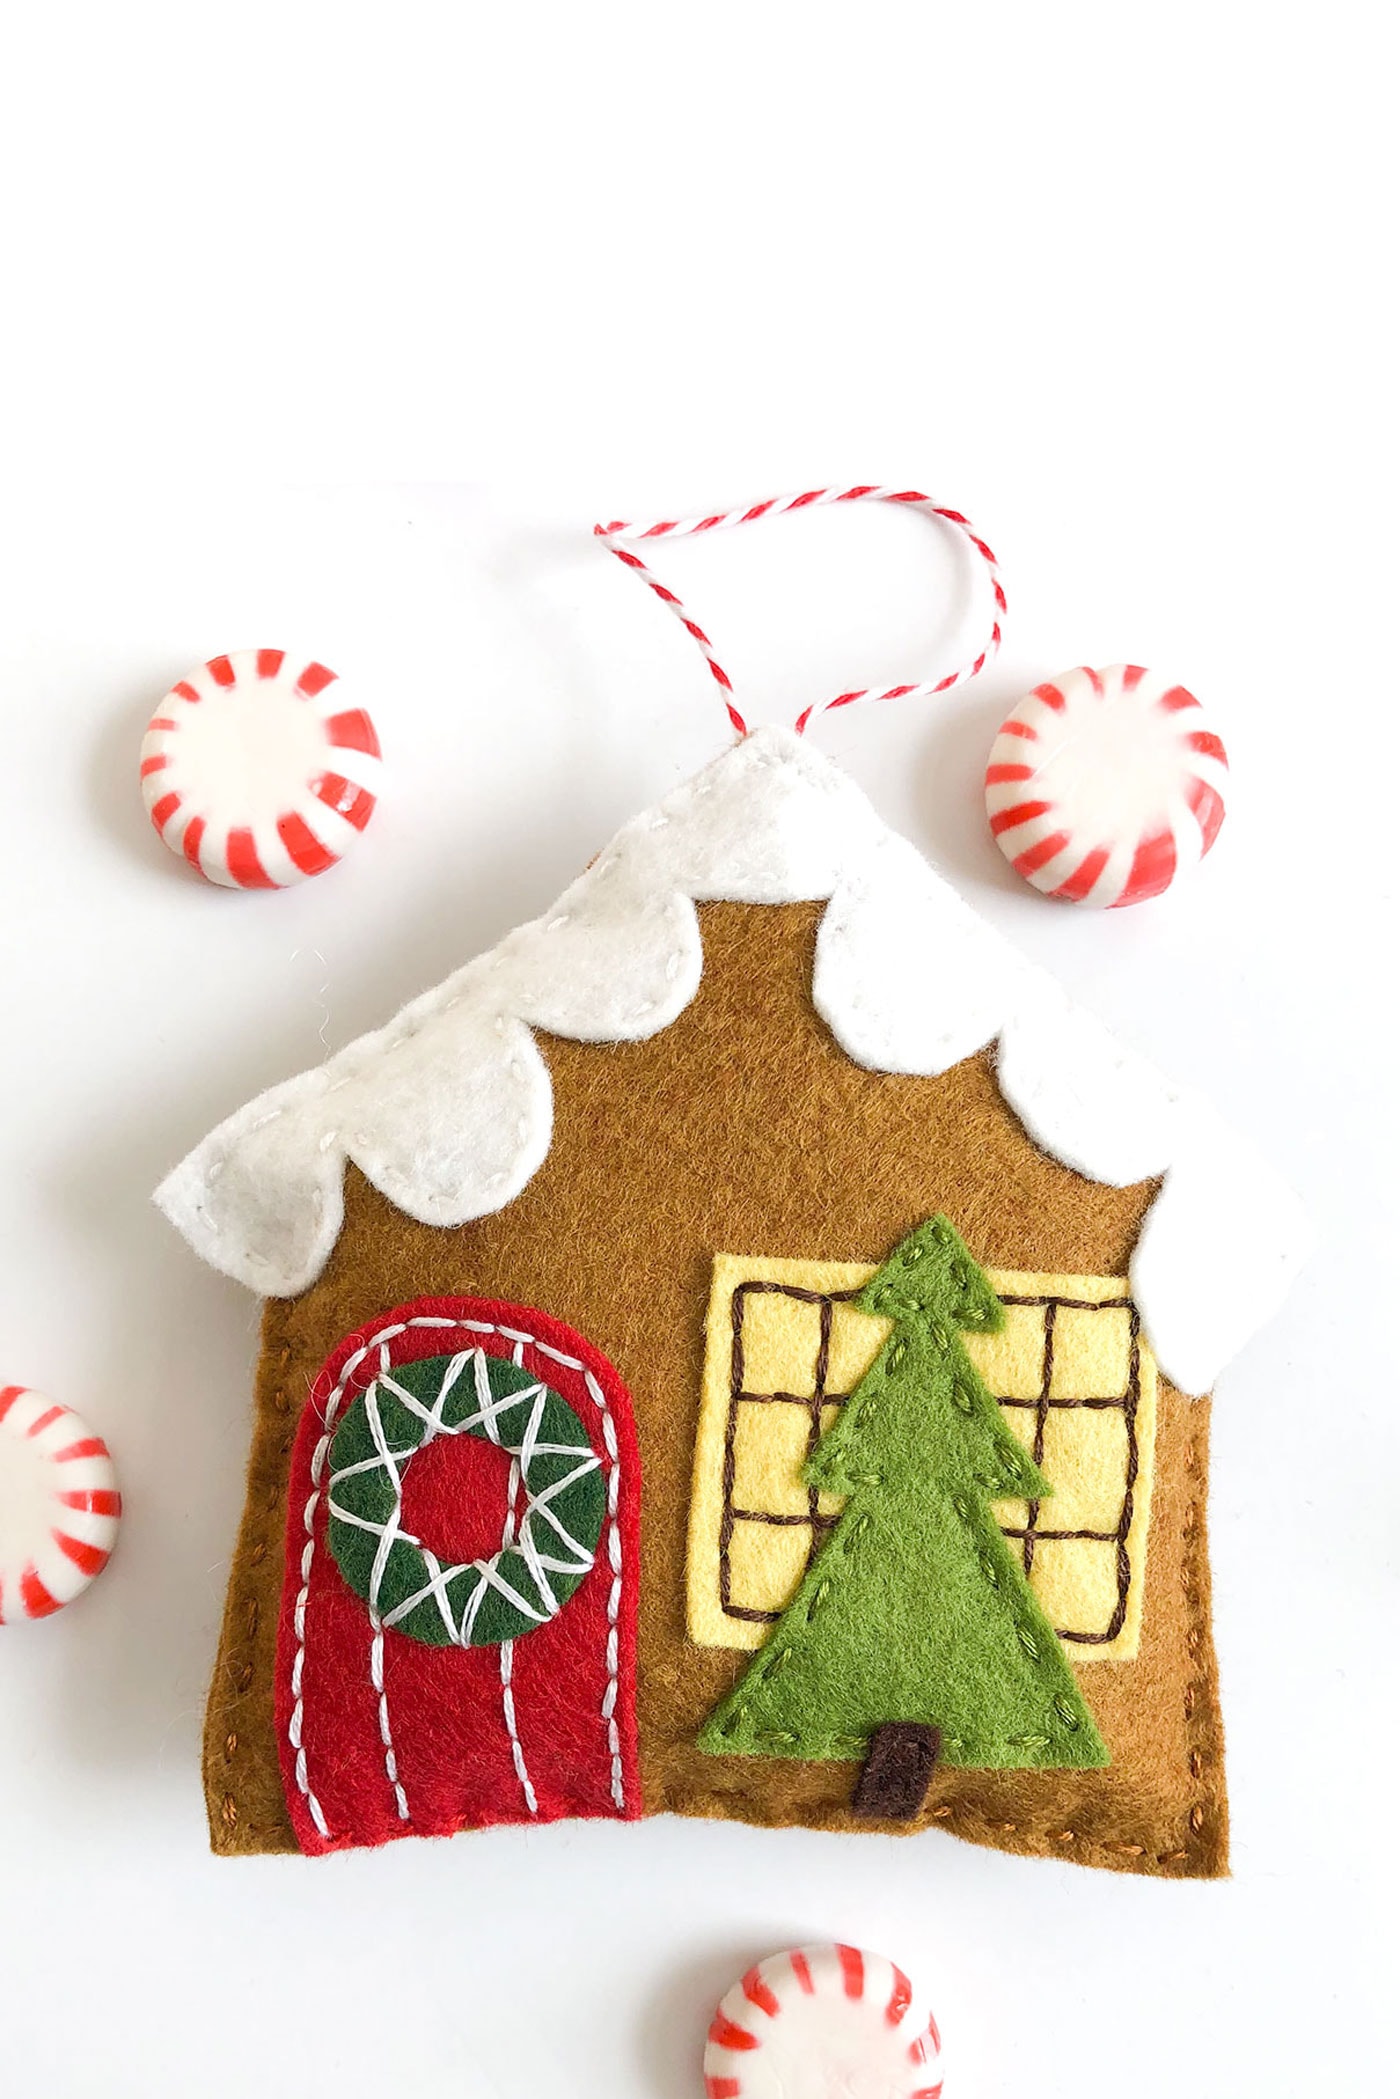
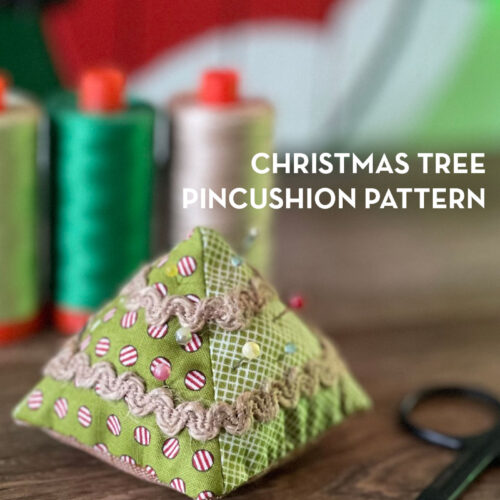
Create a Festive Christmas Tree Pincushion: A Holiday Sewing Pattern
Looking to add a touch of festive charm to your sewing space this holiday season? This adorable Christmas Tree Pincushion sewing pattern is the perfect project! Whether you gift it to a fellow sewist or keep it for yourself, this pincushion pattern will surely bring holiday cheer to every stitch!
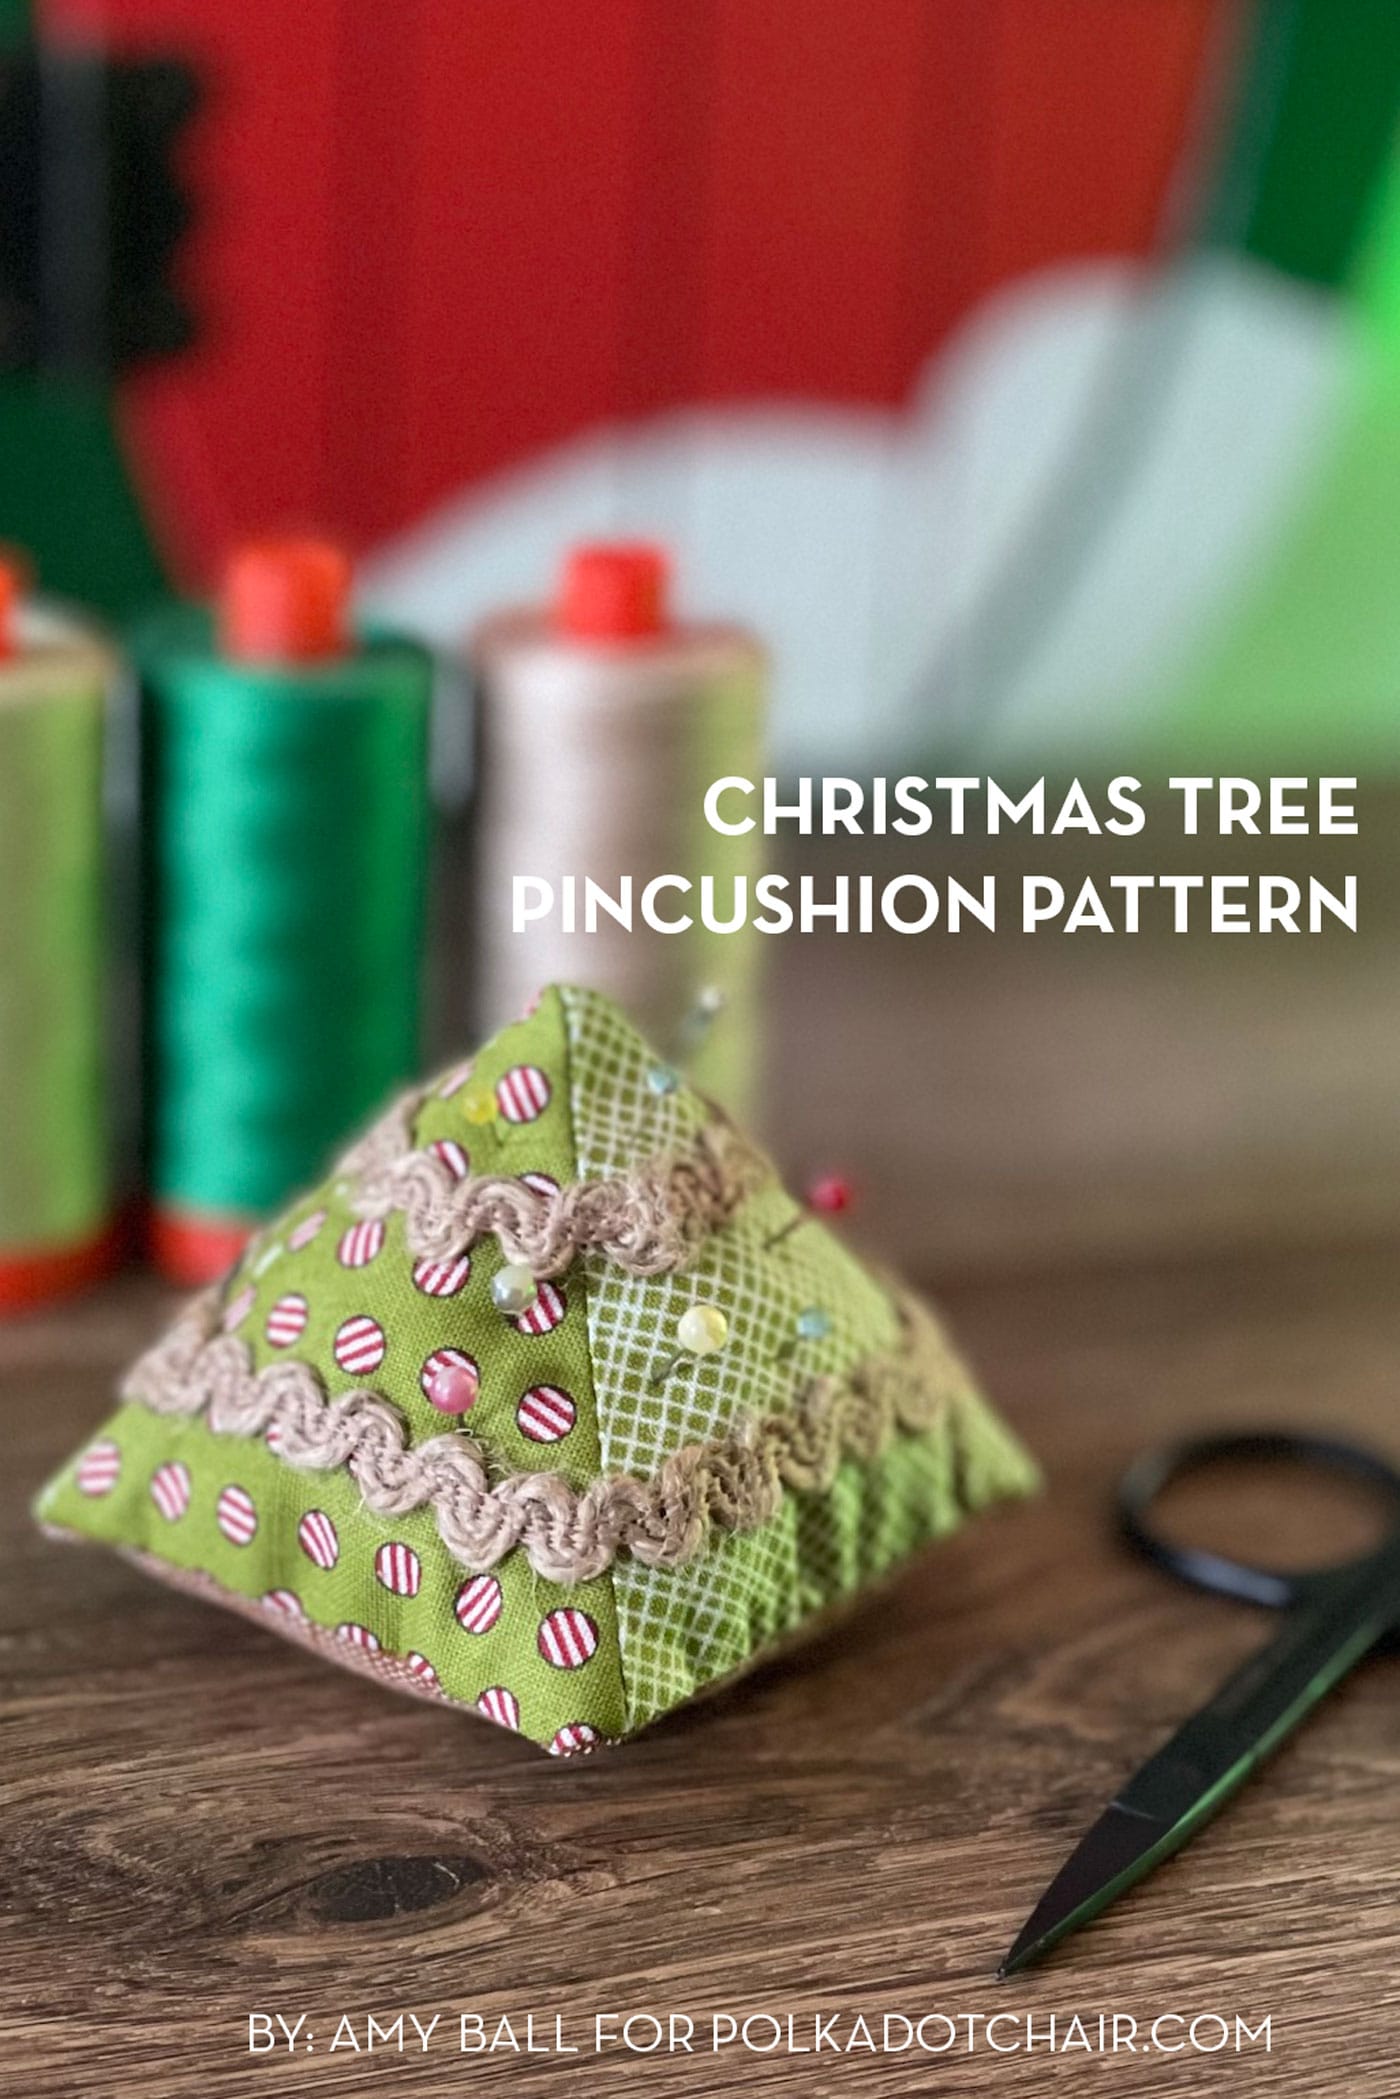
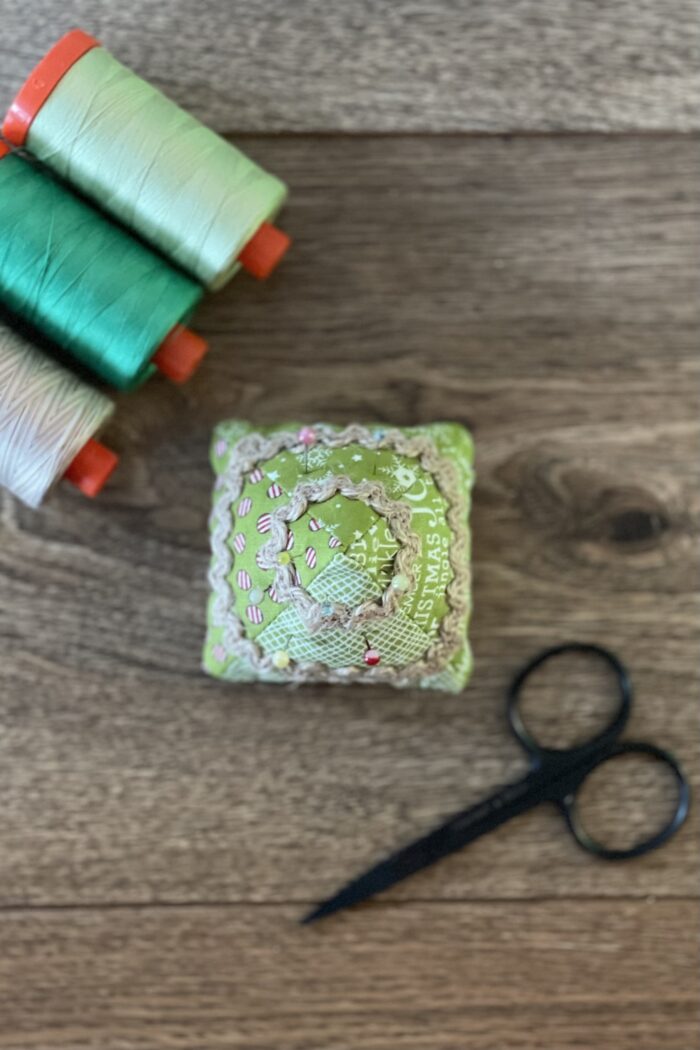
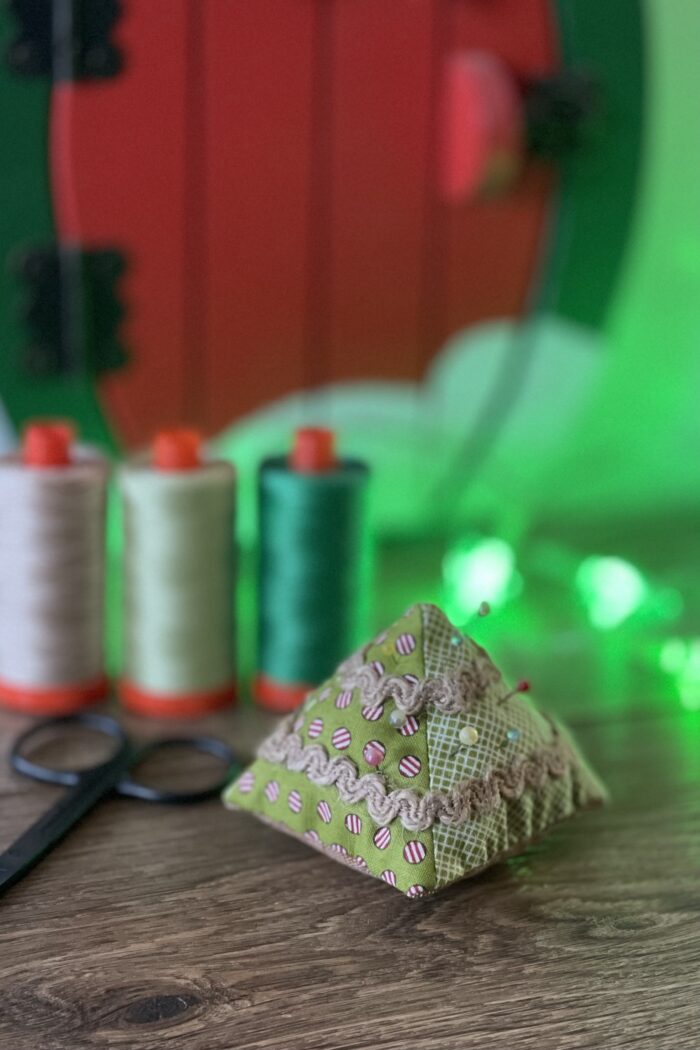
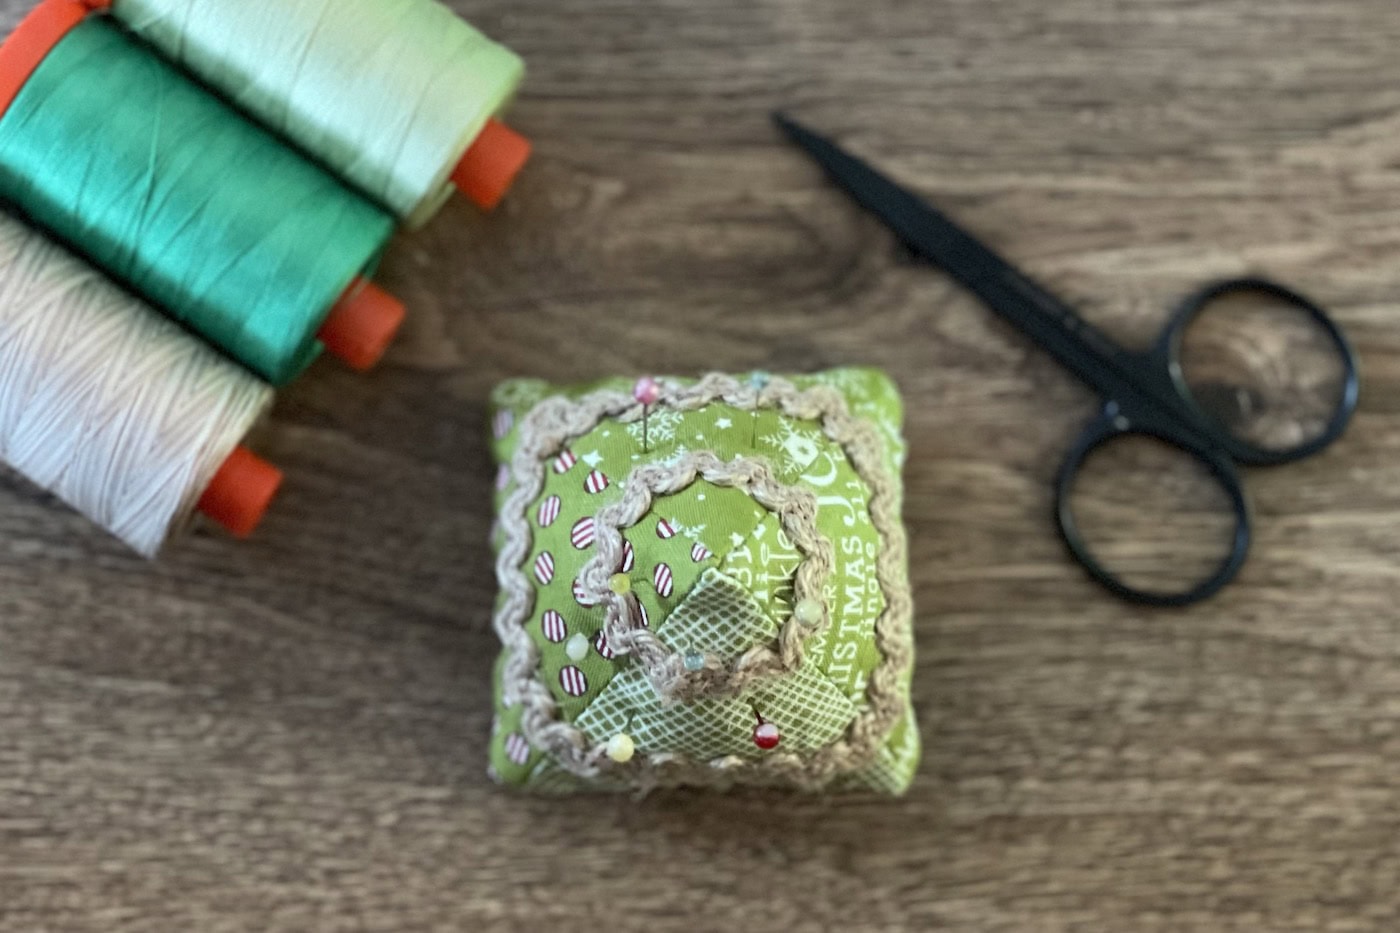
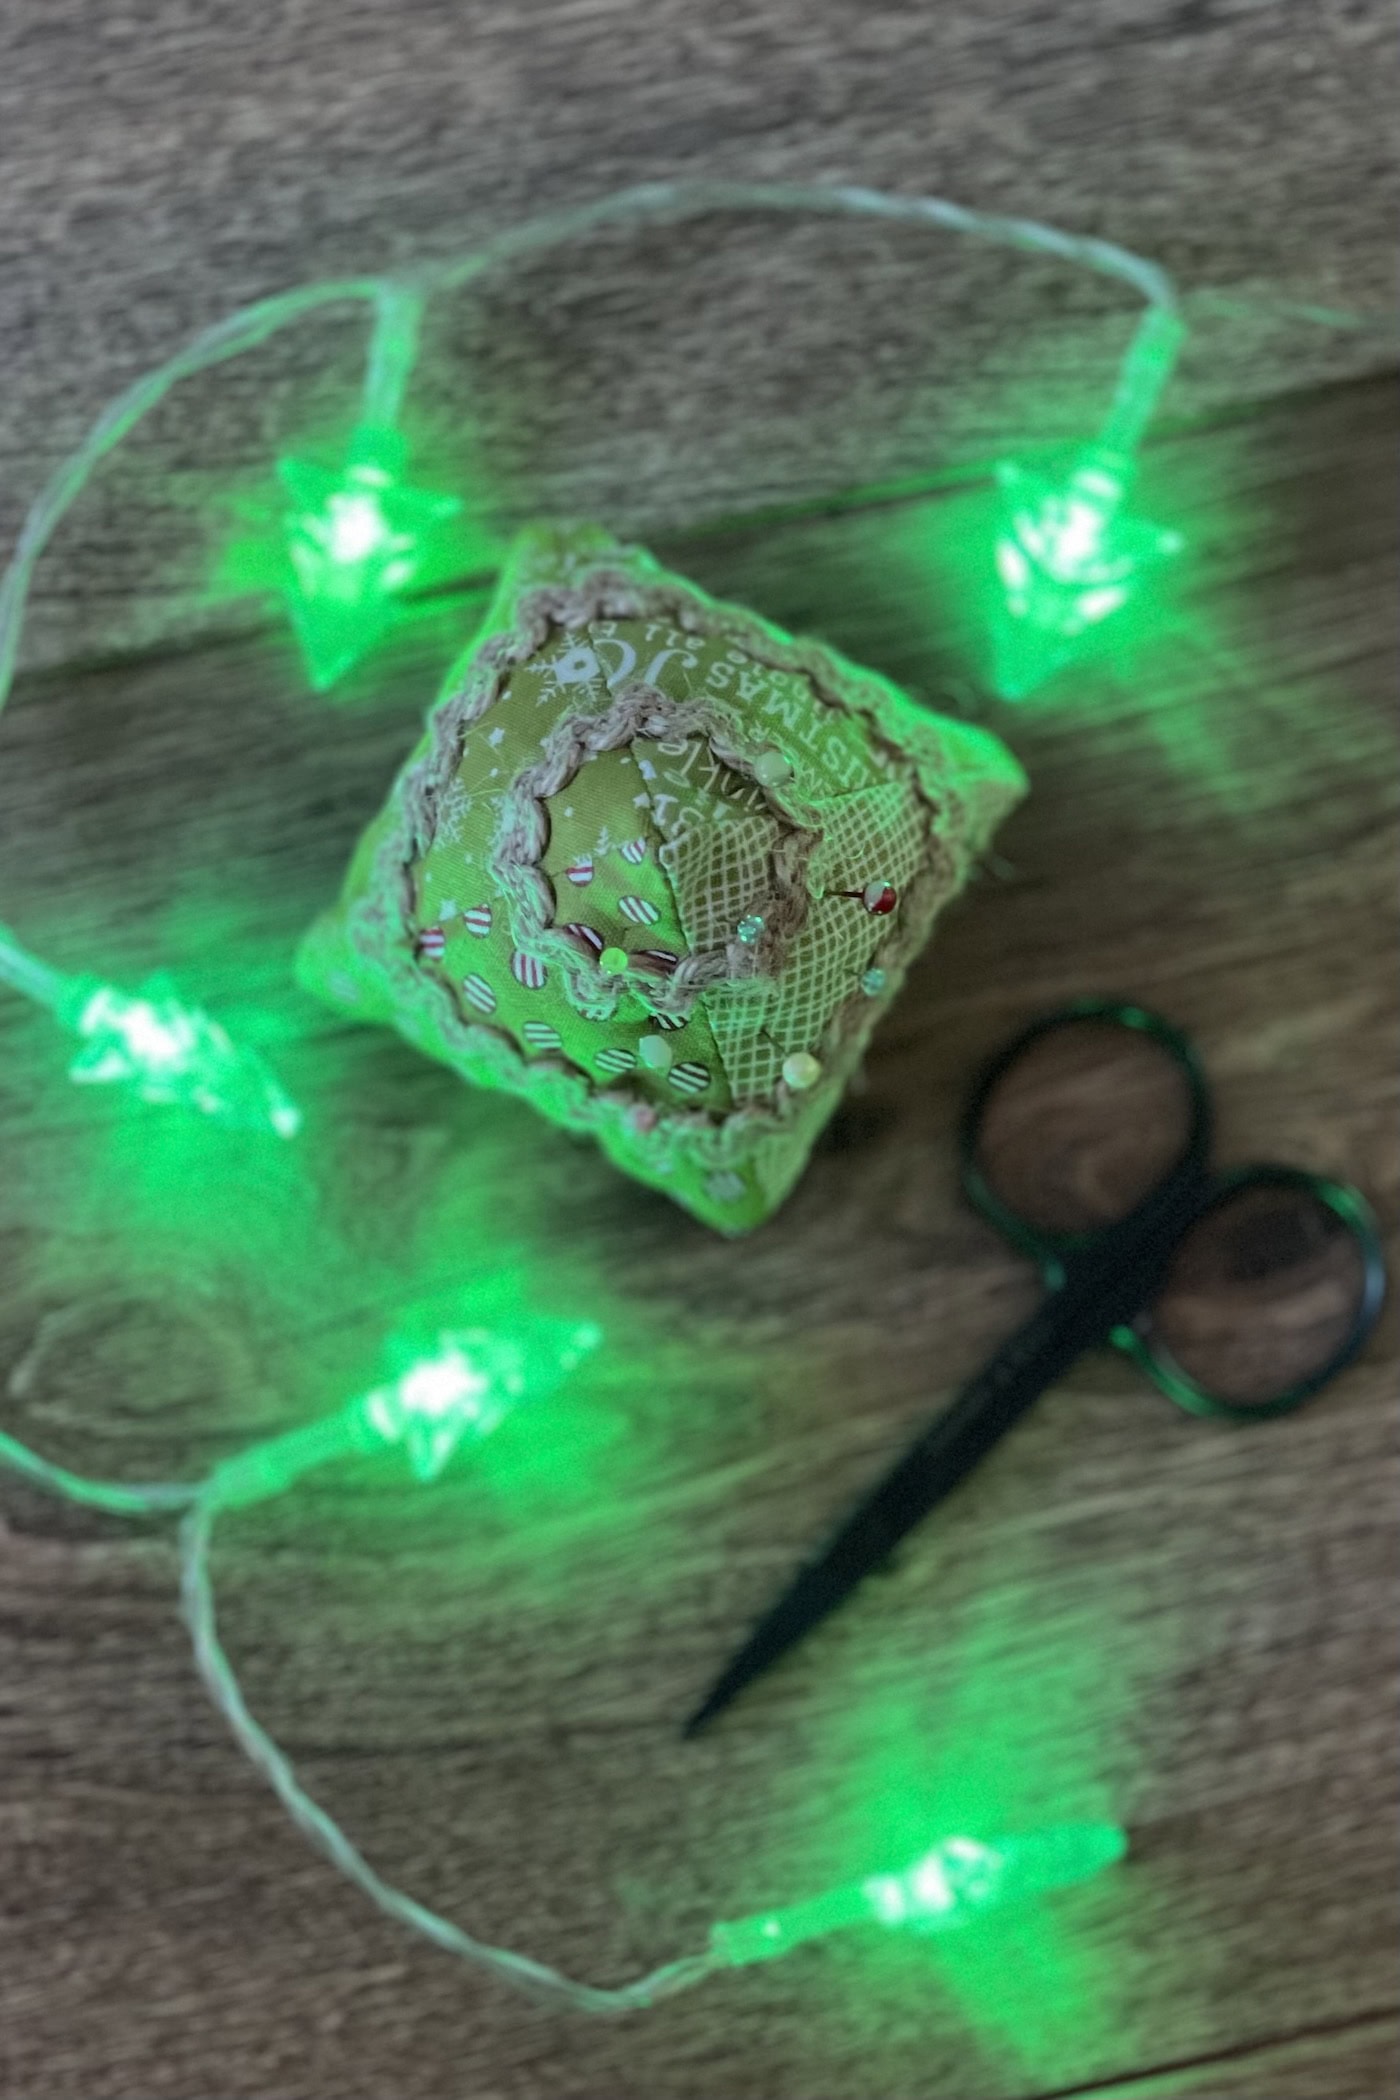
This cute little Christmas Tree pin cushion is a great way to use up festive fabric scraps left over from other Christmas sewing projects.
I’ve used two rows of ricrac to decorate my tree, but you could use lots of different things, like ribbon or mini pompom trim. You could also add other embellishments, like tiny buttons or beads.
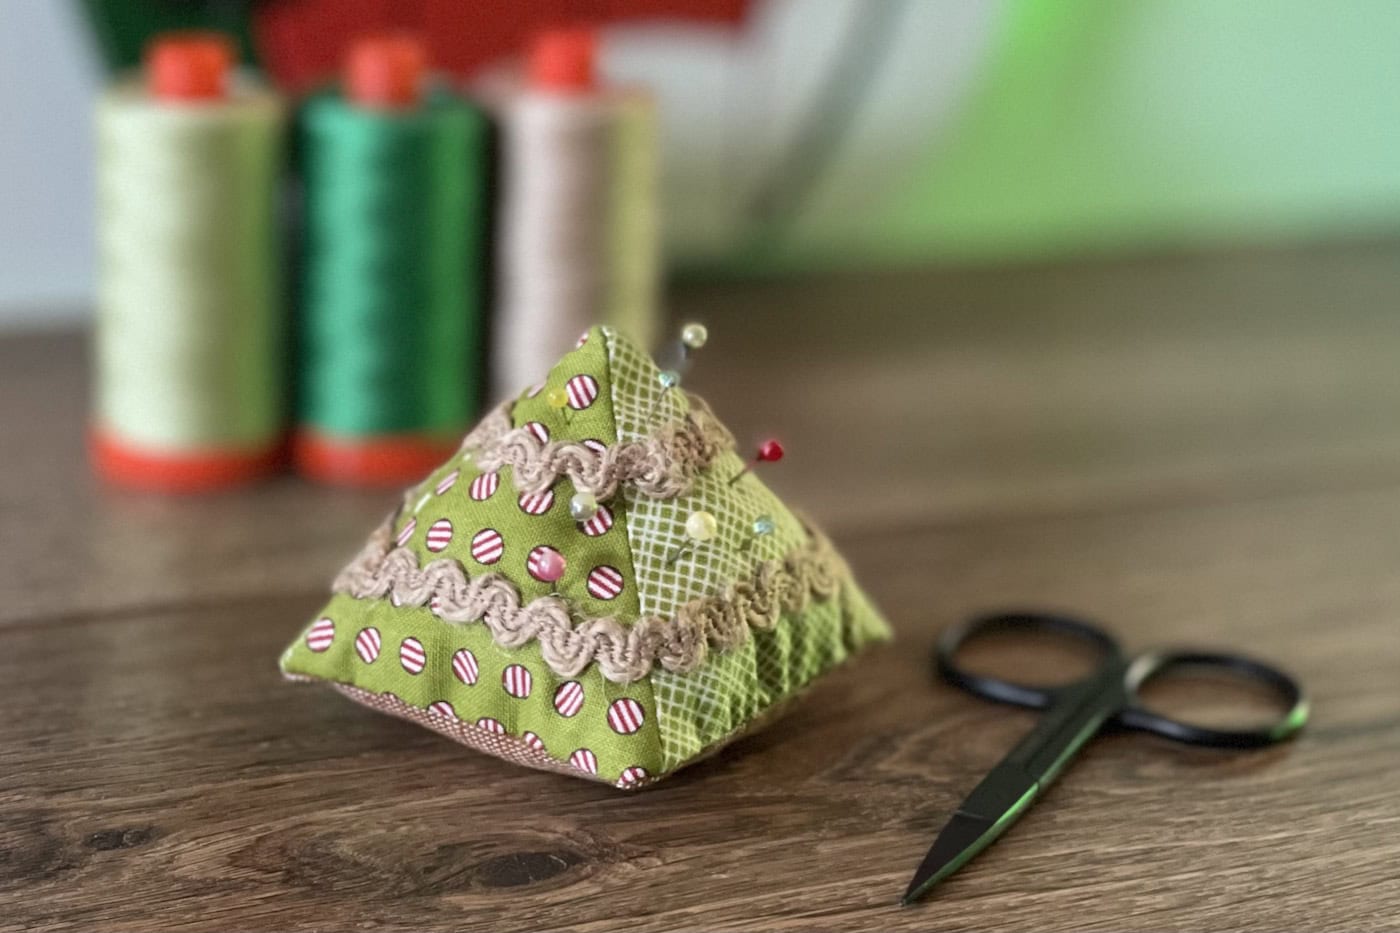
The best part? Your pins become the “ornaments” on the tree! These would be so cute to give as gifts to your quilting friends for Christmas, especially if you add some unique decorative pins!
How to Get the Template
Fill out the form, and we will email you a copy of the template.
You’ll still need to read/print the directions on this blog post to complete your project.
Christmas Tree Pincushion Pattern
Equipment
- quilting ruler
supplies
- 4 pieces Green Fabric 3½” x 14”
- 1 scrap Brown Fabric
- 1-2 packages Trim I used ricrac
- 1 package Stuffing
- 1 Template Fill out the form on this page, and we will email it to you.
Instructions
Cutting:
- From Green Fabric cut 4 triangles using the template.
- From Brown Fabric cut 3” square (1).
- From Trim cut 4½” length (1) and 8½” length (1).
Construction: Use a ¼” seam allowance unless otherwise stated.
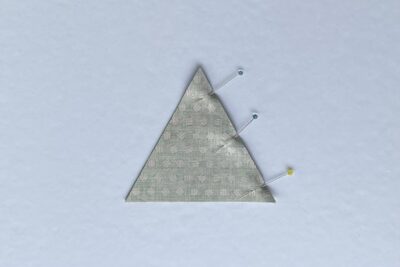
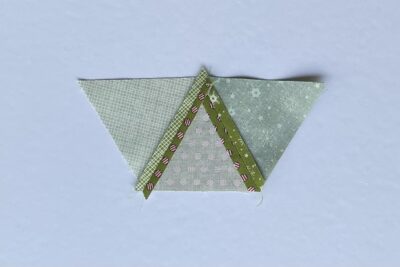
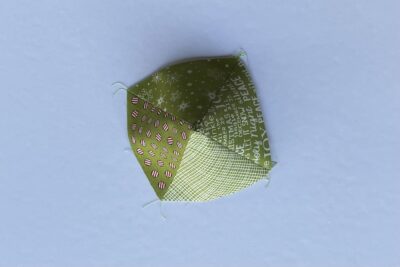
- Take two Green Fabric triangles and pin right sides together.

- Sew, press the seam open, and trim off the little fabric “ears”.
- In the guide photos we will now view the bottom two edges as the “base" and the meeting point of the triangles on the opposite side as the “top”.
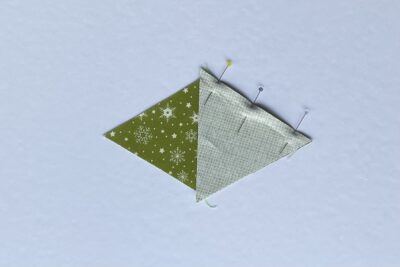
- Add a third triangle, repeating steps 1-2. Position the triangle so you are adding a third point to the “top” and a third long edge to the “base”.
- Press.
- It should look like this.
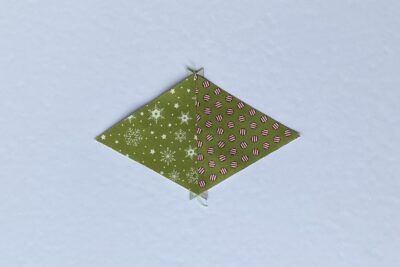
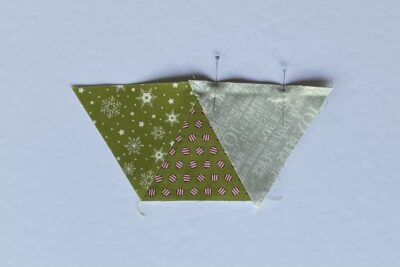
- Add a fourth triangle, repeating steps 1-2. Position the last triangle so you are adding a fourth point to the “top” and a fourth long edge to the “base” creating two-thirds of a circle.
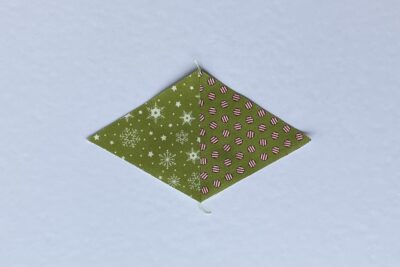
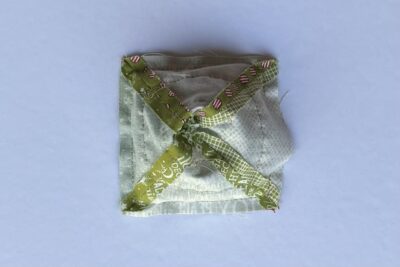
- Join the triangle unit together to make a loop by sewing the two remaining sides together. Back stitch at the “top” to secure the points.
- (additional view)
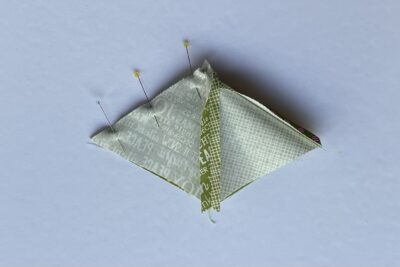
- Turn right side out and you should now have a pyramid shape.
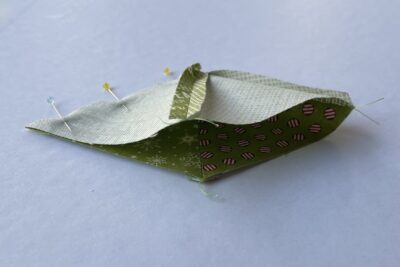
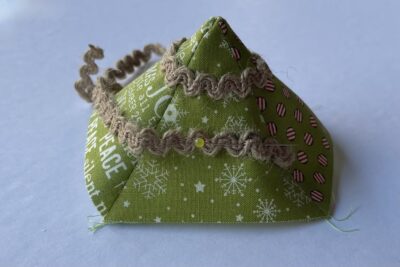
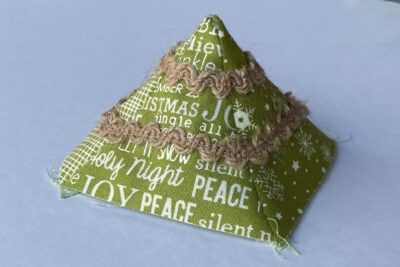
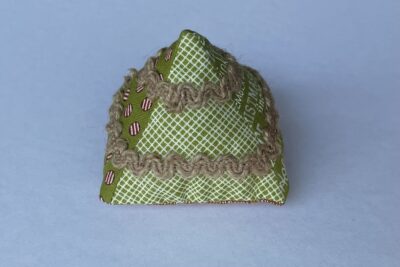
- Add the trim lengths. Use the 4½” length towards the top, about 1” down from the point, and use the 8½” length towards the bottom, about 1” up from the raw edge.
- You can hand or machine sew the trim in place but for the top length I think it’s much easier to hand sew.
- Be careful not to distort the pyramid shape whilst you attach the trim.
- Now turn the pyramid wrong side out.
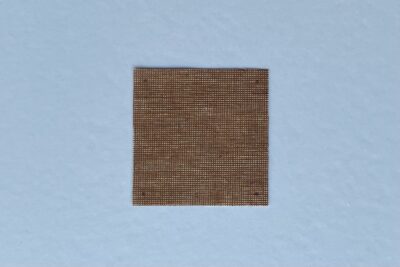
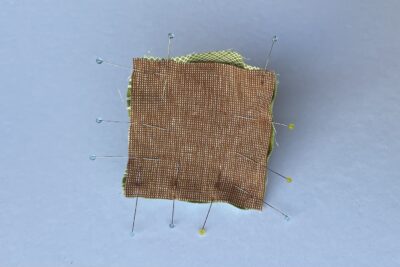
- Take the Brown Fabric square and mark a dot ¼” in from each corner on the wrong side of the fabric.
- Pin the Brown Fabric square to the raw edges of the pyramid, right sides together.
- As you sew stop when you get to the corner dots from step 9, leave the needle down (in the marked dot), lift the machine foot and rotate the fabric ready to sew the next straight edge. Do this for each corner and leave about a 2” gap in the centre of one of the straight edges.
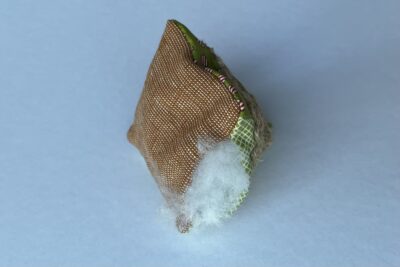
- Trim the corners then turn the pyramid right side out through the gap. Carefully poke put the four corners on the base and the point at the top.
- Fill the pin cushion with stuffing. Make sure to push it all the way to the edges and corners, and evenly distribute the stuffing.
- Hand sew the turn gap closed using a whip stitch.


About the Designer

Amy lives in the north of England with her husband and son. When she’s not sewing and quilting, Amy can usually be found baking or reading. You can find her on Instagram @amyatthegate