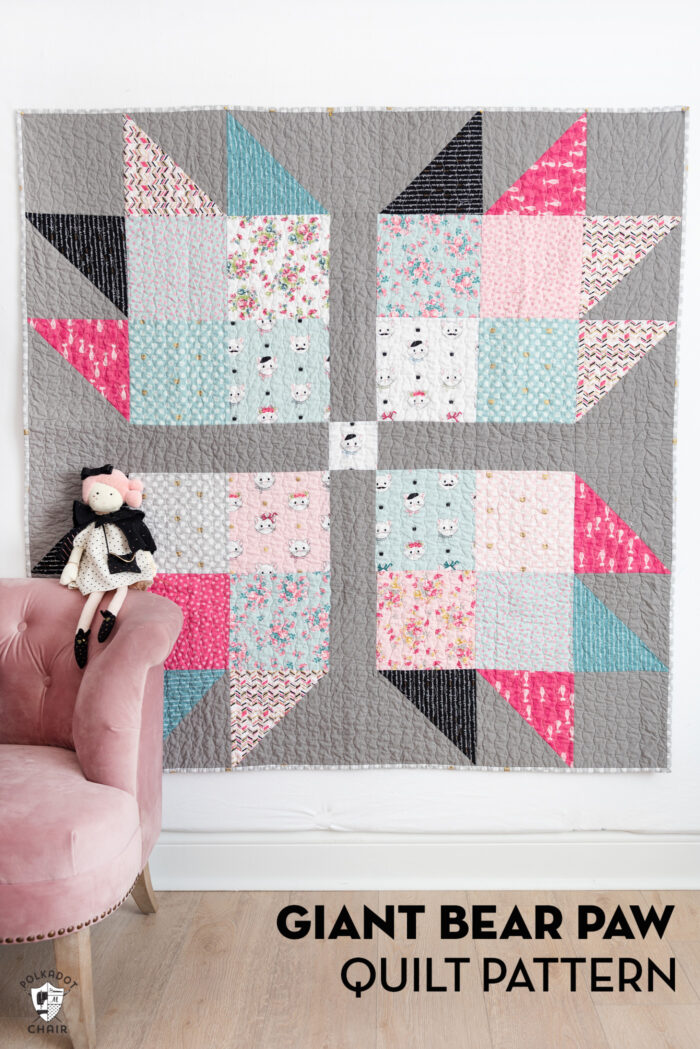
Giant Bear Paw Free Baby Quilt Pattern
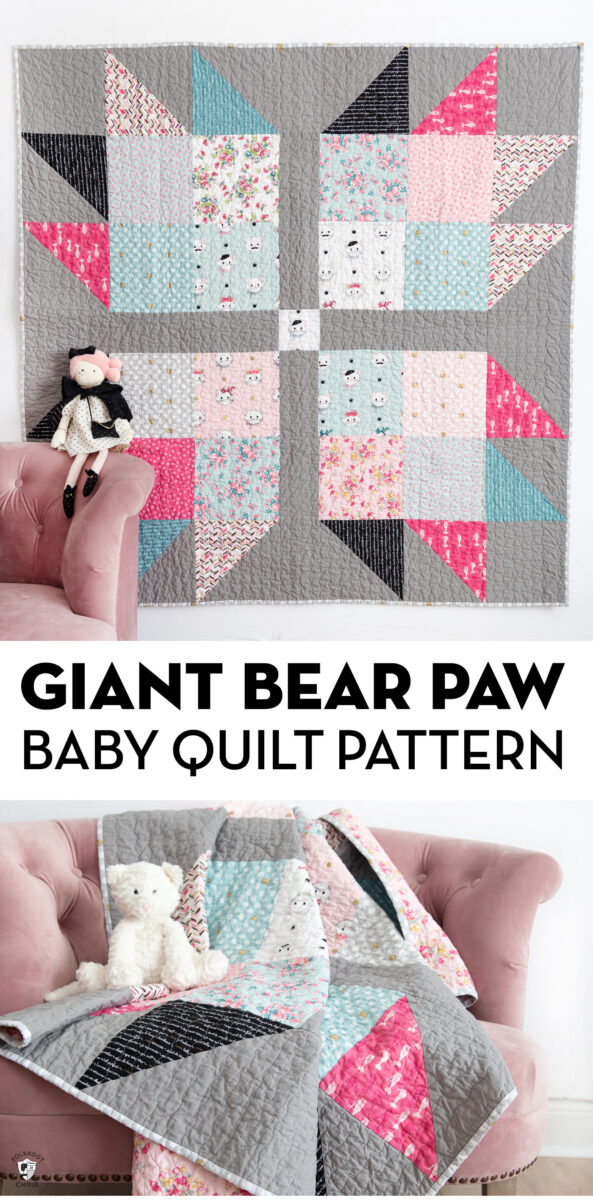
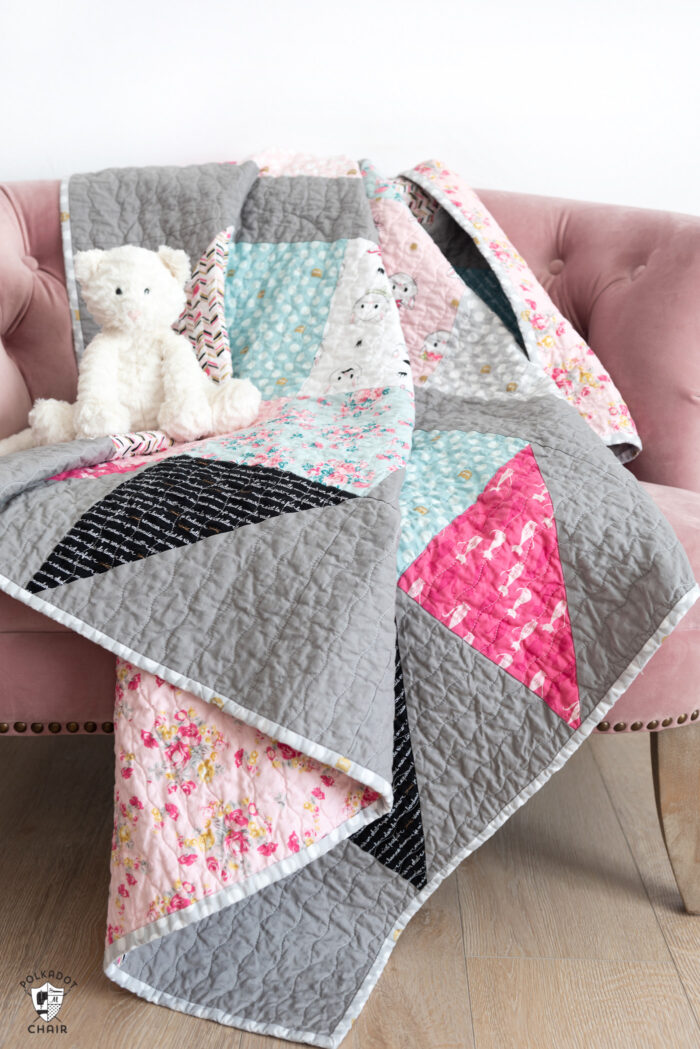
Learn how to make a simple and graphic baby quilt with our free Giant Bear Paw Baby Quilt Pattern. This quilt is precut-friendly and is constructed using 10″ pre-cut squares! This quilt pattern is beginner-friendly.
I love finding “short cut” ways to create projects. One of the best ways to save a bit of time when constructing a quilt is to start with pre-cut fabrics.
Pre-cut fabrics come in a variety of options. The most common are:
- Fat Quater
- 10″ Square
- 5″ Square
- 2 1/2″ x WOF Strips
There are a few others, but those are the most common ones that I see. Note: each manufacturer packages their pre-cut stacks a bit differently, so be sure to check the number of fabric pieces before you start.
Today I’m using 10″ squares of fabric.
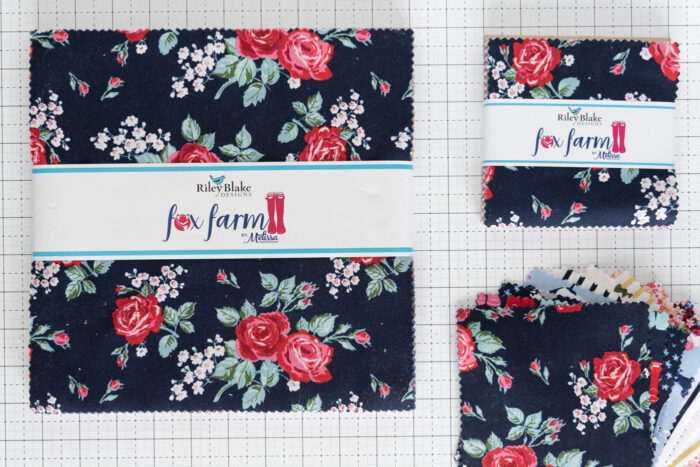
(a 10″ and 5″ stack of fabric from my Fox Farm Collection)
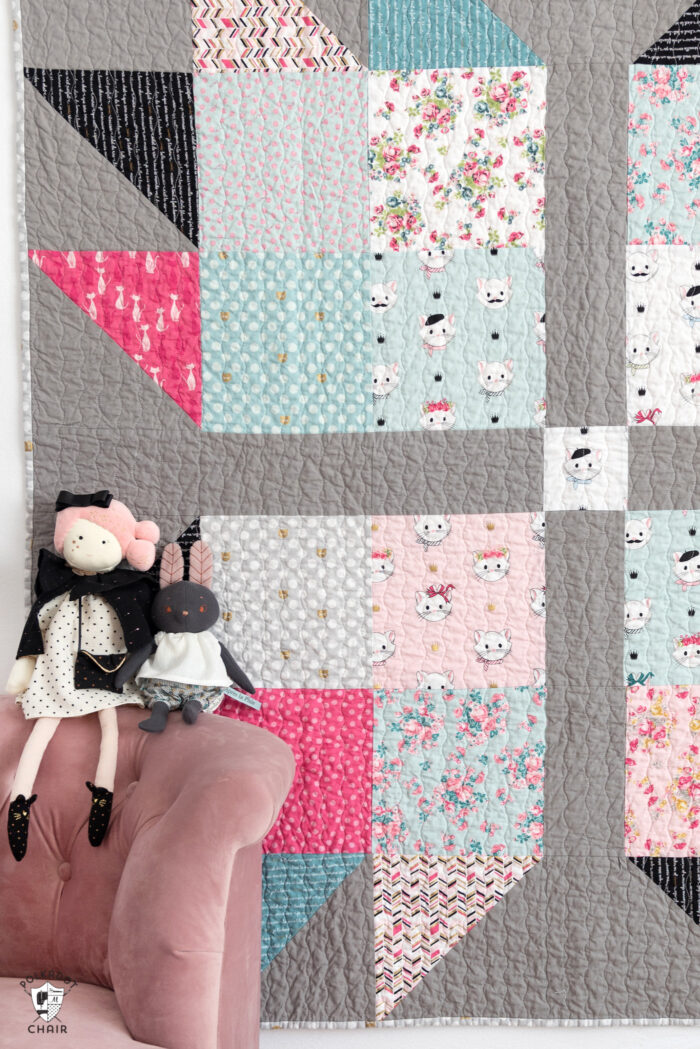
The fabrics I’m using today are from my Chloe & Friends Collection with Riley Blake Designs. It was released in late 2019, but you can still grab it in many shops and online. If you can’t find this fabric, you can use ANY 10″ precut stack of fabric.
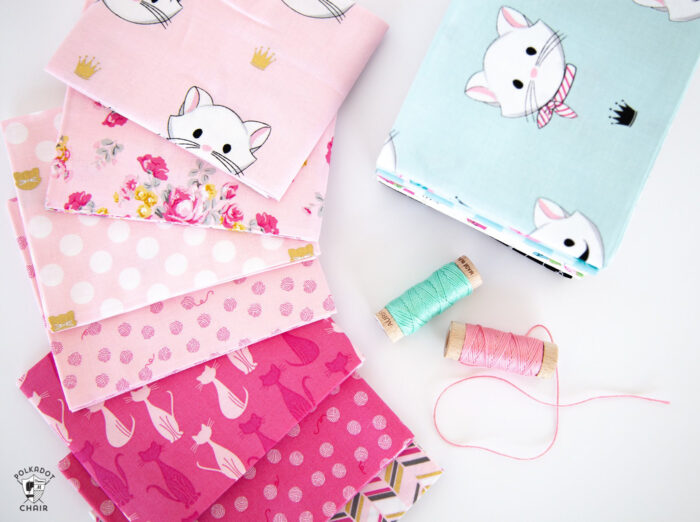
In addition to a stack of PRINTED fabric, you’ll need a pre-cut stack of SOLID fabrics. I used Riley Gray 10″ Stacker by Riley Blake Designs.
About The Baby Quilt Pattern
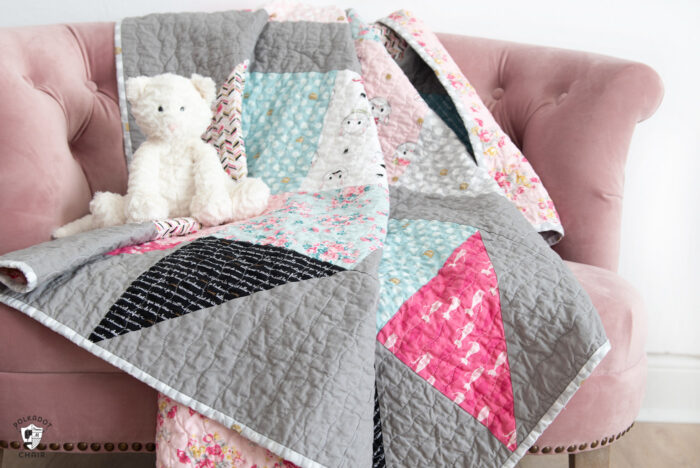
This quilt is pretty much ONE giant bear paw block! I love turning traditional quilt blocks into single block quilts! You can see a pinwheel star baby quilt in this tutorial. I’ve done it a few other times as well; it’s a fun way to put a “spin” on a traditional baby quilt pattern.
It’s also created using ONLY pre-cut fabrics (and binding and backing fabrics)!
- Size: Approximatley 58″ x 58″
- Quilting: I did it on my home machine with a serpentine stitch
- Batting: 100% cotton batting.
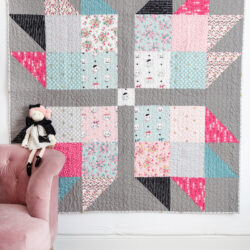
Giant Bear Paw Baby Quilt Pattern
Equipment
supplies
10" x 10” Pre Cut Stack of Print Fabric, You need a total of:
- 24 Squares of Print Fabric I used Chloe & Friends by Riley Blake Designs
10” x 10” Pre Cut Stack of Solid Fabric, You need a total of:
- 18 Squares of Solid Fabric I used Riley Gray
- 3 1/2 Yards Backing
- 1/2 Yard Binding
Instructions
Sort the Squares:
Print Fabric Squares, You Need:
- 16 Print Pieces for the Square Blocks
- 8 Print Pieces for the Half Square Triangle Blocks
- 1 Print Piece for the Center Square
Solid Fabric Squares, You Need:
- 8 Solid Pieces for the Half Square Triangle Blocks
- 6 Solid Pieces for the Sashing
- 4 Solid Pieces for the Corners
Cutting Directions for Solid Squares
- Cut 6 of the Solid Squares to 5” x 9 1/2”, you will end up with 12 pieces that are 5” x 9 1/2”.
- Cut the 4 Solid Fabric Pieces to 9 1/2” x 9 1/2.
Cutting Directions for Print Fabric Squares
- Cut the 16 Print Pieces (for square blocks) to 9 1/2” x 9 1/2”
- Cut the center Print Fabric to 5” x 5”
Step One: Create Half Square Triangles:
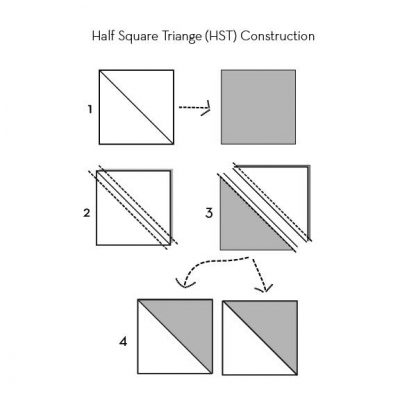
- Using the 8 Print Fabric Squares and the 8 Solid Fabric Squares create 16 Half Square Triangles. Trim and square up to 9 1/2” x 9 1/2”If you need help creating Half Square triangles, check out our step by step tutorial.
Assembly:
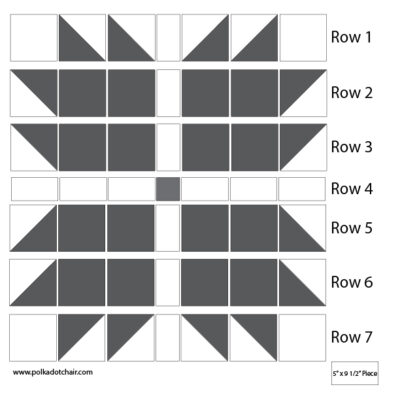
- There are a few different ways to assemble this quilt. My favorite way is to assemble it by rows. Refer to the diagram as necessary. The gray indicates the location of the PRINT fabrics and the white indicates the location of the SOLID fabrics.
- Sew the pieces in row 1 together, followed by rows 2-7.
- Sew Row 1 to Row 2, then Row 2 to Row 3, etc until the quilt top is assembled.
You May Also Like
