How to Use Freezer Paper to Create Custom Stencils
Have you ever had a great idea for a design for a t-shirt or tote bag but didn’t know how to GET the design onto the t-shirt or tote bag? Let me tell you that there is a very simple way to transfer your design onto your item, use Freezer Paper!
Yep, good old Freezer Paper, the stuff that your Grandma used to use to wrap meat back in the day… Turns out that the shiny side of the stuff sticks to things when it’s ironed, and the paper front makes it a breeze to cut into custom shapes.
I love to use Iron-On Vinyl for a lot of craft projects but notice at times it’s not the best medium to use for my project. Sometimes (especially with t-shirts) I want a more “hand-painted” look and freezer paper allows me to do that.
How to Create a Freezer Paper Stencil
What to give it a try? Here’s what you’ll need.
Supplies Needed:
– Freezer Paper
– Fabric Paint, Acrylic Paint with Fabric Medium, or Fabric Spray Paint
– Foam Brush
– A plain T-Shirt or Tote Bag
– Cutting Instrument (see options below)
Option 1 to make your Stencil: a Cricut Machine
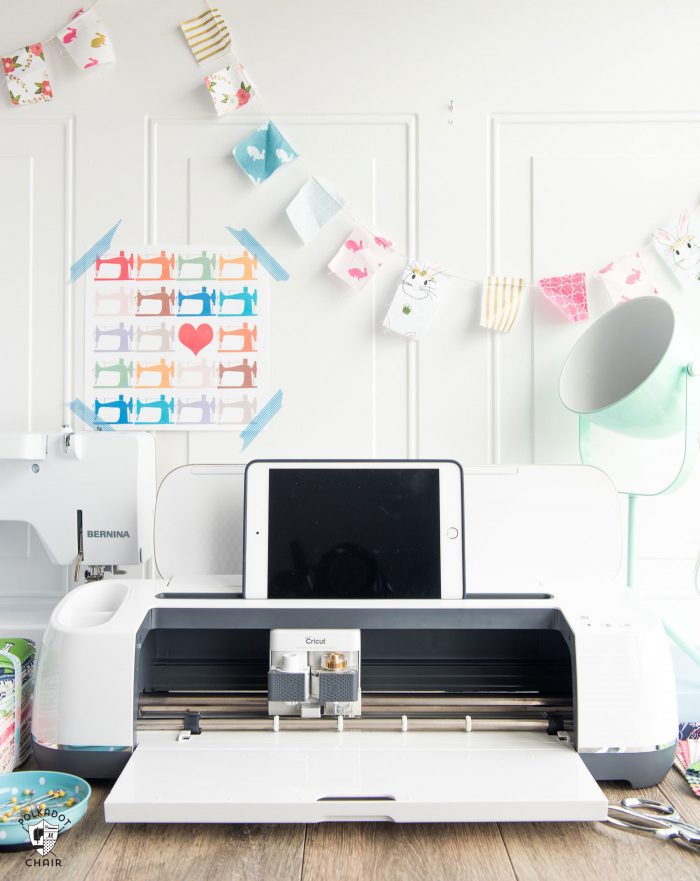
To cut your design on freezer paper, you have a few options. You can purchase one of the many “e” cutting machines on the market now. These things really are “magic.” They hook up to your computer (or, in Cricut’s case, your iPad or Tablet) and cut out what you design electronically. If you’ve been a long-time reader, then you know how much I love my Cricut machine.
Option 2 to Make your Stencil: Craft Knife
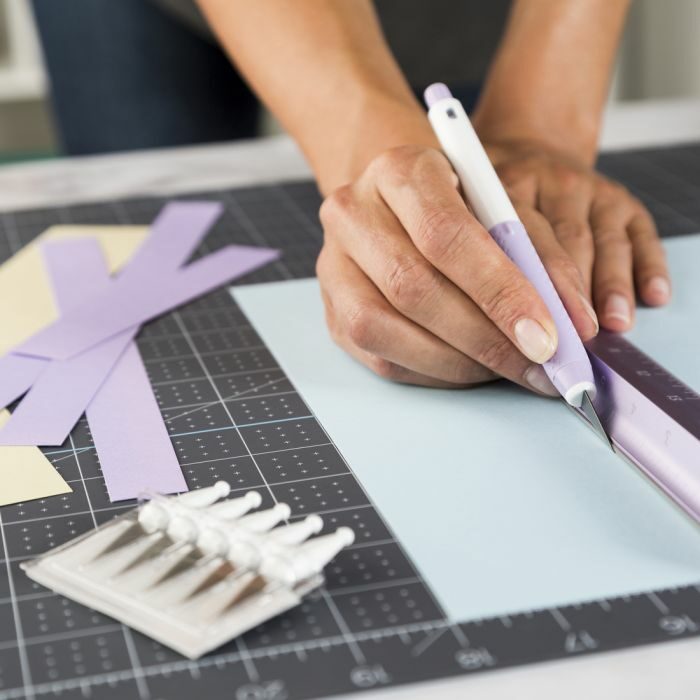
If you don’t have a Cricut machine, you can still make your own freezer paper stencils. Freezer paper is VERY easy to cut with a sharp Craft knife (like the TrueControl Knife pictured above).
I prefer the ones with a comfortable grip. Use it with a cutting mat for best results. If you are cutting out your design with a knife, you can run the freezer paper through your printer (paper side up) and cut it out.
Or, if your design is not on your computer (maybe something you drew), you can trace it onto the freezer paper side and then cut out your design. It may seem intimidating at first to cut out your stencil this way, but a friend of mine has created freezer paper stencils this way for years and swears by it!
How to Use the Stencil
Step One: Iron
After you have cut out your design, iron the freezer paper onto the top of your fabric, shiny side down. The heat of the iron will melt into your fabric (but still peel off easily later; test a swatch first if you’re worried about it).
Next, iron the second piece of freezer paper to the back of your fabric. This will help prevent too much paint from soaking into your fabric.
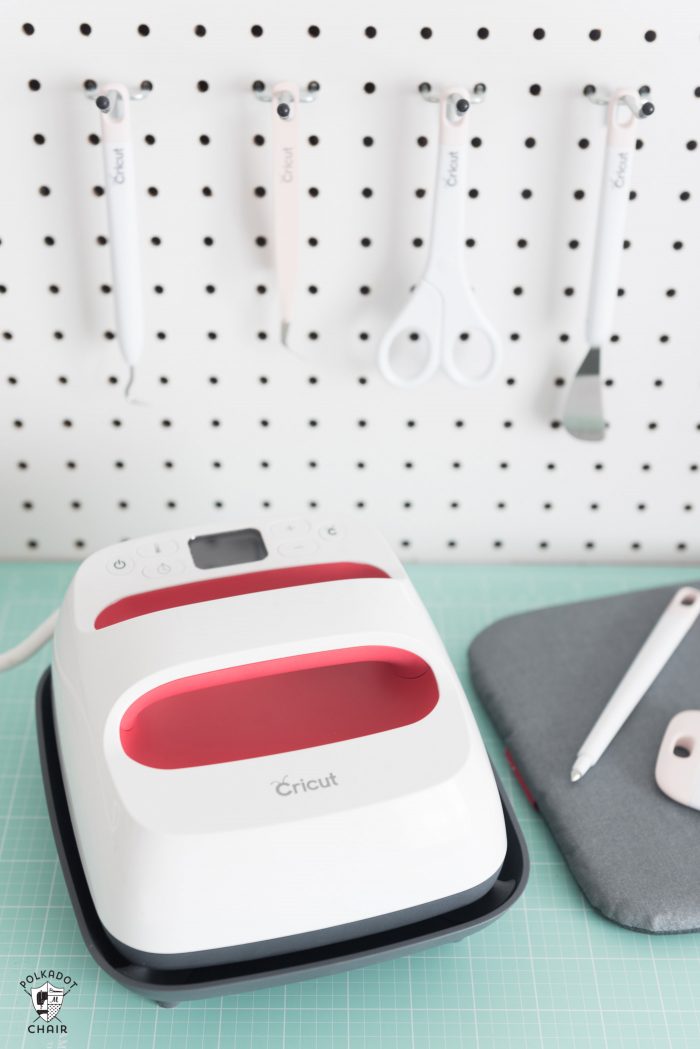
If you have a Cricut EasyPress it would be great for this step as well.
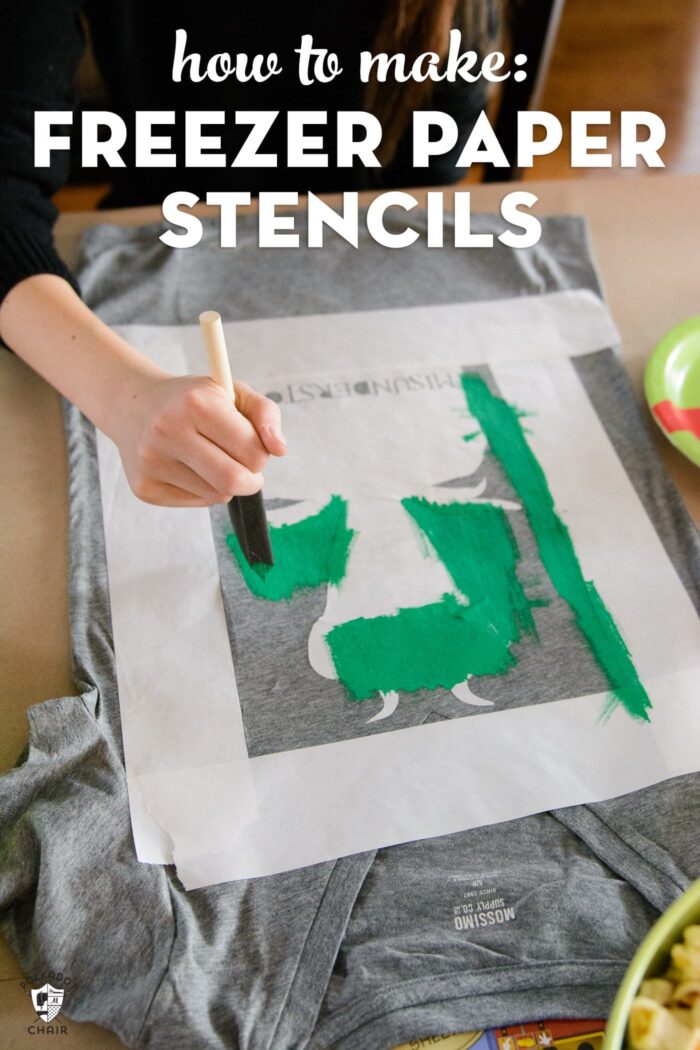
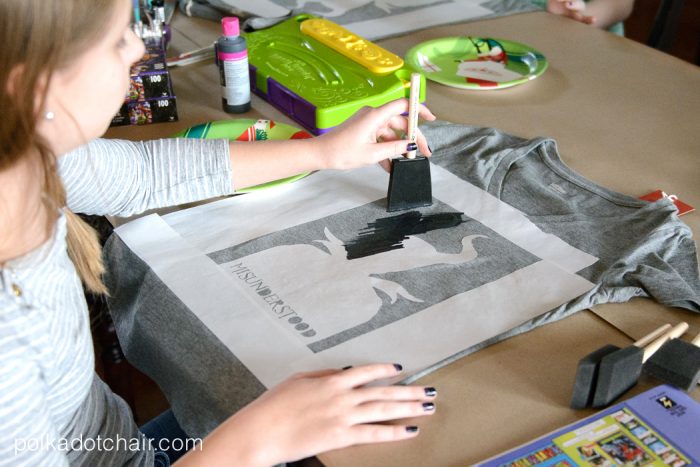
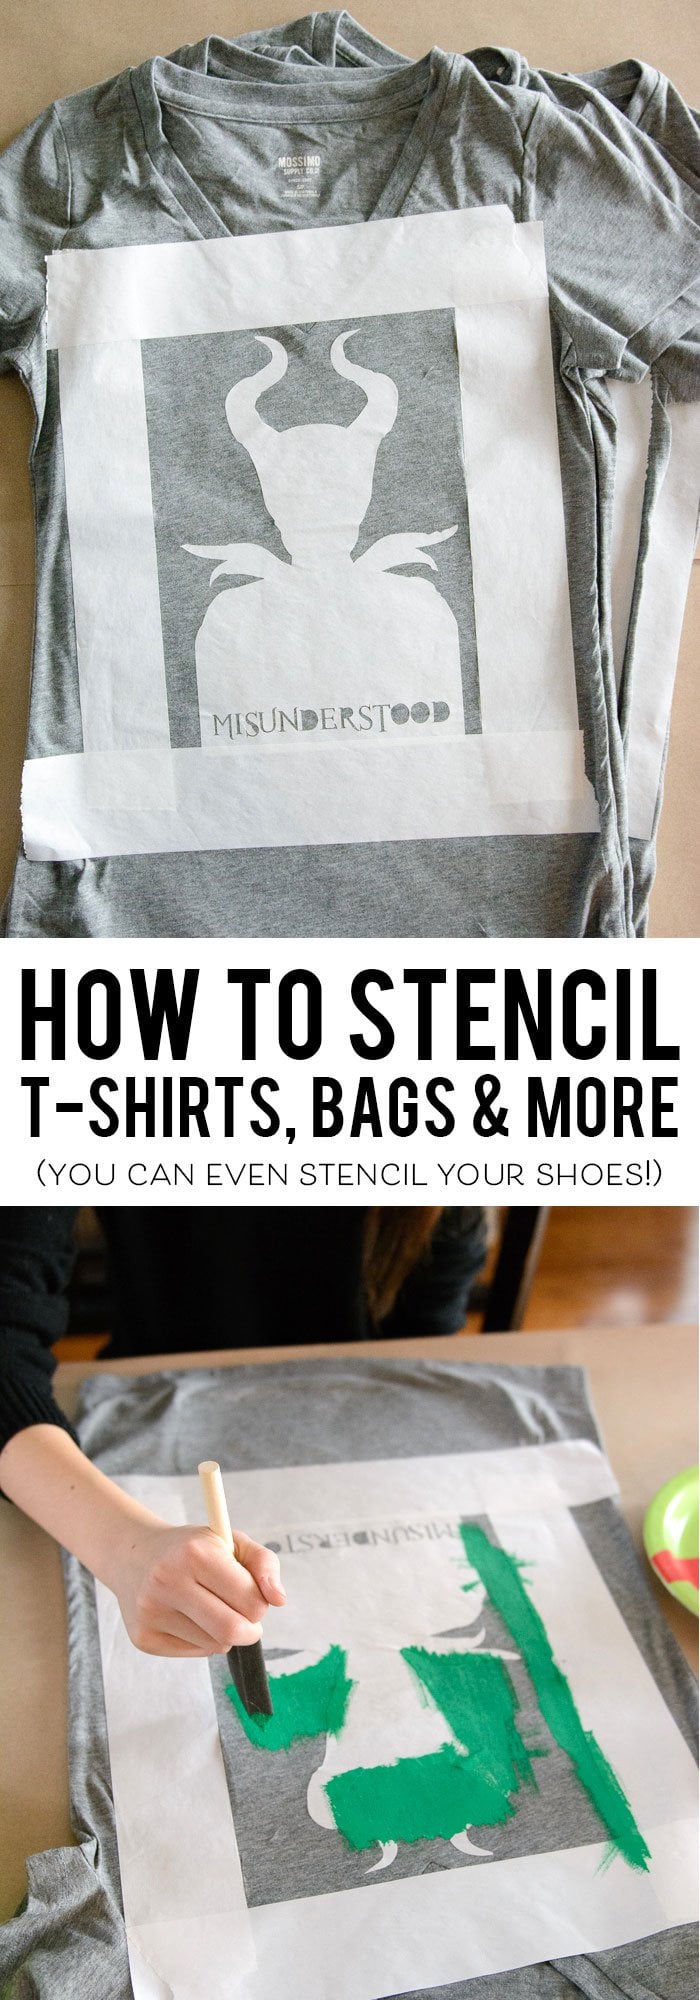
Step Two: Paint
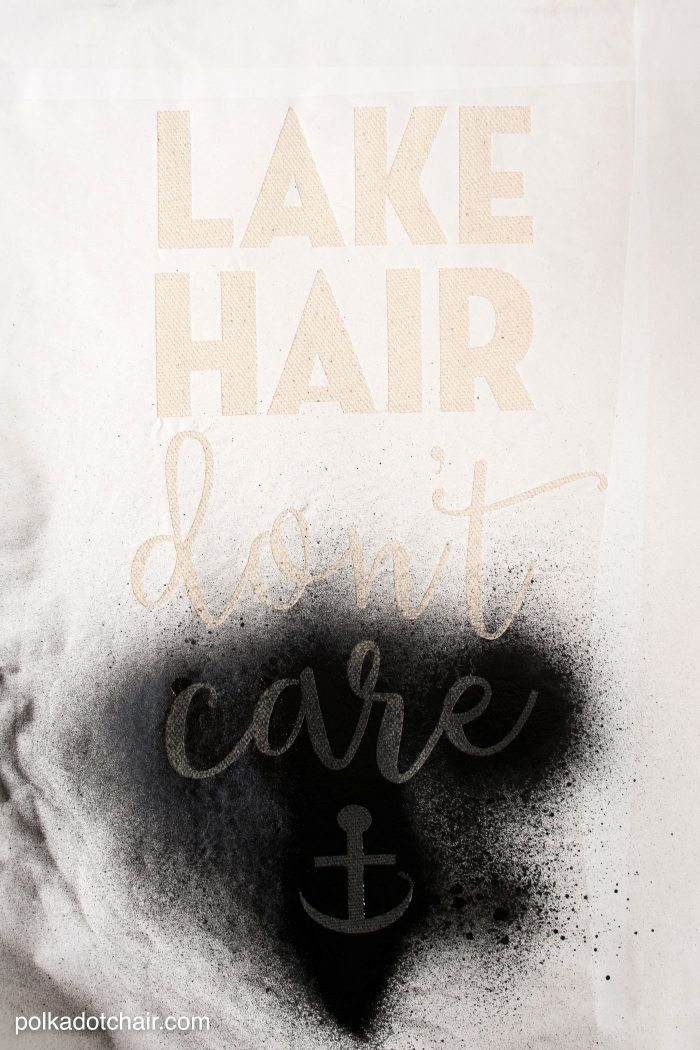
Using fabric paint and a foam brush, dab the paint onto the fabric lightly. Don’t use too much paint. Wait for the paint to dry and check whether a second coat is necessary. Allow the paint to dry completely. If you can’t find Fabric paint in a color you like you can add Fabric Medium to any acrylic paint. You can also use fabric spray paint as well.
I’ve tried this several times and think it’s a great option.
Step Three: Finishing
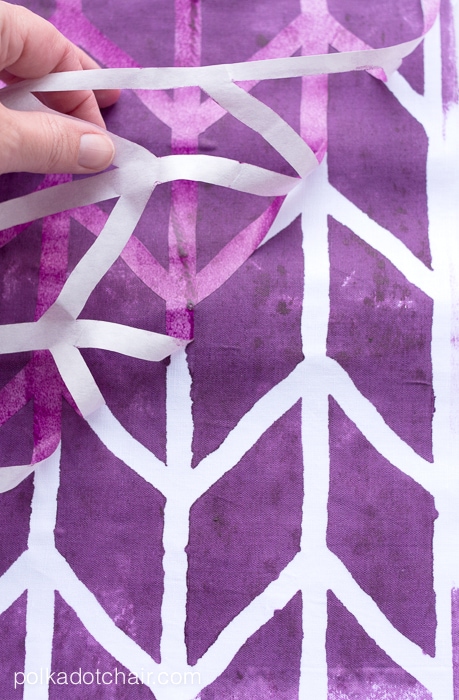
After your paint is dry, remove the freezer paper.
Use a dry iron to set the paint. That’s it—you’re done! If you used good-quality fabric paint, you should be able to wash and dry your item as usual.
Freezer Paper Stencil Project Ideas
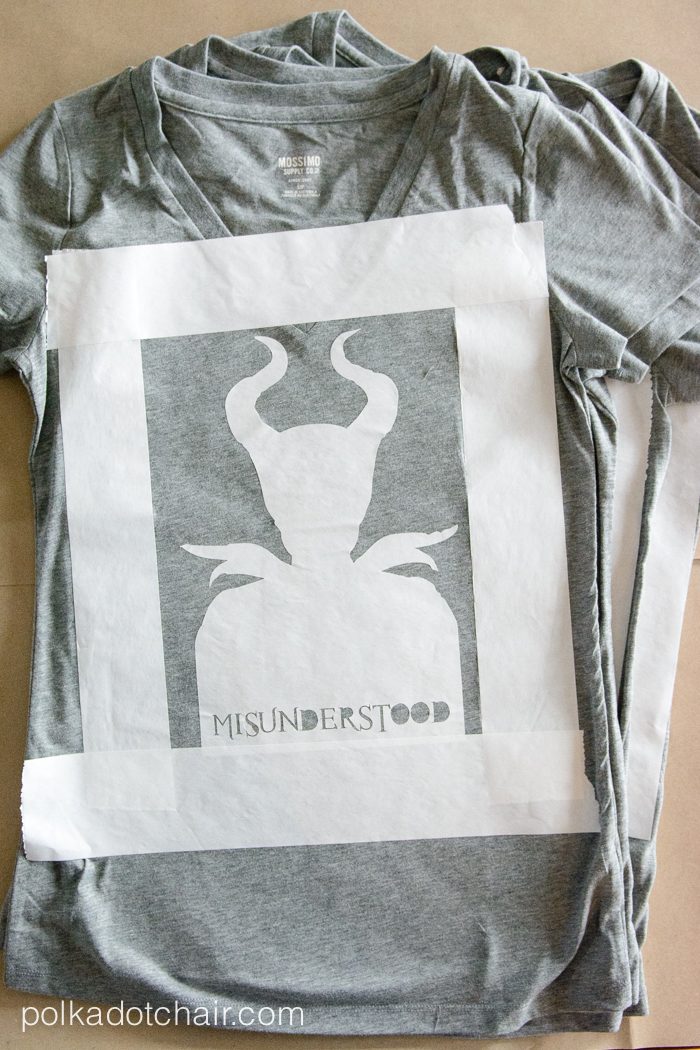
I love to use freezer paper to make t-shirts for holidays or Birthday Parties. A few years ago I traced a silhouette of Maleficent to make t-shirts for a Disney Villians party we were hosting.
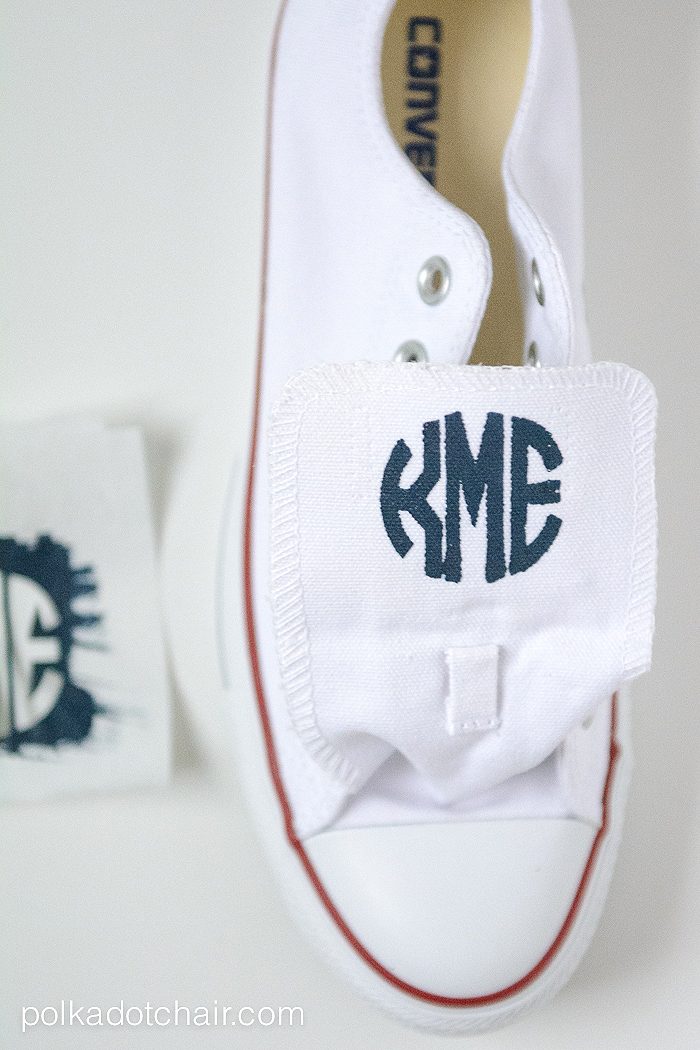
My daughter and I have even used it to add monograms to the tongues of her Converse Tennis Shoes.
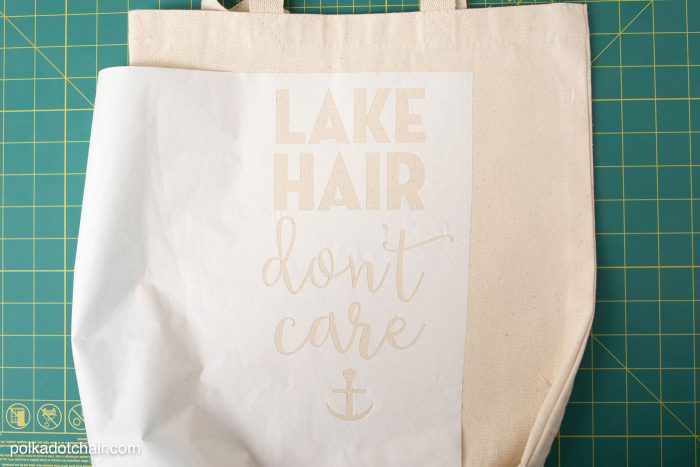
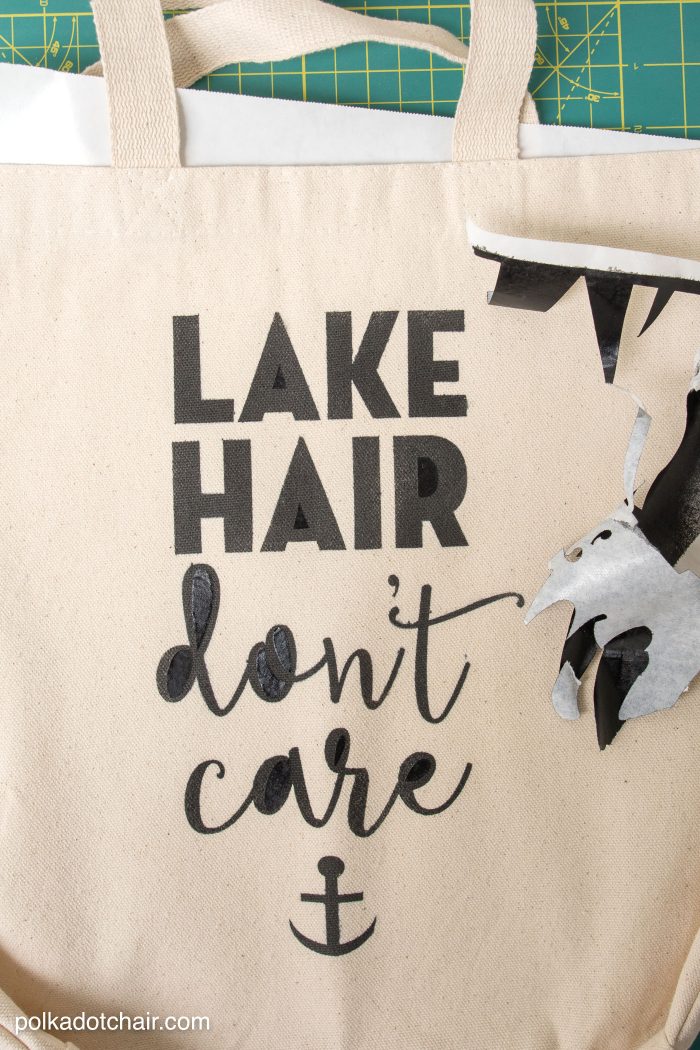
You can use the same technique to make tote bags, canvas gift bags, onesies, and more! The possibilities are endless!
More Freezer Paper Stencil Projects to Try:
Stenciled Fabric Infinity Scarf
You Are my Sunshine Burlap Pillow Sleeve

are you going to be doing the calendar again this year. i really enjoyed it and it did help keep me on track and finishing projects.
Hi,
I,m planning on making wood signs with my mom as a christmas craft this year. Could the freezer paper method be used on wood?
If not do you have any recommendations?
Thanks!
Yes, I’ve done it before. Just make sure your paint is fully dry first.
Really looking forward to trying stencils. Can you show a picture of the paint you use. Acrylic Paint with Fabric Medium,does it say that in the bottle of fabric paint? is it something different you buy to add to the fabric paint? Have been wanting to do this for quite some time.
Love the idea of stencils done with freezer paper. I’ll definitely be doing this.
I have been looking for ways to engage my granddaughter in art projects. This seems to be good for that purpose. She draws, I sew and quilt so, I will propose she take one of her drawings and we can transfer it to a shirt or bag.
Love this, thank you!
Now I know exactly what to do.
Question:
Ironing after paint dries….
Do I cover the paint with the paper so it doesn’t get on the iron?
And, can I find the fabric medium in the paint section of my craft store?
One last Q,
How much acrylic paint to medium?
Blessings!
On the bottle of fabric medium it tells you what the ratio of paint to medium is. It’s usually 1 to 1. You can get it at the craft store where acrylic paint is sold. If you’re worried about paint transfer you can use a bit of parchment paper before you iron.
Please add me to your email list and send me ALL your ideas— I love them!