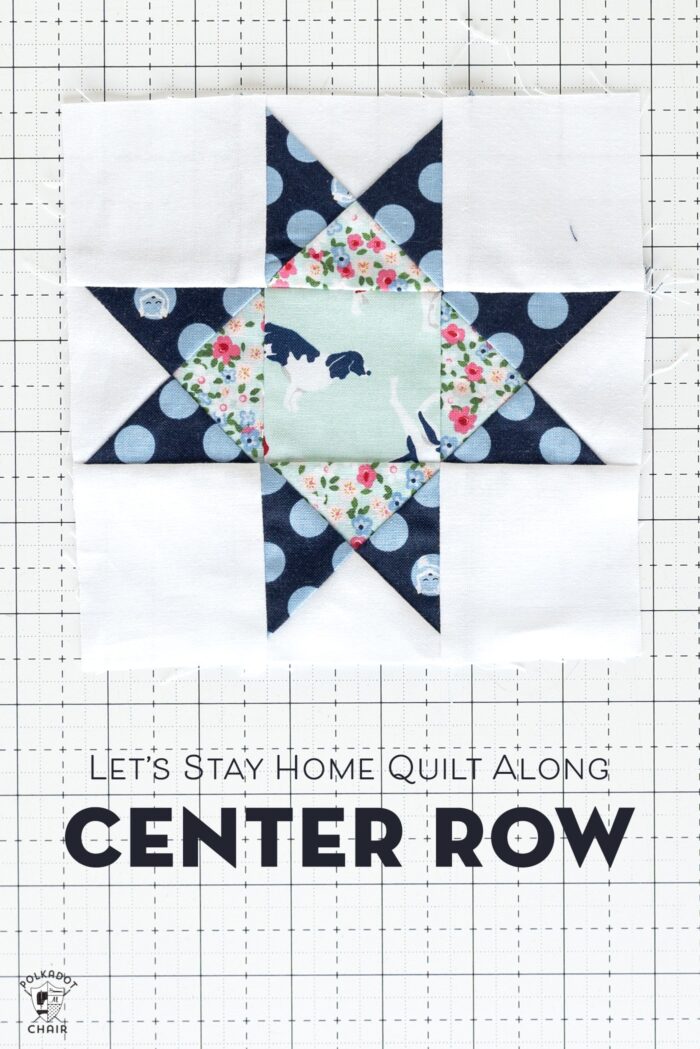
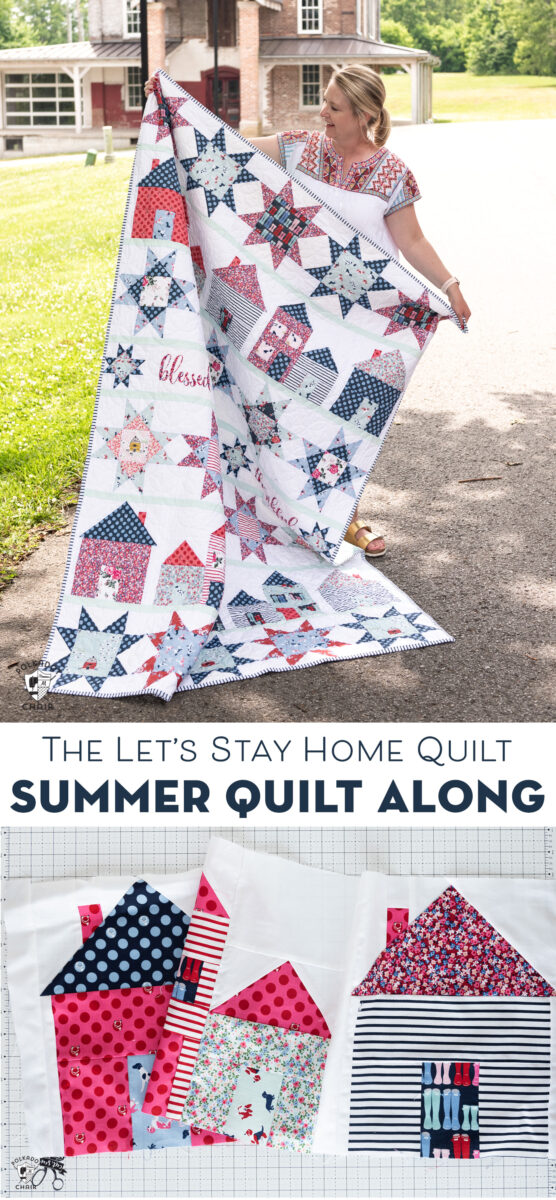
Center Row Layout; Let’s Stay Home Quilt Along
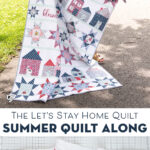
Welcome back to our Summer Quilt Along! This is week 5 and we are working on row 4 which is also the center row of the quilt.
Before we jump into this weeks blocks, a bit of housekeeping.
You can see all of the blog posts as of this date for the Quilt Along here:
- Kick-Off:
- Week 1: Sawtooth Star Blocks
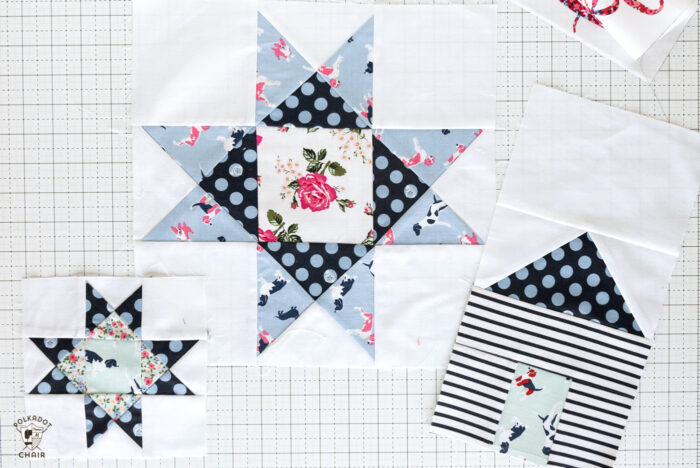
- Week 2: Ohio Star Blocks
- Week 3: House Blocks
- Center Row
- Wrap Up! & Finishing Instructions
For this Quilt Along you need a pattern. The videos are free to watch but to make the quilt you do need to buy a pattern.
You can get one in the shop. Here is the listing for a PDF pattern and HERE is the listing for a printed pattern.

Now that we’ve covered making the Sawtooth Star Rows, the House Rows and the Ohio Star Block rows, it’s time to move onto making the center row of the quilt.
Compared to the past rows this one is pretty quick to sew. You have two choices for this row and I’ll talk about both below.

For this row of the quilt you have two options:
Both of these options are included in your quilt pattern. You can pick which one you like best.
1- Use the Panel
A layout as shown in my quilt with a combination of words from the Fox Farm Panel and Small Ohio Star Blocks.
Here’s a photo of the panel that comes with the kit. You can also buy it separately since it’s sold on the bolt the same way any other fabric yardage. It’s 1 yard wide.
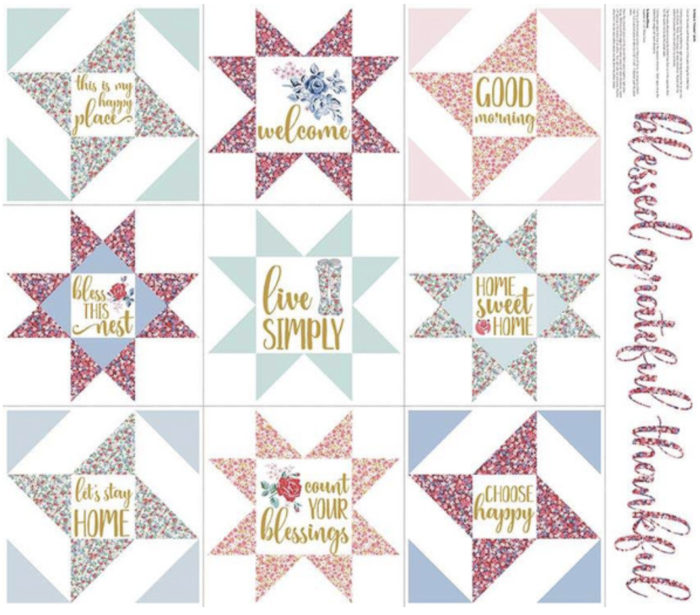
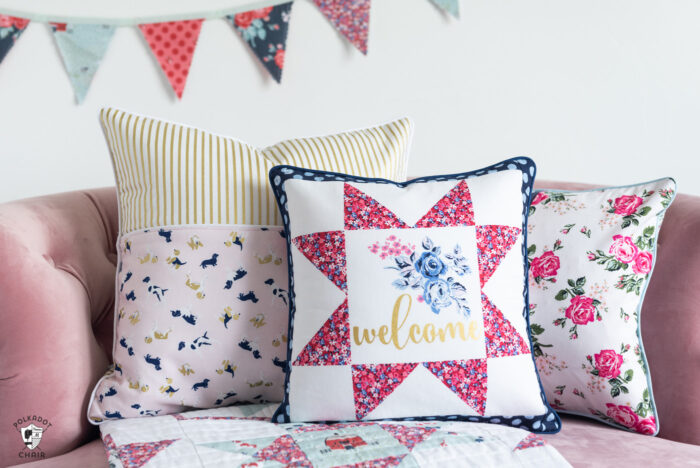
The panel was designed so that you could make some matching throw pillows for your quilt when you are done.
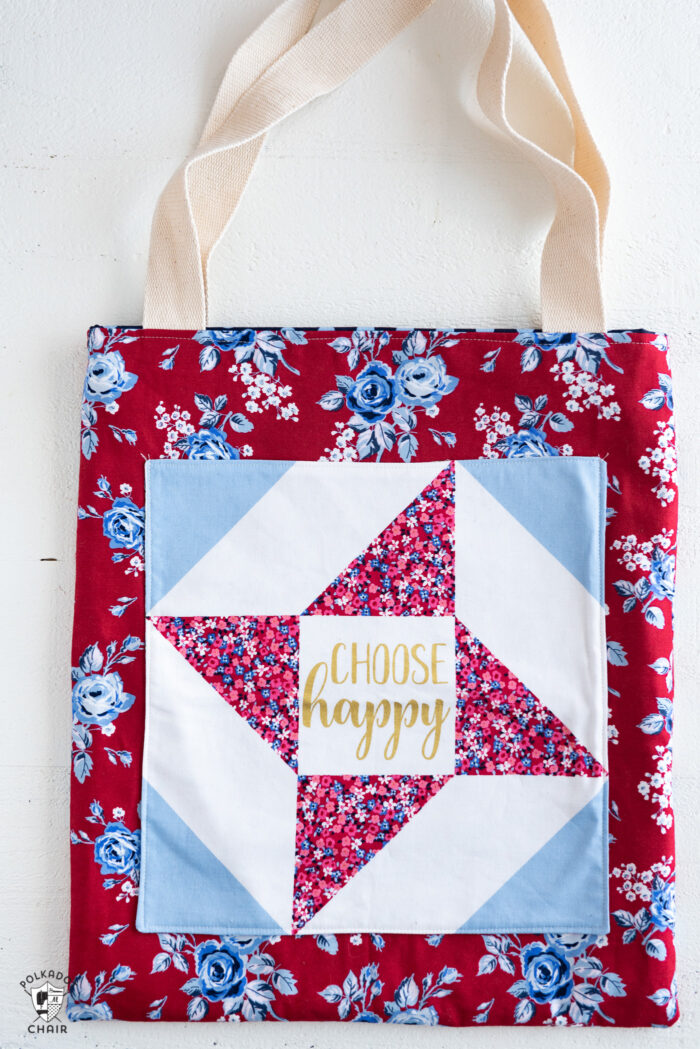
You can also use the “cheater” blocks in the panel to make pockets for tote bags. I’m sure you guys will think of a lot of fun ways to use it. I’m always amazed by your creativity!
2- A row of Ohio Star Blocks.
You can also make this row of the quilt from only Ohio Star Blocks – if you don’t have a panel or don’t want to use it.

This is a “mock-up” to give you an idea of what the row would look like with a row of Ohio Star Blocks in the center. It’s up to you which way you’d like to make it and this mockup is just so you can visualize it.
If you bought a kit, and want this layout instead. Don’t start cutting out these blocks (for version 2) until after you’re done making all of your other blocks.
I think you’ll have enough fabric leftover to make them this way. However, the kit was made for the version 1 layout. So I’m not sure. You can also change the fabrics in the blocks if you like. It’s up to you.
Tips for Constructing the Center Row with Words:

If you’re making the center row of the quilt with word blocks, be careful as you cut!
The words will be a tight squeeze on your blocks. We made the words as large as possible for you and there is not a lot of extra fabric on each side of the words. So cut carefully.
I also had you cut the white fabrics on each side of the word blocks a bit big so you can trim them down. So if one of your word blocks is a bit small, you can make up the difference.
On my quilt, I actually messed up a bit and cut the fabric too close to the “T” in thankful. However, once it was sewn into my quilt I didn’t even notice, and I bet you didn’t notice either!
Those are my tips for this weeks row! As with all of our other rows, there is a video!
Please watch the video, I offer a few more tips for working with the panel.
Next week is a catch-up week- then we will have another catch-up week for those who got the wrong FPP patterns in their kits (explained on this post).
After that, I’ll jump back in here to give you some tips to sew all of the rows of your quilt together.


The pattern says to cut the center fabric at 2.5” but the smaller Ohio star QST is at 3.5”
Am I missing something!
IS THE QST supposed to be 2.5” unfinished
What will be the unfinished size for OHIO Star to match the words?
This was missing from the pattern!
When you make a quarter square triangle you lose 1″ in the process. So if you start with 3 1/2″ square you’ll end up with a 2 1/2″ square when you’re done.
Which will match up with the cut 2 1/2″ piece for the center. The whole block will be 6 1/2″ unfinished and 6″ finished
Where do buy the panel for this step?
You can get it wherever the fabric is sold. Fat Quarter Shop has it in stock.