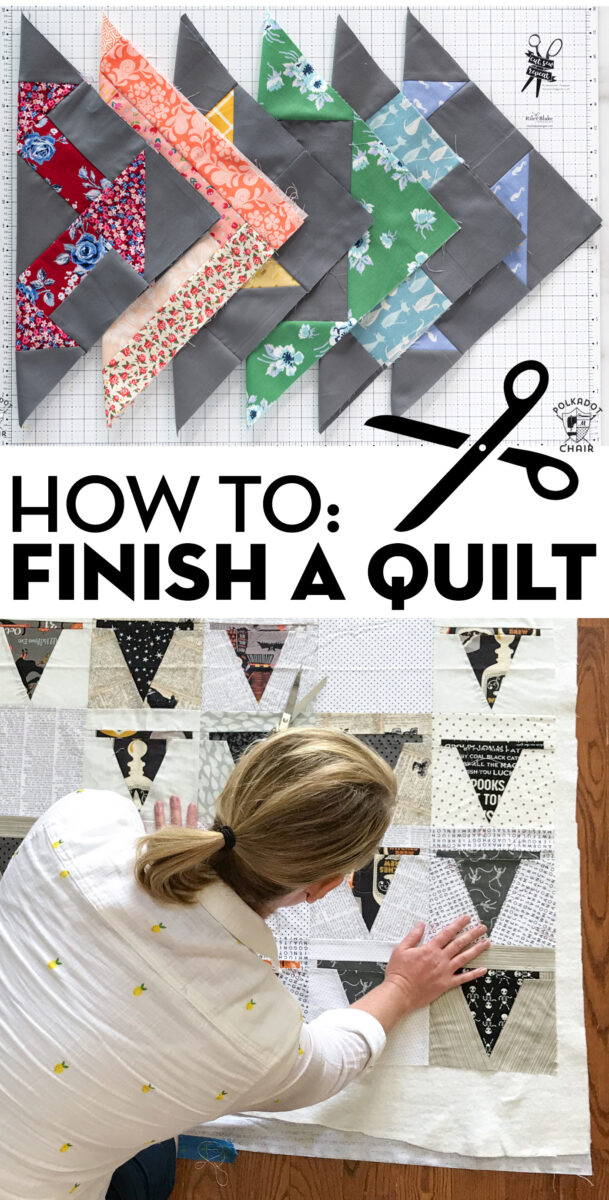
How to Finish a Quilt; a Step by Step Guide
You have a completed quilt top, but what do you do now? There are about as many ways to finish a quilt as there are ways to make a quilt. I will share a brief overview of the process of finishing a quilt, and share a few of my favorite quilt finishing tips with you.
Finishing a quilt is one of the most satisfying steps in the quilting process, where your hard work transforms into a beautiful quilt you can use!
This article will walk you through the steps of turning your sewn quilt blocks into a finished quilt top and then a finished bound quilt!
Unique Ways to Use Quilt Blocks
First, let’s chat about things to make with quilt blocks. Maybe you have a few leftover quilt blocks that didn’t make the “cut” in your final design, or perhaps you’ve just decided that you don’t want to make a big quilt and would instead use the sewn blocks for a smaller project. Here are a few ideas for you.
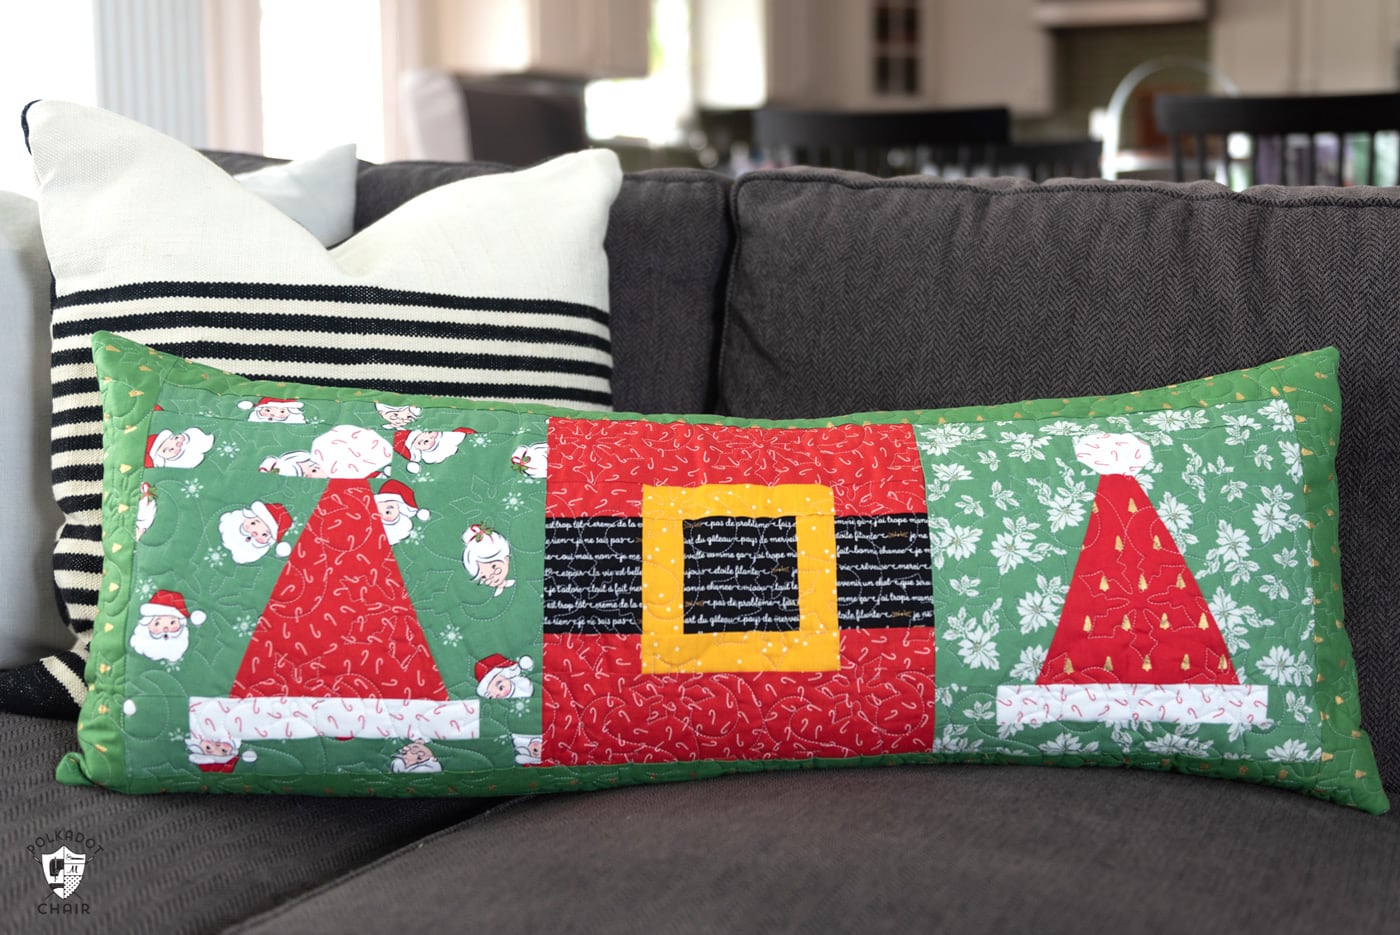
1. Make a Pillow
One option is to create a pillow. This is just 4 of the blocks sewn together and quilted.
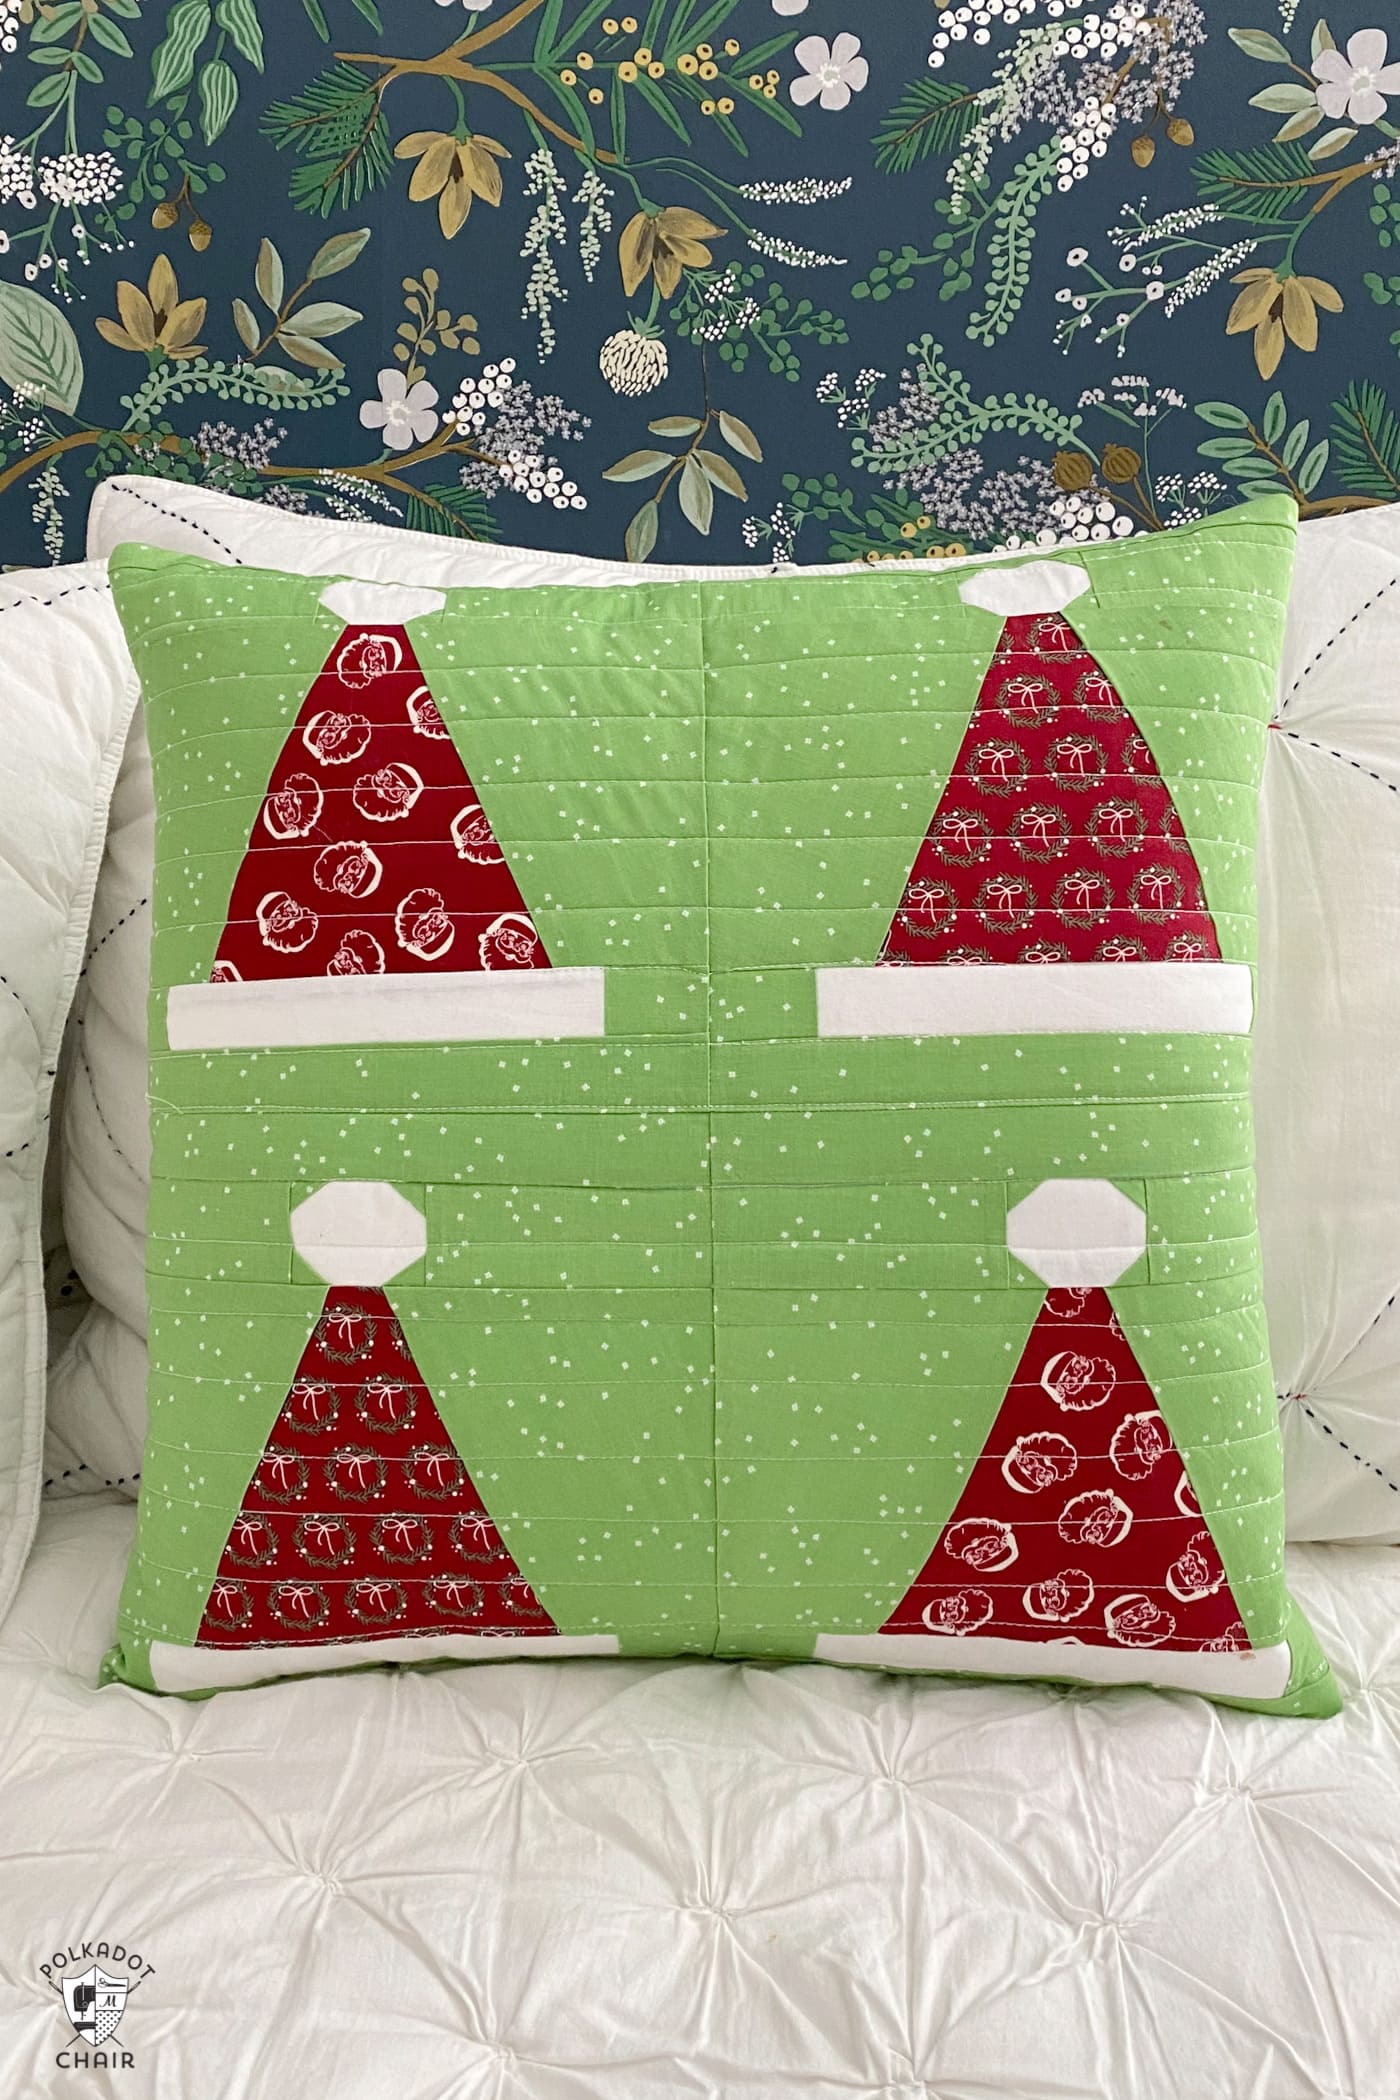
The size of your pillow will depend on the size of the blocks you begin with. You can also add borders and sashing to the blocks if you want your pillow to be larger. These quilt blocks were 10 1/2″ before finishing. In retrospect, I wish I had trimmed my blocks down to 9 1/2″ (from 10 1/2″) just to eliminate the space in the center.
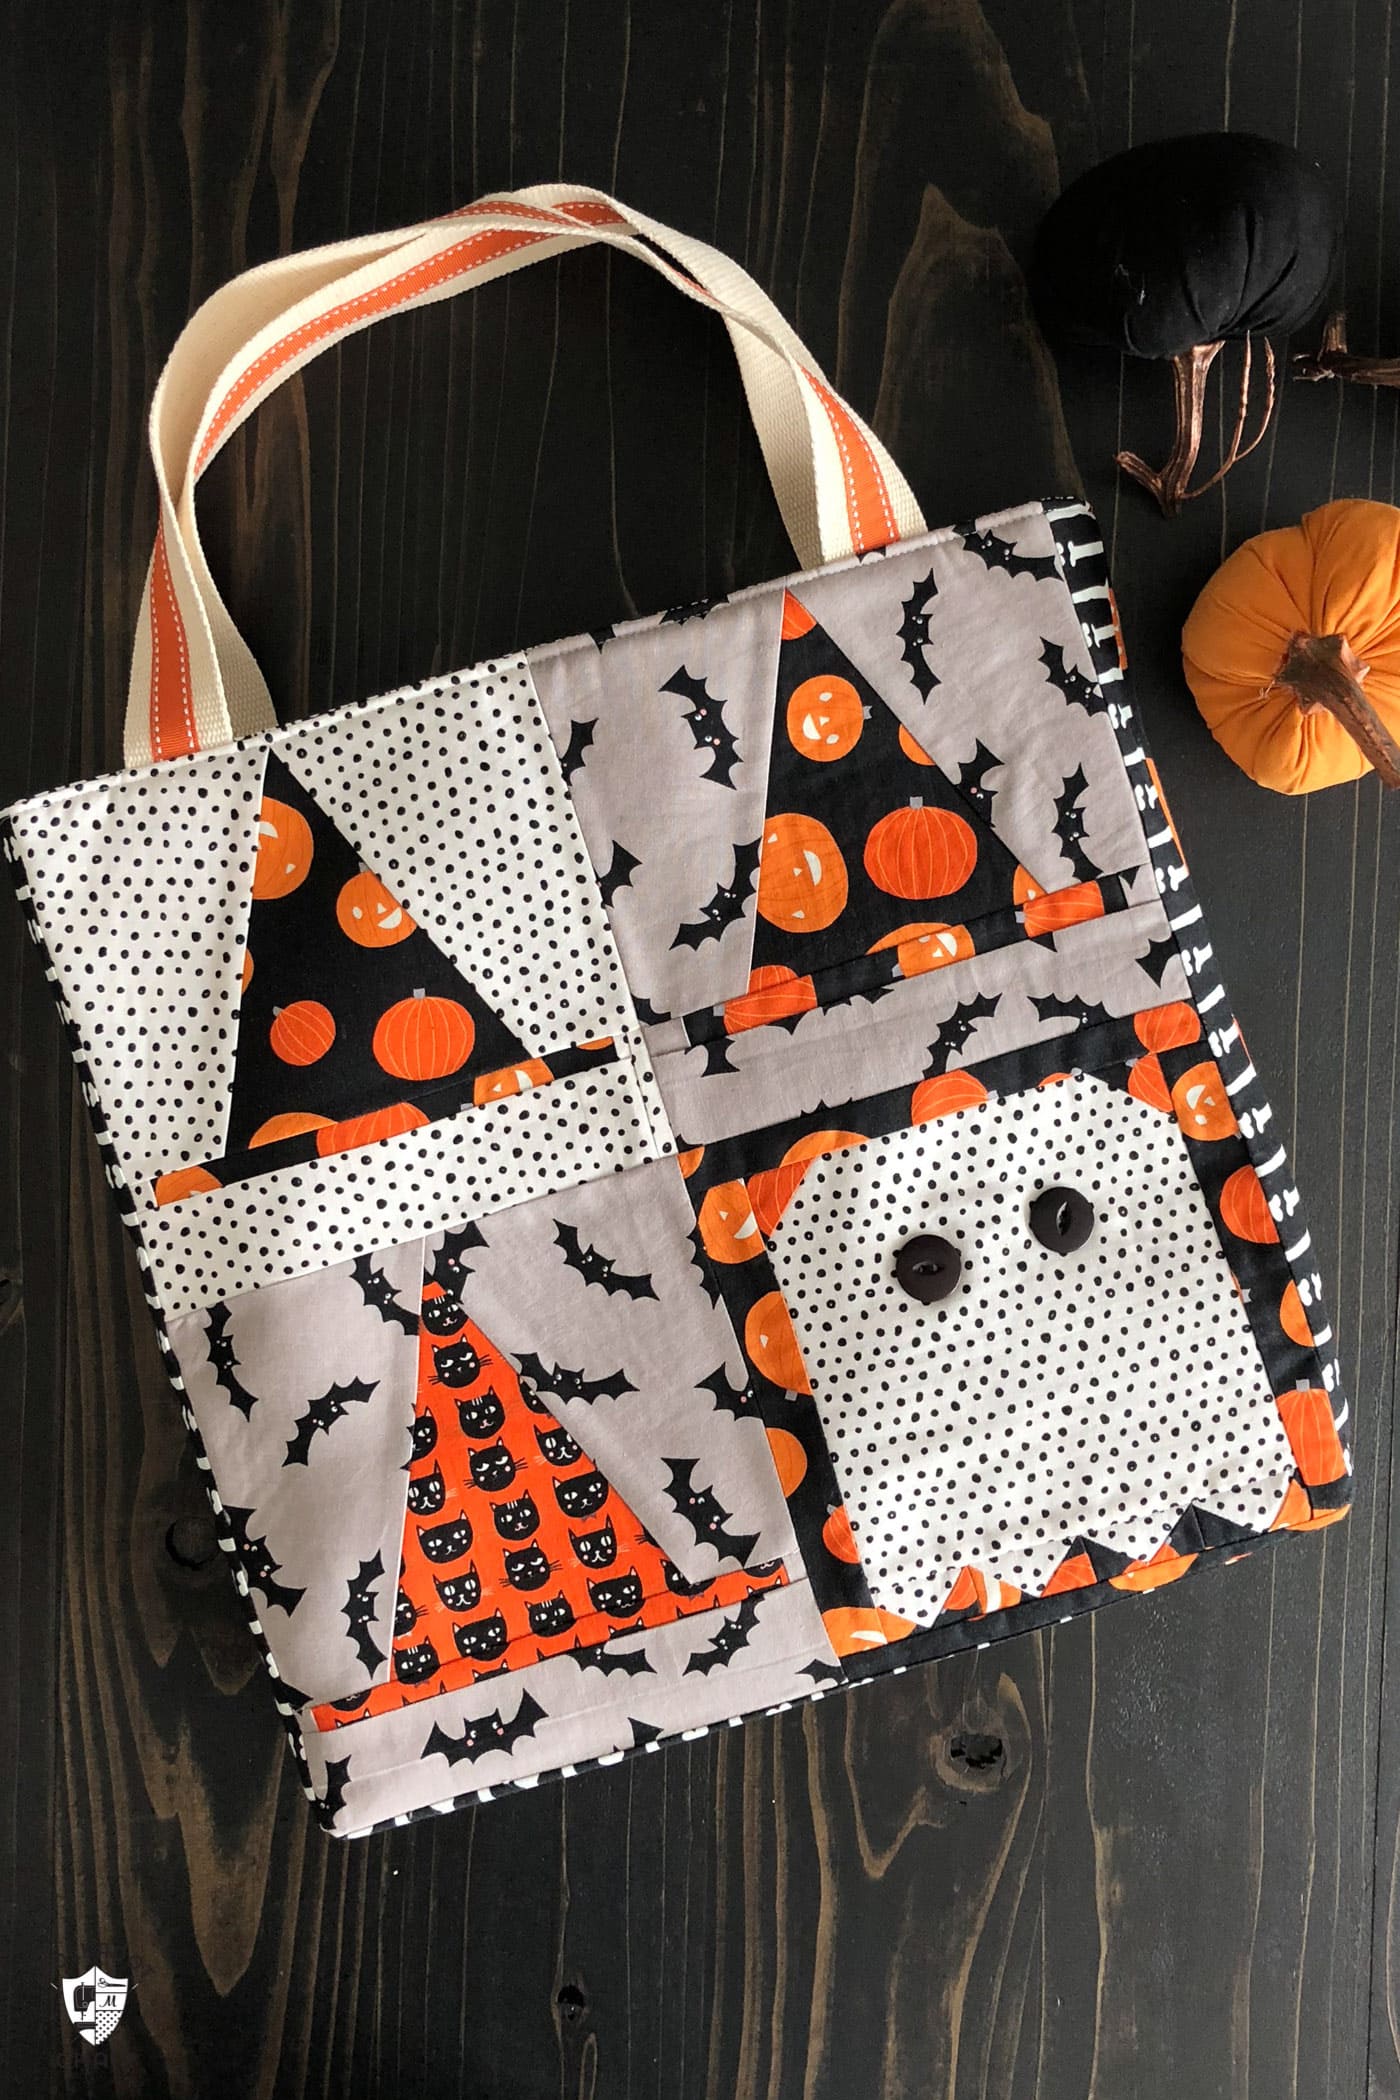
2. Sew a Quilt Block Tote Bag
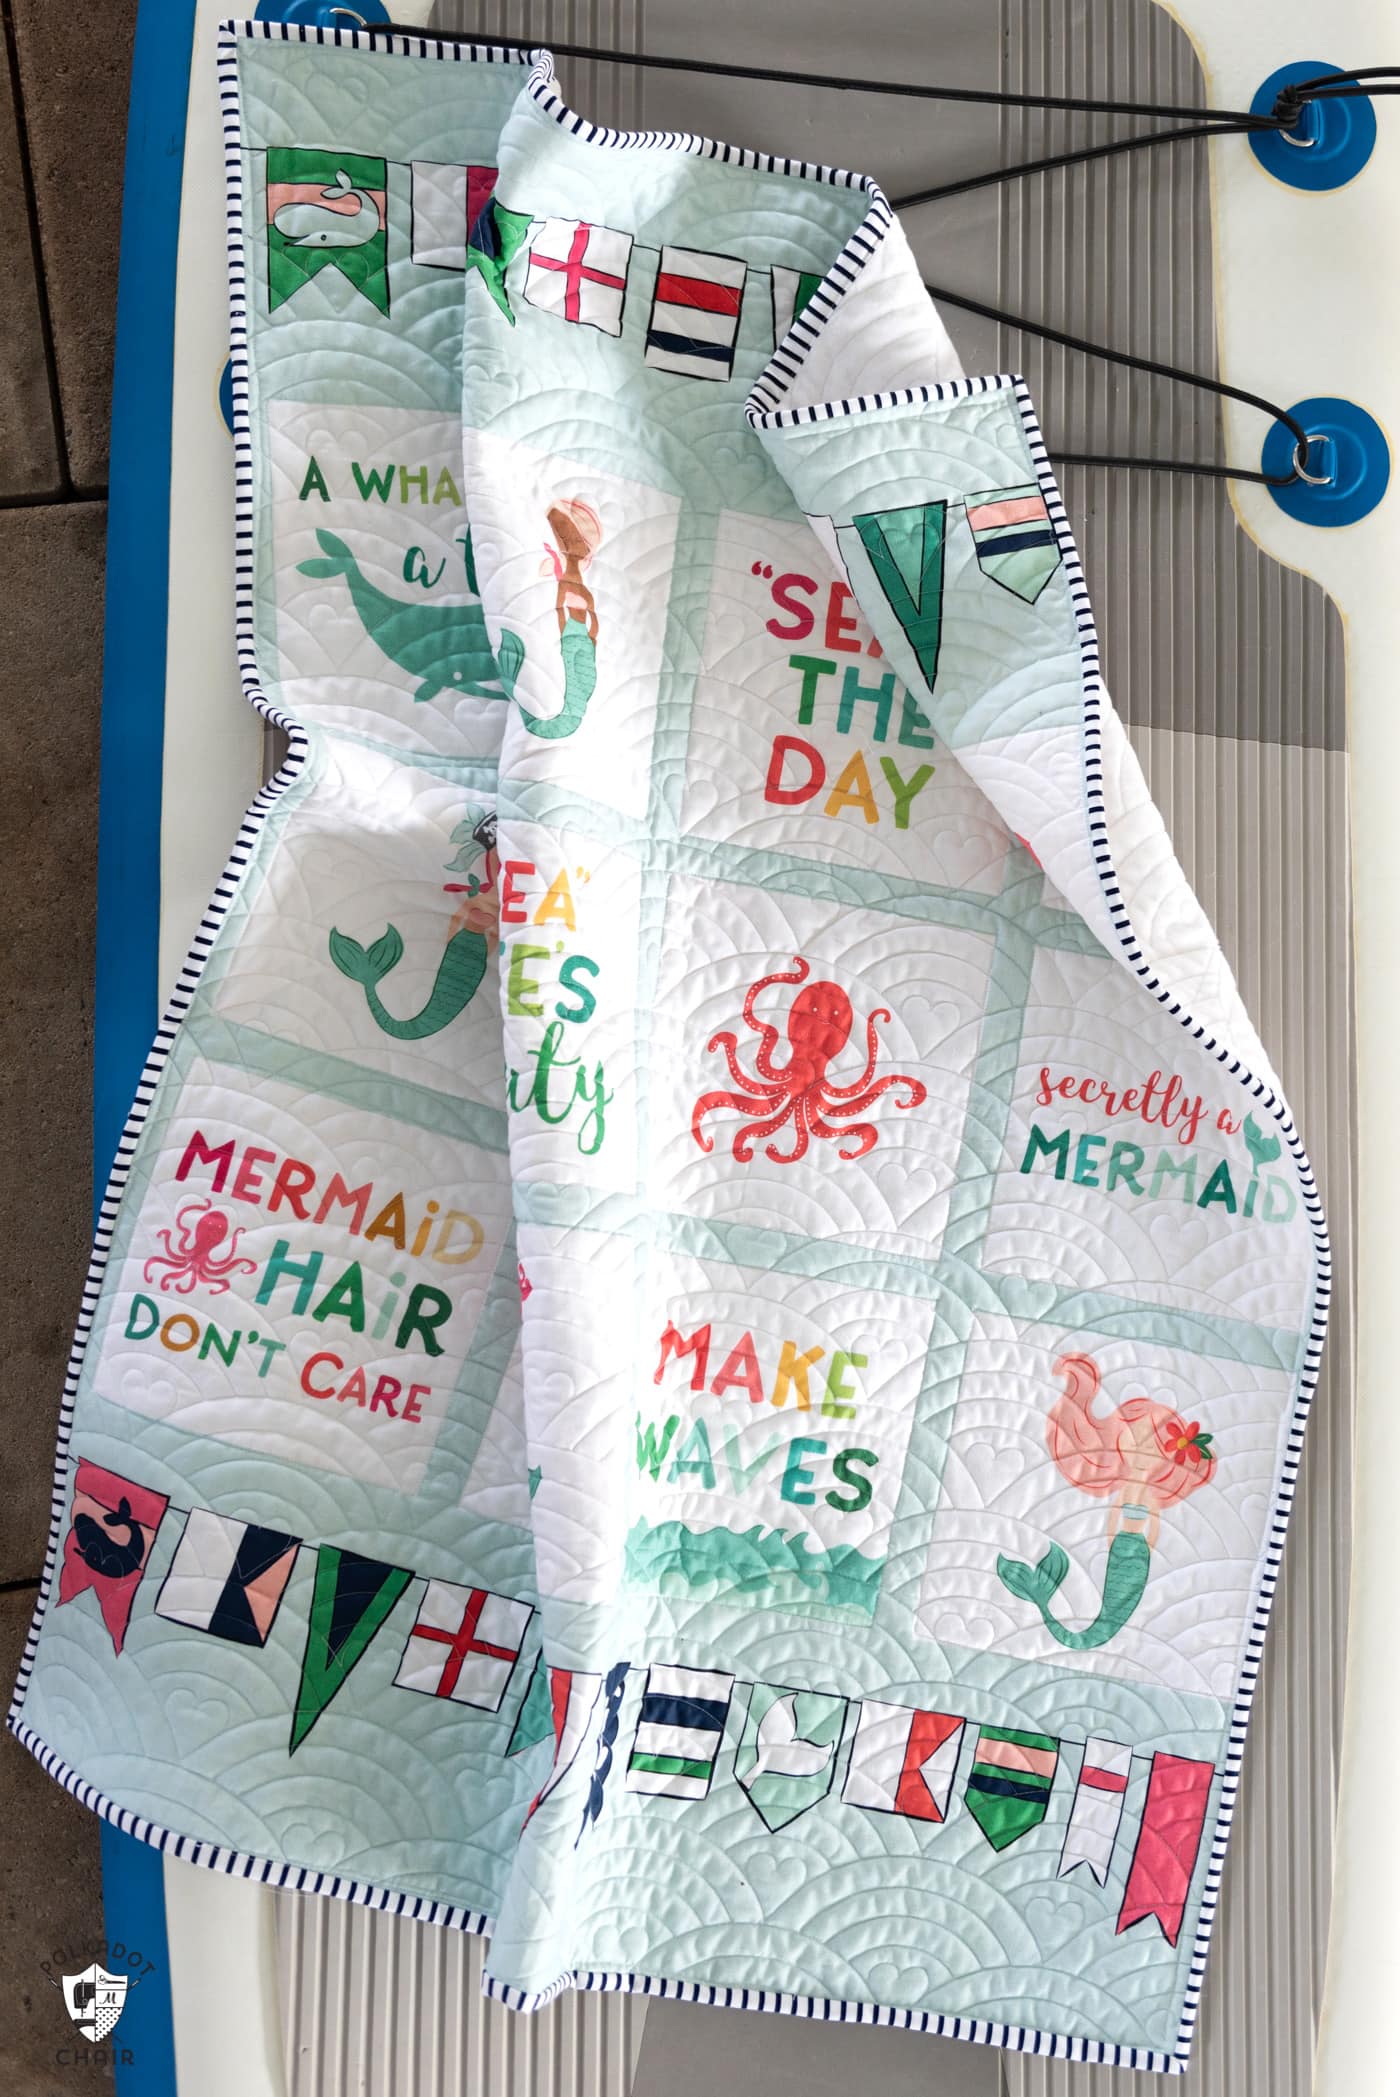
Another option is to make a Tote Bag! I stitched this one up quickly a few years ago. You can find the full tutorial on the blog. This bag is made from blocks from my Halloween Haberdashery Quilt pattern, but you could easily do this with the any other quilt blocks.
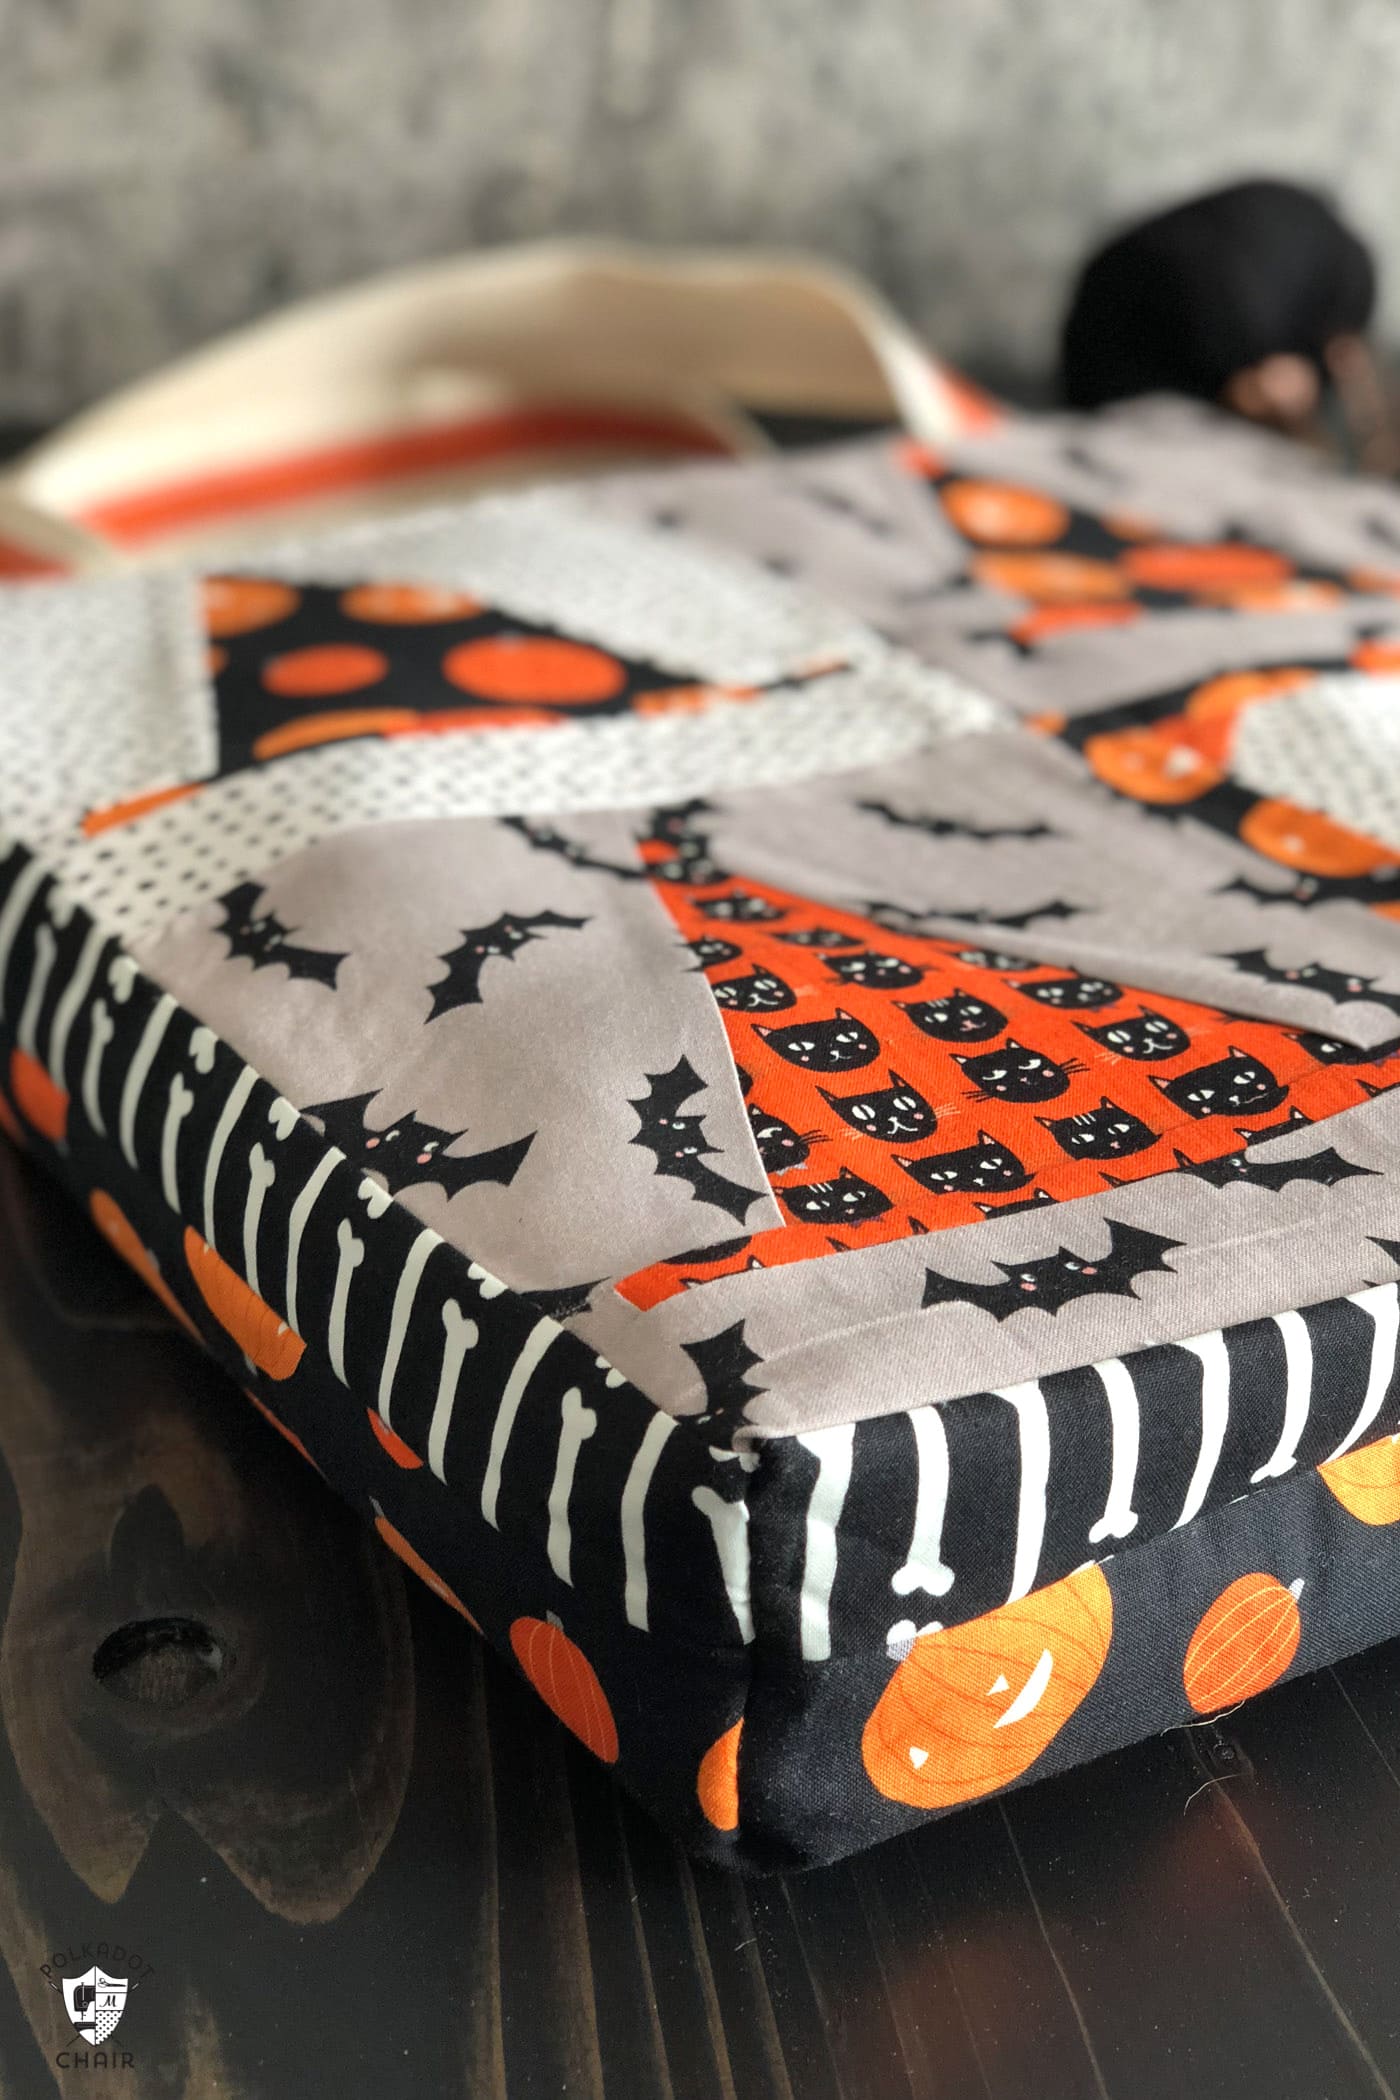
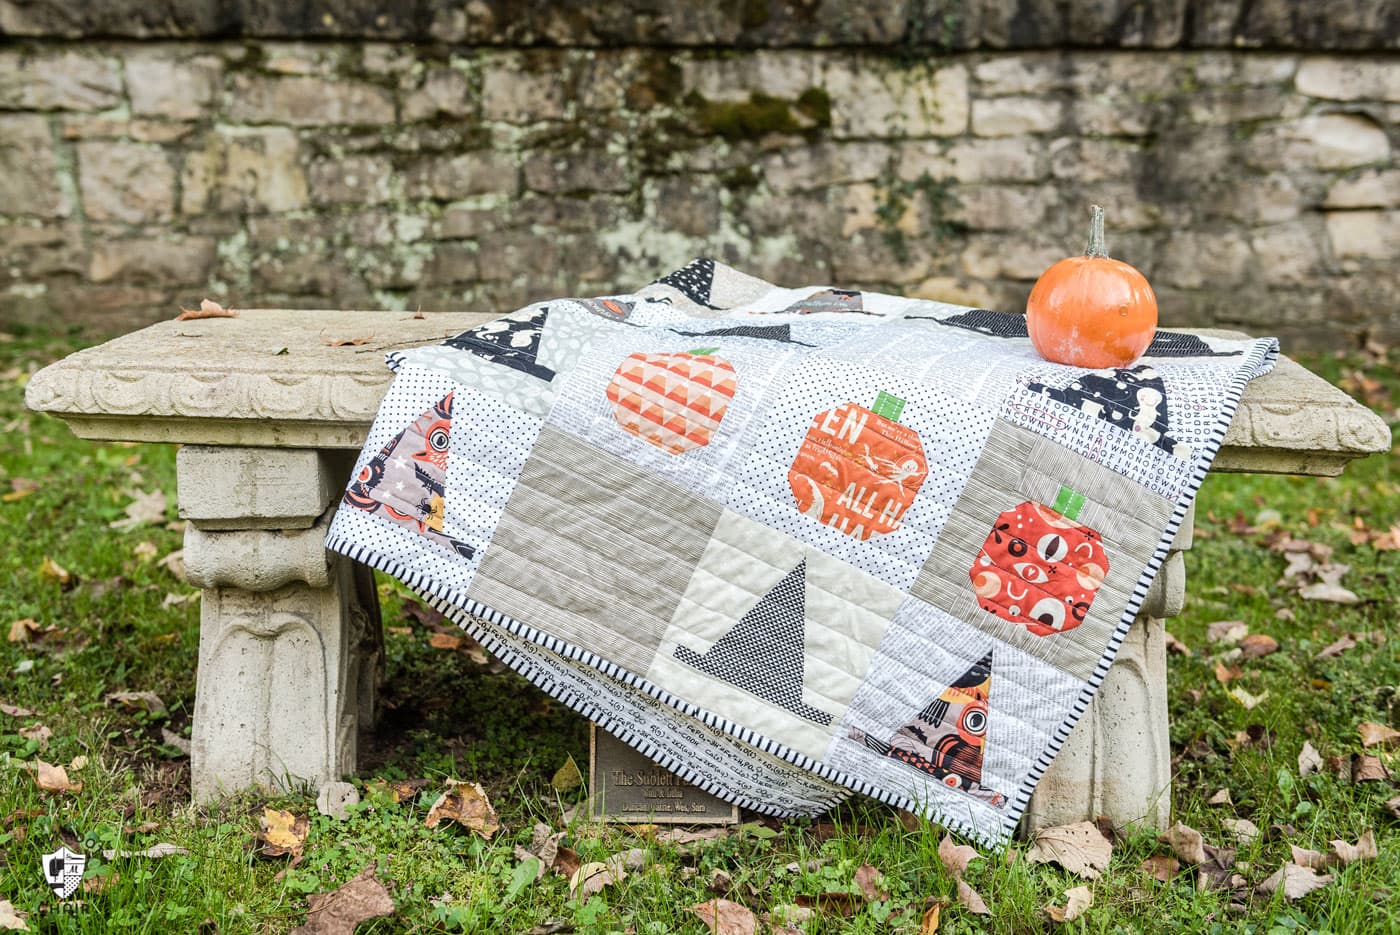
3. Make a Bench Pillow
You can also create a bench pillow with your quilt blocks. The full tutorial is on the site.
How to Finish a Quilt
I know that this blog post is titled how to finish a quilt, however before we chat about finishing a quilt, let’s talk about what to do with all of your quilt blocks. Just in case you haven’t sewn them all together yet!
Step One: How to Sew your Blocks into a Quilt Top
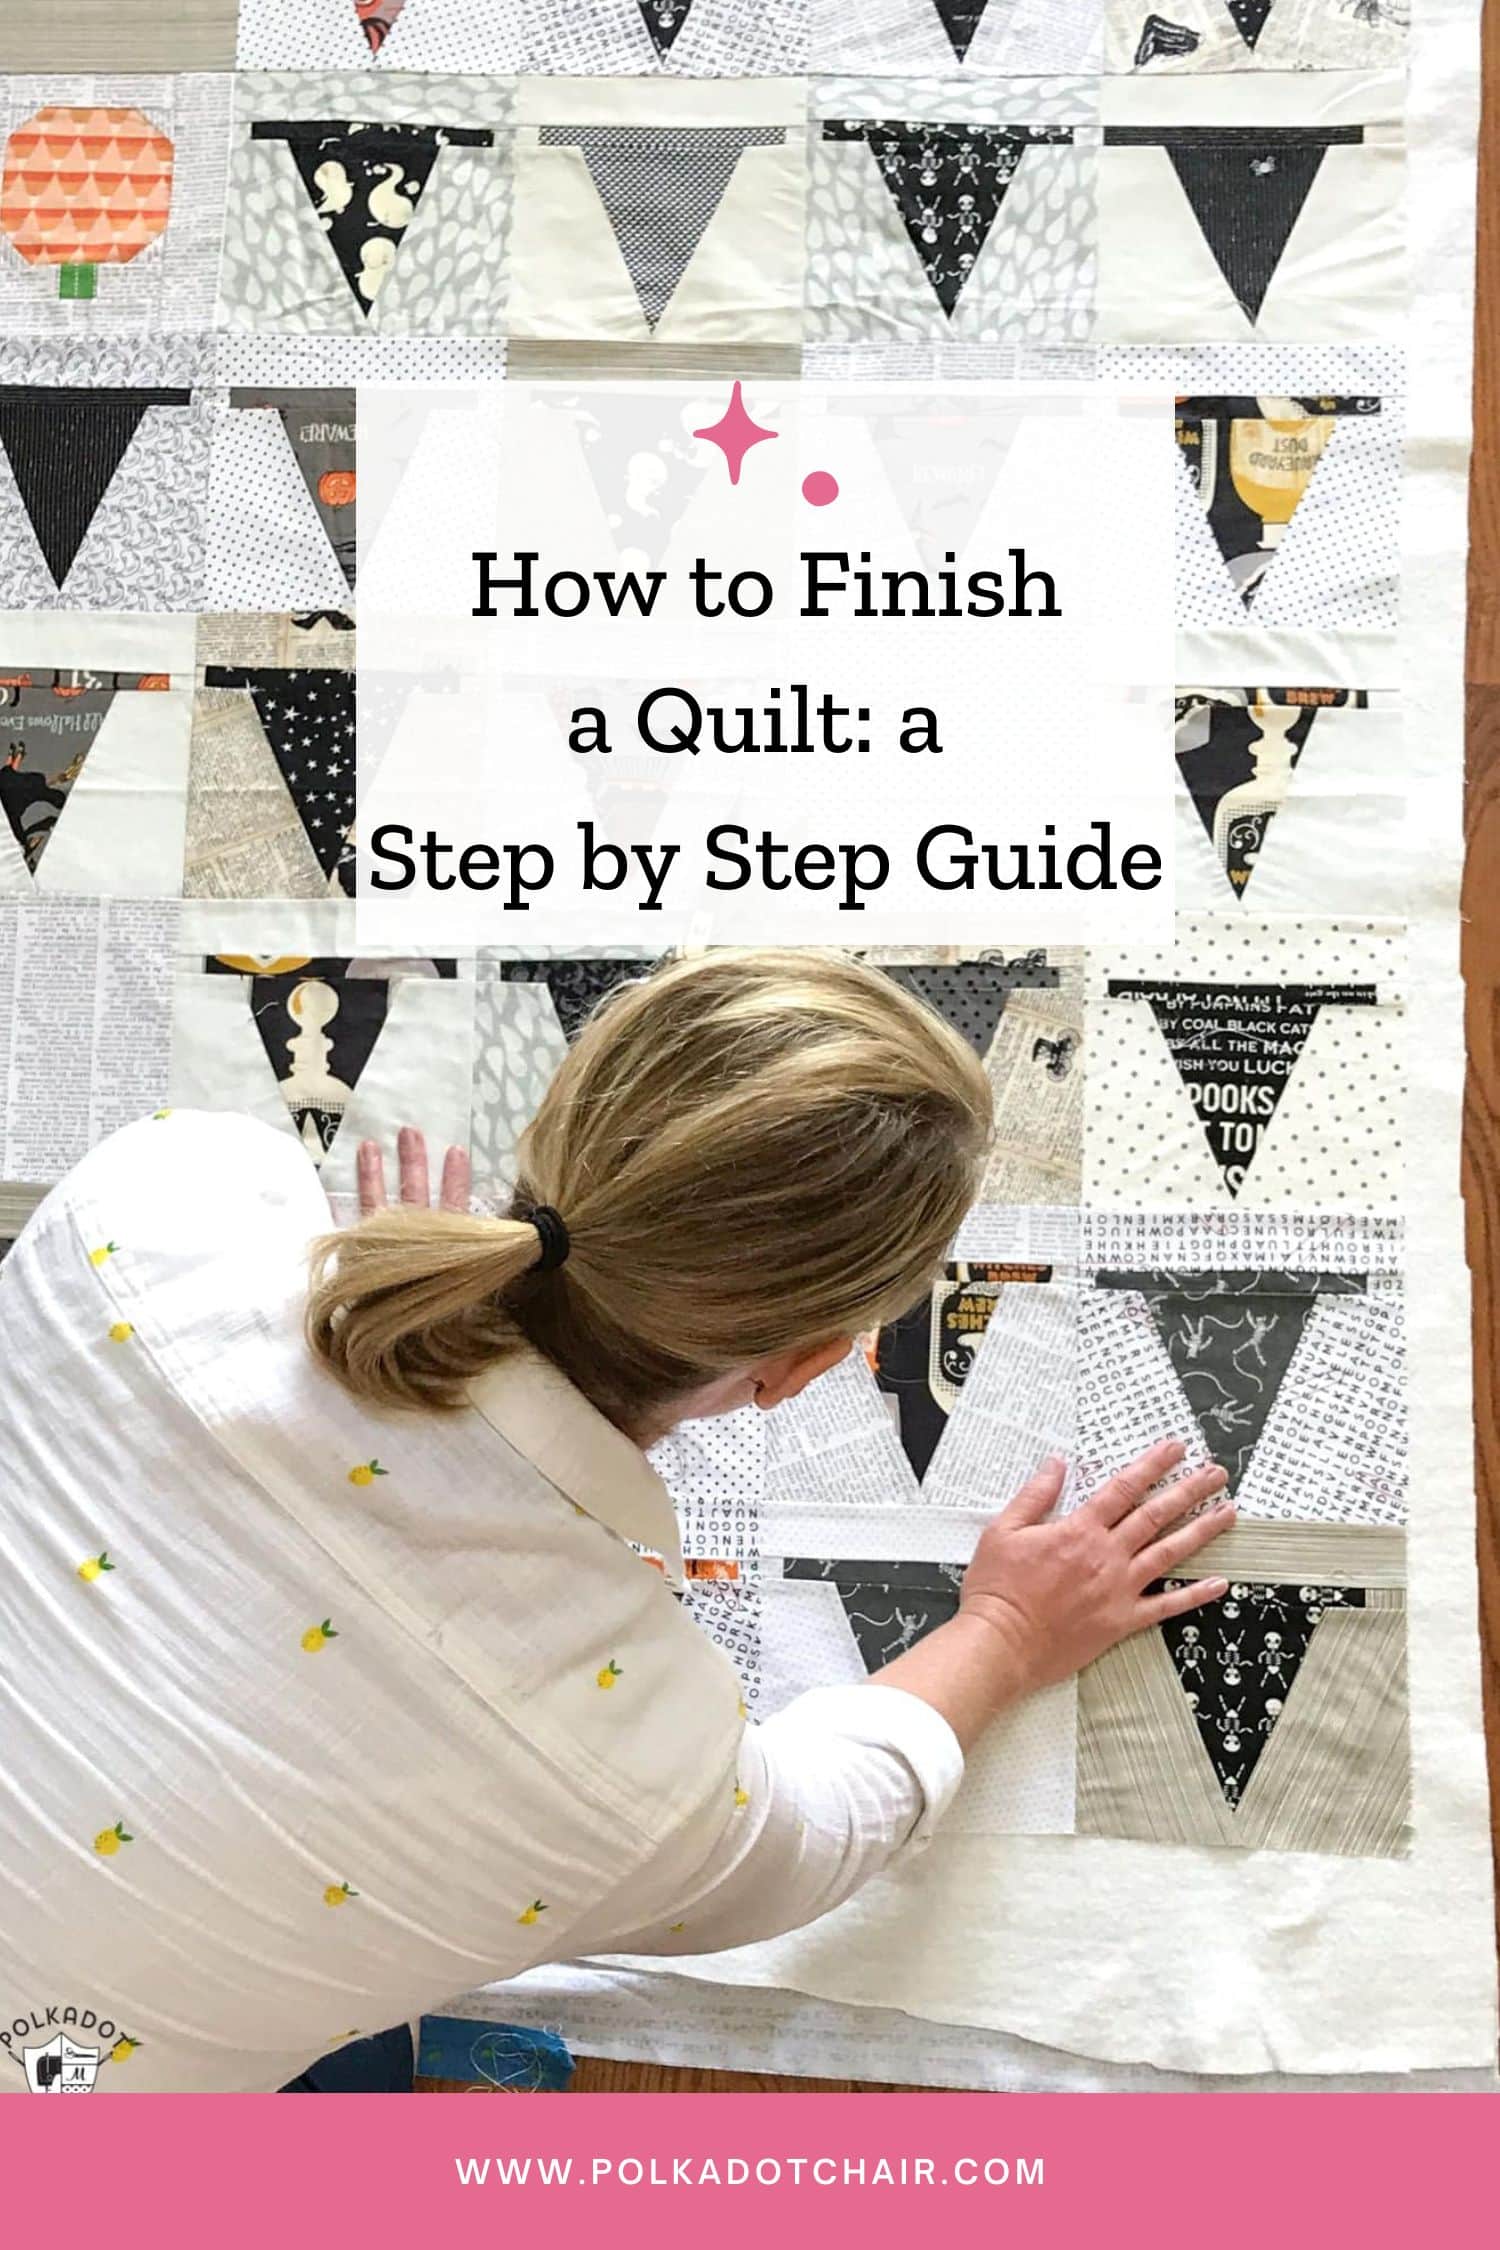
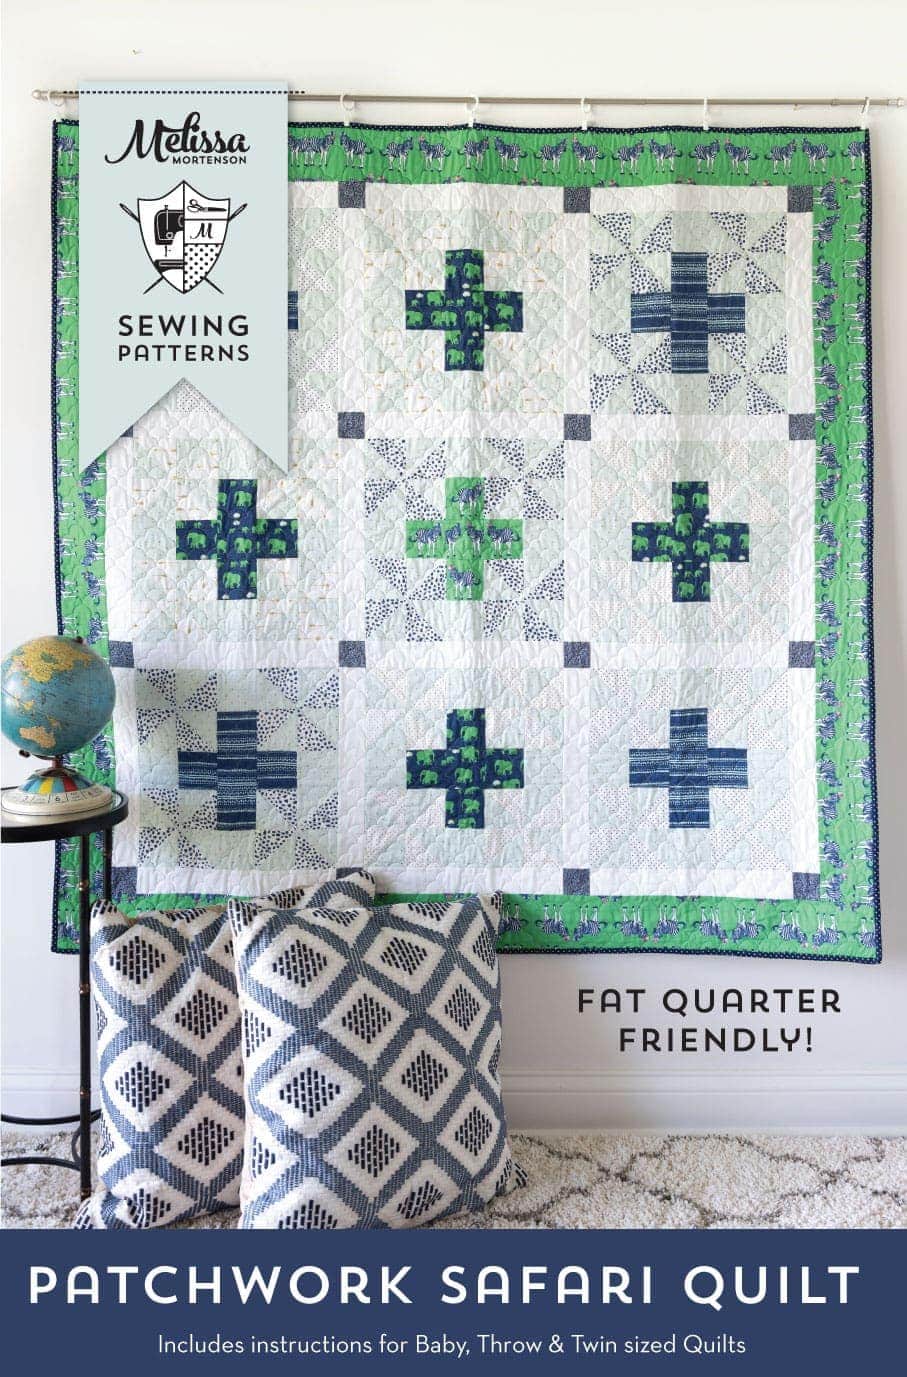
If you haven’t already, you need to stitch the quilt blocks from your quilt into a quilt top. Most quilt patterns give you the layout directions, so you know what blocks to put where.
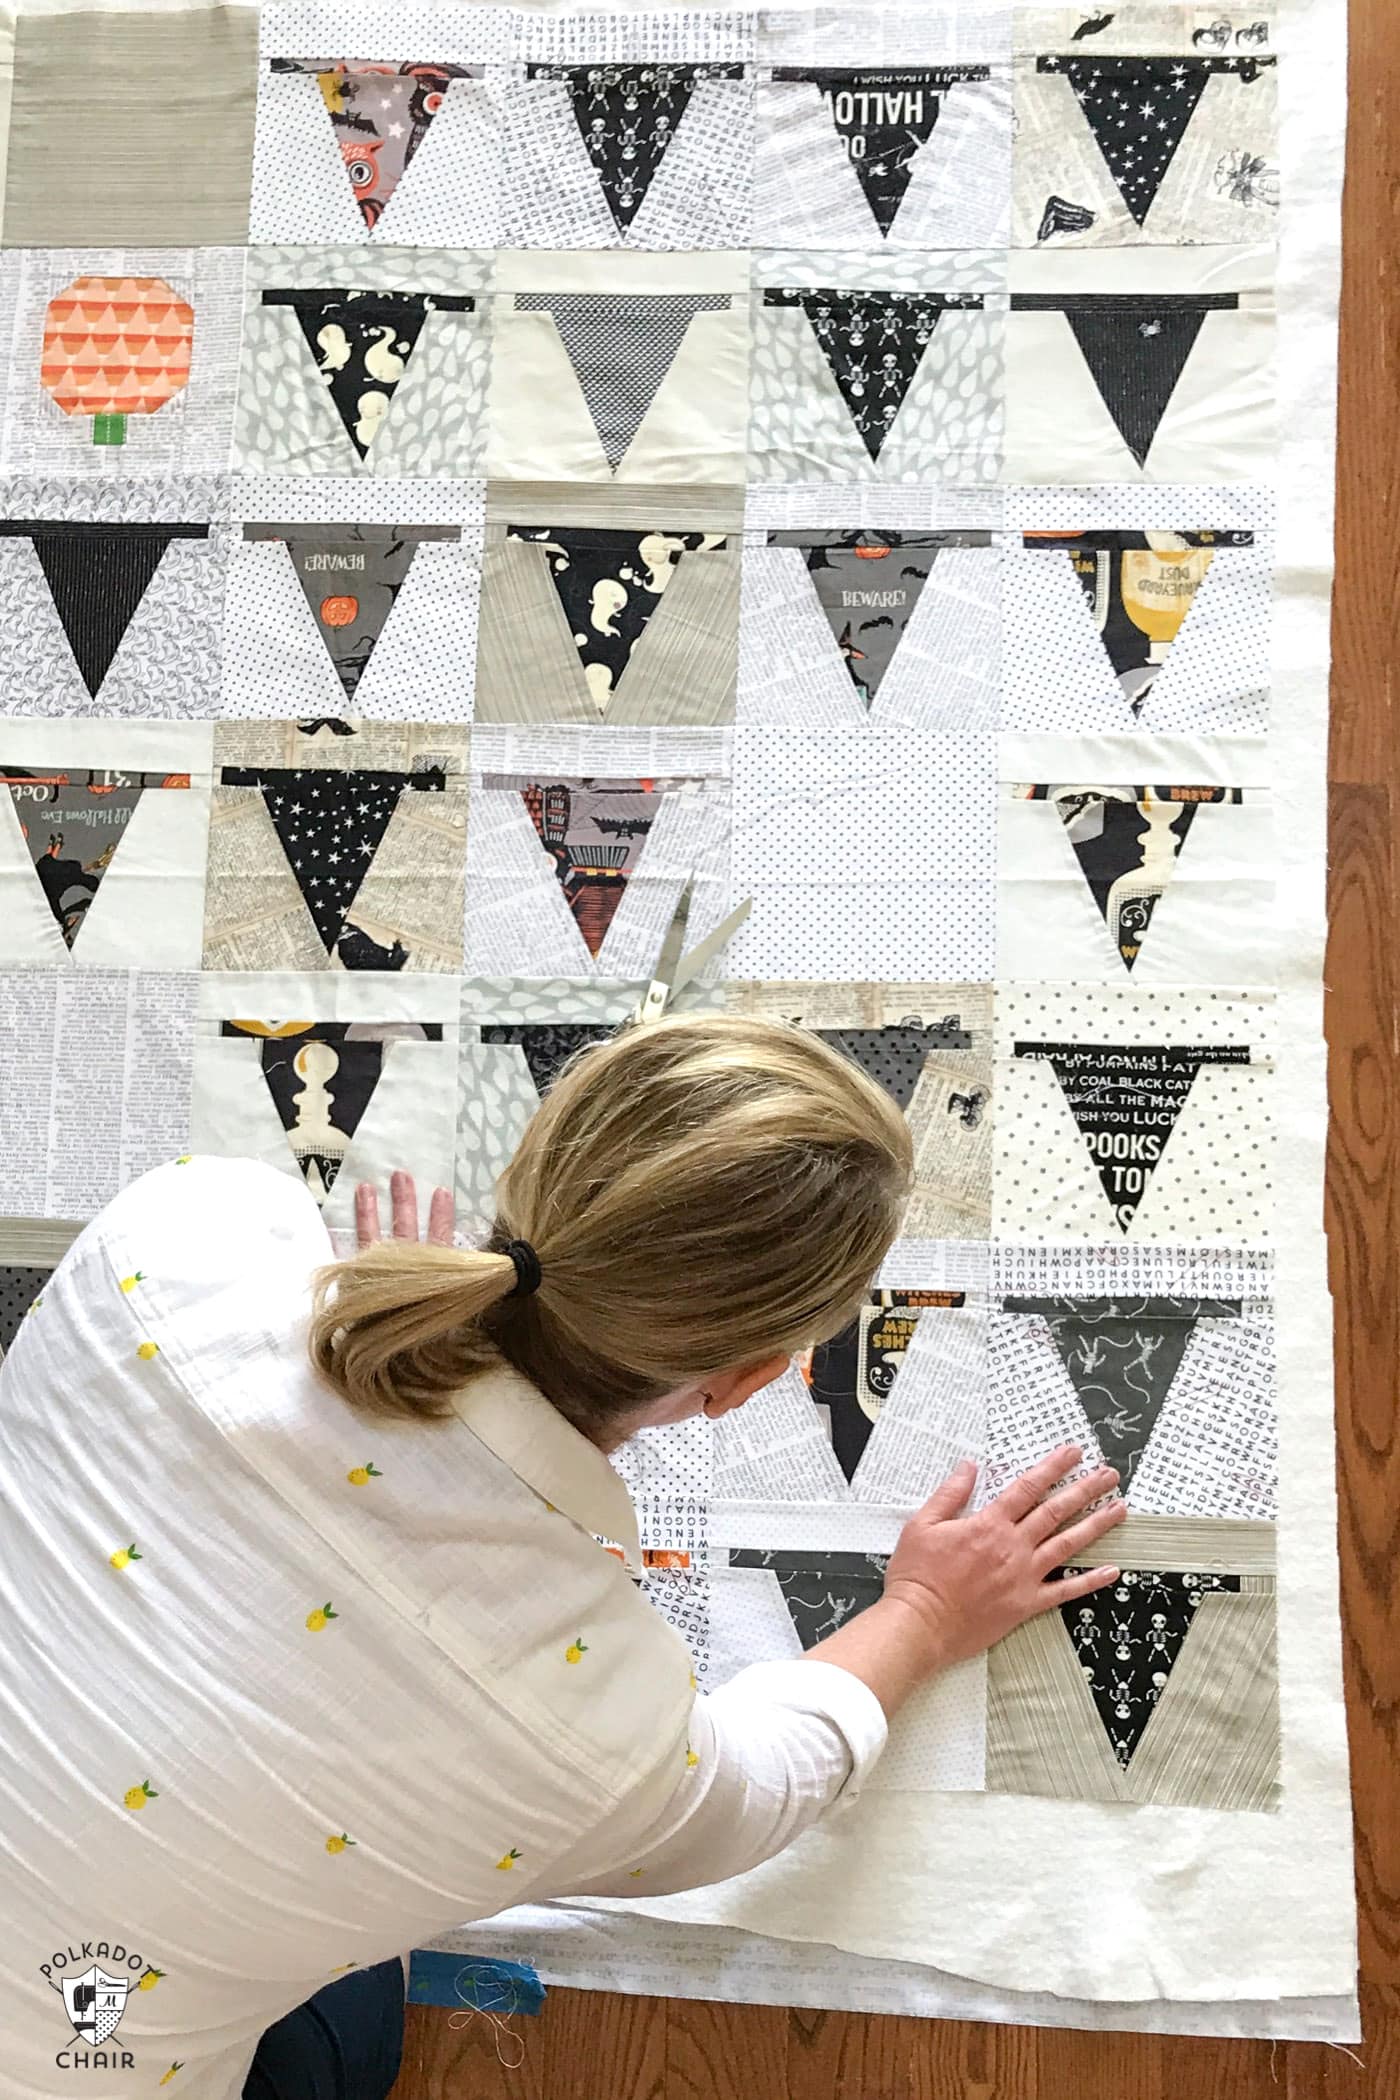
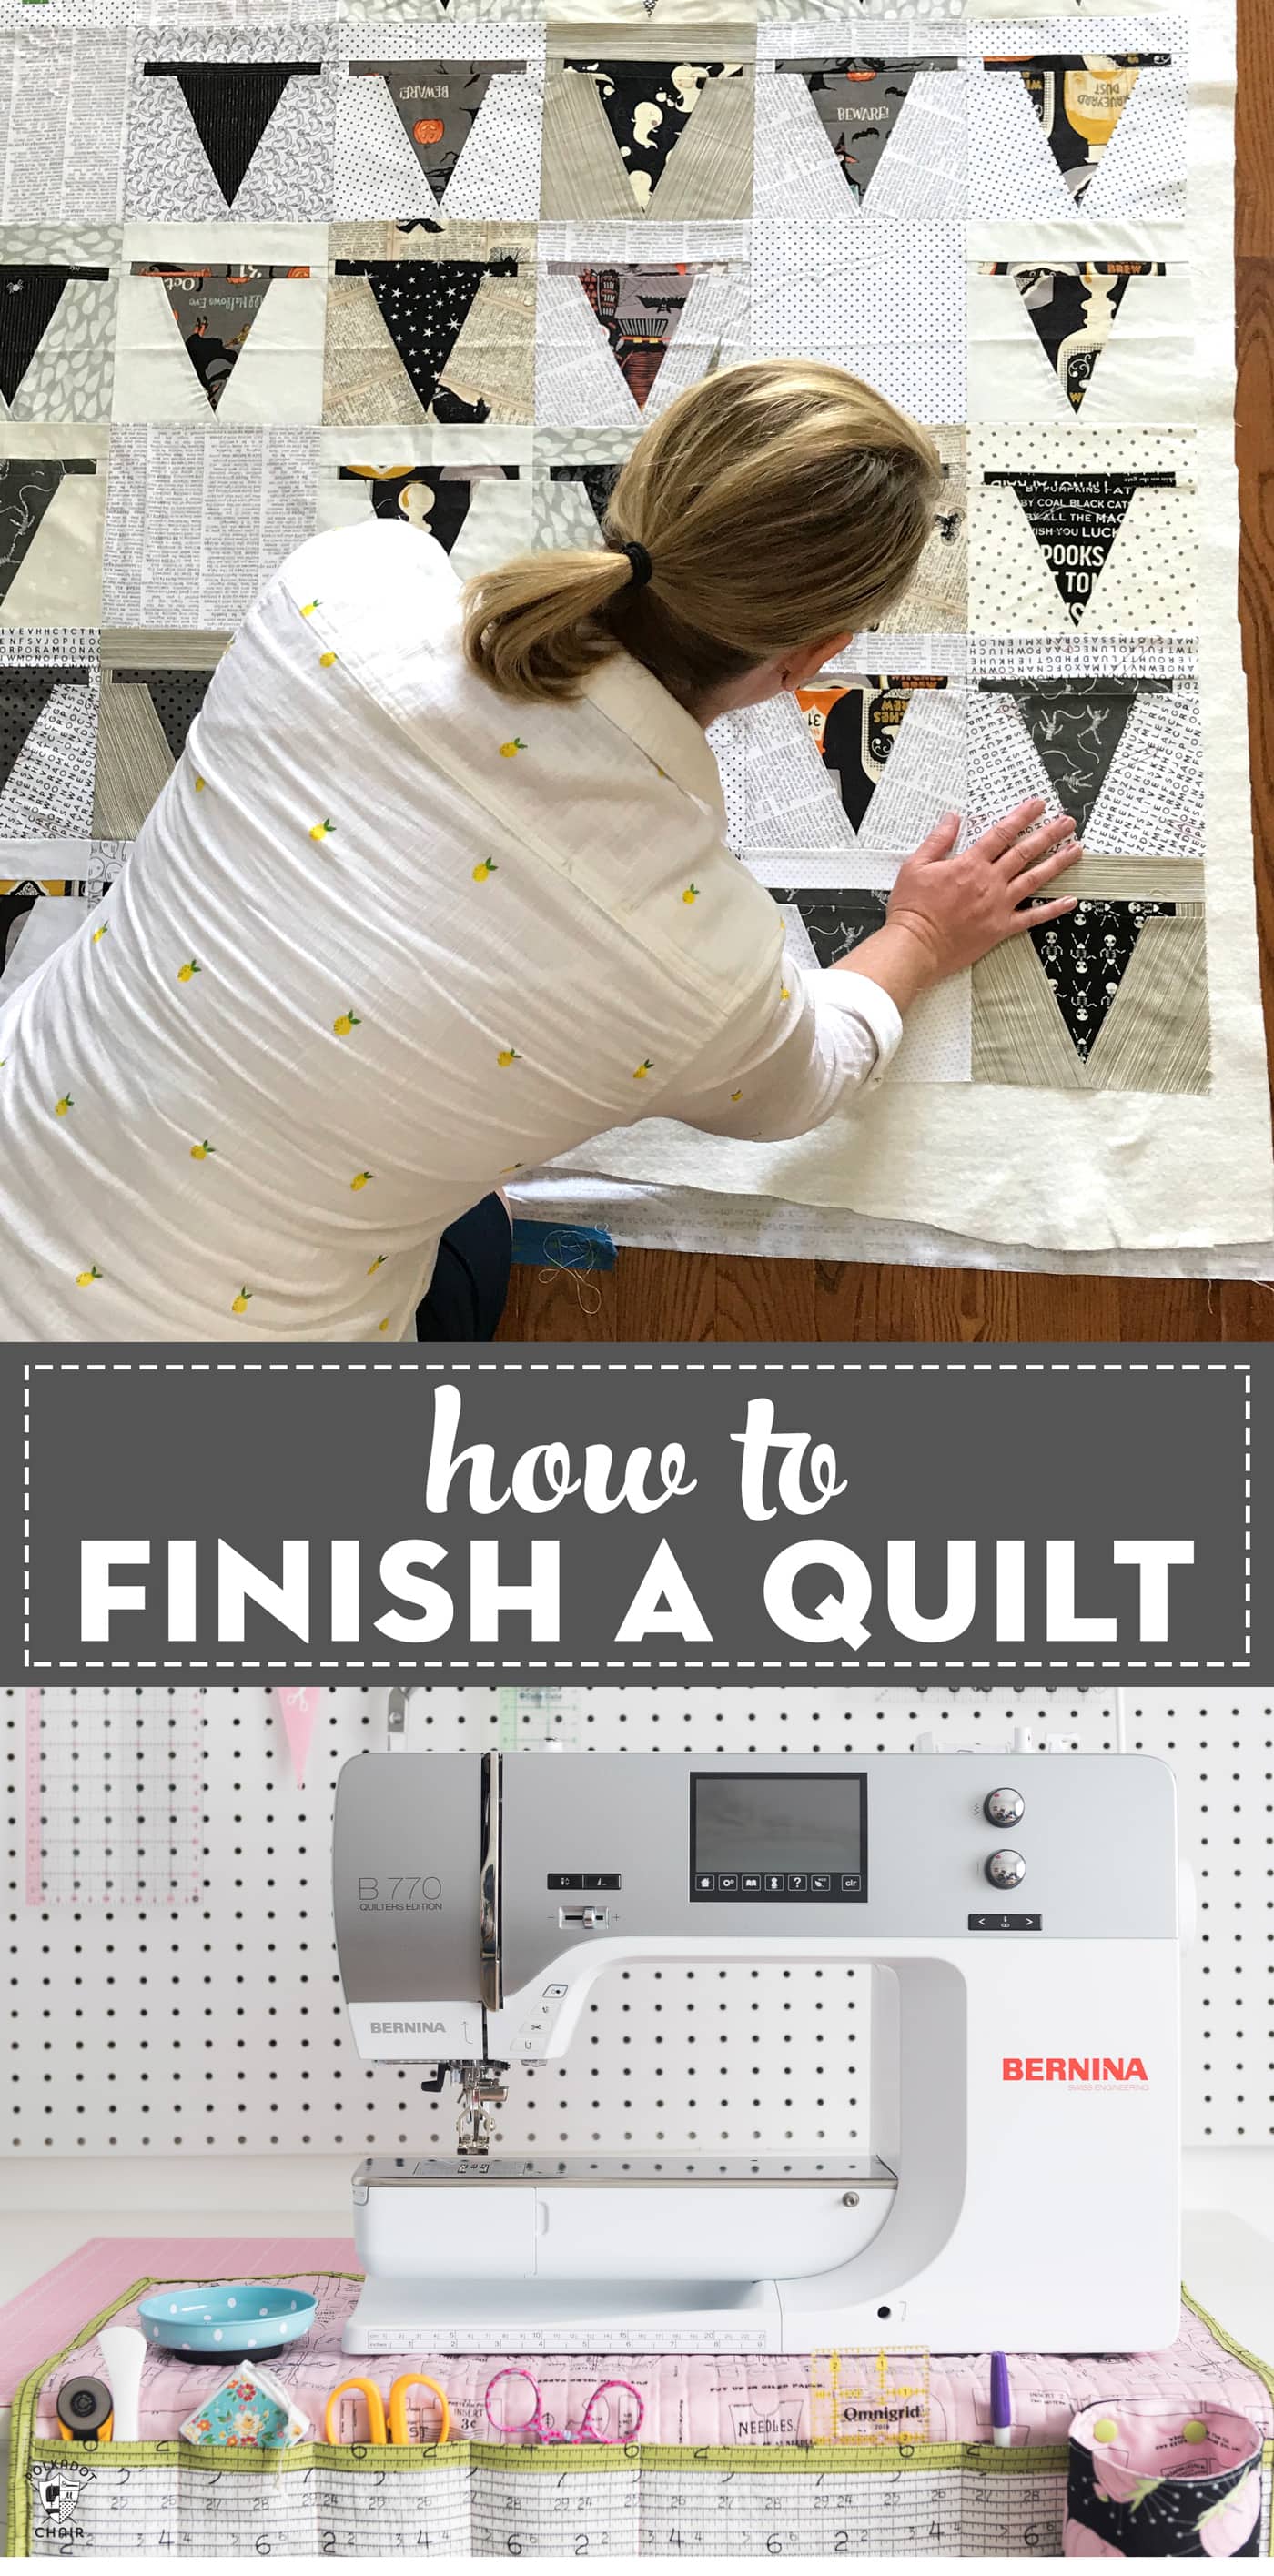
Before you start sewing, however, I recommend that you lay out all of your blocks to ensure you’ve got a layout you’re happy with. To do this, you’ll need a blank wall of some sort.
I left a wall purposely empty in my sewing space to use as a design wall. You wouldn’t think it would make much difference to see all of your quilt blocks laid out in front of you, but it does make a BIG difference.
For some reason, seeing them on a wall gives you a much better perspective than seeing them on the floor. If you don’t have a blank wall, lay them on your floor and snap a photo with your phone.
For my design wall, I have one from Fons & Porter. I believe it is no longer sold. Fat Quarter Shop has quite a few great options, including some that you can stand up! It has grommets in the corners, so you can use command hooks to take it up and down if you don’t have a dedicated wall.
As you lay out your blocks, keep an eye out for blocks that seem to catch your eye for some reason. You may have too many of the identical prints too close together. Or too much color in one corner, etc.
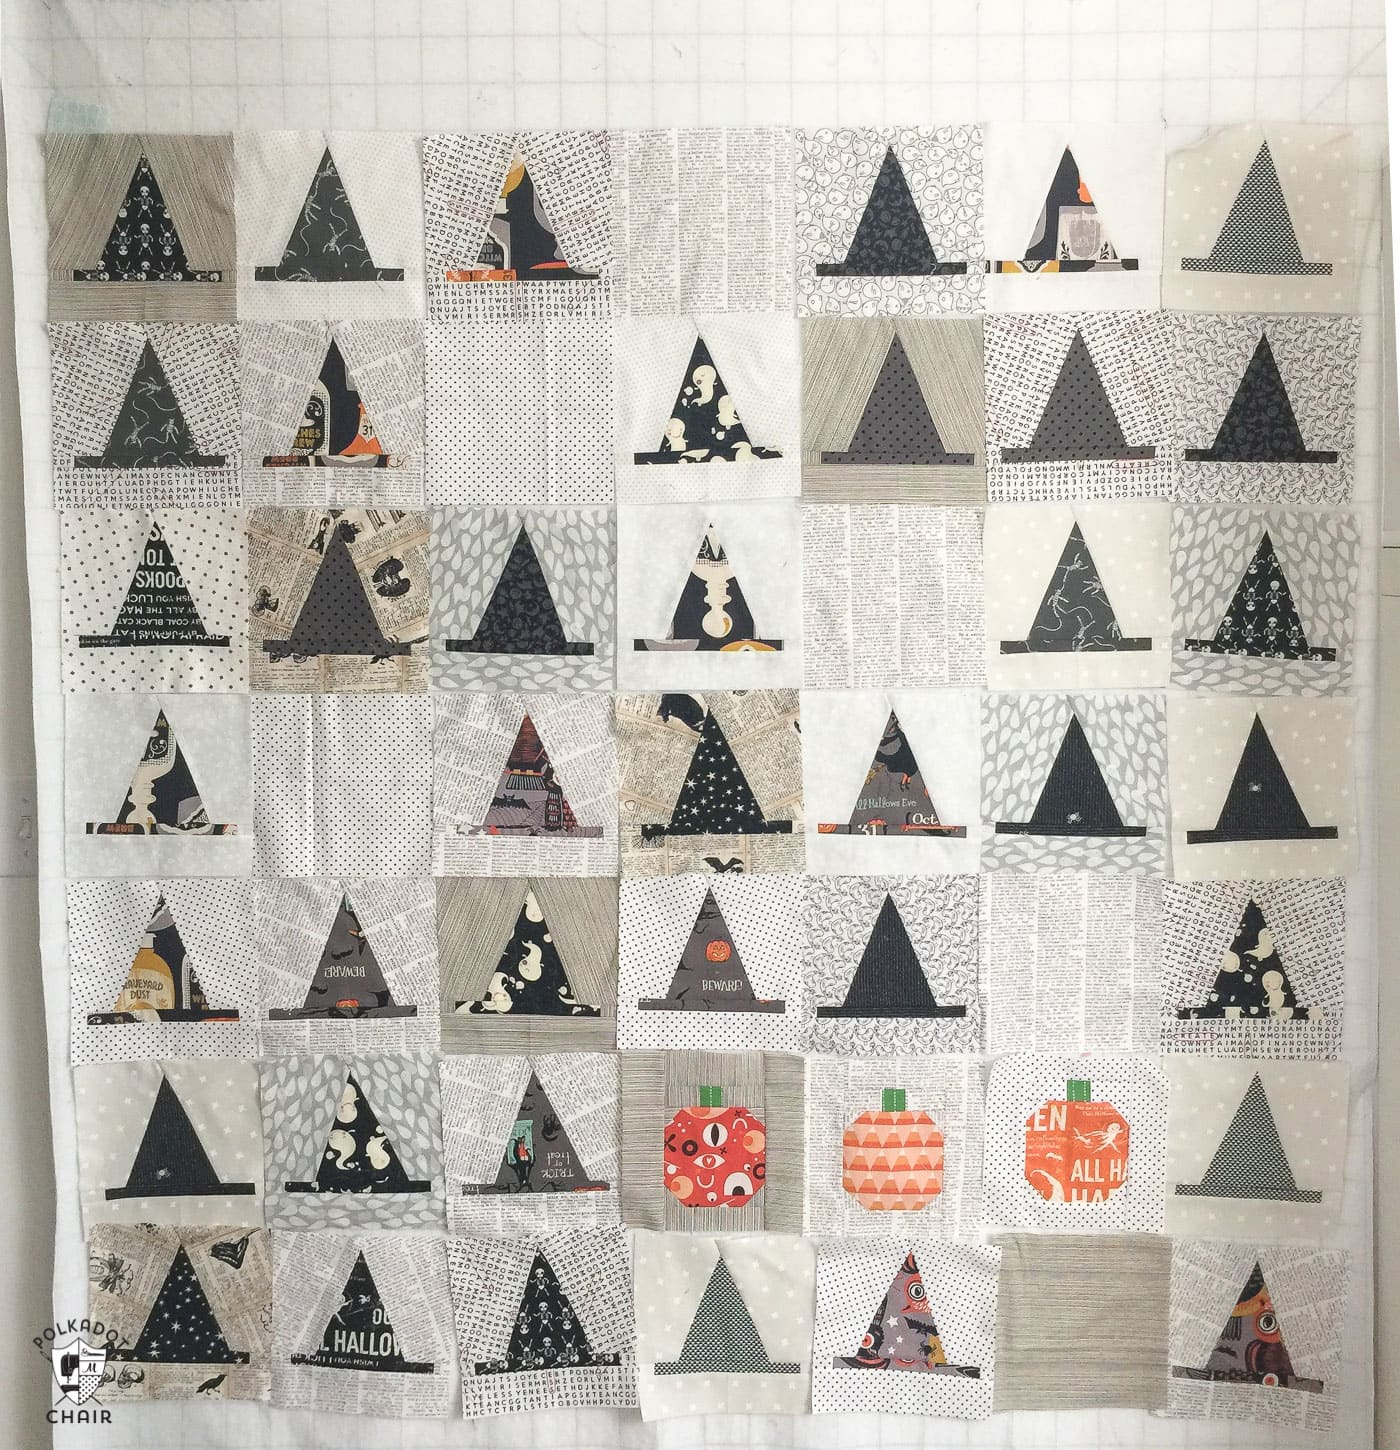
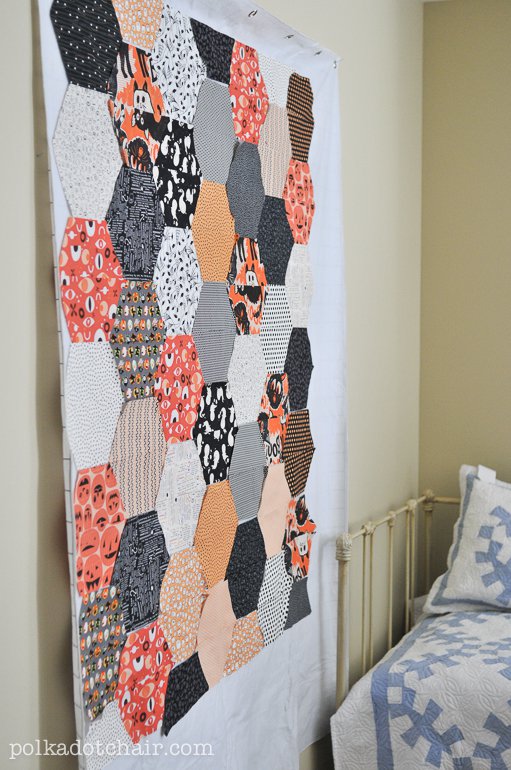
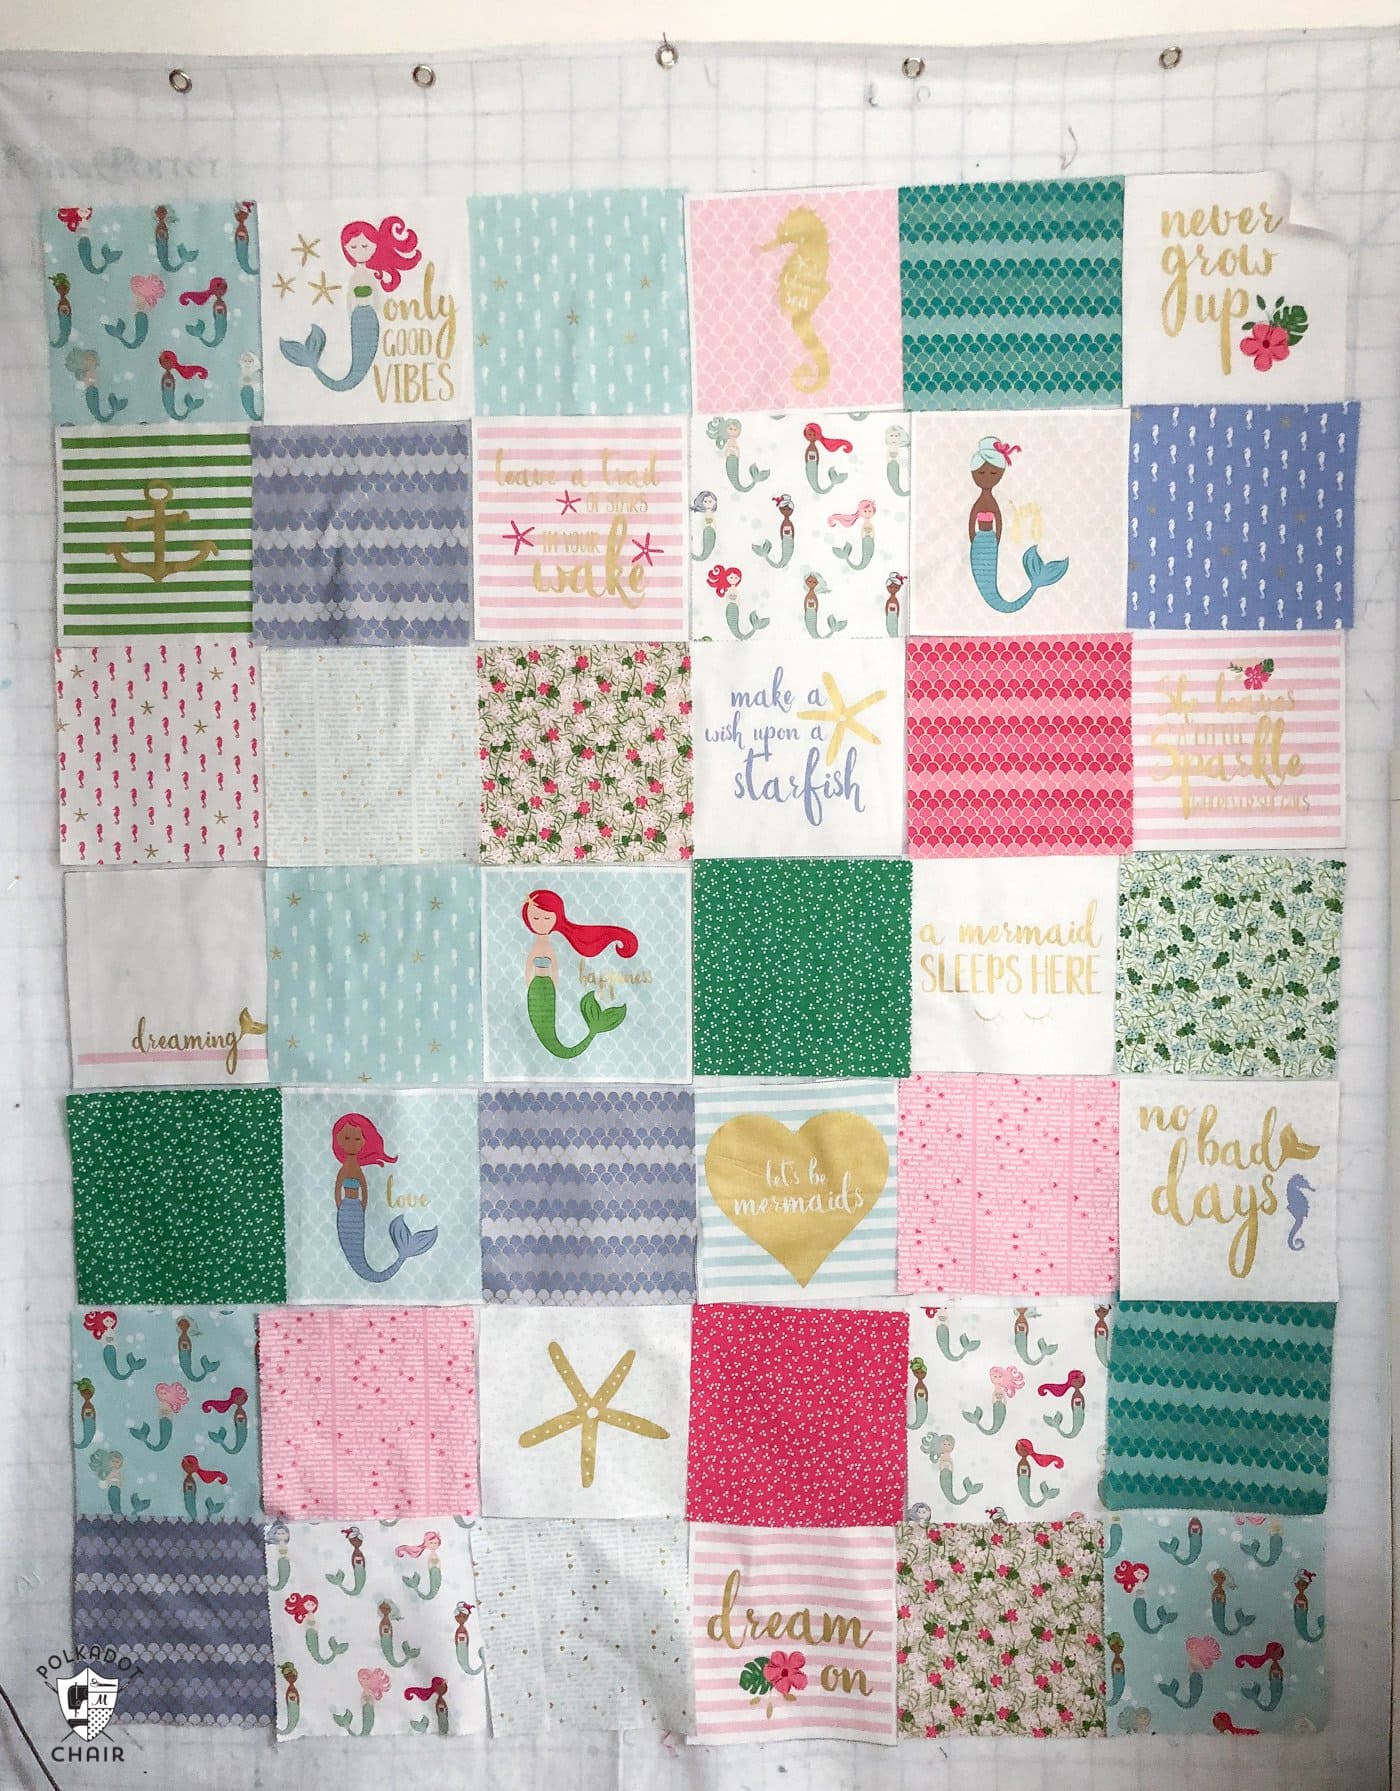
(examples shown above are from my Halloween Haberdashery Quilt pattern, my Hexagon Quilt Tutorial & my Simple Patchwork Quilt tutorial).
Quilting Finishing Tips
1. Snap A Photo
Once you have your blocks in an arrangement you like, snap a photo with your phone. Then, pull the blocks off your wall in rows. Pin the rows together and label them so that when you sew them together, they stay in the correct order.
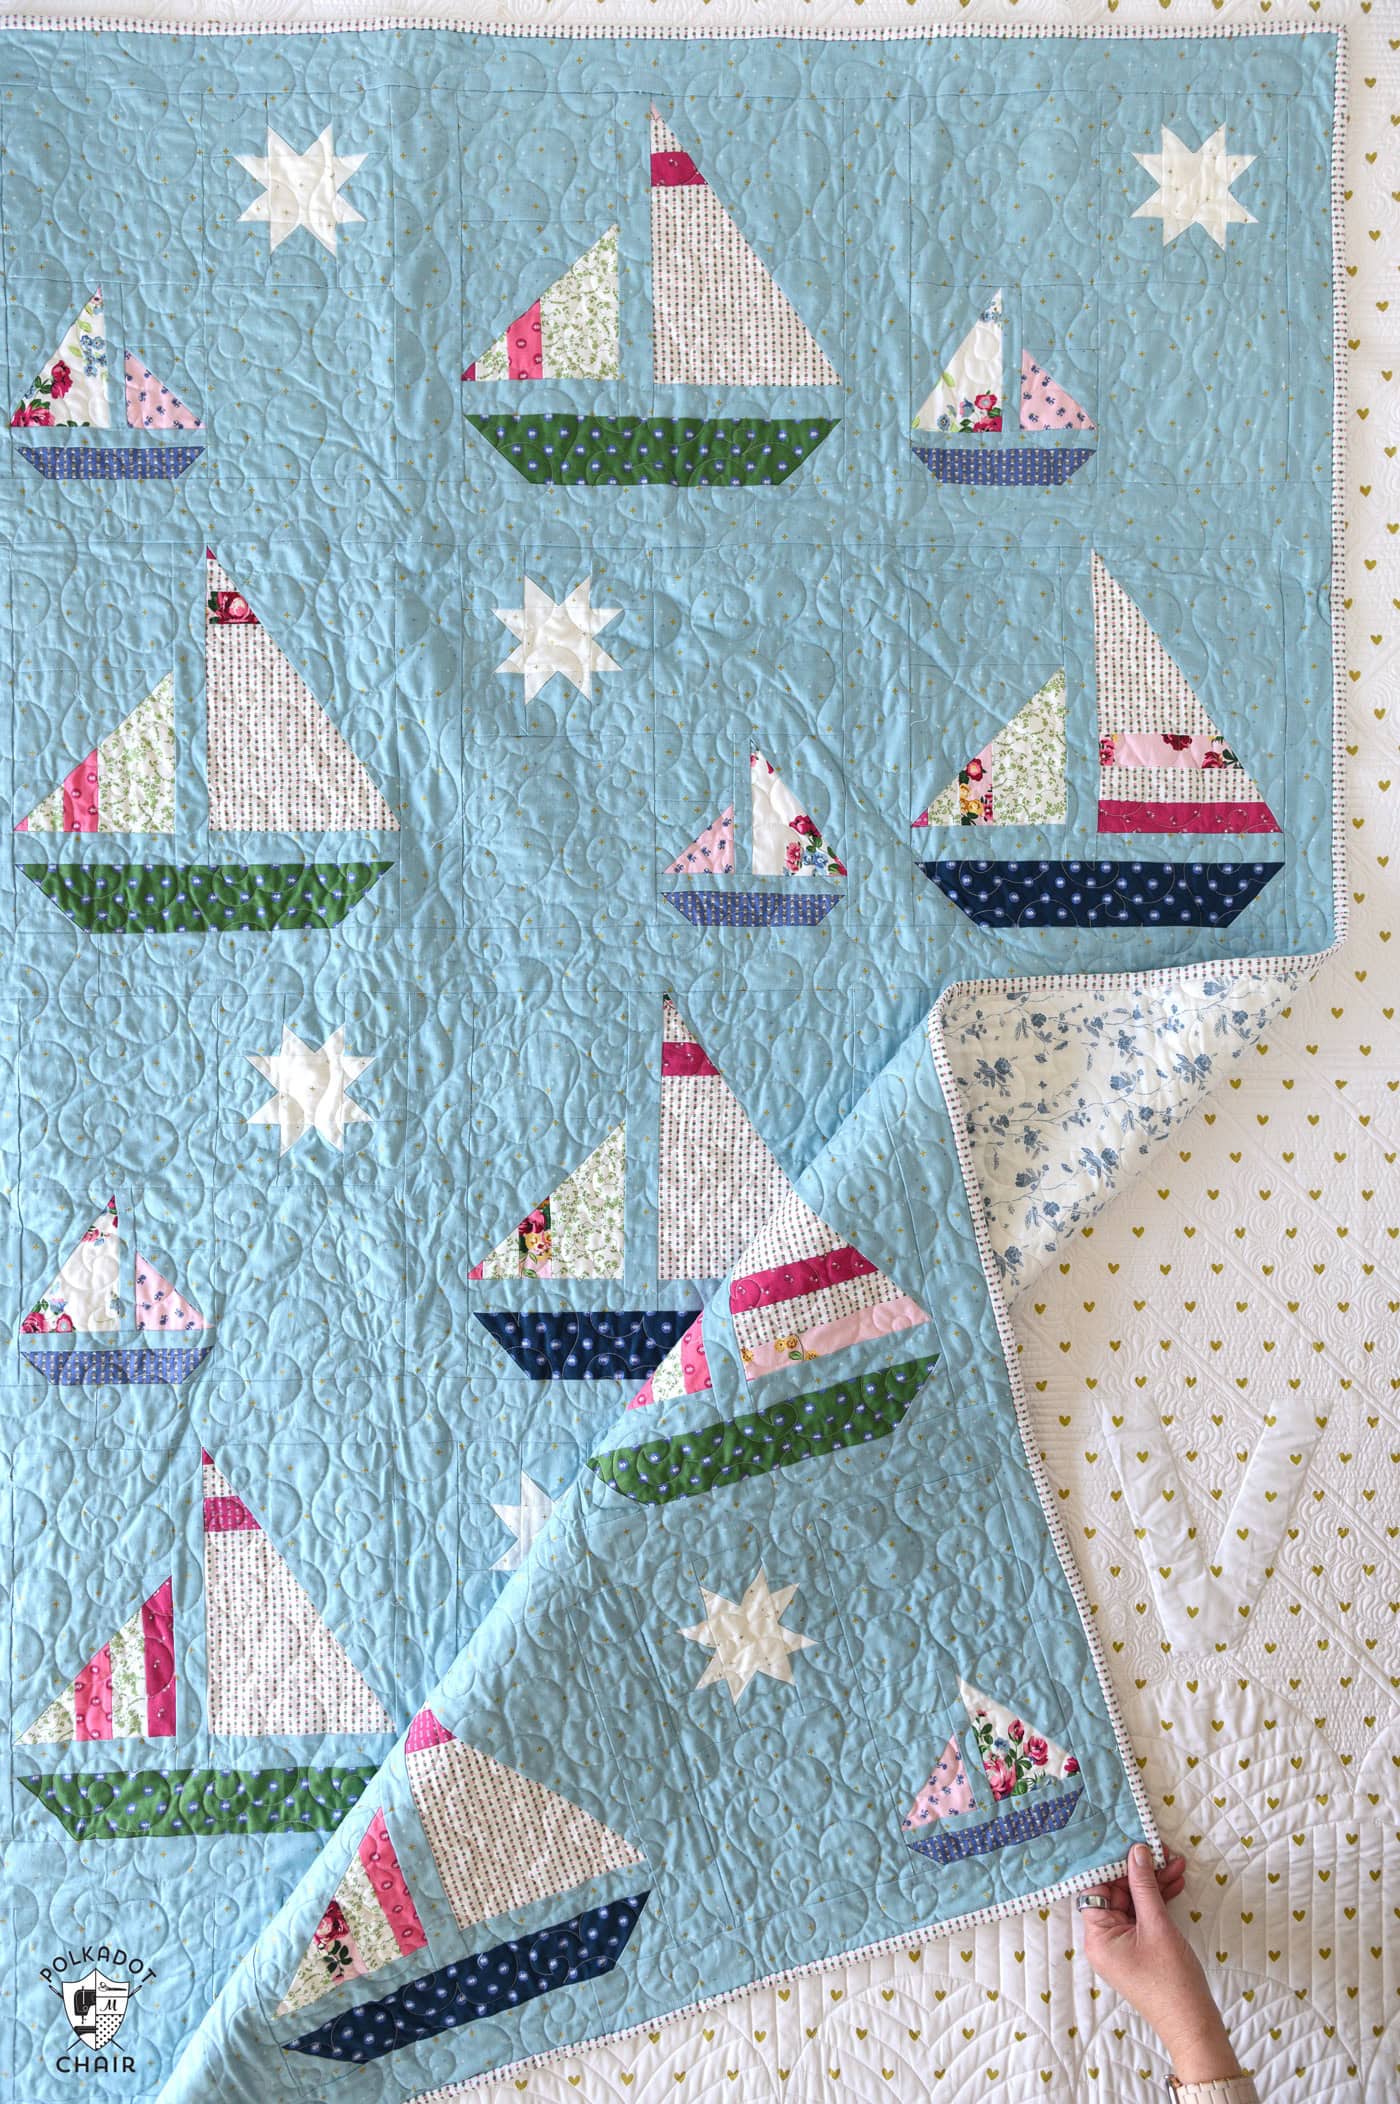
2. Nest Your Seams
Here’s a tip for stitching your quilt blocks together. Press the seams of your quilt to one side, alternating directions. For example, press the seams of the even rows to the right and the odd rows to the left.
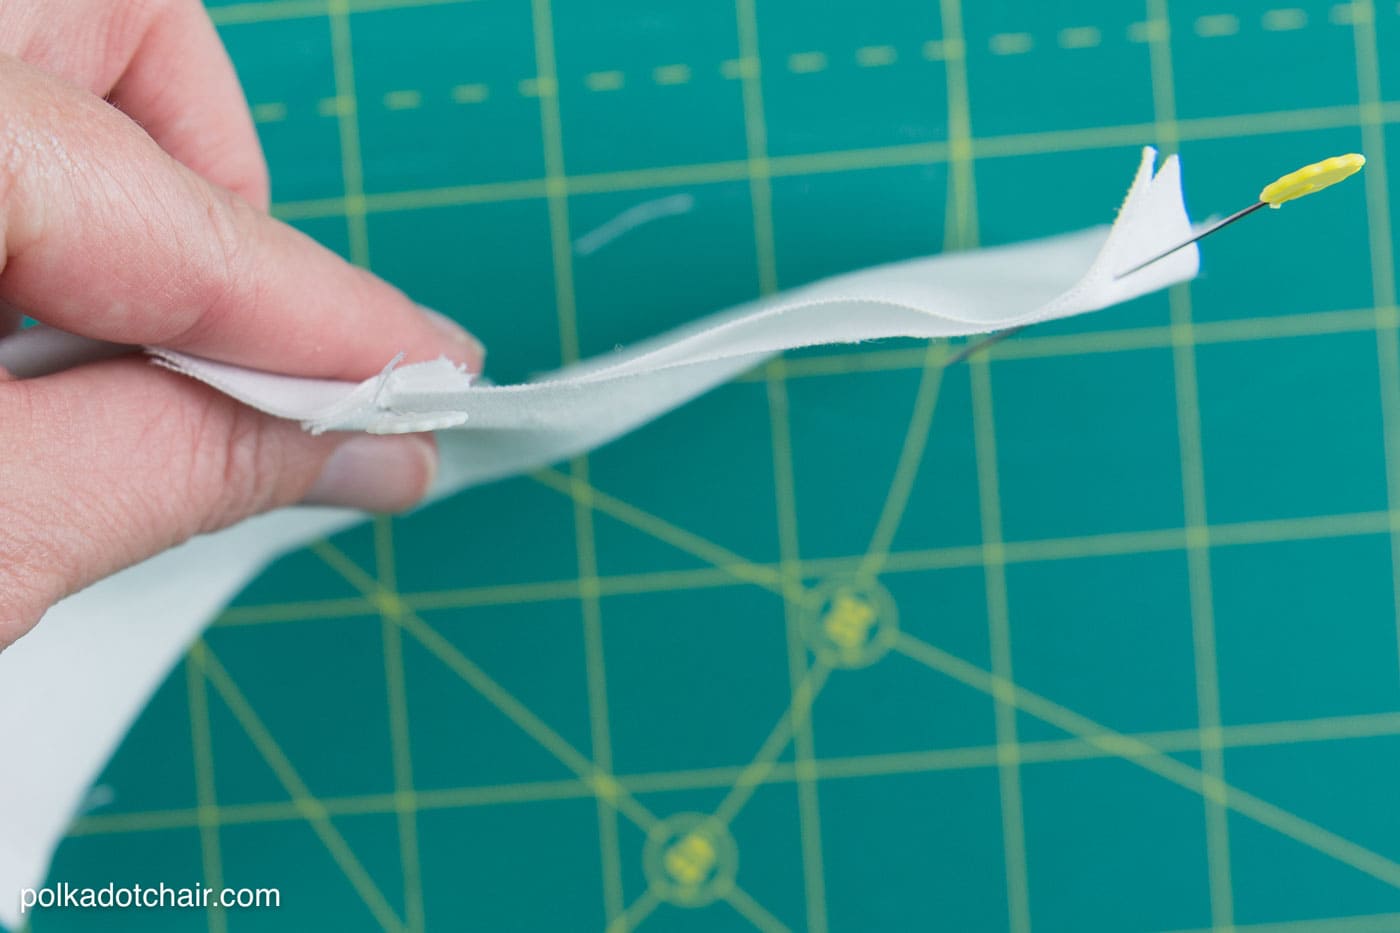
This will allow you to “nest” your seams together as you sew the rows to each other. This nesting will help you line all the blocks’ corners up together perfectly!
How to Finish a Quilt Step Two: Quilting
Note: There are books written on this subject. I’m just going to do a brief overview of the process. You can “dive in deeper” if you’d like; I’ll link up some books on quilting at the bottom of the post.
There are MANY different ways to quilt the quilt top. I’ll briefly cover two of them here today.
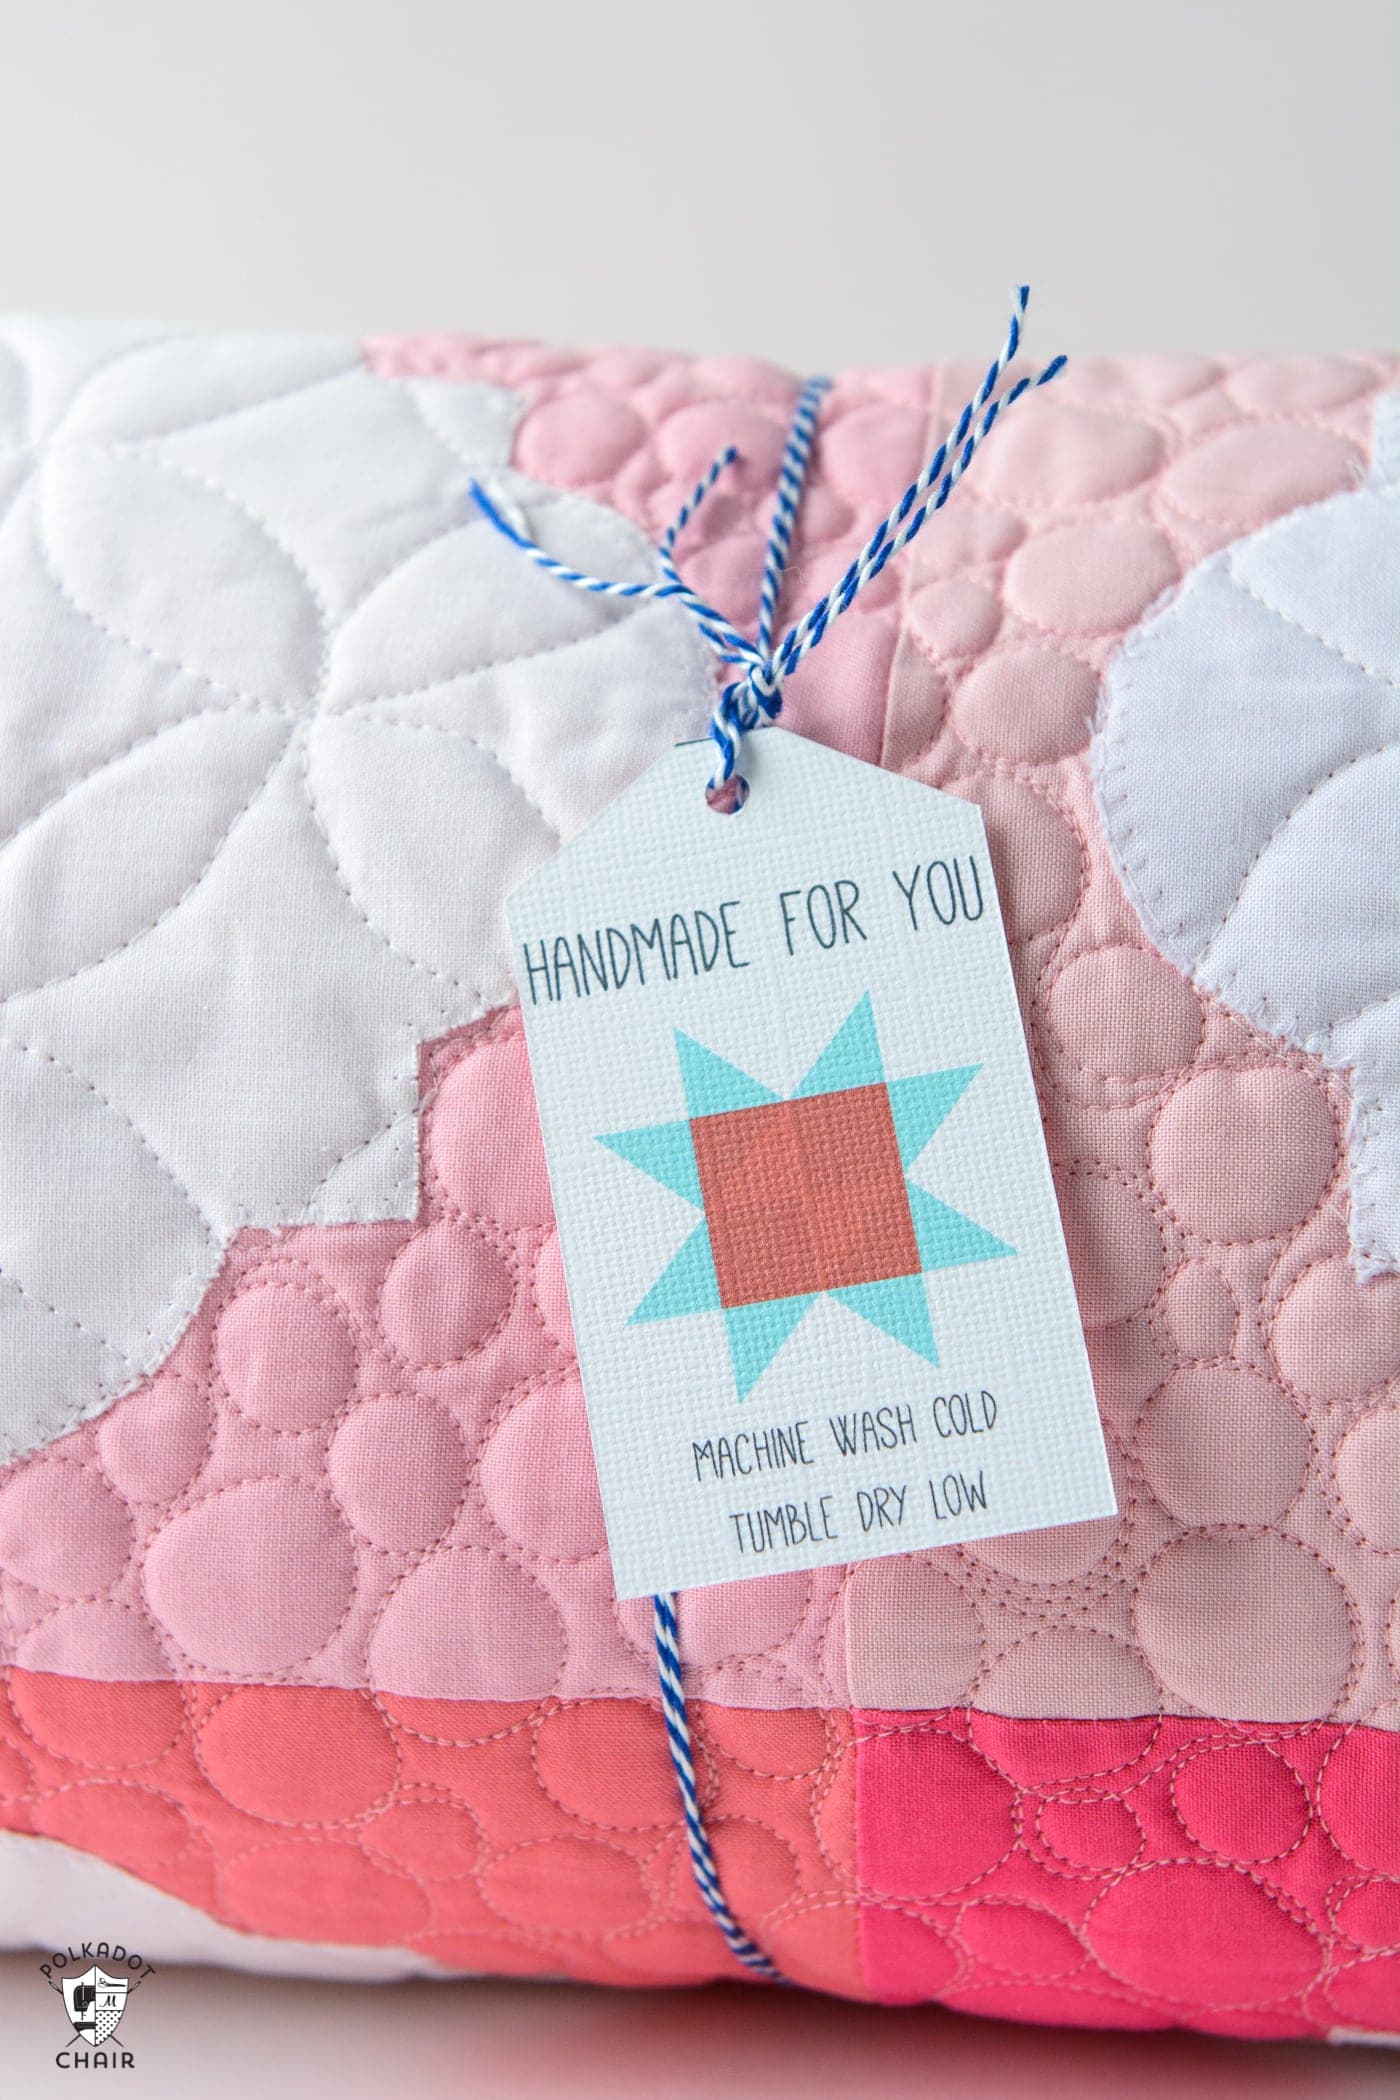
(a close up of custom quilting by Natalia Bonner, printable gift tag info HERE)
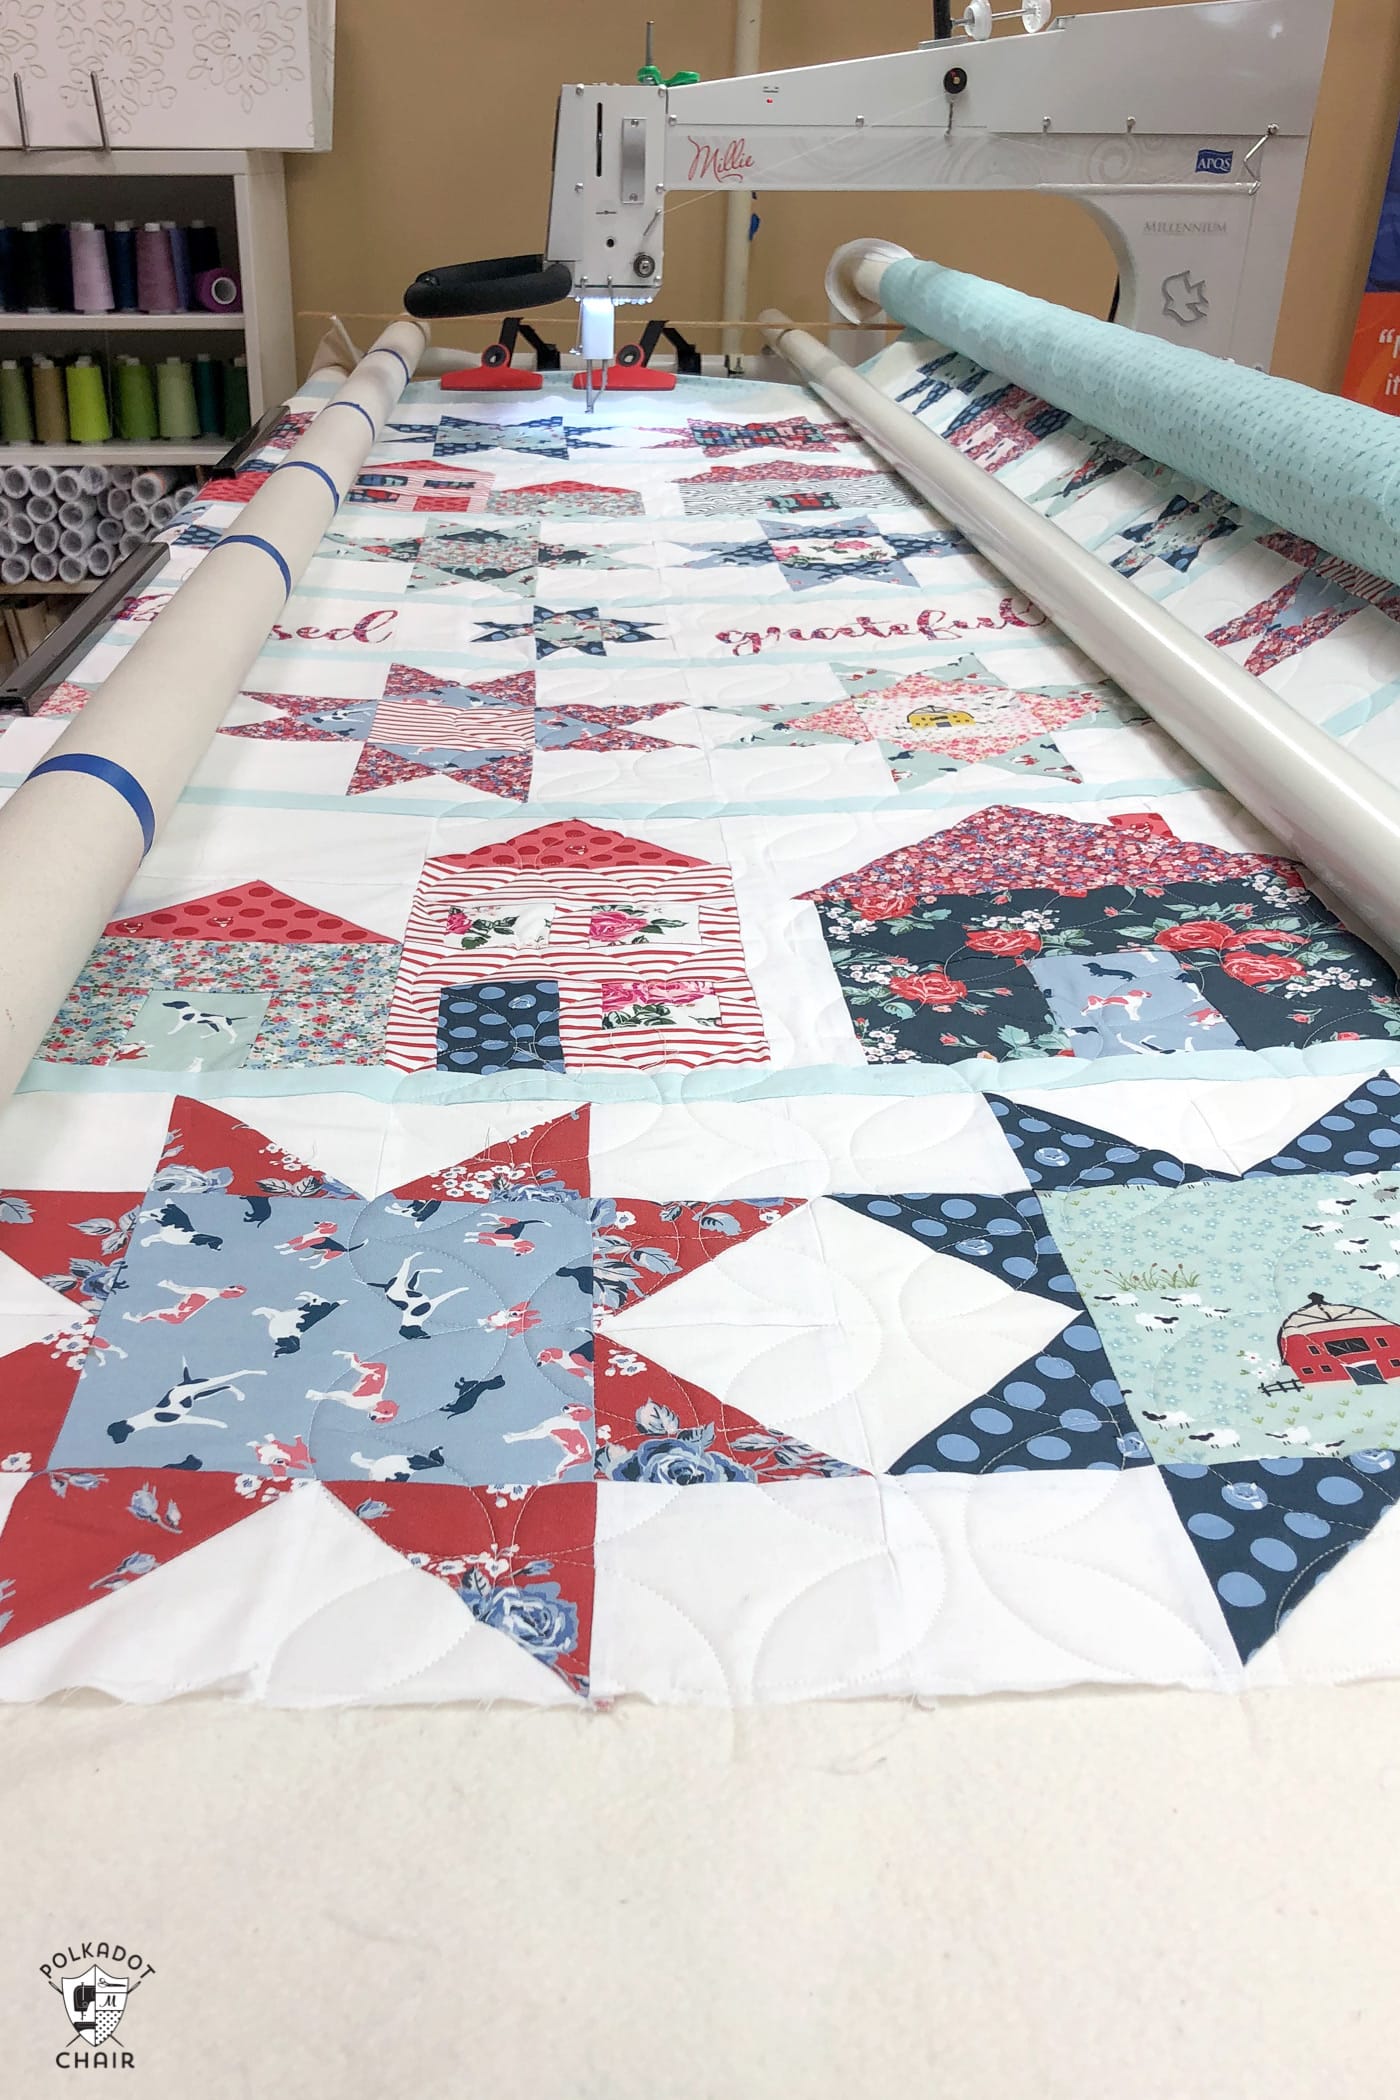
Option 1: Send it Out to a Long Arm Quilter
The first option is to send it out to a long-arm quilter. This is my FAVORITE method since I don’t have to mess with it, and the long-arm does all the quilting. They are true artists and can bring your quilts to life.
If you do this, you’ll need to ensure you have a quilt back larger than your quilt top (as your long-armer, what size they prefer, usually it needs to be at least 10″ larger). Most long-armers will have batting you can buy from them, so you don’t usually need to buy batting.
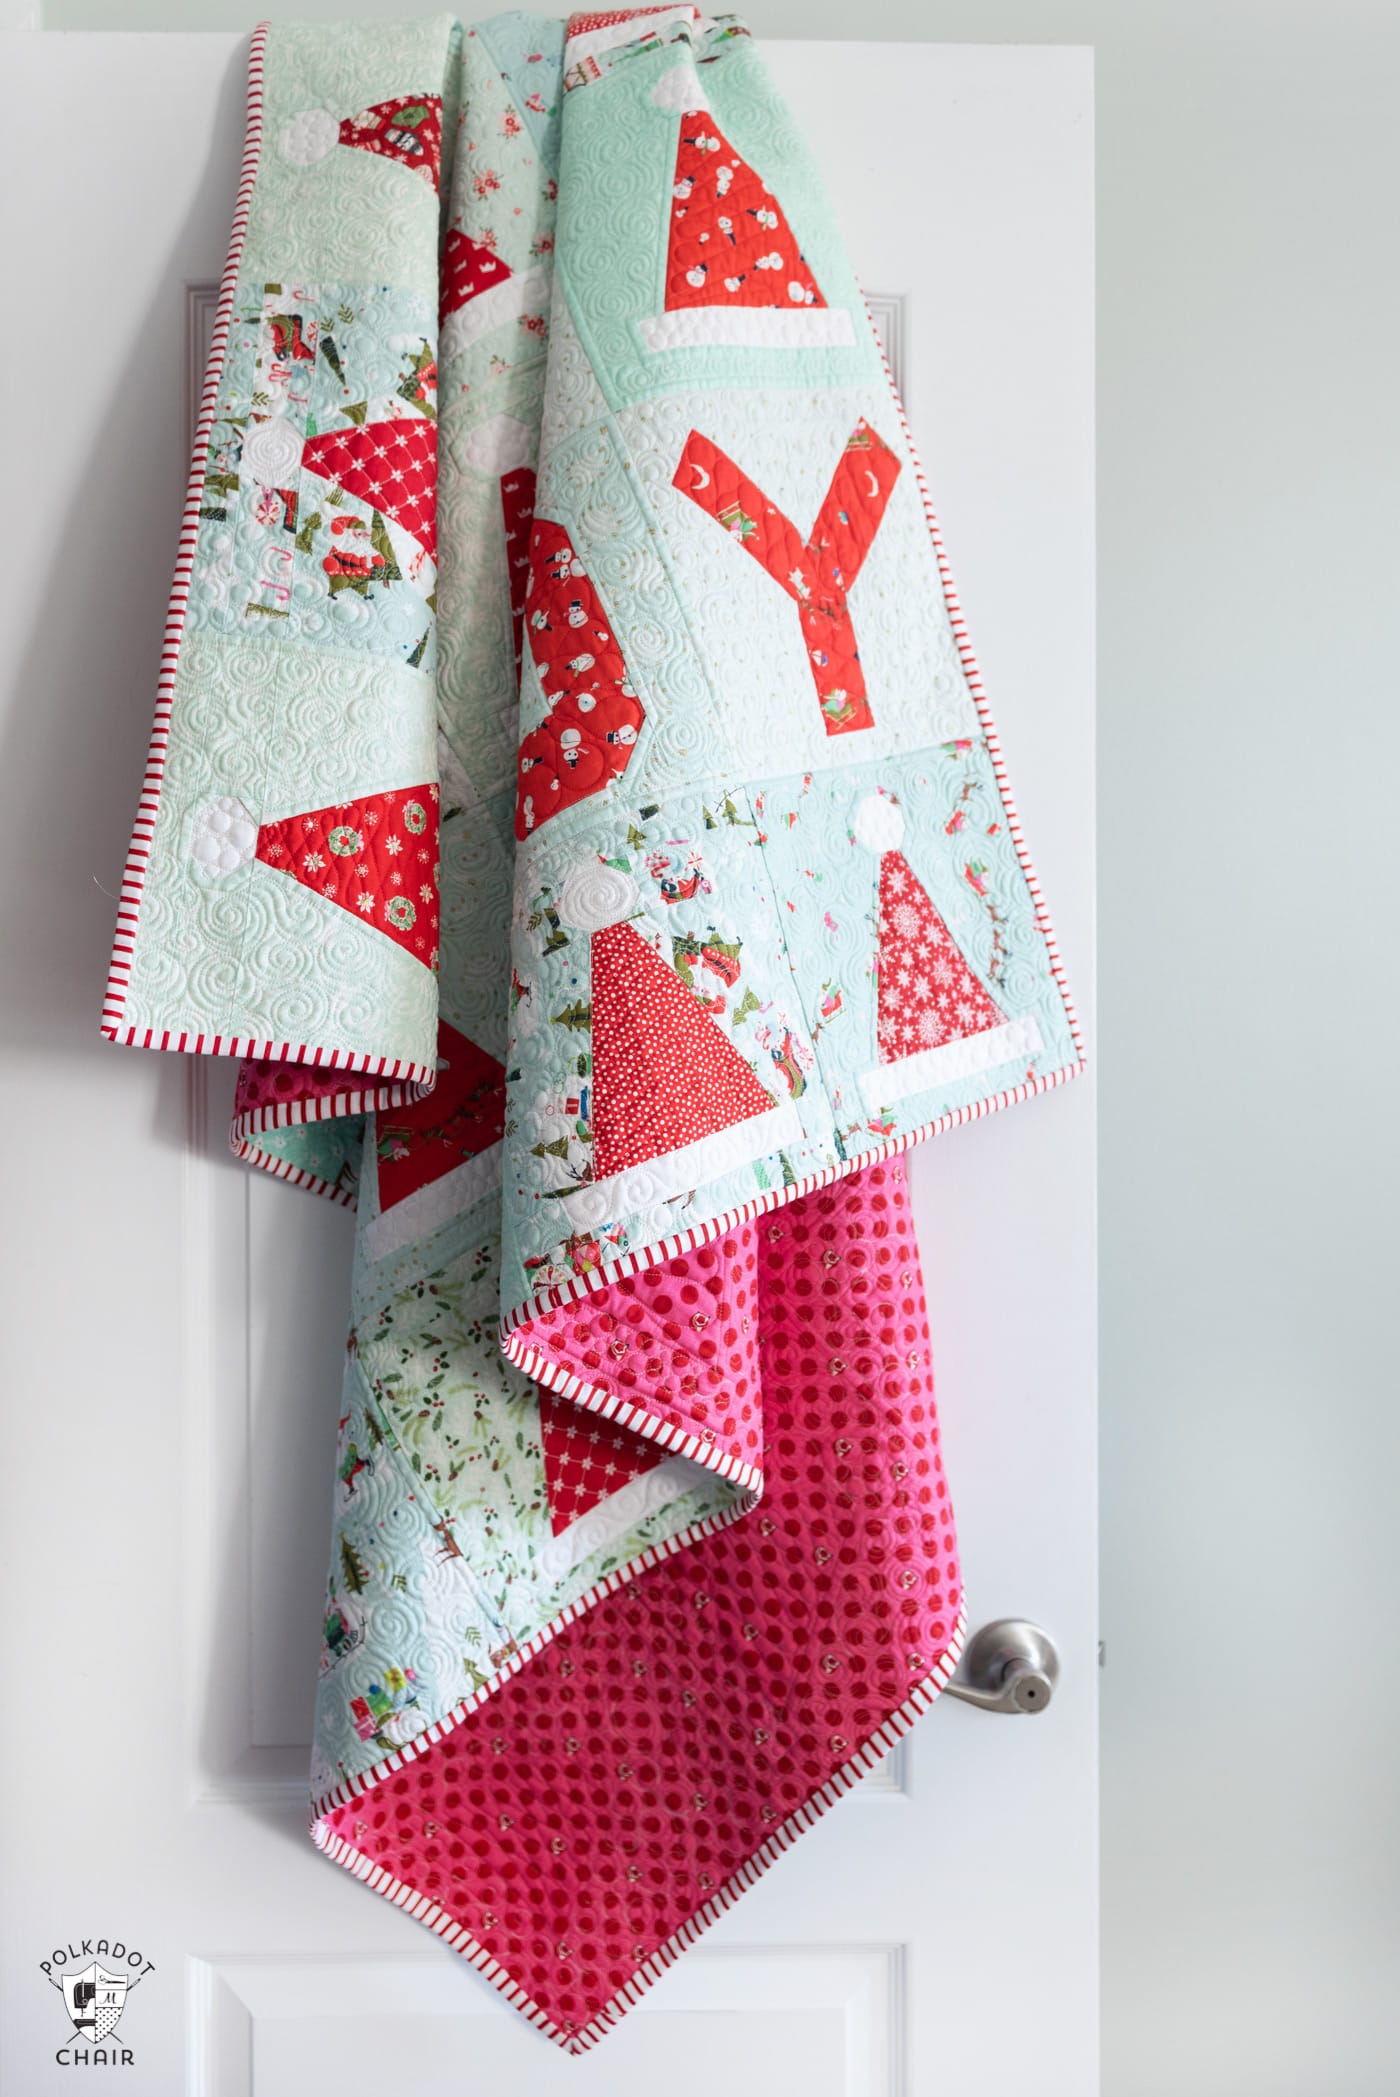
(Quilt shown is Let’s Stay Home)
Option 2: Quilt it Yourself on a Domestic Sewing Machine
This is not my favorite part of the quilting process. For some people, it is their VERY favorite part. Everyone is different. If you are quilting at home on a home machine, you can either free-motion quilt your quilt top or use a walking foot to quilt straight lines.

I’ve not had much luck with free-motion quilting a large quilt top on a home sewing machine. I prefer to straight-line quilt it instead.
The first step to machine quilting is to make a quilt sandwich. I’ve found the best way to do this is on the floor (I’ve also used my design wall before for smaller quilts).
Begin by laying out your quilt backing on the floor, the wrong side up. Using painter’s tape, generously tape down the sides of the quilt back to the floor.
Your quilt back should be about 10″ larger in both directions than your quilt top.
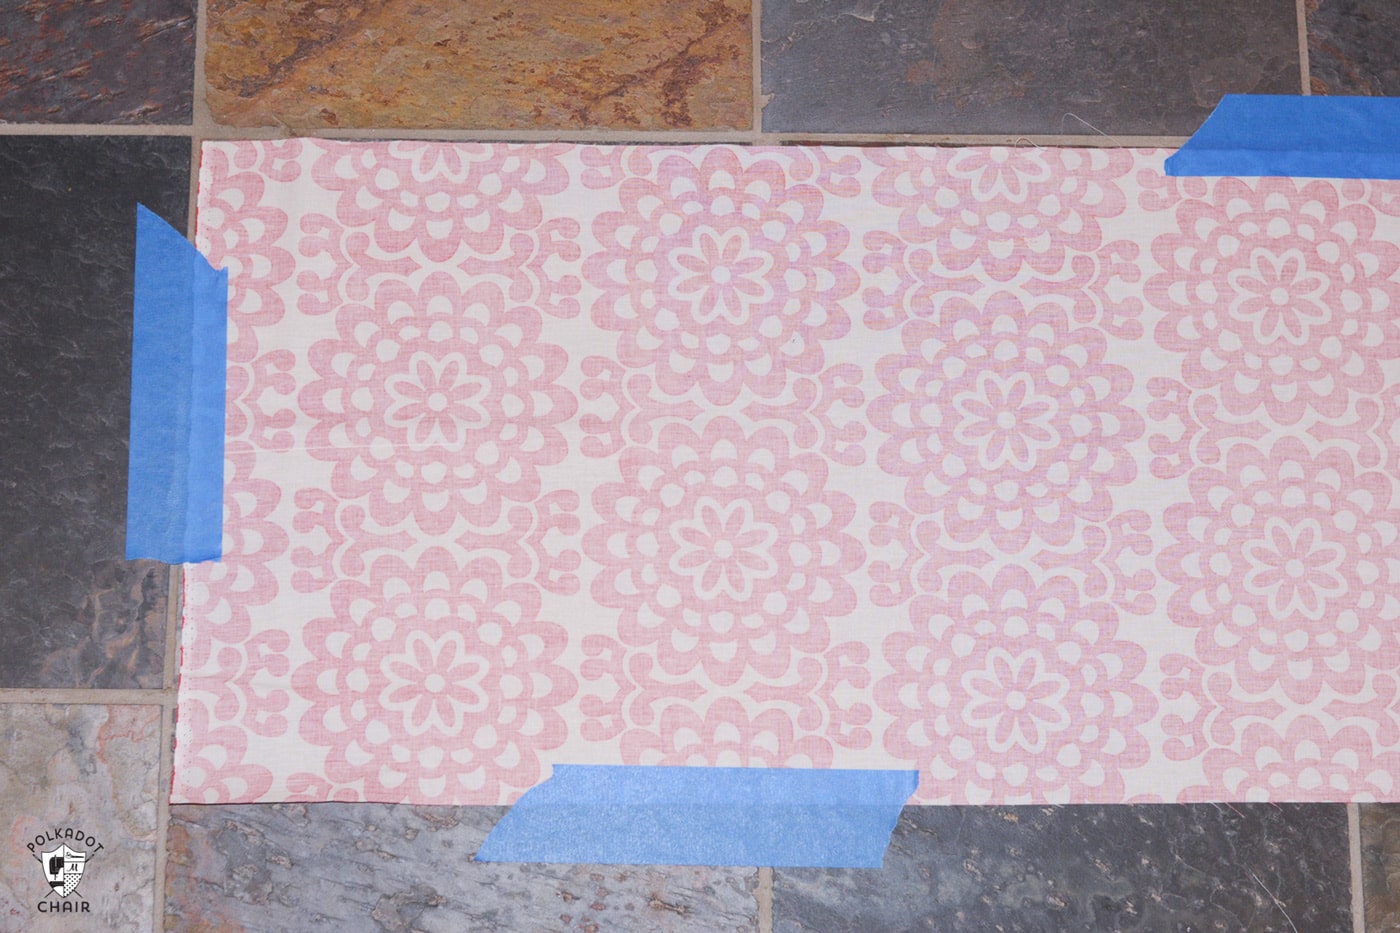
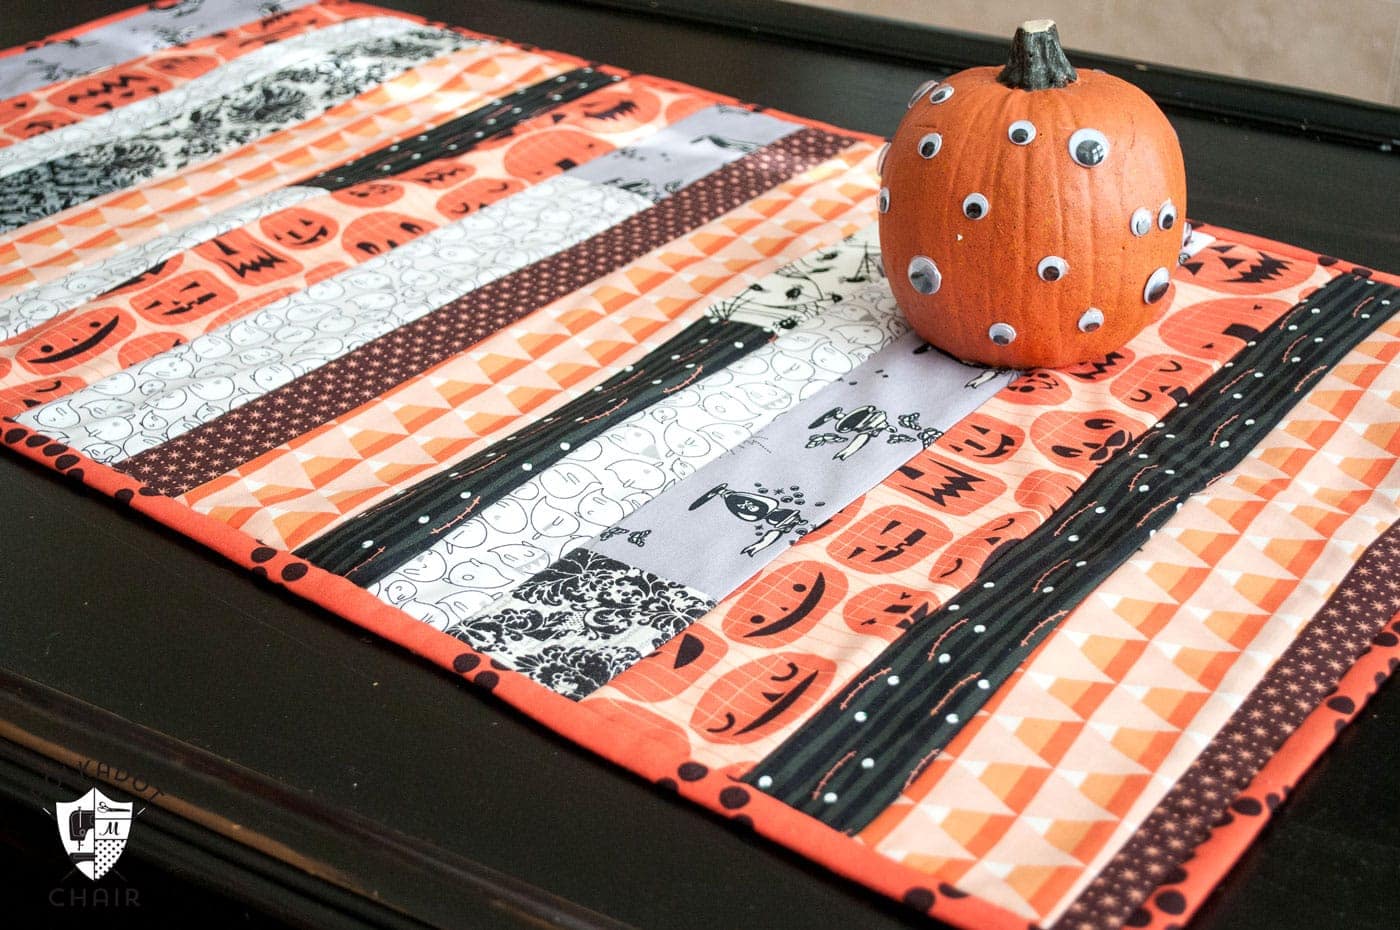
(photos are of a smaller project, a table runner, since it fits in the camera better than a full quilt top. The process is exactly the same).
Next, you need to baste; I prefer to spray baste. After you’ve taped down your quilt back, spray it with Spray Baste.
Make sure you open a door or a window when you do this, and use a piece of cardboard to catch overspray. Otherwise, you’ll have a stinky, sticky floor.

Fold your quilt batting (I prefer to use 100% cotton batting cut about 6″ larger than your quilt top) in half, then in half again. Lay the folded batting on the quilt back, then unfold the batting onto the quilt back, working one section at a time.
Spray the batting with spray baste.
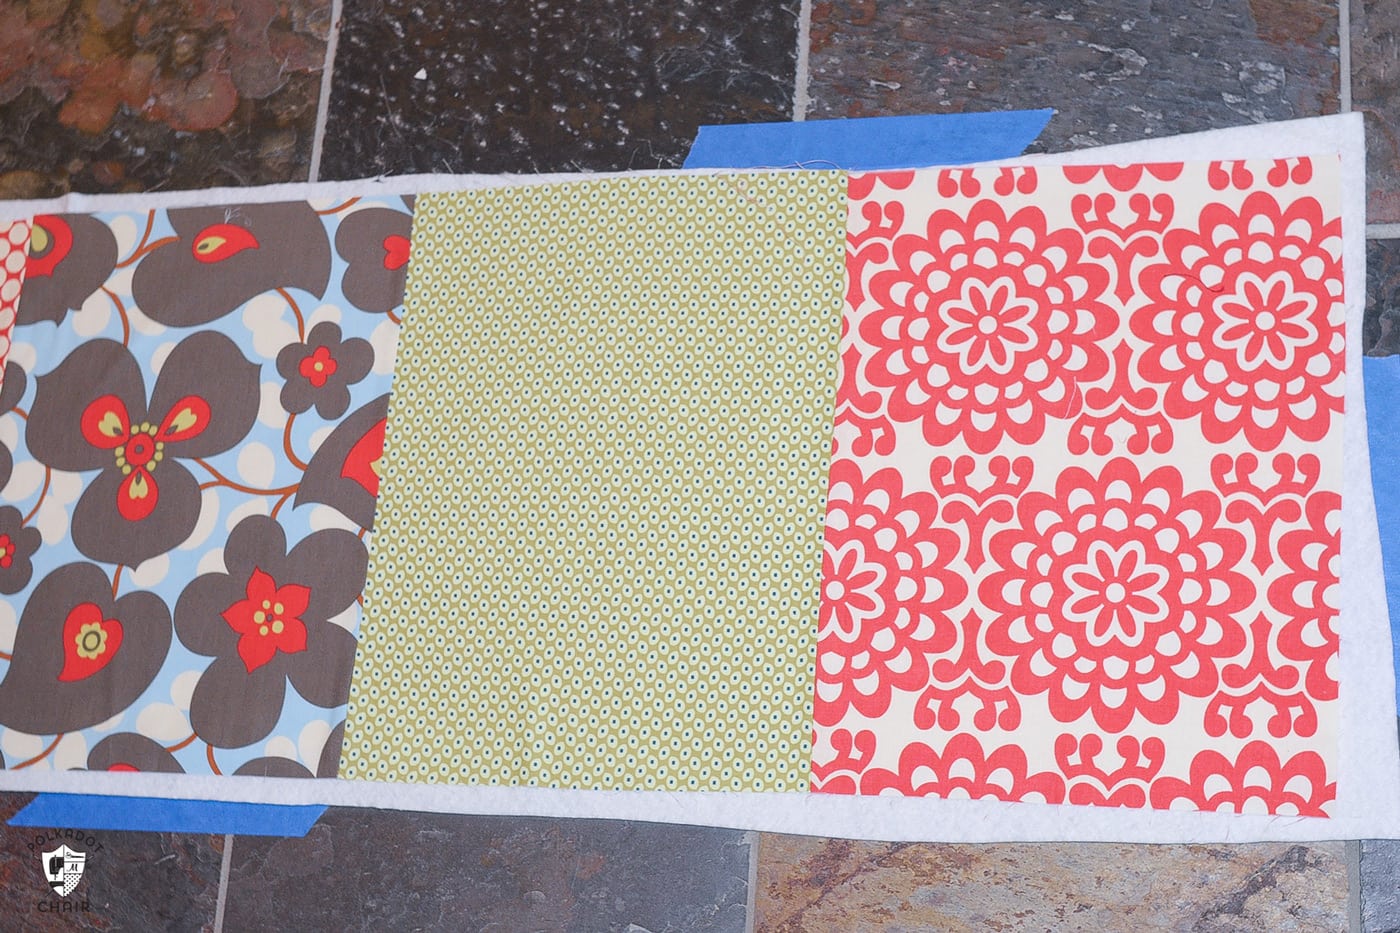
Now lay your quilt top on top of the batting, right side up. Smooth the top with your hands until you’re sure you’ve worked out any bubbles or bumps.
When you have it the way you want it, roll it up. It’s ready to quilt.
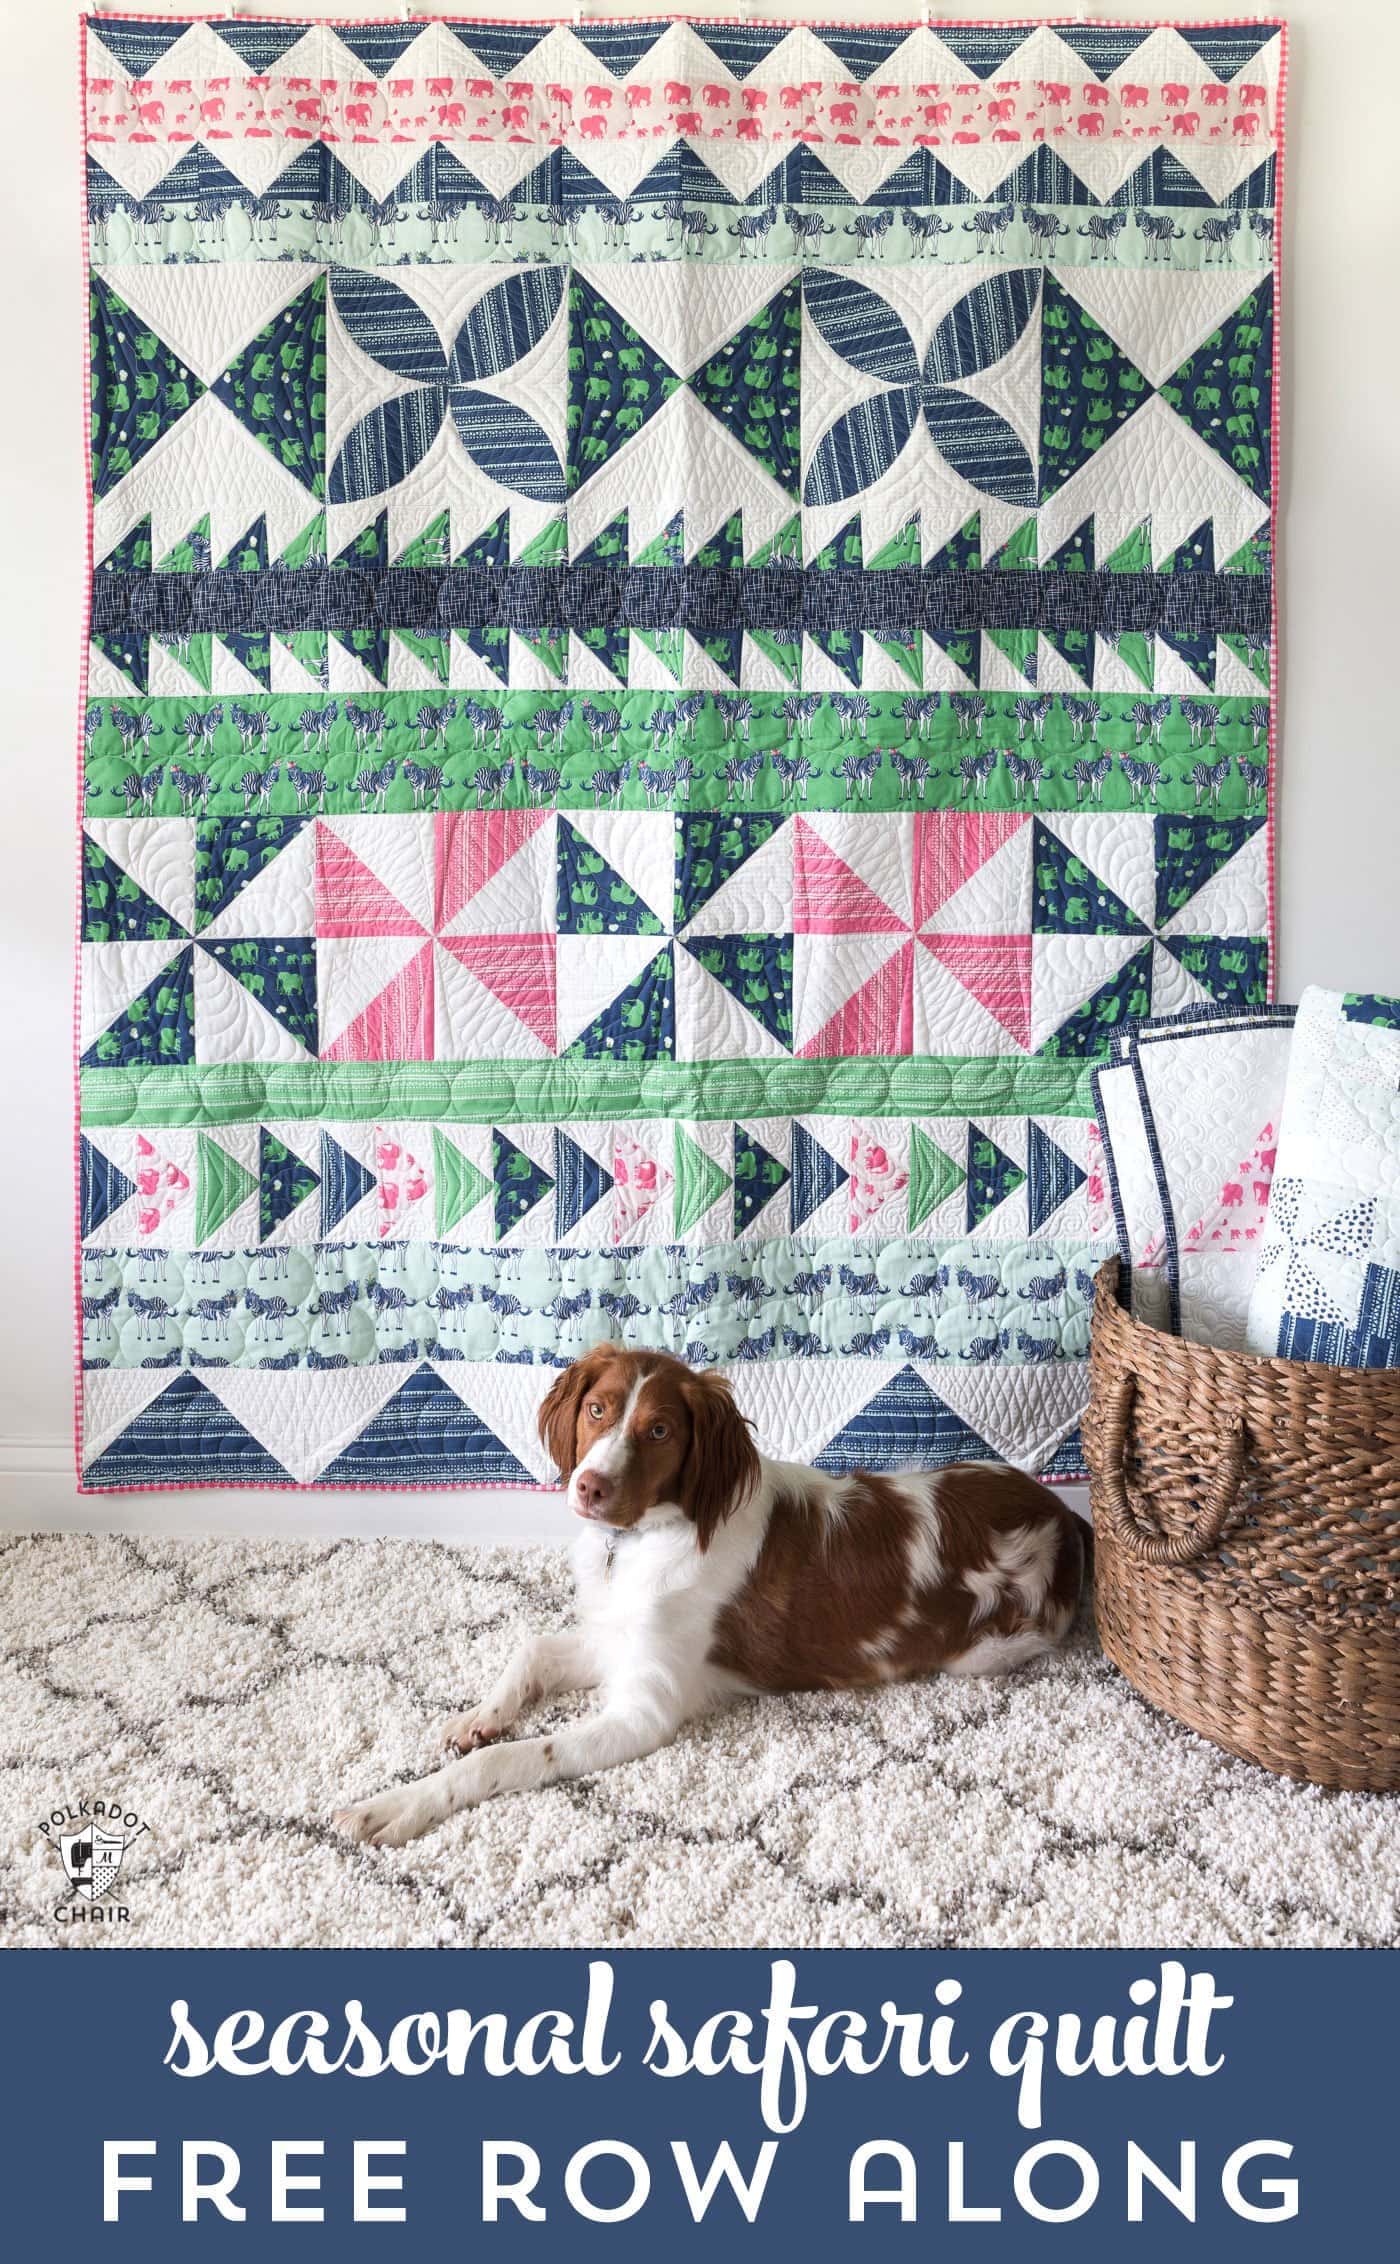
For my Halloween quilt, I quilted straight lines 1″ apart. I used a walking foot on my sewing machine, a straightforward way to make a quilt. I could go on for paragraphs about quilting a quilt top, but I won’t. All books have been written on this subject alone.
Here are two that I recommend:
A Beginners Guide to Free Motion Quilting by Natalia Bonner
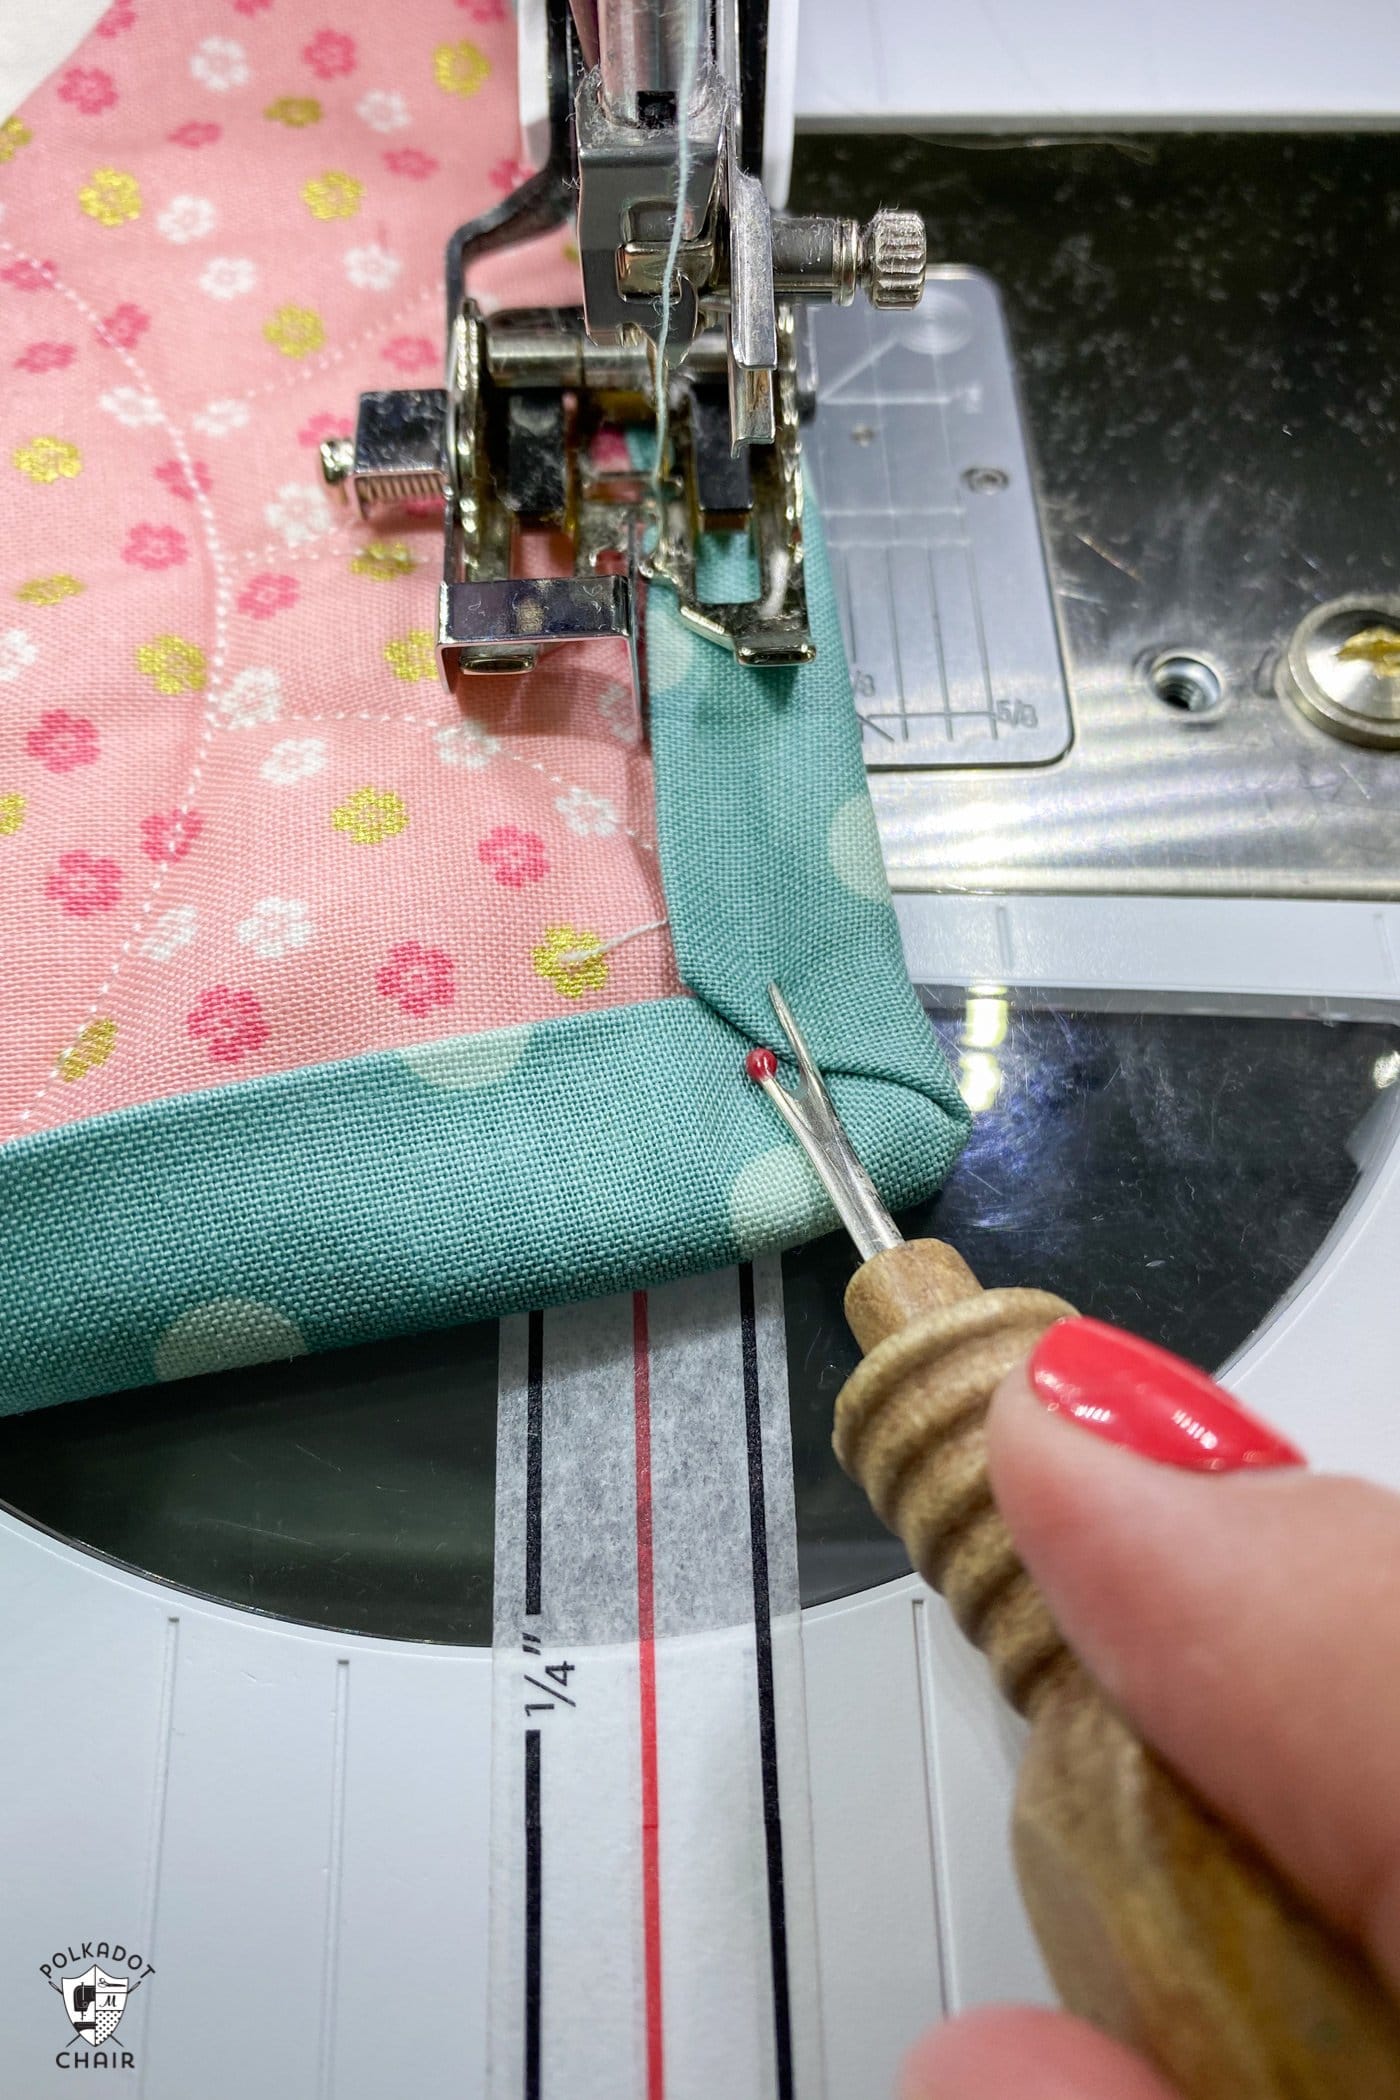
Quilt Finishing Step Three: Binding
After you’ve quilted your quilt, square it up and trim all the layers even. Now you’re ready to bind it. If you want to bind your quilt entirely on a machine, then follow our Machine Binding Tutorial.
If you want to hand sew the binding on your quilt, then I recommend THIS tutorial by Amy at Diary of a Quilter.
Okay, that’s how to finish a quilt in a nutshell! As I mentioned, there are entire books on this subject, so I’ve just scratched the surface. Hopefully, it’s enough to get you started!
Note: This post has been updated from a previous version.
More Quilt Tips

I quilt my quilts on my embroidery machine.
I have never done a binding on a blanket before and to be honest..I don’t understaffed the instructions. But I’m getting tired of making rag quilts and I just want to put a nice edge on my blankets… but the binding part I’m not understanding.
We have an entire blog post just about binding here: https://www.polkadotchair.com/how-to-machine-bind-a-quilt/
I’d love to see the printable gift tag above, but the link isn’t “clickable” for me. 🙁