DIY Quilt Block Tea Towel Tutorial
Stitch up a cute dish towel to add to your kitchen decor with our free “cheater” quilt block tea towel sewing tutorial! We made our tea towel in red, white, & blue fabrics for the 4th of July, but this project can easily be adapted to any time of the year.
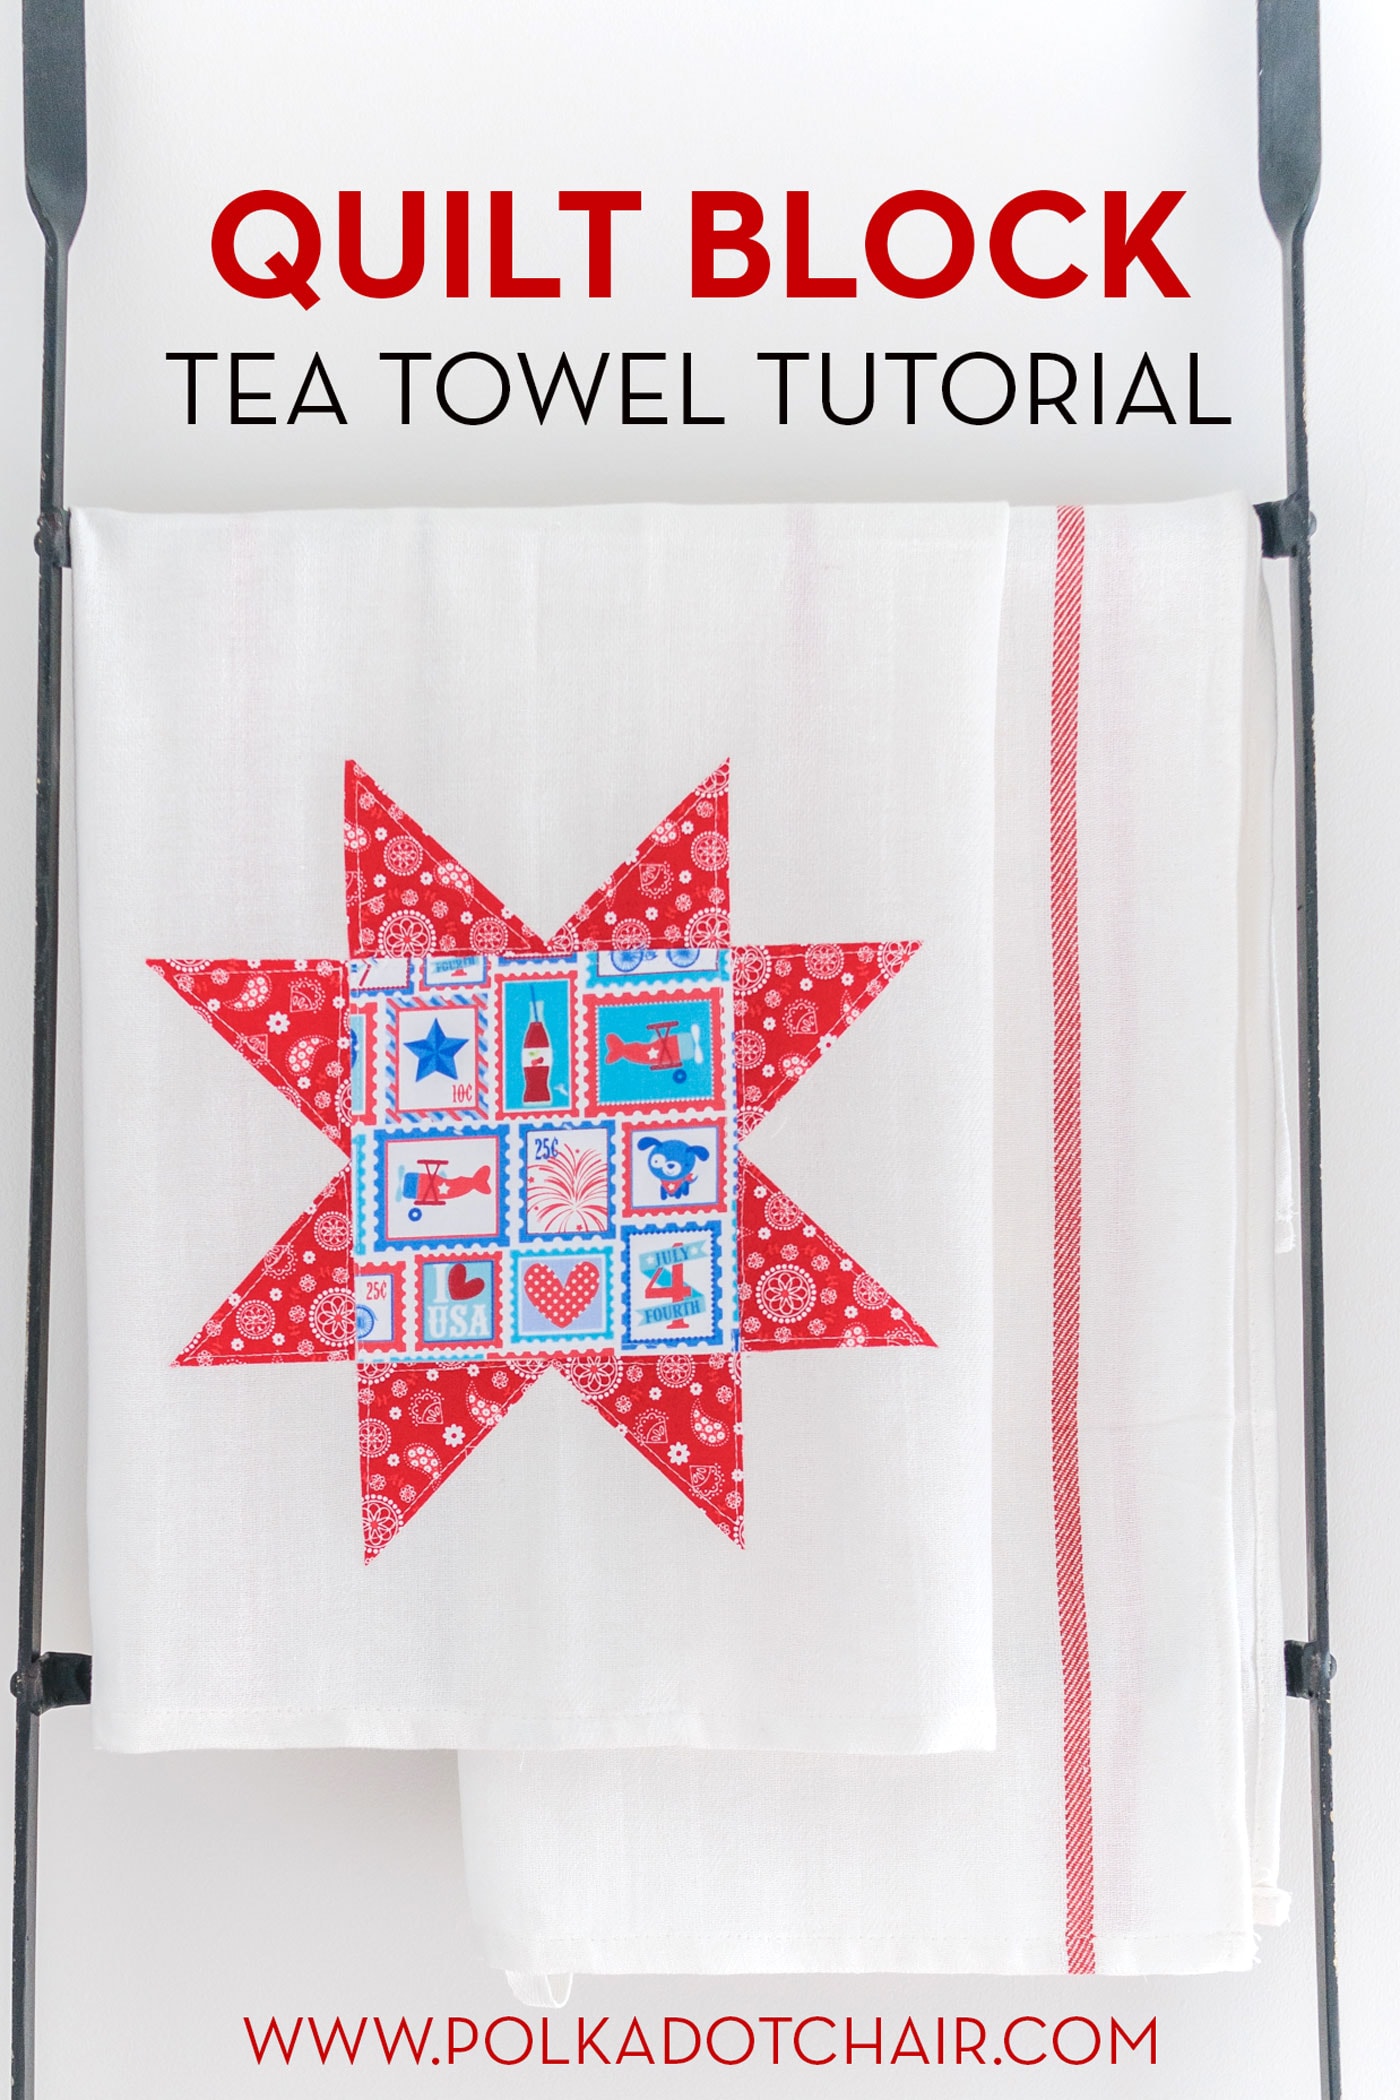
I’ve got a fun new blog post idea to share with you today. I’m always looking for simple red, white, and blue craft ideas perfect for the 4th of July, and these little tea towels fit the bill!
In addition to the process of quilting, I also love the bold graphic shapes and motifs of quilt blocks.
You could easily create this dish towel using traditional piecing methods, but I thought I’d try something different and create the decorative portions of the towel using raw edge applique.
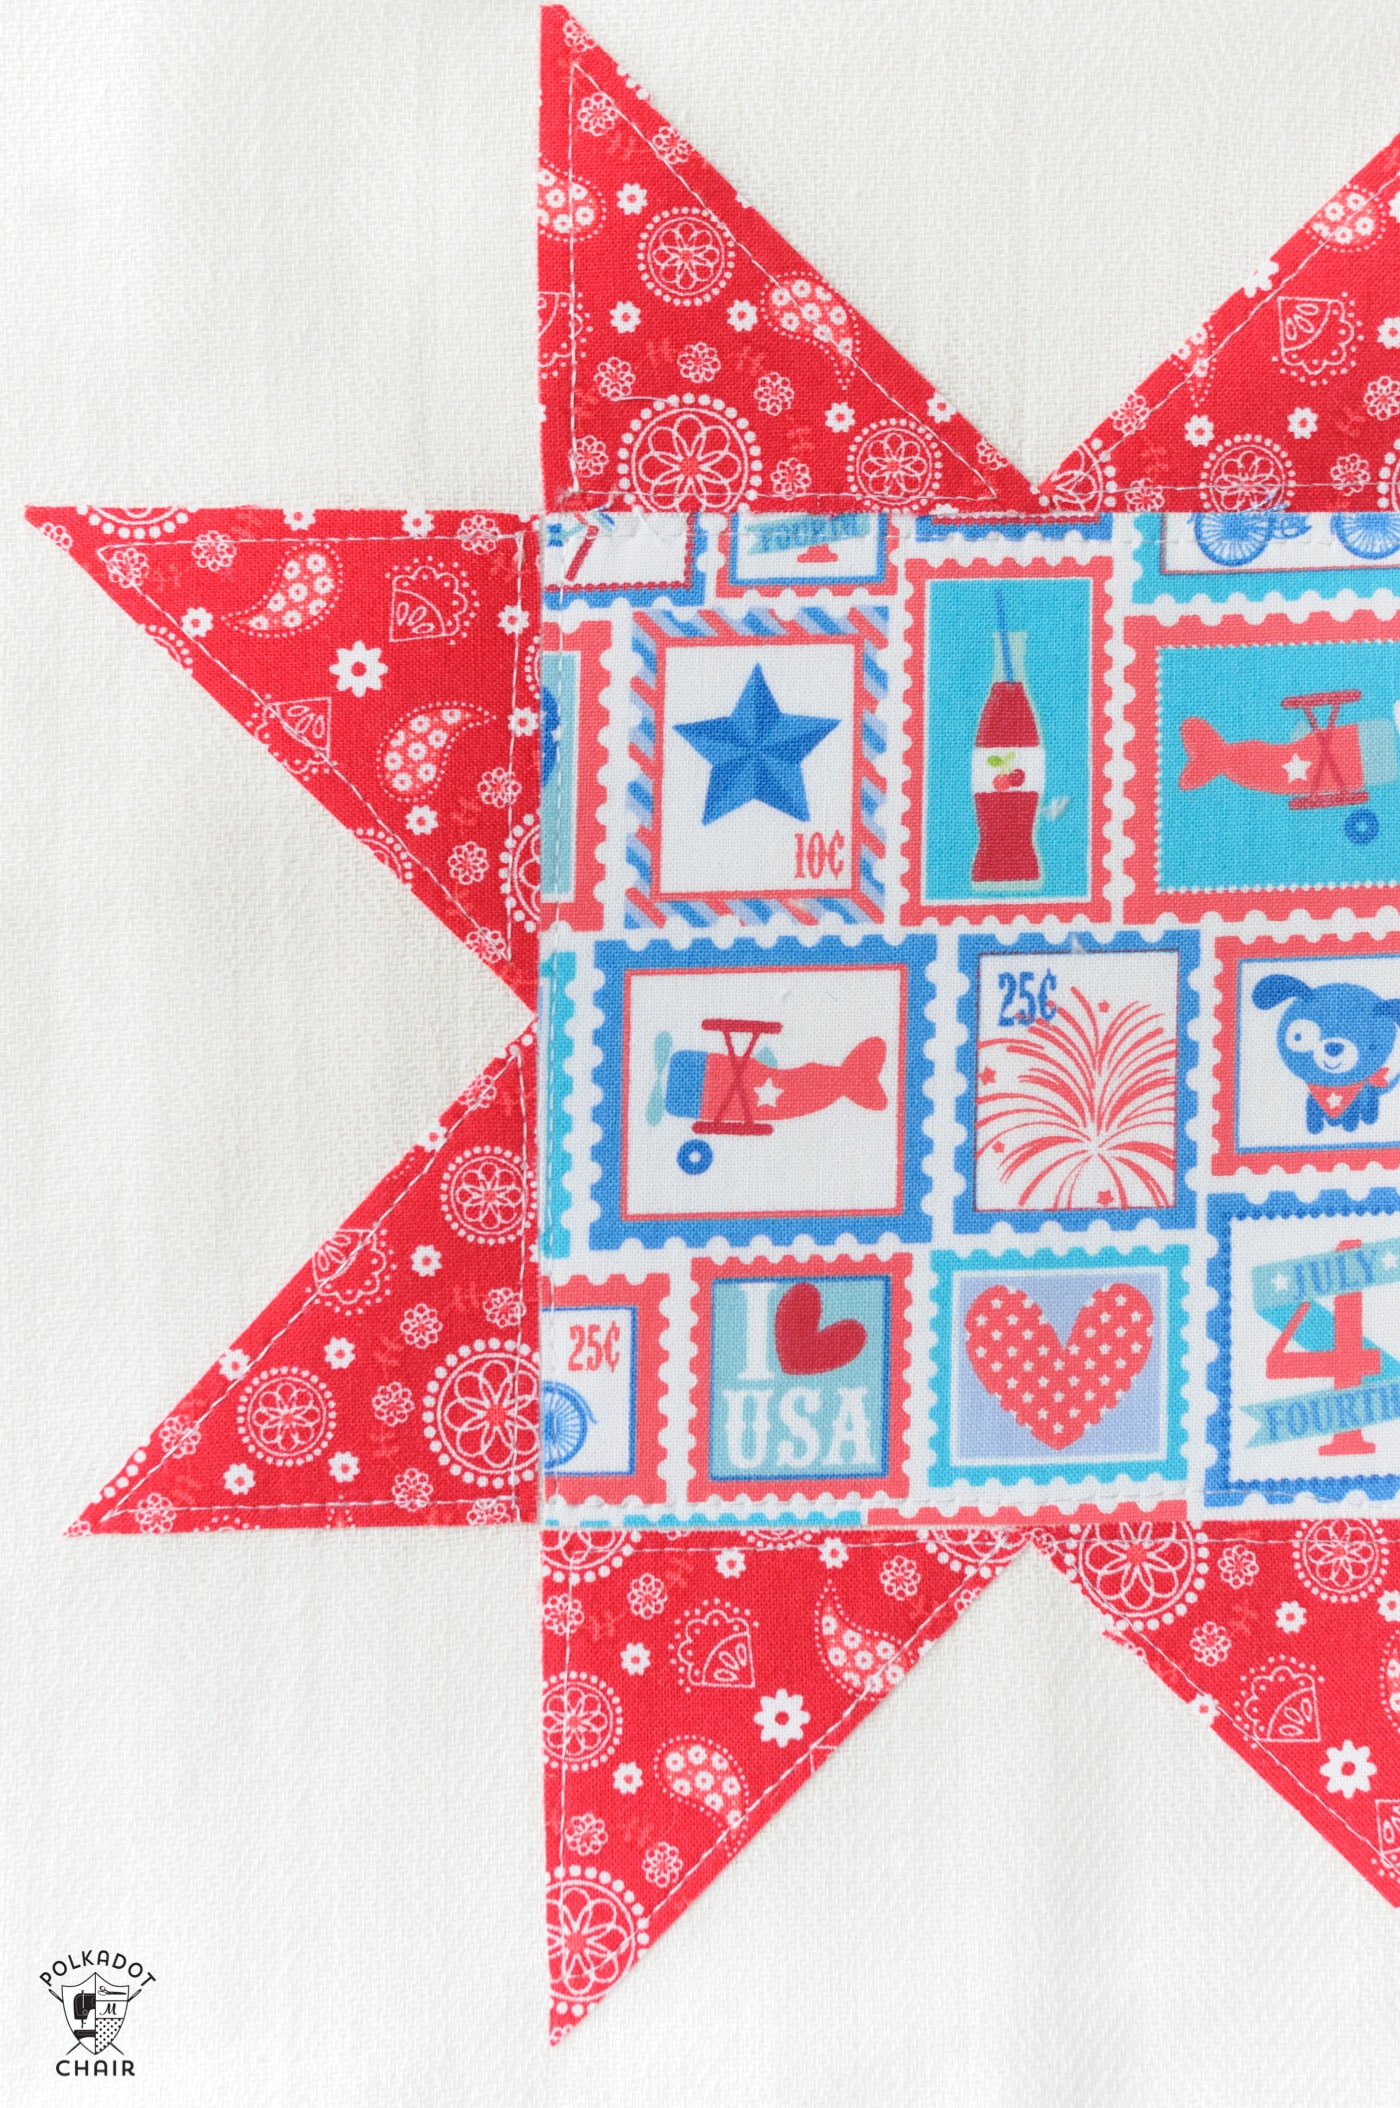
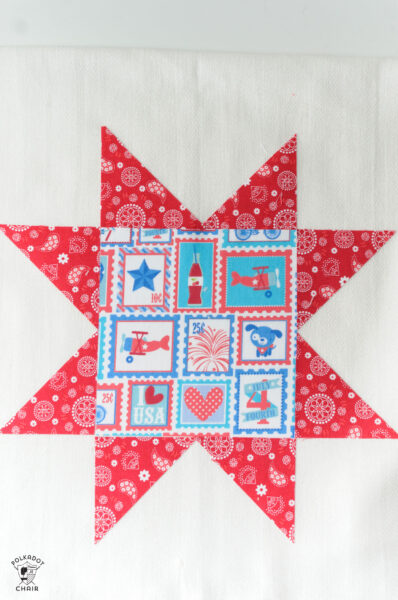
A simple Sawtooth Star quilt block inspired this towel. You could easily do this with any of your favorite quilt blocks.
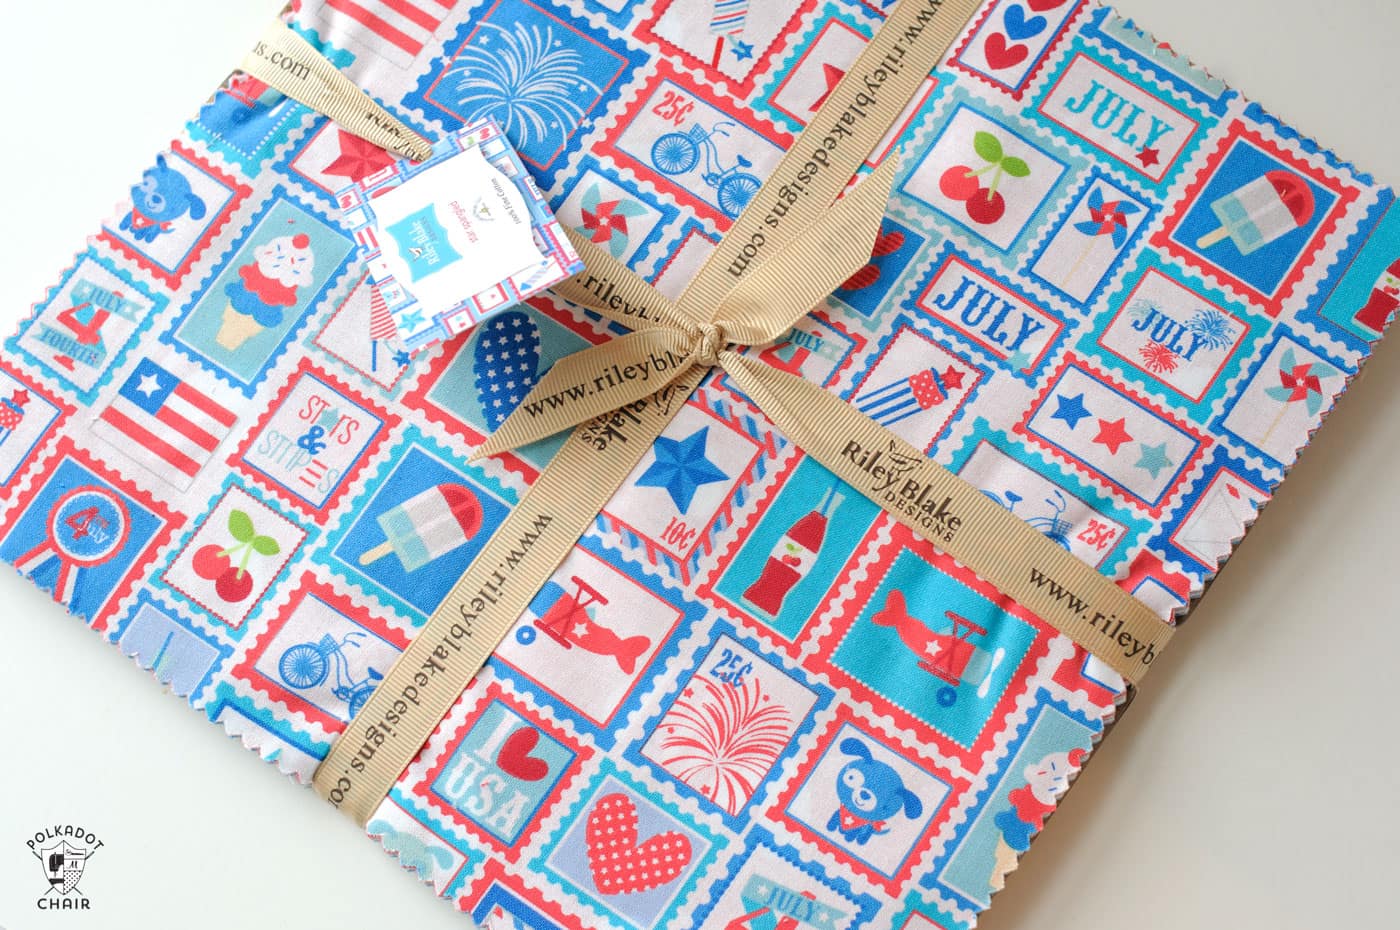
The fabric on this towel is from a 10″ precut stack of fabric, sometimes called a Layer Cake. You only need 2 layer cake pieces for the project, which makes this the perfect project to sew if you have leftover precut squares from a larger quilt project.
Cheater Quilt Block Dish Towel Tutorial
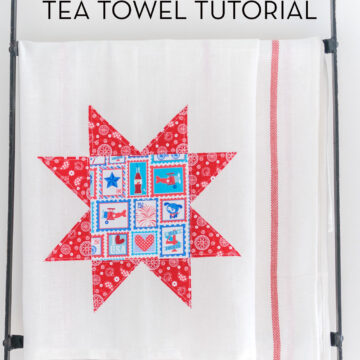
Quilt Block Tea Towel
supplies
- 2 10" Squares Fabric I used Red, White, and Blue fabric. Mine is from a 10″ stacker from Riley Blake Fabrics. Fat Quarters would be perfect for this project as well.
- 1 piece Heat N Bond Lite
- 1 Dish Towel mine is from IKEA
Instructions
Step one:
- Cut two pieces of heat n bond lite, each slightly smaller than 10" x 10.
- Iron the heat n bond lite to the back of two of the 10″ x 10″ pieces of fabric.
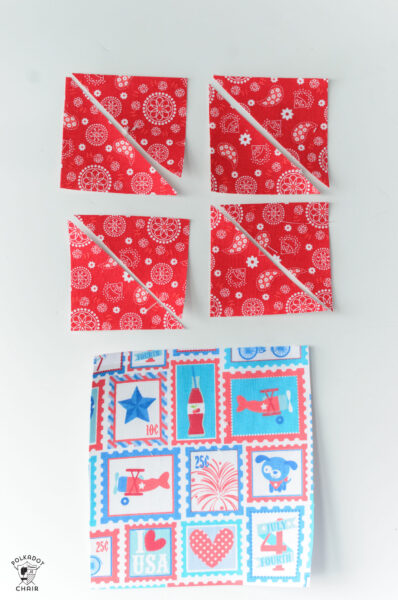
- Cut one piece of fabric down to a 5″ square; this is the center of the block.
- Cut the second piece of fabric into 4, 2.5″ squares. Then cut each of these squares apart on the diagonal.
- NOTE: Using this method, you can make four tea towels from two 10" squares.
- Peel the heat n bond lite off the back of the fabric.
Step Two
- Arrange the pieces of fabric in the correct shape on the center of the dishtowel. Using an iron, press onto the dish towel to adhere.I recommend ironing down one piece of fabric at a time, starting with the center square. This will help you get a clean layout.
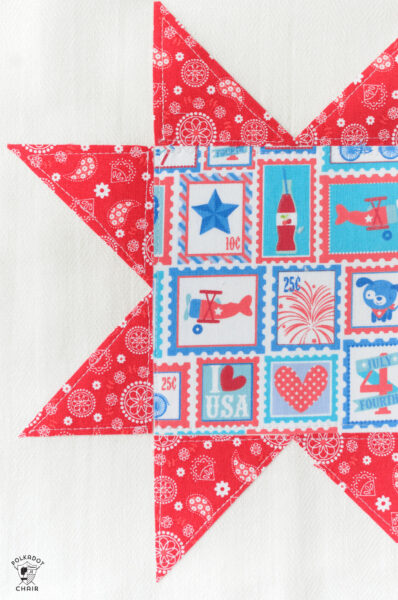
- Since this is a kitchen dishtowel and is likely to get washed A LOT, I recommend stitching down the pieces. Just use a straight stitch on your sewing machine and stitch close to the edge of each piece.
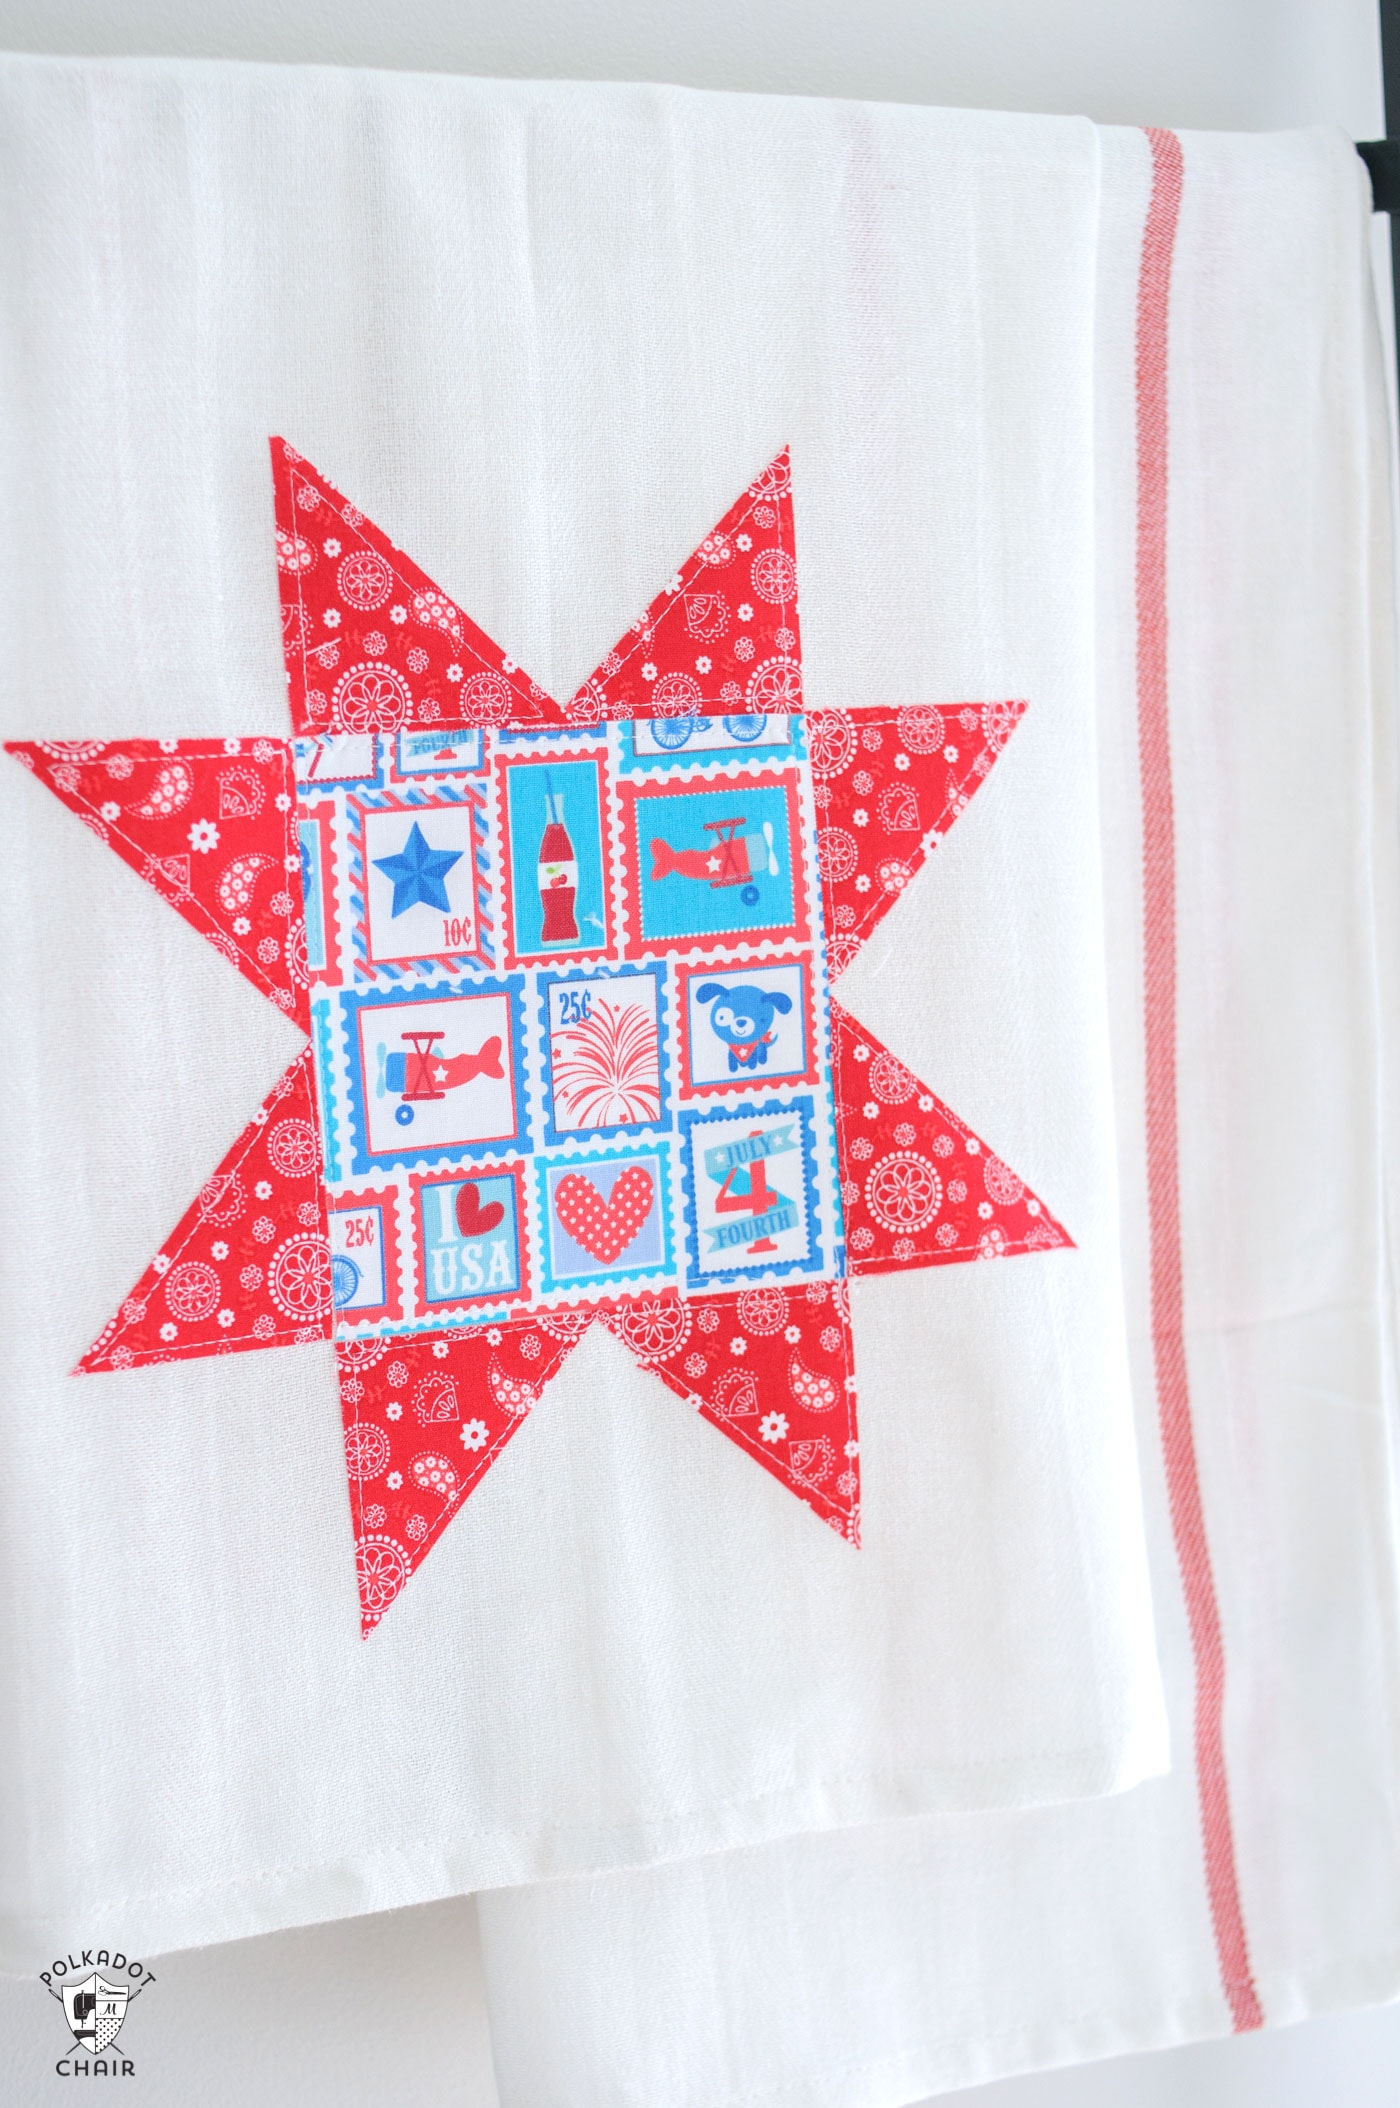
That’s it! You’re done!! All you have left to do is to hang the towel in your kitchen!
More DIY Dish Towel Tutorials
Simple Hanging Tea Towel Tutorial
Scrappy Embellished Dish Towel

