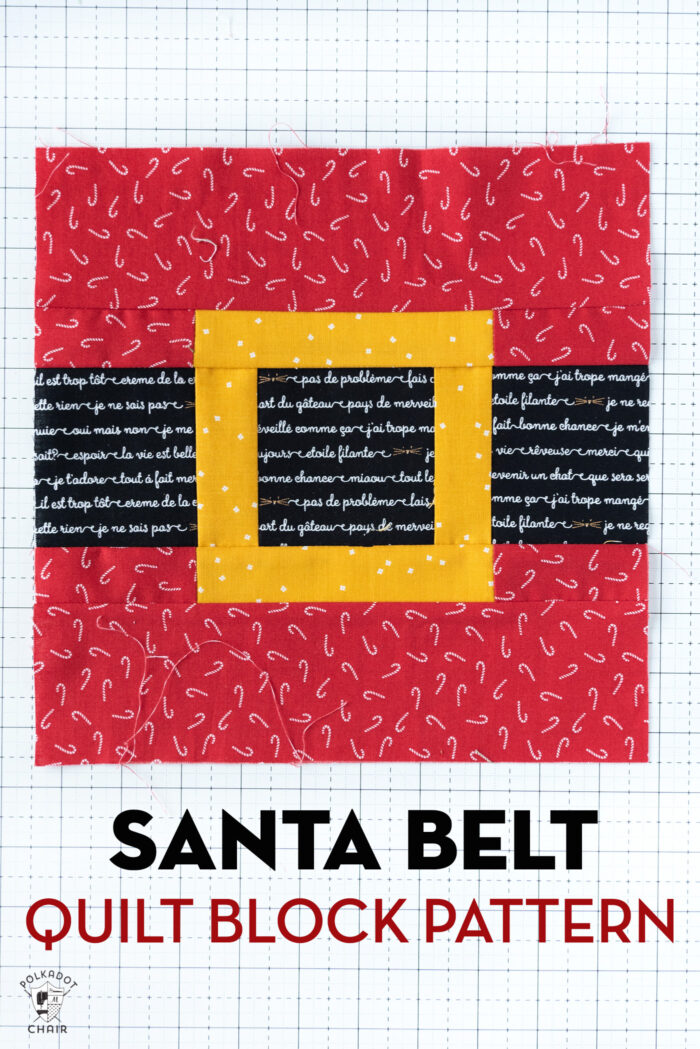
Santa Belt Quilt Block Pattern
Welcome to week 3 of our Santa’s Hat Shop Quilt Along! This week I’m sharing a free pattern to create a Santa Belt Quilt Block! This cute Christmas Quilt Block is just the right size to add to your Santa Hat Quilt. You can also use it to create a cute Christmas Pillow.
How are you guys doing with your Santa Hat Quilt Blocks? Do you have all of them pieced yet? What about cut out?
If you’re struggling with getting your blocks done on time, (raises hand LOL!), here’s a sample schedule for you to help you finish the blocks before Christmas.
- By November 20th: Cut Out All your Pieces
- November 22nd: Finish 7 Quilt Blocks
- November 29th: Finish 14 Quilt Blocks
- December 6th: Sew the remaining 7 Quilt Blocks
- December 8th: Sew Blocks into a Quilt
As a reminder; here are the blog posts shared in the Santa’s Hat Shop Quilt Along to date.
- All About the Quilt Along
- November 4th – Kick-Off & Design Suggestions
- November 11th- Begin Piecing Blocks – with video tutorial
- November 18th- Pattern for Santa’s Belt Quilt Block
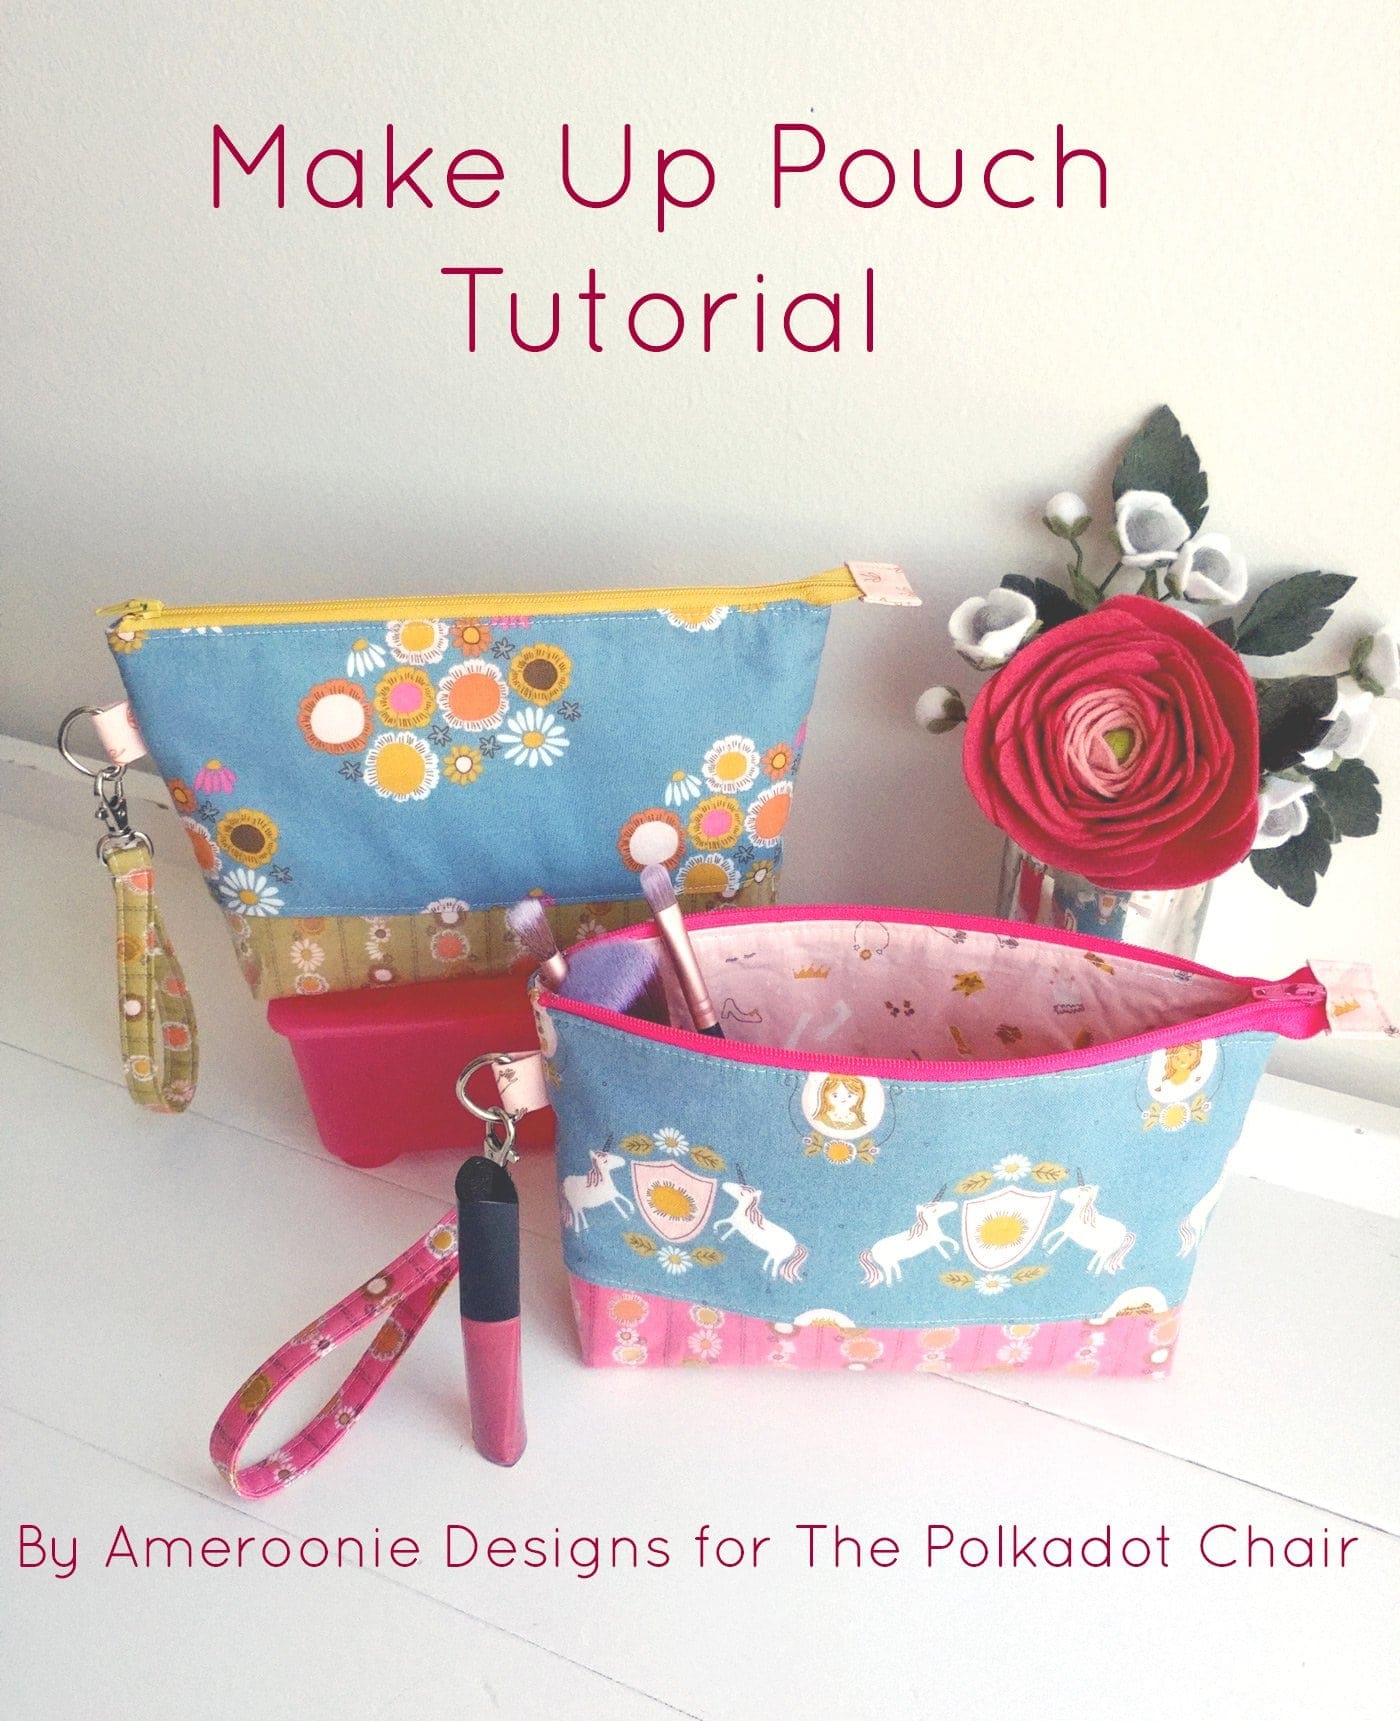
- How to Make a Bench Pillow Tutorial
- November 25th- Catch Up Week
- December 9th- Finishing
How to Get the Santa Hat Quilt Pattern
You can grab the Santa Hat Quilt Pattern in my shop, or use the link below.
All about the Santa Belt Quilt Block
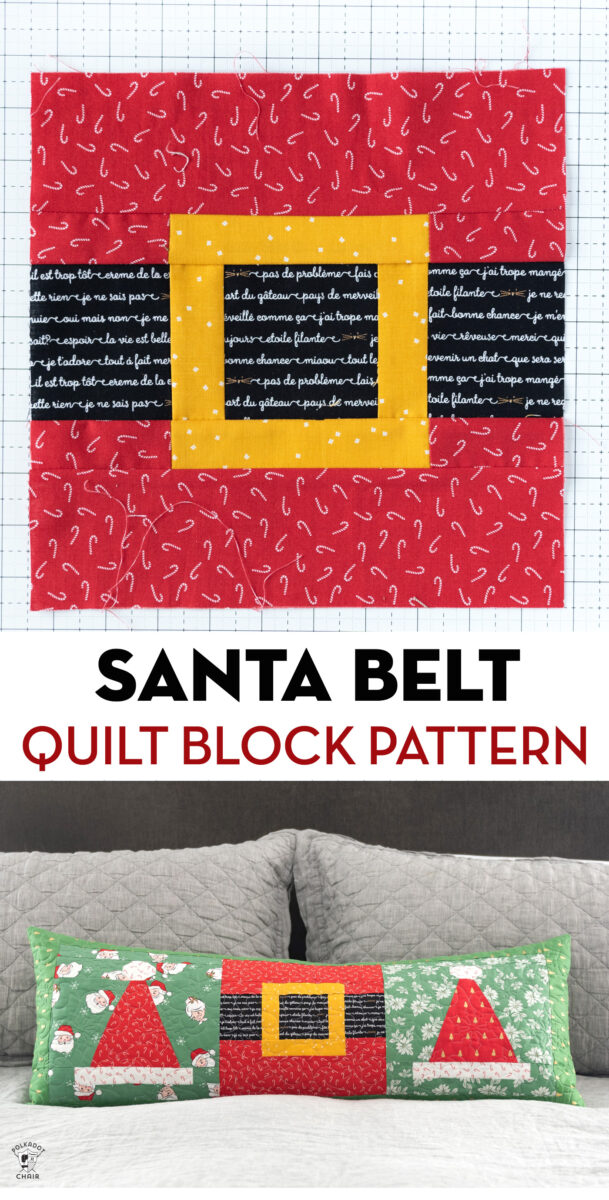
Let’s chat a bit about this BONUS quilt block. This Santa Belt block is VERY simple to create. It measures 10 1/2″ x 10 1/2″ after it is sewn, yielding a 10″ square finished quilt block.
It’s made up of simple strips and is VERY beginner-friendly. For the fabric requirements, I listed Fat Quarters, but honestly you just need scraps of fabric.
If you’re wondering what to DO with the quilt block when you are done, you have a few options.
Option 1: Sew it into your Quilt
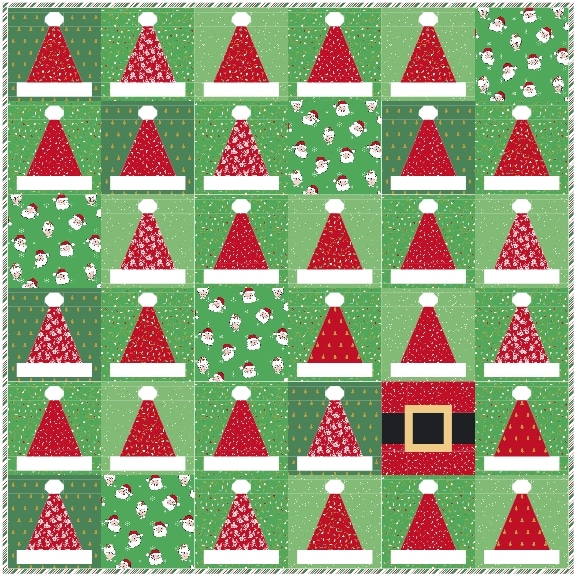
Since this block is the same size as your Santa Hat Quilt blocks you can easily “swap” it out for another block in the quilt. I have a mockup of that idea for you.
Option 2: Create a Bench Pillow
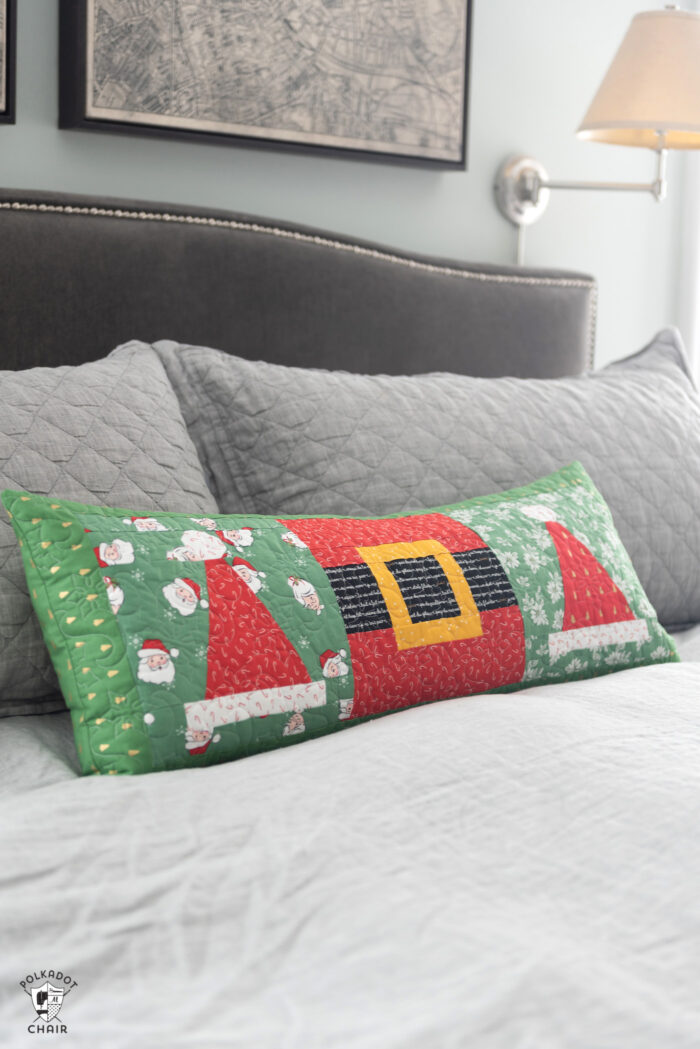
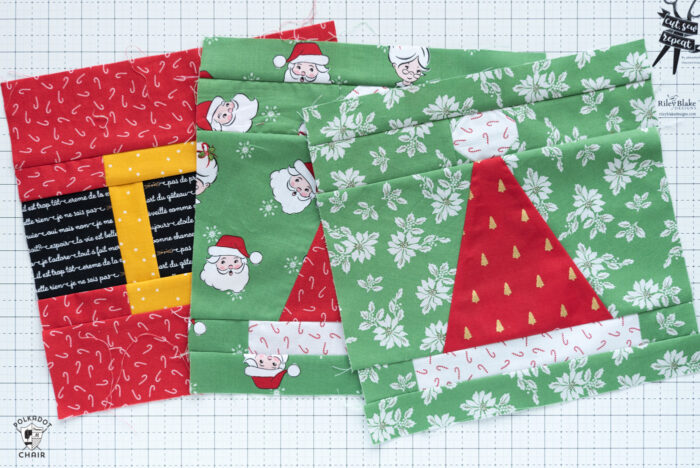
I used my block and 2 of the Santa Hat Blocks to create a fun Christmas Bench pillow. I will be posting the tutorial for the Bench pillow on MONDAY NOVEMBER 23rd. Keep an eye out for it.
Option 3: Make a Stand Alone Pillow
At 10″ x 10″ this little block would make an adorable pillow all by itself!
The Santa Belt Block Pattern
Instructions to make the Santa Belt Block are included in this blog post. We’ve also included a handy print button for you as well.
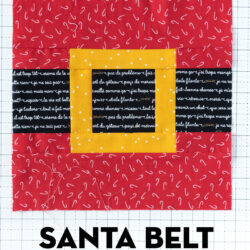
Santa Belt Quilt Block Pattern
supplies
- 1 Fat Quarter Red Fabric
- 1 Fat Quarter Black Fabric
- 1 Fat Quarter Gold Fabric
Instructions
Block measures 10 1/2” x 10 1/2” before finishing
Cutting Directions:
- From Red Fabric:
- 2 pieces 3” x 10 1/2”
- 4 pieces 1 1/2” x 3”
- From Black Fabric:
- 2 pieces 3” x 3 1/2”
- 1 piece 3 1/2” x 3 1/2”
- From Gold Fabric:
- 2 pieces 1 1/2” x 5 1/2”
- 2 pieces 1 1/2” x 3 1/2”
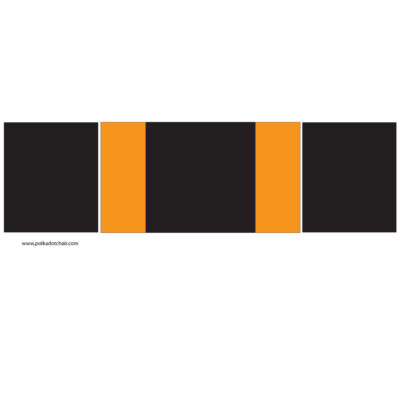
Step 1:
- Sew one 1 1/2” x 3 1/2” piece of gold fabric to one side of the 3 1/2” x 3 1/2” piece of black fabric.

- Sew the other 1 1/2” x 3 1/2” piece of fabric to the other side of the black fabric.
- Sew one 3” x 3 1/2” piece of black fabric to each side of this piece.
- Press seams.
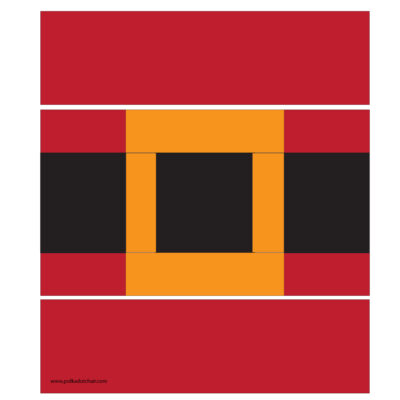
Step 2:
- Sew one 1 1/2” x 3” piece of red fabric to both sides of one of your 1 1/2” x 5 1/2” piece of gold fabric. Repeat.

Step 3:
- Sew one of the red/gold strips to the top and bottom of the black/gold center piece.

Step 4:
- Sew one 3” x 10 1/2” piece of red fabric to the top and bottom the belt piece.
Notes
More Quilt Block Patterns:
How to Make a Shoo Fly Quilt Block
Choose Happiness Quilt Block of the Month Pattern