
Snuggly Bricks Fat Quarter Quilt Tutorial
This simple bricks fat quarter free quilt pattern is super snuggly and makes the perfect gift! It’s easy to stitch up, making it the perfect project for someone learning how to quilt.
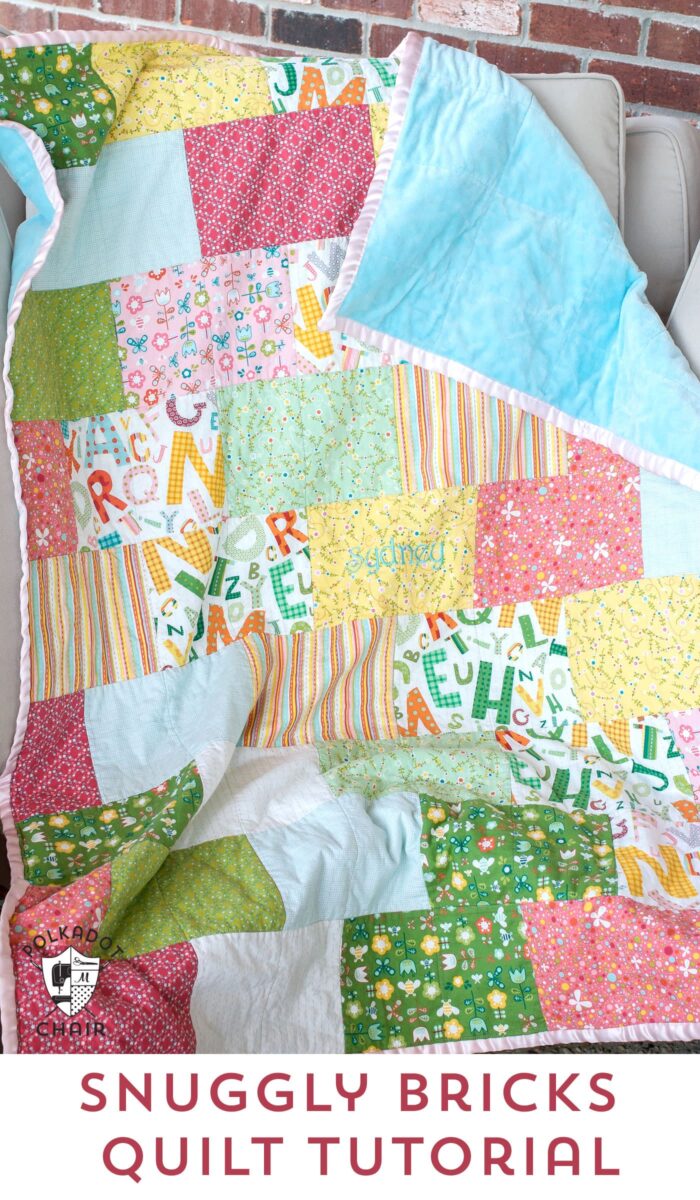
This post has been updated from a previous version with additional directions and illustrations included.
Many years ago, my kids were asking for many electronic toys for Christmas. Fearing a Christmas morning full of noise and beeping, I decided they needed something soft and snuggly to balance out all of the technology.
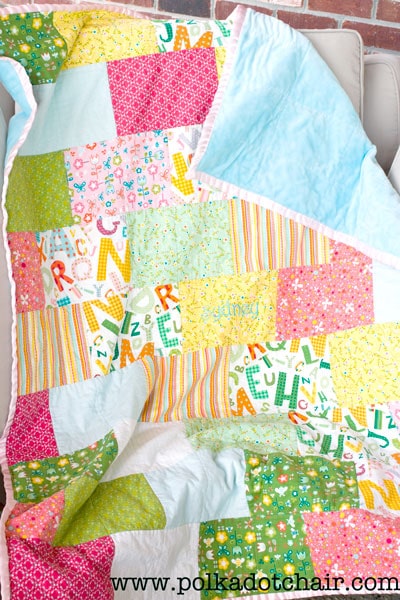
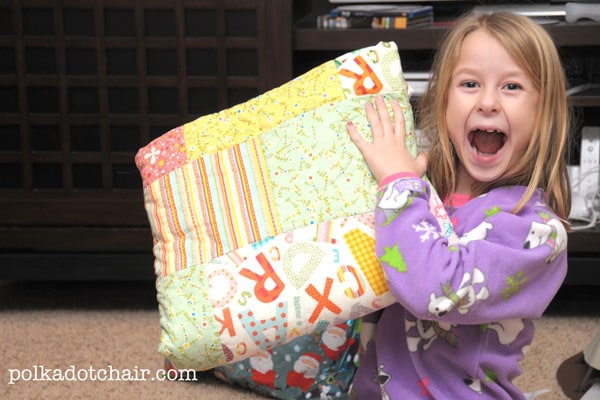
That year, I made each of my three kids a quilt; you can see the one I made for my oldest here. I made this quilt for my younger daughter and was thrilled with how quickly the construction process was.
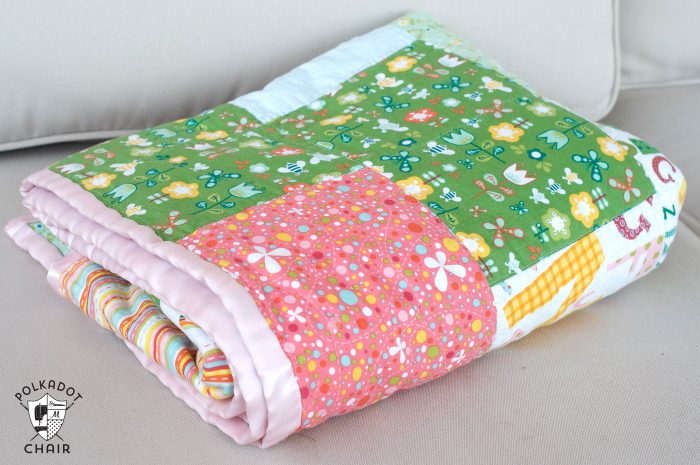
I’ve made this pattern several times as gifts and can tell you these have been the best quilts! The kids drug them all over the house, took them in the car, and otherwise used and abused them, and they have held up great.
I throw them in the wash, and they come out clean and even more snuggly than before!
This quilt pattern uses fat quarters, and I’ve said before that I really, really LOVE fat quarters! You get just a taste of many different fabrics with one purchase.
What is a Fat Quarter?
A Fat Quarter is a cut of fabric (normally 100% quilting weight cotton) that is cut to 18″ x 22″, which is one-quarter of a yard. A quarter of a yard is normally 9″ x 44″ and cut perpendicular to the selvage edge. Cutting it parallel to the selvage yields a wider (or fat) piece, which is more useful for most quilt patterns.
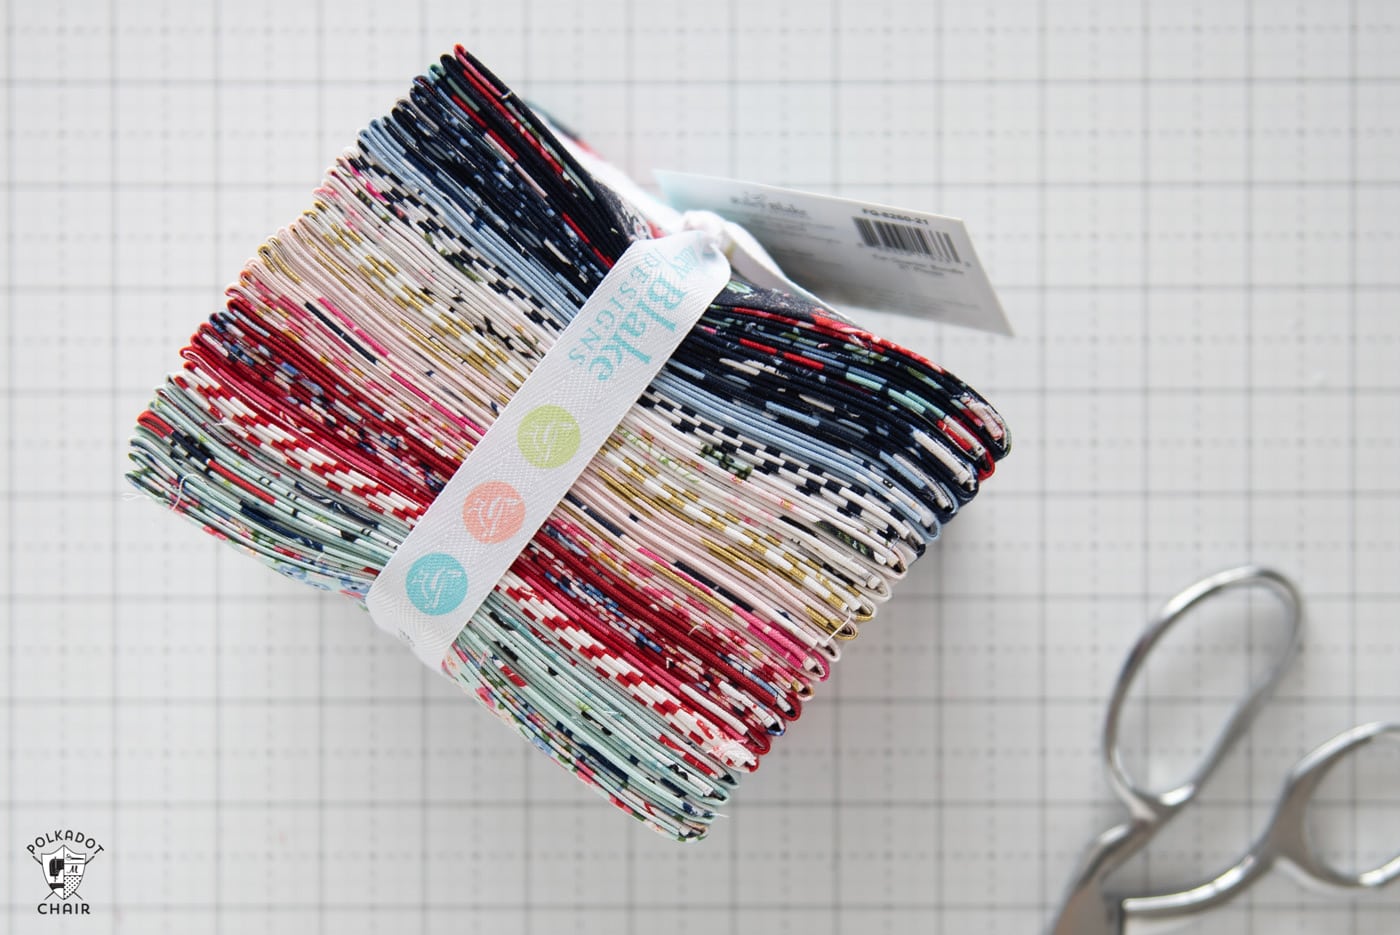
Many manufacturers sell pre-cut fat quarter packs with several prints of a specific fabric collection included.
About the Quilt
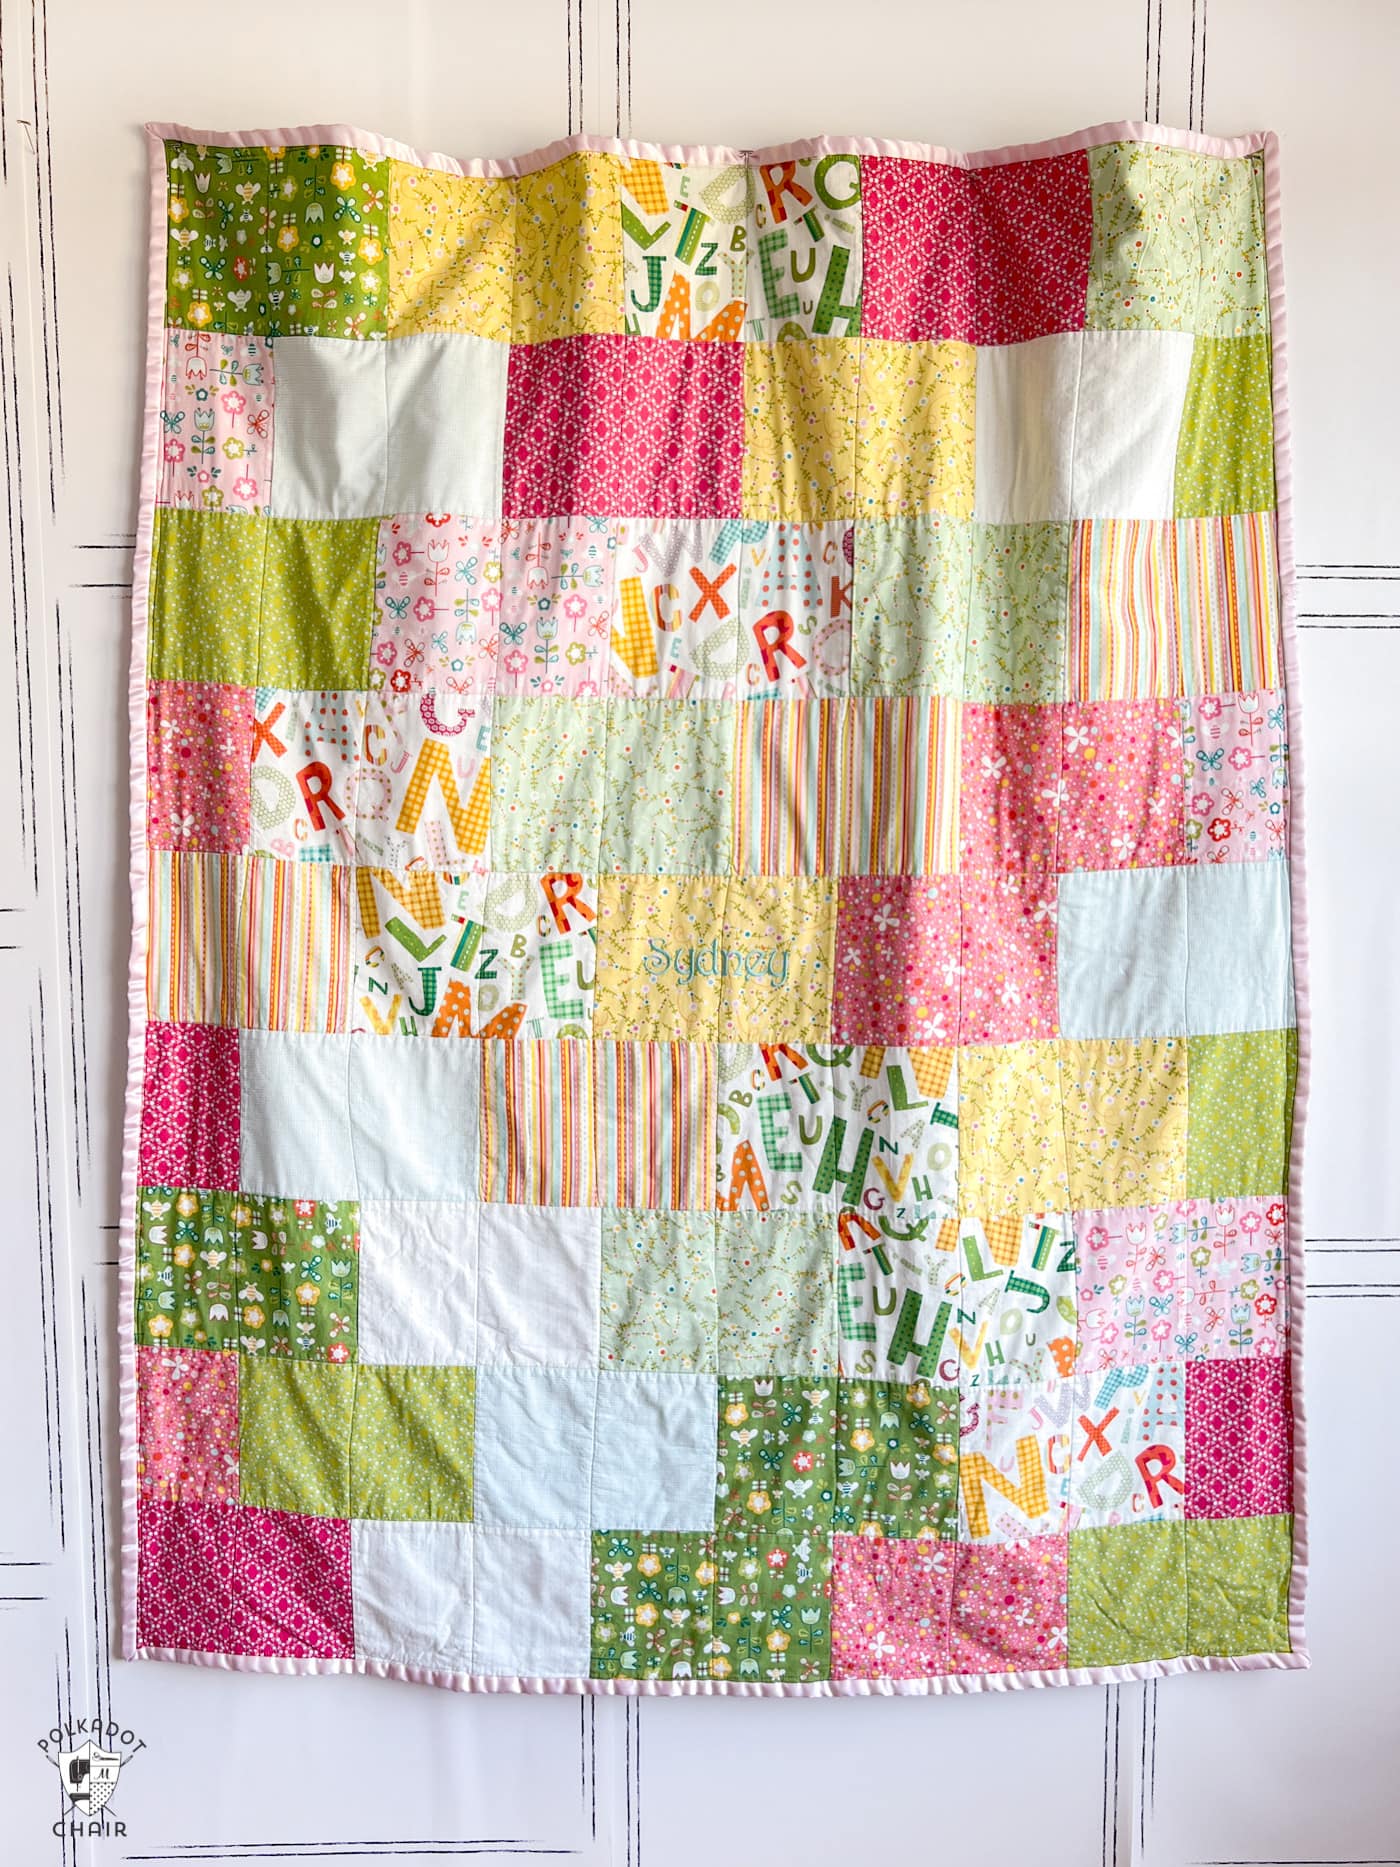
This quilt is 45″ x 54″, a great size for a lap quilt. If you’re making this quilt for a tall person, I recommend adding a couple of extra rows so that it covers their feet. As I mentioned earlier, I made it for my kids, and it worked well for them.
It’s backed in Minky and bound in satin binding. If I did it again, I would not use the satin binding, but hey, live and learn. I think the satin binding cheapens the look of the quilt a bit. If you’re making this for a baby, then you may want to use the satin binding, as it adds another layer of texture.
This quilt is also on my list of recommended free patterns for beginning quilters. Since the blocks in the quilt are set in a brick layout there are no corners to match, which can be a frustrating part of quilting for newbies.
Supplies for the Quilt
– 12 Fat Quarters
– 2 yards Minky Fabric for the Backing
– 100% cotton batting
– 1/2 Yard Fabric Binding
Additional Color Suggestions
The quilt in the photographs was made several years ago, with a line of fabric that this now out of print. I’ve mocked it up in additional colors to give you an idea of what the quilt looks like sewn with additional fabrics.
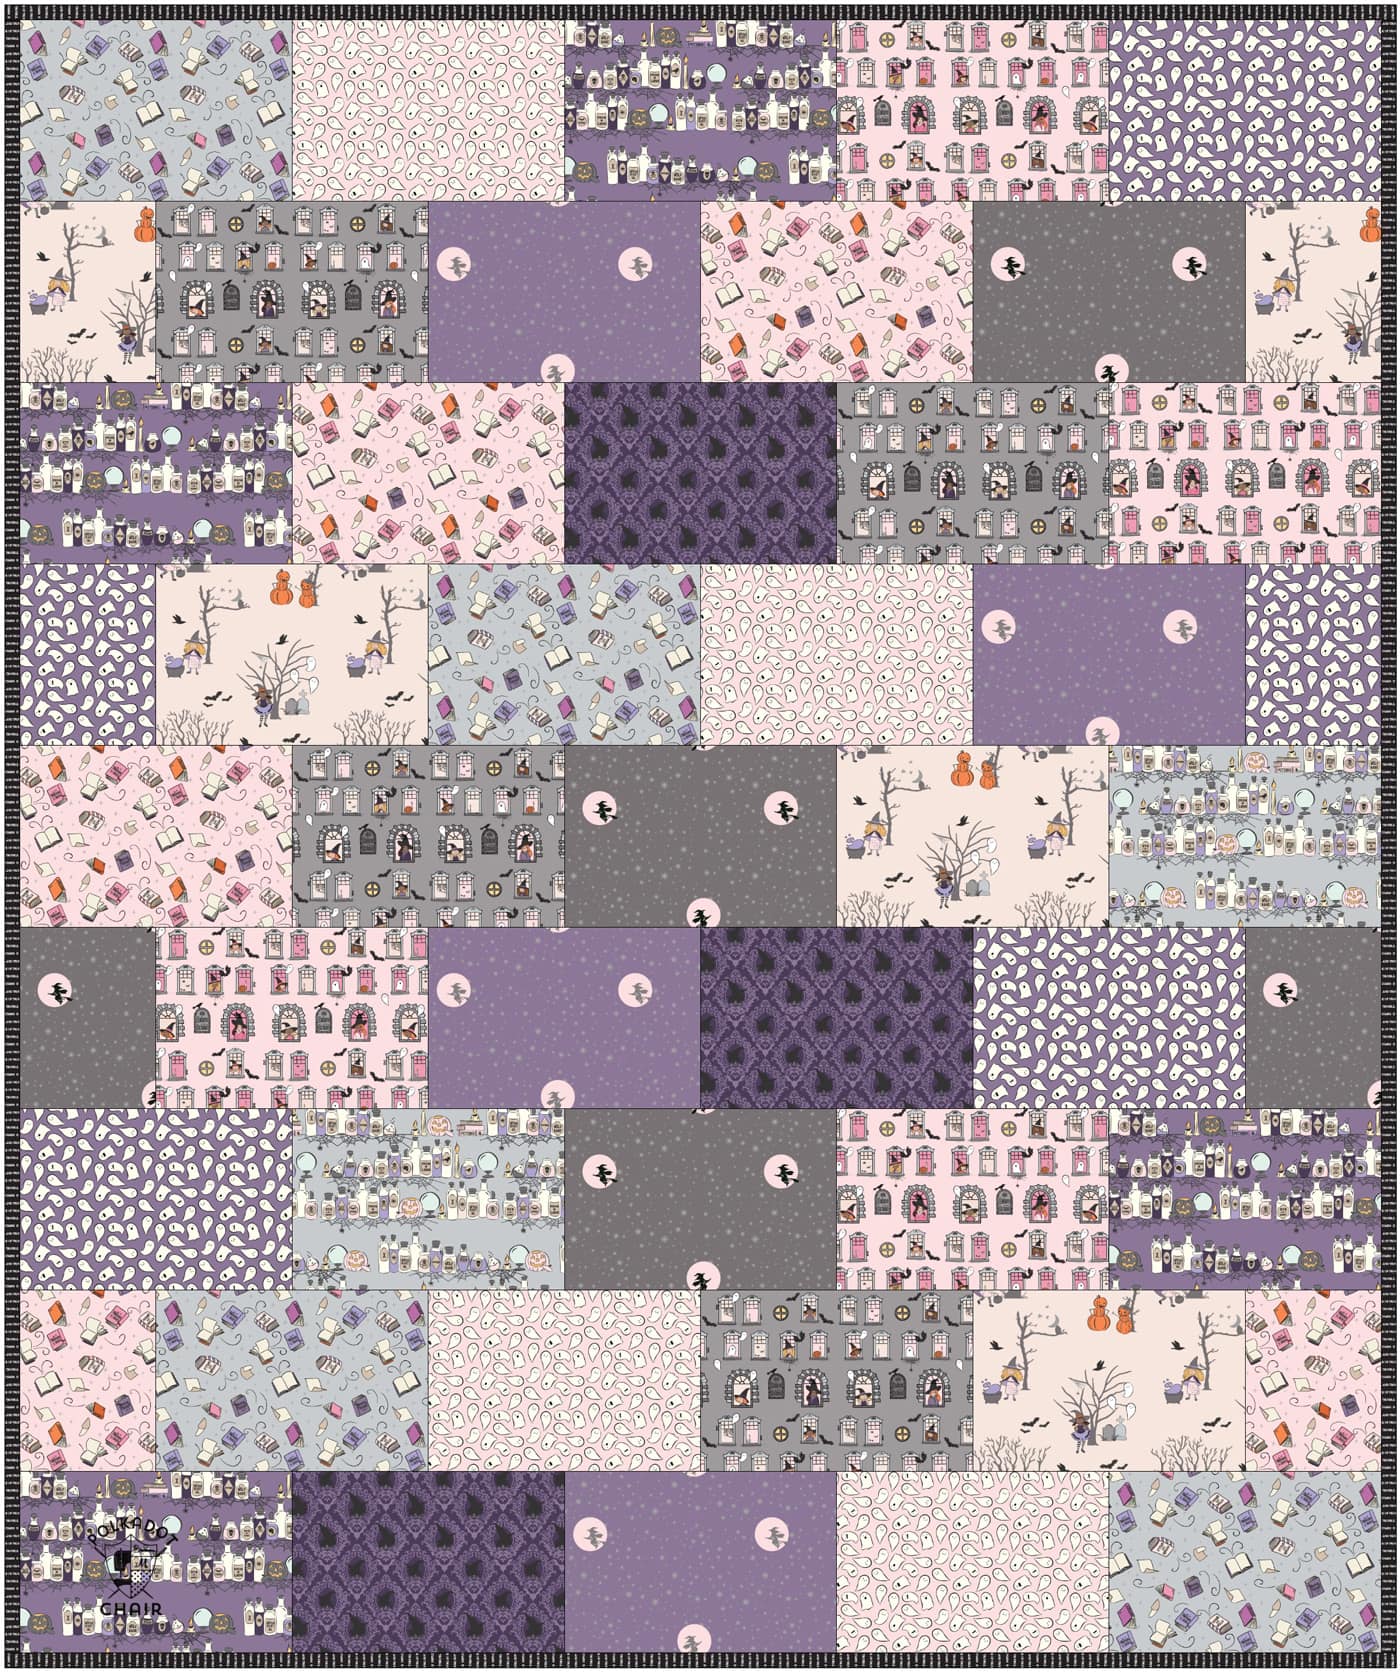
The sample above was created with twelve fat quarters from my Spooky Schoolhouse Halloween fabric collection. This type of quilt pattern is especially great for seasonal quilts as it shows off all of the fun seasonal novelty fabrics.
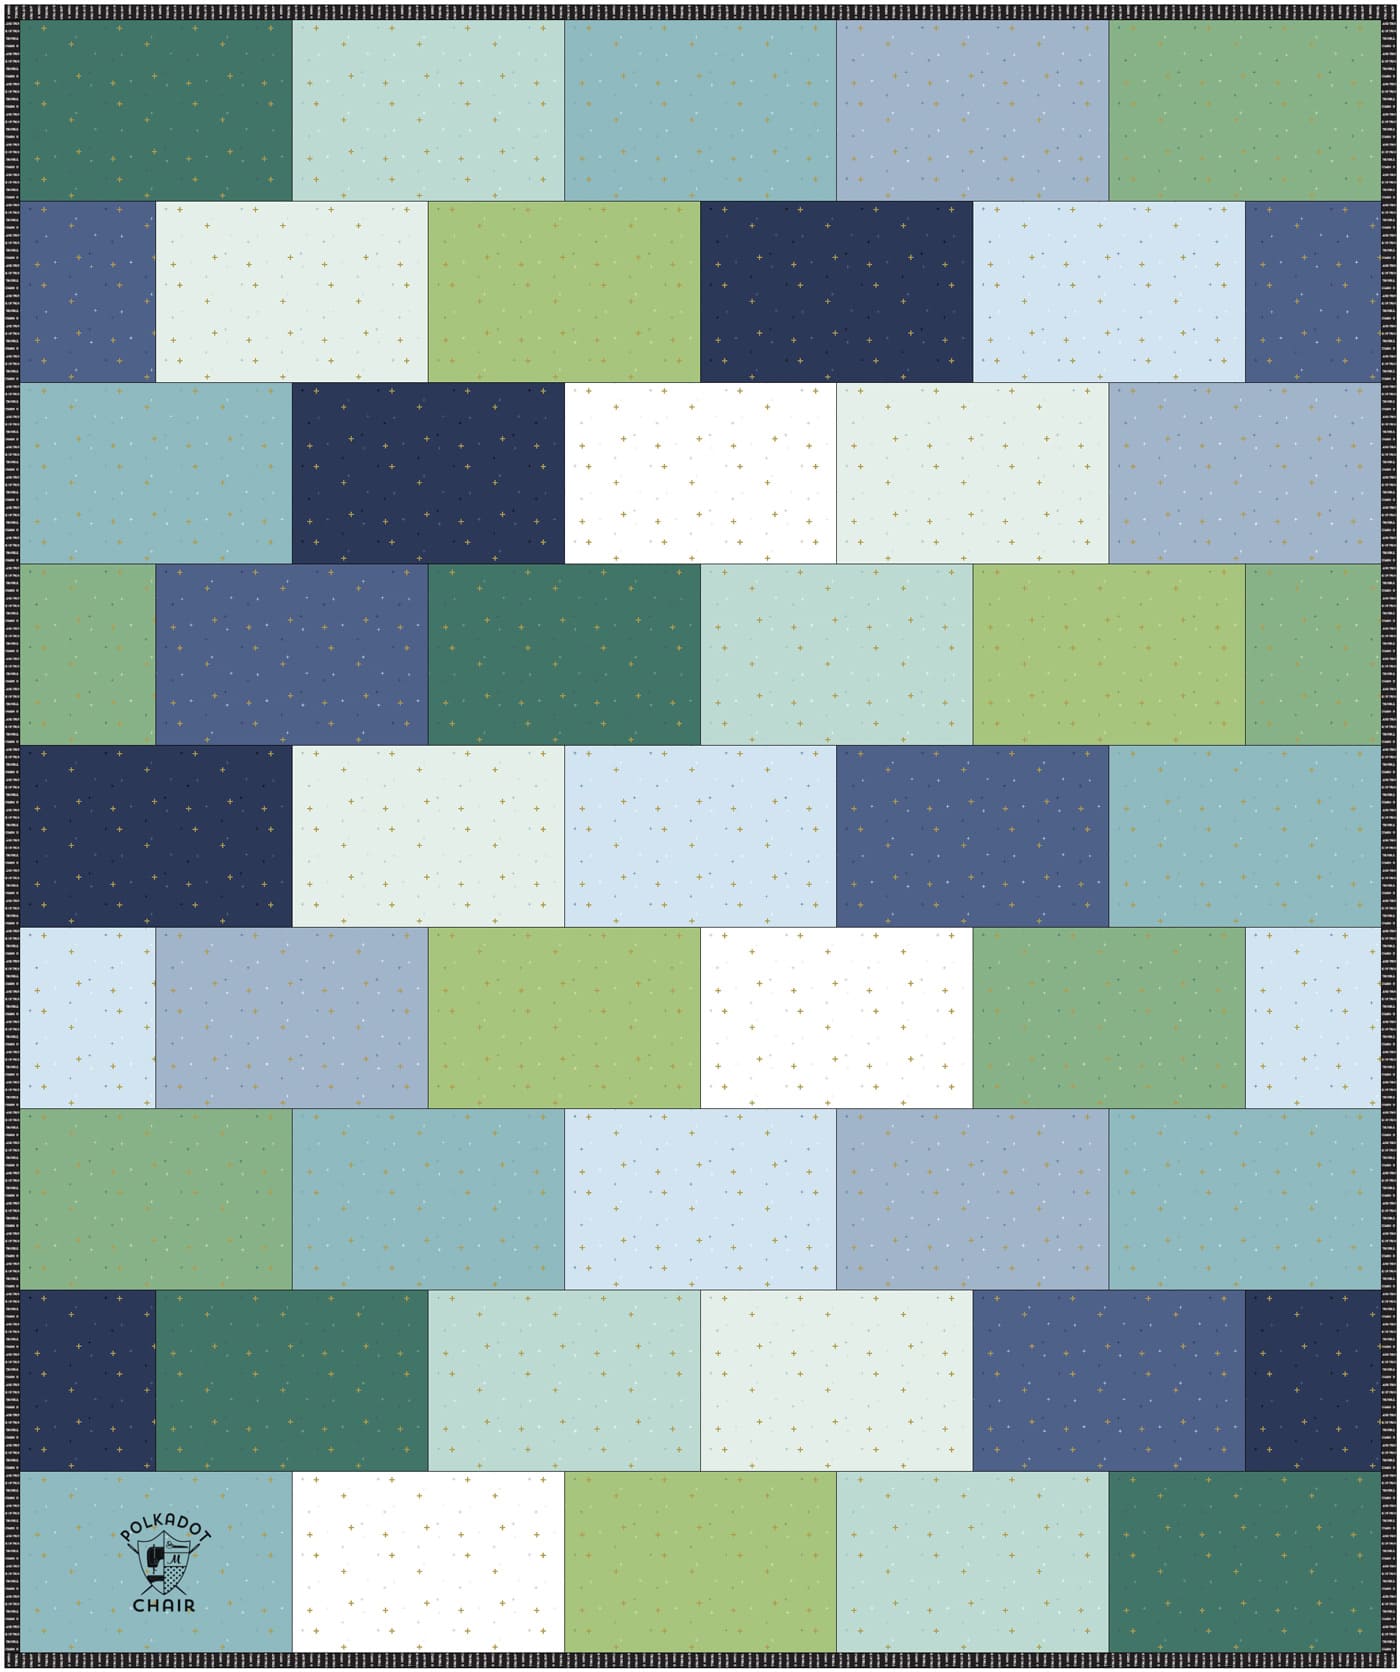
If you prefer something more modern, you can see what the quilt would look like with fabrics with only a subtle print.
The quilt above is made from White, Bear Lake, Riley Green, Songbird, Jade, Navy, Denim, Bleached Denim, Boy Blue, Lake Blue & Aspen Sparkler Fabrics.
Instructions
Snuggly Bricks Fat Quarter Quilt Tutorial
Equipment
supplies
- 12 Fat Quarters Fabric for quilt top
- 2 yards Minky Fabric for backing
- 1 piece Batting at least 50" x 60"
- 1/2 fabric Binding note: I used silk binding, I don't like how it turned out. If I did it again, I would use traditional cotton fabric for the binding.
Instructions
Cutting Guide for the Fat Quarters:
- Quilt Size: 45" x 54"
- To begin, cut your fat quarters into 6.5″ x 9.5″ blocks. You can get 4 blocks per fat quarter, use the cutting guide below for reference.
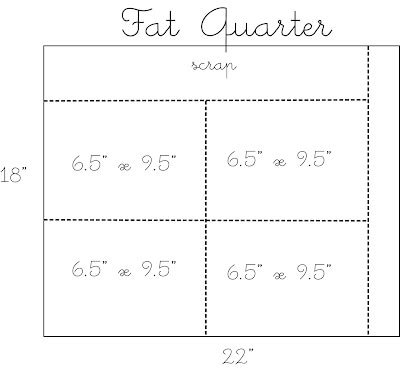
- You will end up with 48 rectangles, you only need 45 for the quilt, save the extra for something else.
Quilt Construction:
- After you’ve cut out all of your pieces, you’re ready to begin sewing your pieces together by rows.
- On the odd rows sew 5 blocks together along the short edges.
- For the even rows, sew 4 blocks together, then cut your 5th block in half (so that it’s 6 ½″ x 4 ¾″) and sew half to each end as shown in the diagram above.
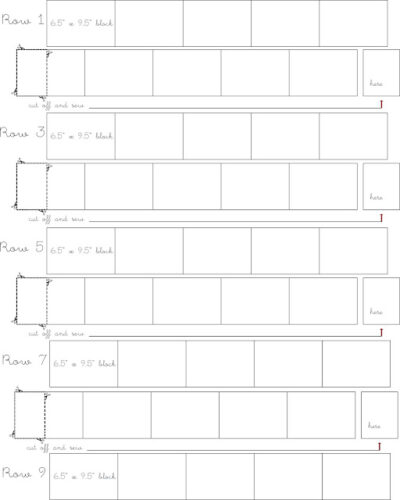
- The rows are staggered which gives the quilt the look of bricks stacked up on a wall. One of the great things about sewing quilt blocks together this way is that it is super forgiving. If your seams aren’t matched up perfectly, it doesn’t matter.
To Assemble the Quilt Top:
- After you’ve sewn 9 rows, then sew your rows together. The blocks should be staggered like a brick wall.
- Trim edges even if necessary. Make your quilt sandwich and machine quilt. If you’d like to see how I finish my quilts it's explained in detail in my "how to finish a quilt" article.
- For the straight line machine quilting, I used a walking foot and did a stitch in the ditch over each seam.
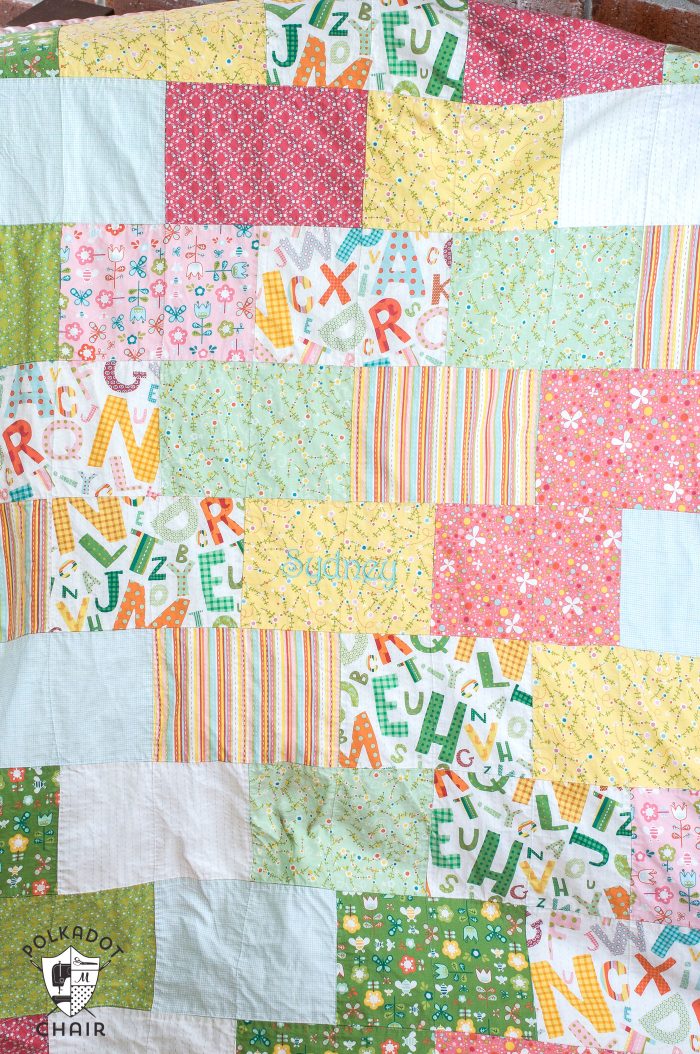
All that’s left now is to finish and Bind the quilt & Enjoy!!!
More Quilt Patterns Perfect for Beginners:
I just used these instructions to raid my fabric stash and make 2 quilts for my nieces. I added a few borders to beef up the size, but otherwise followed your directions. Quick and easy! The quilts both came out great. I bookmarked your posting so that I can use it over and over.
what size was the quilt in the end? I think I’m going to use this as my first big sewing project for my infant.
Very cute! Thanks for sharing your pattern with us.
Am I crazy or is there not enough bricks for 9 rows… I need to go get more quarters, LOL!
Yup I found that out last night ! Wish I had read these comments first
I didn’t realize there was a mess up with the count! I think my quilt had 8 rows not 9… I’ve corrected it though- you need 12 fat quarters for 45 blocks of fabric.
Or you can make the quilt 8 rows tall and stick with the 10 fat quarters.
Sorry for the mixup!
How big does this quilt turn out? I have 2 girls and have bought Girl Scout fabric and want to do quilts for them for Christmas, but want the quilts to be big enough for them to use for quite a while…
Thanks!
Hi! I found your site off of Today’s Creative Blog! I love your craft! I have always wanted to learn how to quilt! I have twins as well, two boys! I just signed up to be your newest follower! Woo hoo! I hope you stop by my new blog. I just started it 2 months ago and would love new friends! Please come see me at http://www.modernfamilymagazine.com
-Heather-
I love all the colors in your quilt!
annabelle at annabelleserendipity.blogspot.com says: love your snuggly bricks tutorial. So simple and thanks for sharing. I am a new crafter and new blogger and need inspiration so it is wonderful for me to find this blog. I have got to try it. Thanks.
I have a quick question. Is there enough scrap left over to make a pieced binding with? Thanks!
So cute. I love that you don’t have to be as exact as with other quilts!
Thank you Melissa for the great tutorial. I have so many fat quarter collections (Fat Quarter shop), this pattern would make good use of them. Will cut one out this afternoon. BettyLou
This is a really lovely quick quilt. Your instruction are so easy to follow. I am very impressed. Thank you from Australia for this pattern.
i love brick quilts. Plus you don’t have to worry about 4 corner matching up exactly
!
cute quilt, however, I do love your new blog layout, it’s super duper cute! 🙂
What a fun and simple quilt. Thanks for the tutorial. By the way, I like the new look to your blog.
Precious….
The best toy ever,
a snuggly homemade quilt!
xoxo~Kathy @
Sweet Up-North Mornings…
Love it! Thanks for sharing!!!
Oh gosh these are so cute!! What a great tutorial!! I’m putting this one in the files as maybe I’ll have time to make some quilts when the kids are finally back in school.
Thanks!
Rachel
Thanks for this awesome quilt tutorial. I’m going to make a couple for when my grands come for a visit. I just never have enough snugly blankets for everyone!