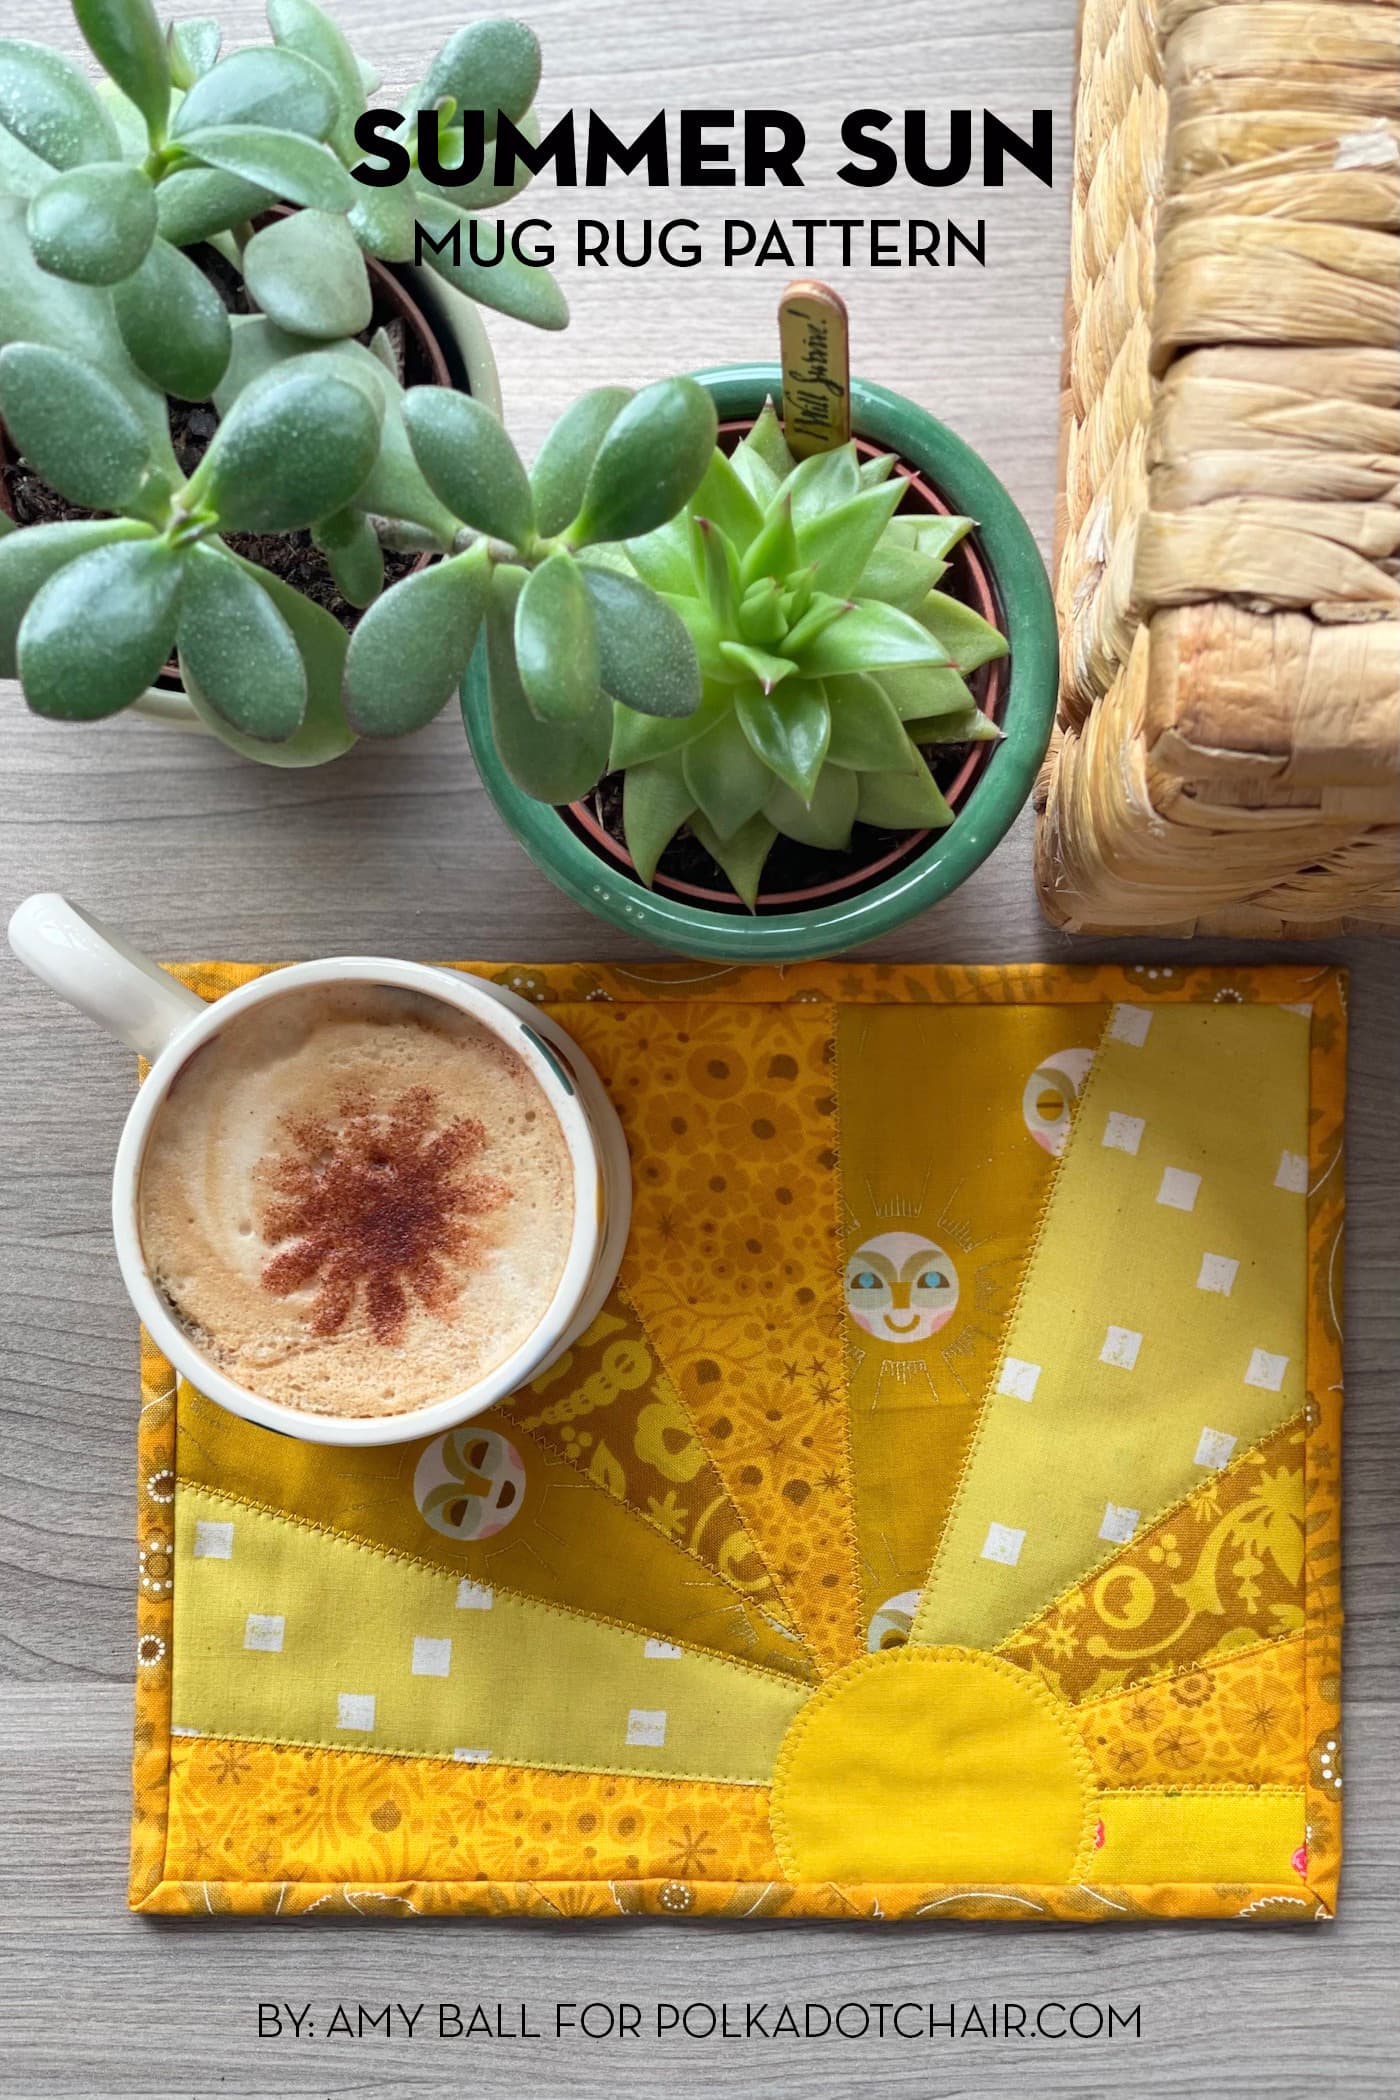
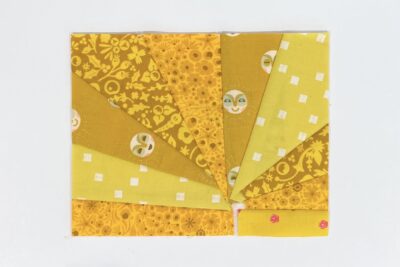
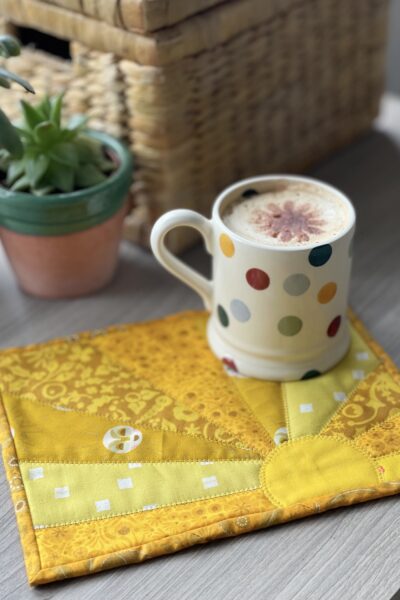
Improv Pieced Summer Sun Mug Rug Pattern
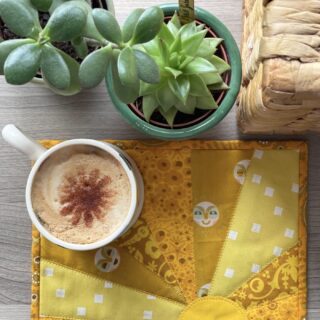
This quilted Summer Sun Mug rug is the perfect project to practice a bit of improv quilt piecing! Improvisational quilt piecing can seem overwhelming the first time you try it, but it’s a great way to stretch your creative muscles! Learn how to do it with our free Mug Rug pattern.
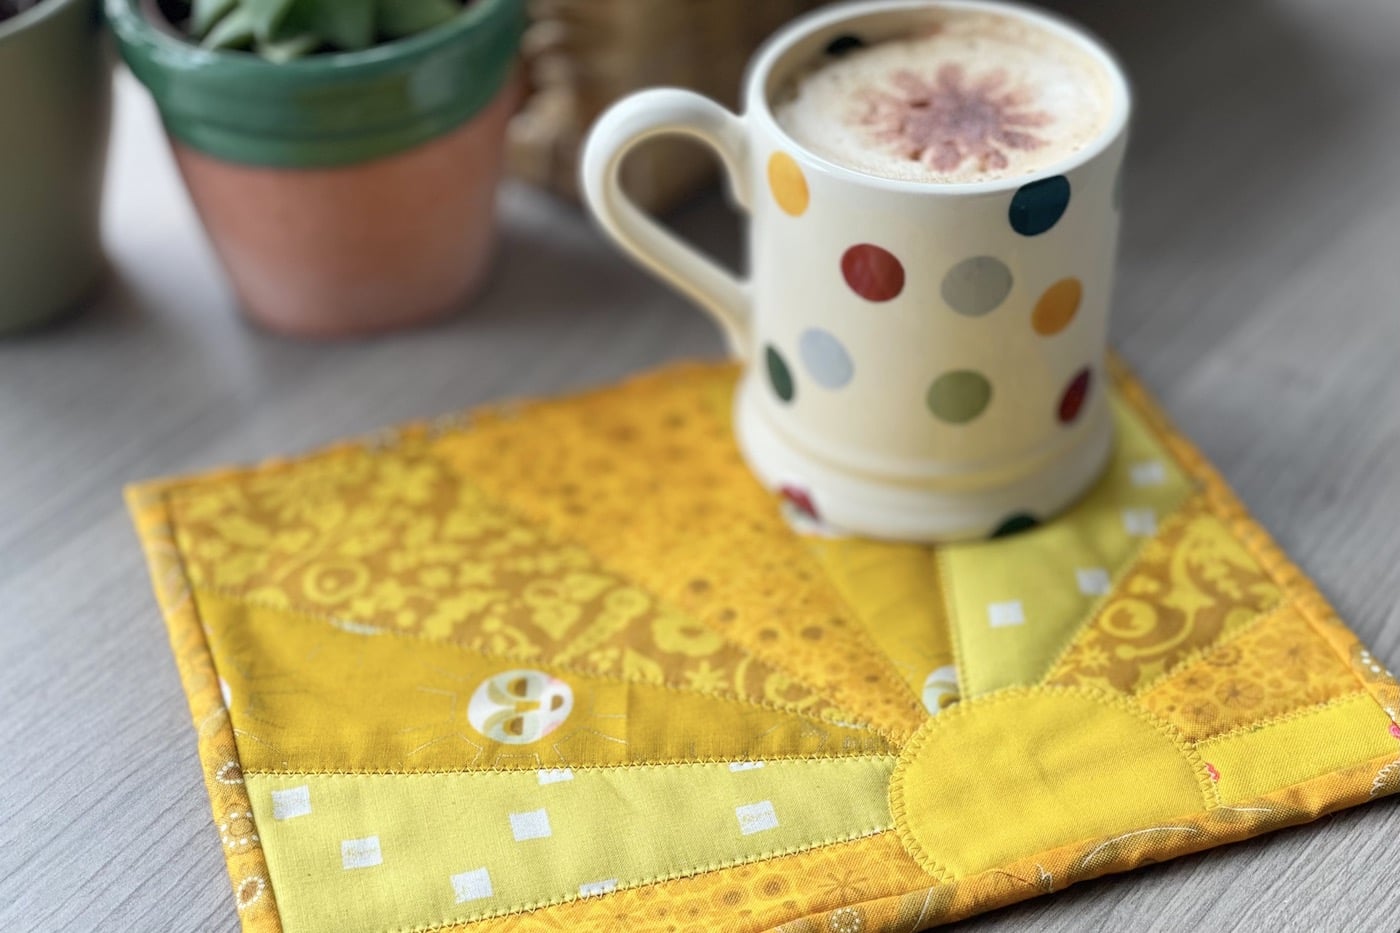
A summery mug rug might seem like a bit of an odd combination. But in the UK, summer weather can come and go a bit, so you never know when you’ll want a hot drink…and a mug rug to put on.
If you’re lucky enough to be somewhere in the world with months of glorious sun, this is still a great project for you…you might need to change exactly how you use the mug rug.
Of course, they are still great as an oversized coaster for a cold drink, but I also have mug rugs dotted around the place with small houseplants on, a cute way to add some extra color to your table or shelf.
Mug Rug Patterns & Monthly Skill Focus
Each month we share a free Mug Rug pattern with our readers. The patterns all feature a unique skill focus. If you make all of the mug rugs, you will have learned 12 new quilting techniques by the end of the year!
- January: Fabric Flash Mug Rug – Using Selvages
- February: First Edition Mug Rug – Fussy Cutting
- March: English Bloom Mug Rug – English Paper Piecing (EPP)
- April: Coffee Cabin Mug Rug – Binding with Quilt Backing
- May: Street Party Bunting – Raw Edge Applique
- June: Big Stitch Mug Rug – Hand Quilting
- July: Summer Sun Mug Rug – Improv Piecing
- August: Heart Mug Rug – Patchwork Piecing
- September: Pumpkin Face Mug Rug – Reverse Applique
- October: Cozy Cup Mug Rug – Big Stitch Binding
- November: Christmas Tree Mug Rug – Free Motion Quilting
The skill focus for July is improv patchwork. Some quilters can find improv sewing a little intimidating. I get that…I much prefer following a quilt pattern, too; one of my favorite things about patchwork is the precision of cutting and piecing. That’s why a small improv project, like a mug rug, is the perfect way to experiment with this skill.
Instructions
Many improv quilt patterns and projects do not include cutting directions. To help ease you into improv quilting, we’ve included cutting dimensions for each fabric piece.
Summer Sun Mug Rug Pattern
Equipment
supplies
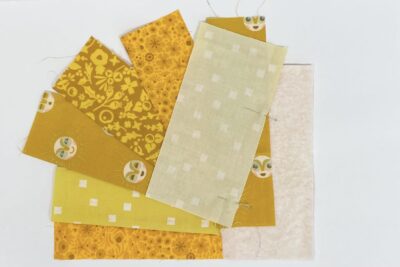
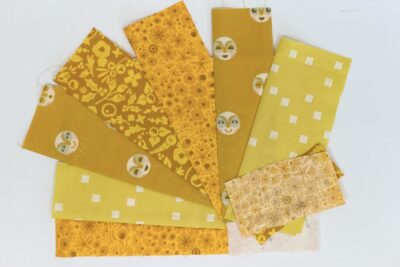
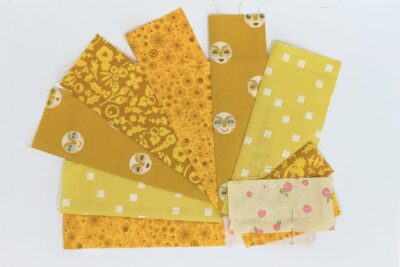
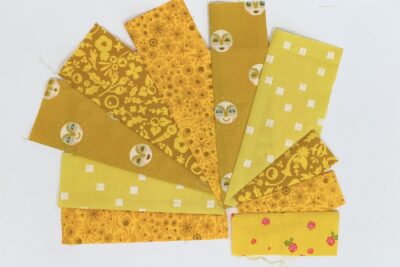
Fabrics
- 5 pieces Various Yellow Main Fabrics Prints five different scraps (fat eighths would work well)
- 1 piece Yellow Fabric; Solid
- 1 Fat Eighth Backing Fabric
- 1 Fat Eighth Binding Fabric
Interfacing & Batting
- 1 3" Square of Lightweight Iron-on Interfacing
- 1 piece Batting 9” x 7”
Instructions
- Instructions
Cutting:
- From Yellow Print One cut 6½” x 1½” (1), 7” x 3” (1), and 4” x 2” (1). From Yellow Print Two cut 6½” x 2½” (1), and 7” x 3½” (1). From Yellow Print Three cut 8” x 3” (1), and 7” x 3” (1). From Yellow Print Four cut 8” x 3” (1), and 4” x 2” (1). From Yellow Print Five cut 4” x 2” (1). From Yellow Solid cut 3” sq (1). From Backing Fabric cut 9” x 7”. From Binding Fabric cut WOF x 2¼” (2).
Construction:
- Press the iron-on interfacing onto the wrong sides of the Yellow Solid 3” square. Be sure to always follow the manufacturer’s instructions on how to use your interfacing. Cut out a 2½” diameter circle and set this aside for later.
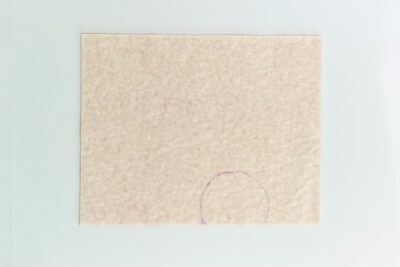
- Take the Backing Fabric rectangle and place it right side down, then add the batting rectangle on top with the right side facing towards you. Make sure both layers are smooth and flat, then baste together using your preferred method. This is now the mug rug base.
- Using the fabric circle you make in Step 1 as a template, draw a circle outline along the bottom edge of the mug rug base. Position it so that about a quarter of the circle is hanging beyond the bottom edge and the left edge of the circle is at the halfway point of the rectangle. Trace around using a fabric pen (be sure to use one that doesn’t disappear when it is pressed!).

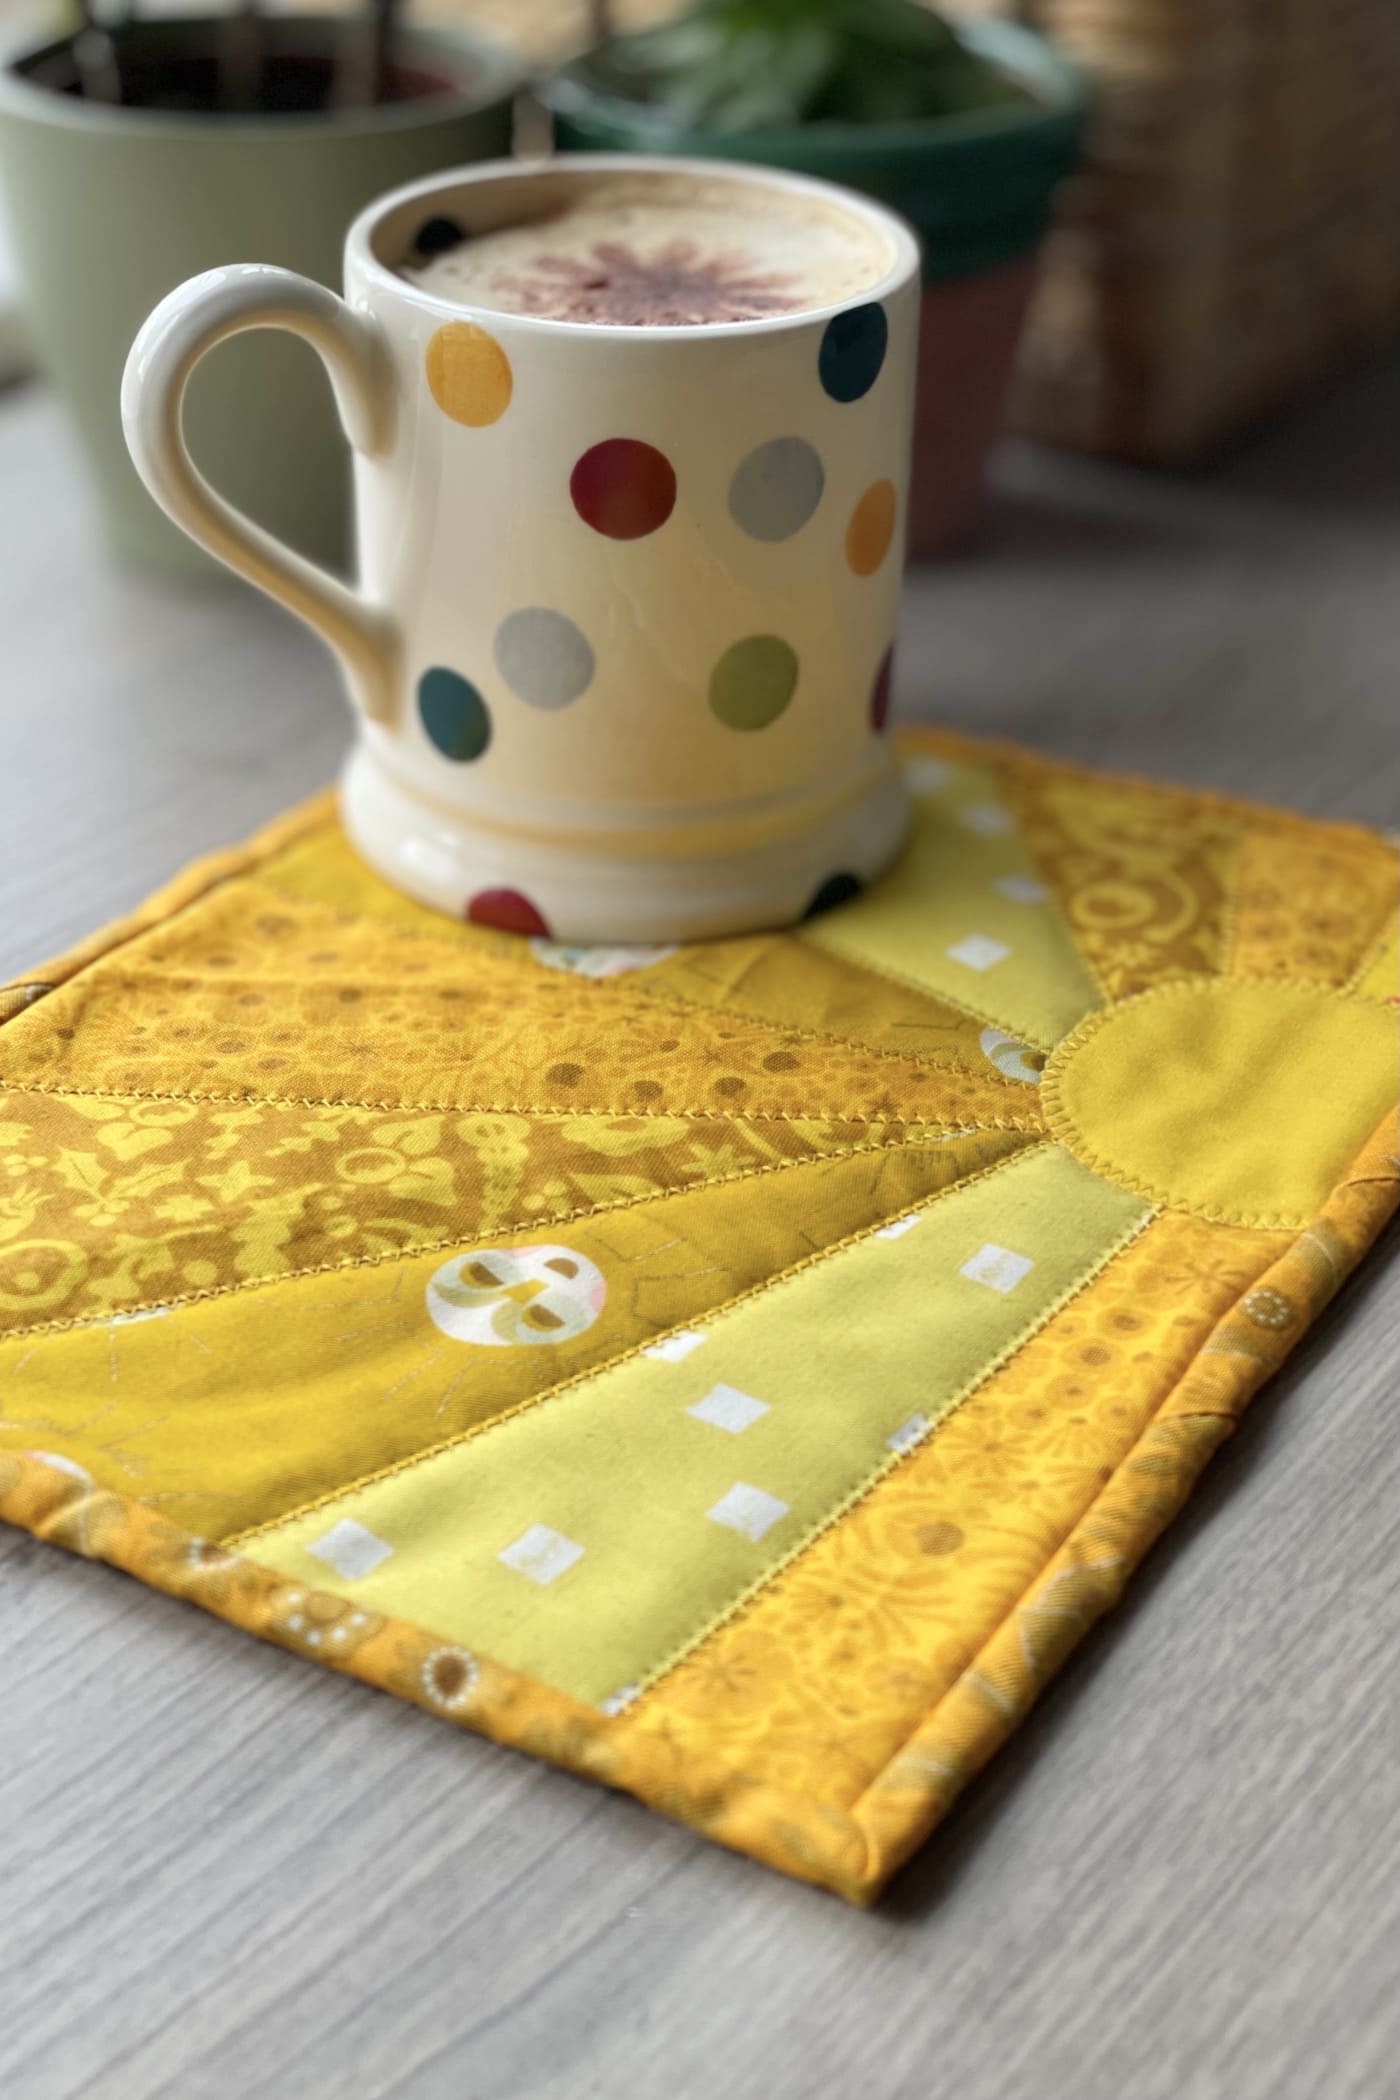
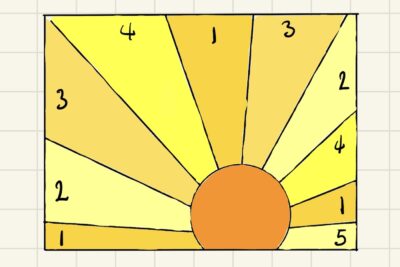
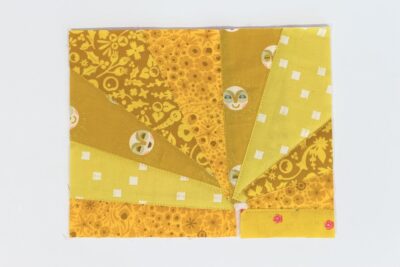
- The sun rays are going to be created by sewing the yellow print strips in an arc from bottom left to bottom right. Use the drawing as a guide for the placement of the five yellow prints.
- When positioning the yellow prints, all of them need to extend beyond the edge of the mug rug base and into circle guidelines.
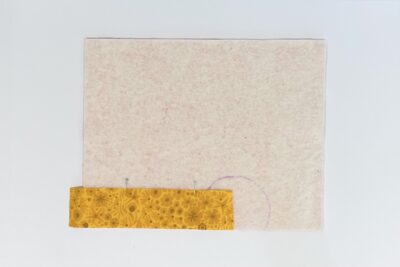
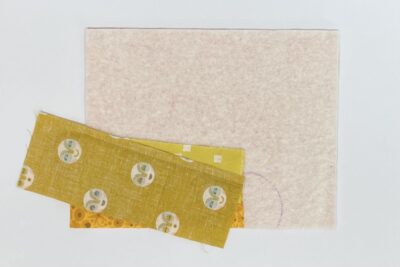
- Take the Yellow Print One 6½” x 1½” rectangle and pin it, right side up, to the bottom left edge of the batting. Don’t forget the rules from step 5!
- Now take the Yellow Print Two 6½” x 2½” rectangle and pin it, right side down, onto the Print One rectangle. Don’t match up the raw edges. Angle the Print Two rectangle so that along the top long edge, the left corner is higher than the right corner. Sew between ¼” and ½” away from the edge of Print Two; just make sure that the whole seam line will go through both Yellow Print fabrics. Then press the Print Two rectangle open along the seam line so you are looking at the right side of both prints.
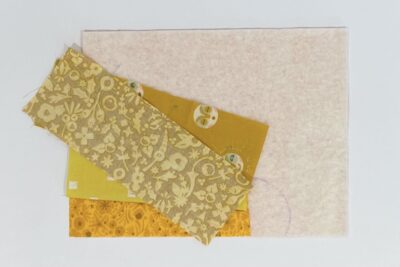
- Repeat step 7 using the Yellow Print Three 8” x 3” rectangle. Make the angle more exaggerated this time.
- Repeat step 7 using the Yellow Print Four 8” x 3” rectangle. Make the angle even more exaggerated this time.
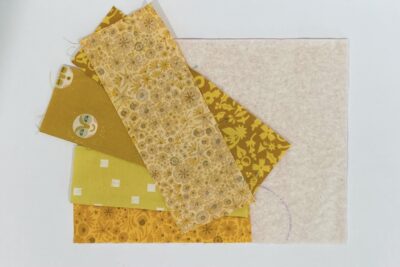
- Repeat step 7 using the Yellow Print One 7” x 3” rectangle. By now, the fabric rectangle should be getting close to vertical.
- Repeat step 7 using the Yellow Print Three 7” x 3” rectangle. This fabric rectangle should be positioned vertically.
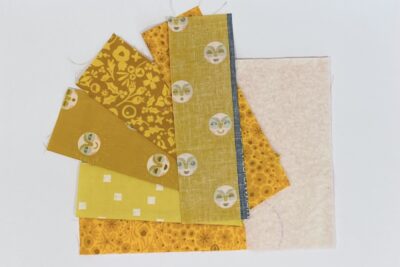
- Now take the Yellow Print Two 7” x 3½” rectangle and pin it, right side down, onto the Print Three rectangle.Angle the Print Two rectangle so that along the top short edge, the left corner is higher than the right corner. Sew between ¼” and ½” away from the edge of Print Two; just make sure that the whole seam line will go through both Yellow Print fabrics. Then press the Print Two rectangle open along the seam line.
- Repeat step 12 using the Yellow Print Four 4” x 2” rectangle. Make the angle more exaggerated than the previous step.
- Repeat step 12 using the Yellow Print One 4” x 2” rectangle.
- Repeat step 12 using the Yellow Print Five 4” x 2” rectangle. This fabric rectangle should be positioned almost horizontally.
- You should now have covered the mug rug base. If you haven’t made it all the way around yet because you’ve chosen to do slightly less extreme angles, cut another 4” x 2” rectangle from one of the Yellow Prints and add another “ray”.
- Press well and trim off the excess fabric, then trim the mug rug to 8½” x 6½”.
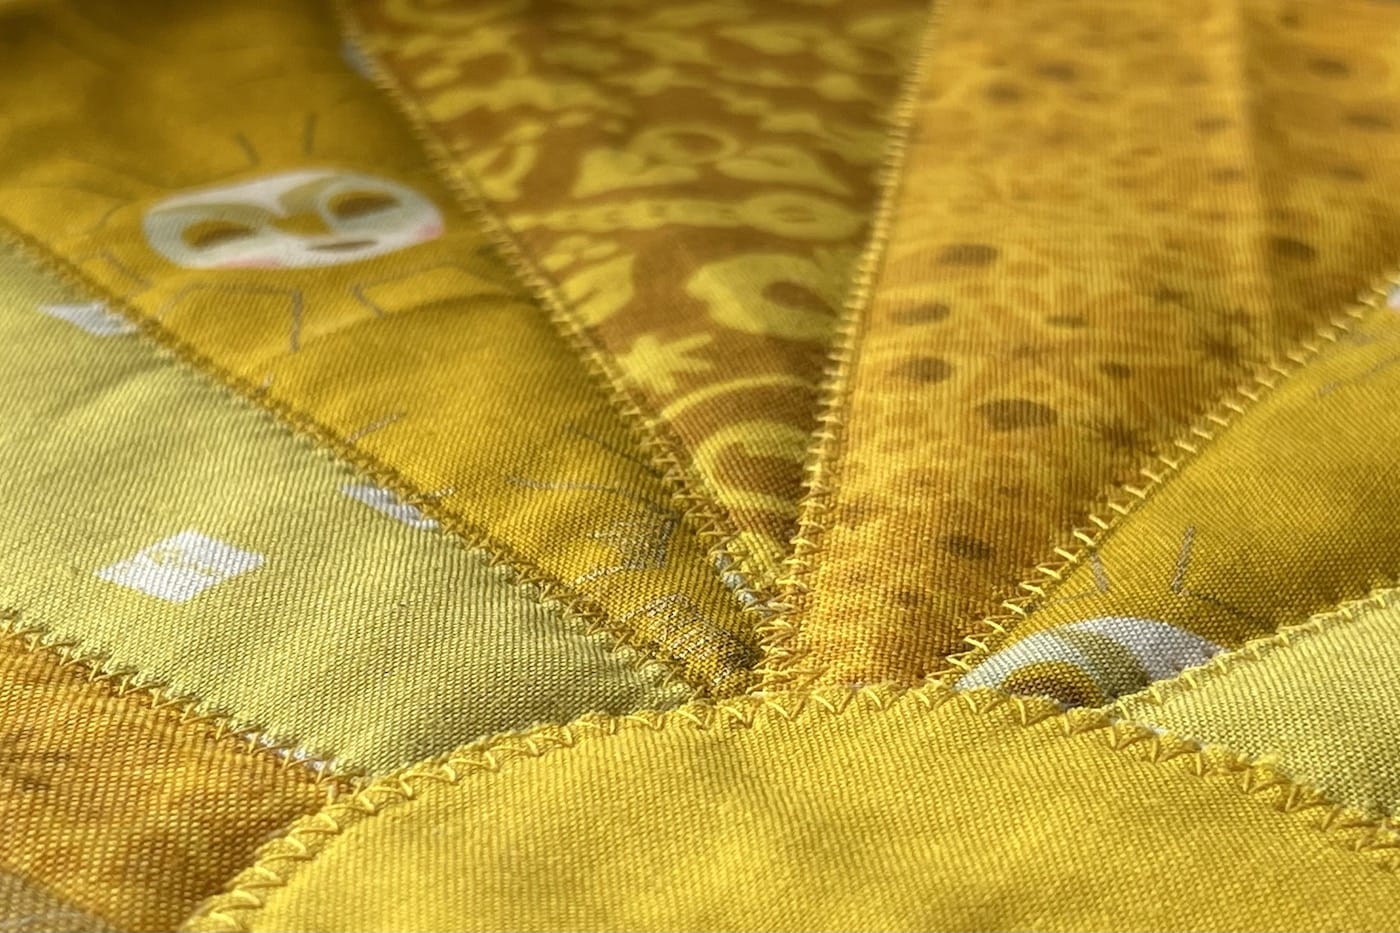
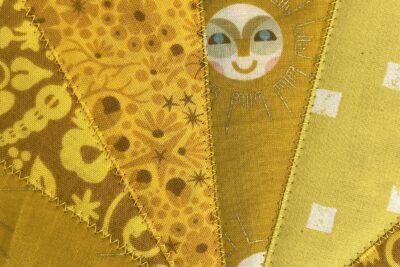
- Sew a zigzag stitch across each of the press seams between the yellow “rays”. This step is optional.
- {close up of stitching}
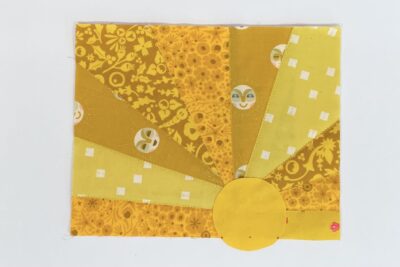
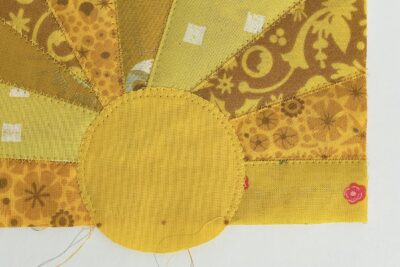
- Now take the Yellow Solid circle from step 1. Pin or glue it in place using the drawn guideline. It doesn’t matter if it isn’t exactly where the original guideline was as long as it covers all the raw edges of the fabric rectangles.
- Sew the circle in place using a zigzag stitch and then carefully trim off the excess fabric.

Finishing:
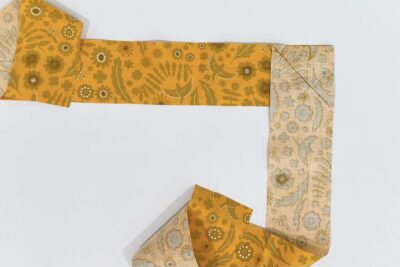
- Take the two binding fabric WOF x 2¼” strips. Draw a 45° line on the wrong side of one strip, at the top corner from top left to bottom right. Pin the right sides together so the strips are at a right angle to each other and the drawn line is visible. Sew along the drawn line, then trim off the excess corner fabric with a ¼” seam allowance and press to create a long strip. Fold the strip in half along the full length (wrong sides together) and press.
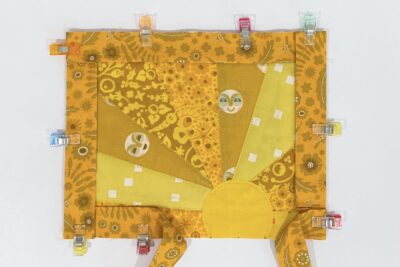
- Pin/clip the binding in place on the front, round the mug rug edges, with the raw edges of the binding and raw edge of the mug rug matching up.
- [TIP: Clip the binding around all four edges before you start sewing to make sure the seam line from when you joined the two strips isn’t going to be close to any of the corners as this would create too much bulk; ideally you want the binding seam to be close to the middle of one edge.]
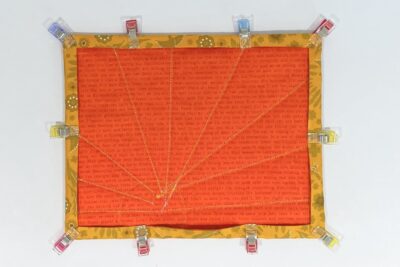
- Sew the binding to the front of the mug rug using a ¼” seam allowance; in the same way you would add binding to a quilt top. Take your time to give the four corners neat miters.
- Fold and press the binding round to the back. Hand-sew the binding in place on the back to finish.
- Find a shady spot and enjoy your new Summer Sun mug rug.

About the Designer

Amy lives in the north of England with her husband and son. When she’s not sewing and quilting, Amy can usually be found baking or reading. You can find her on Instagram @amyatthegate
I have made three of these for gifts. Thanks for sharing such clear steps.
Just made the sun rays mug rugs. So cute and fun, thank you! I didn’t like my stiching on the back where it “meets: the sun, was messy. So I put another backing on and then zizzaged the sun on the front. Then it had only a cleaner zigzag of the sun on the back.
Just made your Summer Sun Mug Rug and it is adorable. It is so pretty Am going to make as gifts for friends. Thank you for a beautiful pattern.