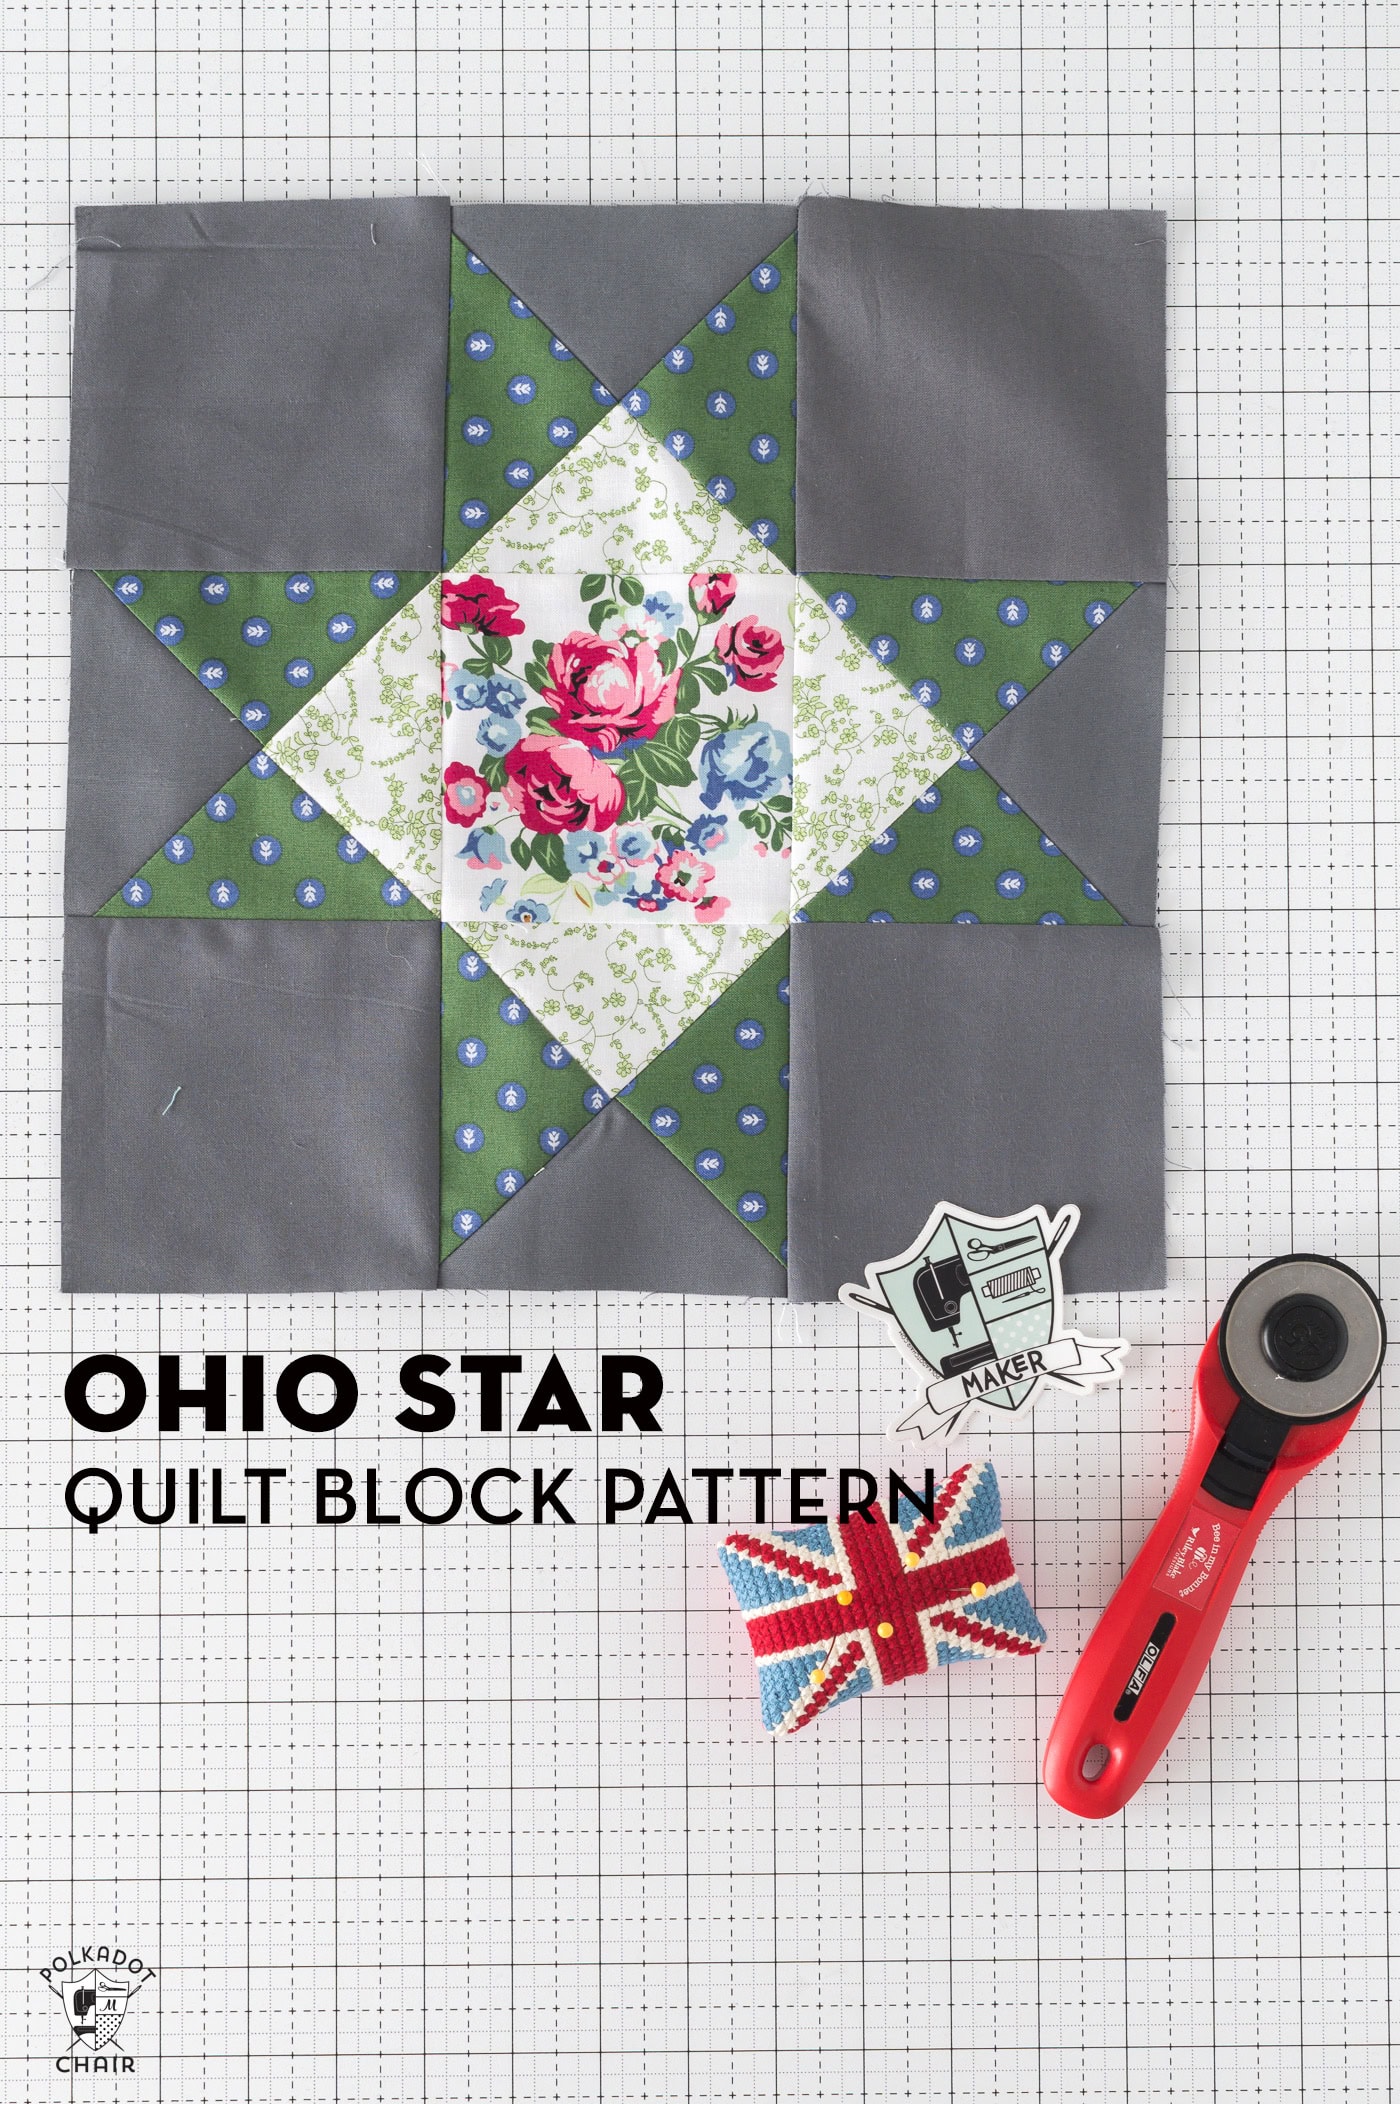
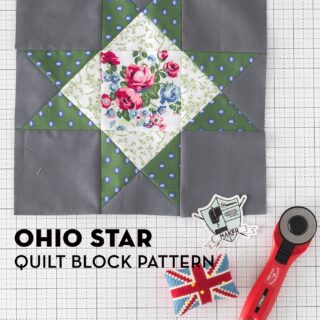
How to Make a 12-inch Ohio Star Quilt Block
Learn how to make a versatile Ohio Star Quilt block with our free 12-inch Ohio Star Quilt block pattern.
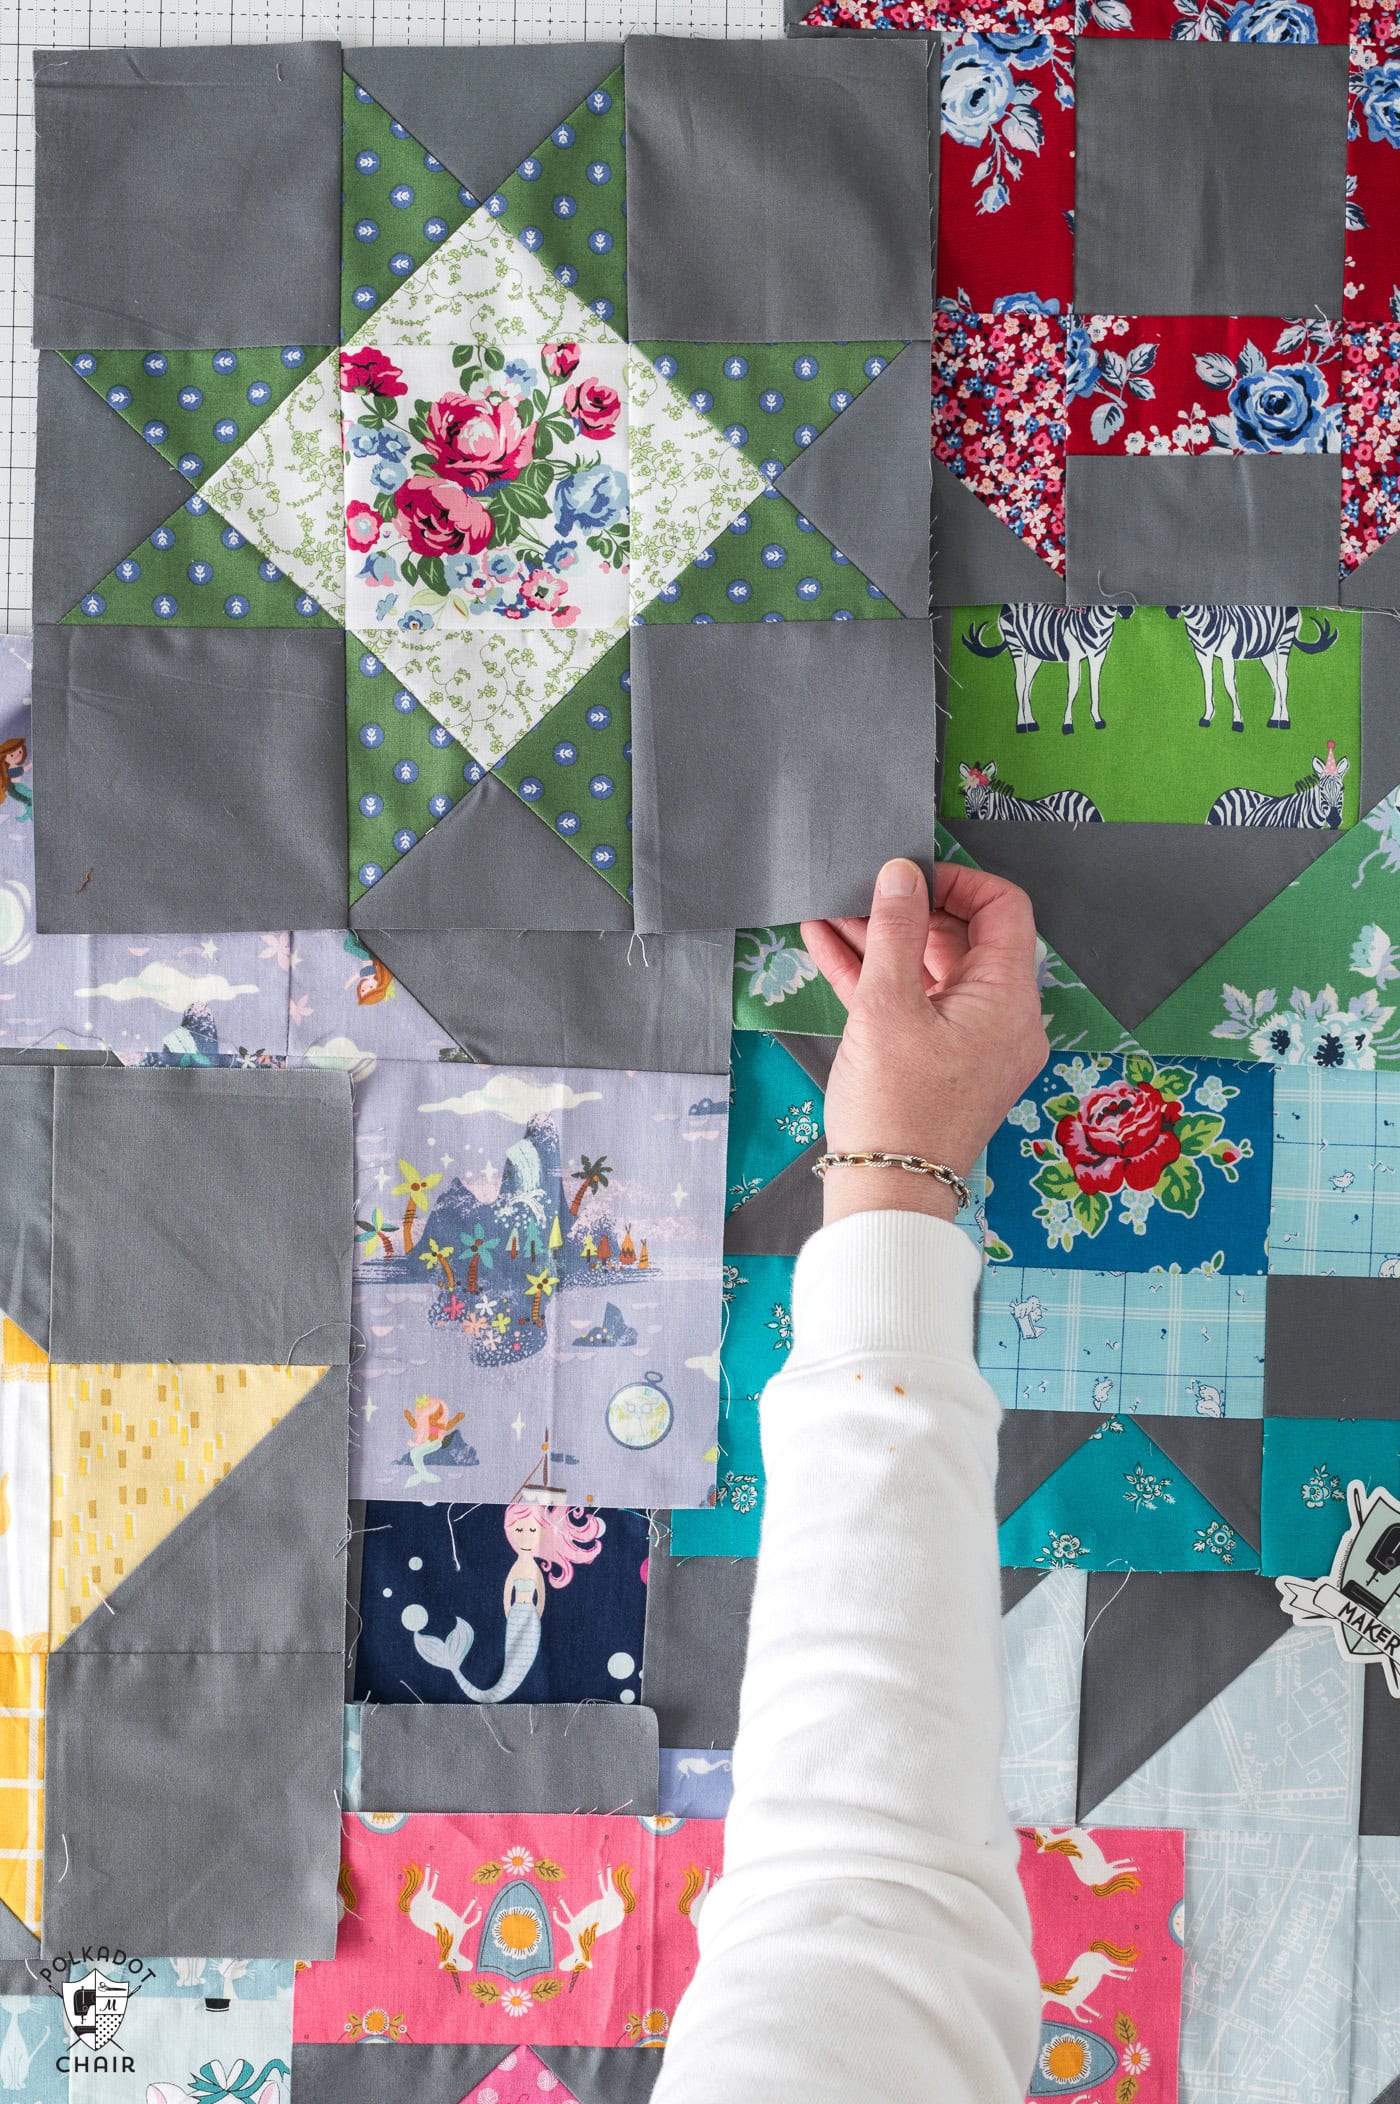
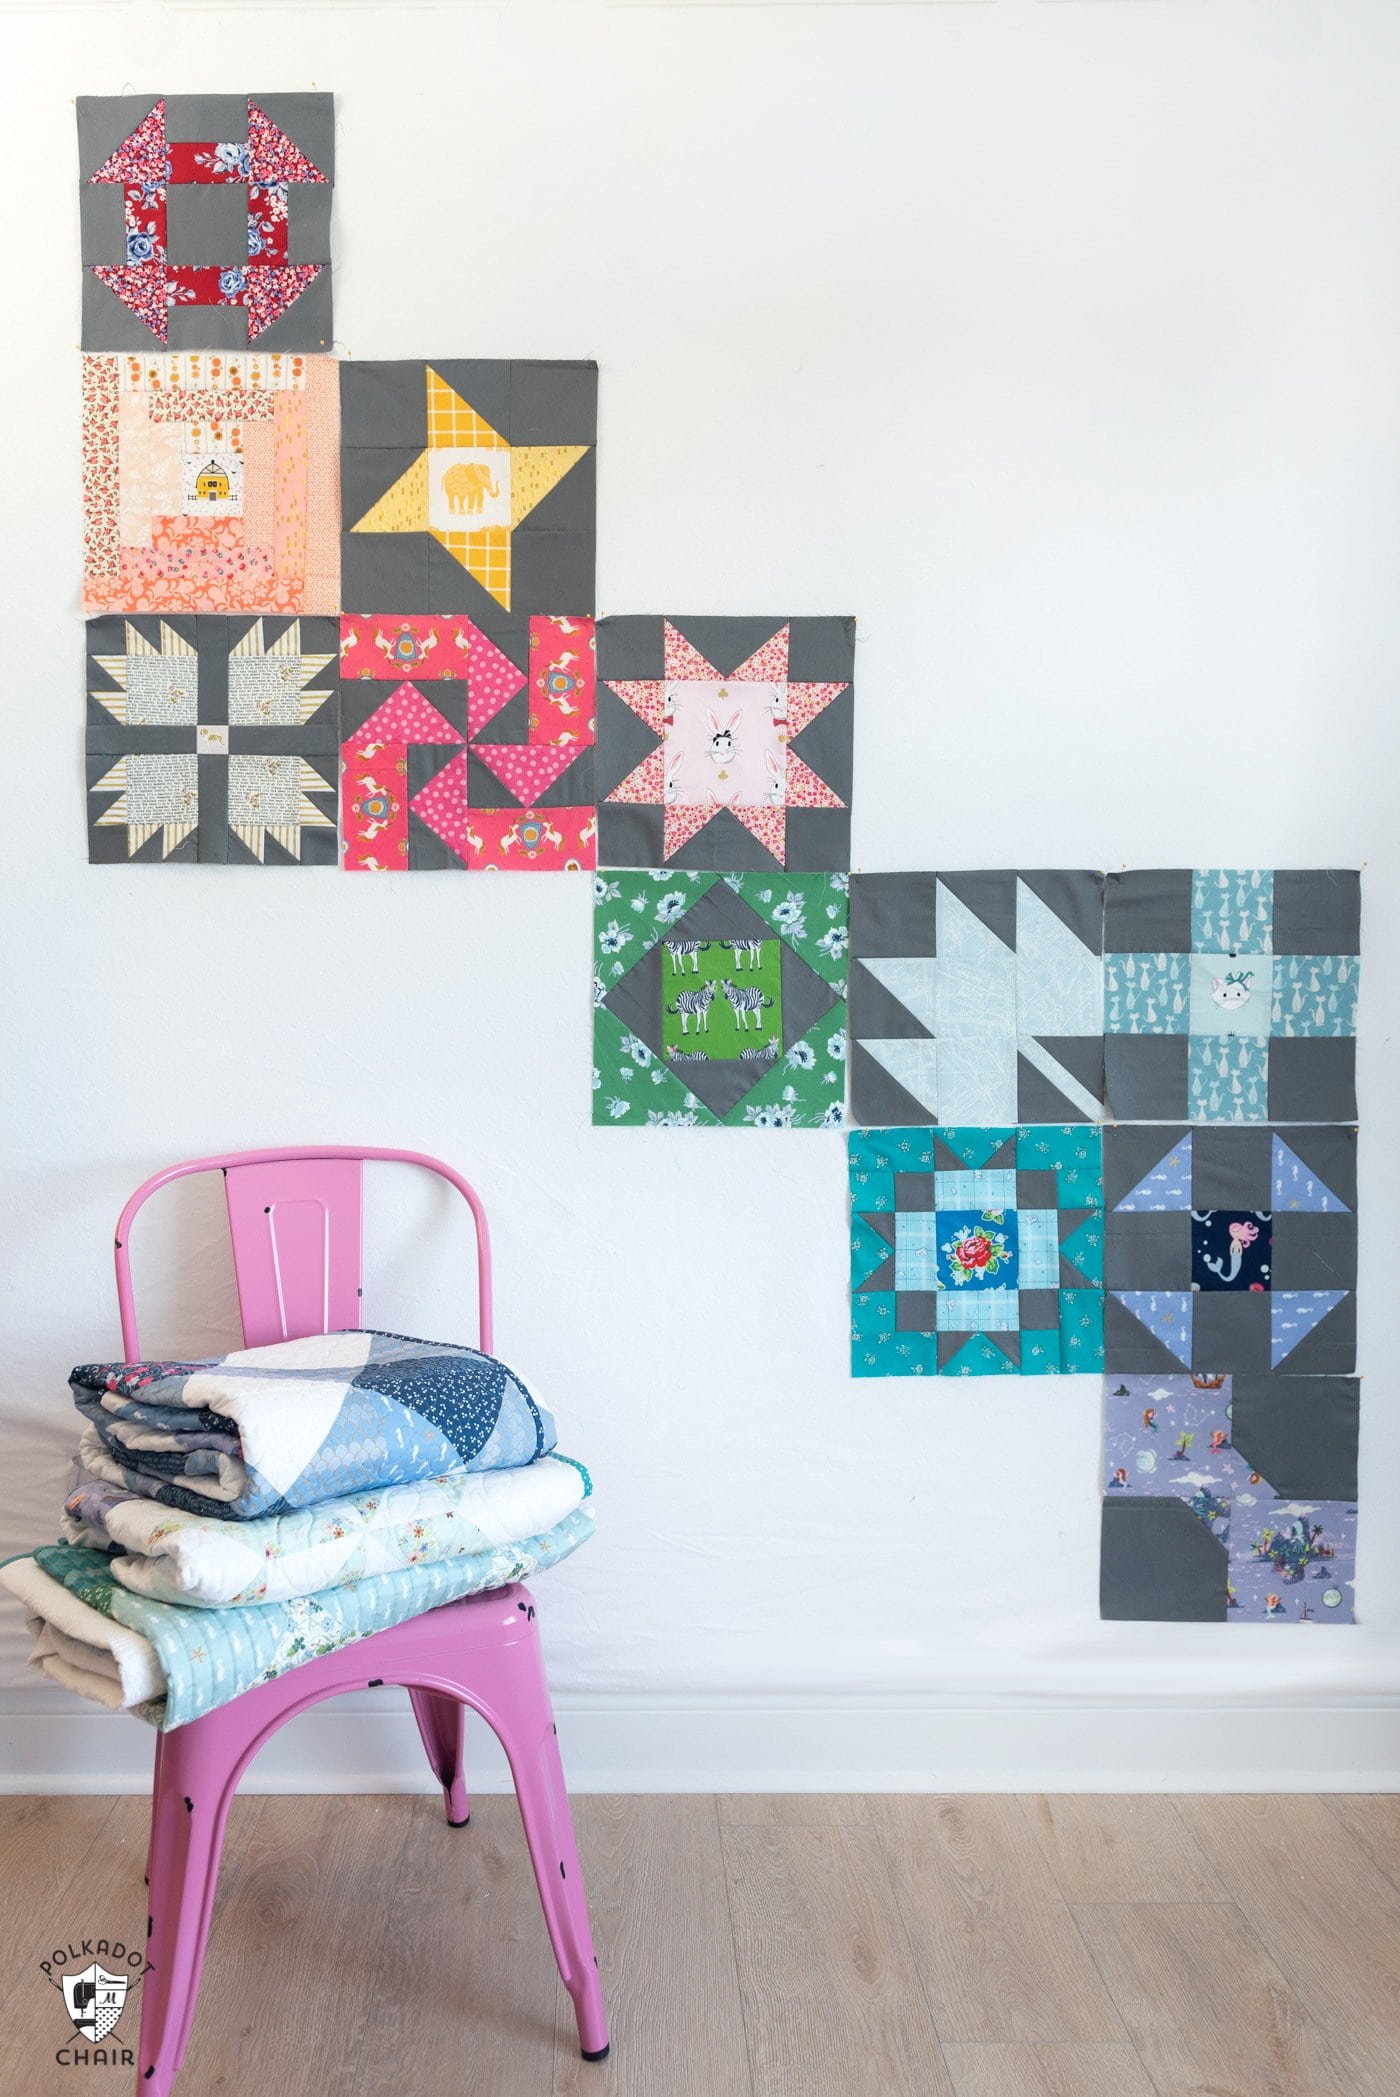
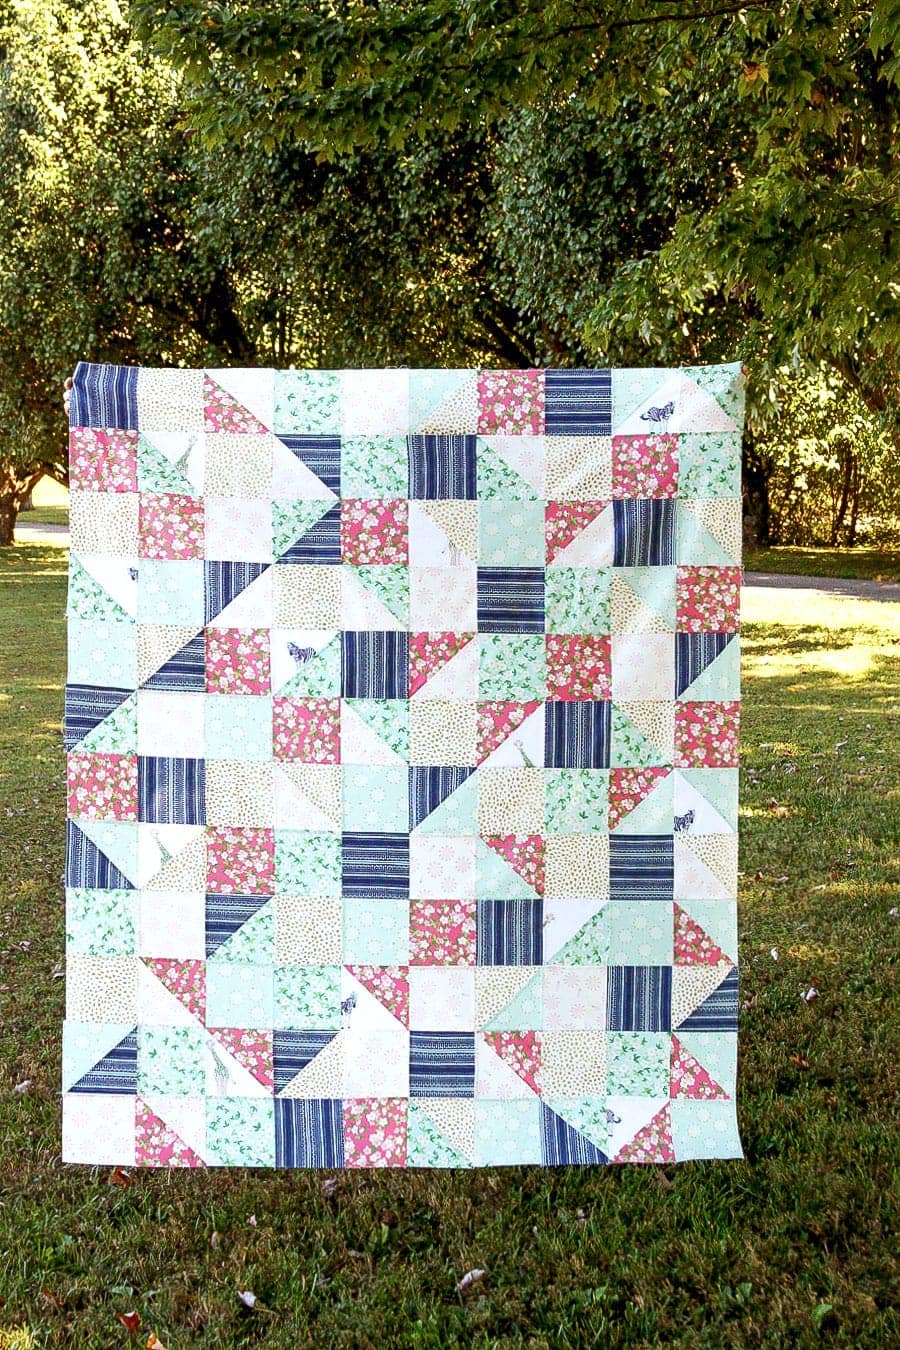
I have been working on a scrappy, colorful Sampler quilt for a few years. I have twelve quilt blocks completed, each featuring a gray background. I’m working to finish that quilt this year and have decided to create six more blocks; the Ohio star is one of them.
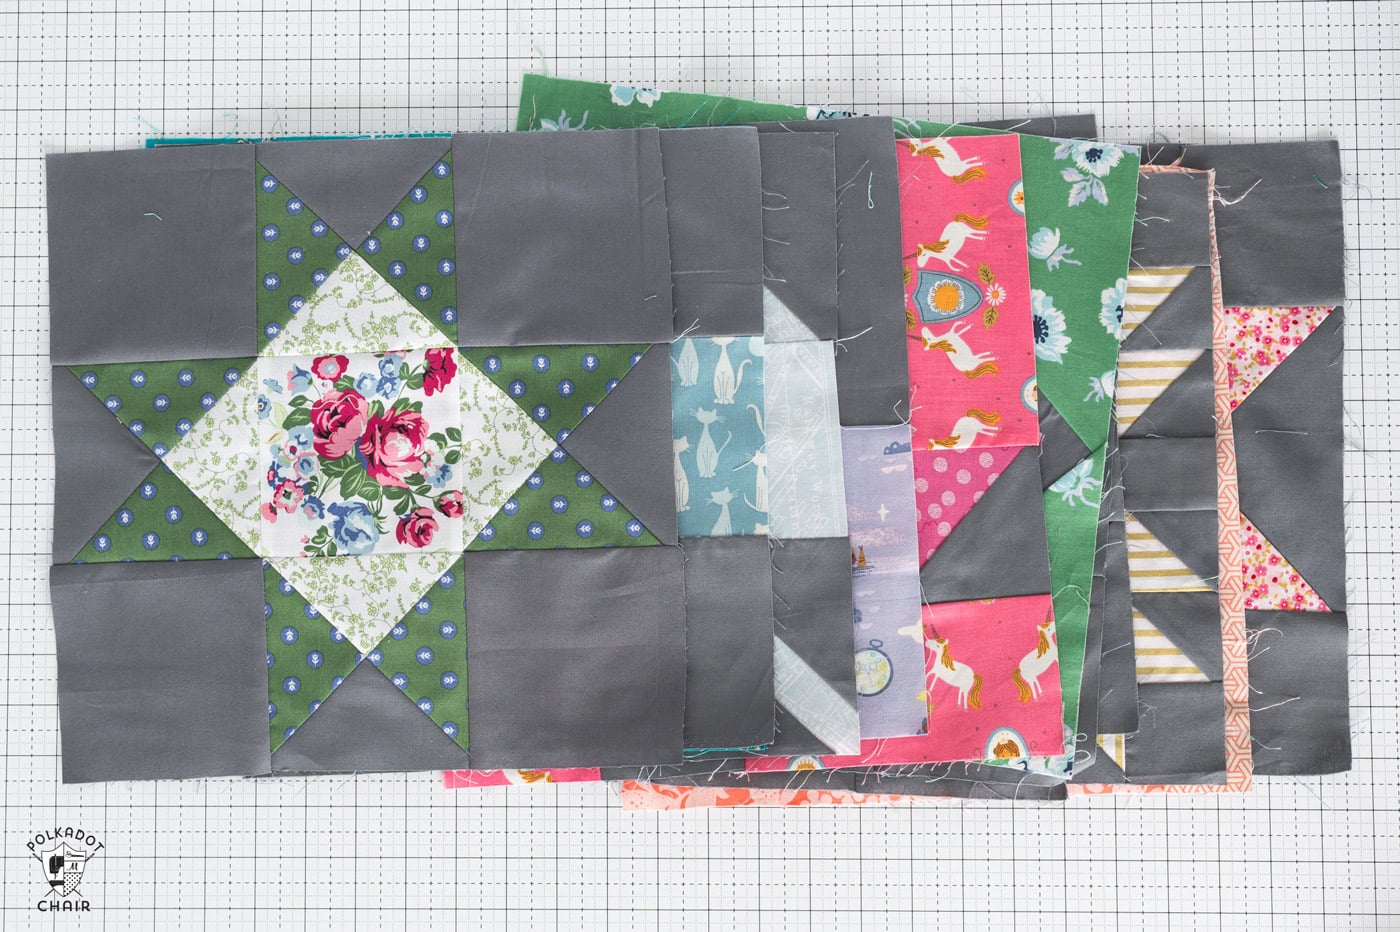
As I work, I will share the free block patterns and the final quilt layout and directions with you.
About Ohio Star Blocks
The Ohio Star quilt block dates back to the early 1800s and is one of the most iconic and enduring patterns in American quilting. Popular among pioneer women in the Midwest, the block features a simple yet striking eight-pointed star made from central square and quarter-square triangle units. Its versatility, ease of construction, and bold visual impact make it a favorite of many quilt pattern designers.
Examples of Ohio Star Blocks
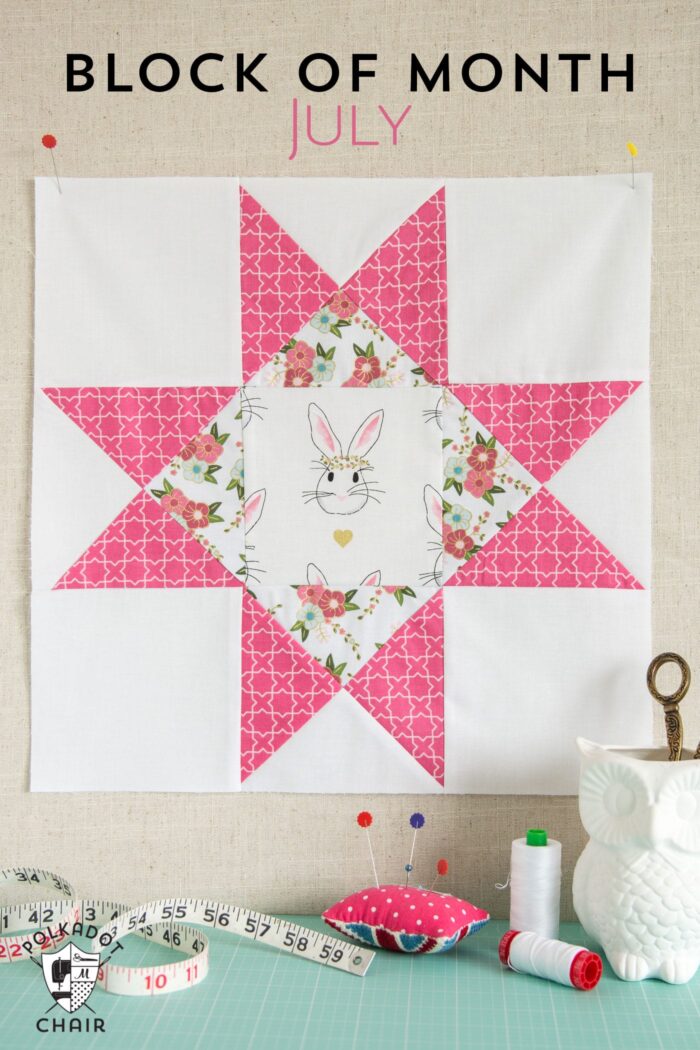
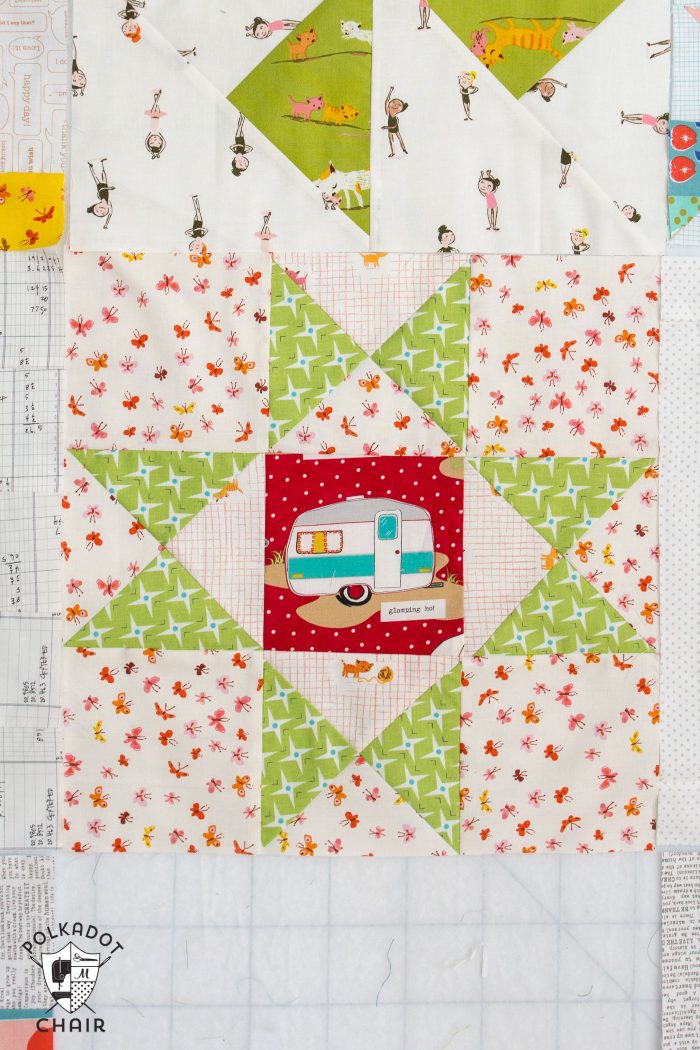
Ohio Star Quilt blocks are some of my favorite blocks, and I’ve incorporated them into many quilt patterns.
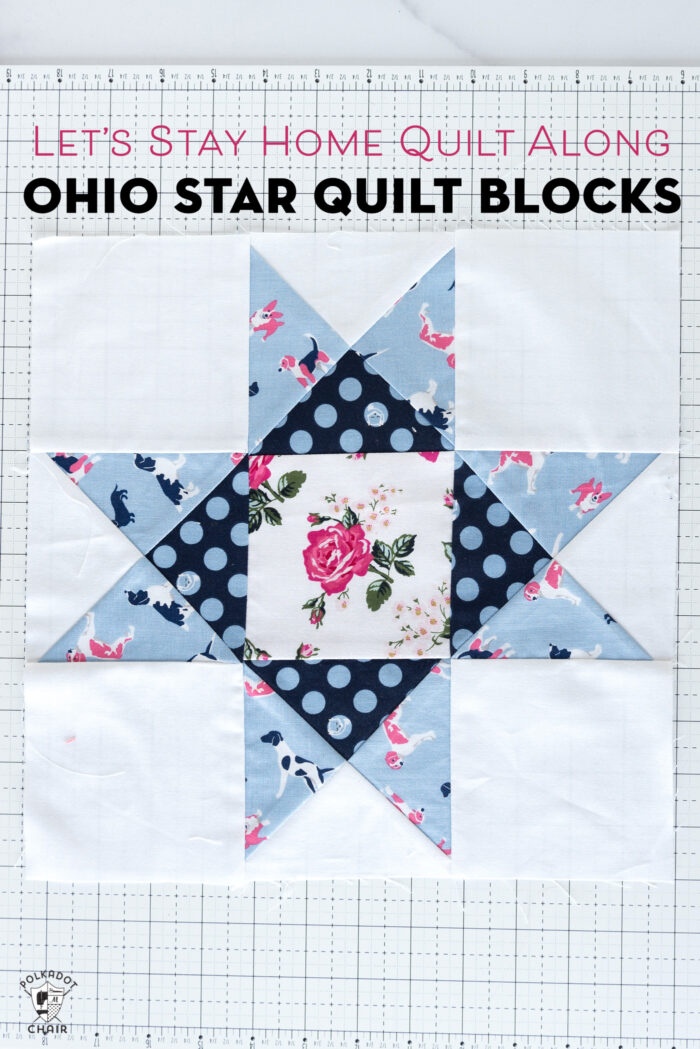
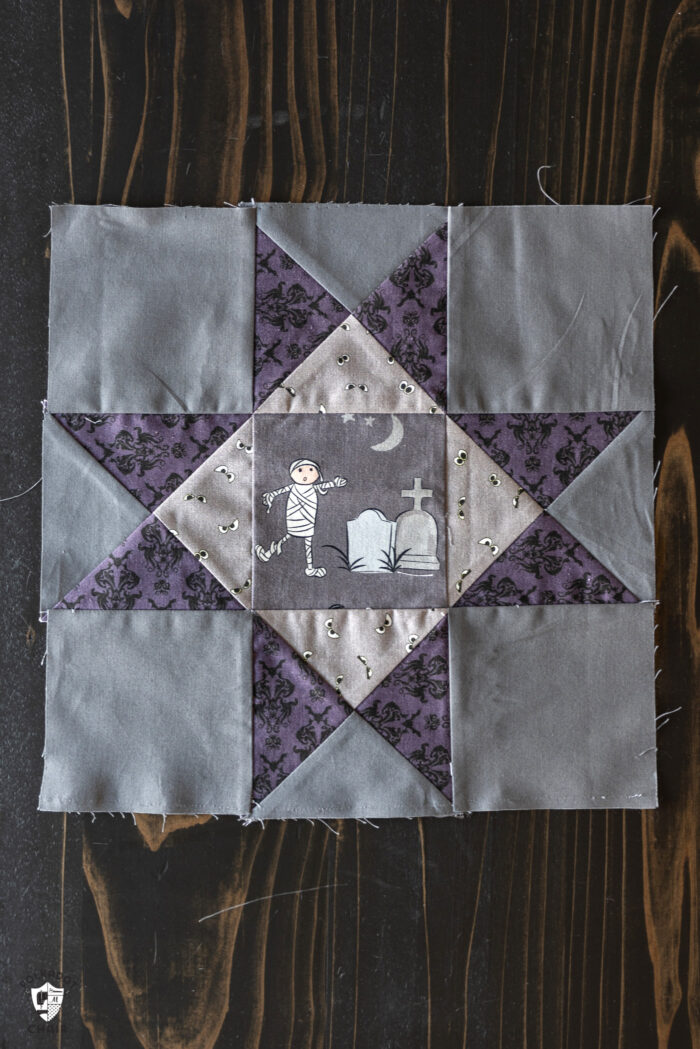
You can see how versatile the block is. You can change the color and contrast of the center squares, center points, or star points to get an entirely different quilt block.
Supplies Required
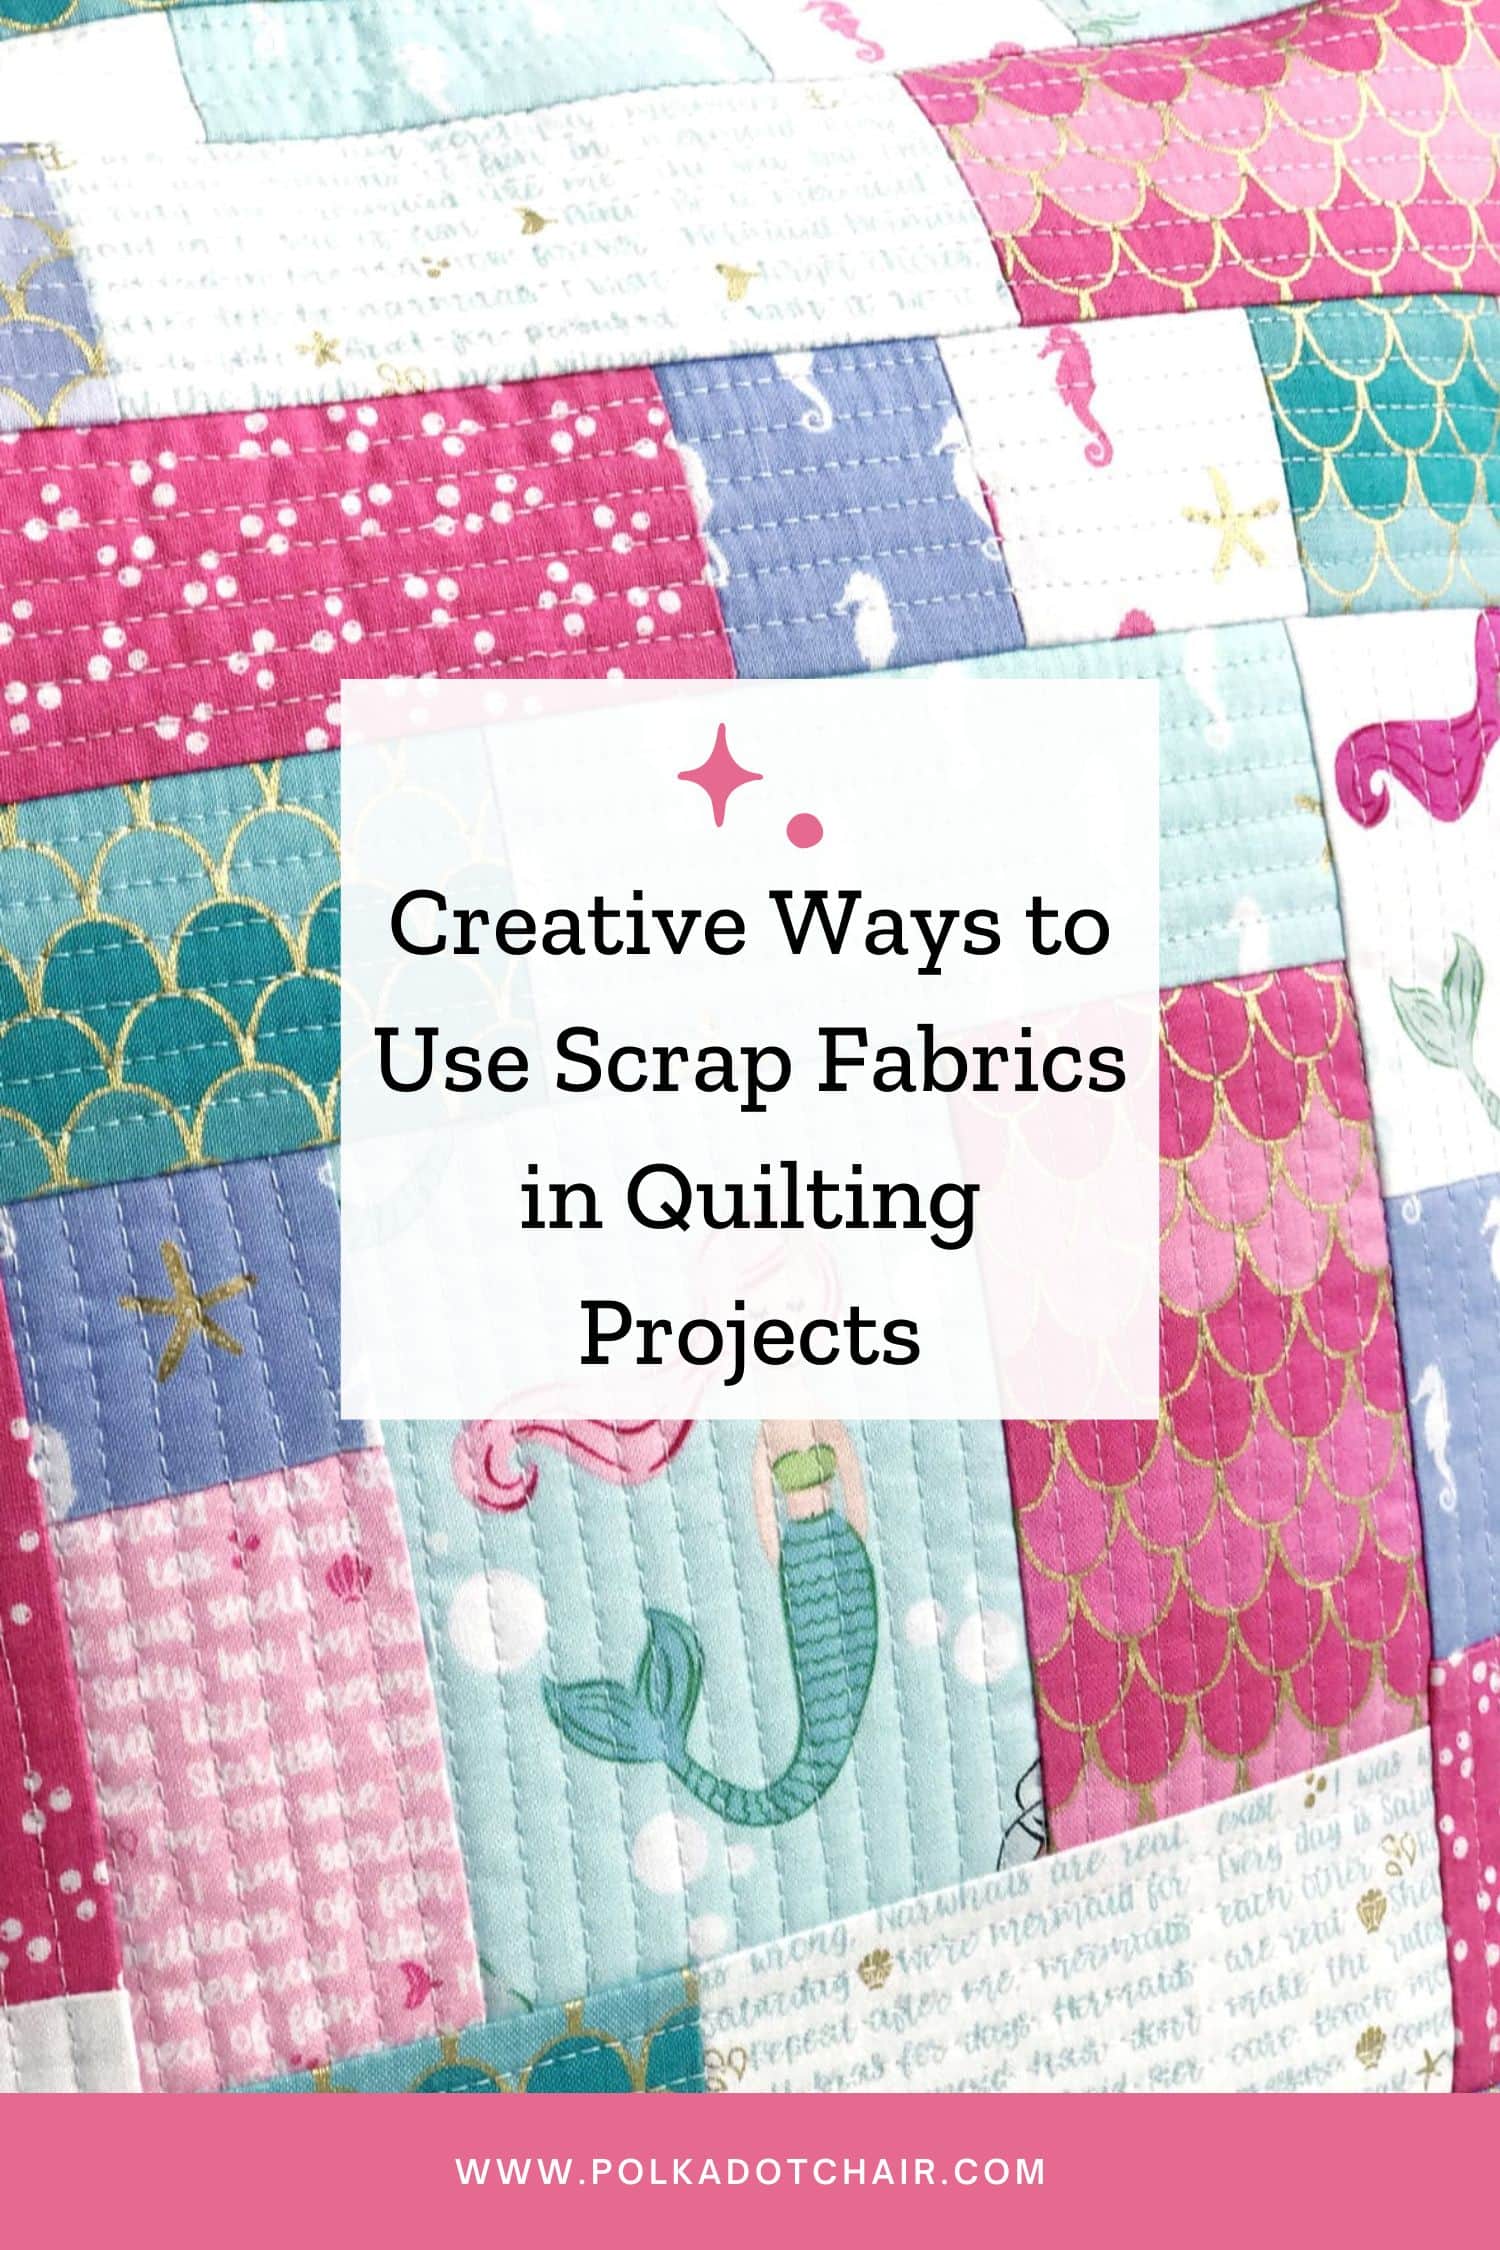
Since we are just making one block, this project is ideal for using pieces from your scrap fabric bin.
If you are purchasing fabric for your block, you will need:
- Background Fabric: 1 Fat Quarter
- Star Point Fabric: 1 Fat Quarter
- Star Point Contrast: 1 Fat Quarter
- Center Fabric: 1 Fat Quarter
You could also use a Fat Eighth. However, it is not a common fabric unit for sale, and you are more likely to find Fat Quarters readily available.
Twelve Inch Ohio Star Quilt Block Pattern
Equipment
supplies
- 1 Fat Quarter Background Fabric mine is Iron by Riley Blake
- 1 Fat Quarter Center Fabric
- 1 Fat Quarter Star Points Fabric
- 1 Fat Quarter Star Point Contrast Fabric
Instructions
Cutting Directions
- Fabric A: Background Fabric (Gray)Four pieces 4 1/2” x 4 1/2”1 piece 5 1/2” x 5 1/2”; for the quarter square triangle units
- Fabric B: Star Points (Green):2 pieces 5 1/2” x 5 1/2”; for quarter square triangle units
- Fabric C: Inside Star Contrast (White):1 piece 5 1/2” x 5 1/2”; for quarter square triangle units
- Fabric D: Center Fabric (Floral):One Piece 4 1/2” x 4 1/2”
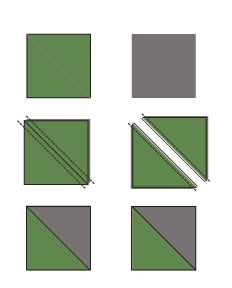
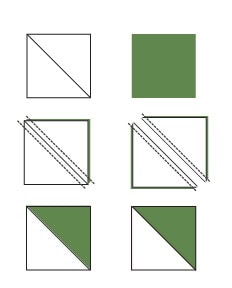
Step 1: Make Half Square Triangle Units (HST)
- Draw a diagonal line on the wrong side of the two 5 1/2” x 5 1/2” Fabric B pieces.

- Pair one 5 1/2” x 5 1/2” Fabric B piece with one 5 1/2” x 5 1/2” Fabric A piece, right sides facing.
- Pair one 5 1/2” x 5 1/2” Fabric B piece with one 5 1/2” x 5 1/2” Fabric C piece, right sides facing.
- On both units, sew 1/4” on each side of the drawn line.
- Cut on the drawn line. Press toward Fabric B.
- You should have four sewn Half Square Triangle Units.
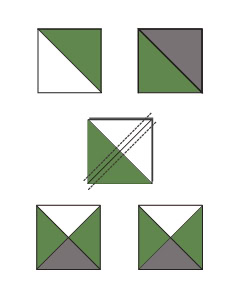
Step 2: Make Quarter Square Triangle Units (QST)
- Take one HST created with Fabric A/B and one HST created with Fabric B/C and place them right sides facing so that the two Fabric B pieces are not on top of each other.
- The seams of the blocks should be on top of each other and “nested”.
- Draw a line perpendicular to the seam (corner to corner). 9.
- Sew 1/4” on both sides of the line, then cut on the drawn line to make two-quarter square triangle units.
- Repeat with the remaining Fabric A/B and Fabric B/C HST units.
- Trim and square up to 4 1/2” x 4 1/2”
- TIP: As you trim your block, make sure you trim from the center out. If you remove too much fabric from one side of the block, you will not have precise corners.
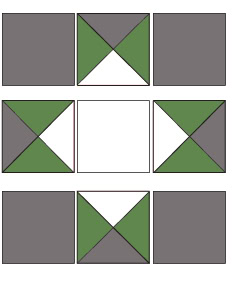
Step 3: Layout the Block
- Layout your 3×3 grid:
- Corners: 4 Fabric A 4½” squares
- Sides 4 quarter square triangle units (rotate so light triangles point to the center)
- Center: 1 star 4½” square
Step 4: Sew the Rows and Assemble the Block
- Sew each row together. Press the seams of Row 1 and Row 3 away from the center and press the seams of Row 2 towards the center of the block.
- Sew rows together, pinning at intersections.
- If necessary, trim and square up the block to 12½” x 12½”.
More 12-inch Quilt Block Patterns
- Churn Dash Quilt Block
- Log Cabin Quilt Block
- Friendship Star Quilt Block
- Economy Block
- Shoo-Fly Quilt Block
- Bear Paw Quilt Block
- Maple Leaf Quilt Block
- Maple Star Quilt Block
- Nine Patch Quilt Block
- Turnstile Quilt Block
- Sawtooth Star Quilt Block
- Bow Tie Quilt Block
- Ohio Star Quilt Block
- Pinwheel Star Quilt Block
- Basket Quilt Block
- Heart Quilt Block
- Rail Fence Quilt Block
- Annie’s Choice Quilt Block
- Butterfly Cross Quilt Block
Love the pattern! Also, could you please link to that adorable Union Jack pincushion pattern? Is it cross stitch?
It’s needlepoint, and I bought a long time ago! Sorry!
Do you have directions for using 5” sq precuts for the center and corners?
You can just cut the 5″ precut down to 4 1/2″ x 4 1/2″ to use it for the corners.
I love the Ohio Star block. I live in Ohio. And I’m currently preparing to make an Ohio Start quilt for my son who just retired from the Army.