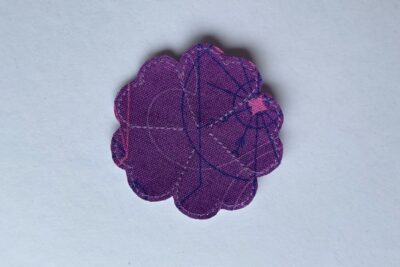
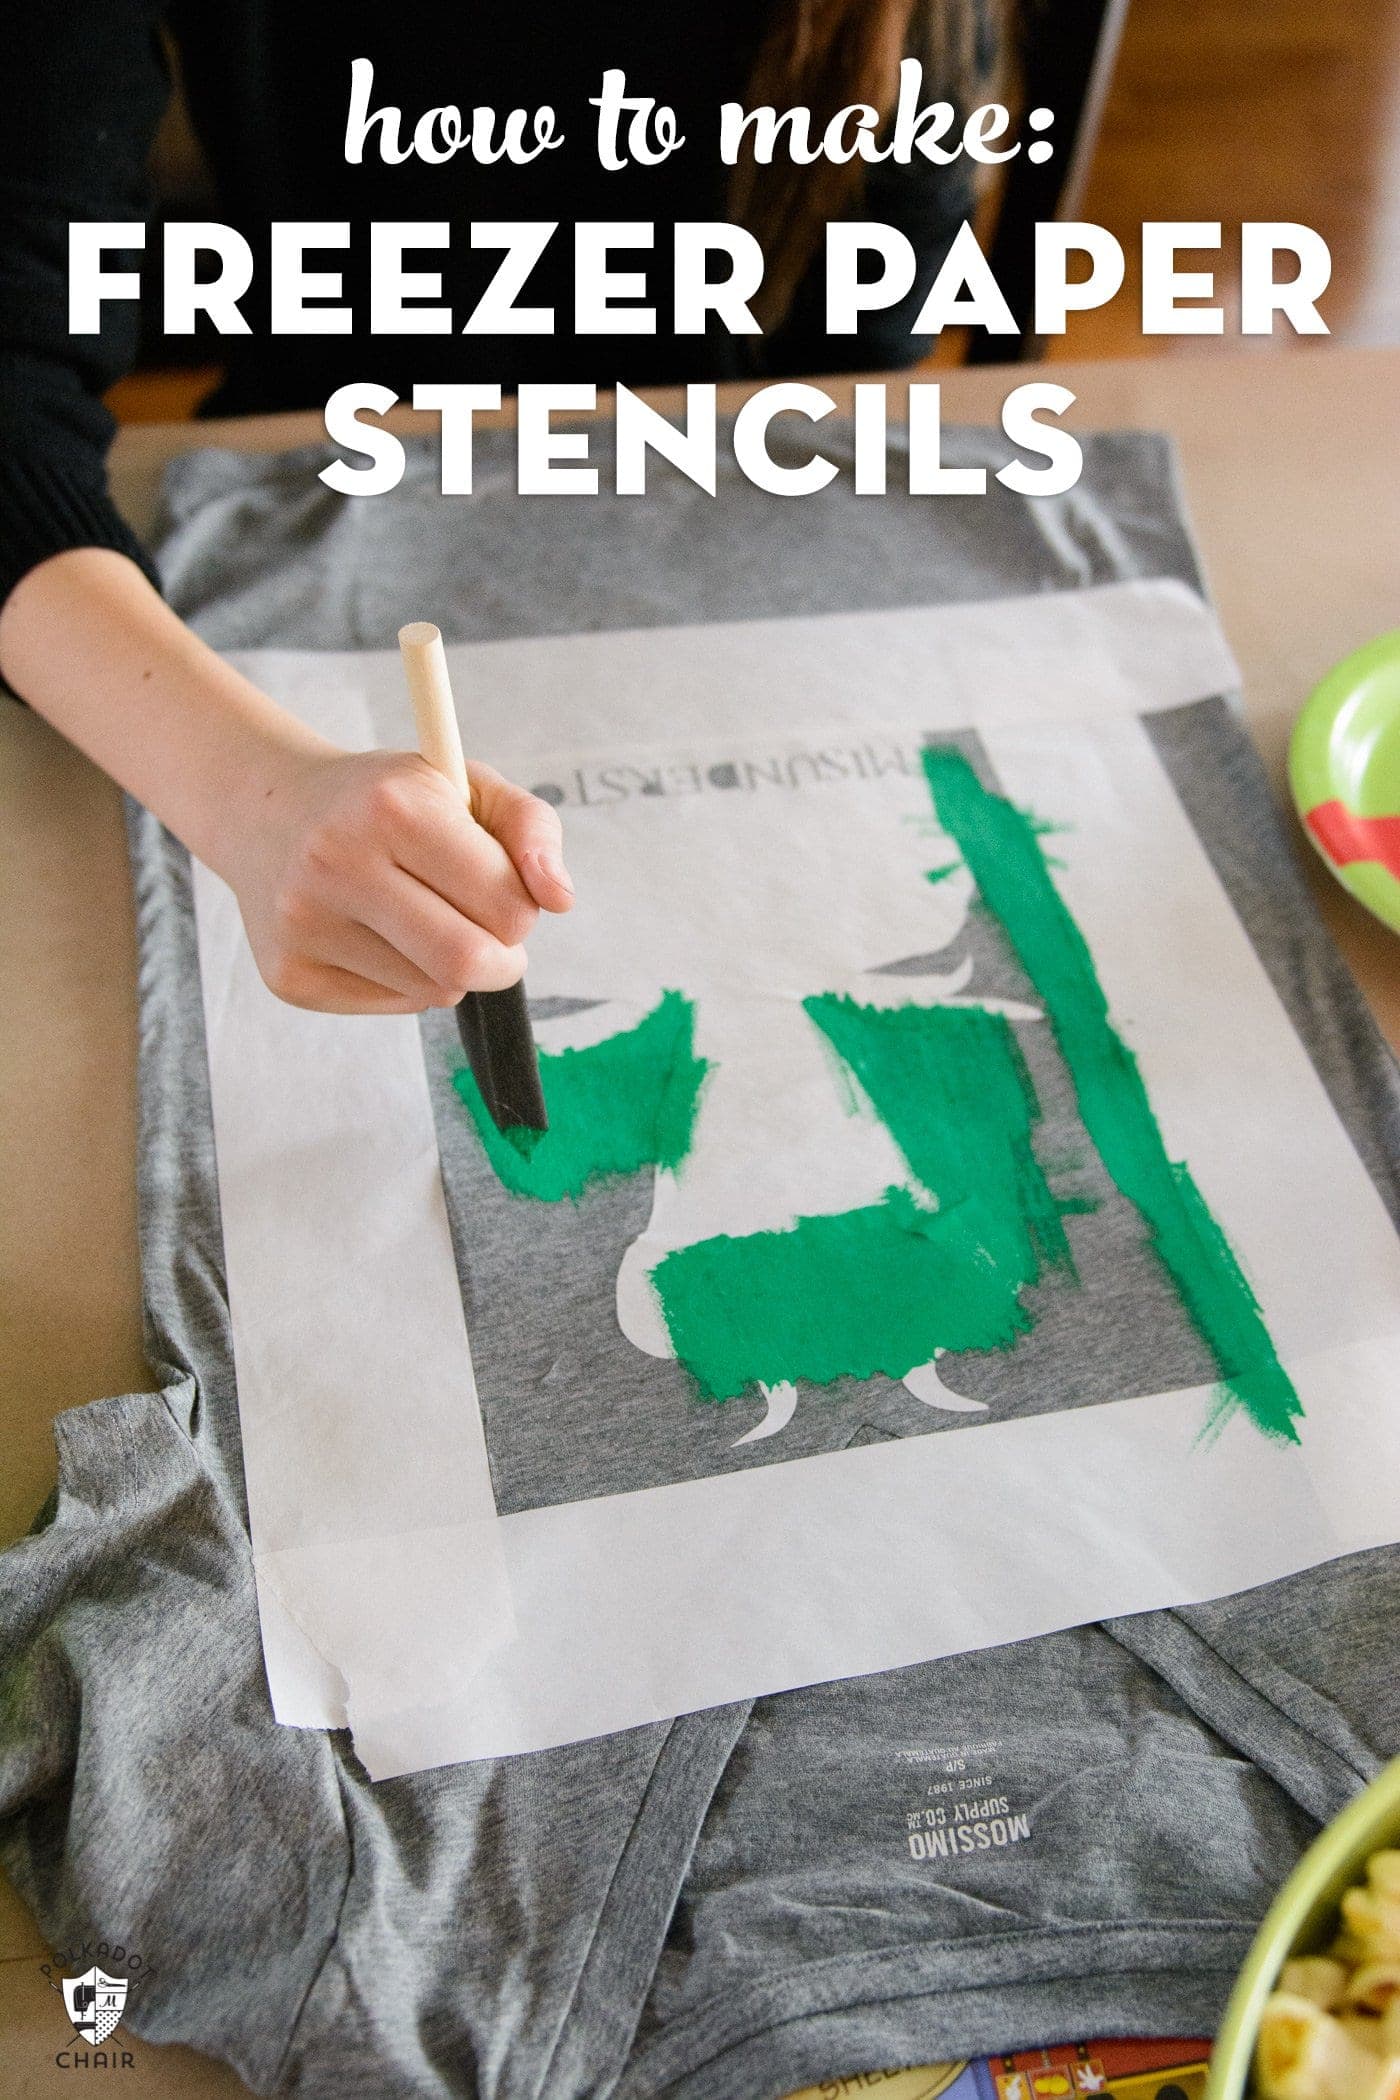
How to Make a Charming Elastic Bookmark
In this tutorial, we’ll guide you through creating elastic bookmarks. These handy accessories keep your place secure in any book and add a touch of charm to your reading experience.
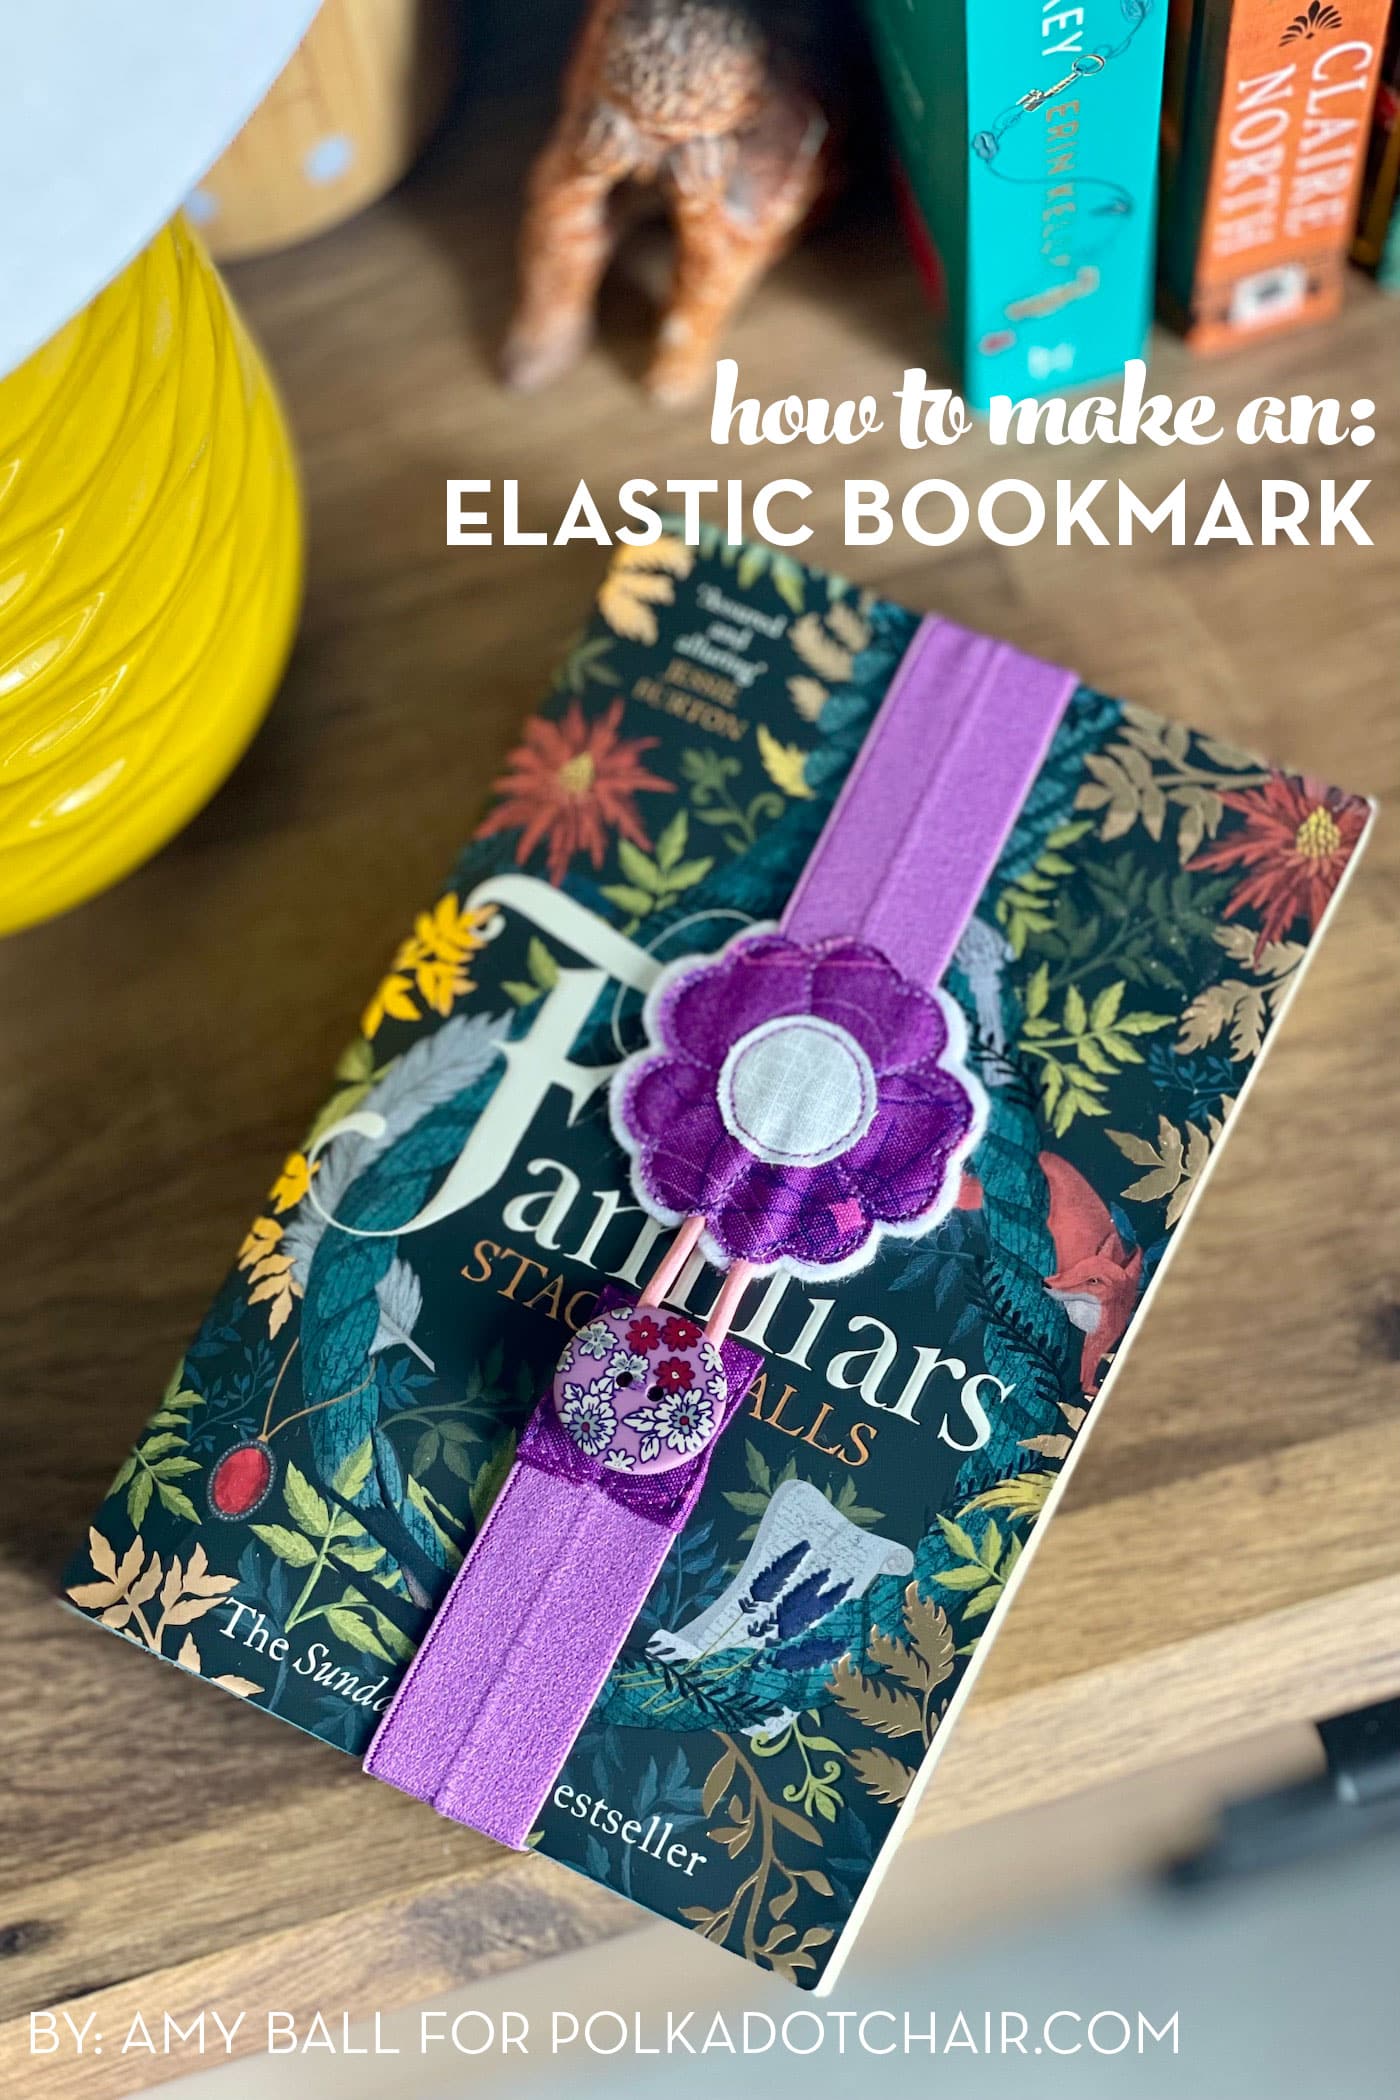
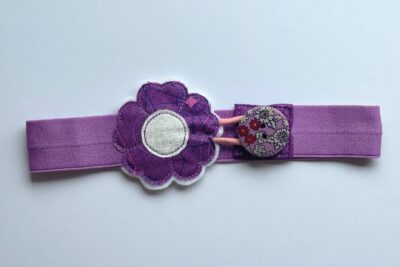
Do you ever lose your place in your book because the bookmark falls out? This bookmark is for you! Not only does this Elastic Flower Bookmark wrap around your pages, but it also stays in place so you don’t lose your spot. It looks cute, too.
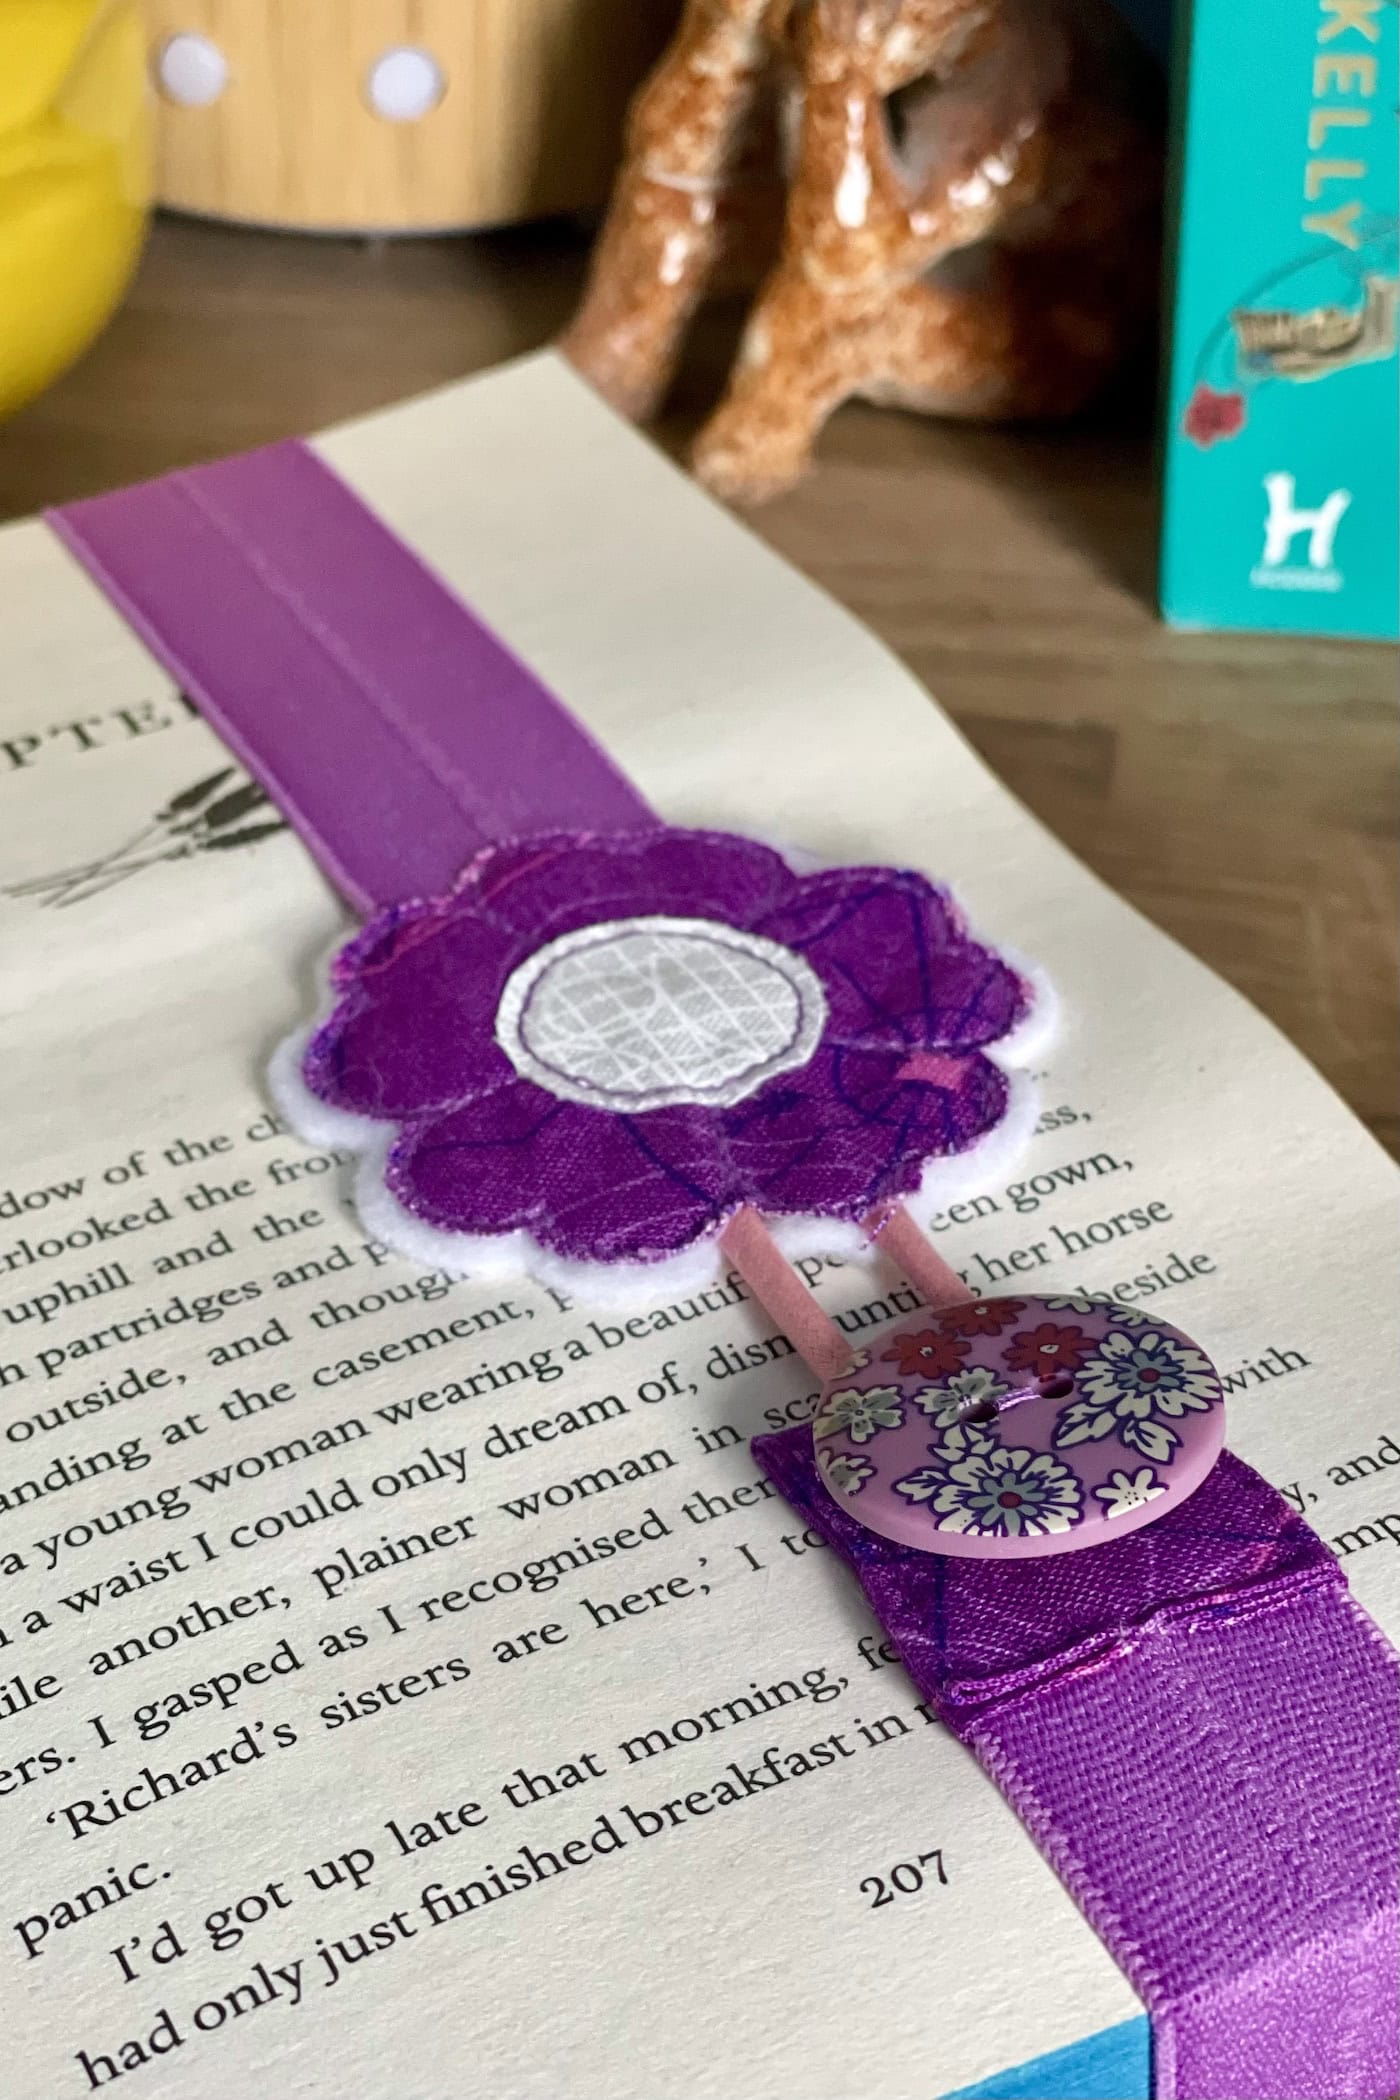
If you’re an avid reader or simply someone who appreciates the joy of a well-loved book, you’ll understand the frustration of losing your place among the pages. Fear not, for we have the perfect solution: elastic bookmarks!
If flowers aren’t your thing, you can easily change to another simple shape…a heart, tree, or book. Follow the same steps, but create your own shape template.
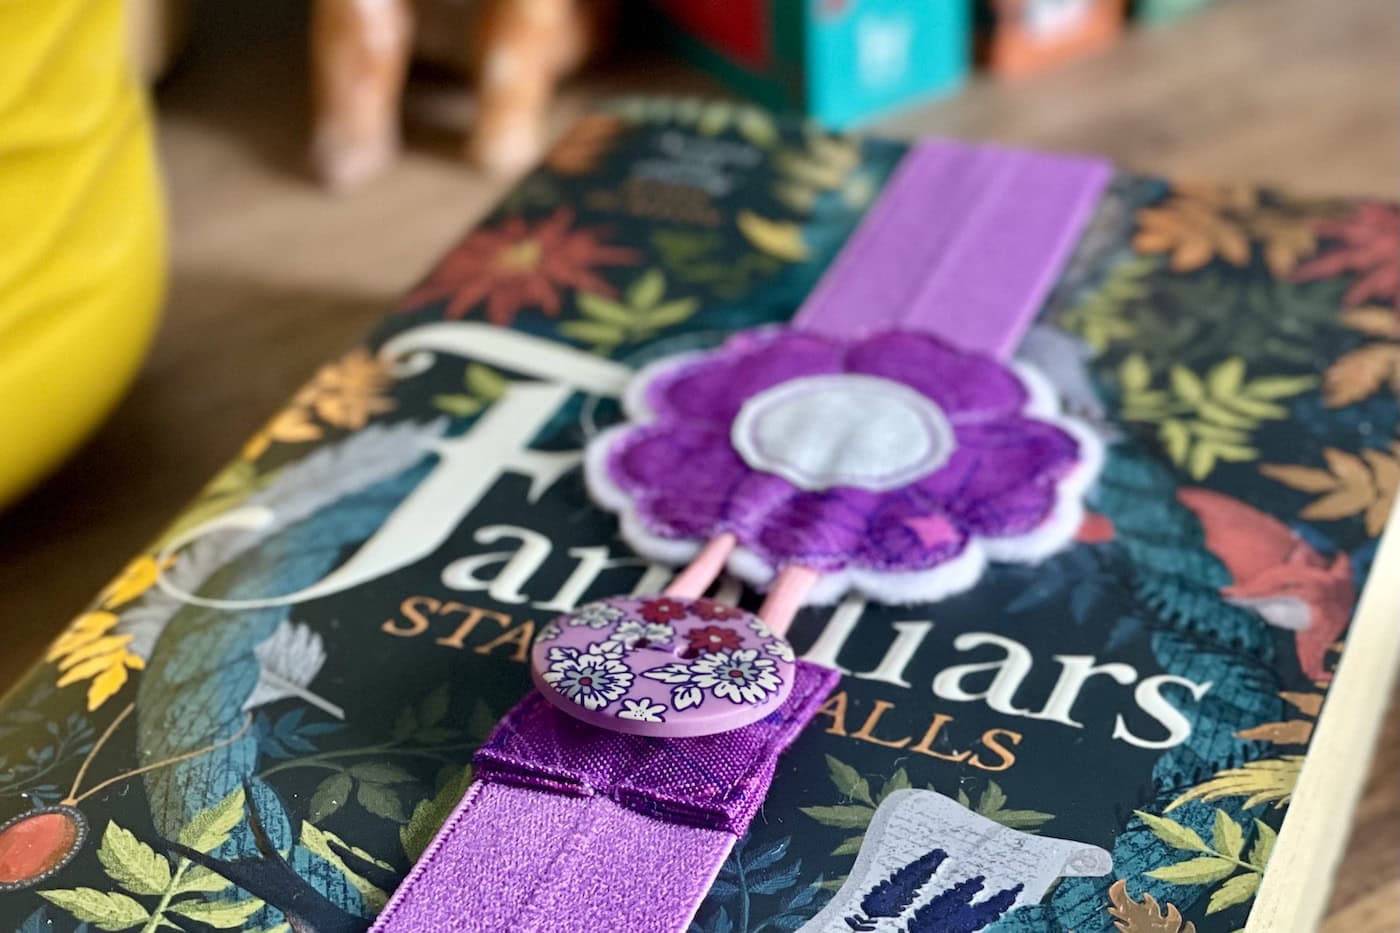
Supplies Required
Here’s what you’ll need to create an Elastic Bookmark.
Materials Needed
In addition to basic sewing supplies, there are the things you’ll need to get started.
How to Get the Template
In addition to the supplies listed above, you’ll also need a printable template for the flower. Fill out this form, and we will email it to you.
Instructions
To create your bookmark, follow the directions below. We’ve even included a handy print button at the bottom of the page to help you out.
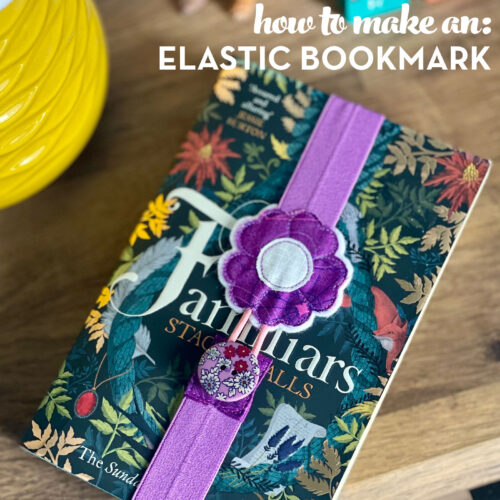
Elastic Flower Bookmark
Equipment
supplies
- 1 large scrap Main fabric
- 1 large scrap Second fabric
- 1 scrap Felt
- 1 piece Iron-On Interfacing 4” x 2½”
- 1 Leather string 5” length
- 1 One inch button
- 1 piece Elastic 1" wide, 14" long or longer (see step one of instructions) Make sure your elastic has a good amount of stretch; double is perfect. If your elastic isn’t as stretchy as this then simply adapt the length of elastic you need to measuring using the above note but leave a smaller gap.
Instructions
- [NOTE: This elastic length has been chosen to fit around an average sized paperback book, for larger (or thicker) books you’ll need to use a longer piece of elastic. To choose the length of elastic you need, place a longer piece between the pages of the book and wrap both ends around to the front cover then trim to the length so that there is about a third of the front cover without elastic on it.]
Cutting:
- From Main Fabric cut 3” x 2” (1) and 2½” sq (1).
- From Second Fabric cut 1½” sq (1).
- From Felt cut 2½” sq (1).
- From Interfacing cut 2½” sq (1) and 1½” sq (1).
Construction:
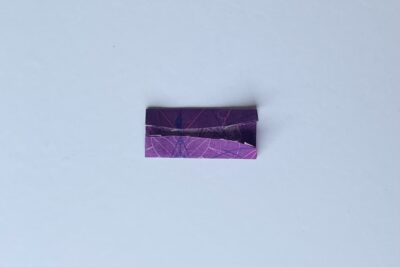
- Take the Main Fabric 3” x 2” rectangle. Press the edges of the shorter sides in by ¼”.
- Then press the edges of the longer sides into the middle (leaving a small gap in the middle).
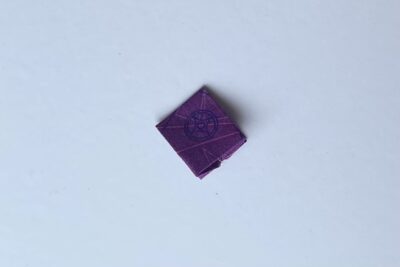
- Now fold and press the whole unit in half so the pressed edges from step 1 meet.
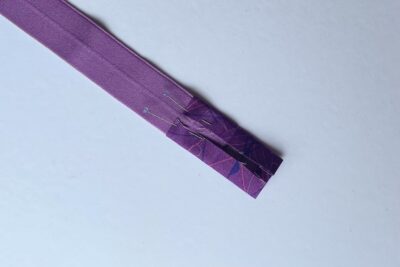
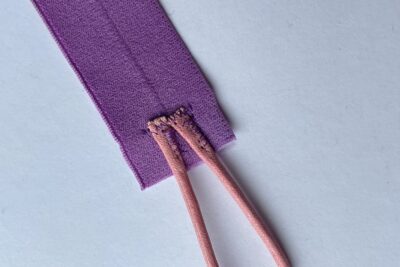
- Unfold step 3 and slide one end of the elastic into the fabric pocket up to the central fold line. Pin to secure. Use the photo as a guide.
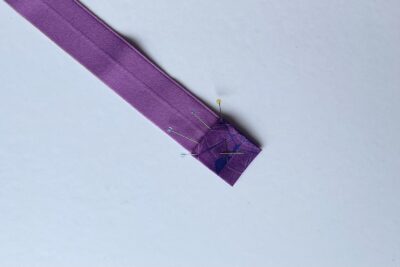
- Now refold the fabric pocket so that the end of the elastic is completely covered and the open edges of the fabric pocket line up either side of the elastic. Pin to secure.
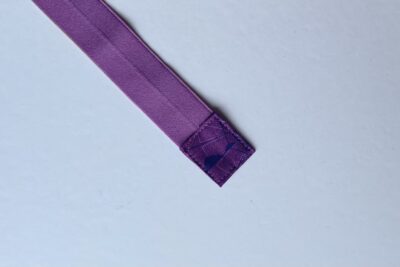
- Sew the fabric pocket into place around all four edges. Sew as close to the edges as you can (⅛” or slightly less) and make sure all the folded edges are neatly tucked out of sight. Set aside until later.
- Cut out the three templates.
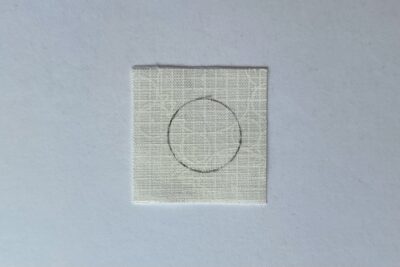
- Following the manufacturer’s guidelines, add the interfacing 2½” square to the wrong side of the Main Fabric 2½” square, and added the interfacing 1½” square to the wrong side of the Second Fabric 1½” square.
- Take the Main Fabric square and draw round the “fabric flower” template on the right side of the fabric. Use a fabric pen/pencil that can be brushed off or will easily fade.
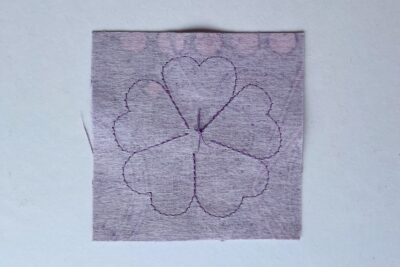
- Sew over the outline. You can use a coordinating or a contrasting thread colour.
- I’d recommend using a shorter stitch length as that makes it easier to get a smooth curve round the tight corners of the flower…take you time with this step!
- Carefully cut out the flower shape leaving a ⅛” seam allowance.
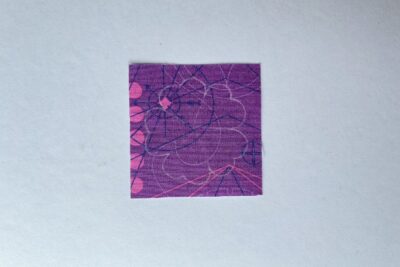
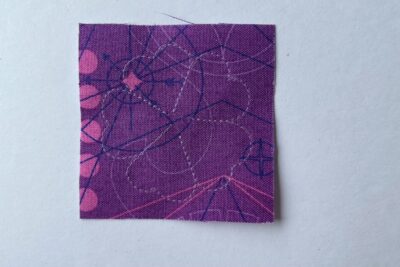
- Repeat steps 9 to 11 using the Second Fabric square and the “flower centre” template.
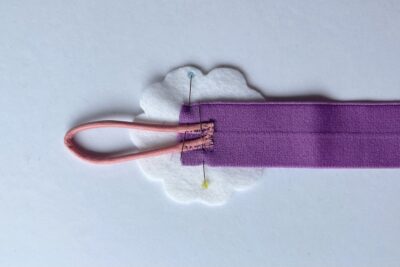
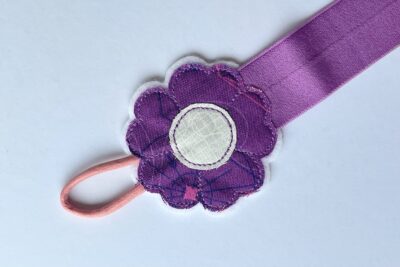
- Take the piece of leather string and fold it in half. Overlap ½” of the raw edges of the folded string onto the first ½” of the remaining raw edge of the elastic. Secure the leather thong in place using lines of zigzag stitches.I used three lines of stitches; a horizontal one across the raw ends of the leather thong and then two vertical ones, one of each section of leather string overlapping the elastic. This section will be completely covered when the bookmark is finished so don’t worry too much about it being neat, it just needs to be nice and secure.
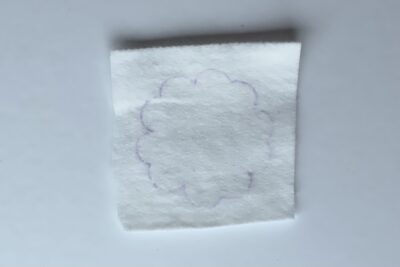
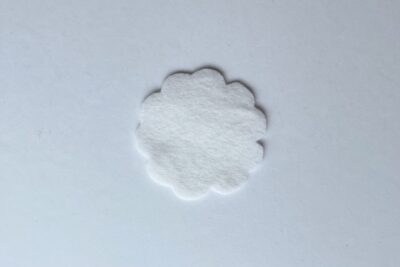
- Take the Felt square and draw round the “felt flower” template on the right side.
- Cut out the felt flower.
- Place the felt flower right side down then add the elastic end with the leather thong and position it so the raw ends of the leather thong are roughly in the centre of the flower. The folded end of the thong will be hanging over the edge of the felt flower. Pin in place.
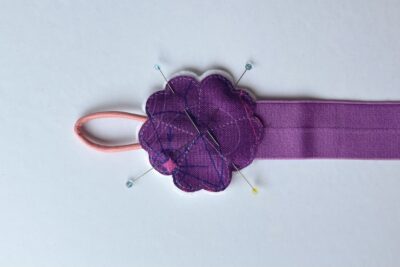
- Now add the fabric flower, right side up. Take care to line up the curves of the flower petals, the felt flower underneath will be slightly larger than the fabric flower. Pin in place through all the layers and remove the pins from step 15.
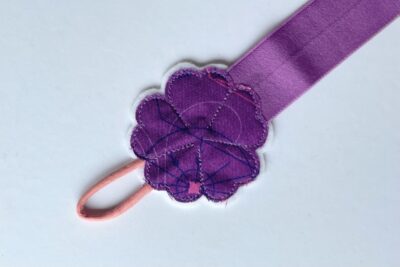
- Sew all the layers together using the stitch lines on the fabric flower as your guide. Again, take your time with this step.
- Take the flower centre. Pin or glue this onto the centre of the fabric flower and sew in place using the stitch line as your guide. I find a little dab of fabric glue is an easier way to secure this piece in place before you sew because using a pin on this many bulky layers can distort the shape of the fabric and make it harder to keep the flower centre in the right place.
- Hand sew a button onto the fabric covered elastic end to finish.
This bookmark tutorial is just one of several on our site. Be sure to check out the others, as well. They make great gifts for the bookworms in your life!

