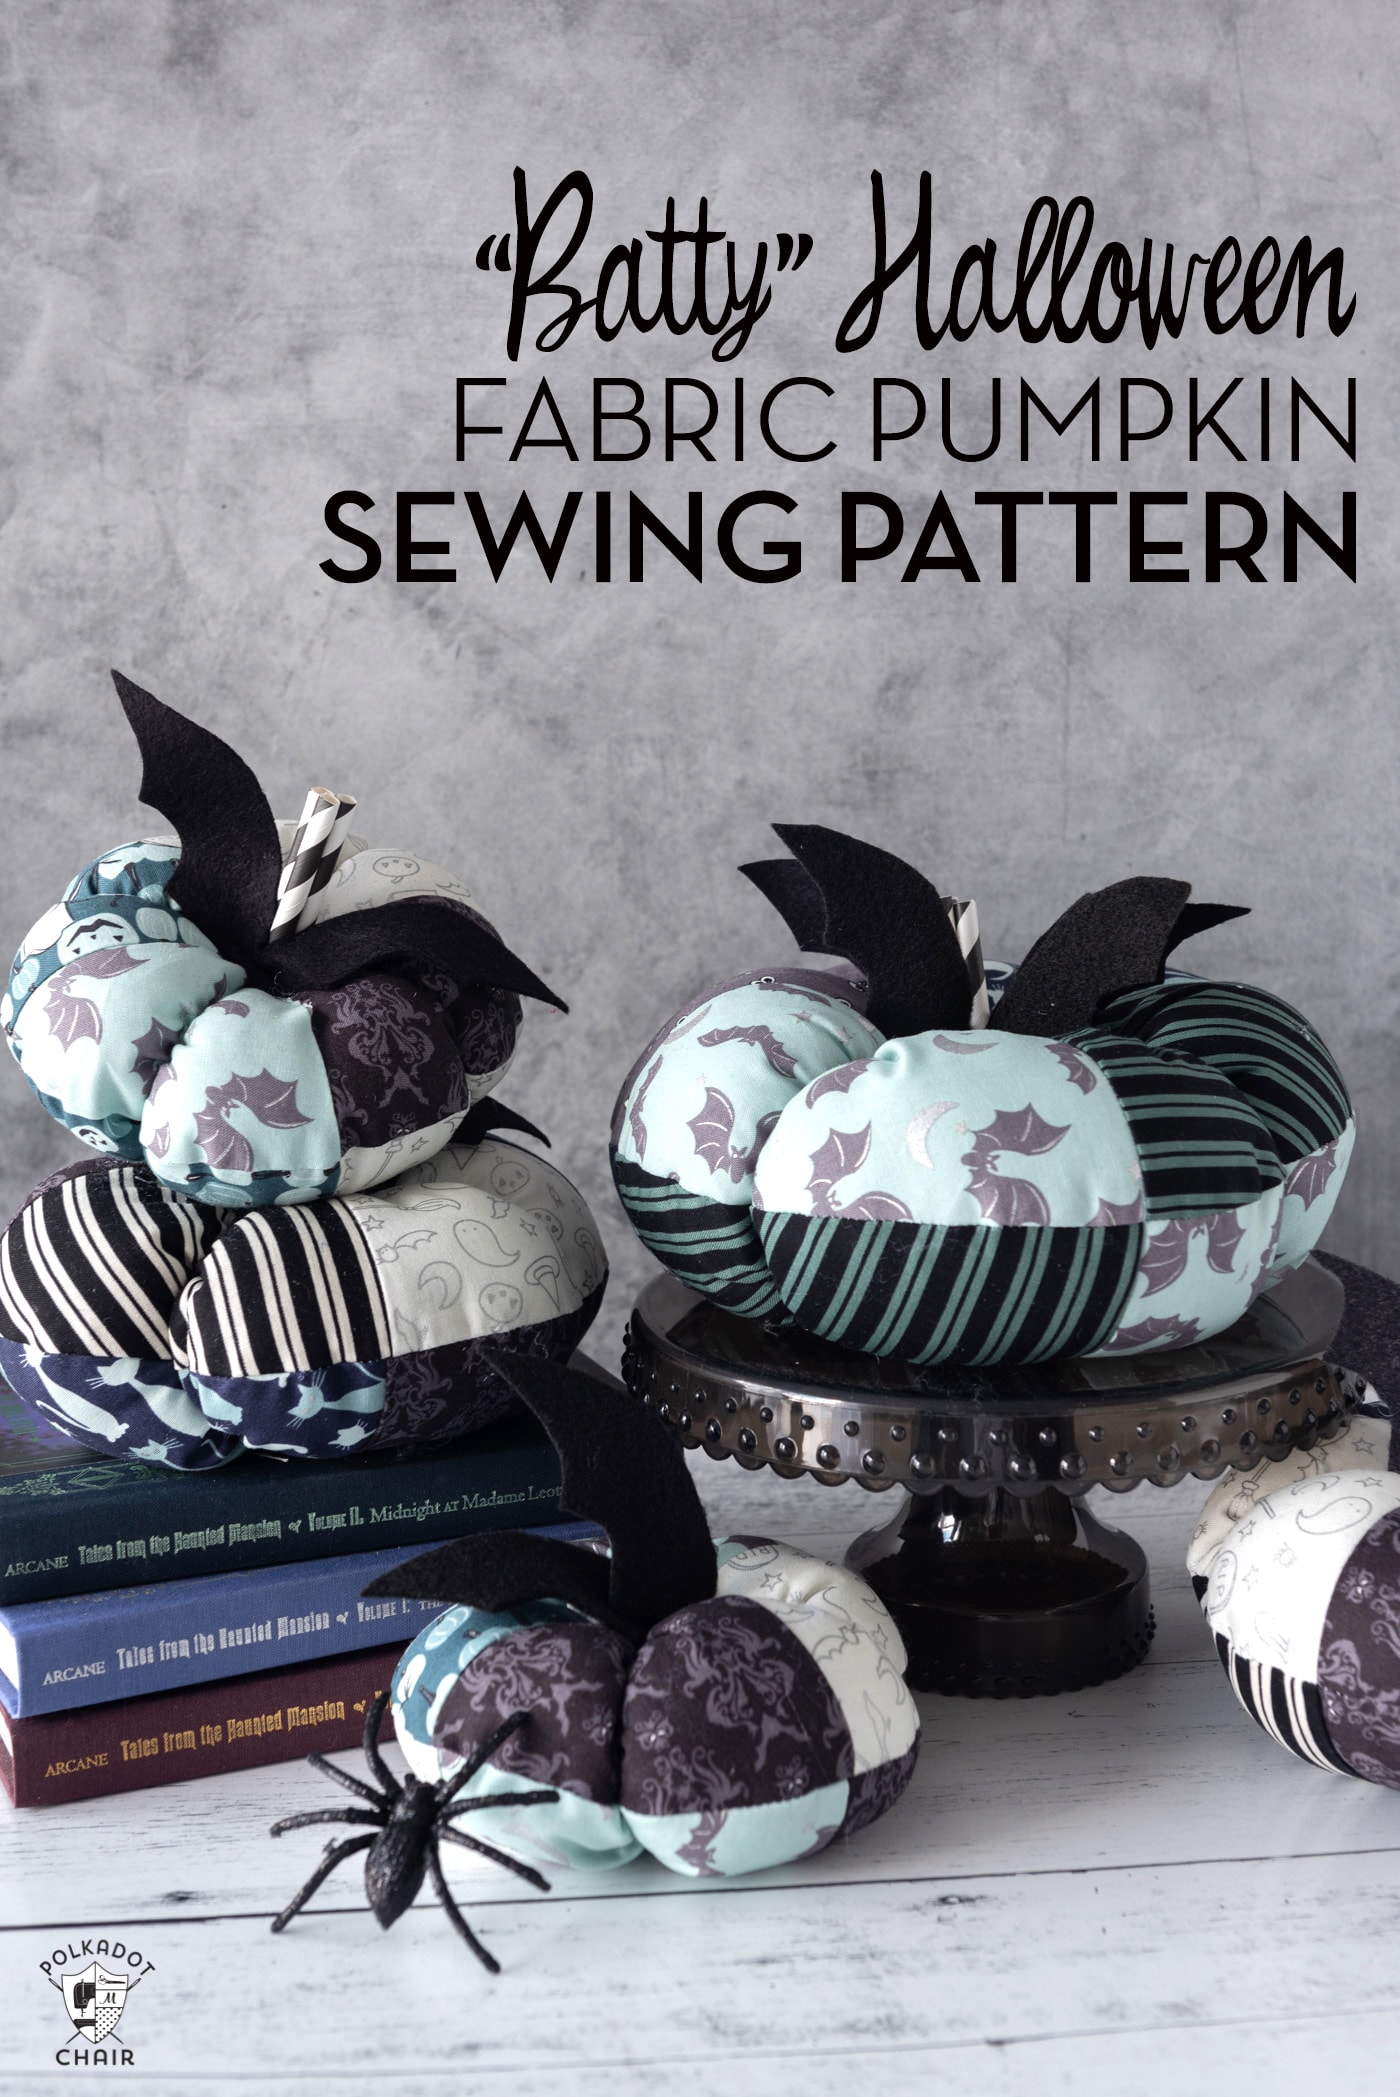
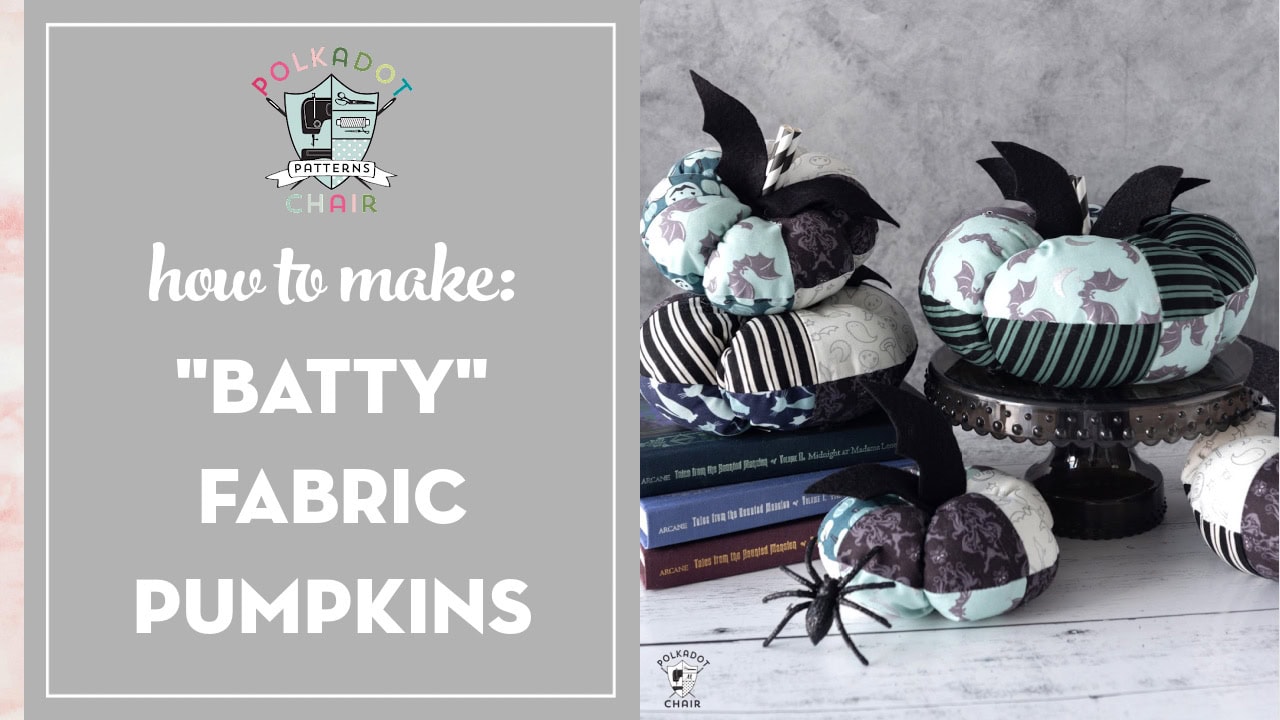
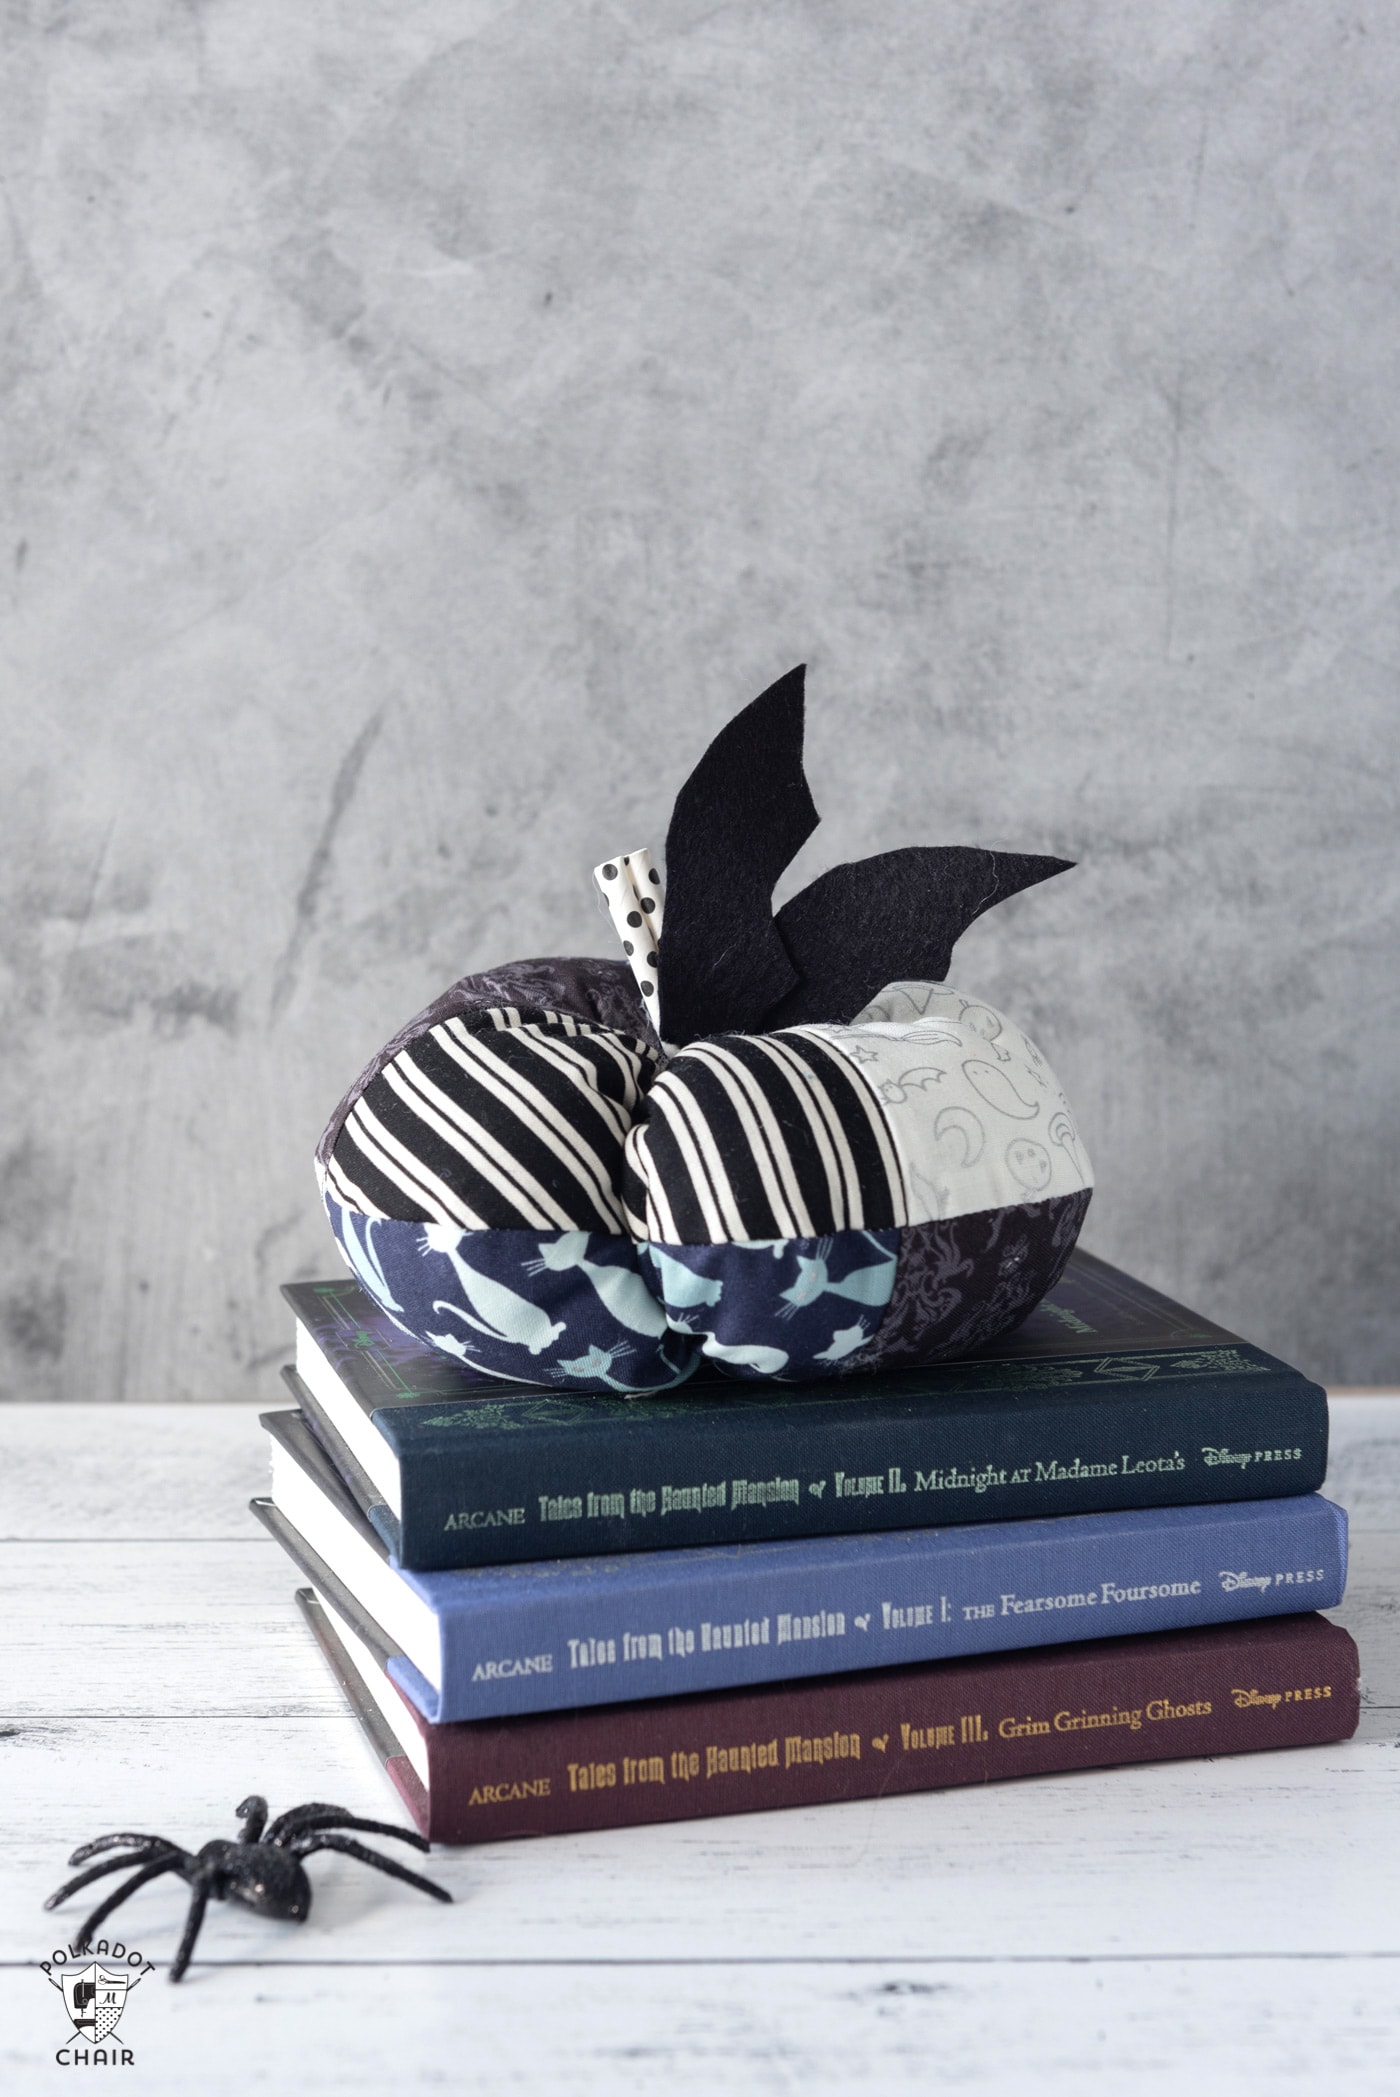
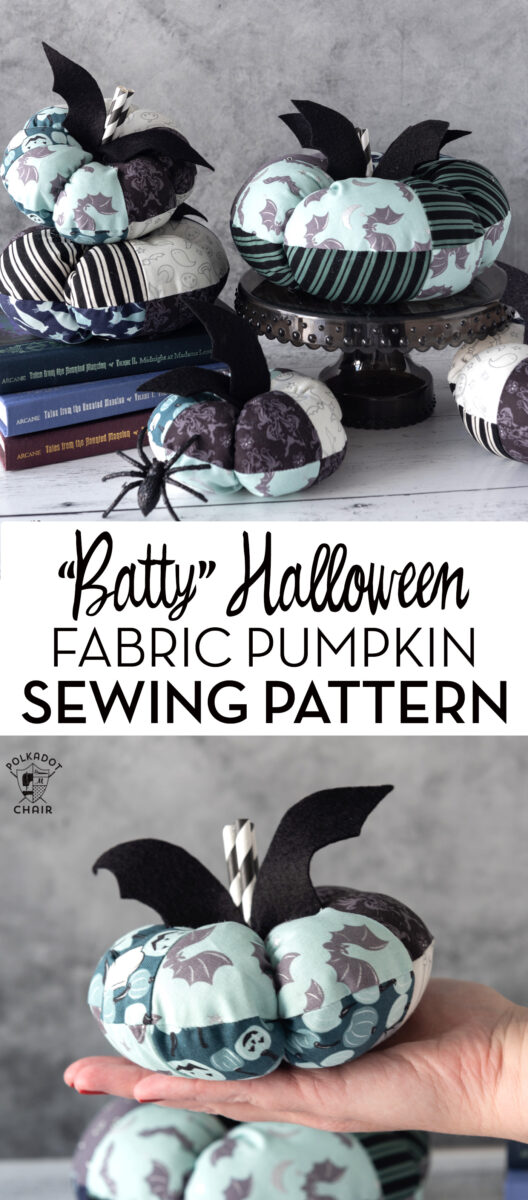
“Batty” Halloween Fabric Pumpkin Pattern
Create a stack of fabric pumpkins to add to your Halloween and Fall decor with our easy, free, patchwork pumpkin sewing pattern. These pumpkins are made using fat quarters of fabric, felt, and a bit of stuffing.
Every year for Halloween, I say that I’m going to sew a set of fabric pumpkins for myself, but every year, I never get it done! I’ve had the idea for the pattern for these pumpkins in my head for a while.
Since my Spooky Hollow fabric collection was released this year, I decided it was about time that I made a set of fabric pumpkins for myself.
About the Pattern
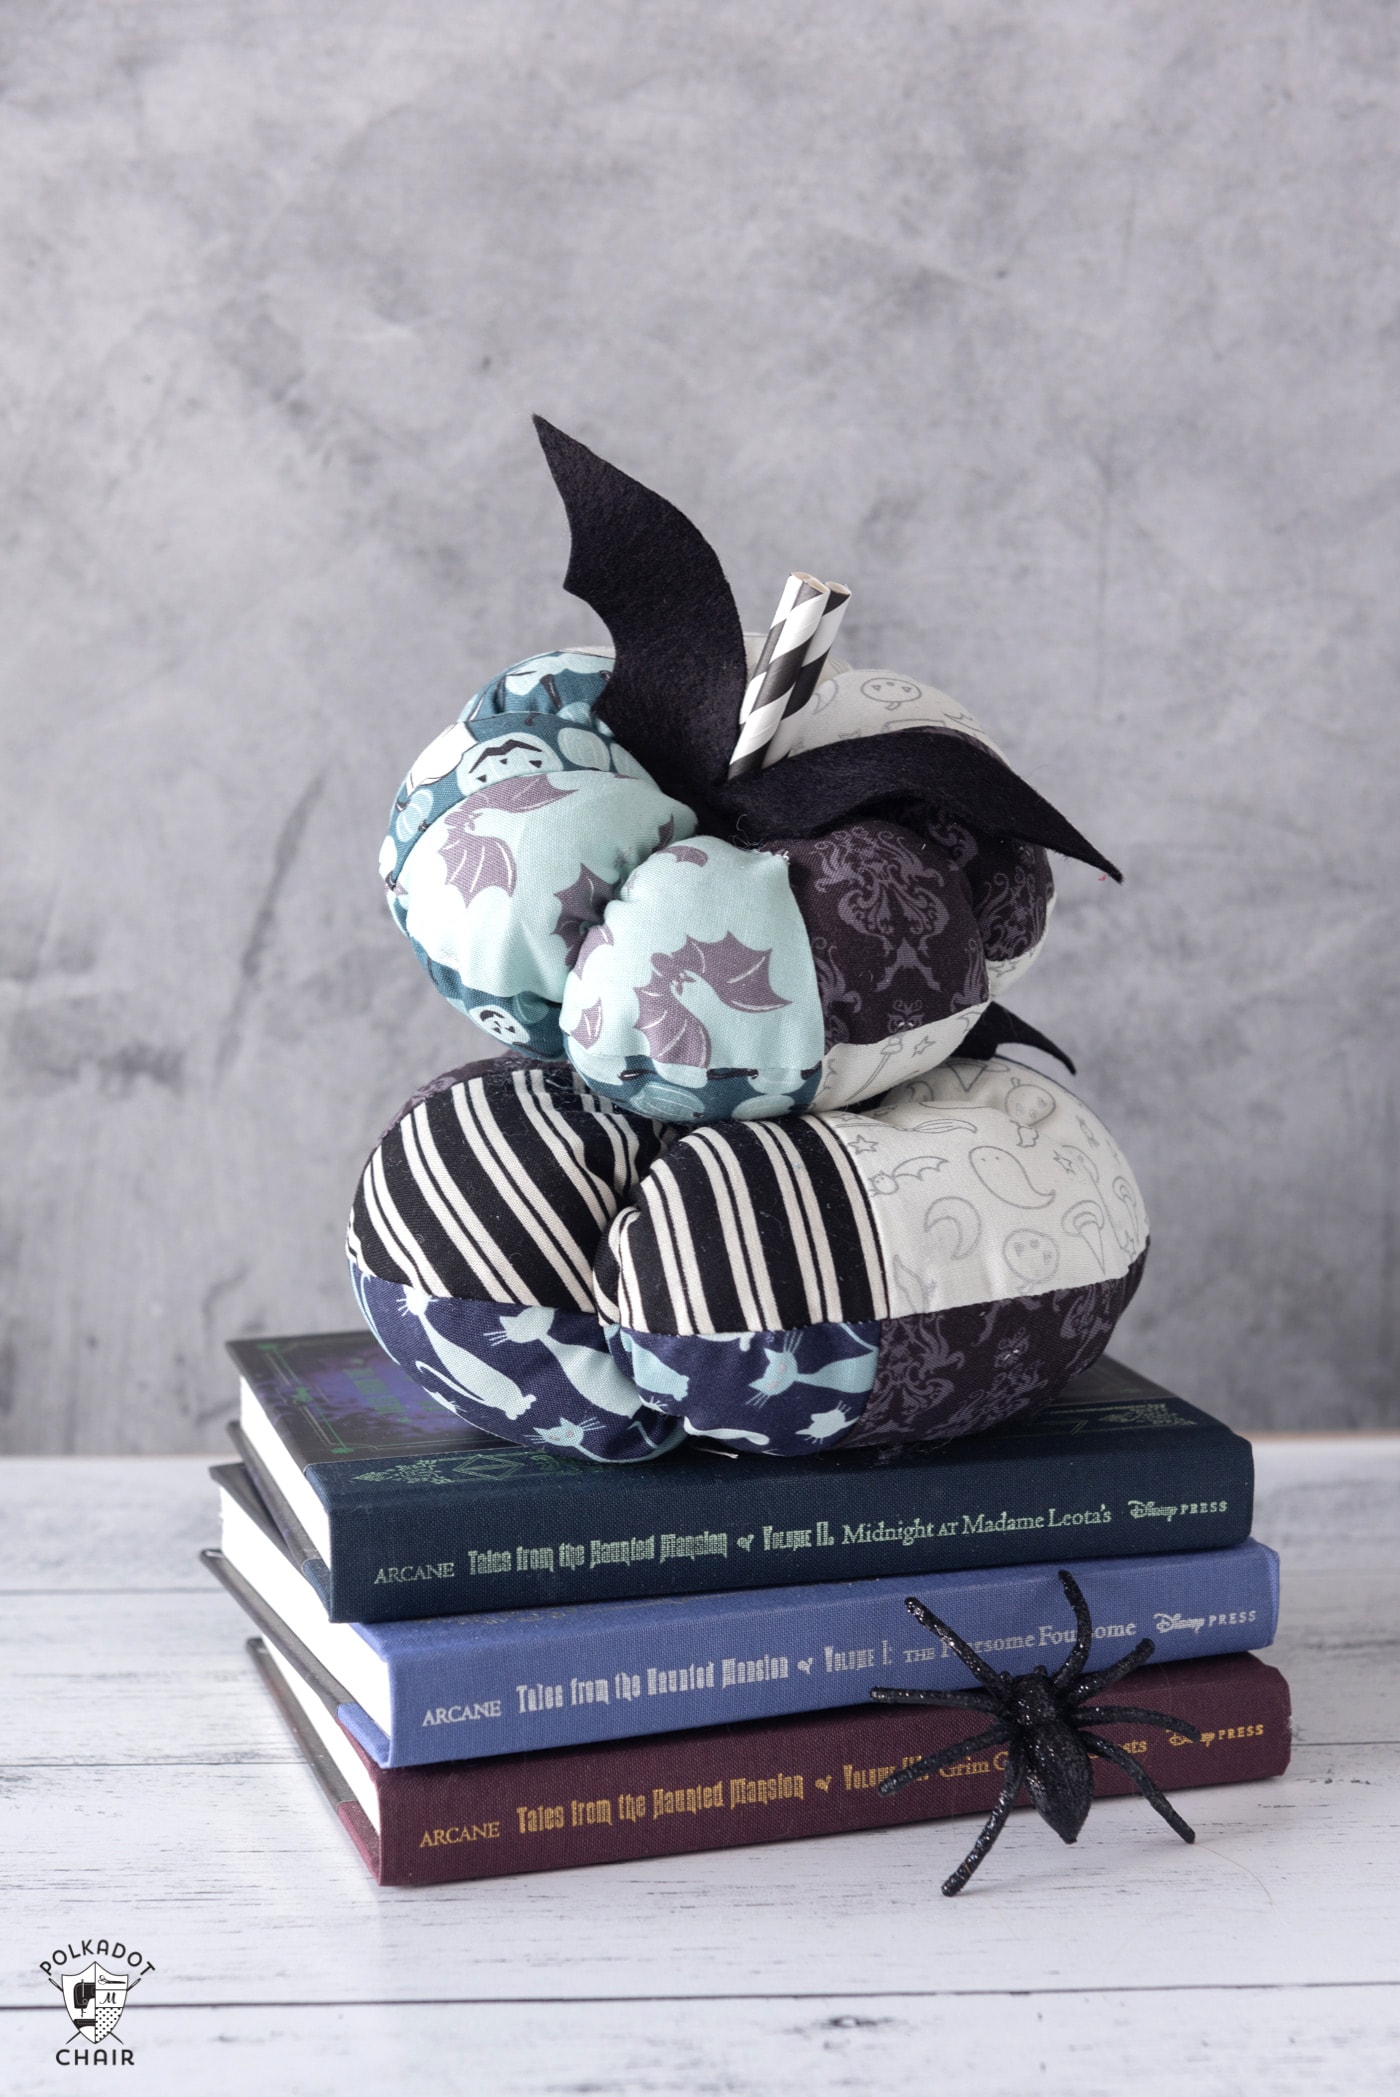
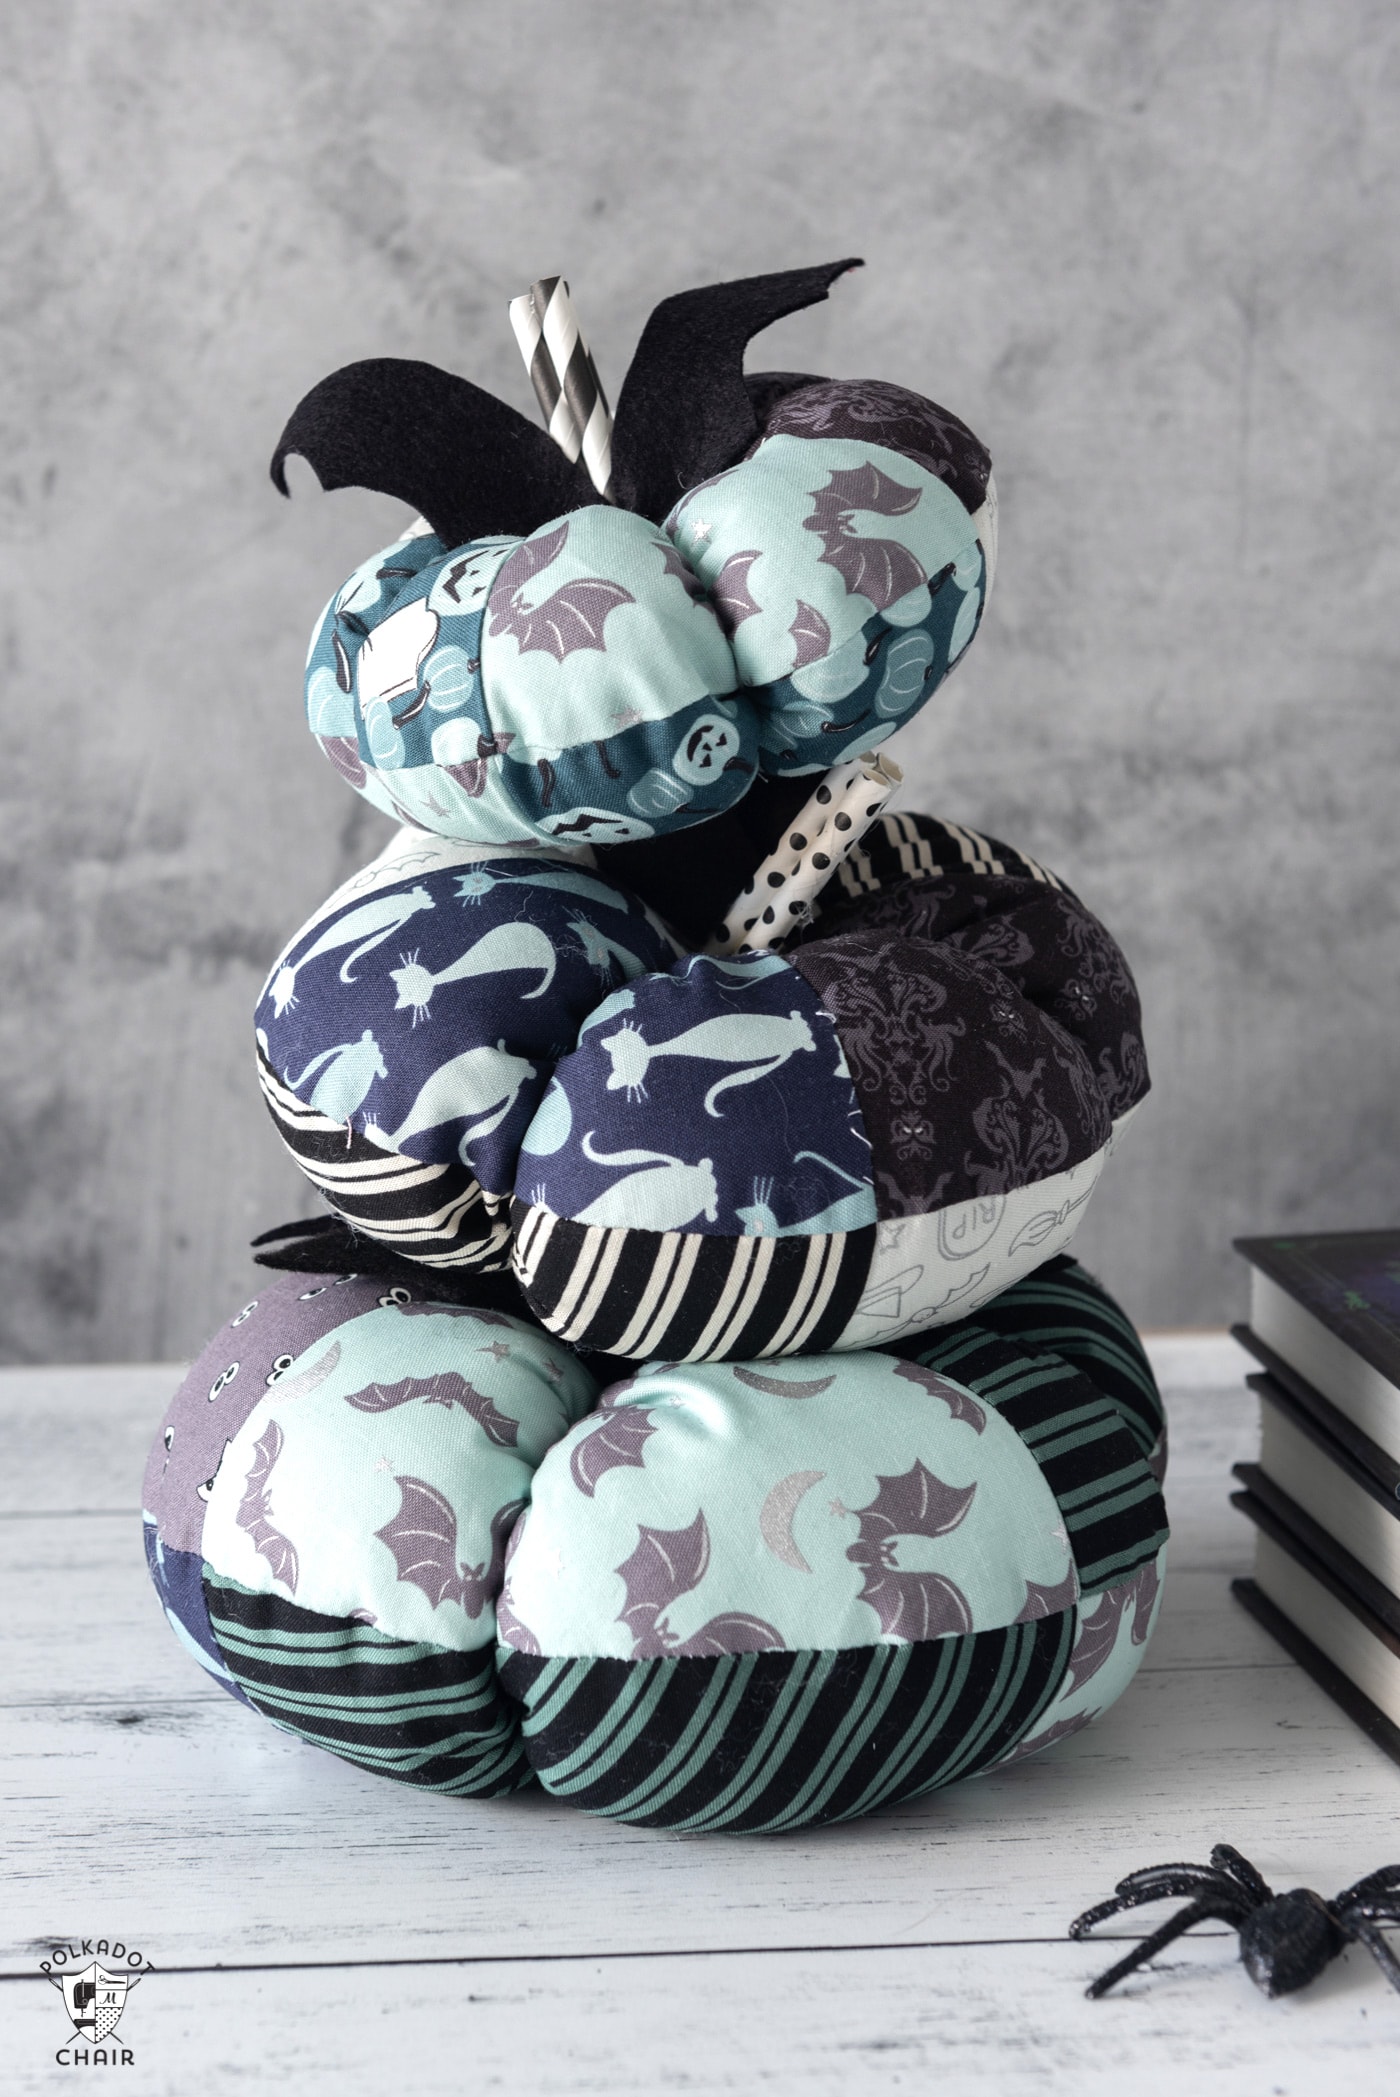
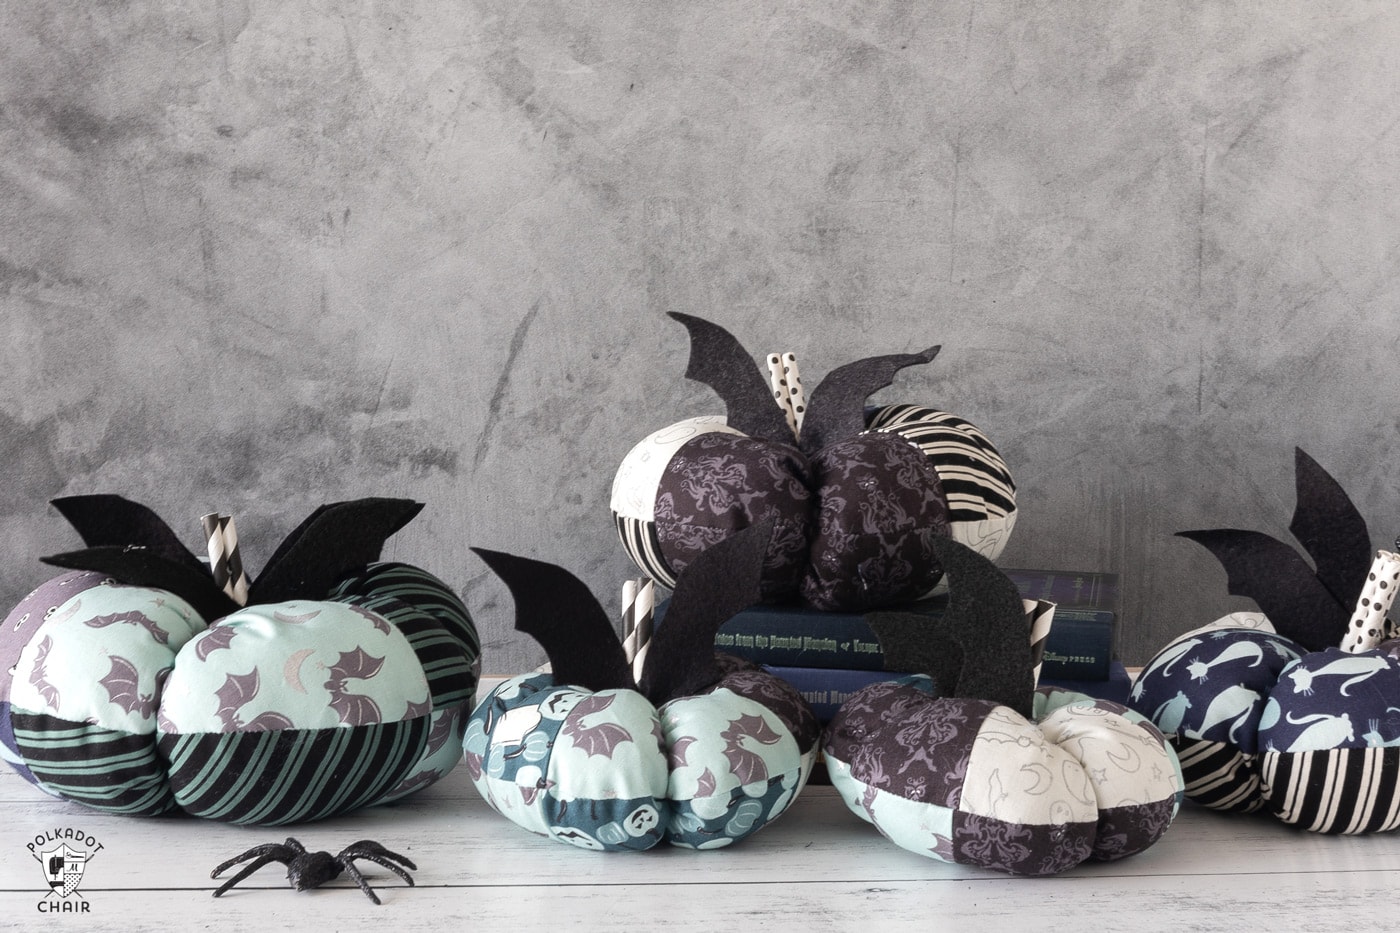
These easy-fabric pumpkins can be made in 3 different sizes. If you keep the stems short, you can easily stack them on top of each other.
Each patchwork pumpkin is sewn from four different fabrics. When you cut out the fabric for your pumpkins, you will cut four half circles from four different fabrics. These circles are then sub-cut into eight equal “pie-shaped” pieces.
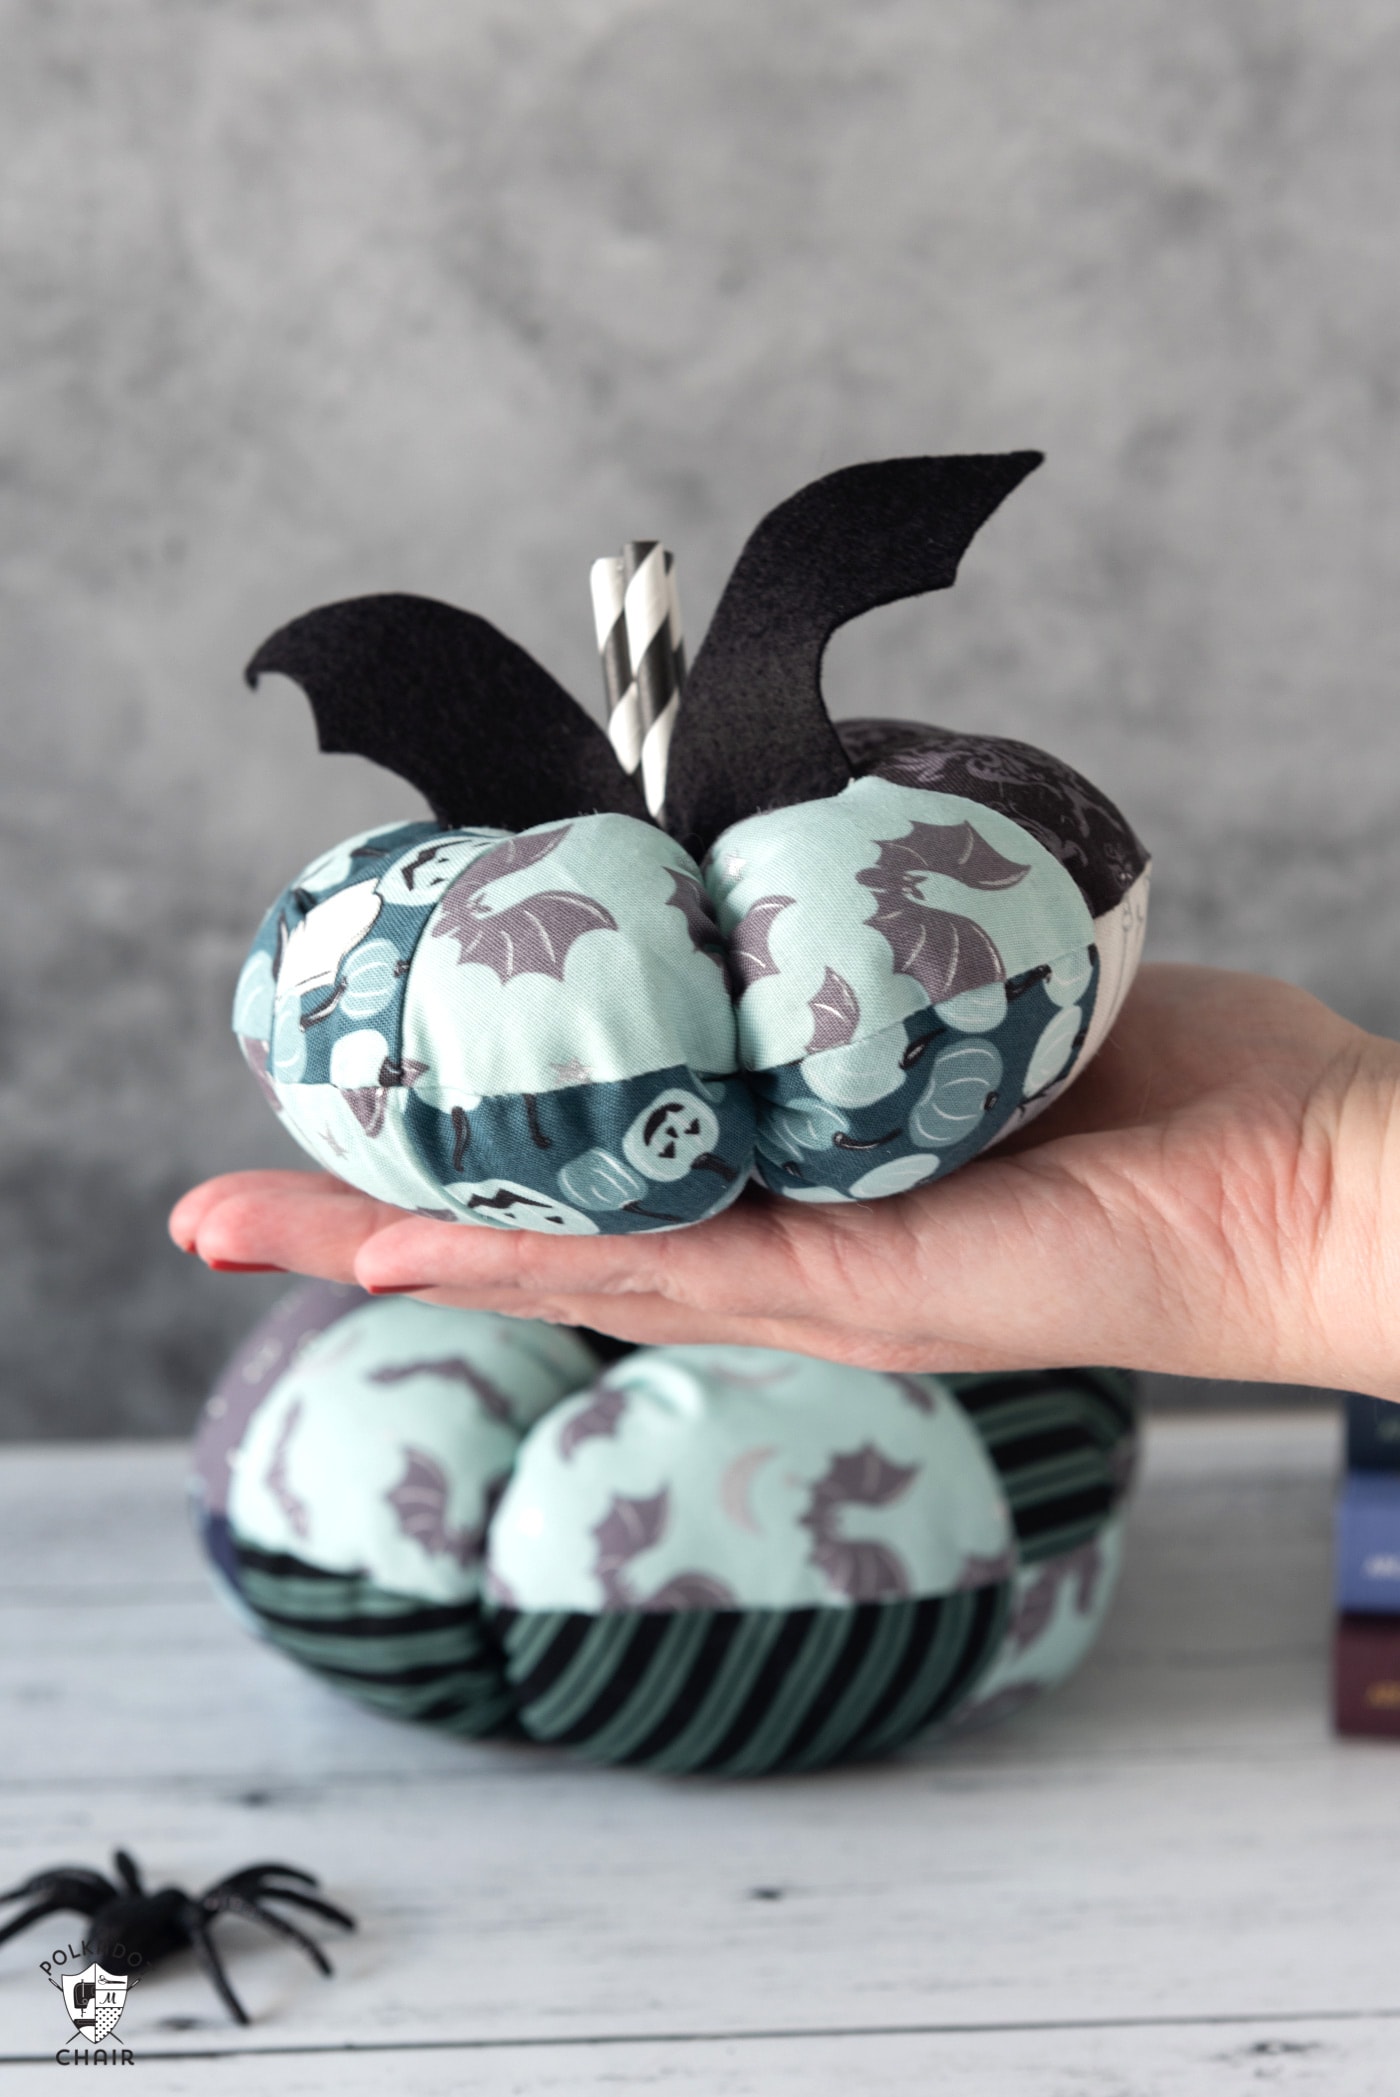
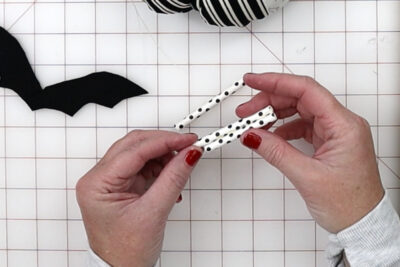
The pumpkin stem is created using paper straws. I searched high and low for an “easy to find” material to use for the stems on the top of the pumpkins. I realized that when a straw is cut into three sections and assembled with hot glue, it makes a pretty cute stem, especially since you can find many fun paper straw designs in stores.
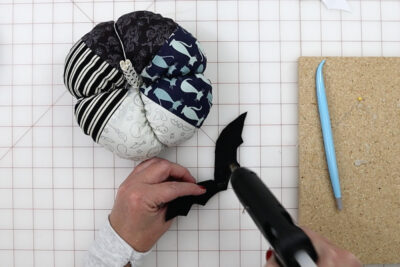
To add a bit of whimsy to the pumpkins, use felt instead of leaves to create “bat leaves!”
How to Get the Pumpkin Template
Fill out the form below, and we will email you the pattern piece. You will still need to read the directions on this blog post to complete your pumpkins.
Video Instructions
I’ve created a video that walks you through the steps to making the fabric pumpkins. It’s on my YouTube channel.
“Batty” Halloween Fabric Pumpkin Sewing Pattern
Equipment
supplies
Fabrics
- 4 Fat Quarters Fabric Fabric is from the Spooky Hollow Collection by Melissa Mortenson for Riley Blake Designs.
- 1 spool Heavy Duty Thread I use Mettler Cordonnet
- 1 piece Black Felt
Other Materials
- 1 package Poly Fill
- 1 Pattern Piece See instructions above to obtain the pattern piece.
- 1 package Paper Straws to use for stems
Instructions
Prep
- Decide which size pumpkin you would like to make and print out and cut out the pattern pieces. For the large pumpkin, you will need to tape the pieces together to form a large half-circle.
Cutting
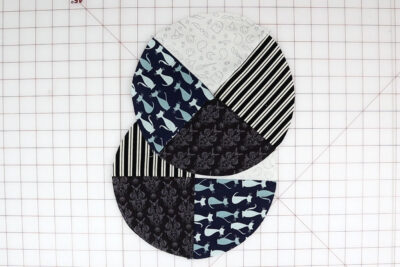
- Cut 1 half-circle (the pattern piece) from each of your 4 fabrics. Cut each half circle into 2 equal pie-shaped pieces (dotted lines on the pattern piece).
Construction
- Sort the cut fabric pieces into 2 piles. Each pile should contain 4 pieces one of each of the 4 different prints of fabric.
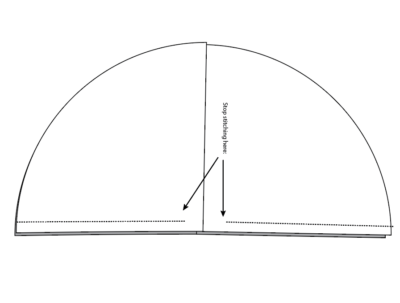
- Using a 1/4" seam allowance, sew two of the cut fabric pieces together so they form a half circle. Repeat with the other two cut pieces. Press the seams. Sew the two half circles together to form a large circle.

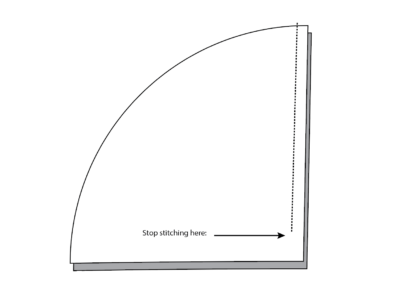
- Repeat with the other set of 4 fabric pieces. However, this time stop sewing 1" from the end of each piece.

- This will leave a hole in the pumpkin top to turn it right side out and insert the stems. Make sure you backstitch.

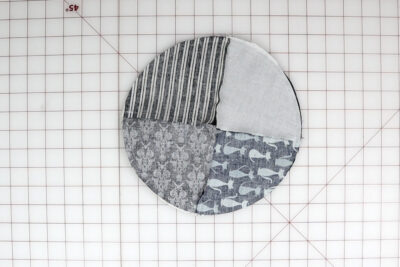
- Sew the two circles together with a 1/4" seam allowance along the outside raw edge of the circle. The right sides of the fabric should be facing, and the seams in the fabric pieces should be on top of each other.
- Turn piece right side out.
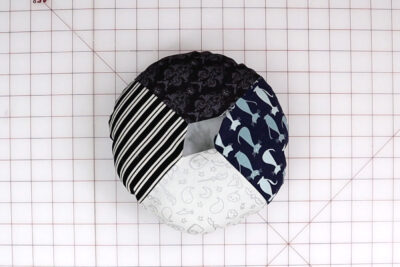
- Stuff the pumpkin with polyfill. Make sure you insert enough stuffing.
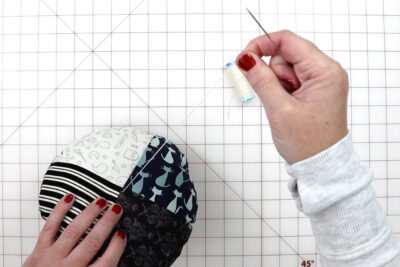
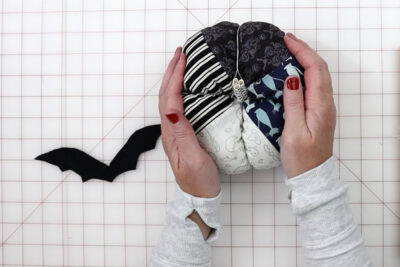
- Thread a long needle with heavy-duty thread. Insert the needle into the hole in the top of the pumpkin and poke it out through the bottom center seam.
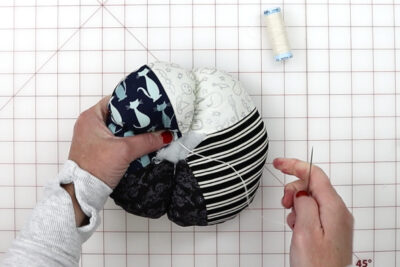
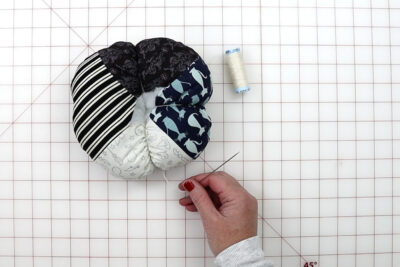
- Bring the needle back to the top of the pumpkin again, this time allowing the thread to "cinch" the pumpkin. The thread should be centered in the fabric section of the pumpkin.
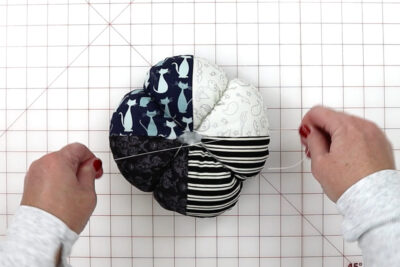
- Repeat until you have used the thread to divide the pumpkin into 4 sections. As you sew, push the pumpkin stuffing so that it is taller and narrower.
- Secure the thread.

Finishing
- Cut the paper straw into 3 sections about 2 1/2" long. Glue the 3 sections together.
- Insert the paper straw stem into the center of the pumpkin and glue it in place.
- Close any additional holes in the top of the pumpkin with hot glue.
- Cut out a bat from black felt.
- Hot glue it to the stem of the pumpkin.

Video
More Free Halloween Craft Projects
I don’t see a form to fill out anywhere in this post. Please help!
Check that you don’t have any popup blockers installed or try another browser. It’s there I promise!
What size bat did you use?
Do you have a template for the bat?
It’s in the same download as the pumpkin templates
Is there a trick to stacking the pumpkins so that they do not tumble?
no, mine just kinda stay put. Maybe angle the stems more?
please email the pattern piece
Hi,
Just fill out the form on the page to have the pattern piece emailed to you.