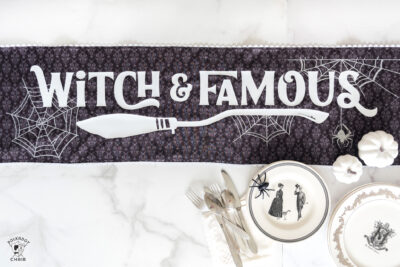
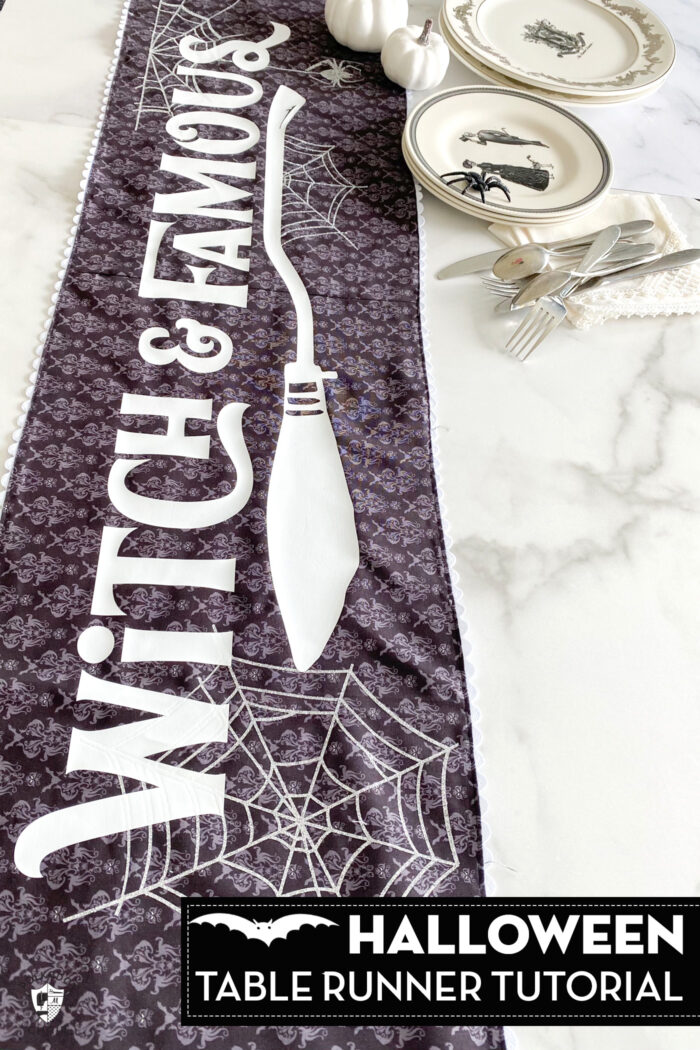
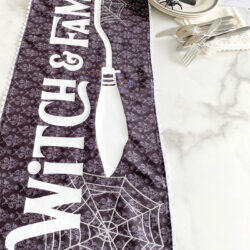
“Witch & Famous” DIY Halloween Table Runner
Use your Cricut to create this fun “Witch & Famous” Halloween table runner! We’ve even included a FREE SVG file for the project. It’s the perfect Halloween craft to use in your holiday decorations this year!
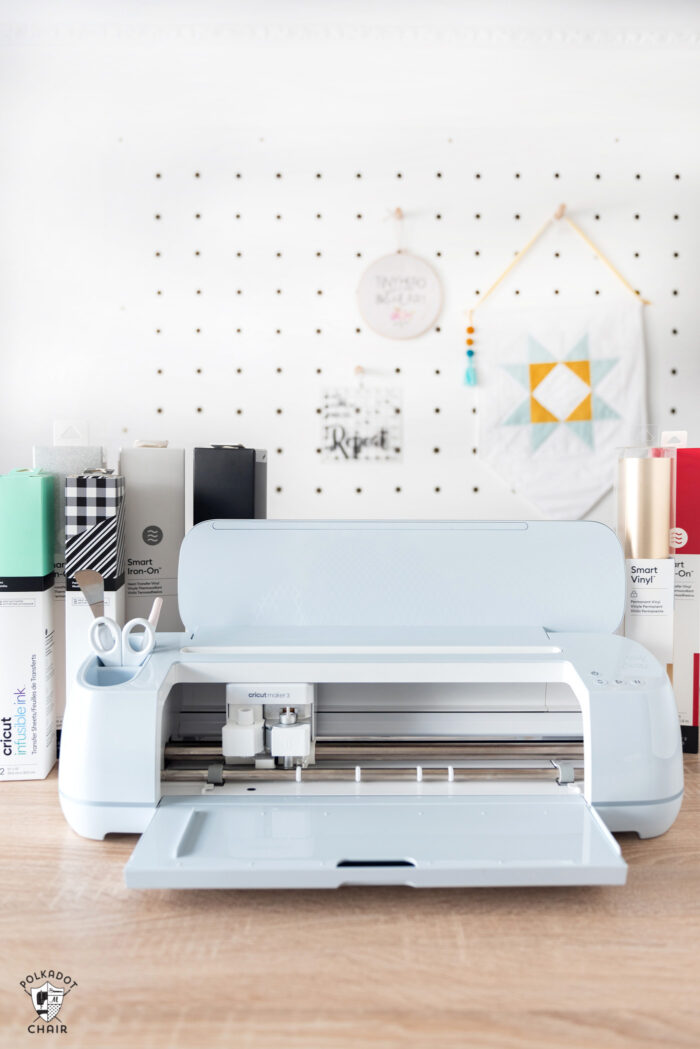
Recently Cricut sent me the new Maker 3 machine. I’ve been playing around with it all month and have a lot of fun projects to share with you this Fall.
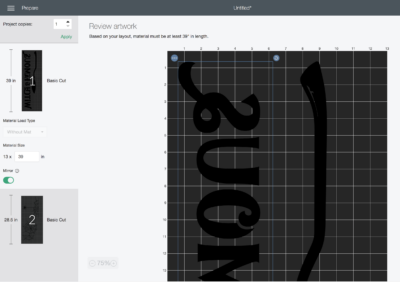
One of the unique things about the new machines (Maker 3 & Explore 3) is that they can cut images up to 12 feet long using Smart Materials. You don’t need a mat anymore!
I thought it would be fun to make use of this new feature and create a project with a large iron-on piece!
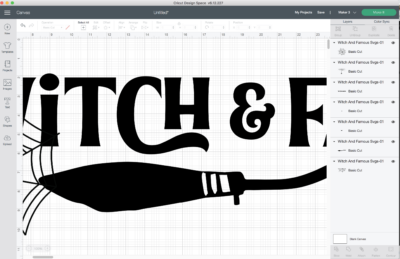
The “words” portion of the image is 44″ long! Much larger than what the earlier machines would support.
If you’re thinking about upgrading and are not sure if it’s right for you, be sure to check out our full Cricut Maker 3 review.
If iron-on is TOTALLY new to you, be sure to check out our STEP BY STEP guide to creating and applying an Iron-On using your Cricut Machine.

How to get the SVG
We will email the file to you. If you’re already a member of our newsletter, we will still send it and you WILL NOT be added to the newsletter twice.
How to Make this if you Don’t Have a Series 3 Machine
If your Cricut is not the new “3 series” machine (i.e. you can not use Smart Materials), make the following changes:
- In Design Space, change the length of the Broom to less than 24″ (so it will fit on the large Cricut mat). If you reduce the entire image to 75% of its original size all elements should fit on the larger Cricut mats.
- You will need to cut out the “Witch &” and the “Famous” separately then place them next to each other when you add them to the table runner.
- Change the color of the broom so that the machine knows to cut it on a separate mat.
- If you create your project this way you could cut it out of Felt instead of Iron-On if you prefer.
Witch & Famous Halloween Table Runner; a Cricut Project
Equipment
supplies
- 1 roll Smart Iron-On Vinyl Glitter, Silver
- 1 roll Smart Iron-On Vinyl White
- 1 Yard Fabric for Table Runner or 14" x 60" premade runner
- 2 pkgs Ric Rac can use medium or jumbo
Instructions
Set up Design
- Note: If you do not have a Cricut or a series 3 Cricut, refer to the blog post instruction changes.
- In Cricut Design space upload the "Witch & Famous" SVG file. Insert it onto your canvas. Since the file is very large you won't be able to see it all on your screen, but that's ok.

Cut Images
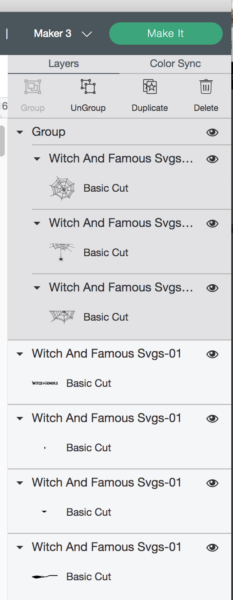
- Select all 3 Spiderwebs and then select GROUP.

- Select the "Witch & Famous" Words & Broom and select ATTACH.
- Select "Make it"
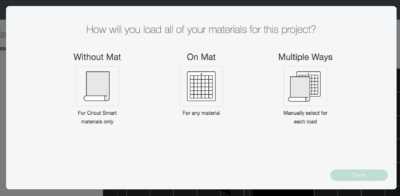
- Select "For Cricut Smart Materials Only"

- On both of the mats select "Mirror" for iron-on

- Send to the machine (you will need to select your material type on the next screen).
- Feed the Smart Iron-On into the machine through the Roll Holder.
Create the Table Runner
- Cut 2 pieces of fabric each 13" x 30"
- Sew the two pieces of fabric together along the 13" side. Press seam.
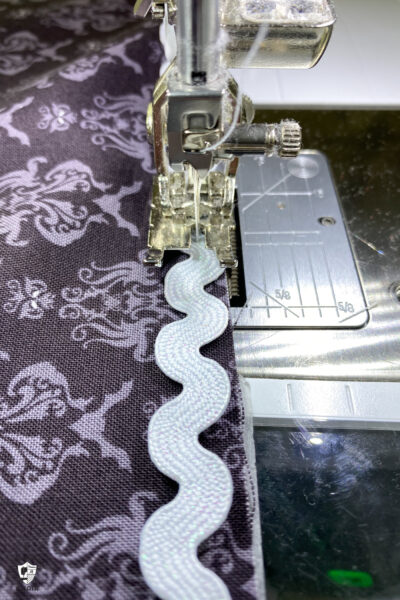
- Finish the edges using the ric-rac method. To do this sew the ric rac to the right side of the table runner. Place the ric rac flush with the edge of the raw edge of the fabric and sew right down the middle.

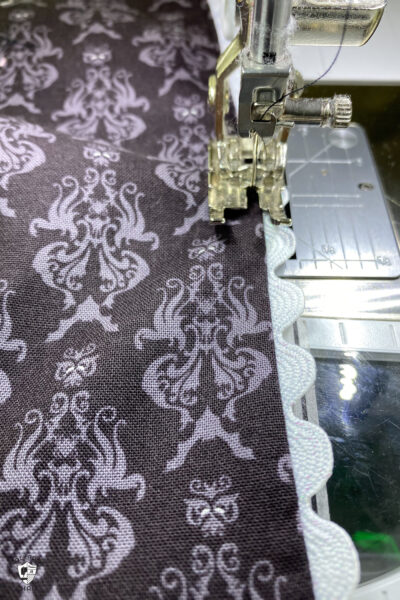
- Flip the ric rac to the wrong side of the fabric and press it in place.
- Topstitch along the edge of the table runner on the fabric close to the fold.
Apply Iron-On
- Remove the excess iron-on from the cutout spider web, word, and broom pieces. Cut out each spider web.
- Lay the "witch and famous" cut out on top of your sewn table runner so that it is centered. DO NOT attach with heat at this point.
- Place the spider web pieces where you'd like them on the table runner UNDER the "witch and famous" words.
- When you get everything where you want it, remove the "witch and famous" cut out, and using your Cricut EasyPress attach each spiderweb to the table runner.
- Peel off the iron-on backing and allow the spiderwebs to cool.
- Place the "witch and famous" words back on top of the table runner OVER the spider webs.
- Using your EasyPress adhere the words to the table runner.
- VERY IMPORTANT: If you have sections of the spider web iron-on that are NOT covered by the plastic backing for the words iron-on, use a bit of the backing from the spider webs to cover them as you attach the words. You do NOT want the EasyPress to touch ANY iron-on without the protective plastic backing.
- Peel the backing off of the letters. Enjoy your table runner!