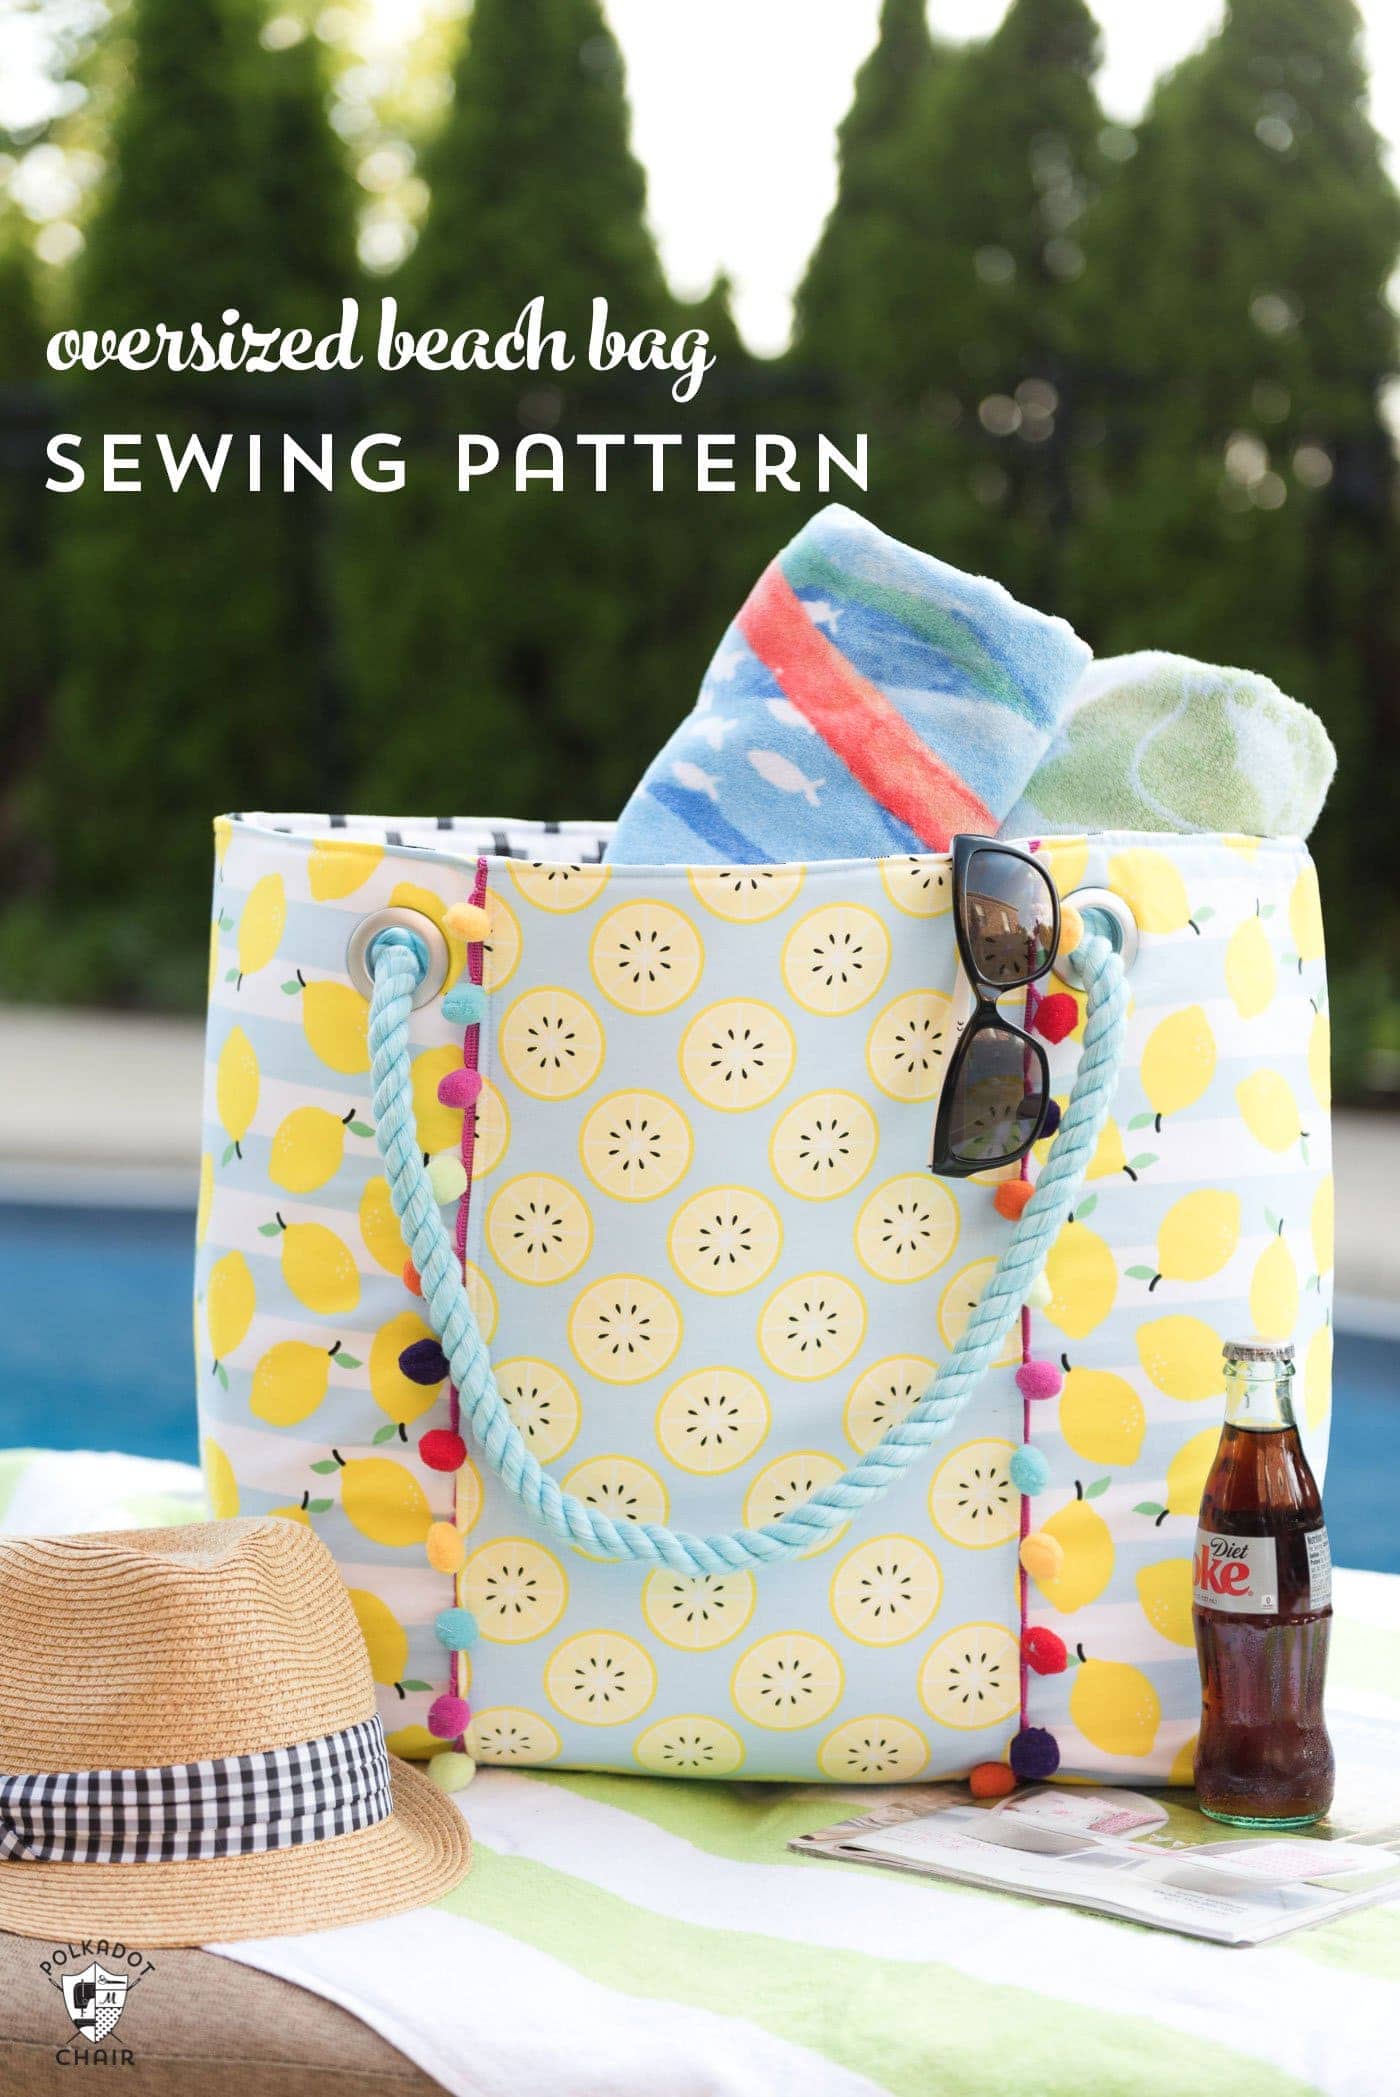
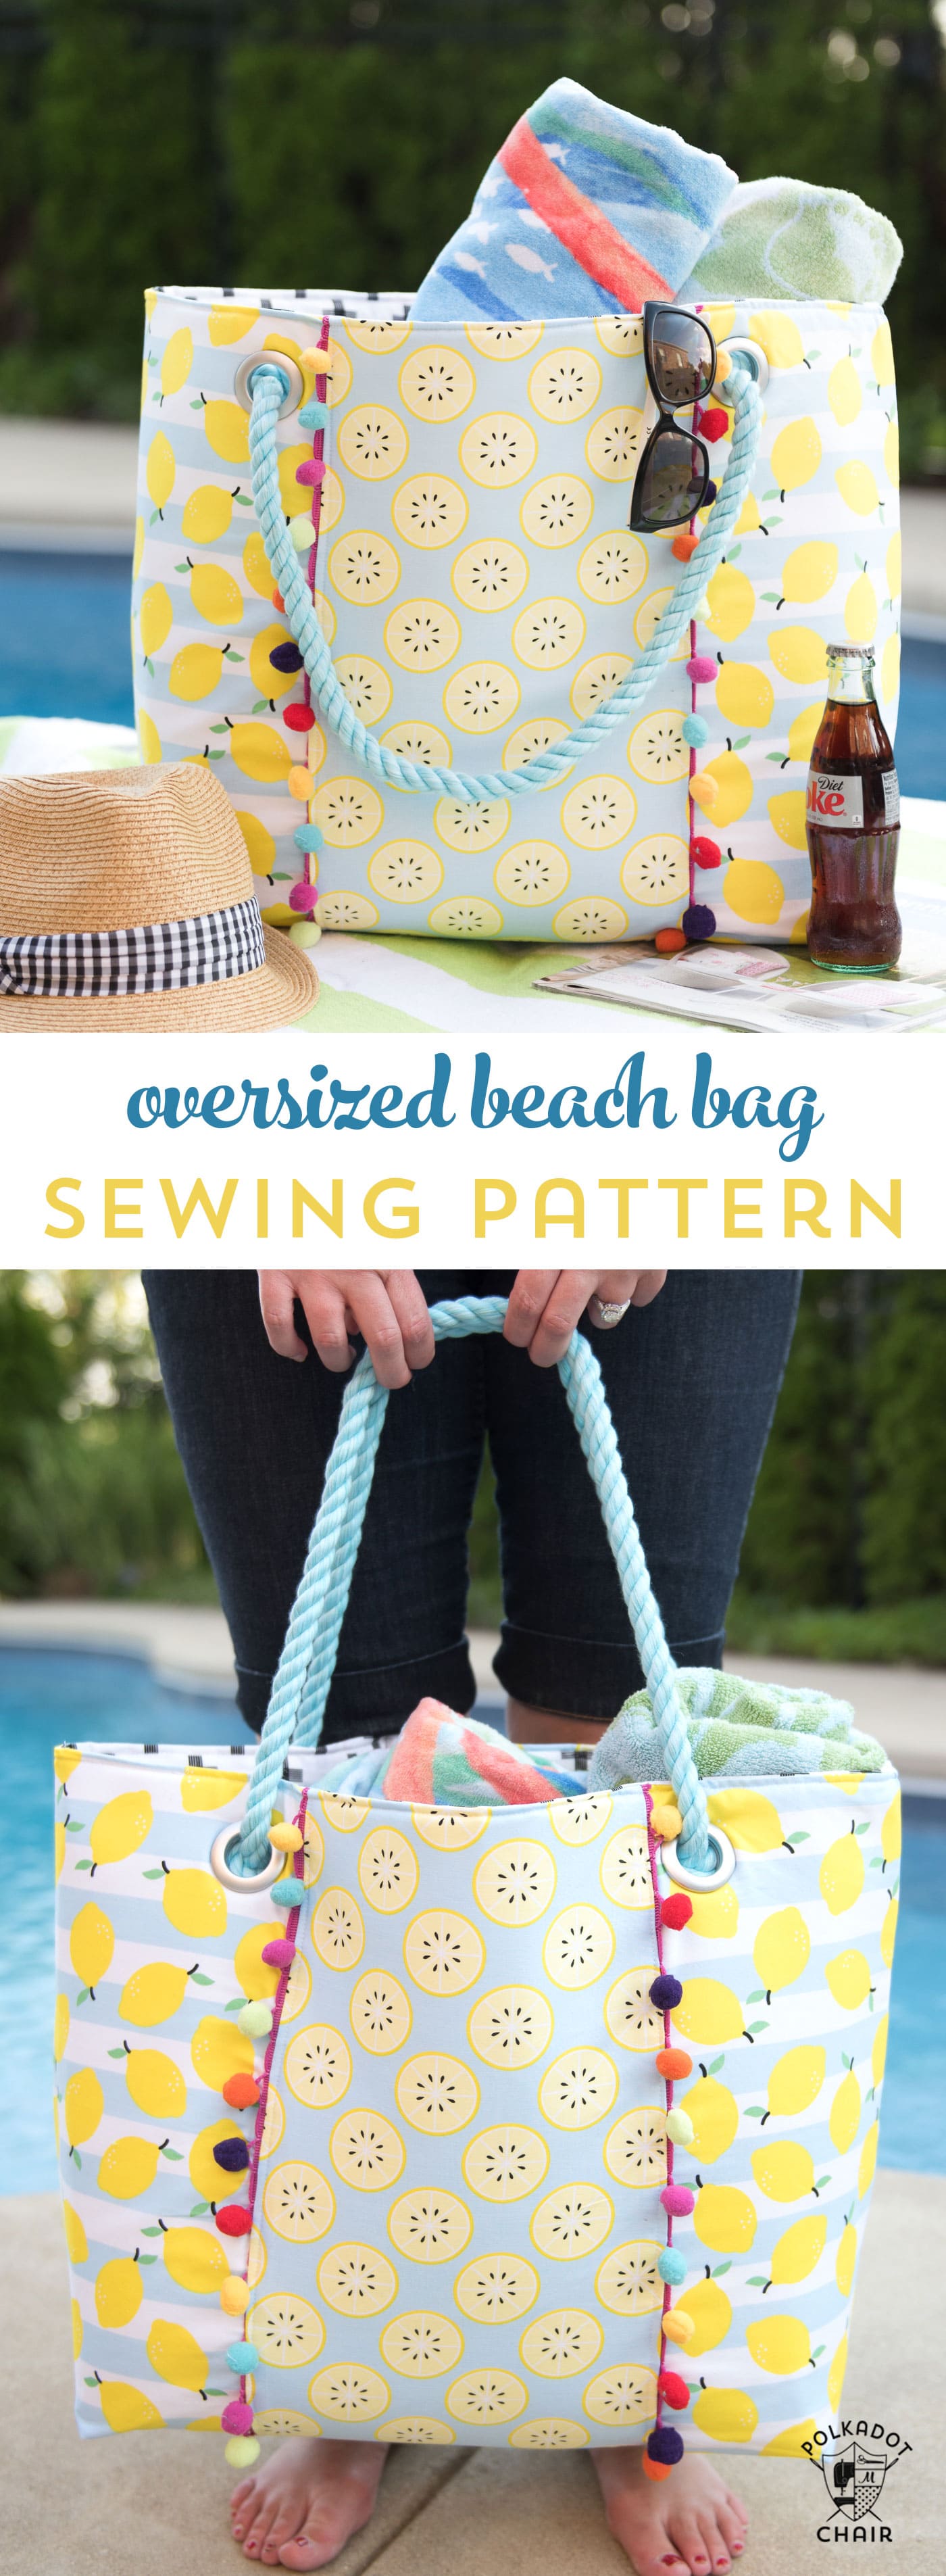
Free Oversized Beach Bag Sewing Pattern
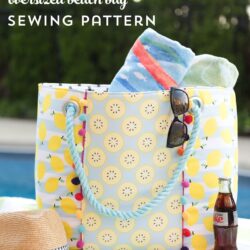
The Oversized Beach Bag Sewing pattern & step by step tutorial I am sharing with you today has PLENTY of room for all your beach towels and pool necessities!
As much as I try not to haul a bunch of stuff with me to the beach, I am never successful at “traveling light” when I’m beach-bound. There are just too many things that I like to take with me to the beach or the pool. If you like this project, you may also like this Splash Proof Phone Pouch Sewing Tutorial.
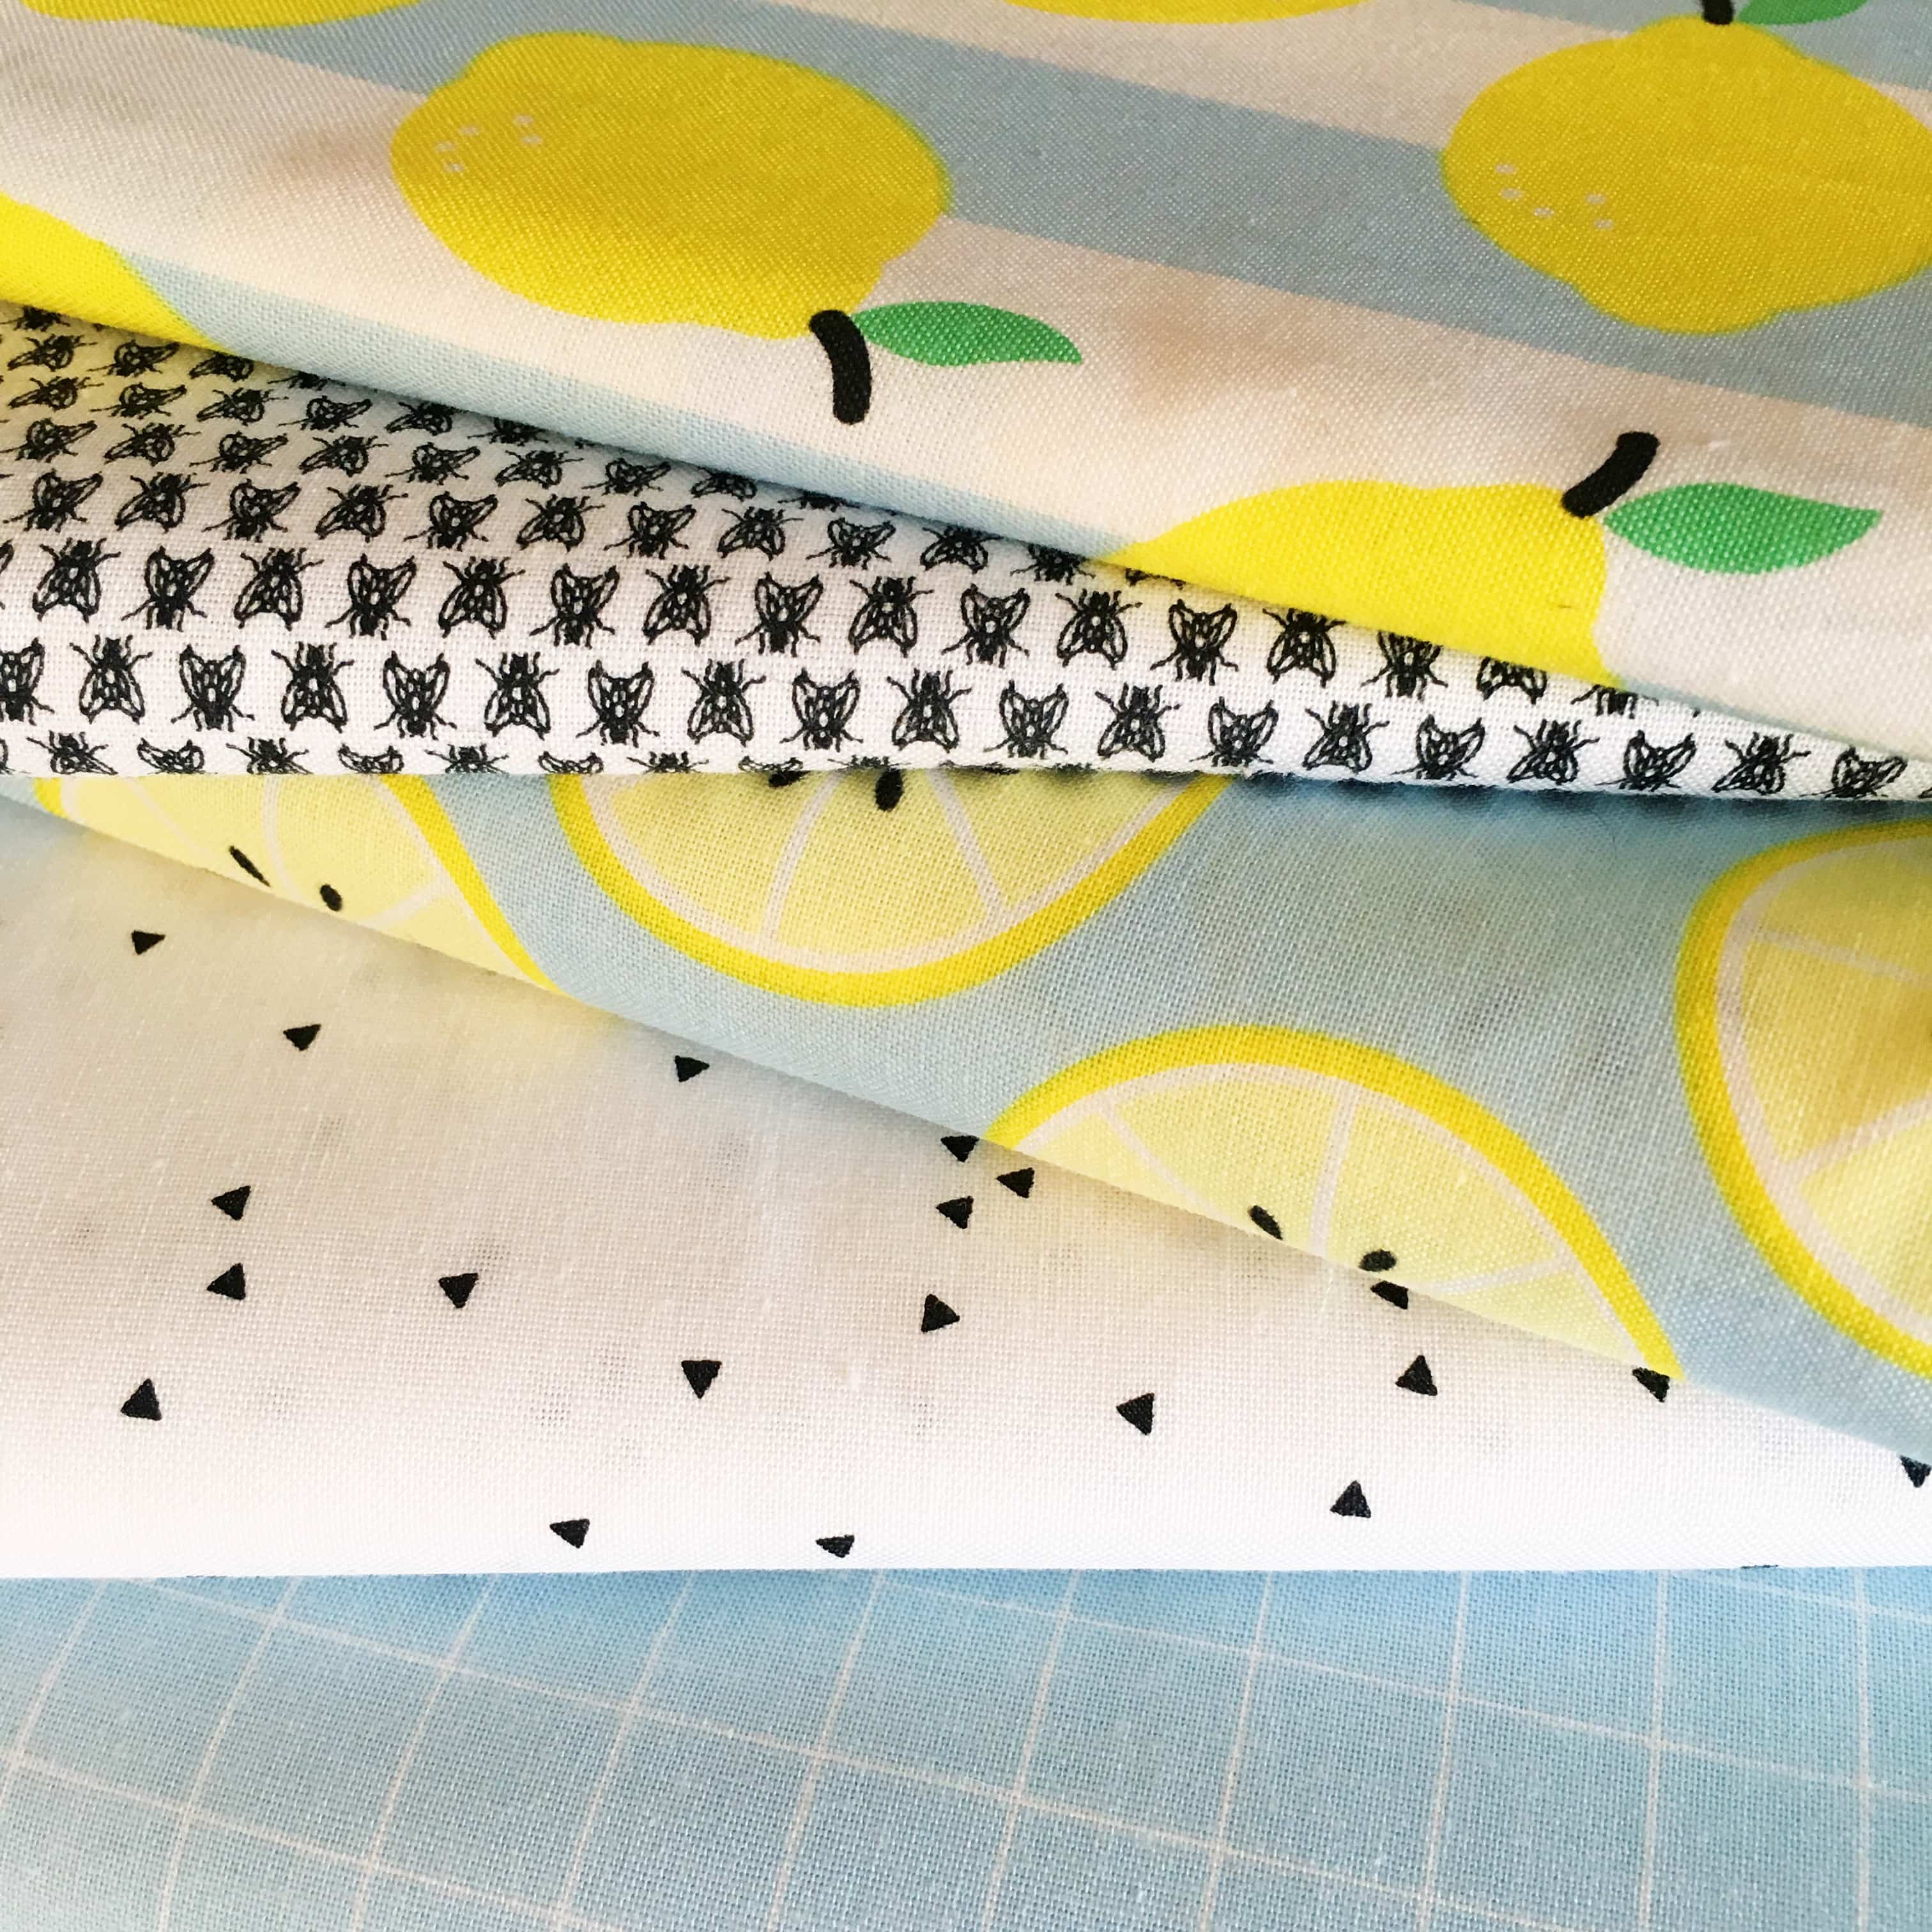
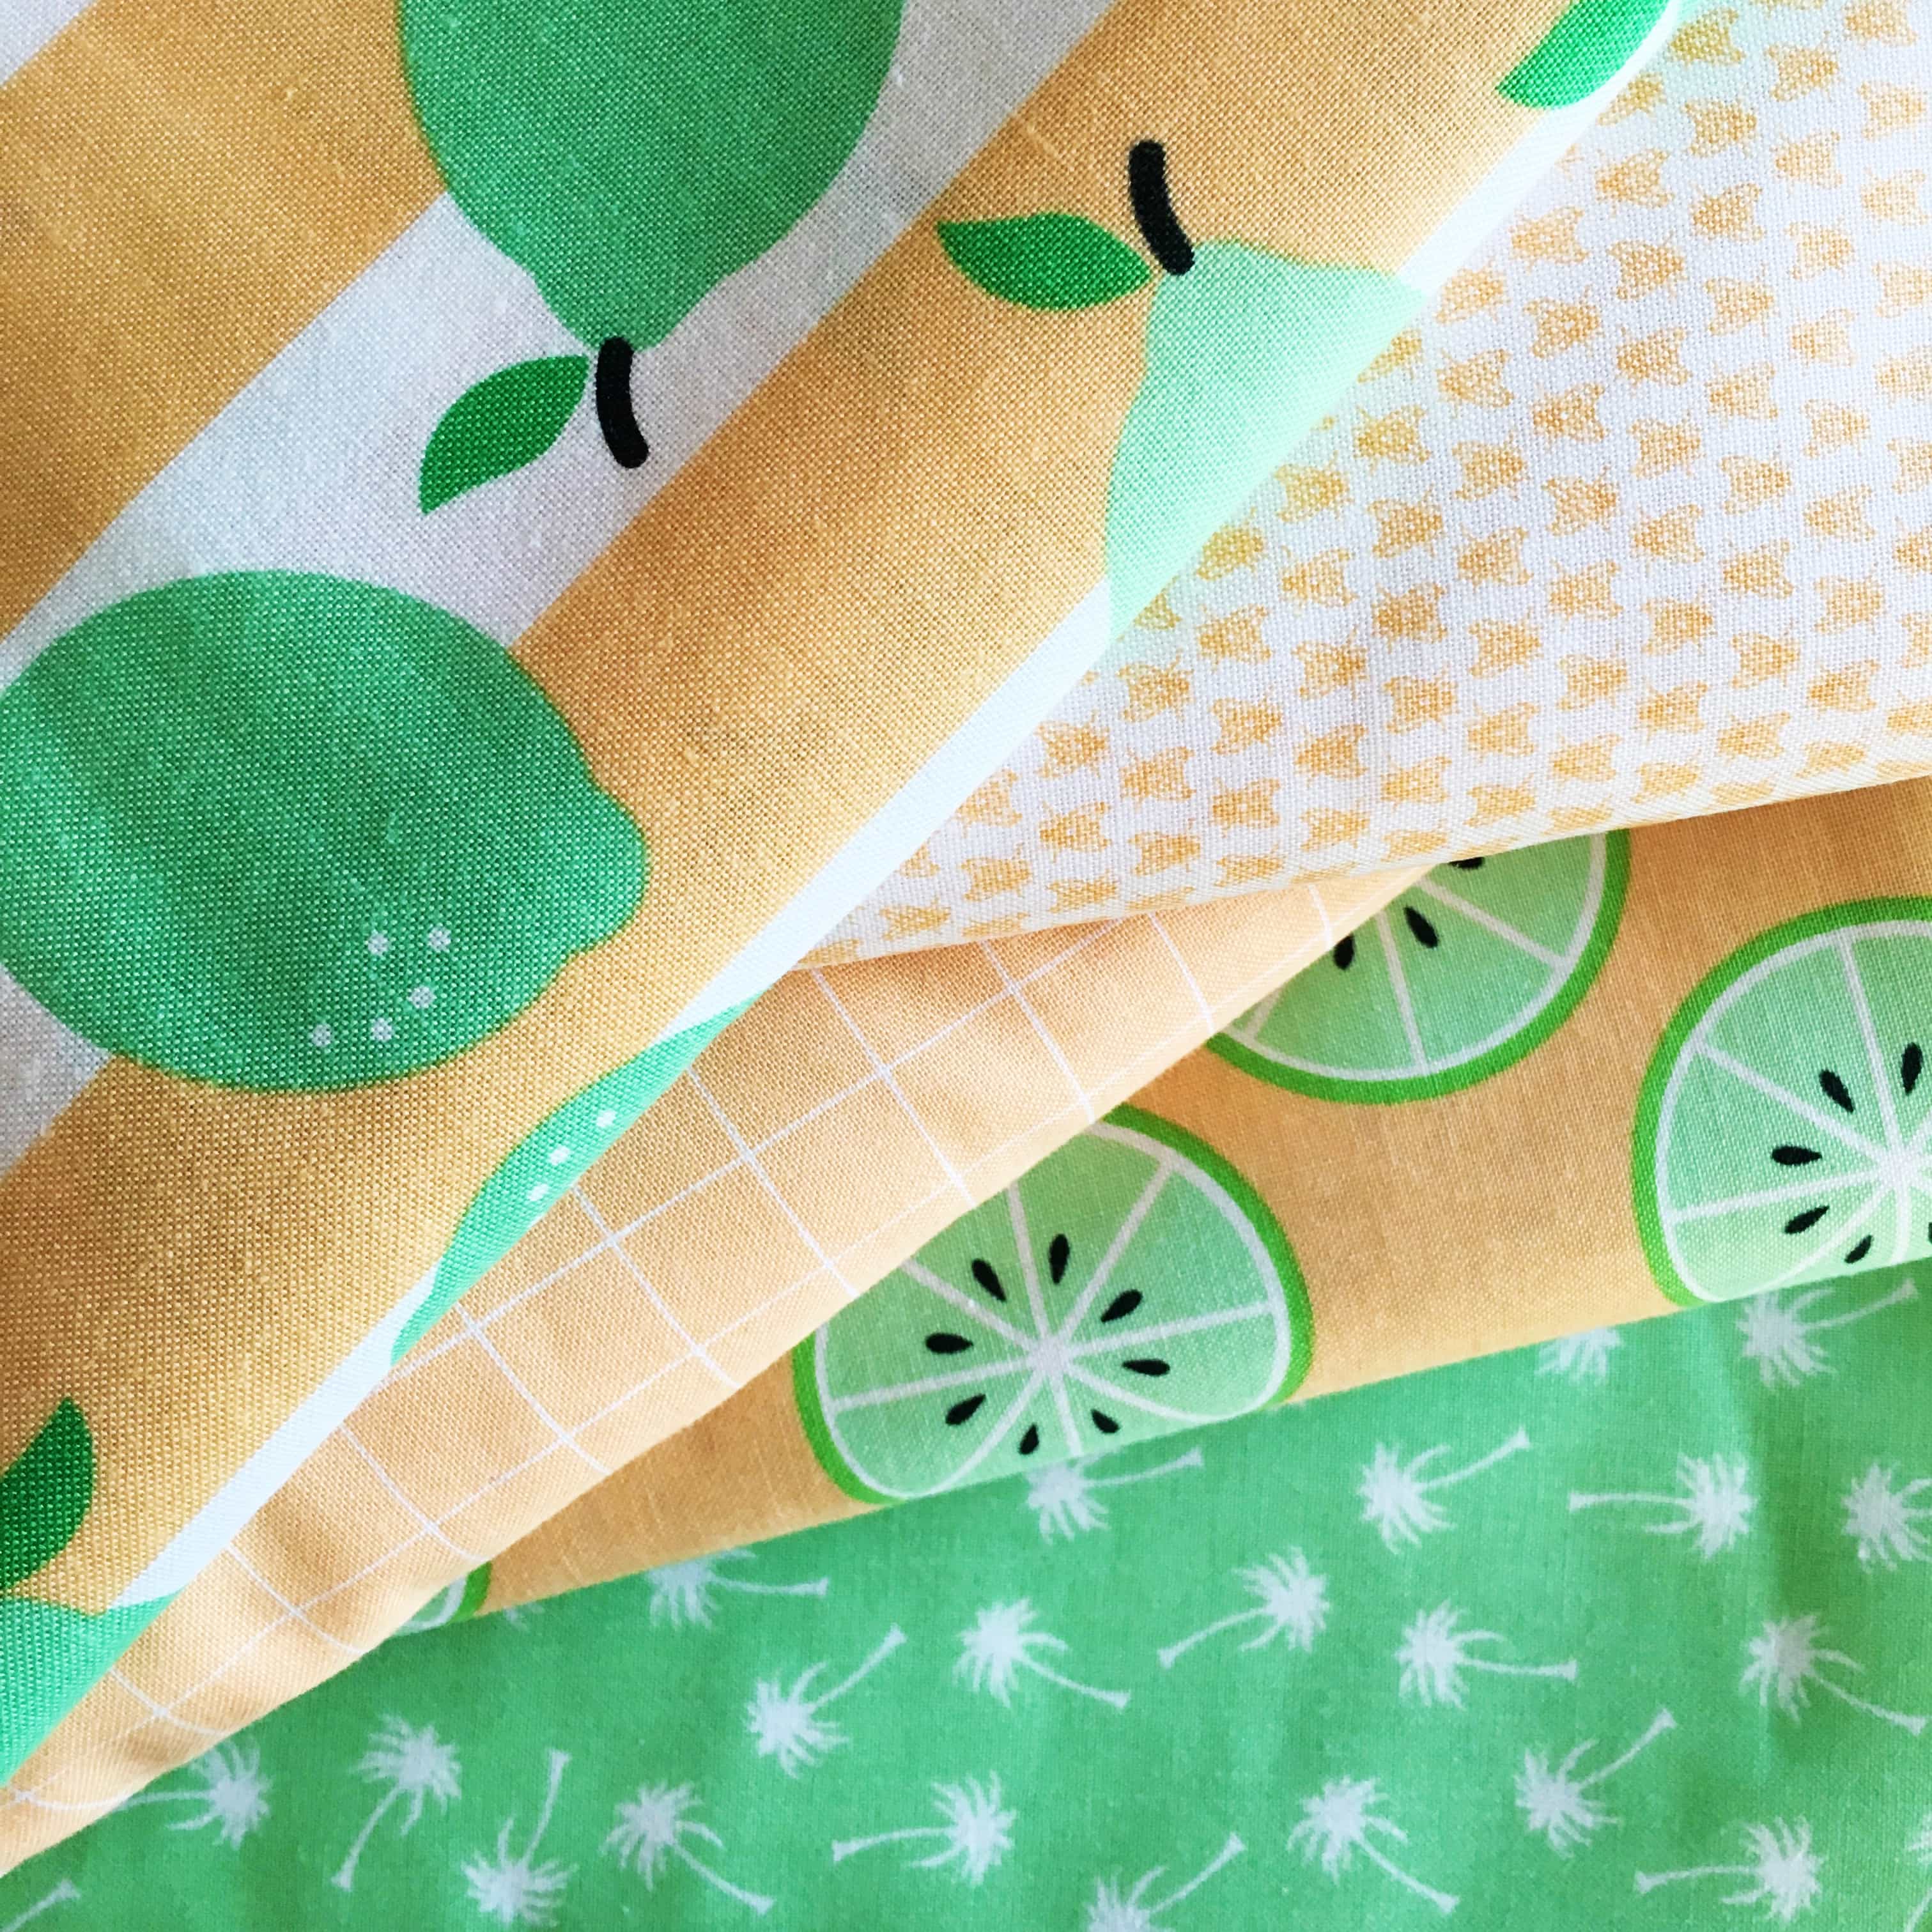
Today, I’m excited to participate in the blog tour for Simple Simon and Co.’s newest fabric line, Add Sugar. Riley Blake Designs manufactures the line, and it is perfect for summer!
When I spotted the line, I knew someone needed to make a beach bag out of the fabric. I mean, how can you resist all of those fun lemons and bright colors?
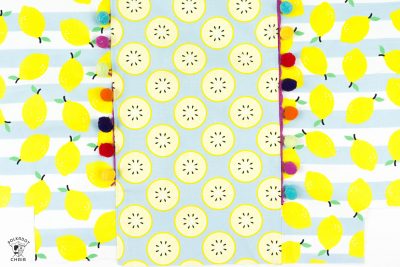
The Fabric Used to Make the DIY Beach Bag
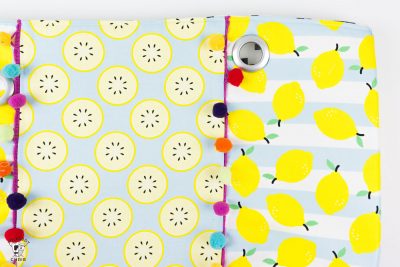
The line comes in 3 fun colorways. The blue and yellow are pictured in my bag, and the photos are below.
How much fabric is needed to make a tote bag?
- 3/4 yard of fabric for bag center
- 3/4 yards of fabric for bag side panels
- 1 yard of fabric for lining
About the Beach Bag Pattern
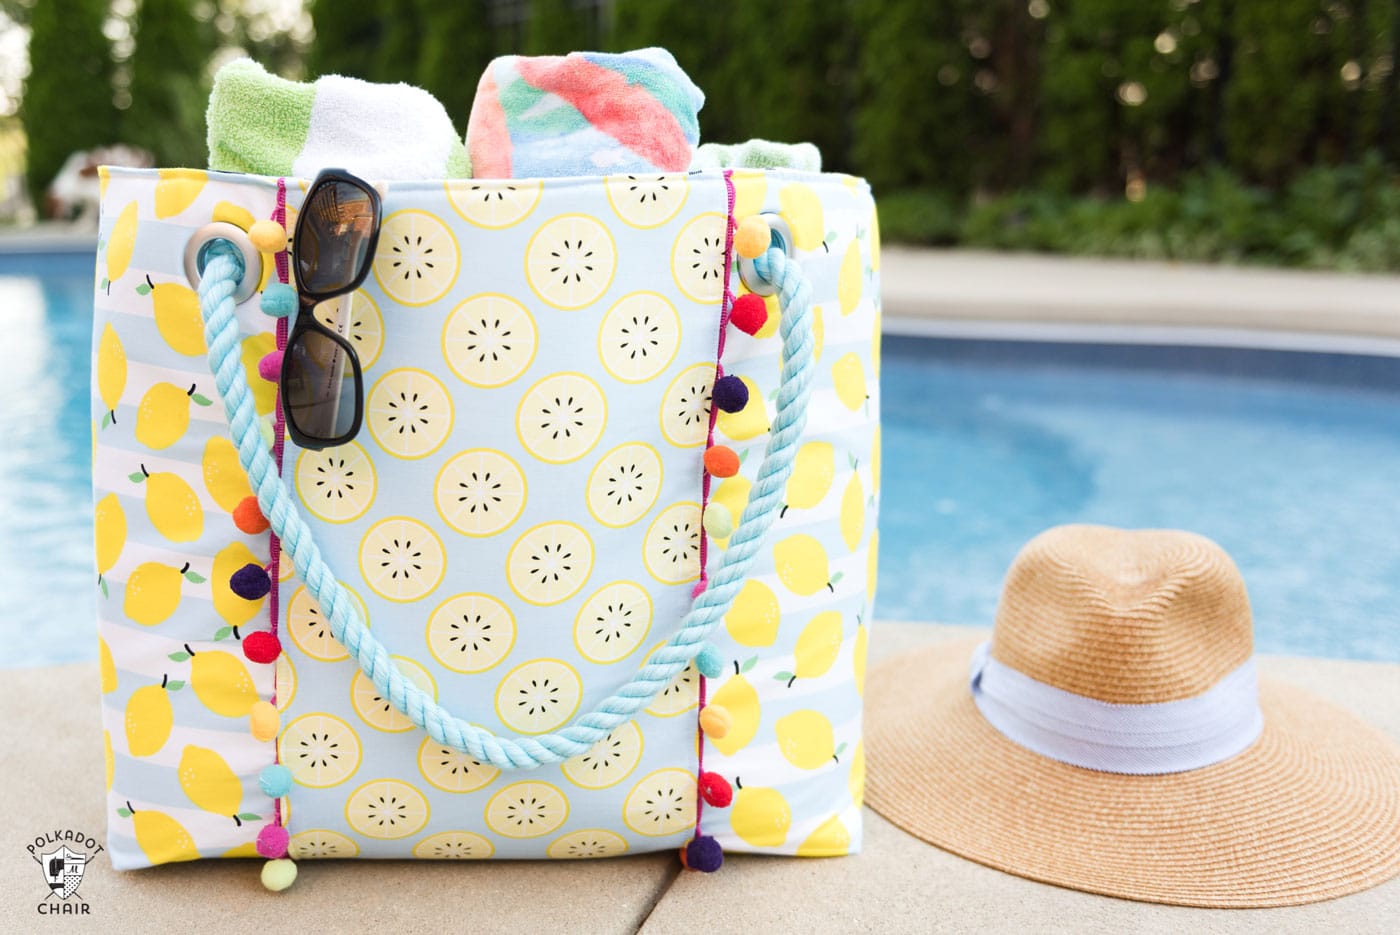
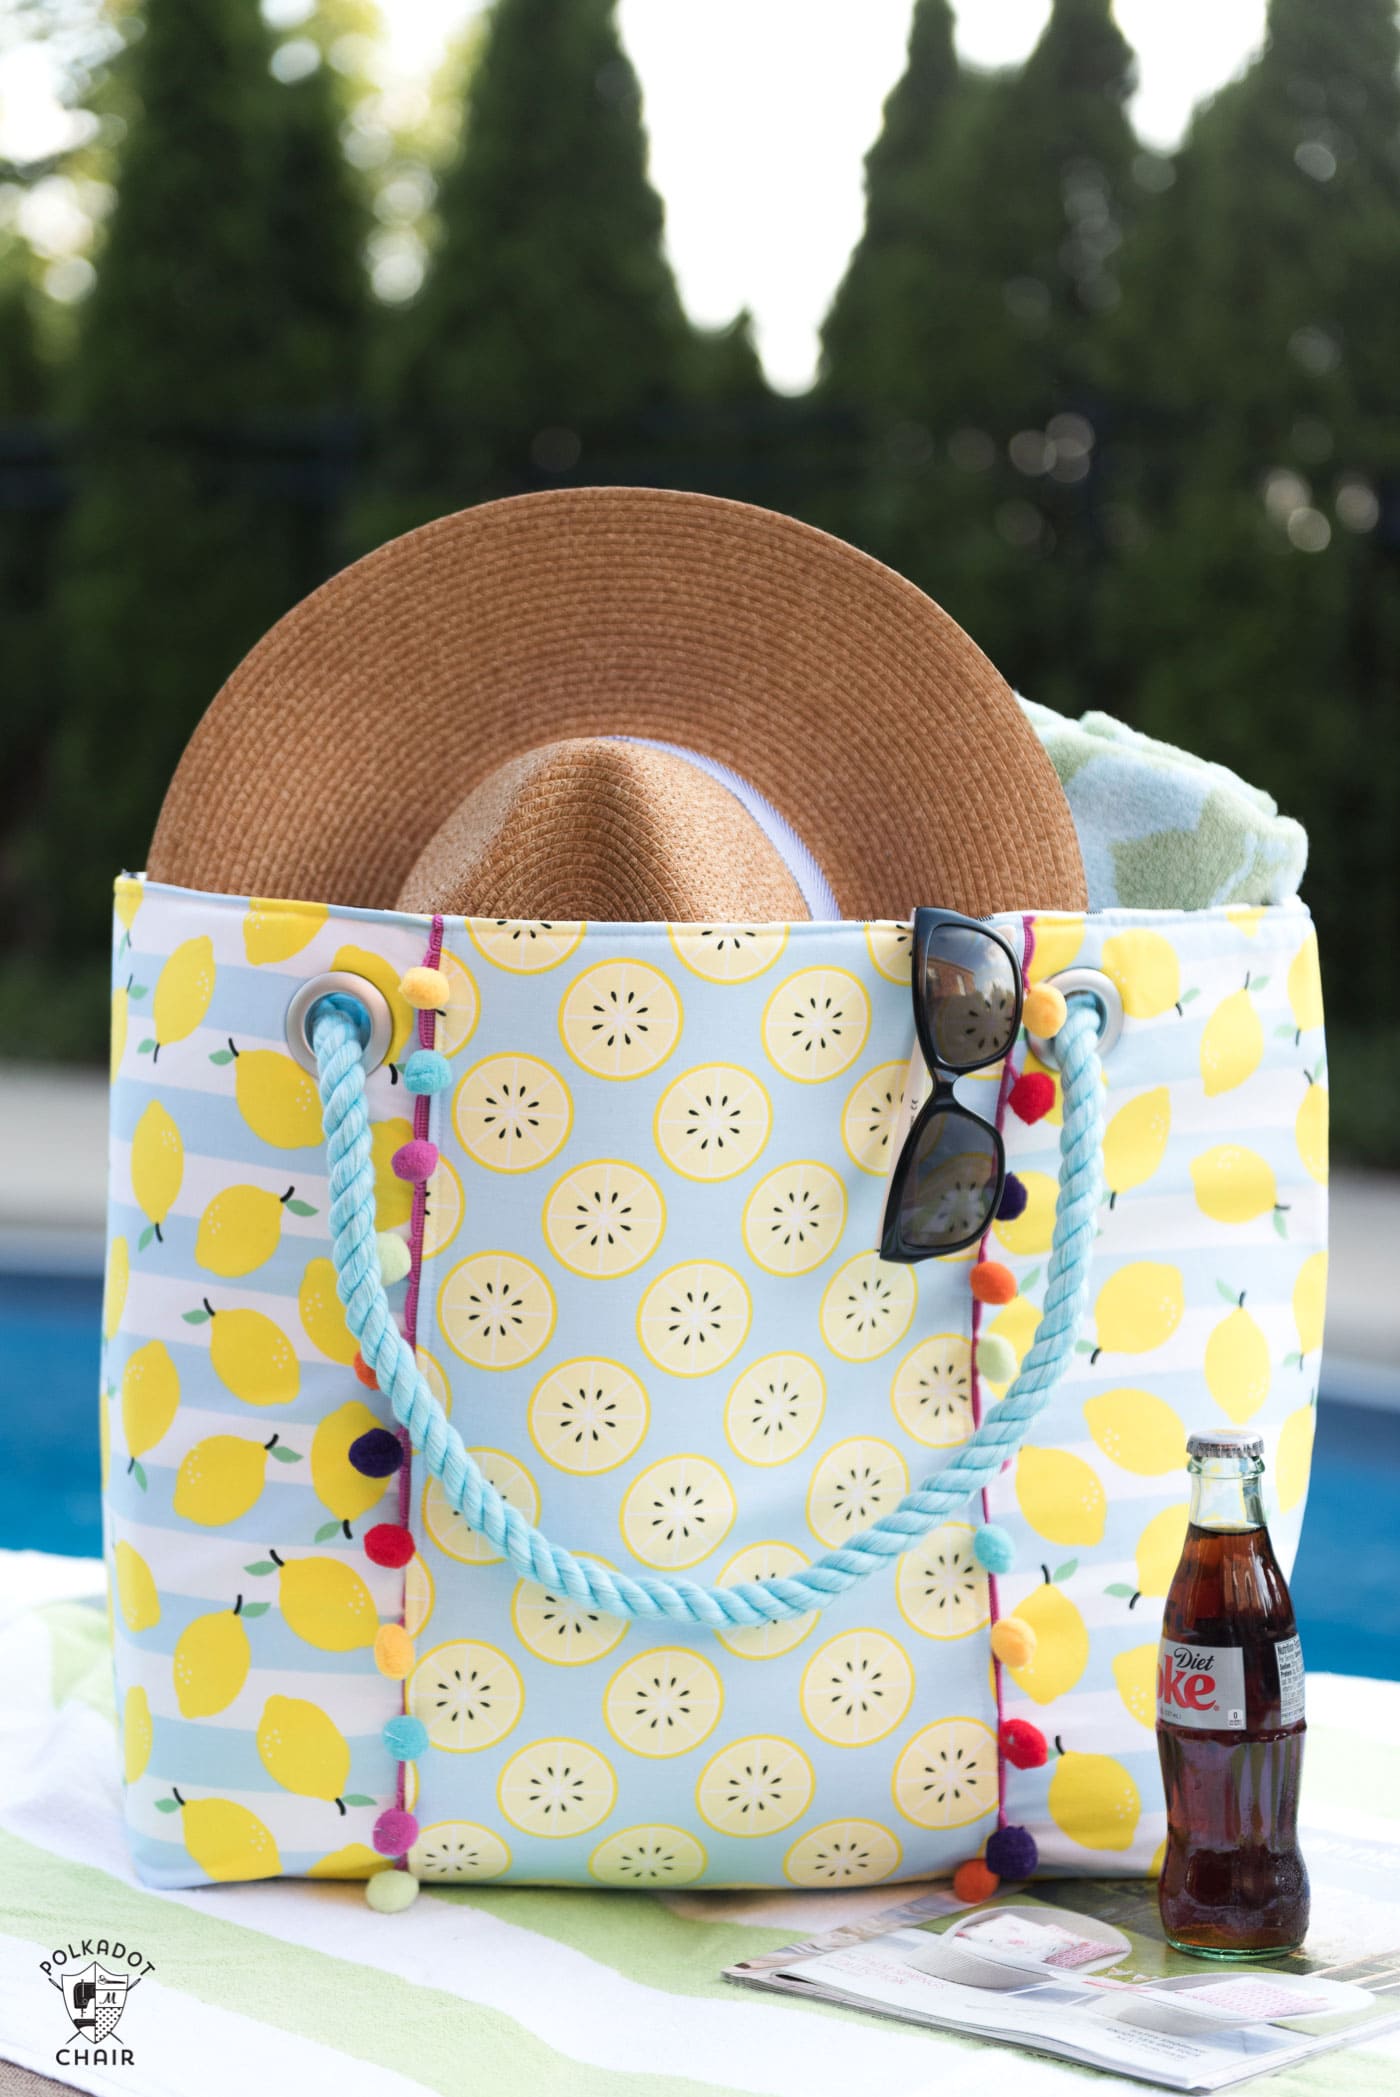
I decided to design an oversized beach bag. I love having bags large enough to tote all of my supplies to the beach, lake, or pool. Nothing is worse than making a million trips back to your car to get everything.
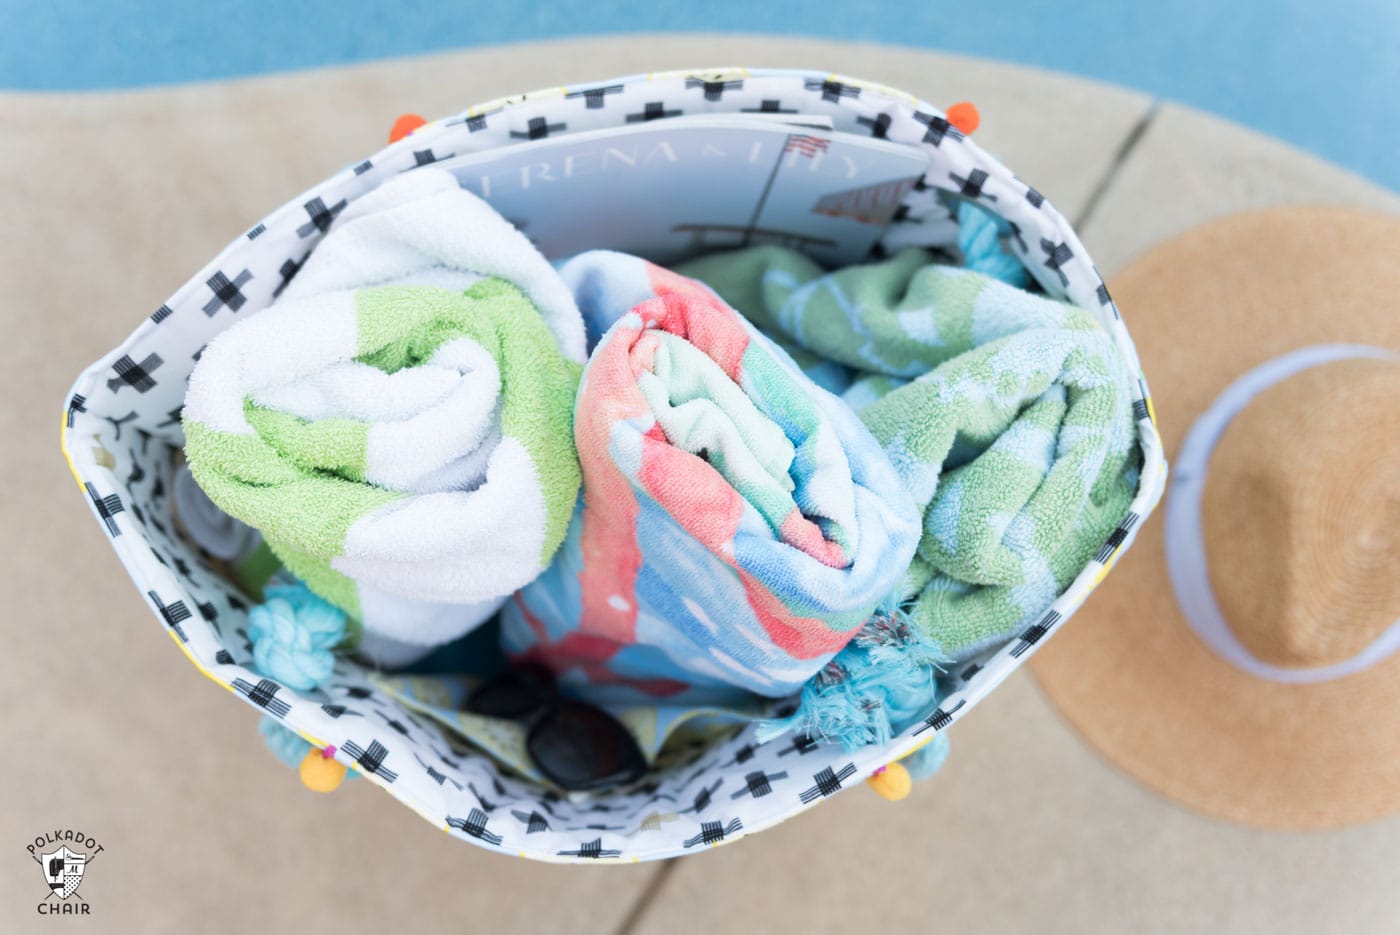
The bag features one small interior pocket for your phone or sunglasses. I did not include any other pockets. It has been my experience that large pockets are just places to lose things, and I’d prefer to load the bag with smaller zip pouches that are easier to find.
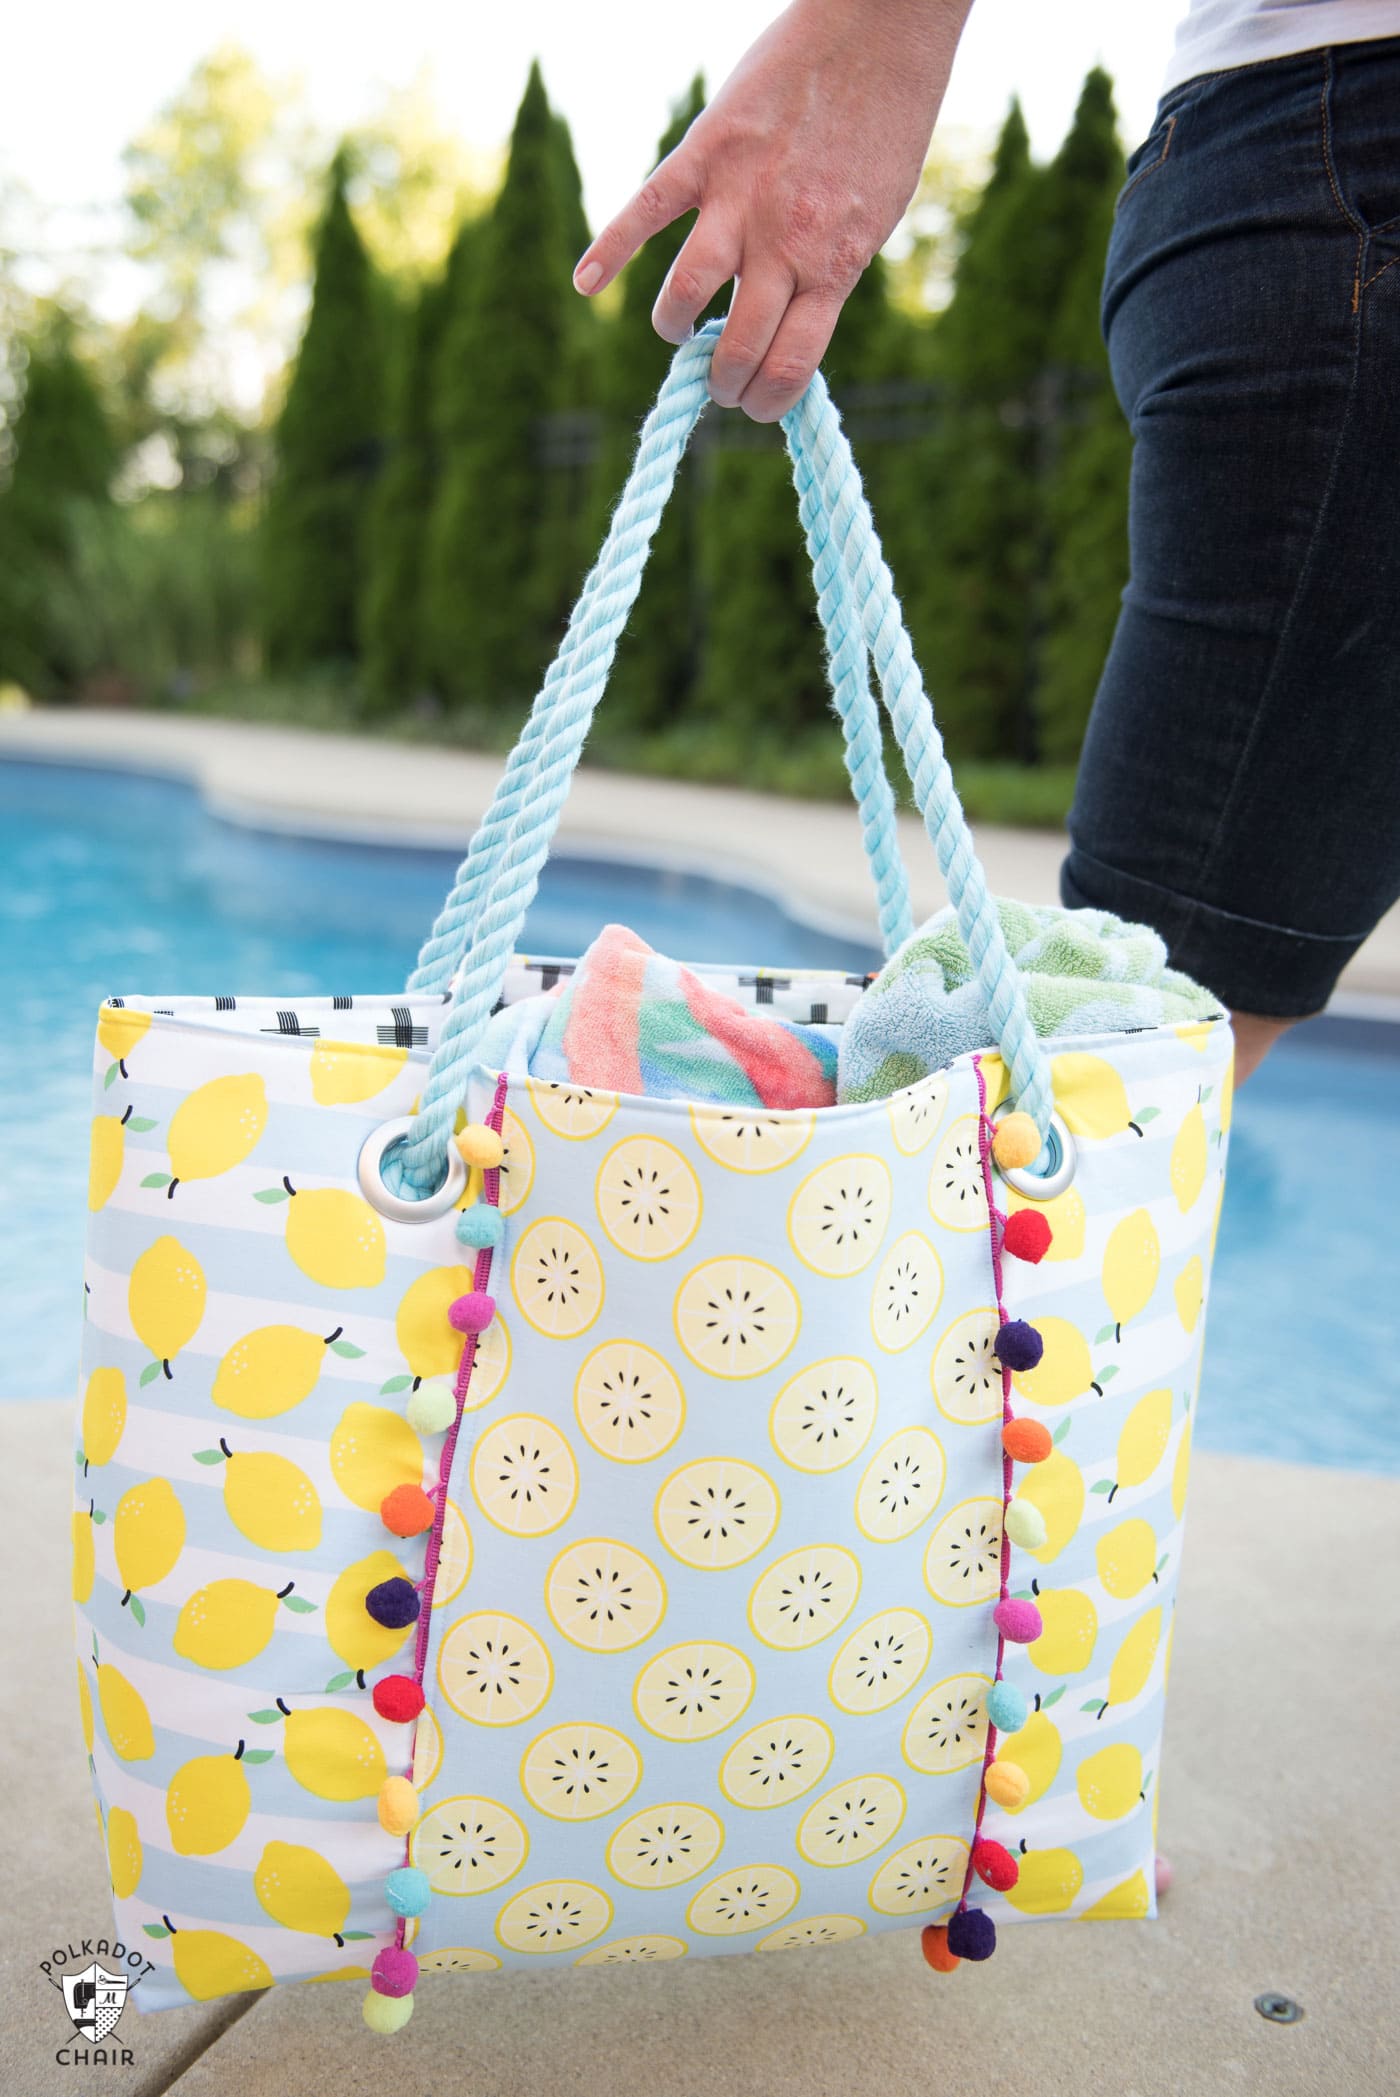
The bag features some fun cotton rope handles, too!
Free Oversized Beach Bag Sewing Pattern
Equipment
- Masking tape
supplies
- 3/4 yard Fabric for bag center
- 3/4 yards Fabric for bag side panels
- 1 yard Fabric for lining
- 1 Fat Quarter Fabric for pocket
- 2 yards 20″ wide fusible flex foam
- 2 yards 20″ wide Shape Flex Interfacing
- 4 One-inch curtain grommets
- 3 yards 1/2 cotton rope
- 3 yards pom pom trim
- Thread
Instructions
Cutting Directions
- From Bag Center Fabric:
- 2 pieces each 10” x 20”
- From Bag Side Fabric:
- 4 pieces, each 8” x 20”
- From Pocket Fabric:
- 1 piece 8” x 10”
- From Shape Flex Interfacing:
- 2 pieces each 10” x 20”
- 4 pieces, each 8” x 20”
- Bag Lining Fabric is cut at a later point.
Construction Steps:
- Iron Shape flex interfacing onto the wrong side of the bag center and bag side pieces. Refer to the directions on the package for pressing instructions.
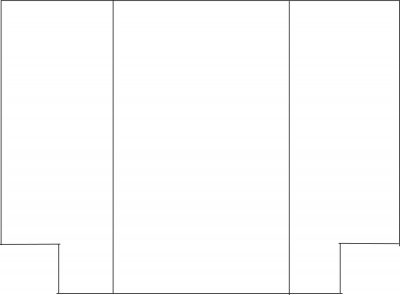
- Cut a 3” x 3” square from the bottom right corner on two of the bag side pieces.
- Cut a 3” x 3” square from the bottom left corner on the other two bag side pieces.
- Pair one bag side piece cut from the right corner with one bag side piece cut from the left corner. Repeat.

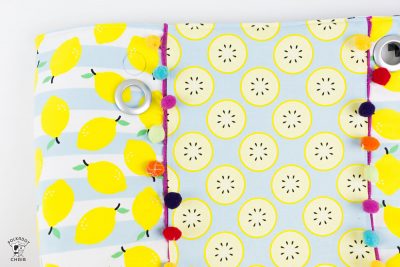
- Pin Pom Pom trims to the long side of the bag side piece (on the side without the square cut out). The edge of the Pom Pom trim should be flush with the raw edge of the fabric.
- Attach the pom pom trim to the bag side piece using a zig-zag stitch. Stop the pom pom trim 3″ from the bottom of the piece.
- Repeat for the other three bag side pieces.

To Create the Bag Outside Front Piece:
- Pin two bag side pieces on the right sides facing the bag front piece along the long edge. The cut-out corner will be on the outside (this is why you need a side piece of the right and left bag).
- Stitch with a 5/8″ seam allowance.

- Press the seam towards the bag centerpieces—Topstitch along the seam between the bag center and bag side pieces.
- Repeat this with other bag side/ bag centerpieces to create the bag outside the back piece.
- Set aside
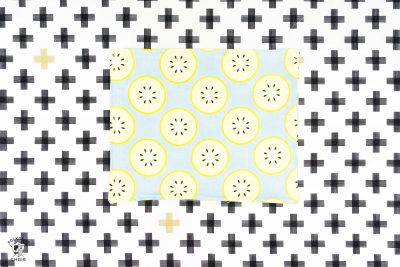
Construct the Inside Pocket:
- Fold the bag pocket piece in half on the right side facing. Stitch around three sides of the pocket leaving a 2″ -3″ opening on one side so you can turn it right side out.
- Clip corners, turn right side out, and press. Topstitch one of the long sides – the top of your pocket.
Cut and Construct the Bag Lining:
- Cut two bag lining pieces and two pieces from fusible flex foam using one of your bag’s outside pieces as a guide.
- Trim 1/2″ off the top of each piece of flex foam.
- Press the fusible flex foam onto the wrong side of the bag lining pieces. You should have 1/2″ of fabric hanging over the edge of the flex foam at the top.
- Pin the pocket to one of the bag lining pieces in the center of the lining and a few inches down from the top edge of the lining.
- Stitch around 3 sides of the pocket to secure. Make sure you back-stitch.
Assemble the Bag:
- Pin the two bag outside pieces together, right sides facing. Stitch the center and bottom seams using a 1/2″ seam allowance.
- Press seams open.
- Pinch one of the bottom corners of the bag so that the side and bottom seams are on top of each other and stitch using a 1/2″ seam allowance. Repeat for other bottom corner.
- Stitch the bag lining pieces together just as you did for the bag outside pieces. Trim the seam allowances down to 1/4″ to reduce bulk.
- Turn bag lining piece so that the right side of the fabric is facing out.
- Slip the bag lining piece into the bag outside piece, right sides facing. Make sure that you match the bag centers and side seams. Pin well.
- Stitch along the top edge of the bag 1/2″ down from the raw edge of the fabric. You will be stitching right up to the edge of the flex foam interfacing.
- Leave a 9″ opening on one side of the bag so that you can turn the bag right side out.
- Turn bag right side out. Press top seam well, making sure to catch the opening that you used to turn the bag right side out and press.
- Topstitch along the top of the bag.
Finishing:
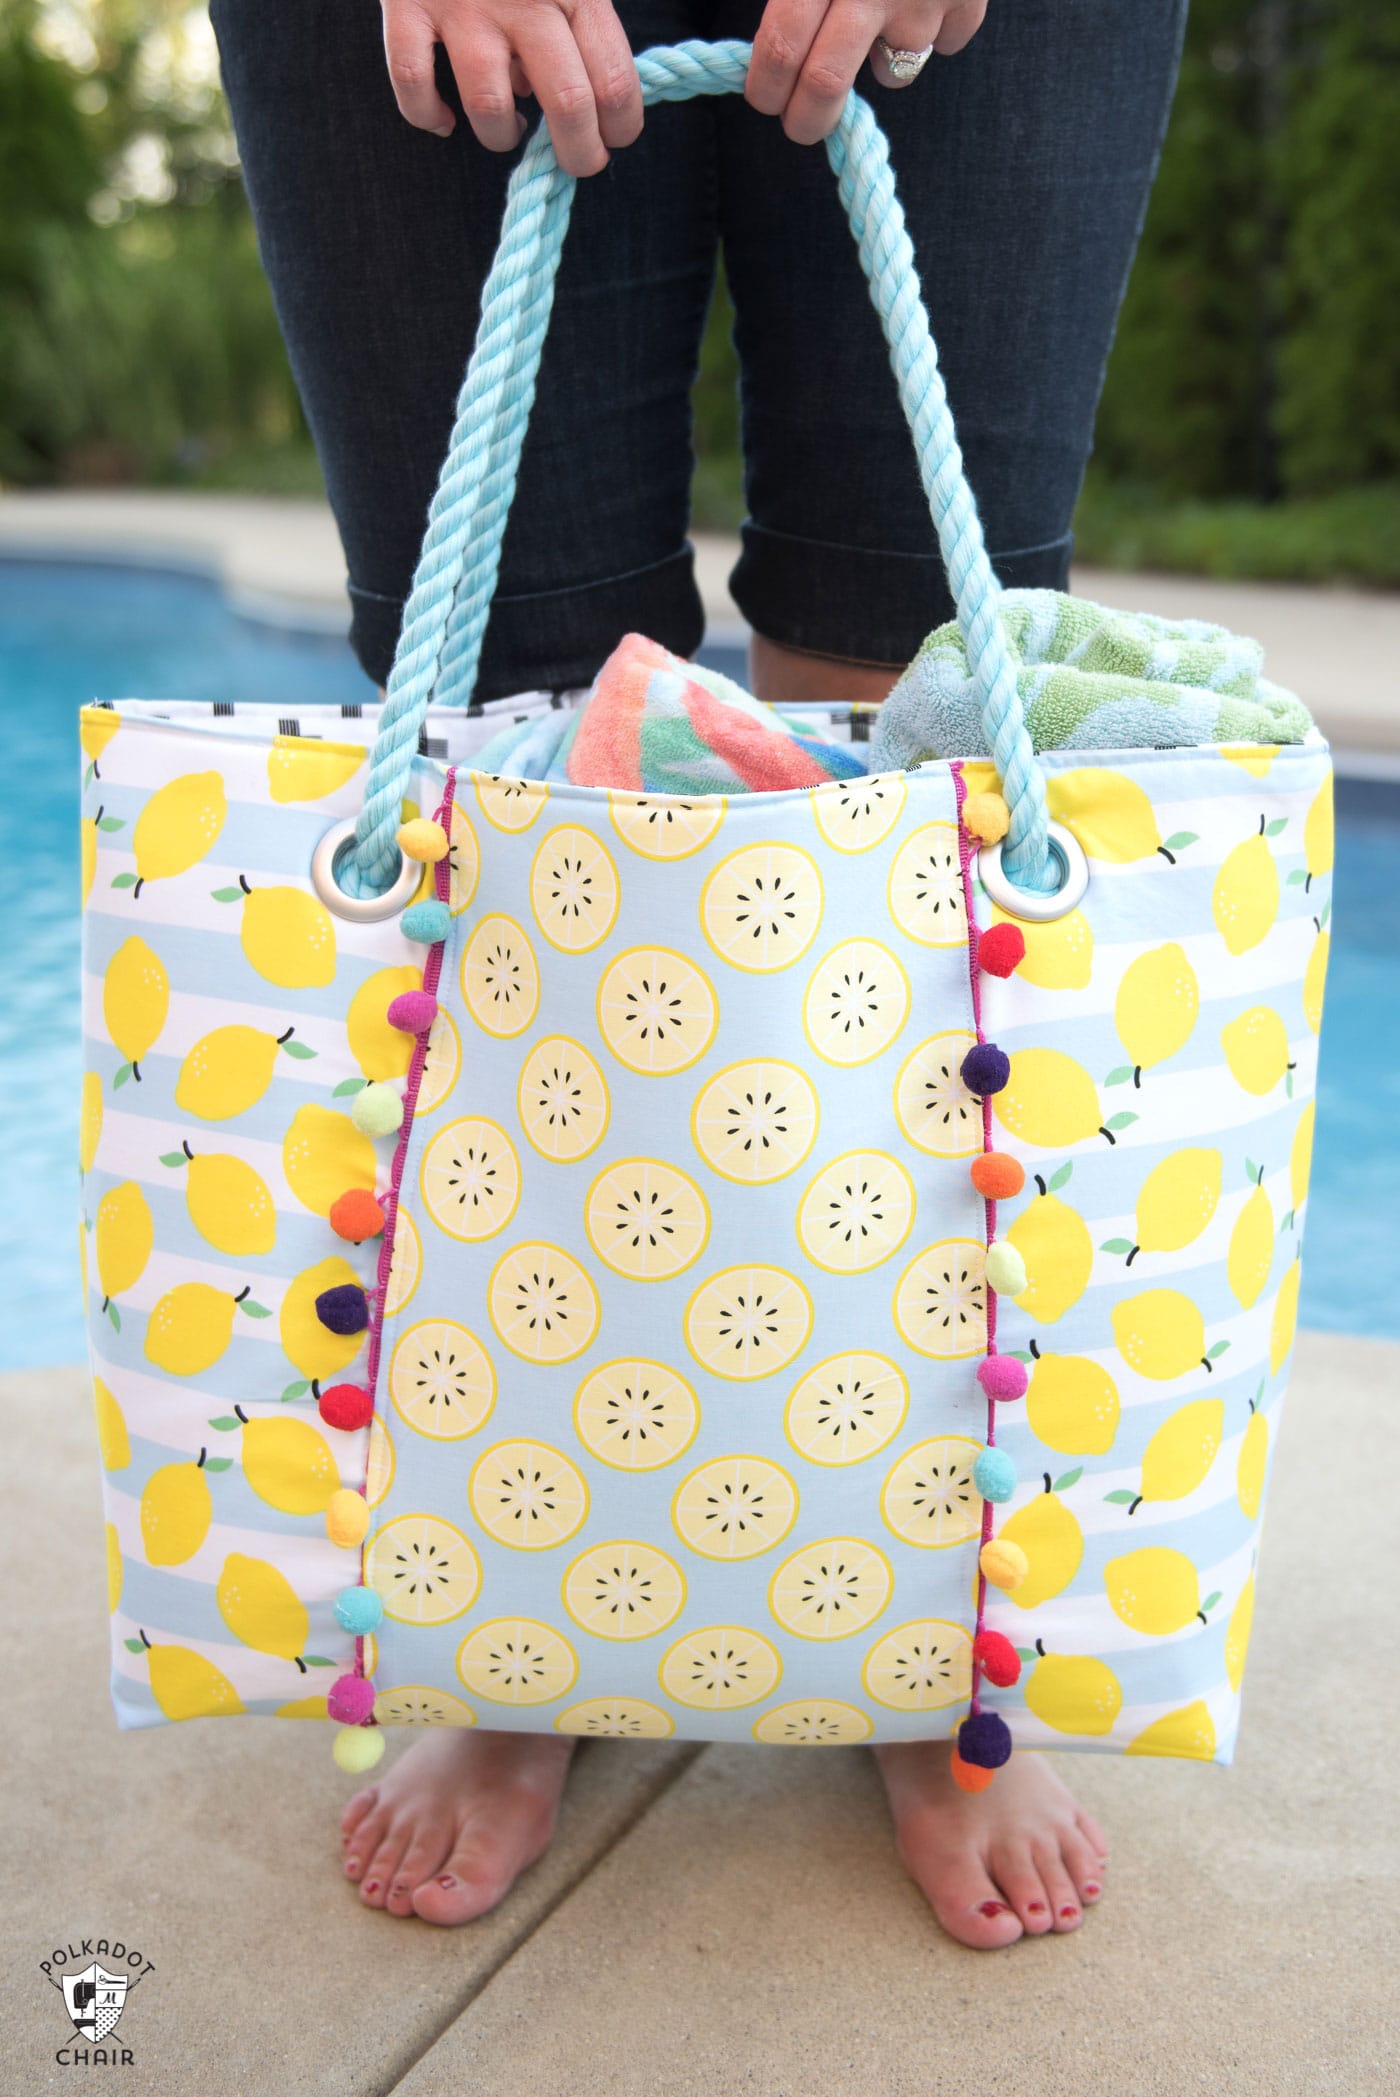
- Following the directions on the package of grommets attach 2 grommets to each side of the bag 1″ down from the top edge of the bag and just over from the seam between the bag center and bag side pieces.
- Cut your rope to your desired length. Before you cut wrap a piece of masking tape around the end of the rope so it does not unravel while you are working with it. I cut my rope pieces to 40″ long.
- Feed the rope through the hole in the grommet and tie a knot. After you have the rope in the location you want, remove the masking tape from the rope’s end and allow it to fray up to the knot.
- Give the bag a good pressing and you’re done!
What is the best material for a beach bag?
The best material for a beach bag depends on your needs. Popular choices include canvas for durability and casual style, nylon or polyester for water resistance and quick drying, and mesh for lightweight, sand-shedding properties.
PVC or vinyl is fully waterproof and easy to clean, while straw or woven fibers offer a stylish, beachy look but lack water resistance. However, if you’re sewing I don’t recommend sewing with PVC on a home sewing machine.
Oilcloth or laminated cotton combines water resistance with fun designs. A bag with a waterproof bottom (like vinyl) and a canvas or nylon upper is functional and stylish for versatility.
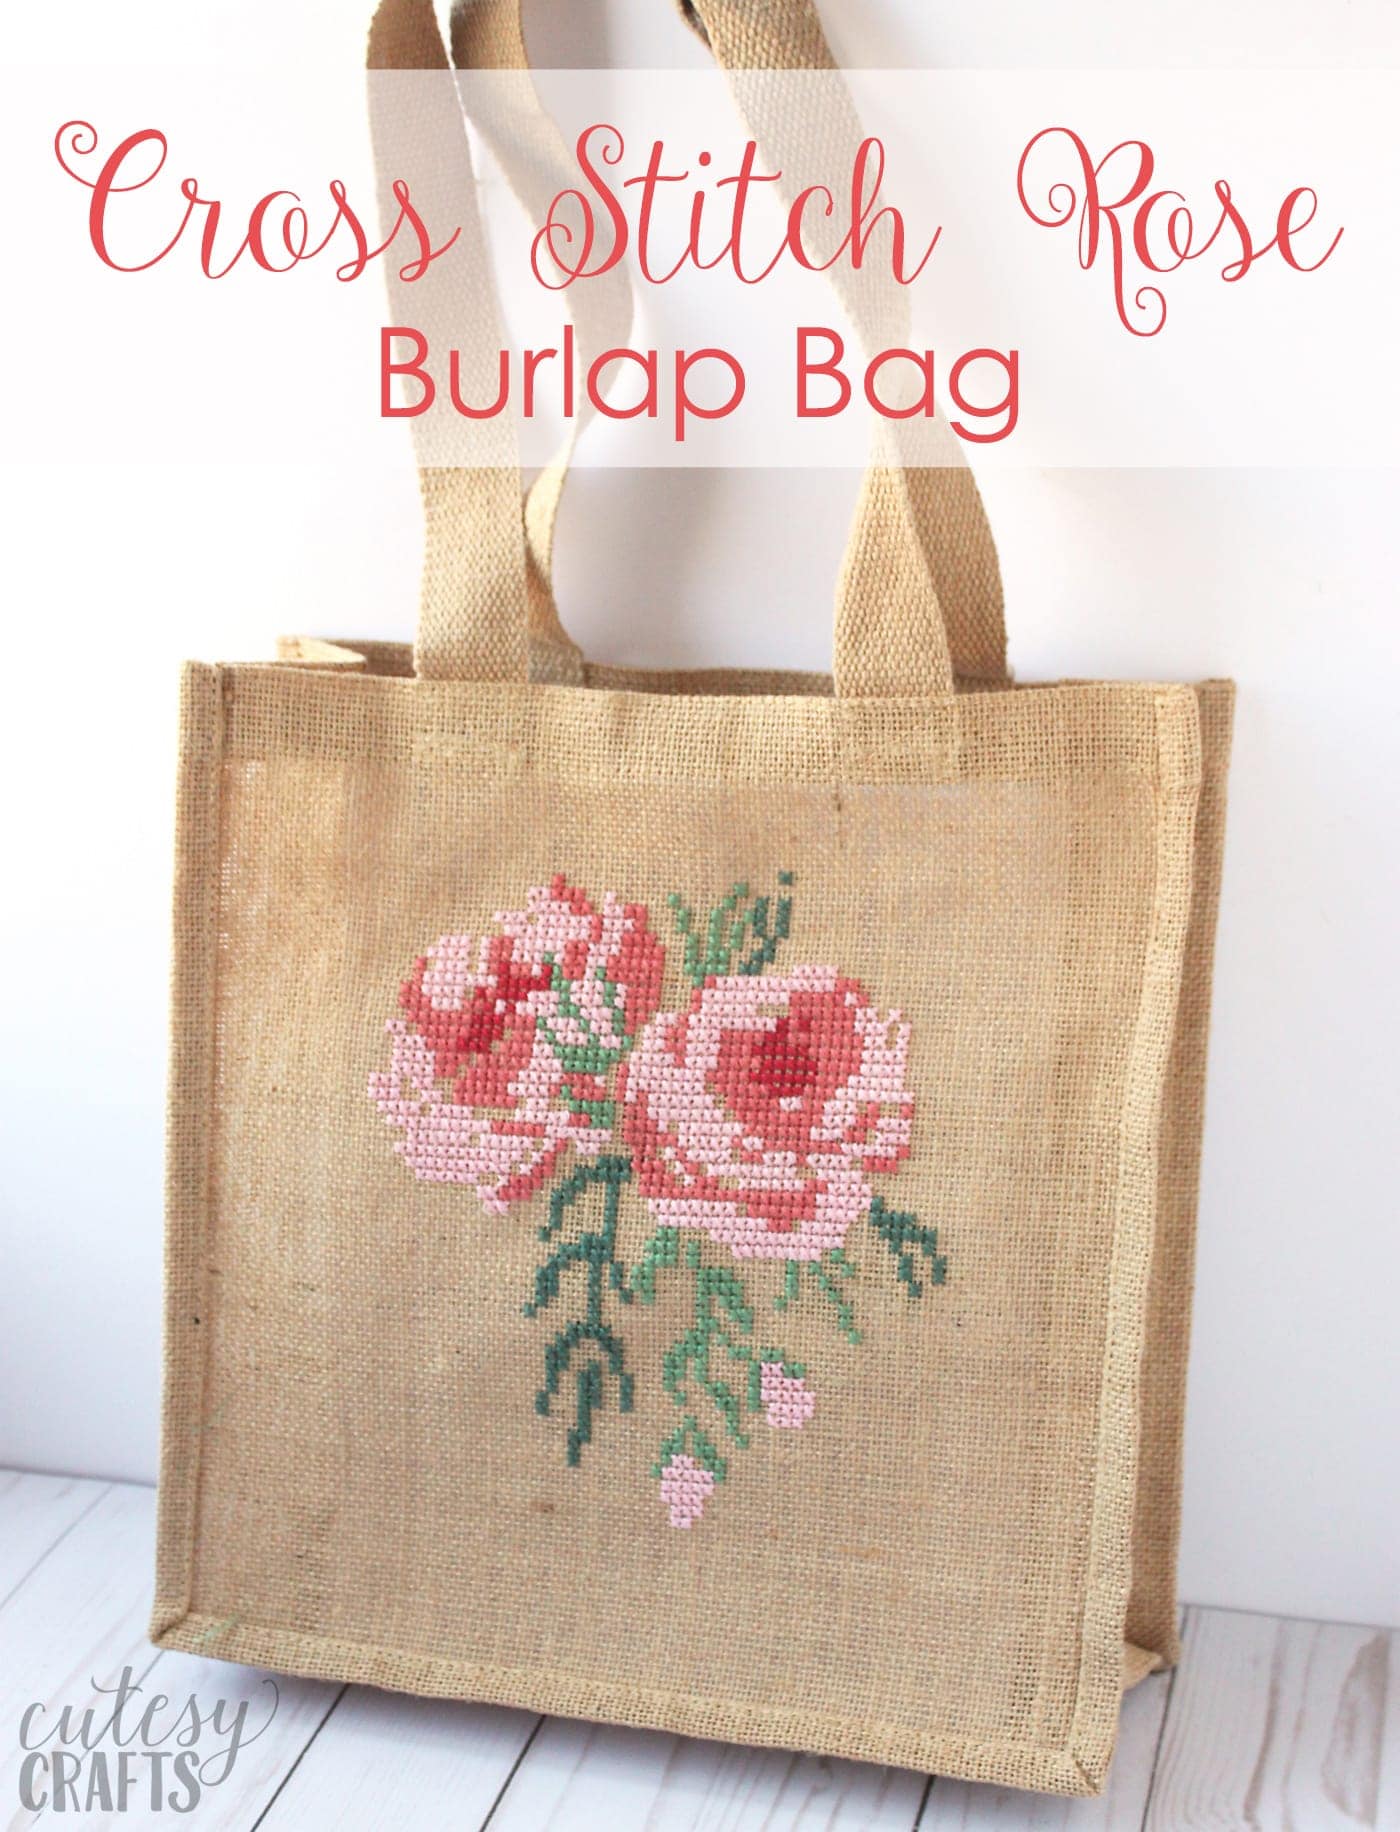
More Bag Patterns To Try:
How to Make a Metal Frame Purse.

What color is the cotton rope in the picture? Aqua or sky blue? The bag is darling. I’m looking through my stash now.
It’s Aqua!
So glad you like it!
I cannot sew, but I love this you made. Beautiful!
So cute I can’t wait to make one! I just purchased the rope! Any idea the finished dimensions? I may adjust it for my daughter. Thanks!
I might try this, since the end result looks way too amazing and so suitable during Summer.
Love the bag! What are the approximate final dimensions of the bag?
It’s: 22 1/2 Long ; 15 1/2 tall and 6″ deep
Such a beautiful bag..Making it to gift my teacher friend who requested an oversize tote to take to work.
How much weight do you think this will hold with the grommets? I’ve had trouble with grommets pulling out when I use a bag as a purse, catch-all – wallet, multiple keys, water bottle, etc..
I honestly don’t know. I haven’t had any issues carrying basic supplies. You need to make sure you buy heavy duty grommets, like the ones for drapes. They will hold up bettern.
Cute bag! Is there a difference between the flex foam and the Shape Flex Interfacing?
Yes the flex foam is a thin foam and the shape flex is very thin and adds extra body to the fabric
I made this bag and love it but now I am getting ready to put the grommets in and was wondering if you took the serger around the holes or left them? Just a little nervous about the material fraying.
No, I just cut it out. No problems with fraying!
I may of missed it, but do you use regular cotton fabric or a heavier material?
This bag is gorgeous!! I’m new at sewing, and a very visual learner. Would you happen to have a video tutorial of this pattern? I’m going on a beach trip (this pandemic delayed the trip), with 4 of my girlfriends. I would love to make a bag for each of us!
I do not I’m sorry. It’s really expensive and time-consuming to make a video tutorial. I have it for some of my projects but don’t have the resources to make it for all of them.
Thank you for your reply! With enough determination, and reading over and over again, I am confident enough now (as a beginner), to try this tutorial! 😃 Am I able to post a picture, here in the comments, to show you my end result?
I am so excited. Love this bag pattern and have plenty of fabric to make several. The one thing I just learned from you is the colored rope you can buy to use in this bag. The rope just finishes the bag and the colors it comes in are perfect! Your little sewing hints I have learned in your replies are priceless for me. Am 73 and love it when I learn something new from a younger person. Thank you!