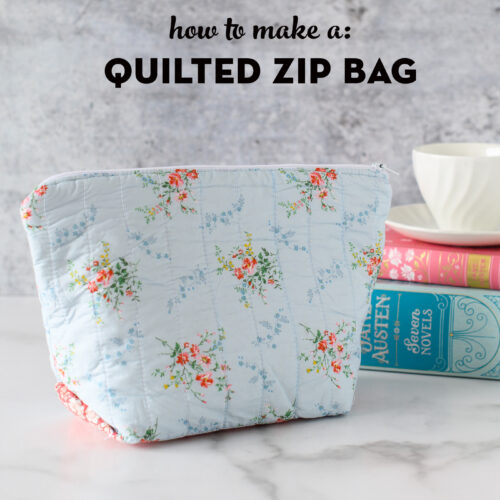
Quilted Liberty Zip Bag Sewing Pattern
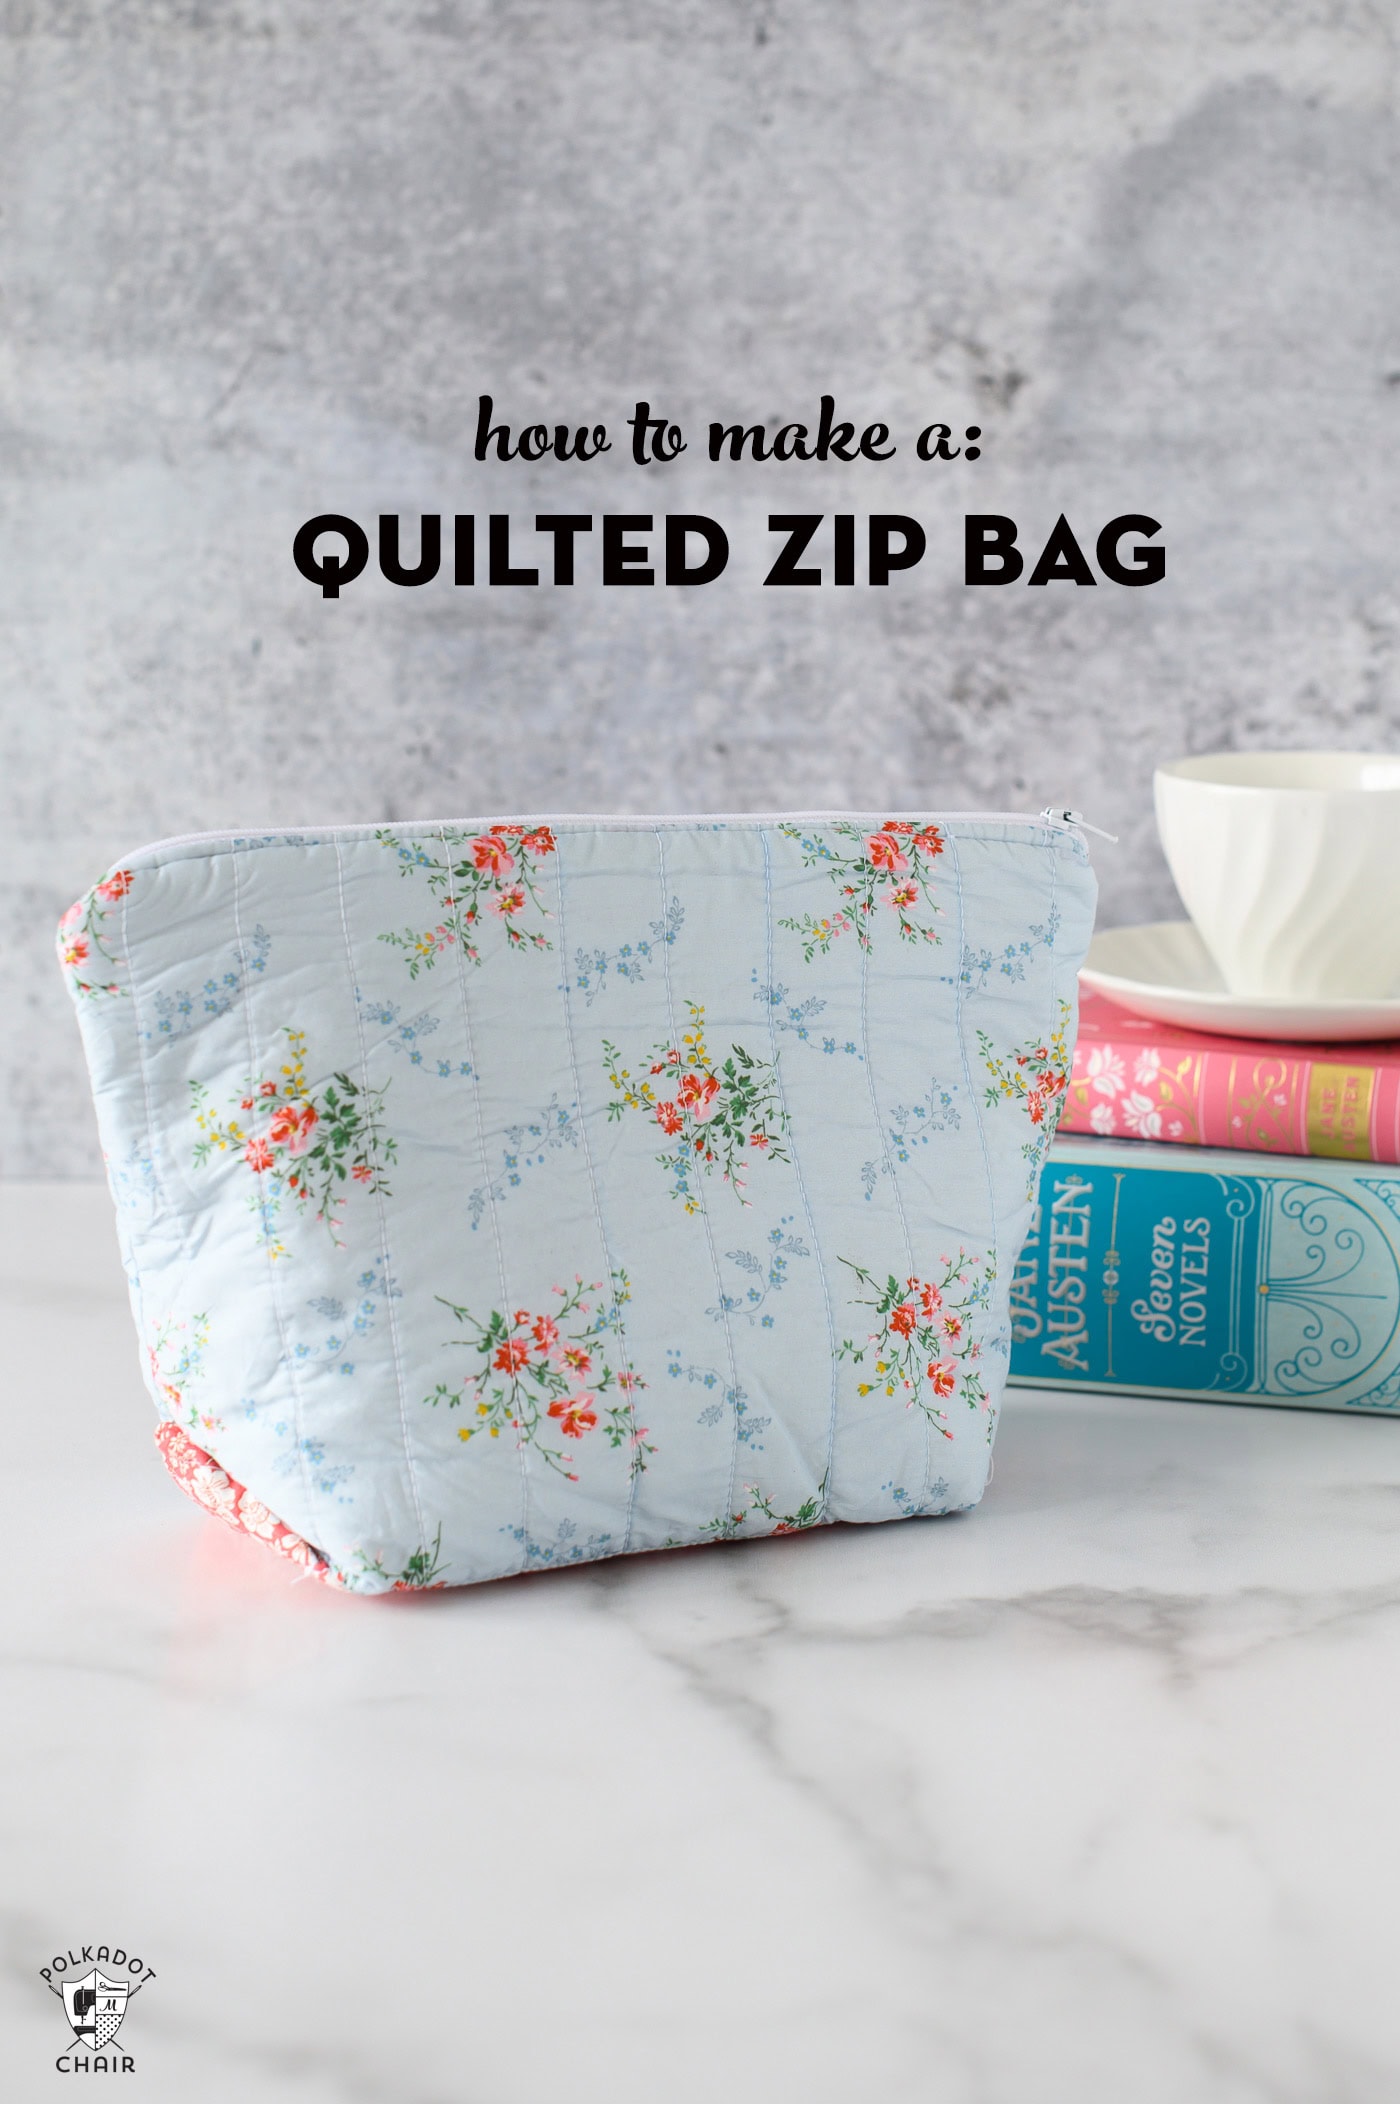
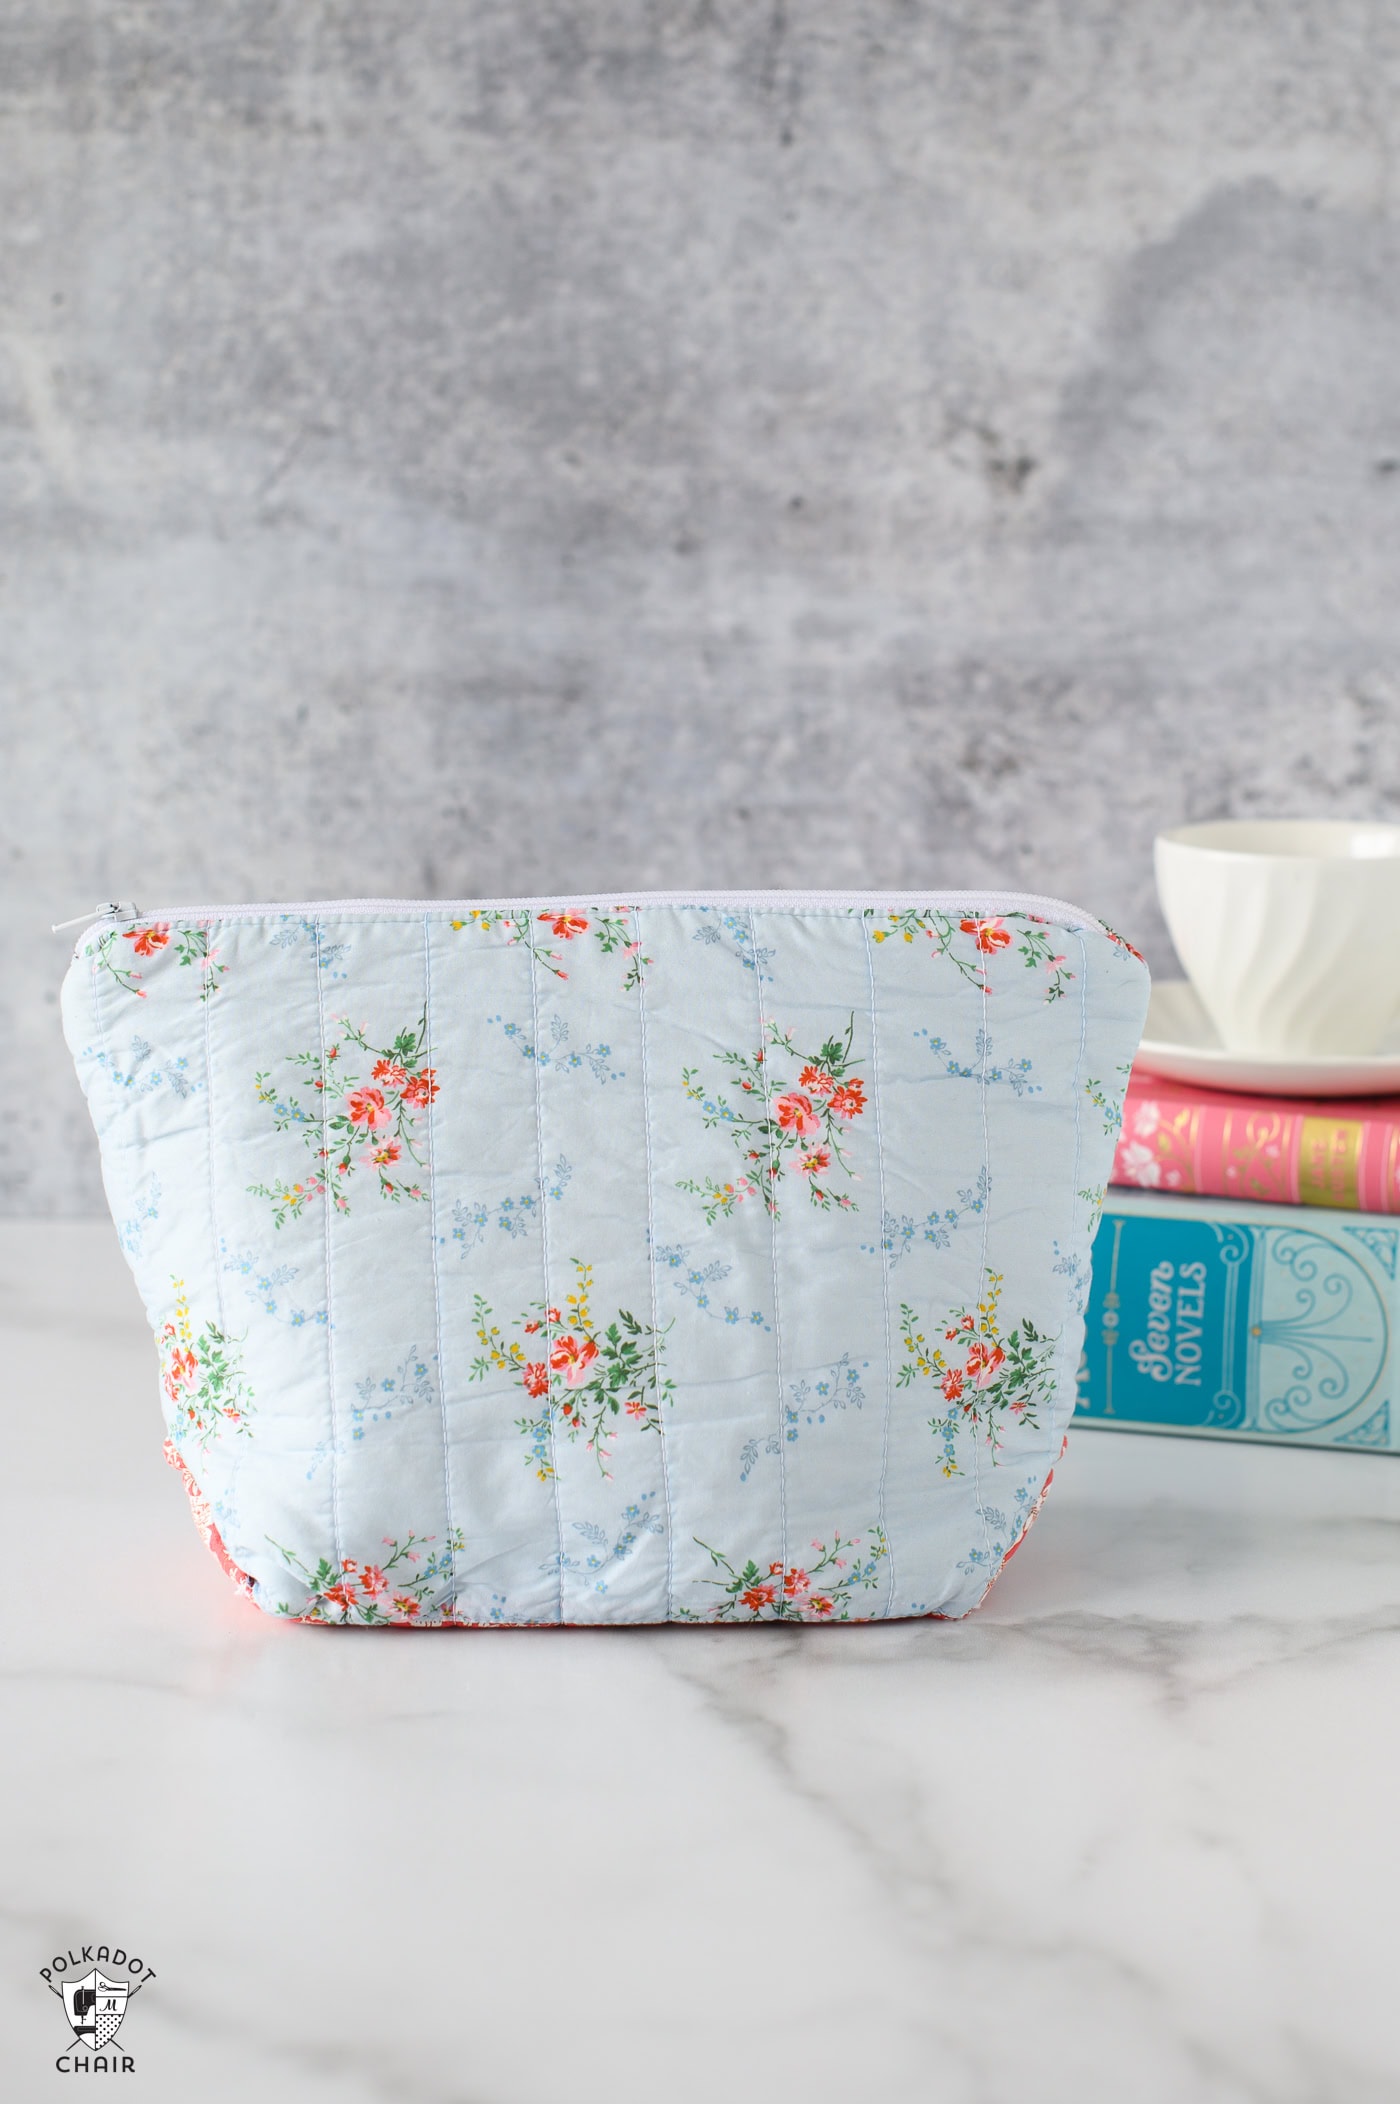
Create a beautiful zip pouch from Liberty London fabric with our free Quilted Liberty Zip Bag Sewing pattern. This zip pouch features a quilted exterior and a contrasting fabric base.
Recently, I took a foray into garment sewing. I started my sewing journey in the 1980s with garment sewing. I frequently stitch up clothing for myself. My favorite thing to sew is dresses.
My daughter visited London with a friend last year, and somehow they both talked me into sewing dresses for them from some fabrics they purchased at the famed Liberty of London department store.
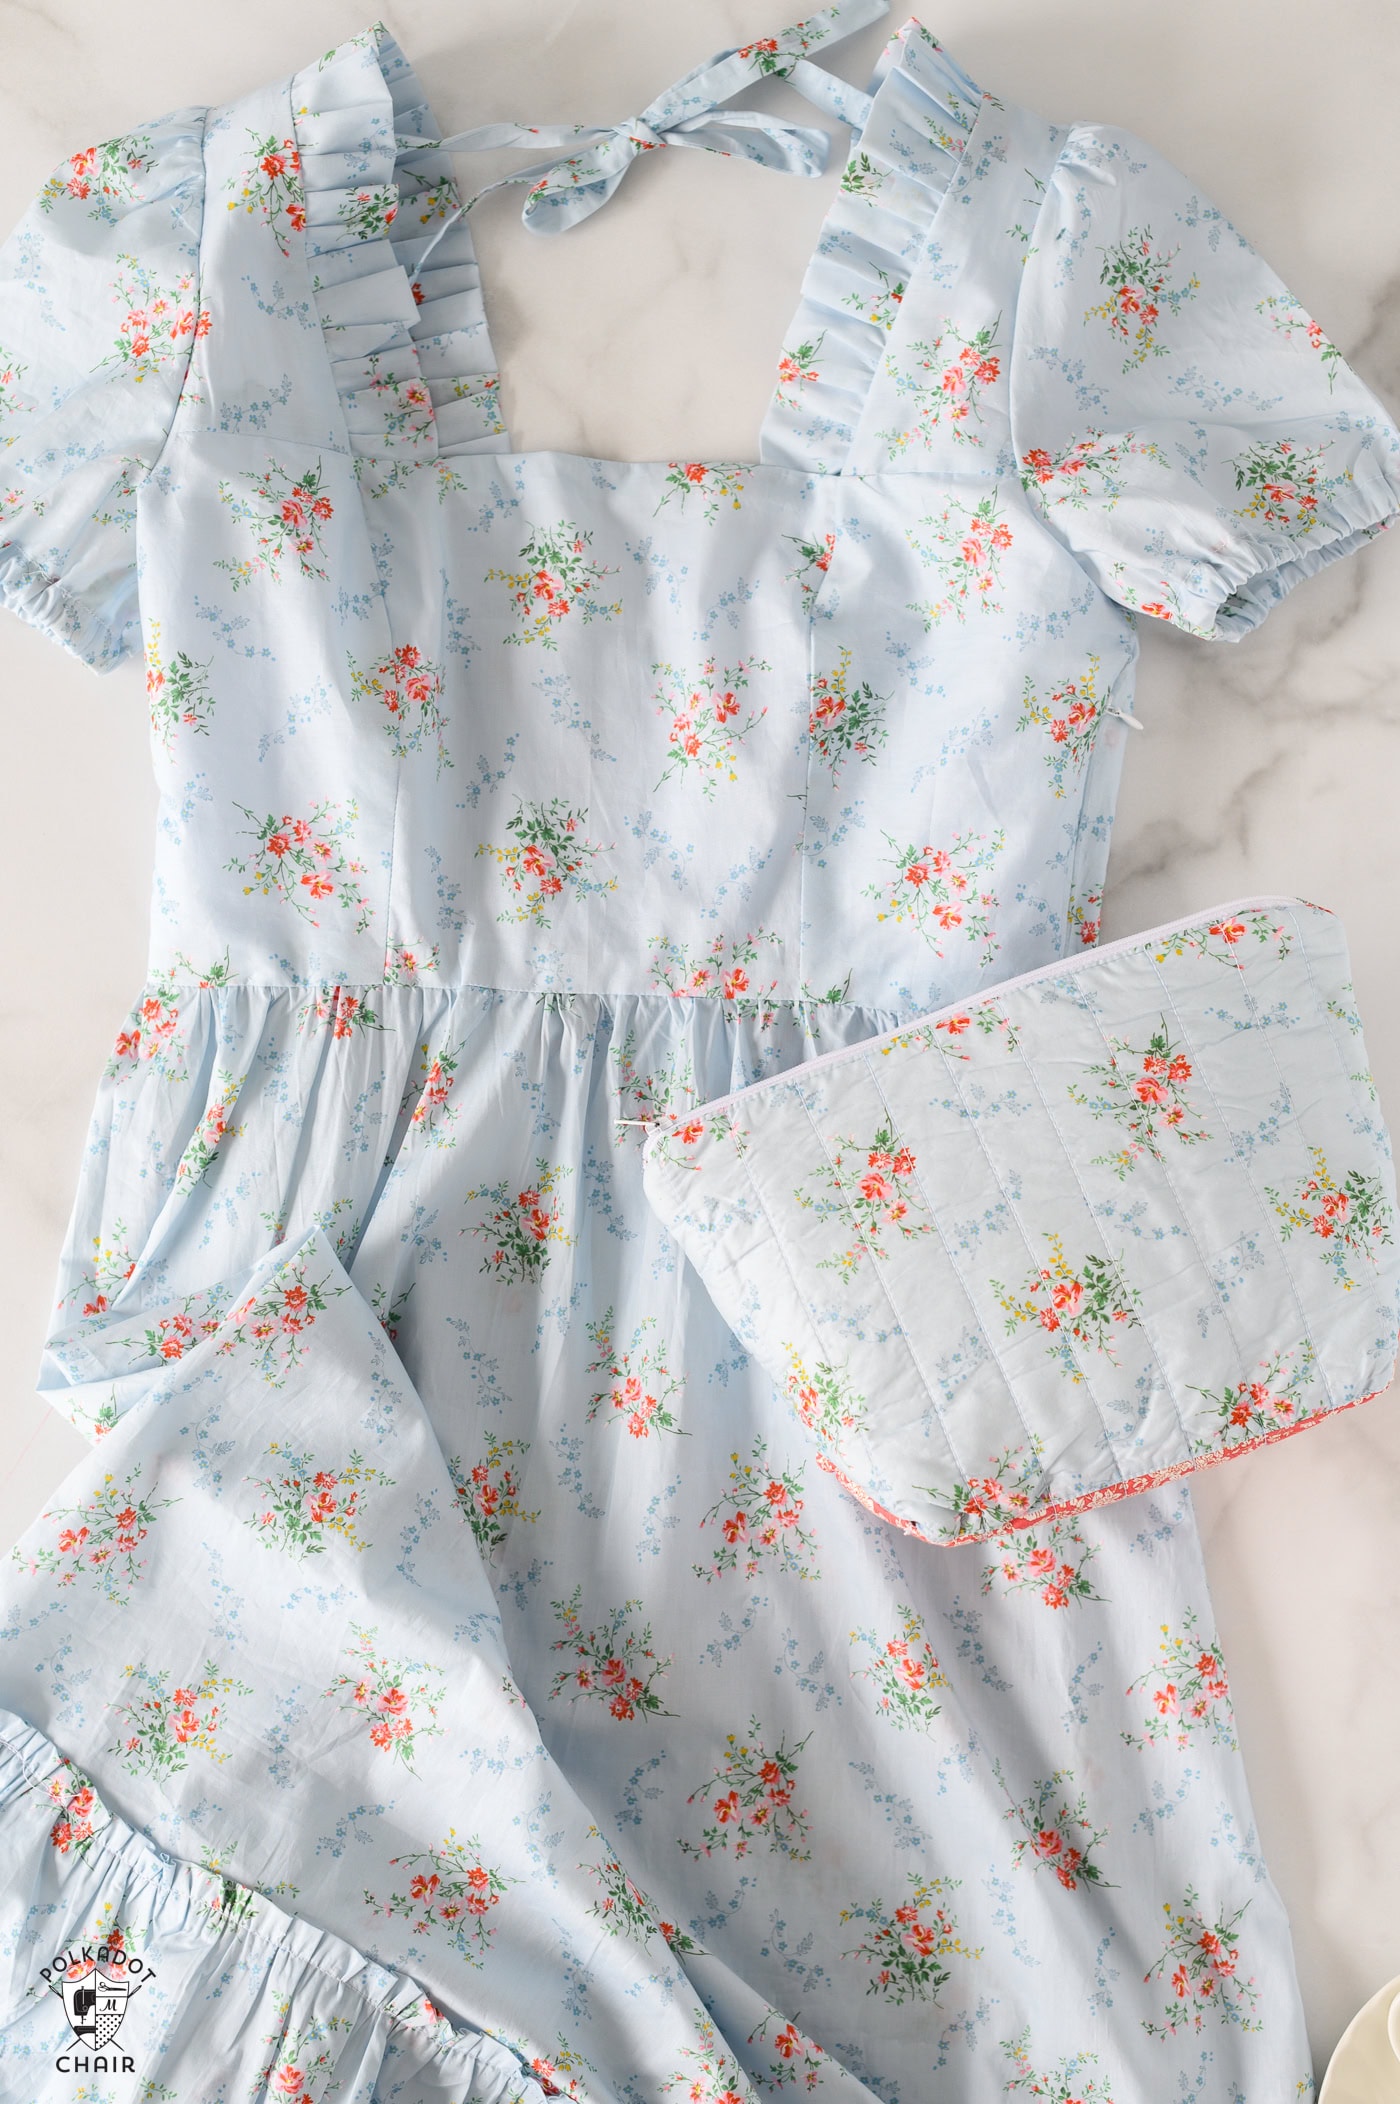
The dress is New Look N6692 with an added ruffled collar. As I’m not an expert, I won’t share how to add the ruffle, but I’m pleased with how it turned out.
I had a bit of fabric left over and thought I’d stitch up a matching zip bag.
Zip Bag Details
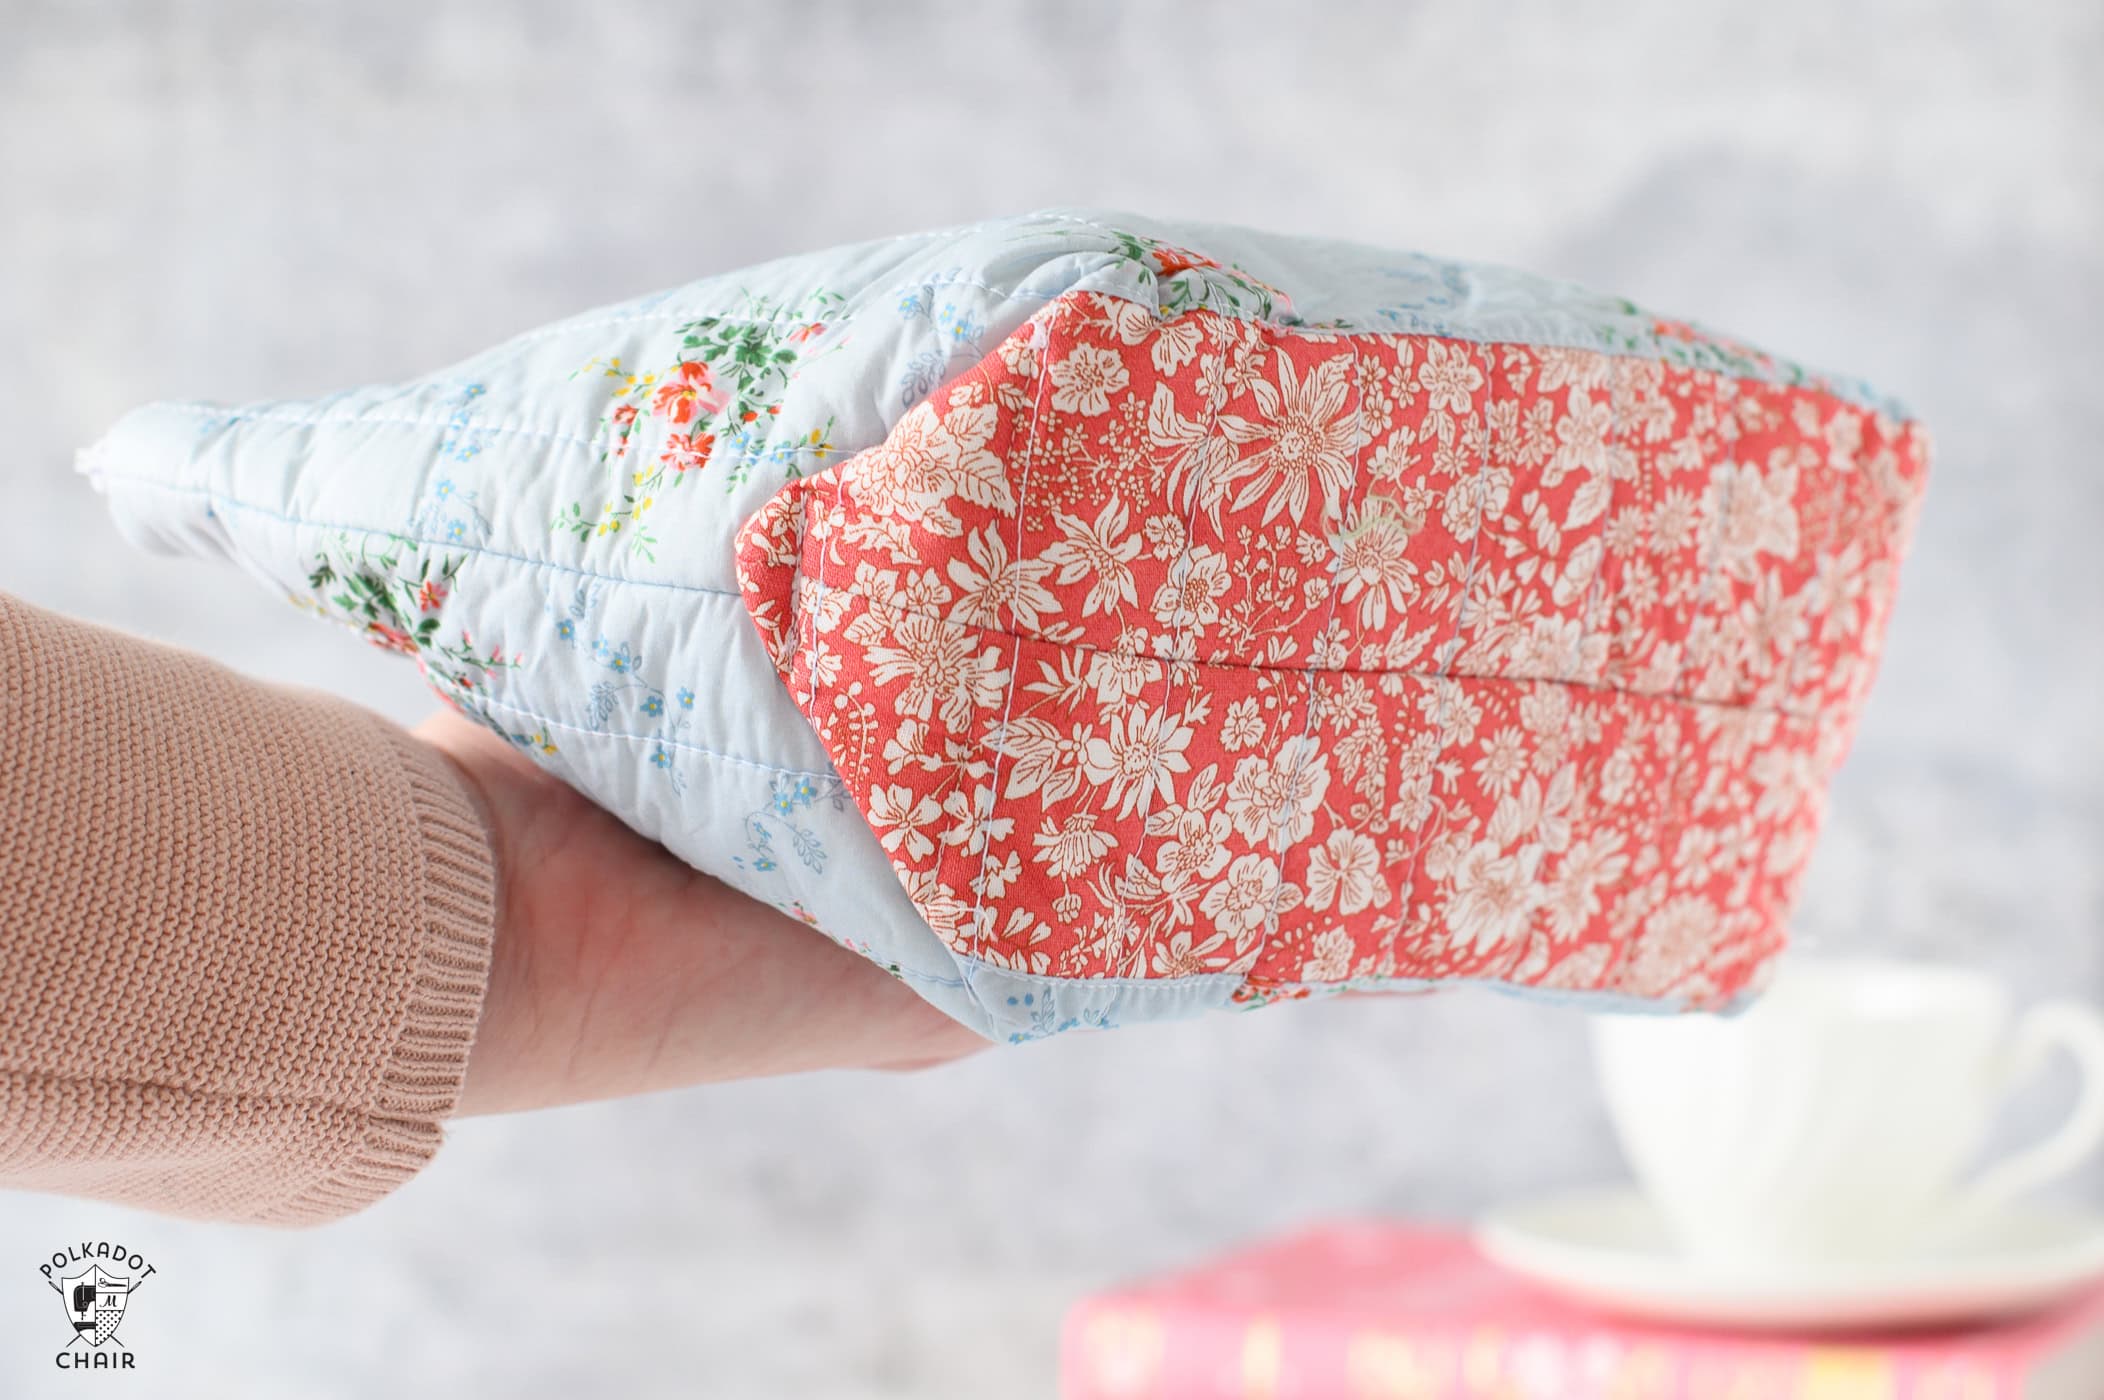
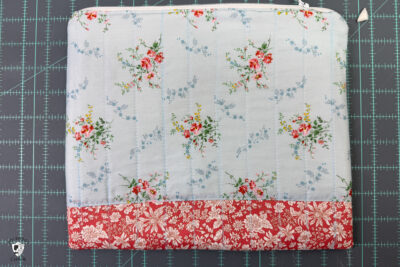
This bag features a little “twist.” The bag is “boxed” by sewing the corners to the sides, which adds a nice detail to its exterior, especially when the bag bottom is created from contrasting fabric.
Unlike some zip bag patterns I’ve shared here, this one has a more unstructured, soft feel. It is intentionally wrinkly and unstructured.
I even washed and dried it to give it more of that “upcycled antique quilt” feel. The texture is due to the fabric it’s made from and the quilting.

The bag’s top is made from Liberty Lawn fabric, a fine-woven, high-quality lightweight cotton with a softer hand than most quilting fabrics.
The bag’s batting is 100% cotton batting. If you’d prefer a “heavier” bag, you could substitute the cotton batting for a thicker Pellon Fusible Fleece or even two layers of batting.
The bag’s base is sewn from quilting-weight Liberty fabric to give it more structure.
The bag is lined with Pellon SF101 Shape-Flex interfacing.
Required Supplies
- 1 Fat Quarter Fabric for Bag Outside; Liberty London Tana Lawn; Bridgerton
- 1 Fat Quarter Fabric for Bag Bottom, Lining, Base & Zipper Tabs; Liberty London Emily Belle, Paprika
- 2 pieces Cotton Batting at least 12″ x 12″
- Polyester Zipper at least 12″ long
- 2 pieces Shape Flex Interfacing at least 12″ x 12″
Quilted Liberty Zip Pouch Sewing Instructions
Equipment
supplies
- 1 Fat Quarter Fabric For Bag Outside
- 1 Fat Quarter Fabric For Bag Lining and Base
- 1 Polyester Zipper at least 12" long
- 2 pieces Cotton Batting or another lightweight interfacing; at least 12" x 12"
- 2 pieces Pellon SF101 Shape Flex at least 12" x 12"
Instructions
- All seam allowances are 1/2" unless otherwise noted.
Cutting Directions
- From Outside Fabric:2 pieces 12" wide x 8" tall for outside2 pieces 12" wide by 12" tall for liningFrom Bag Bottom Fabric:2 pieces 12" x 2 1/2"2 pieces 2" x 2"From Cotton Batting:2 pieces 13" x 13" or largerFrom Shape Flex Interfacing:2 pieces 12" x 12"
Step One: Prep
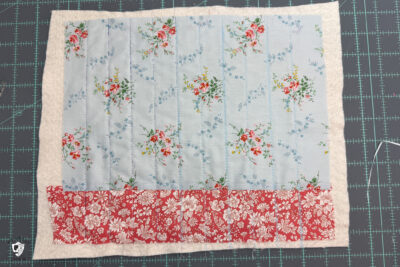
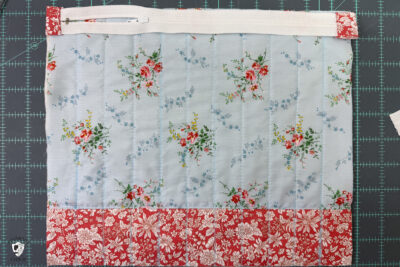
- Sew one bag bottom piece to the bottom of both bag outside pieces. Press seam open and topstitch on both sides of the seam.
Step Two: Quilt
- Place the sewn piece from Step One on top of one of the quilt batting pieces. Quilt lines in the piece. Mine are 1" apart. However, I wish I had quilted them 1/2" apart. So choose what you think is best for your particular project.

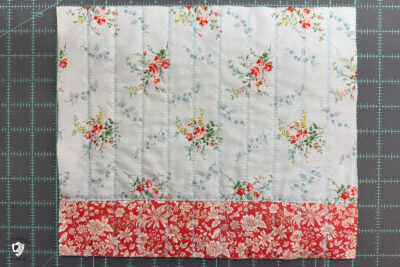
- After you're done quilting, trim all layers so they are even. Apply the Shape Flex interfacing to the wrong side of your two Bag Lining pieces. The Quilted Bag Front Piece and Bag Lining pieces should all be the same size; if not, trim accordingly.
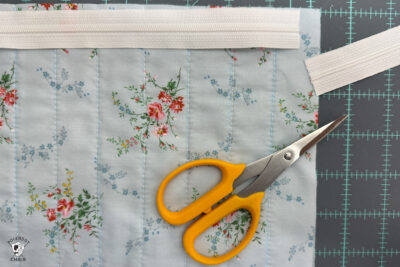
Step Three: Zipper & Zipper Tabs
- If necessary, cut your zipper so that it is about 1" shorter than the width of your bag piece.
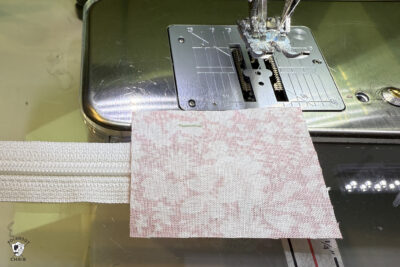
- Place one of the 2" x 2" pieces of fabric on top of the end of the zipper. The right side of the fabric will face the right side of the zipper. Sew in place with a 1/4" seam allowance.
- Flip the fabric right side up and bring it around to the wrong side of the zipper. Press the end of the fabric under 1/2".
- Pin the fabric so the folded edge is even with the seam you stitched in the previous step. Sew along the fold. Trim excess fabric so the sewn zipper tab is the same width as the zipper.

- Repeat with the other piece of fabric on the other end of the zipper.
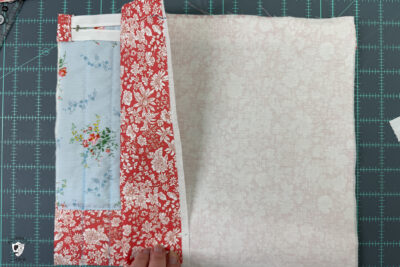
- Pin the right side of the zipper to the right side of the bag outside piece (if your bag has a front and a back, start with the front piece).
- Place the bag lining piece on top of this piece so that the wrong side of the zipper is facing the right side of the lining.
- Using a zipper foot on your sewing machine, stitch. Your seam allowance should be between 1/4" – 3/8" depending on the width of your zipper. Make sure you don't sitch too close to the zipper or you will not be able to unzip the bag.
- Repeat with the other bag outside and lining piece on the other side of the zipper.
- Press the fabric away from the zipper (be careful, zippers get very hot when ironed). Top stitch down both sides of the zipper.


Step Four: Assembly
- Unzip the zipper.
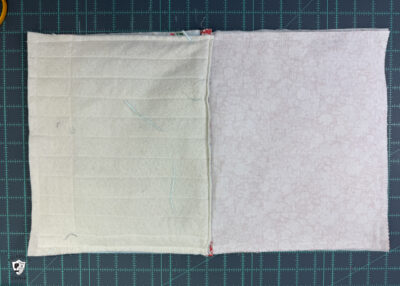
- Bring the two bag outside pieces together, right sides facing. Pin. When you pin make sure the teeth of the zipper are folded twoards the lining.
- Pin the lining as well.
- Stitch around the perimeter with a 1/2" seam allowance. Leave a 2" opening in the bottom of the lining fabric.

- Turn the bag right side out though the opening you left in the lining.
- Press well and either hand stitch or machine stitch the opening in the lining closed.
Step Five: Create the Base
- Press the sewn bag well. Use a turning tool or another tool to press the corners out. Make sure all of the seams are flat and that there is no extra fabric in the "folded" in the seams.
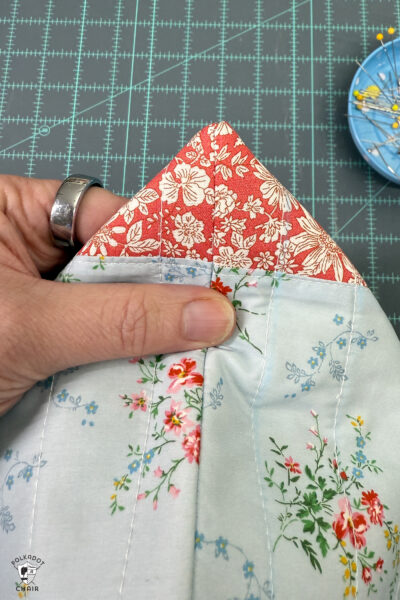
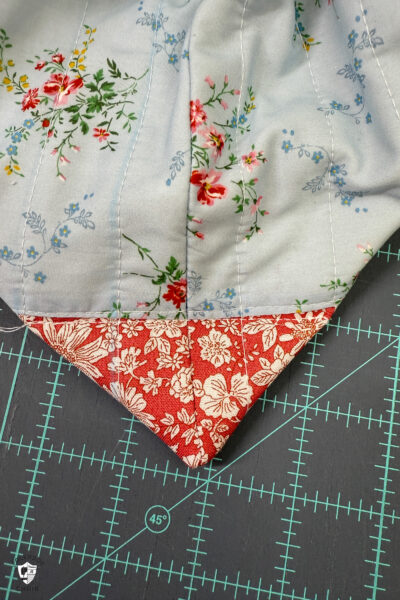
- With the bag flat, pinch the bottom corner. Draw a line along the edge of the corner and pin well.
- Stitch along the drawn line. Repeat on the other corner.
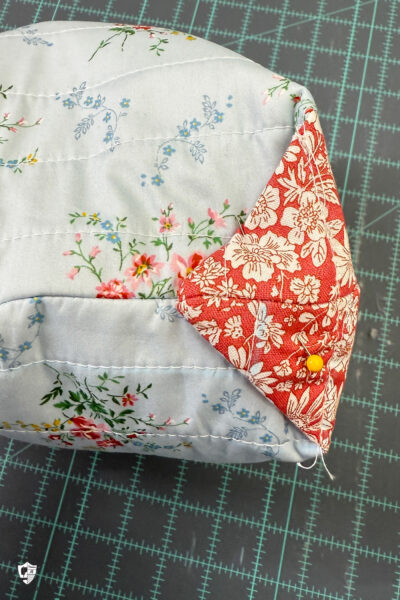
- Pull the sewn corner up and pin it on top of the side seam of the bag.
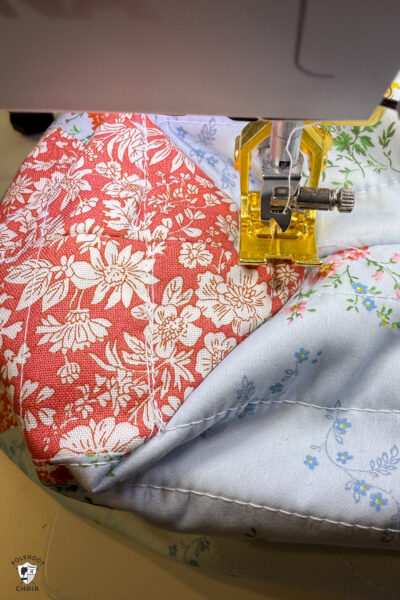
- Stitch in place along the point of the corner. Stitch over the seam three times, making sure to backstitch.
Notes
I totally love the bag pattern. I’m all packed up to move but as soon as I get my new sewing room set, this will be my first project.
Thank you for all your hard work and sharing with us.